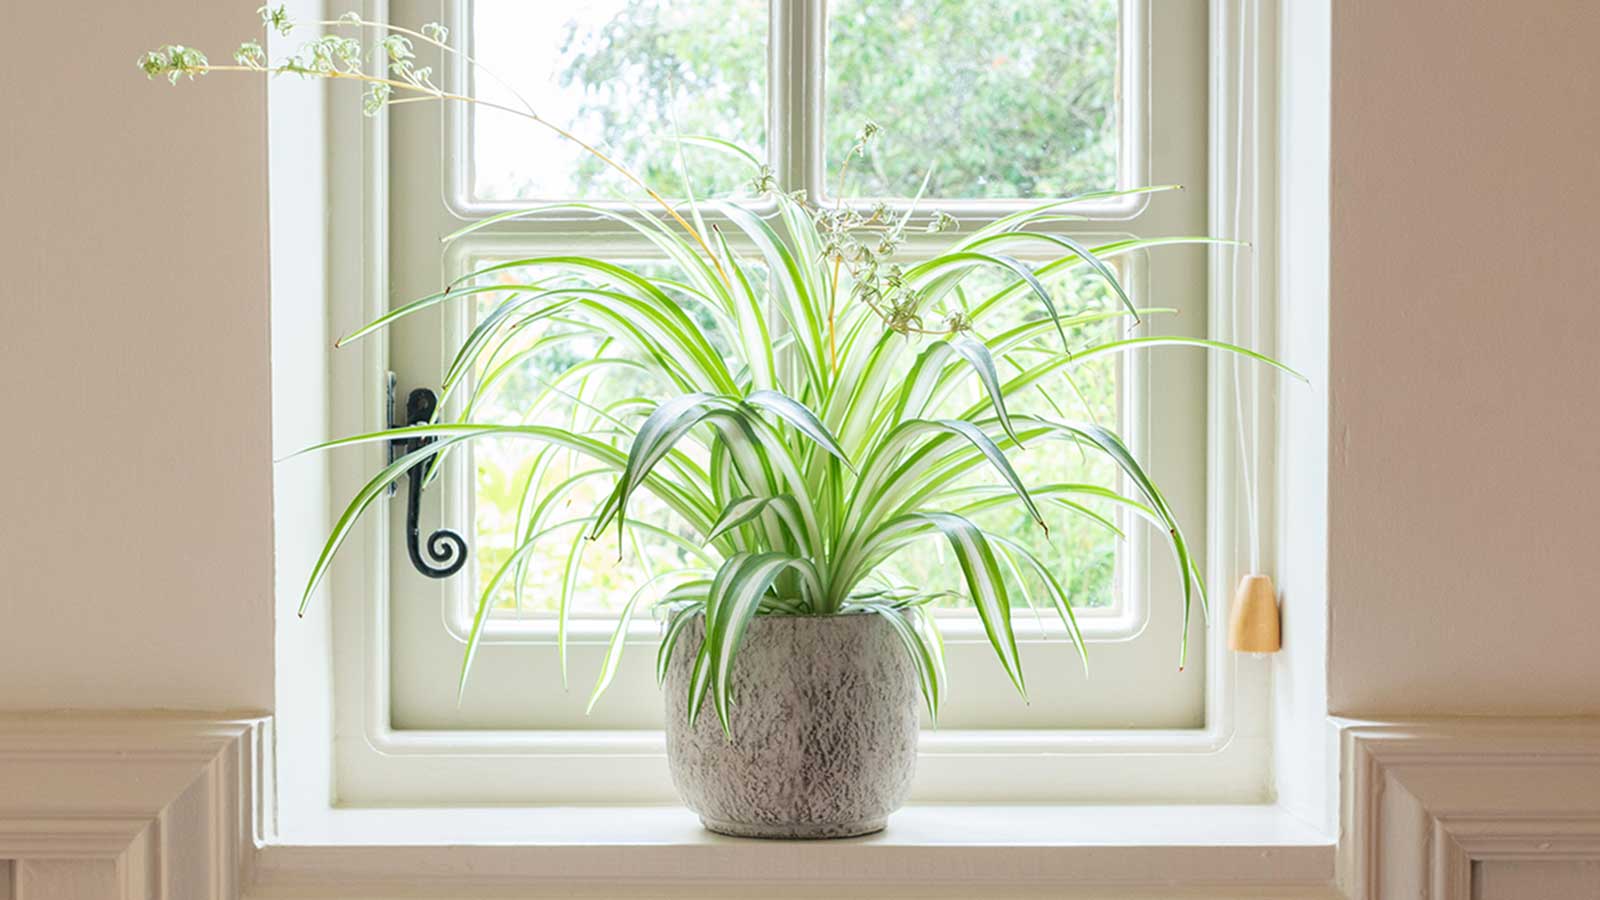
If there's one houseplant I recommend to beginners every time, it's a spider plant. It was the first houseplant I ever cared for, propagated from my dad's spider plant, and it has always been reliable. Just like caring for them, spider plants are incredibly easy to make bushier – and it takes little effort to do so.
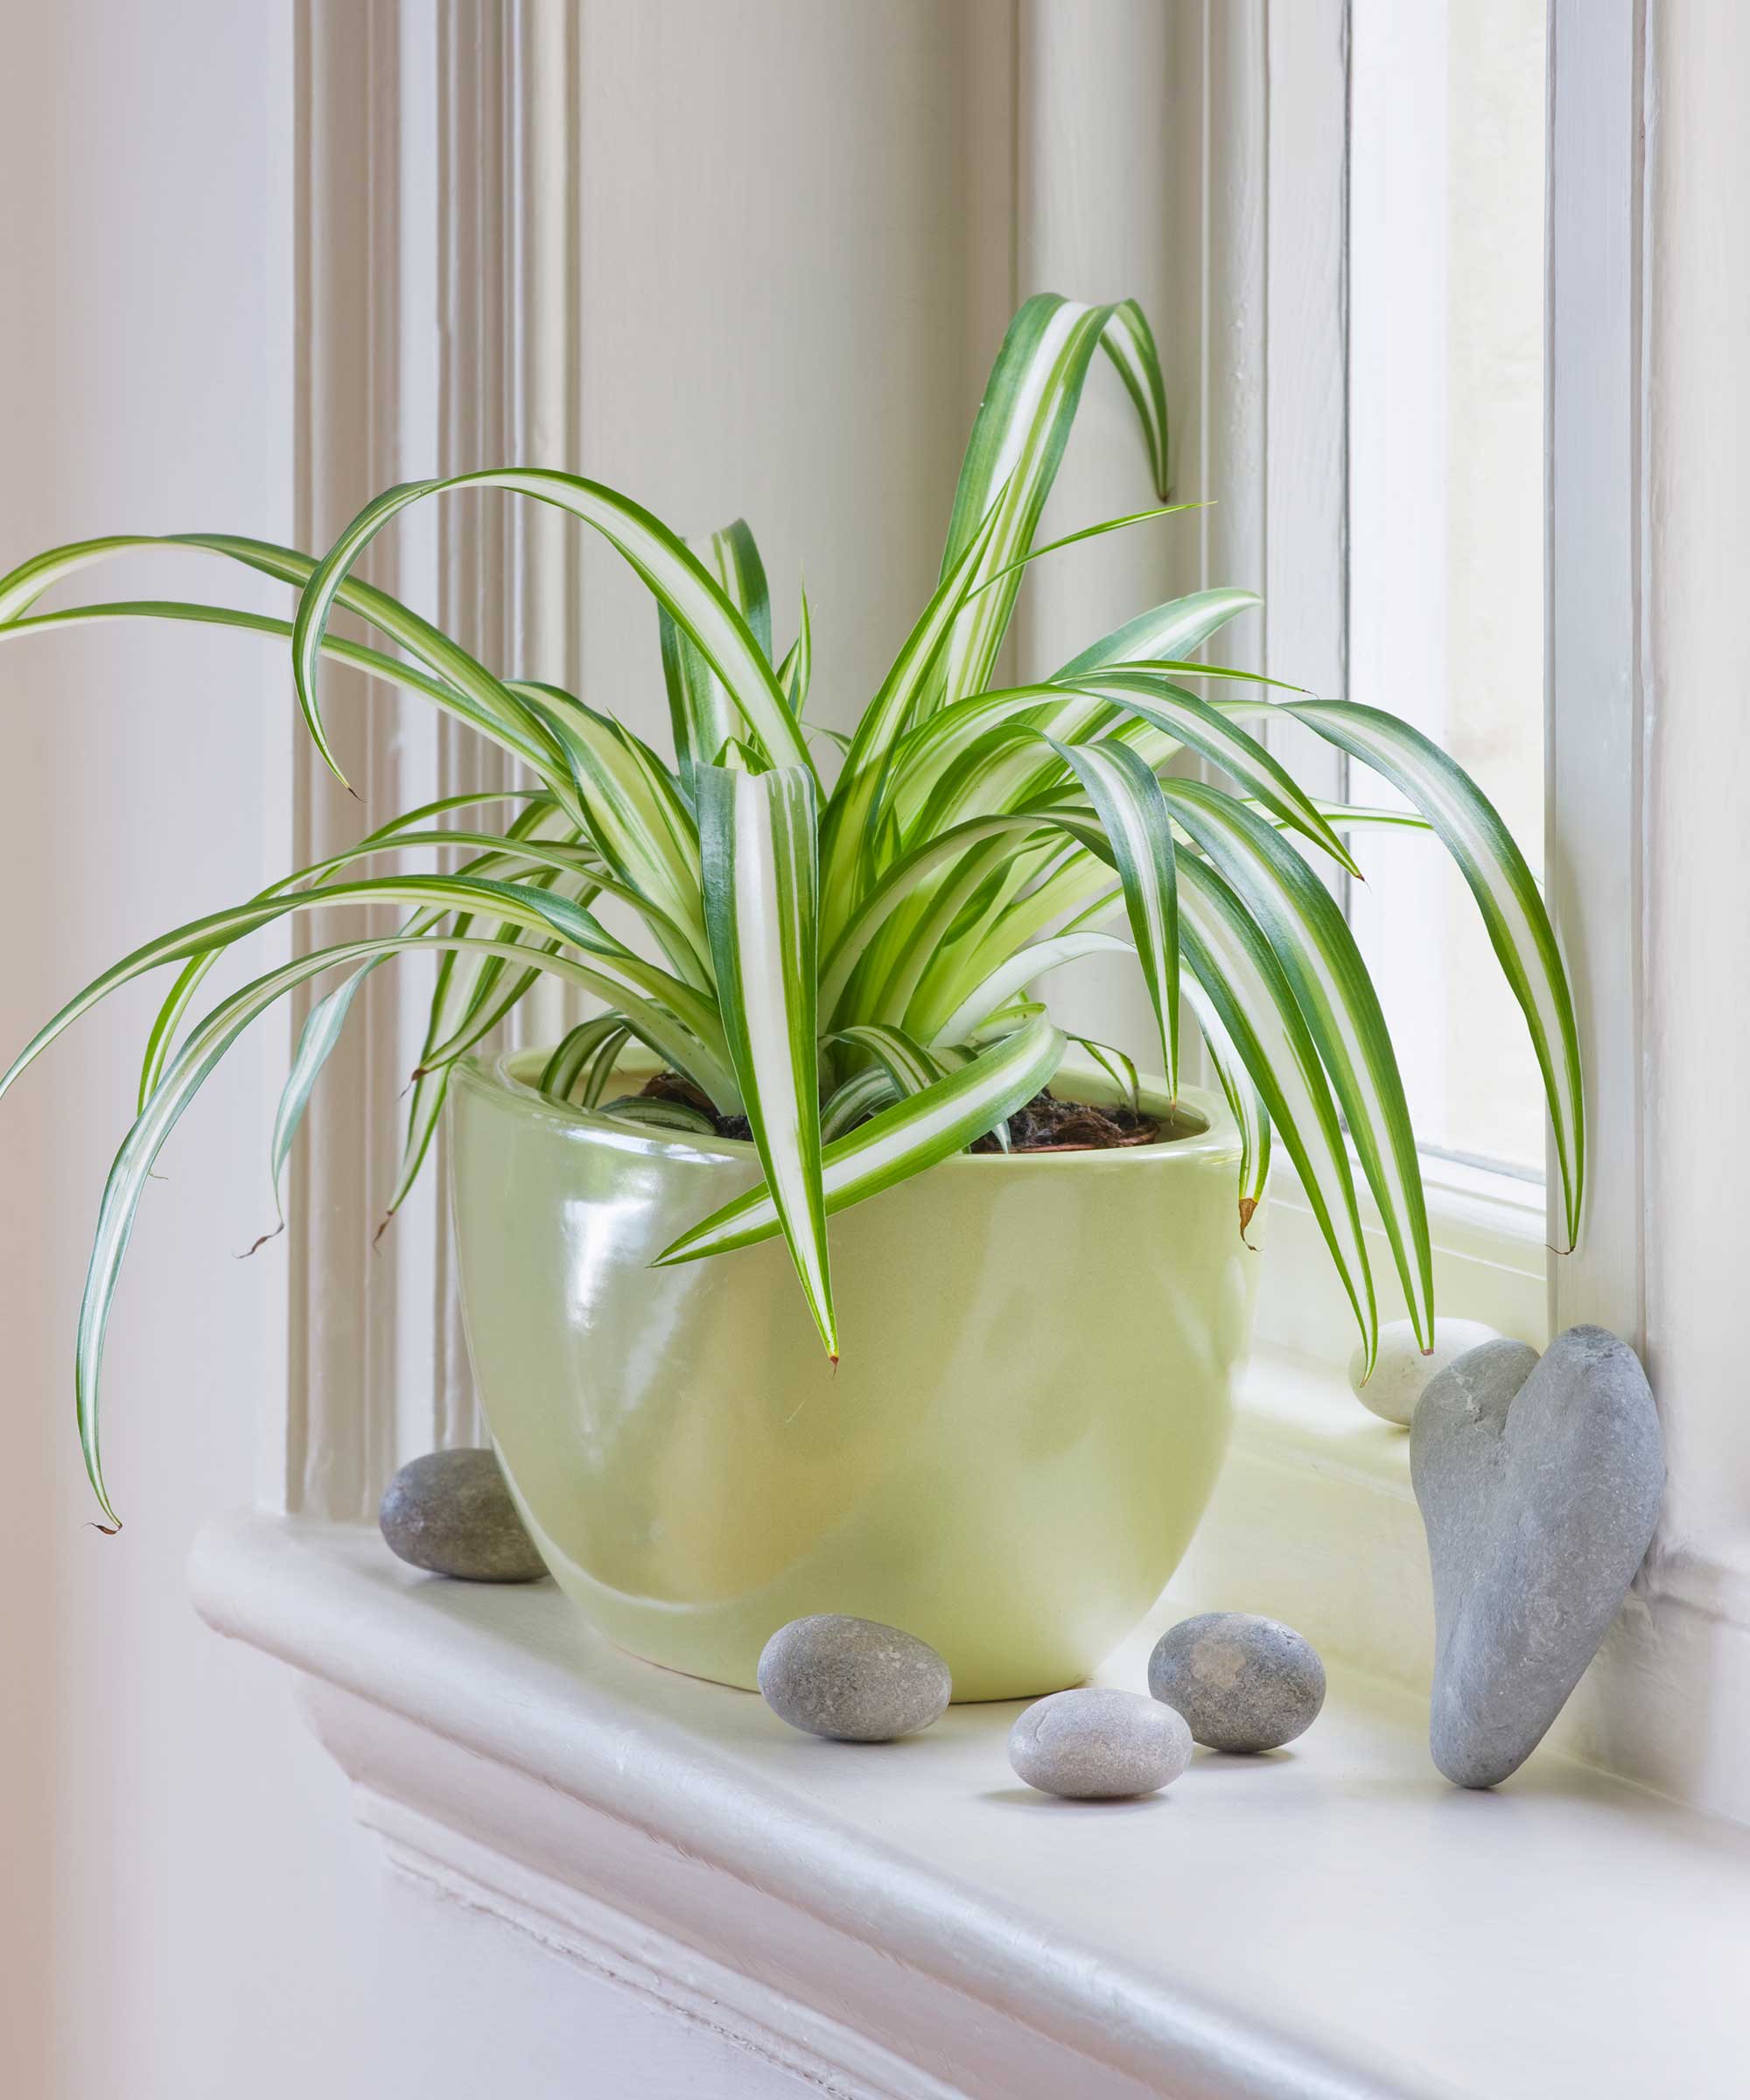
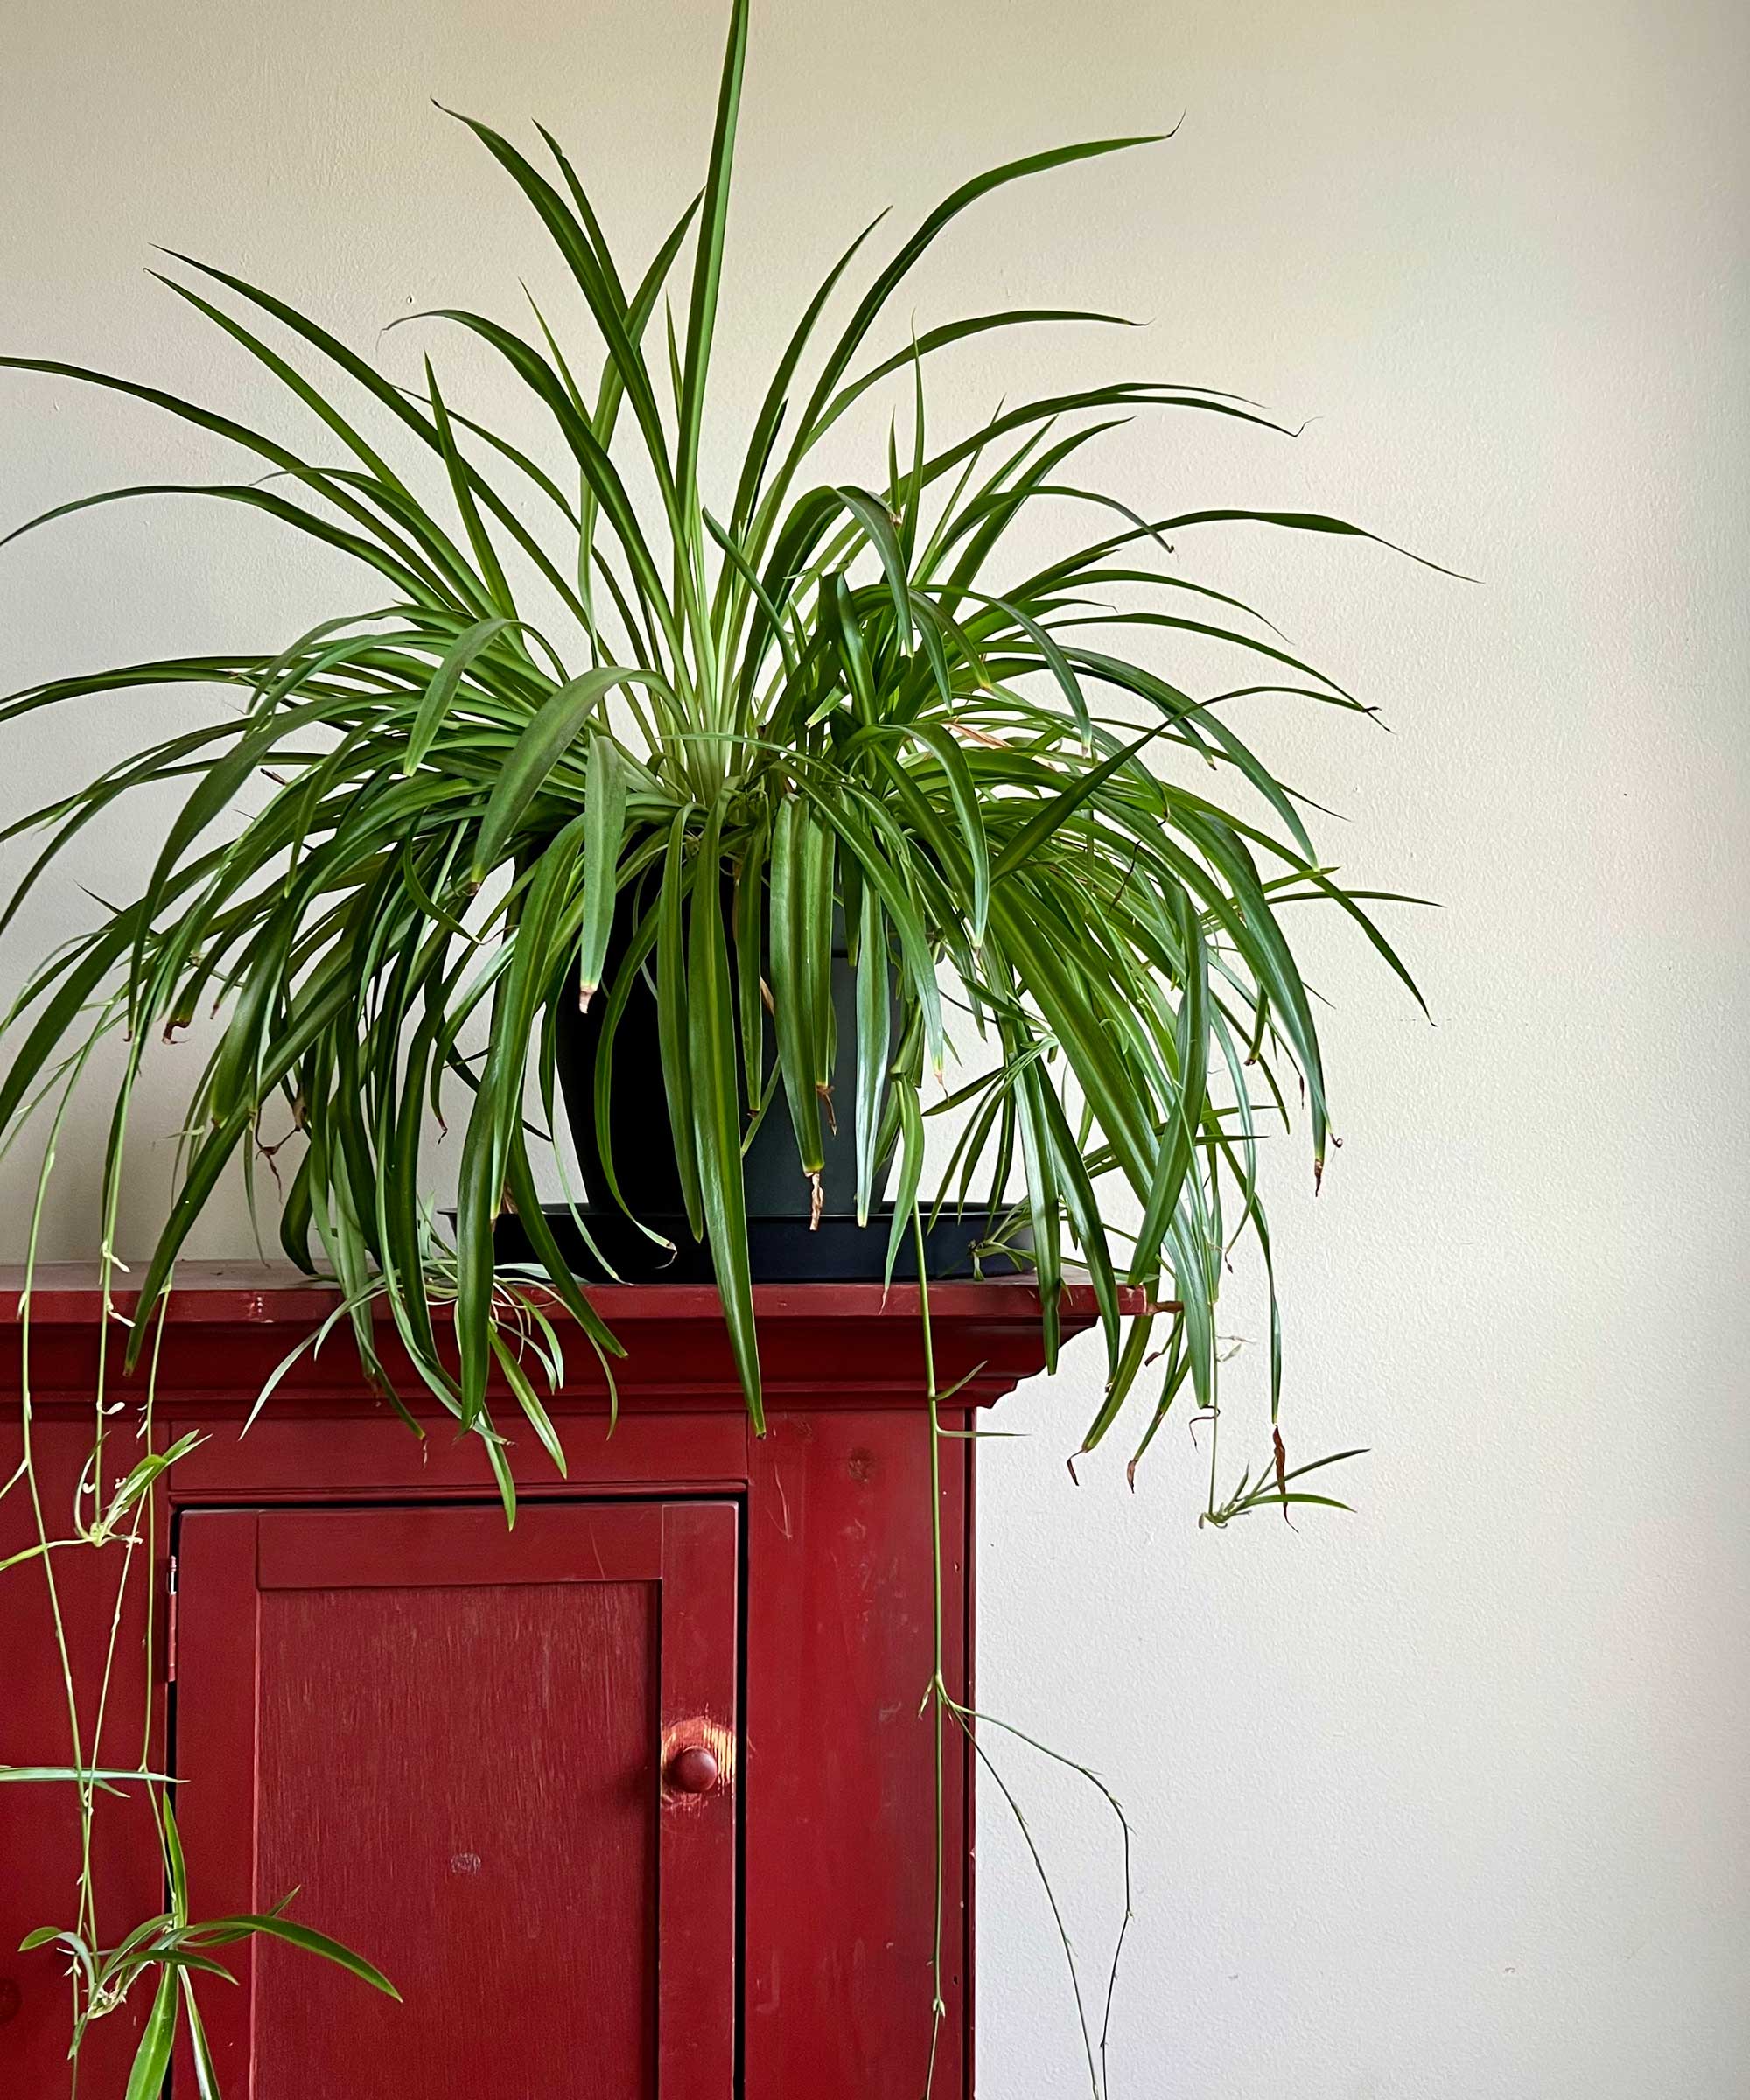
Caring for a spider plant simply requires plenty of bright light and moderate watering (although they even tolerate some drought). However, even when thriving, spider plants can look a little sparse, especially if it has been grown from propagating a spider plant. This is what mine used to look like, with only one main plant in the pot. By adding more cuttings to the same pot, I was able to quickly triple it in size, providing a much fuller look.
There are only three steps to follow to make your spider plant bushier. These plants' cuttings root quickly, so it could be as little as three weeks before your spider plant's appearance improves. Here's what I did to make this method a success.
3 steps to make your spider plant bushier
While I used this method to make my Chlorophytum comosum Variegatum' spider plant bushier, you can really use it for all types of spider plant. They're well known as one of the easiest houseplants to grow from cuttings, so it's really straightforward to make your spider plant bushier. Here's what you need to do:
1. Grow spiderettes
To make your spider plant bushier, you need to first grow spiderettes (also known as offshoots or baby plants). These are identifiable as little spider plants growing on long stems off your existing spider plant.
You can grow them by keeping your spider plant happy. This includes placing your spider plant on a bright windowsill, watering your spider plant when its foliage starts to wrinkle, and keeping your spider plant between temperatures of 60-80°F.
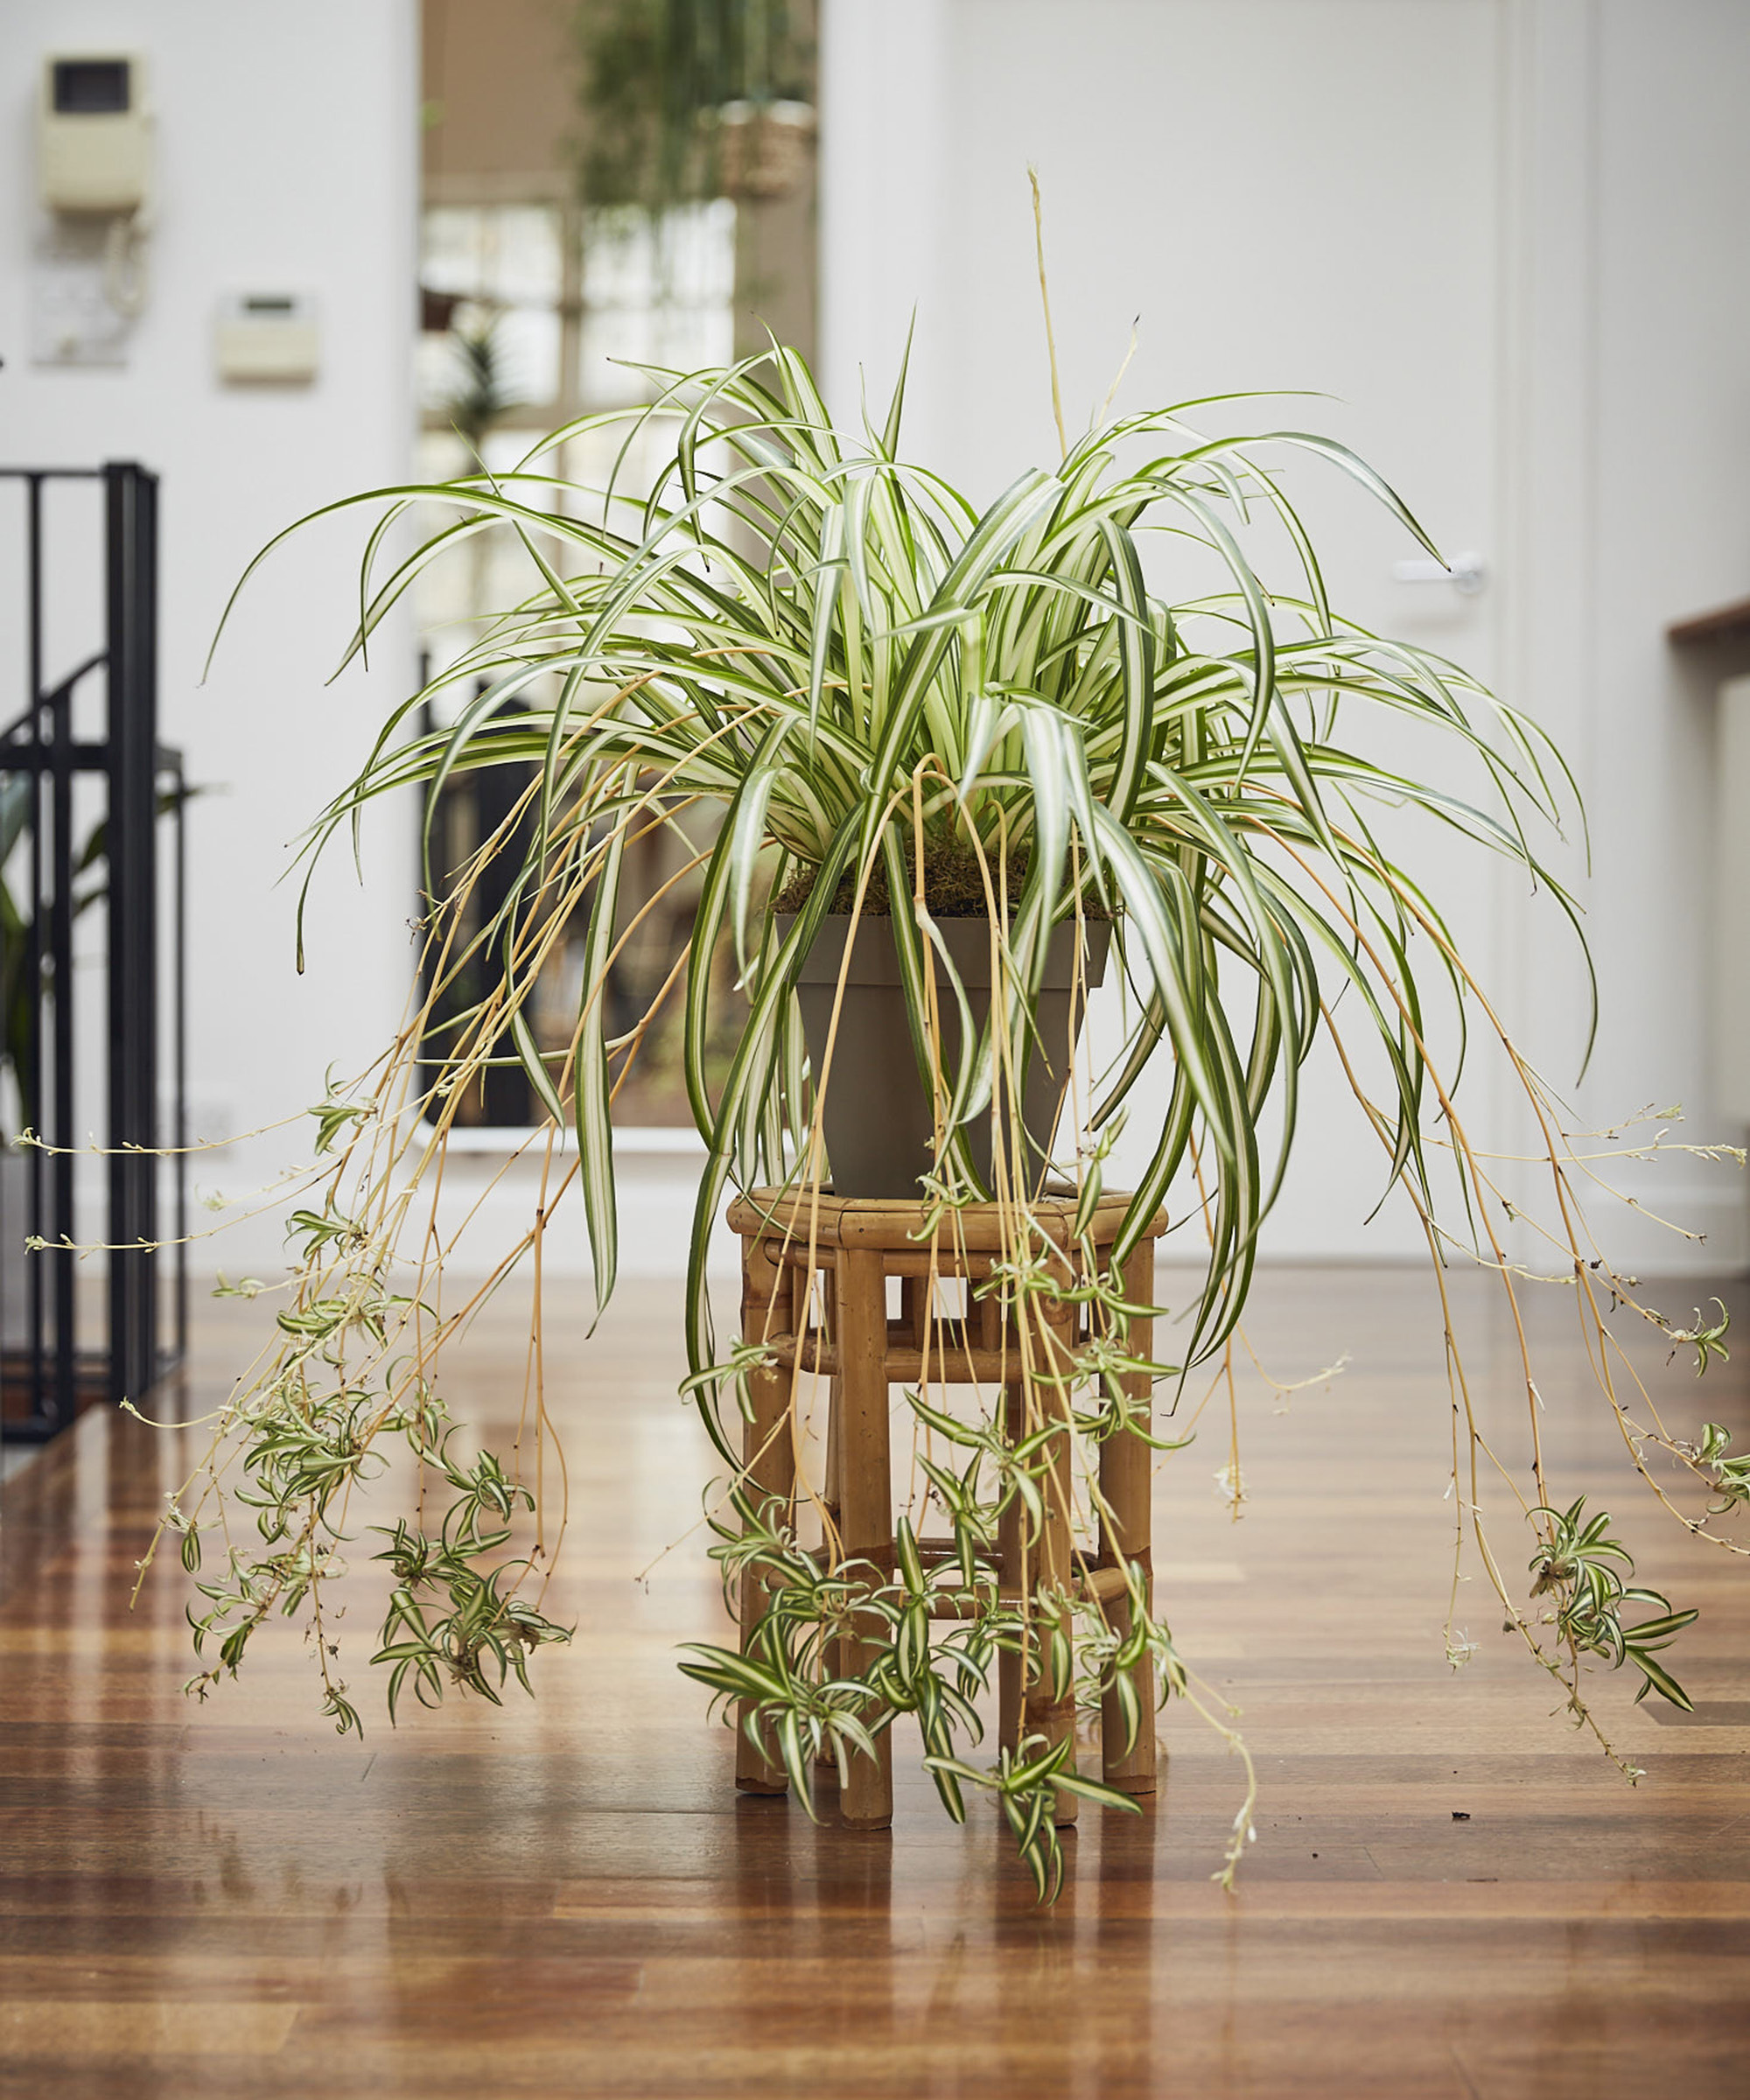
Previously, I have grown a hanging spider plant by keeping my spider plant in this optimal growing environment and allowing multiple spiderette stems to develop.
With plenty of bright light, you're also likely to spot little white flowers. This a sign your spider plant is growing in the right conditions to grow spiderettes.
You can also use this spider plant fertilizer from Amazon to aid growth of offshoots. Make sure to only fertilize in spring and summer, when your spider plant is actively growing to avoid burning and oversaturating roots.
2. Take spiderette cuttings
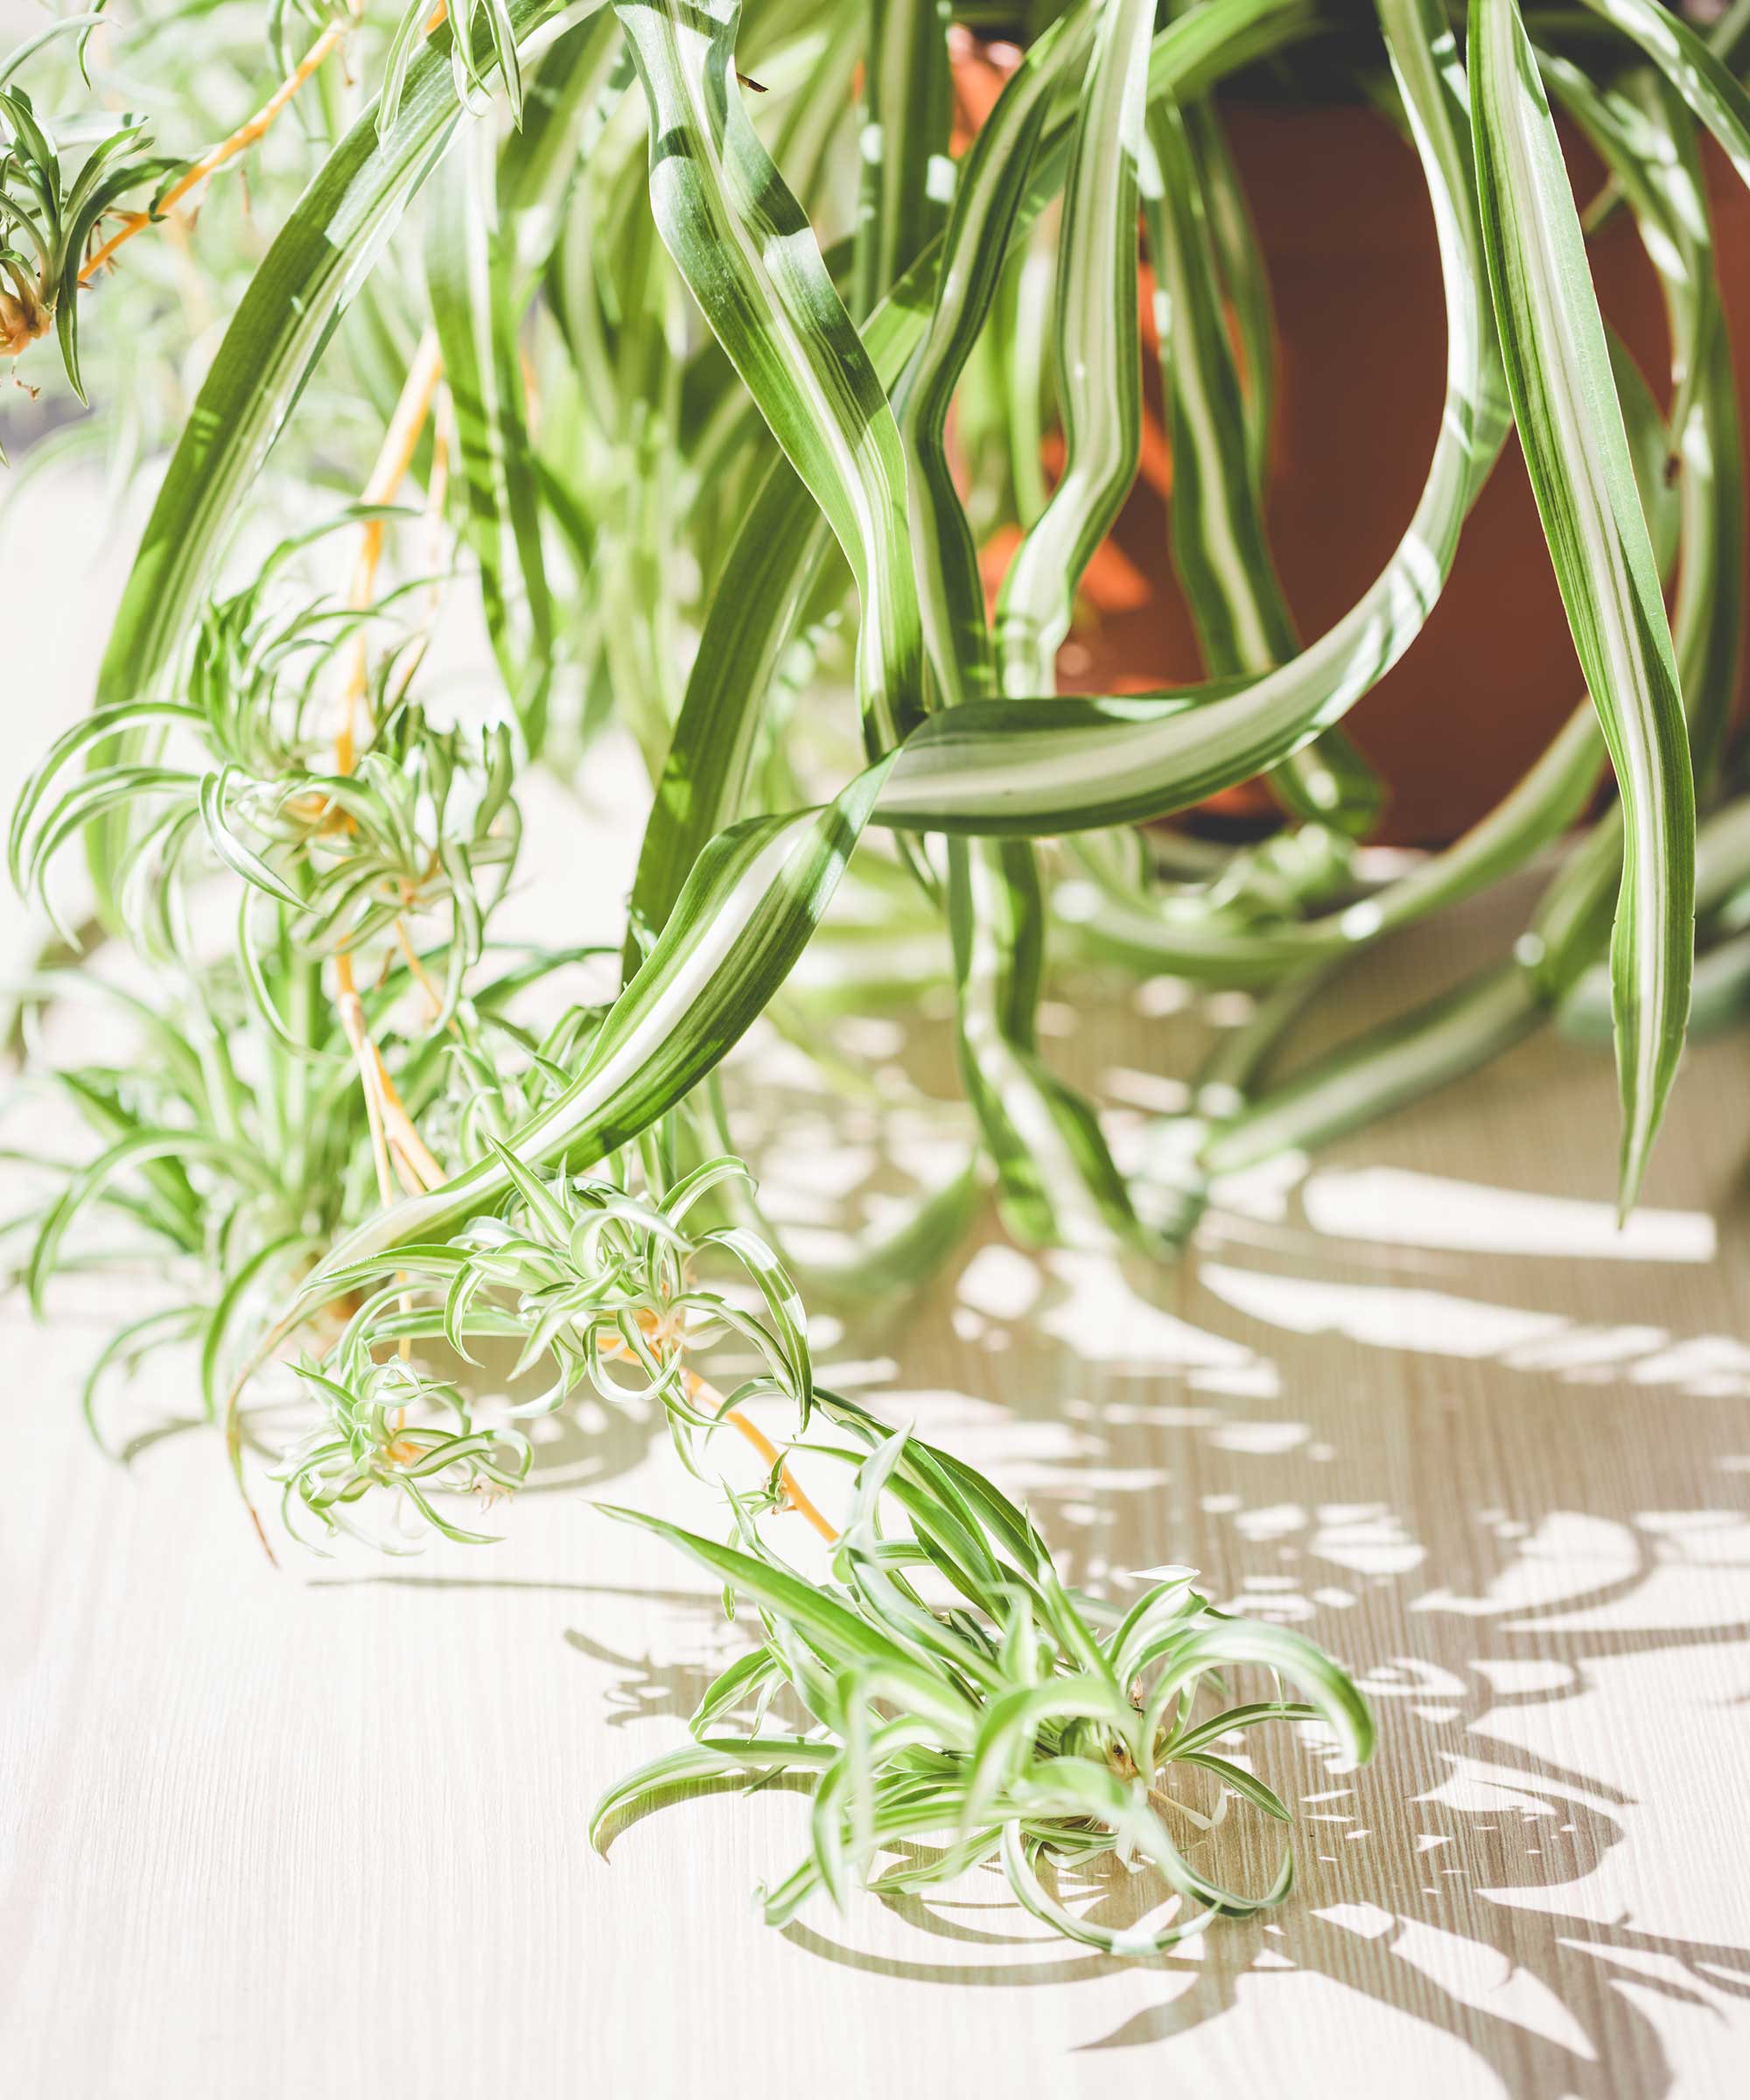
Once your spiderettes have reached a good size (I left mine attached until they were around two-inches in length), you can start taking cuttings.
Aim to cut at the base of each spiderette, This is where it will develop its own roots. I like to use houseplant snips (from Amazon) to make clean cuts, avoiding plant cutting mistakes that can hinder the health of your cutting and parent plant.
Depending on how much bigger you want your plant to become and how bushy you want to make your spider plant, I recommend taking two or three spiderettes.
You can choose to then either cut the stem off at the base, or leave it grow even more spiderettes later on.
Make sure to then clean your pruning shears. This ensures potential pests and diseases aren't passed on when you next use them again.
3. Root cuttings in your spider plant pot
The final step to make your spider plant bushier is rooting the spiderettes to add back into your spider plant pot. There are a couple of ways to do this.
The method I chose was to propagate spiderettes directly into the parent plant's pot. To do this, insert the bottom of the cutting in the soil, ensuring it has enough space around it for growth.
Or, you can first root the cuttings (in soil or water) to plant in the parent plant's pot once it has developed roots.
In both cases, you need to ensure there is sufficient room for growth of the cuttings in the plant pot. This may mean you need to repot your houseplant to provide extra room.
I also used methods to speed up houseplant propagation to make root development quicker. This includes keeping the spiderettes well-watered in a warm spot, like a sunny windowsill. Alternatively, use this heat mat from Amazon.
Within just a few weeks, the growth of spiderettes will fill out the pot and give your spider plant a bushier appearance.
FAQs
Will pruning make my spider plant bushier?
Yes, pruning a spider plant can encourage bushier growth. This incudes removing yellowing foliage to encourage new, healthier growth. It can also be wise to remove baby spider plants (spiderettes) to redirect energy to new foliage rather than growing new plants. Use essential pruning tools to do this and avoid pruning mistakes, like removing more than a third of the plant at a time which can stunt growth.
There are lots of benefits of spider plants, including air purification, which are all more effective when your spider plant is growing as full as possible. That's why you should also watch out for your spider plant turning yellow, a sign it may need a bigger pot to grow in.