
Did you know that you can shape the aperture on your lens to create a unique, artistic background? I discovered a simple DIY method to shape the aperture – and the results were mesmerizing.
By crafting a custom aperture disc – effectively a DIY bokeh filter – you can control the shape of blurred background lights. Hearts, stars, snowflakes – you name it.
This simple technique enables you to add an artistic flair to your photos and can even elevate your storytelling. With just a few tools at home, you can put this simple technique into action and add an artistic and creative touch to your portraits, product shots, and everyday photography.
What is bokeh?
If you are new to this topic, bokeh describes the artistic quality of the out-of-focus areas in your images. This characteristic particularly affects light sources behind or around your subject, turning them into pleasing "bokeh balls".
Bokeh adds depth, emotion and visual interest, especially to portraits and close-ups. To achieve a beautiful bokeh, an open aperture is key – this reduces the depth of field and turns points of light into soft, colored discs (or "balls"). To maximize the effect, position the subject close to your camera.
How a custom bokeh works
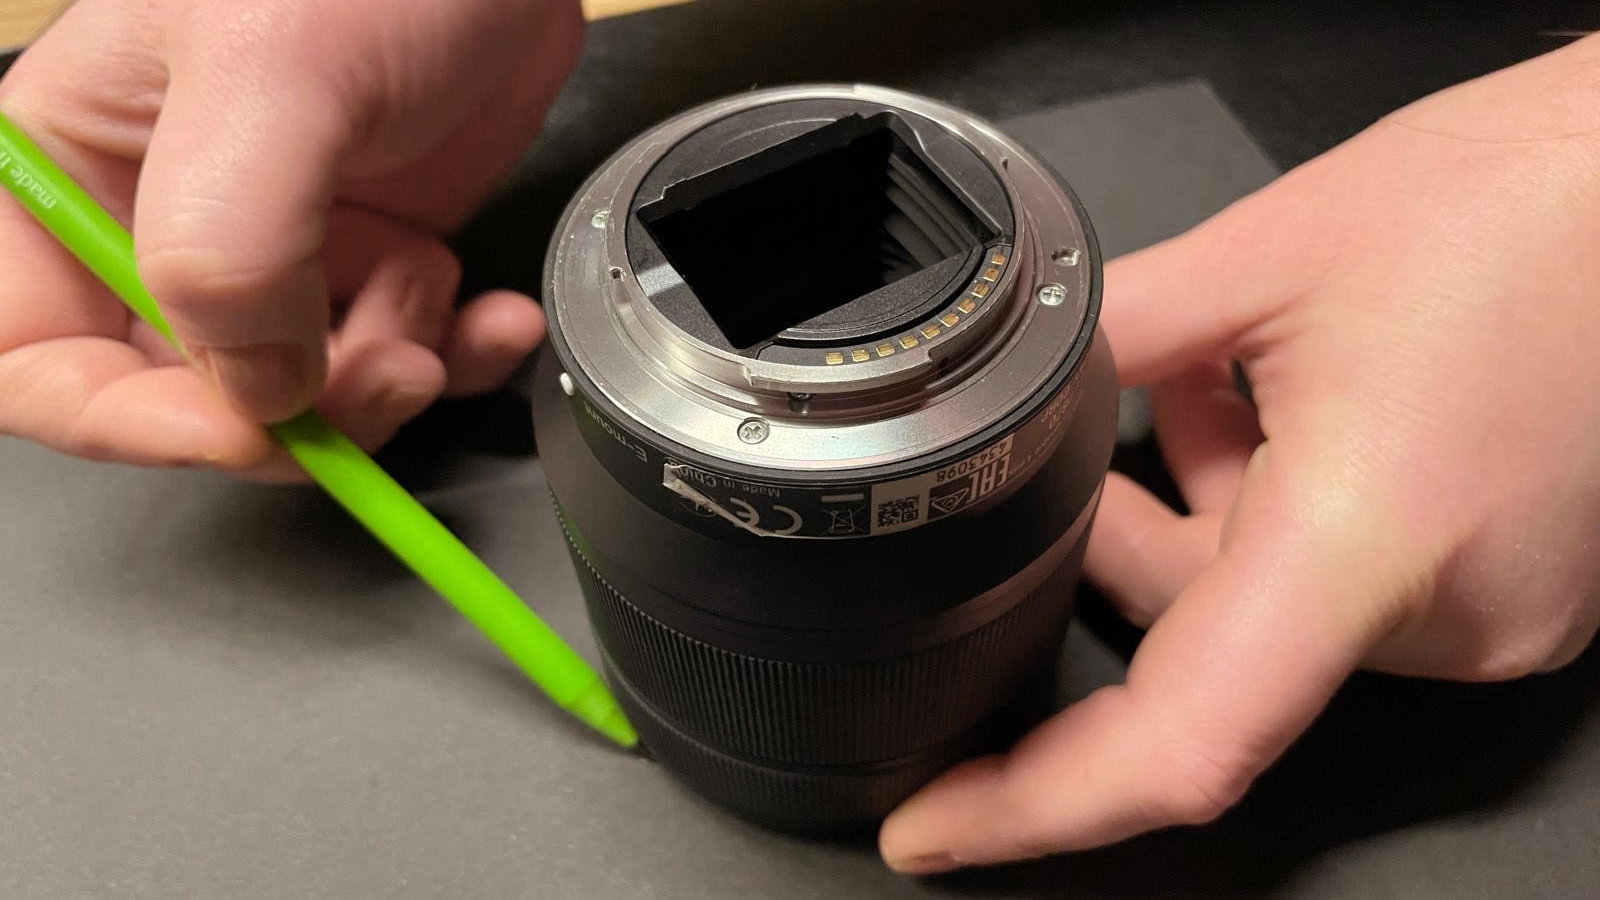
You've probably noticed that bokeh usually appears as round or slightly polygonal shapes. This actually depends on your lens' aperture blades.
For example, a lens featuring nine or ten rounded blades tends to create more even, circular bokeh. By contrast, a lens with seven straight blades will produce bokeh points that appear heptagonal, giving the out-of-focus lights a more angular shape.
By placing a shaped cut-out over your lens, you can override this shape and create completely custom bokeh. In this tutorial, we will concentrate on crafting a heart-shaped bokeh effect. But as mentioned, there are endless possibilities to add various shapes and effects.
If you’re not into DIY, there are also ready-made bokeh kits available that include pre-cut shapes. These are a great option if you want quick results without the crafting.
Tutorial
1. Get your equipment

To create an aperture disc, you will need the following materials:
• Sharp craft knife
• Cutting mat
• Elastic band
• Scissors
• Ruler
• Sheet of black / dark paper or card (to effectively prevent light leaks)
2. Make your template
Remove the lens from your camera and place it front-side down on the black paper. Use a pencil and trace around the circumference of the lens. Then, draw a second circle around the first, maintaining a distance of about 5-6cm.
3. Create your aperture
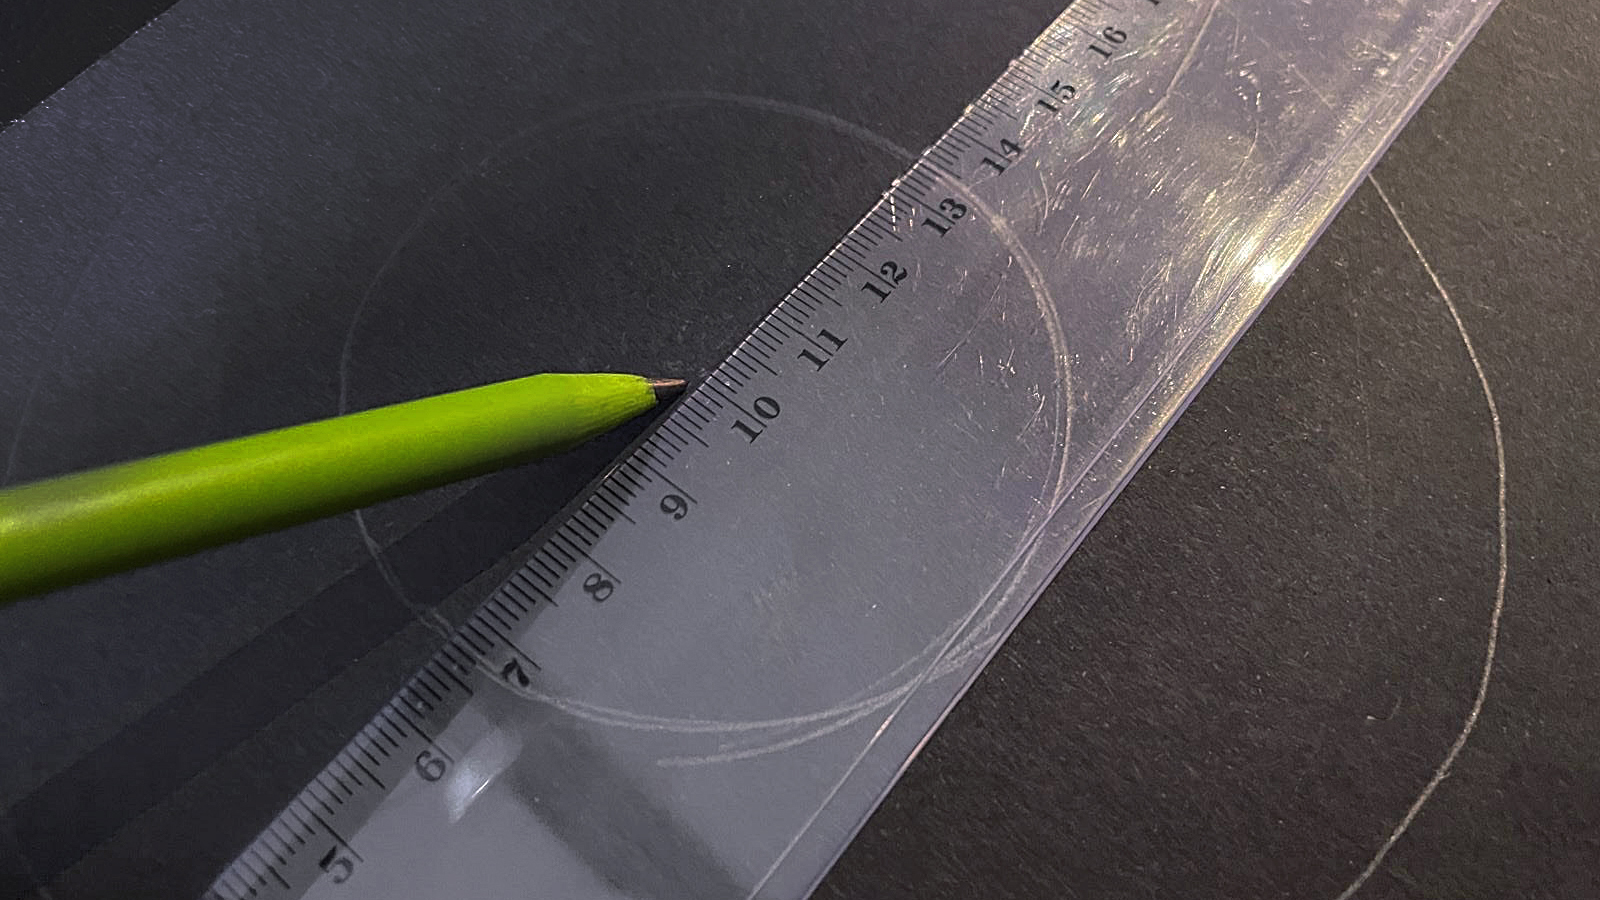
Find the center of the disc, using a ruler to measure the diameter both horizontally and vertically. Now, where the two lines intersect, draw a new aperture in the shape of a heart (or any other shape). This should be around 2cm in size.
4. Cut the disc
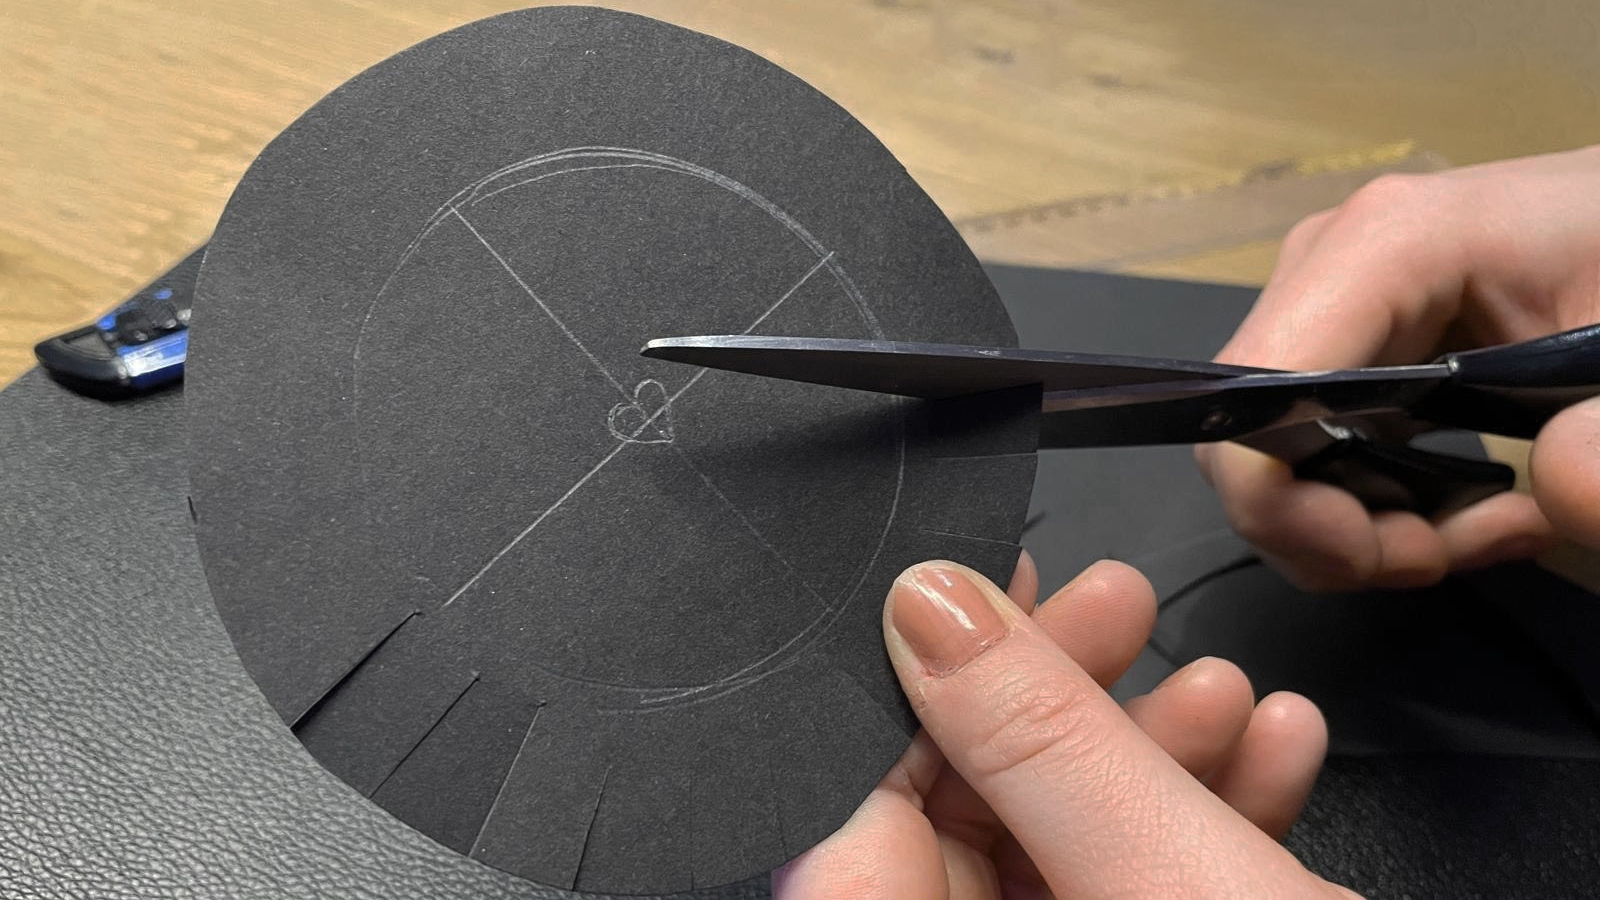
Use a pair of scissors and cut around the edge of the outer circle, then cut tabs every 2cm between the first and second circles. Finally, using a sharp craft knife, carefully cut out the heart shape in the center, making sure you use the cutting mat.
5. Assemble the disc
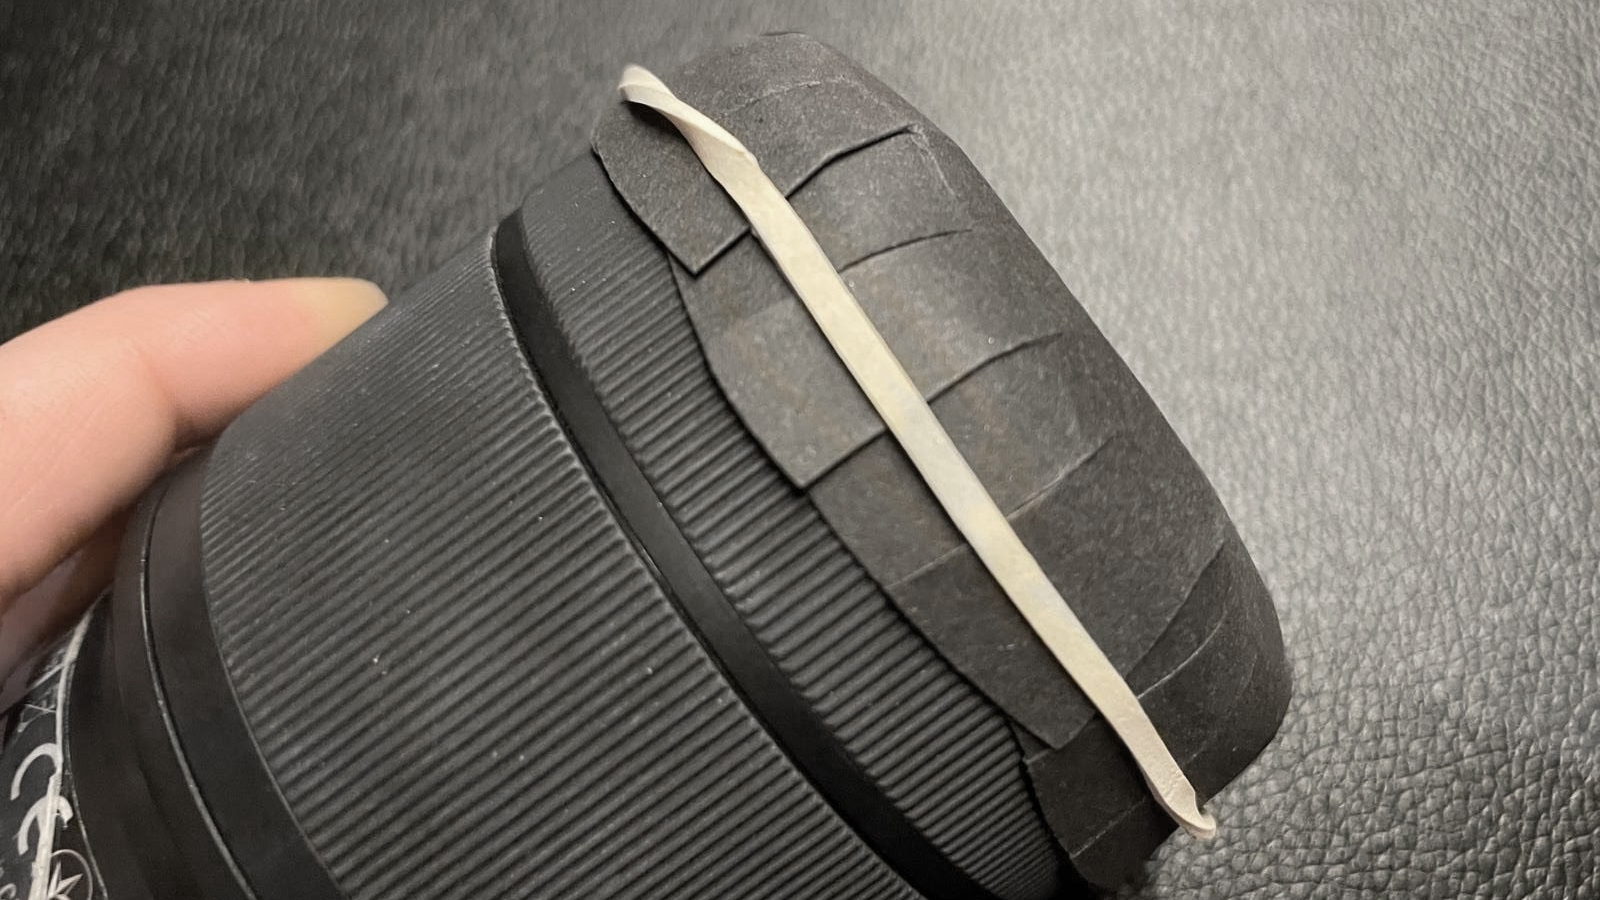
The tabs you made between the first and second circles will act like a cylinder cap, which you can now use to fit the disc over your lens. Make sure the heart symbol is the right way up, then use an elastic band to hold the template in place.
6. Adjust settings
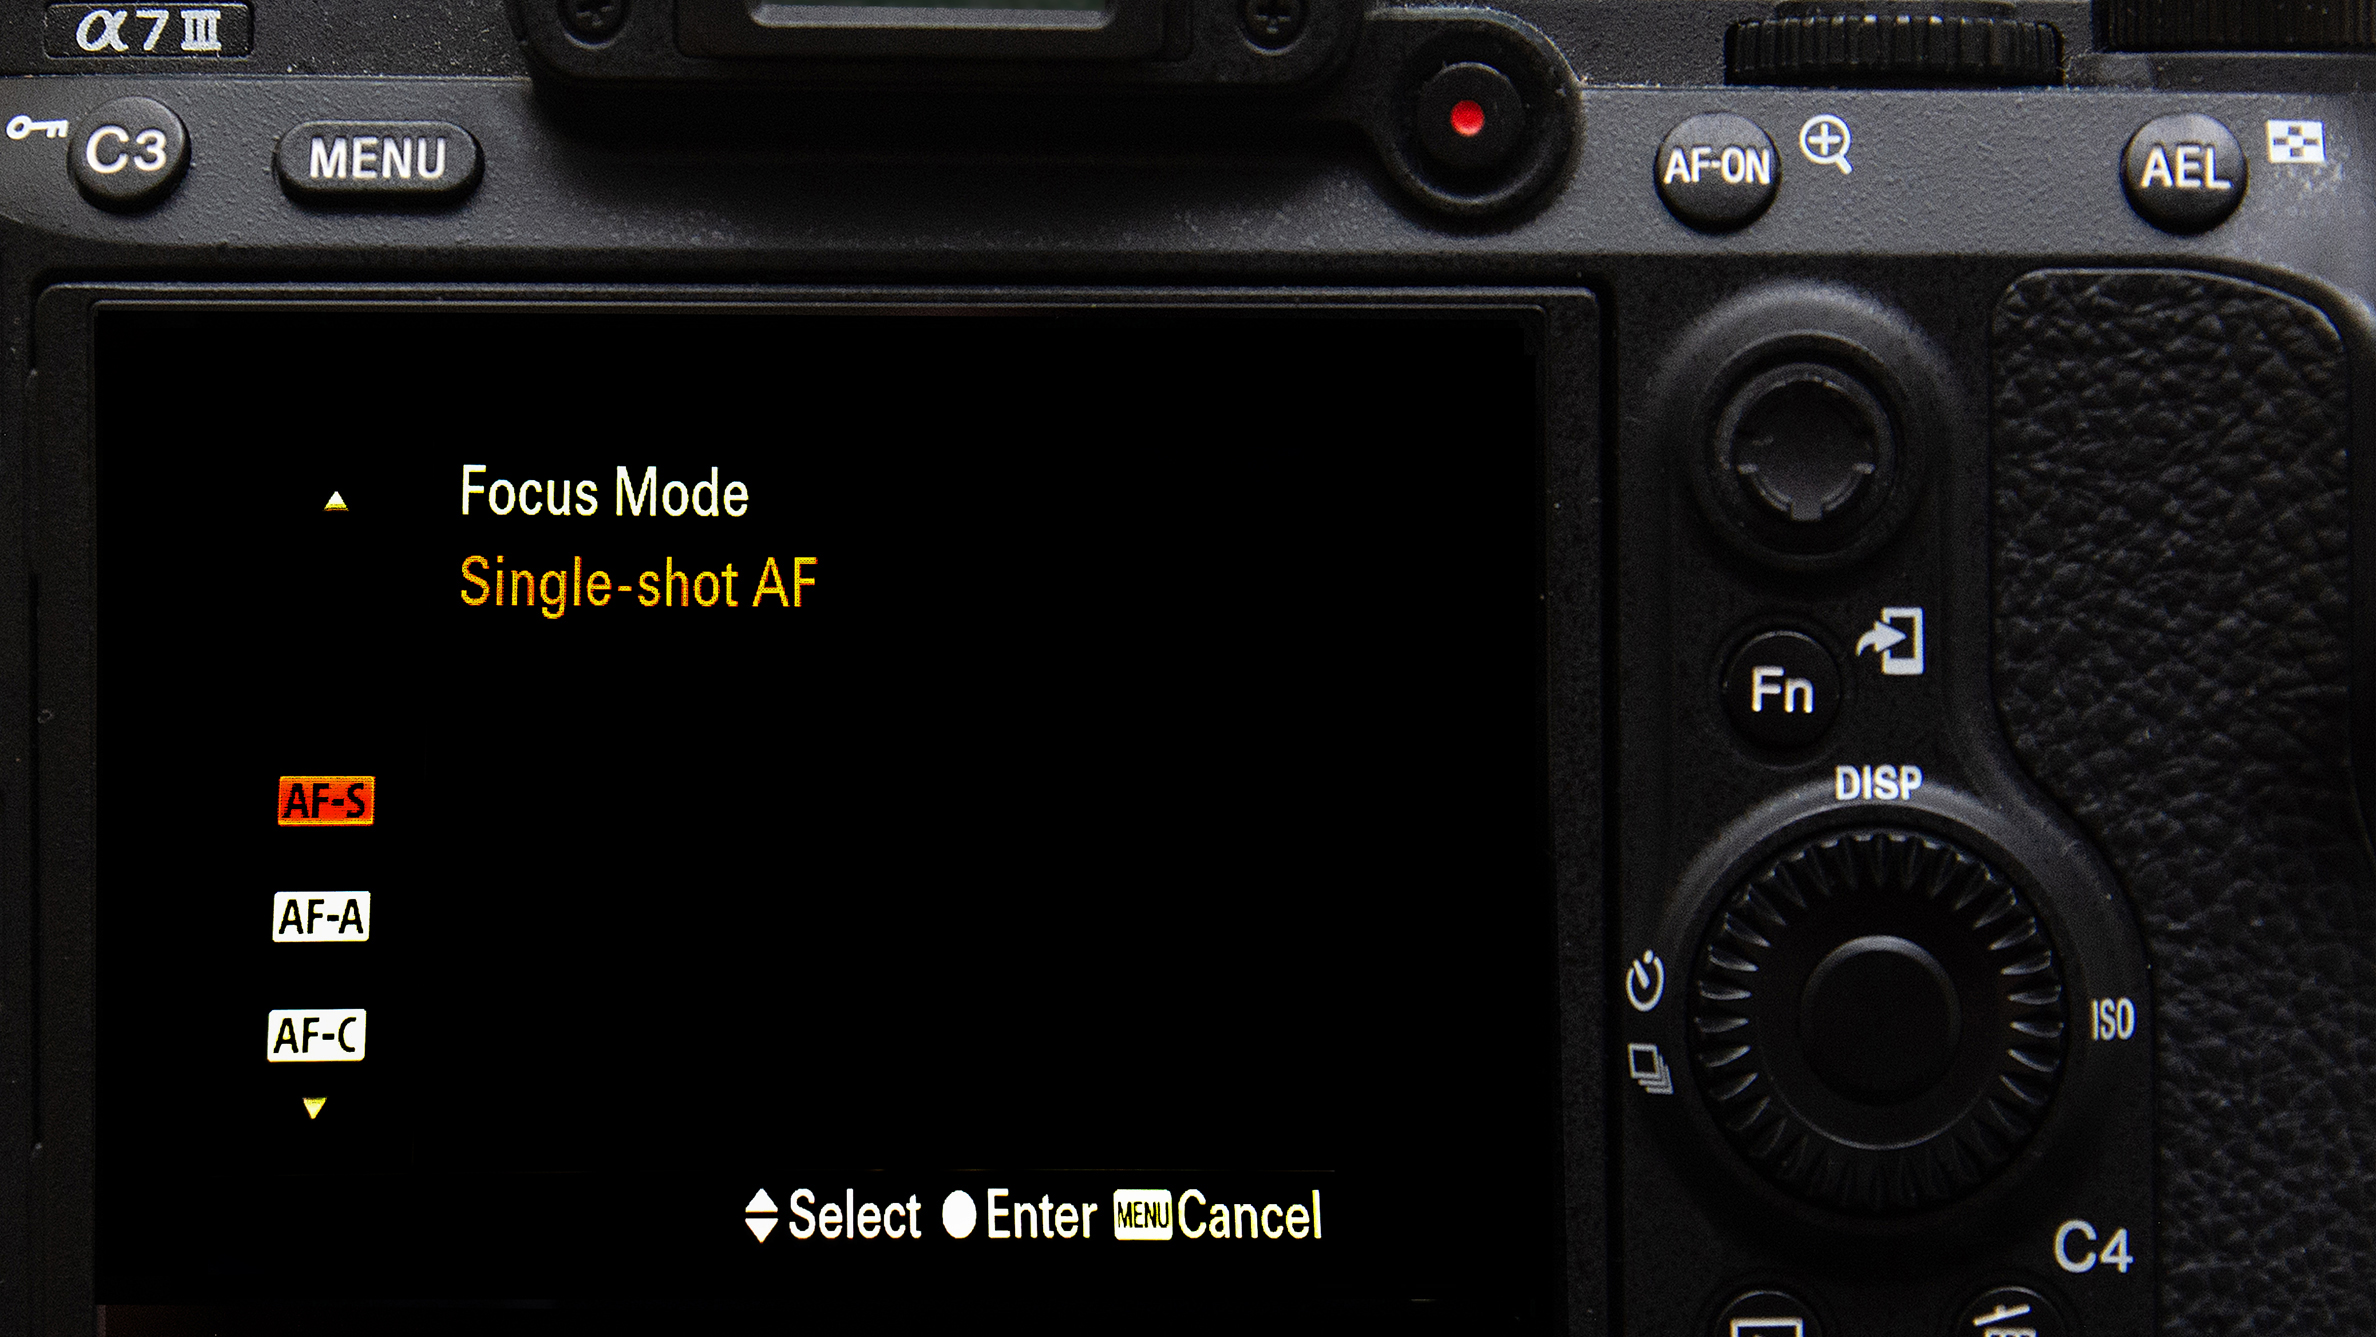
Select manual mode and prioritize shooting with wide apertures to maximize the bokeh effect with a shallow depth of field. Adapt your ISO settings and use single shot AF, as your focus ring might be covered by the disc. Zoom in completely to avoid a vignette effect.
Example

You might like...
Take a look at the best lenses for bokeh, along with the best Lensbaby and Lomography lenses for creative effect. If you are into creative photography, you might be interested in this tutorial about how long exposure flash photography can give you mind blowing results.