So, what are VDM brushes? The acronym stands for Vector Displacement Maps and is a feature that’s been part of ZBrush and Mudbox for a while, but has now found its way into Blender’s sculpting tools with Blender version 3.5. So before you start, make sure you’re using version Blender 3.5 or later. It simply won’t work in any earlier versions.
Our main steps explain the manual process for setting up a brush using a texture that you’ve downloaded. Sometimes brushes and associated textures will be contained within a downloaded Blender file. In that instance, all you need to do is Append the Blender file to your working file, making sure that you navigate into the Brushes folder when you’ve managed to locate the items you want to append.
Now you know what VDM stands for, you’d think we’d be ready to take a look at what they actually are, but we need to cover a different type of map first: the alpha mask. Alpha masks are black and white image files that increase or decrease the height of areas on a mesh along the normal of the face. These can take the form of traditional textures such as a brick-pattern texture on a building, but they can also be applied to sculpting brushes to transform the mesh.
These types of maps have been a mainstay in Blender sculpting for a while now, but they have the inherent problem of only being able to affect the mesh in a single direction. This is useless if you want to sculpt anything with more complexity, for example a horn, or a beard that could include overhangs.
This is where VDMs come in. These are RGB colour maps that represent data in 3D space. The colour gamut looks similar to a normal map, if you’re familiar with those, and enables sculptors to create much more complex models. These maps most commonly come in the EXR format because of its wide colour gamut and ability to contain complex colour data.
VDM brushes make the sculpting process quicker, simpler and much more powerful. Artists can either create their own or download them from other artists. There are an increasing number of VDM packs that contain incredibly complex displacement maps and allow for amazing models to be created with no more than the click of a few buttons.
Setting up Blender to be able to use VDMs involves a few different steps that we’ll cover in answer to the question. We’ll also take a look at how to import packs of brushes contained within downloadable Blender file packs.
Step-by-step tutorial: using a VDM brush
Below I take you through a basic workflow of using VDM brushes in Blender. If you'd like to read more on how to use this software, visit our Blender tutorials guide. If you're new to 3D modelling, read our best drawing tablets and best laptops for 3D modelling guides for advice on what you need.
01. Getting setup for sculpting
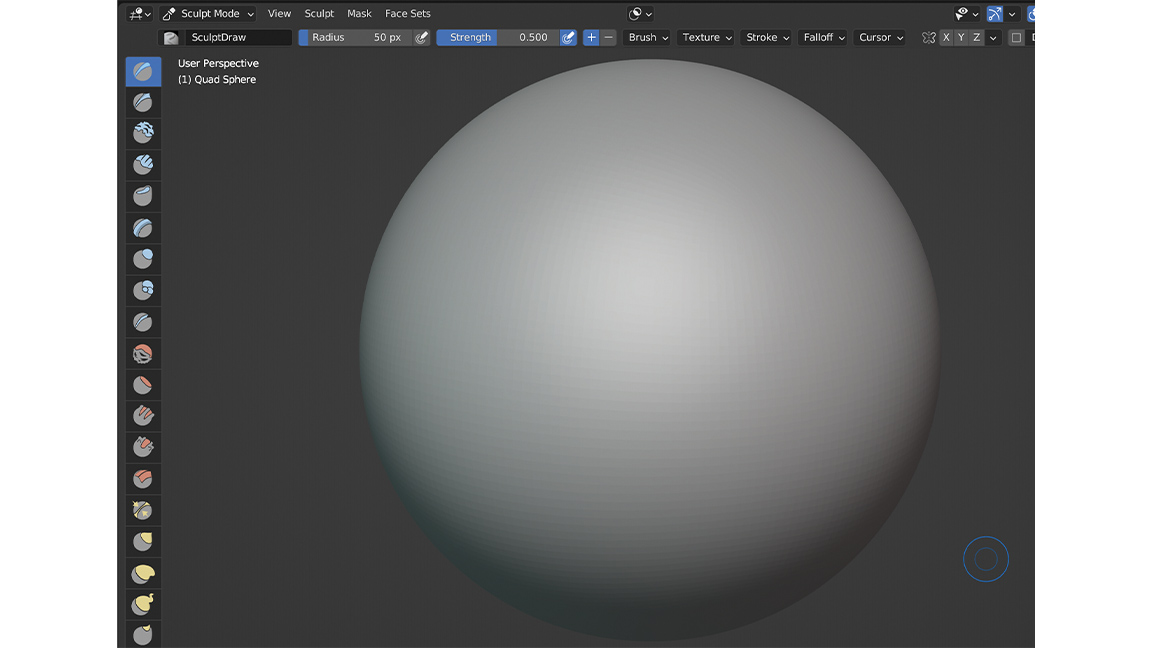
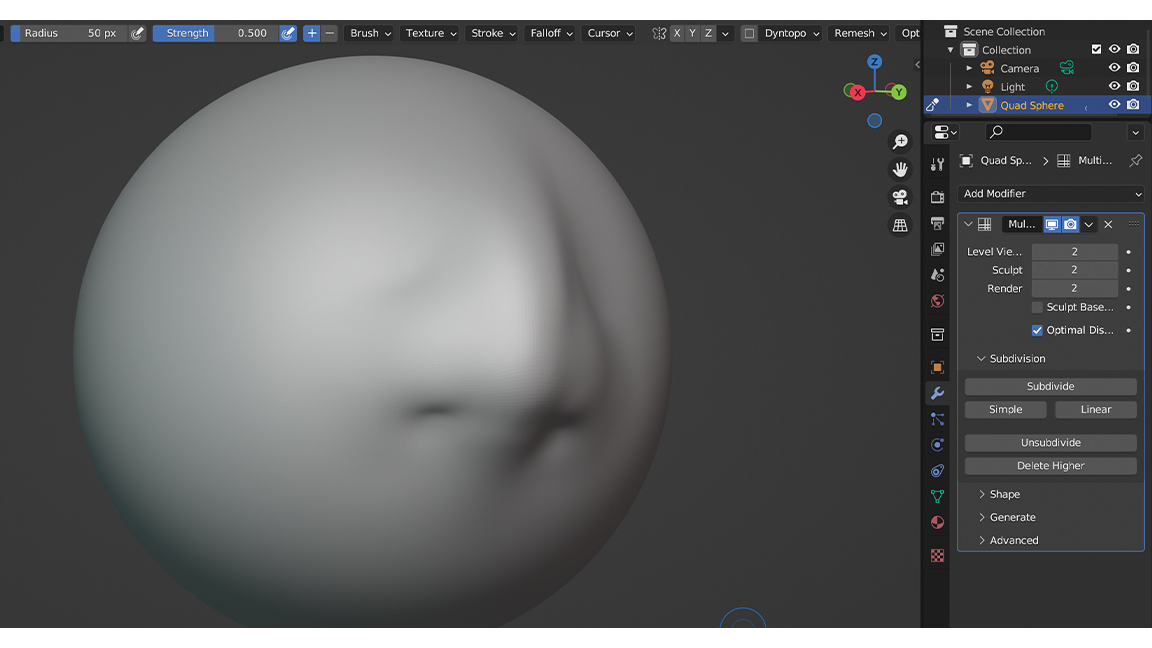
To begin, open up Blender and create a new Sculpting file. This will take you straight into the Sculpting mode and give you a sphere to work from. It’s also possible to start from scratch by creating a UV sphere, right-clicking on it and selecting Shade Smooth, before choosing Sculpting mode at the top of the interface. You may also want to add some sort of smoothing modifier to the sphere, such as a Multiresolution modifier.
02. Adding your VDM
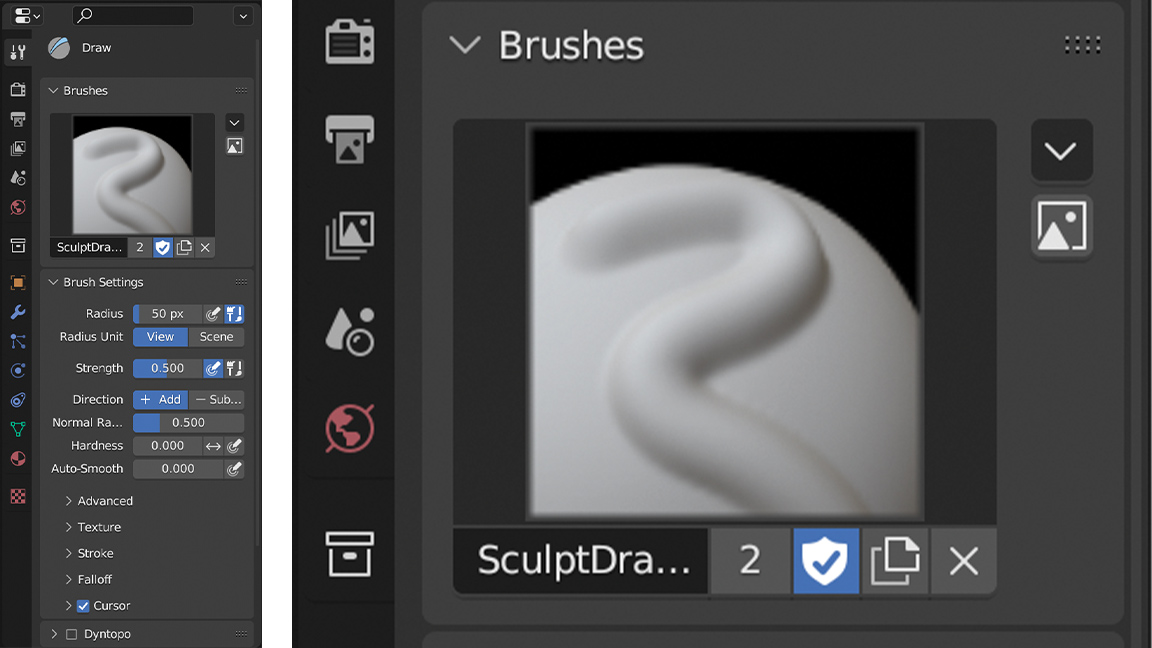
Download a VDM from a source such as ArtStation. You can find them from an increasing number of sources and a lot of them are either reasonably priced or available for free. Now go to the Active Tool Settings panel and click the Add Brush button, then scroll down to Texture and select New. Click on the ‘Show Texture in Texture Tab’ button followed by Open, navigate to your VDM file, which is usually an EXR file, and double-click it.
03. Adding your texture settings

There are a few essential settings to change before the map will displace the mesh correctly. Go back to the Texture settings inside your Brush settings and change the Mapping type to Area Plane, then tick Vector Displacement. And finally, under the Stroke rollout make sure that your Stroke Method is set to Anchored. You might also want to make sure that the Strength of your brush is set to 1, although this isn’t essential.
04. Using the VDM brush
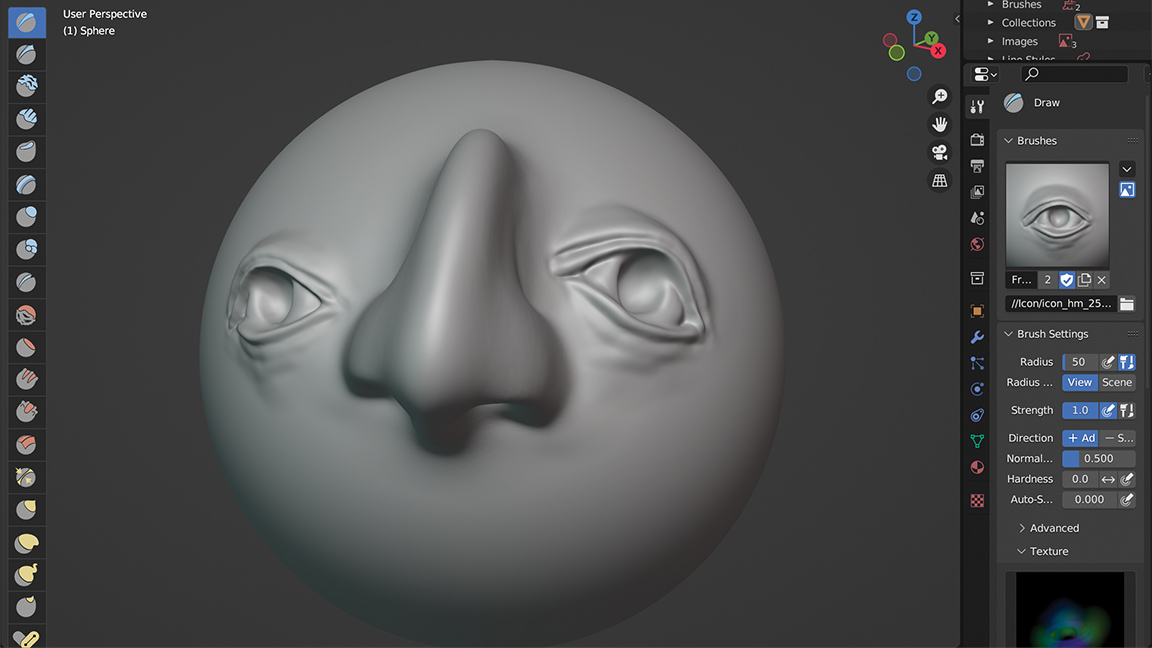
Having completed the previous steps, make sure that you’re using the Draw Brush mode before you begin sculpting. To have this VDM brush apply to your sphere, you simply left-click and drag on the mesh, and the more you drag across, the bigger the item will get. You can also rotate the item by rotating the cursor around the origin point before you release the mouse button. Now it’s time to experiment and have some fun!
This content originally appeared in 3D World magazine. Subscribe to 3D World at Magazines Direct.