With Illustrator's Text-to-Vector tool, even a complete beginner can conjure up a fantastical illustration in minutes, generating intricate vector graphics from even the most basic of text prompts. As a professional, you might want to use these to generate ideas, or to provide a rough mockup of your idea to clients before working on the real thing.
It's unlikely any pro would want to use the final output, but it works well for the purpose of ideation – and makes Illustrator more accessible for non-professional design hobbyists. It’s fun to experiment with and fully editable once created.
Here we run through exactly how to use text-to-vector with a step-by-step guide.
See our Adobe Illustrator review, and check out the other graphic design software available to you.
How to use Illustrator's text-to-vector tool
01. Open the window

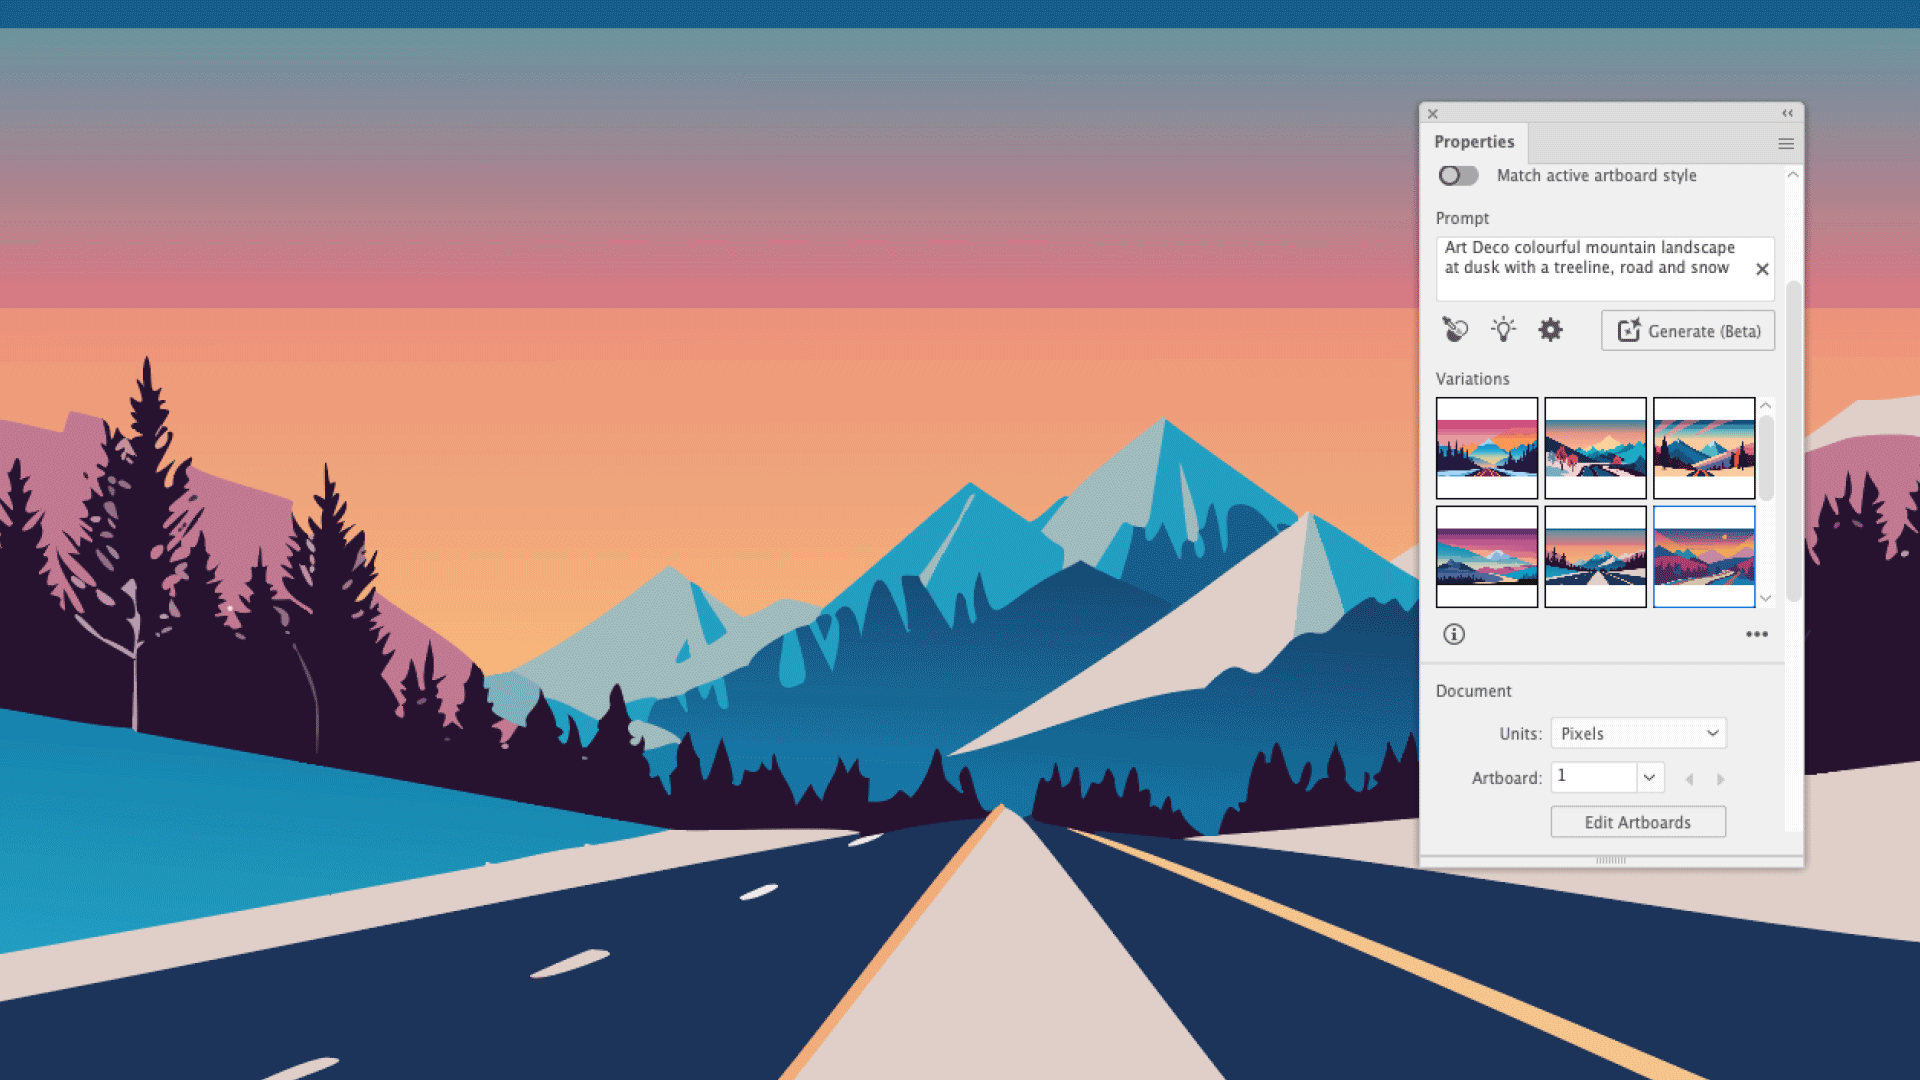
Text to Vector Graphic is still in beta and not immediately available in the Illustrator interface, but can be accessed via the Properties panel, Window > Text to Vector Graphic. Alternatively, activate the Contextual Bar in Window > Contextual Bar. This will remain switched on indefinitely and appears beneath any object or frame selected. Initiate the process by drawing a frame. Since you’ll end up with a scalable vector graphic, size isn’t too important, but it's worth keeping the aspect ratio in mind, for example drawing a square for Instagram post or 16:9 for video.
02. Select the type of object
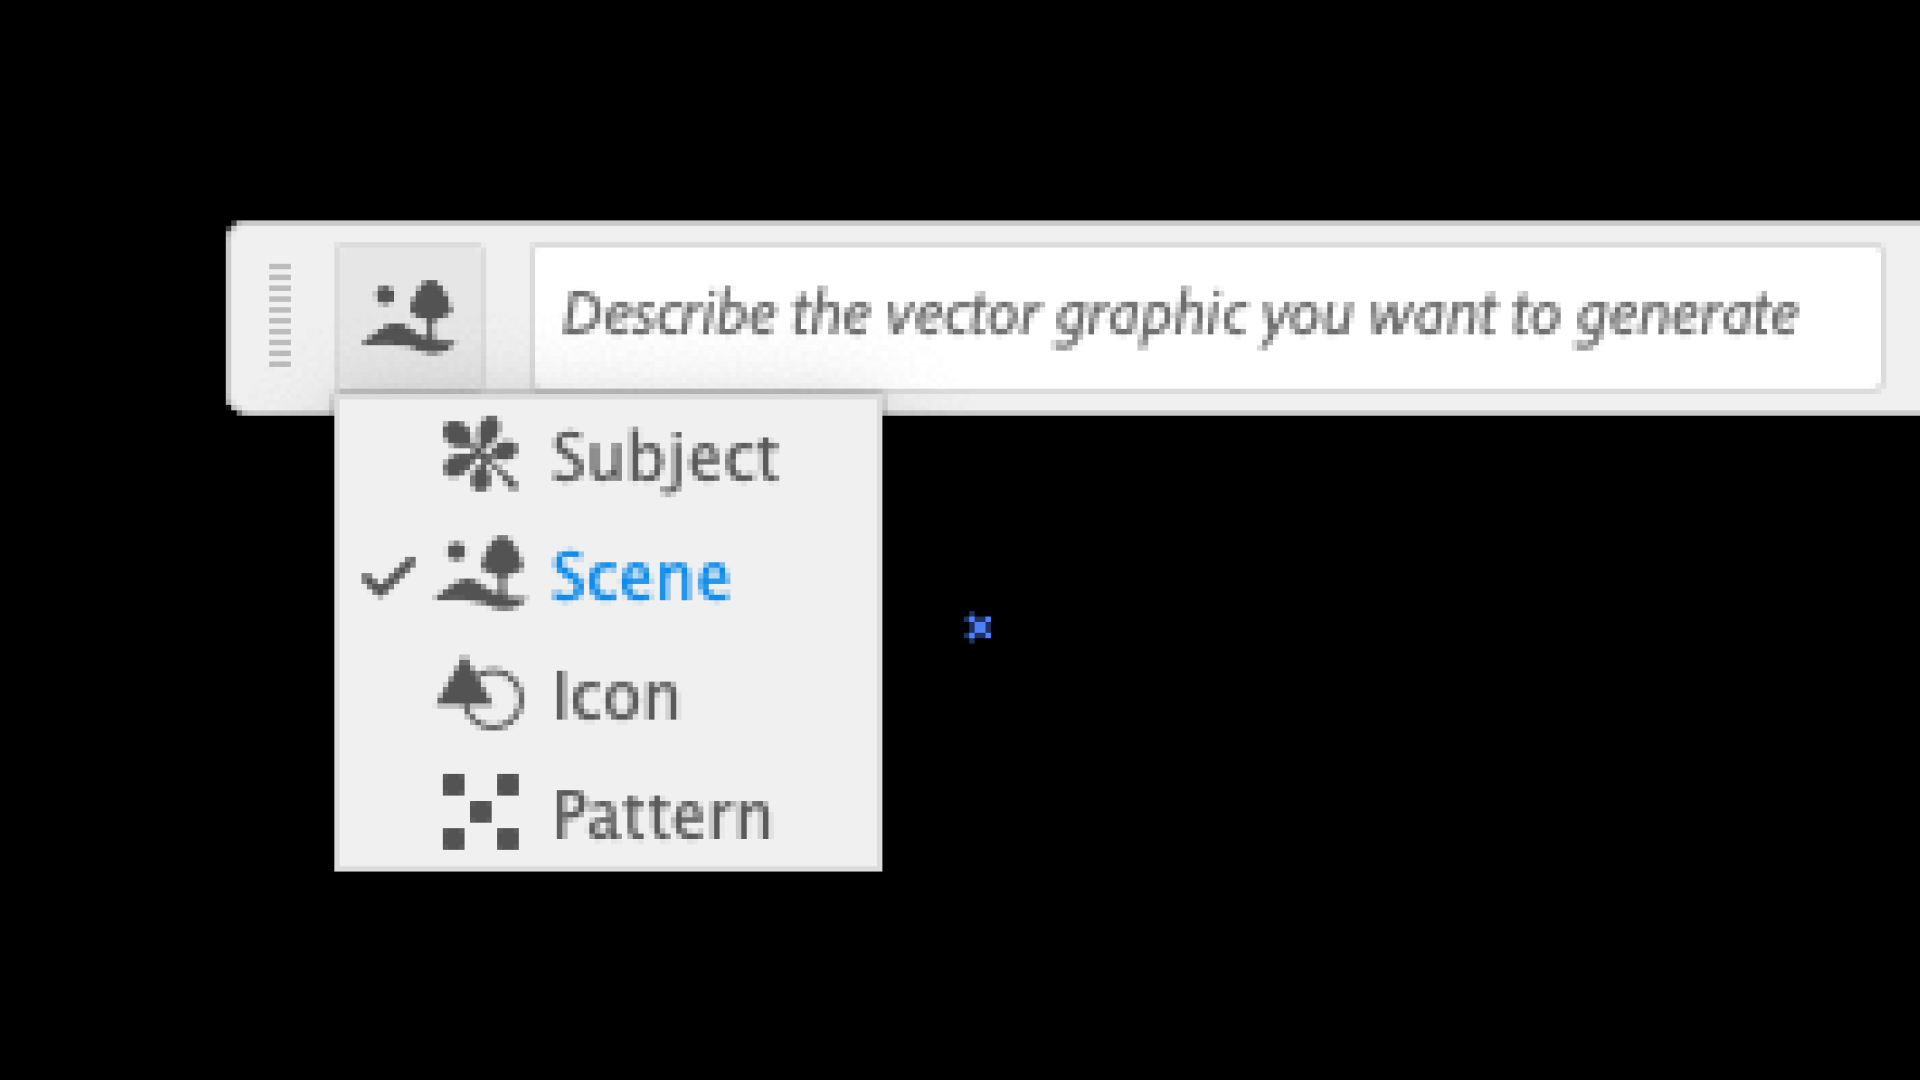
If you’re using the Contextual bar, press the Generate (beta) button to open the options (this isn’t needed in the Properties panel). Select the item you wish to create – Scene, Subject, Icon or Pattern. For an illustration, it can be better to start with Scene, so you have an idea of the space and perspective available.
03. Type in text prompts
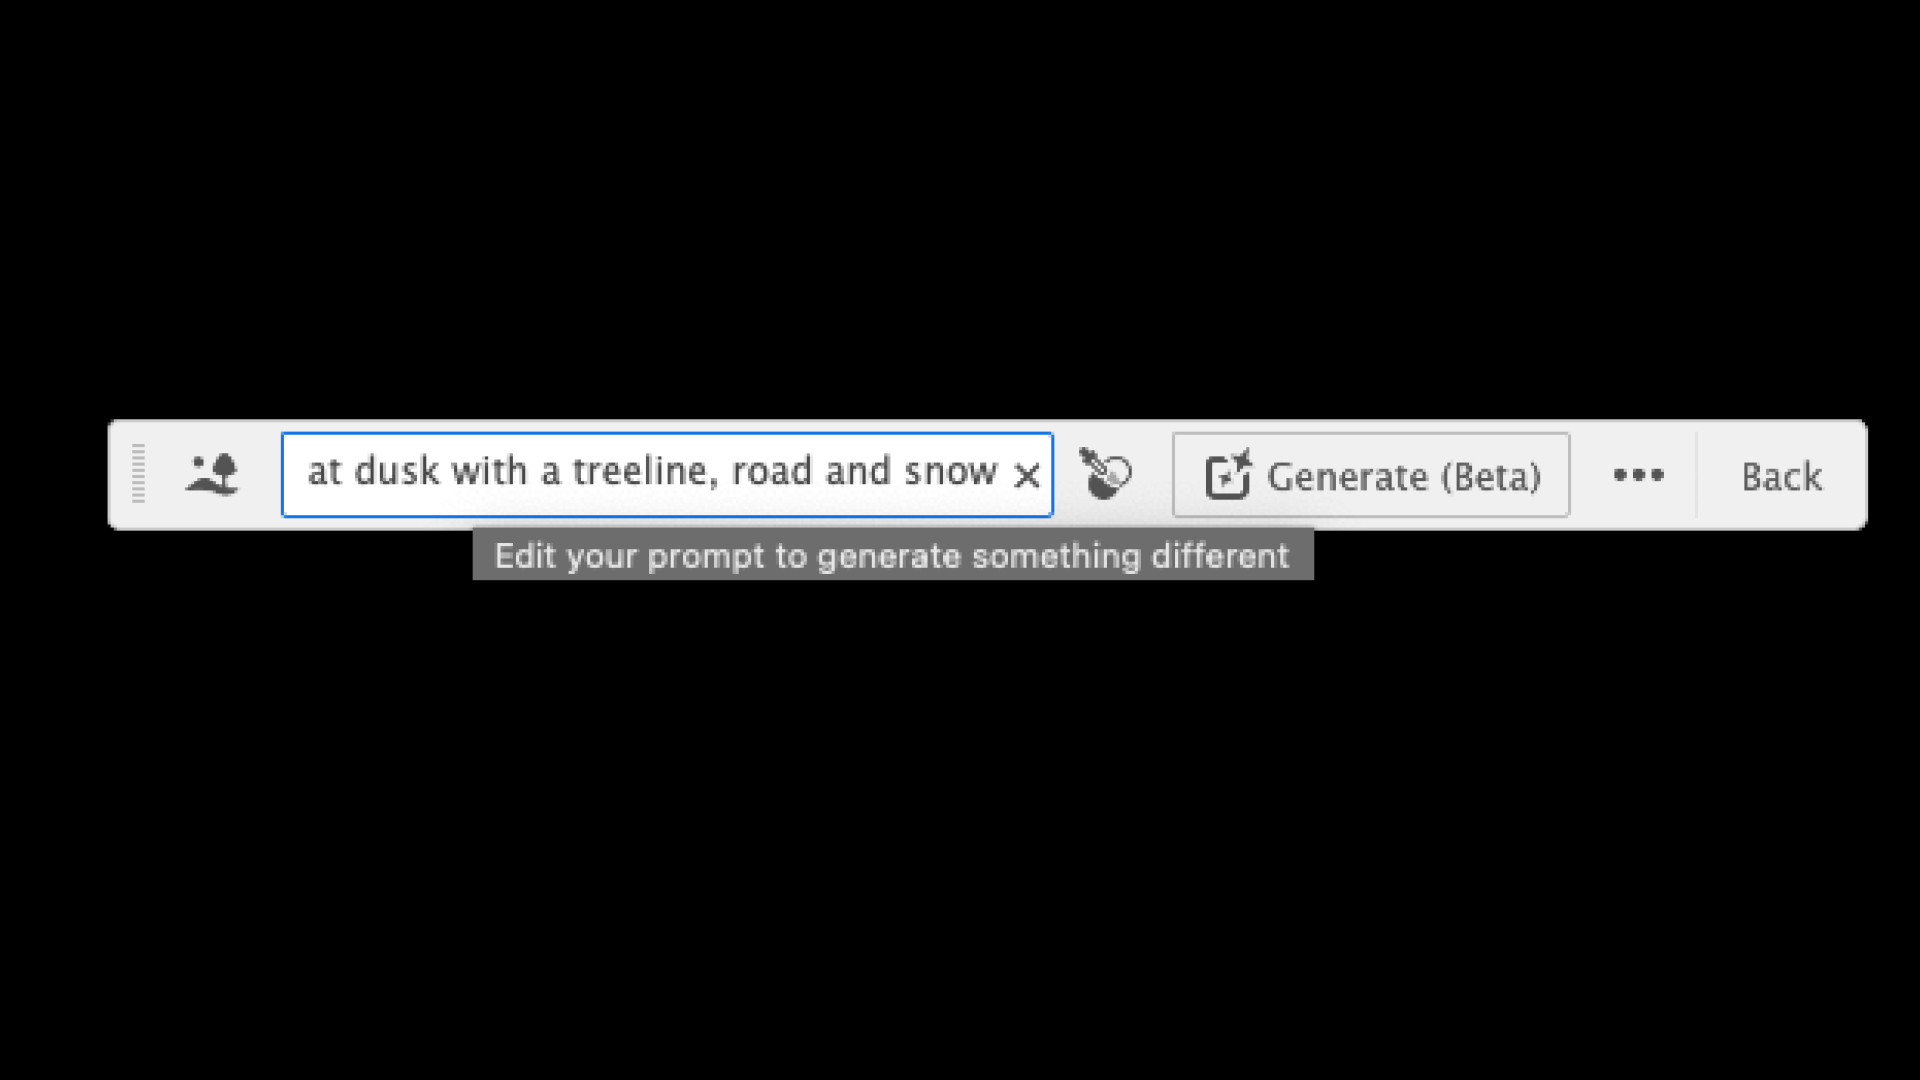
Add as many text prompts as you like – the more information provided, the better the graphic (though you don't want to add too many and confuse it). Consider the setting, style, time of day and detail. An example prompt would be “Art Deco colourful mountain landscape at dusk with a treeline, road and snow.” If you wish to adopt the style of a pre-existing artwork, then you can drop it onto the Canvas and reference it with the Style Picker tool. The Properties panel also gives you some extra sample prompts and a slider to change the level of detail (set at 3/5 as default).
04. Review the results
Any time you press the Generate button, you will be presented with three new, unique results. Cycle through these using the arrows in the Contextual bar or by previewing the thumbnails in the Properties panel. It’s still common enough to encounter erroneous results that clearly lack the human touch, so don’t forget to rate your results, the tool will only improve with constant feedback.
If none of the results meet your requirements, simply press the generate button again to get three new graphics or make edits to your current text prompts to refine the generation parameters. Every time you press Generate, you lose some credits from your Adobe account. Don’t worry about running out, you'll still be able to use AI tools, but they will work at a slower rate.
05. Build your scene

Add to your scene by including objects or characters. Any content created will automatically conform to the style of the active artboard, though you can switch this option off in the properties panel. Finding enough elements that suit the perspective of your scene can be a process of trial and error, so be patient and don’t be afraid of adapting your vision.
06. Clean up your graphic

If you’re only using this tool as a rough storyboard then you might be done at this point. However some of the vectors can still be rough, so this is the time to go in and clean up the details. Often an element may come with a false shadow that needs deleting or imprecise shapes that need smoothing or replacing.
For more, see the raft of other Illustrator tutorials we've collated. But if you haven't yet got Adobe Creative Cloud, see the deals we've found below.