My club building journey started as an impatient junior golfer, who simply couldn’t be bothered to wait until my local pro shop had the time or inclination to indulge my latest brain wave around how to make my equipment work, or even just look better! After many disasters and failed experiments as a youth, I began to formalise my interest and expertise whilst undertaking my PGA qualification. I learned the basic procedures of re-gripping, re-shafting and more importantly, how to do these things safely.
As time progressed, I went on to work in one of Europe’s busiest and most comprehensive fitting and building facilities, before eventually setting up a small build shop of my own. Nowadays, my club work is limited to my own equipment and some clients I have worked with for a number of years, and is done entirely out of my garage.
In this article, I’m going to give you an overview of some of the basic equipment you would need to be able to start doing your own club maintenance and repair work from your own garage.
Work bench
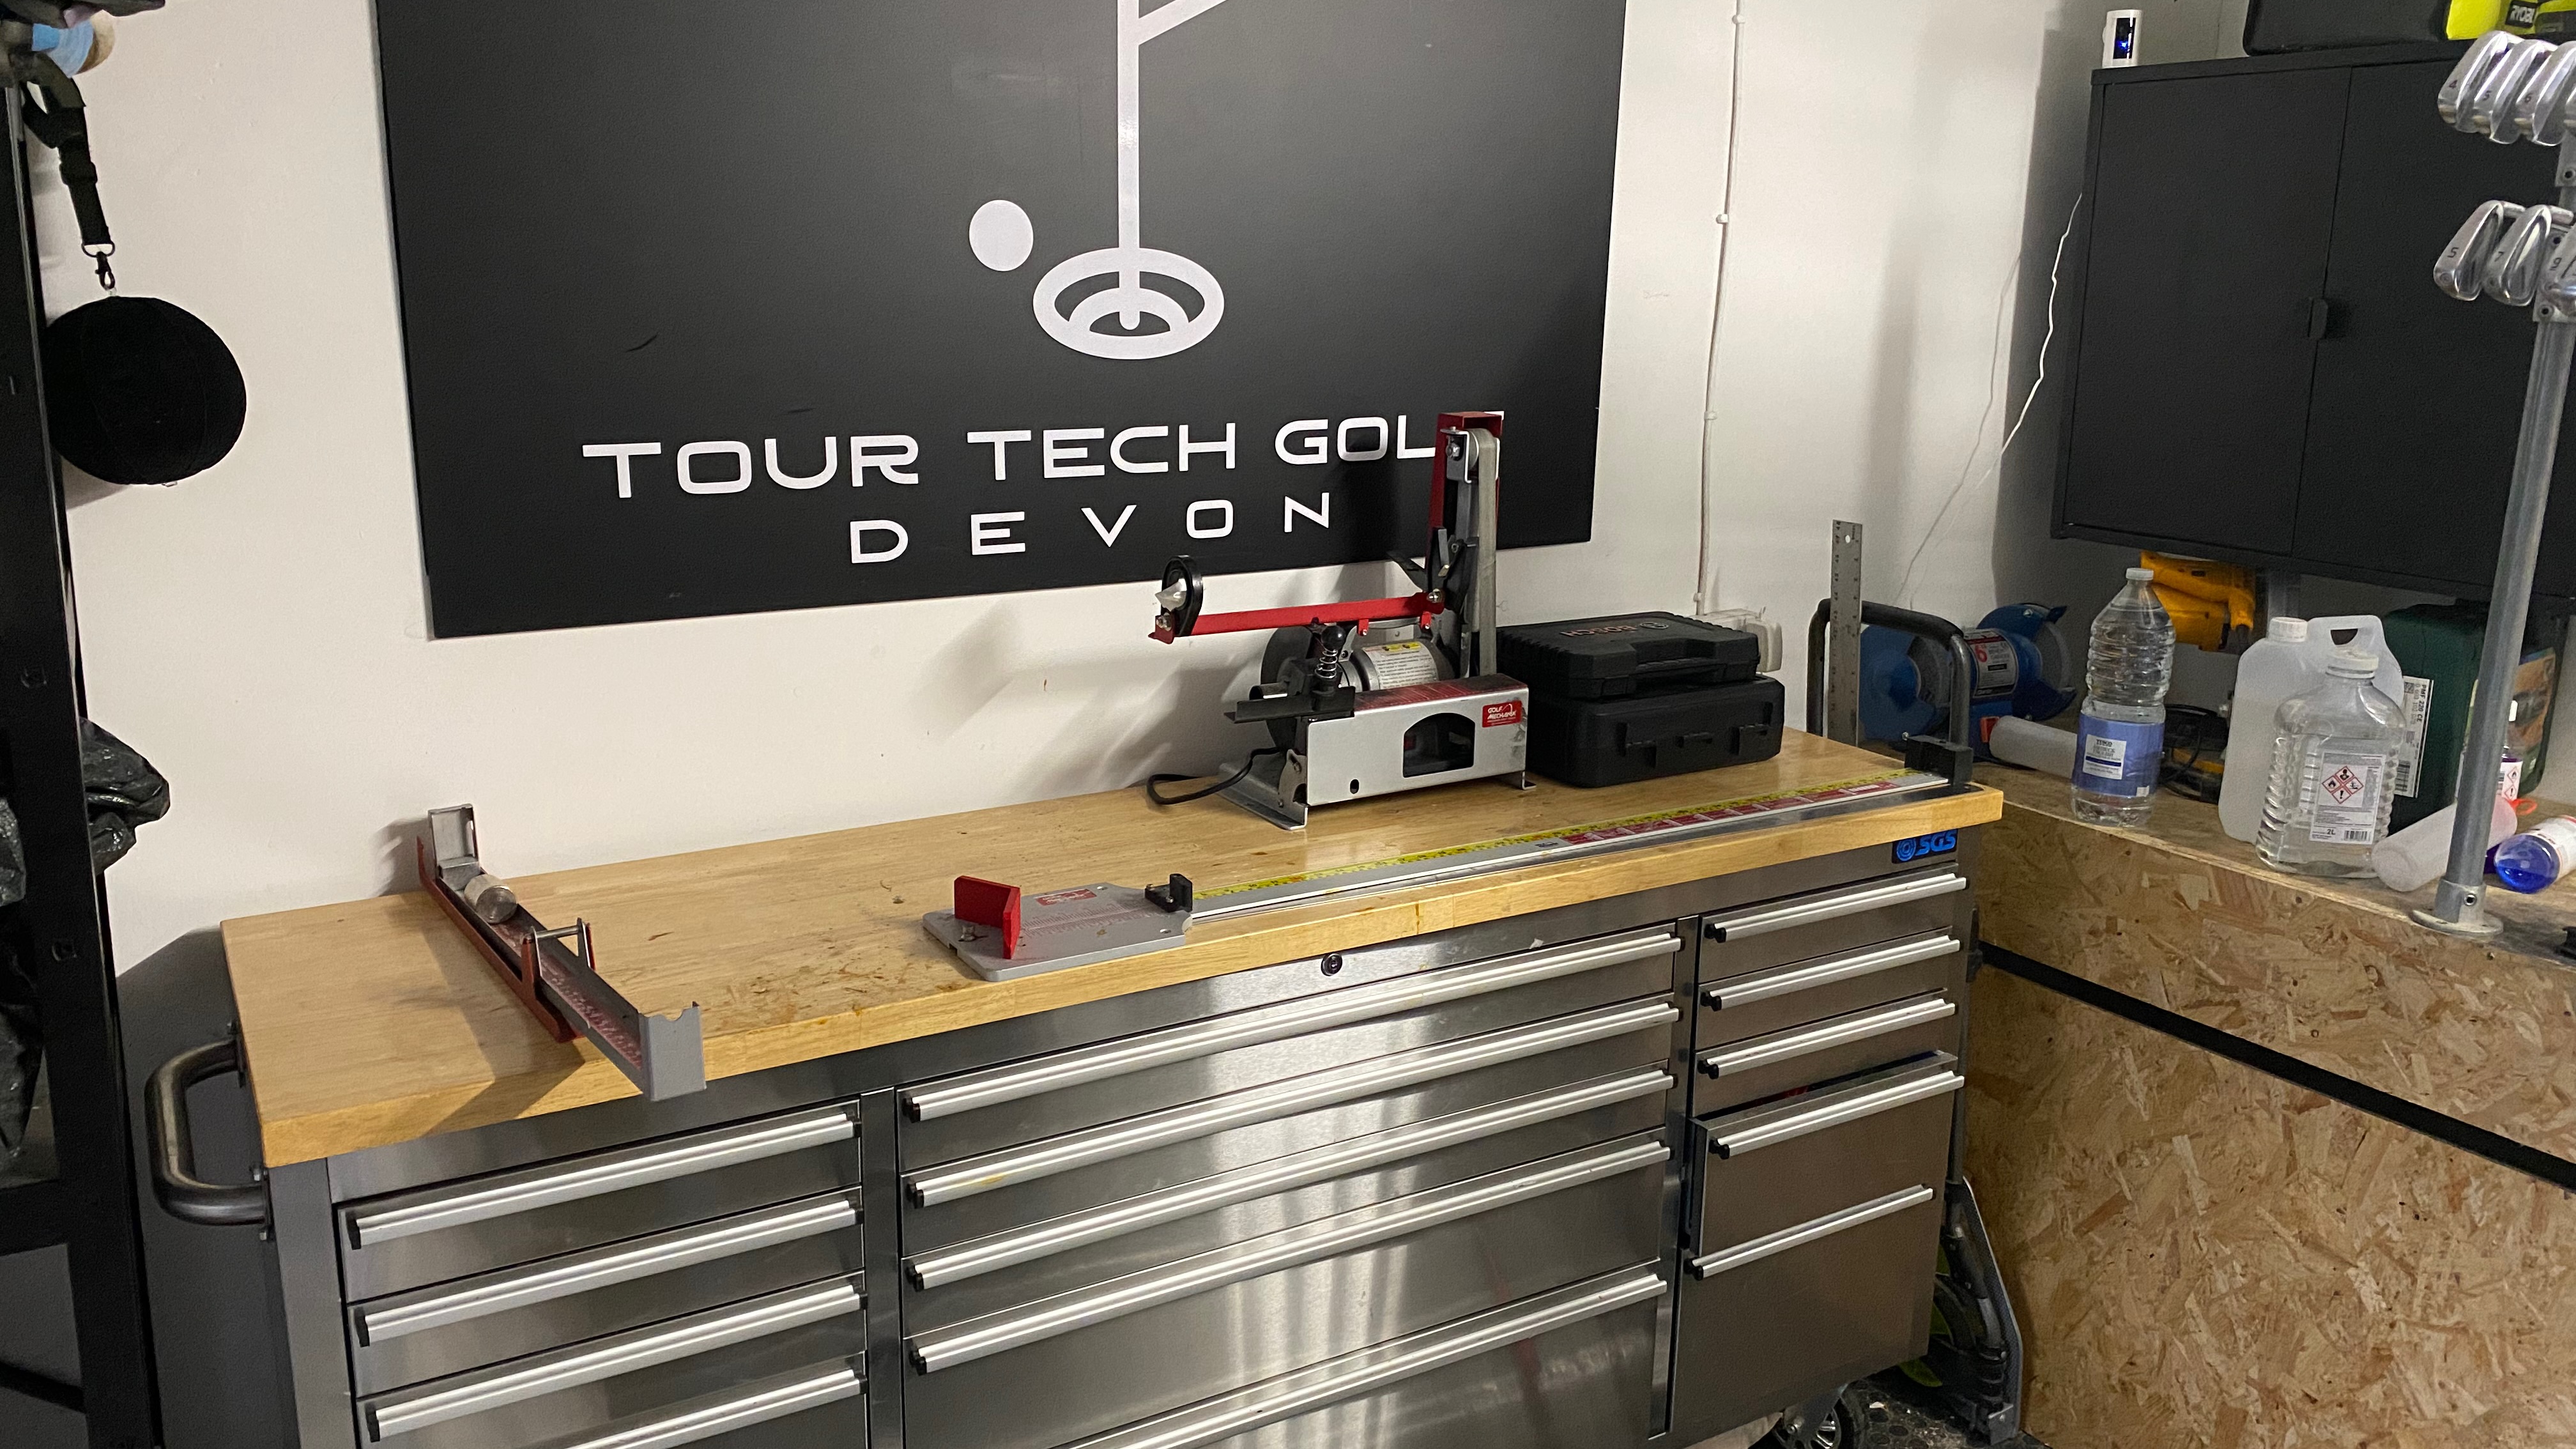
This is one of the most crucial pieces of equipment when it comes to working on golf clubs. You will need a smooth, clean, stable and large enough work surface to be able to accommodate multiple clubs, and even to fix other equipment (that I will mention later in the article) safely and securely to. There are not many jobs that you will do that don’t involve a work surface in some way, so make sure you have something up to the job.
Due to space restrictions, I have combined my work surface with storage drawers for some of the other smaller bits and pieces which works really well for me as I don't have to move too far to find components or tools I need!
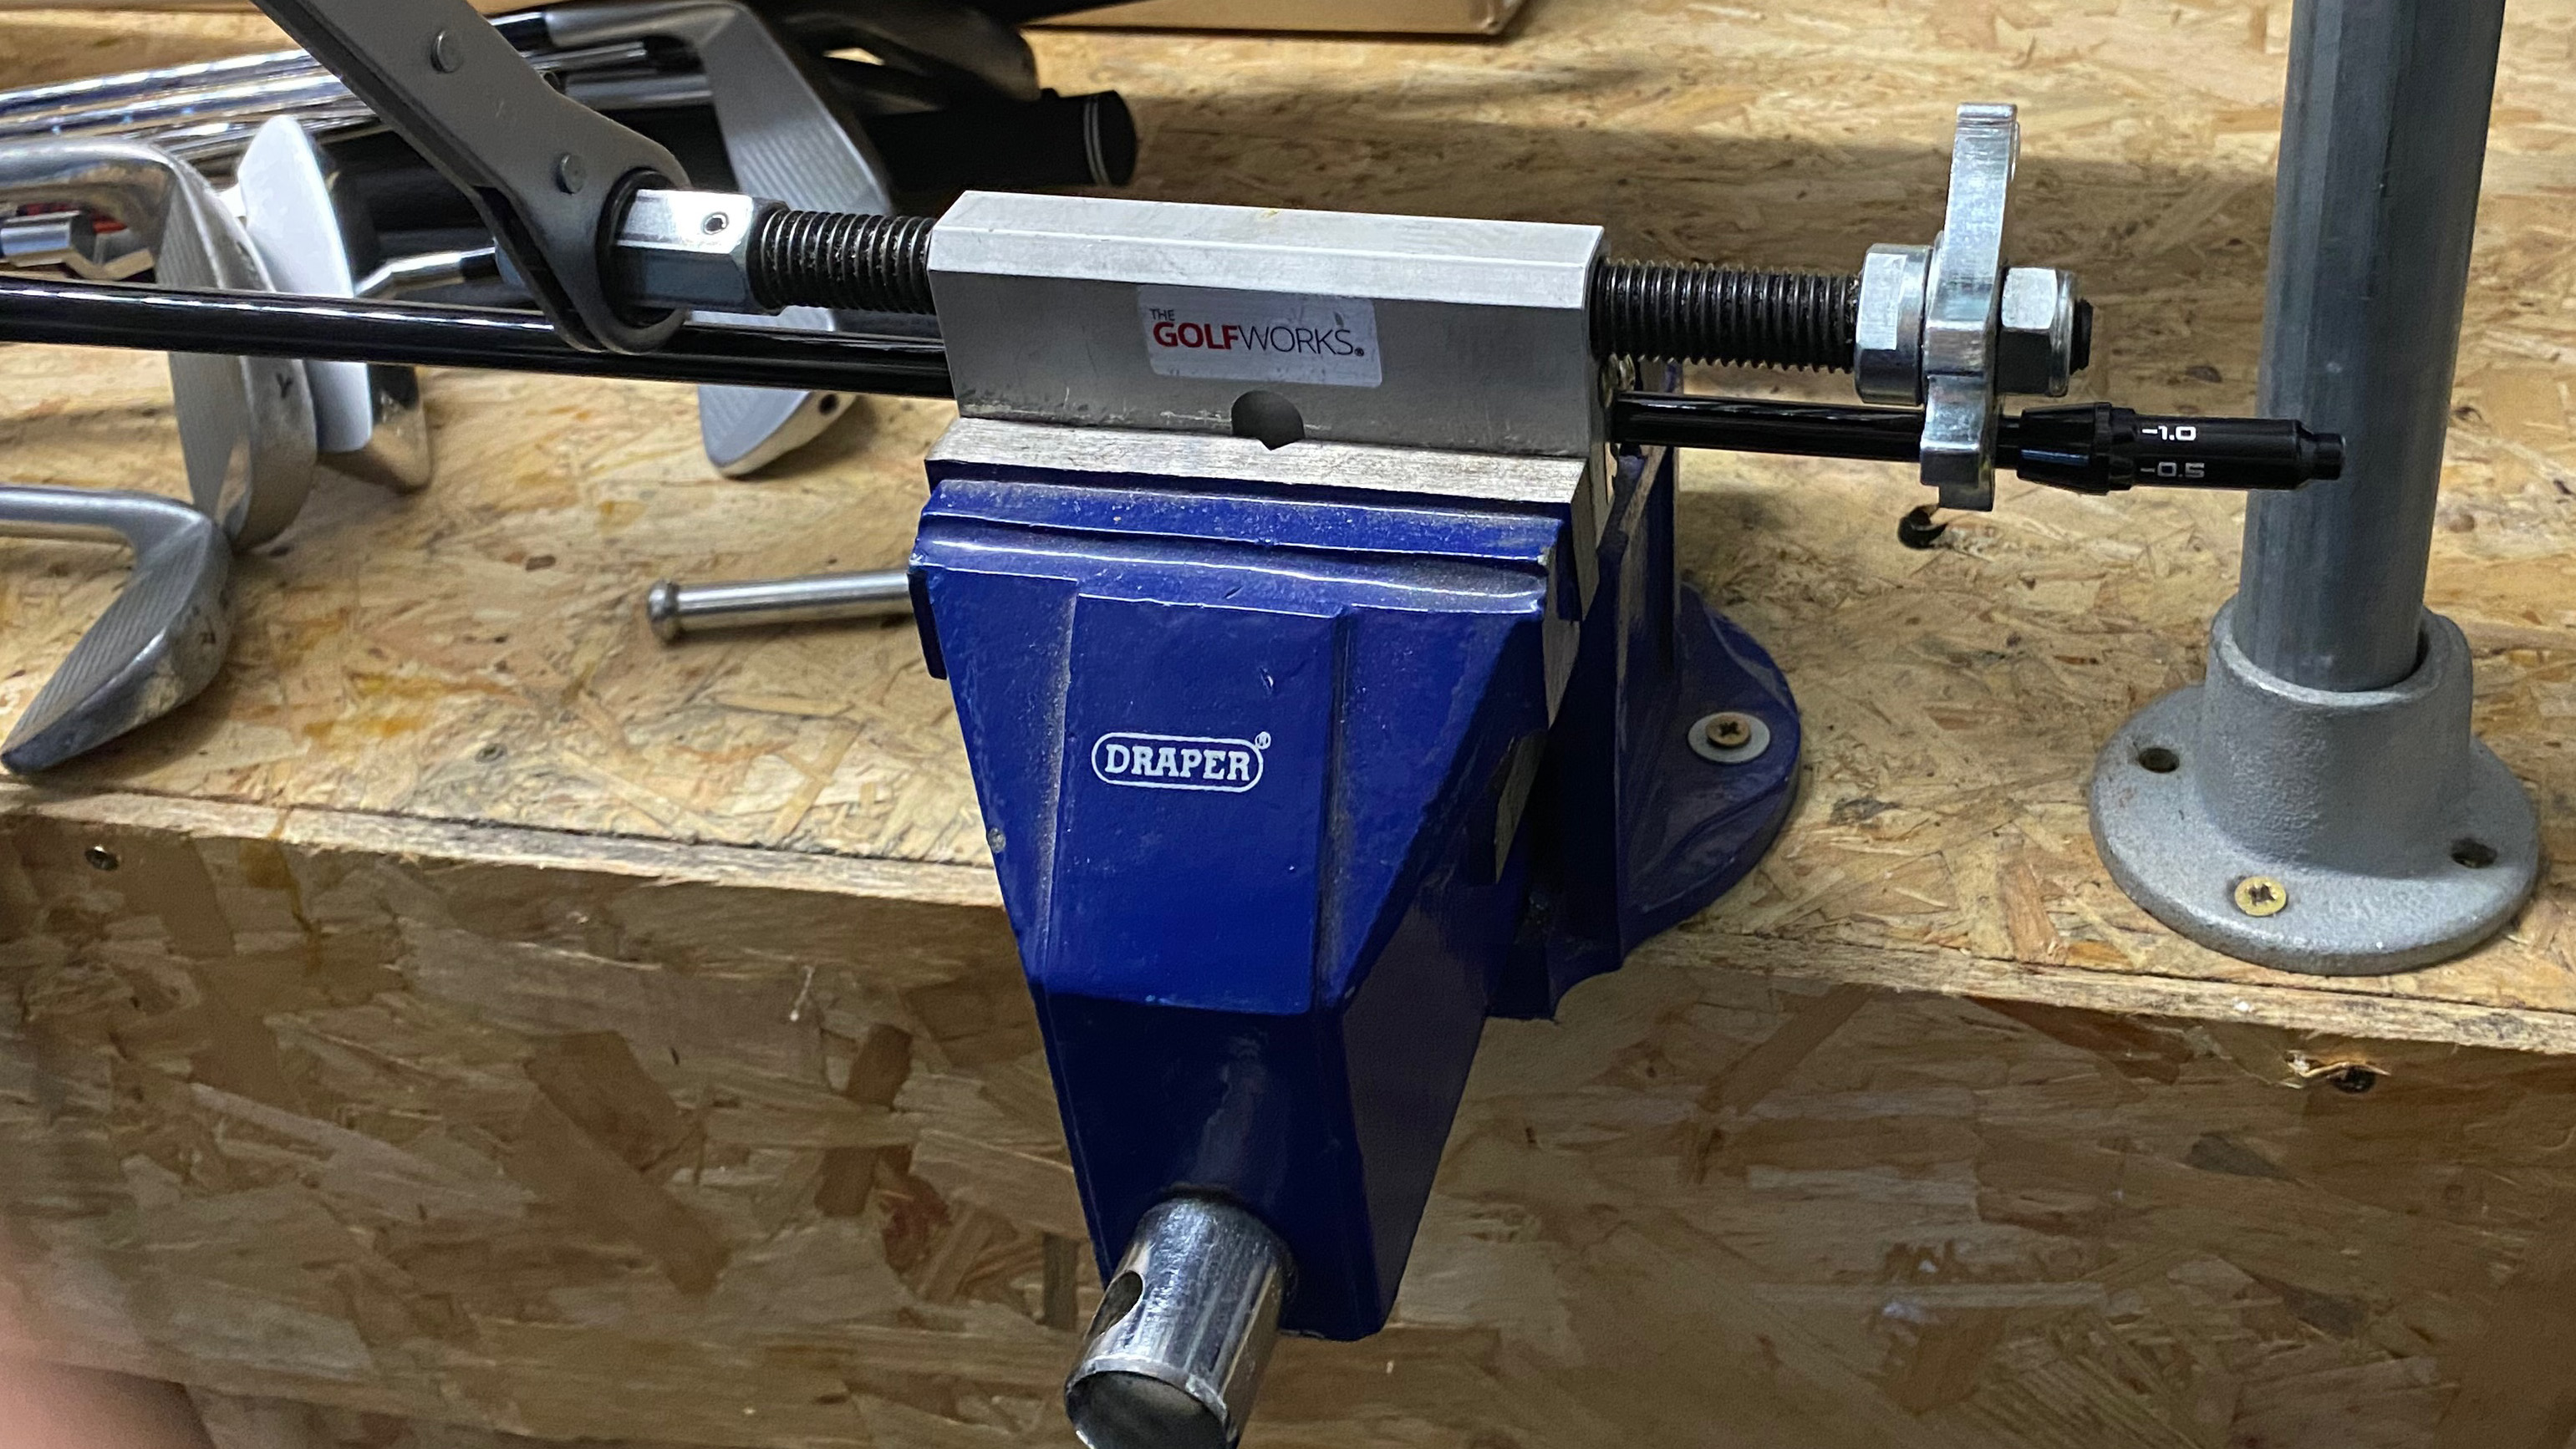
Bench Vice
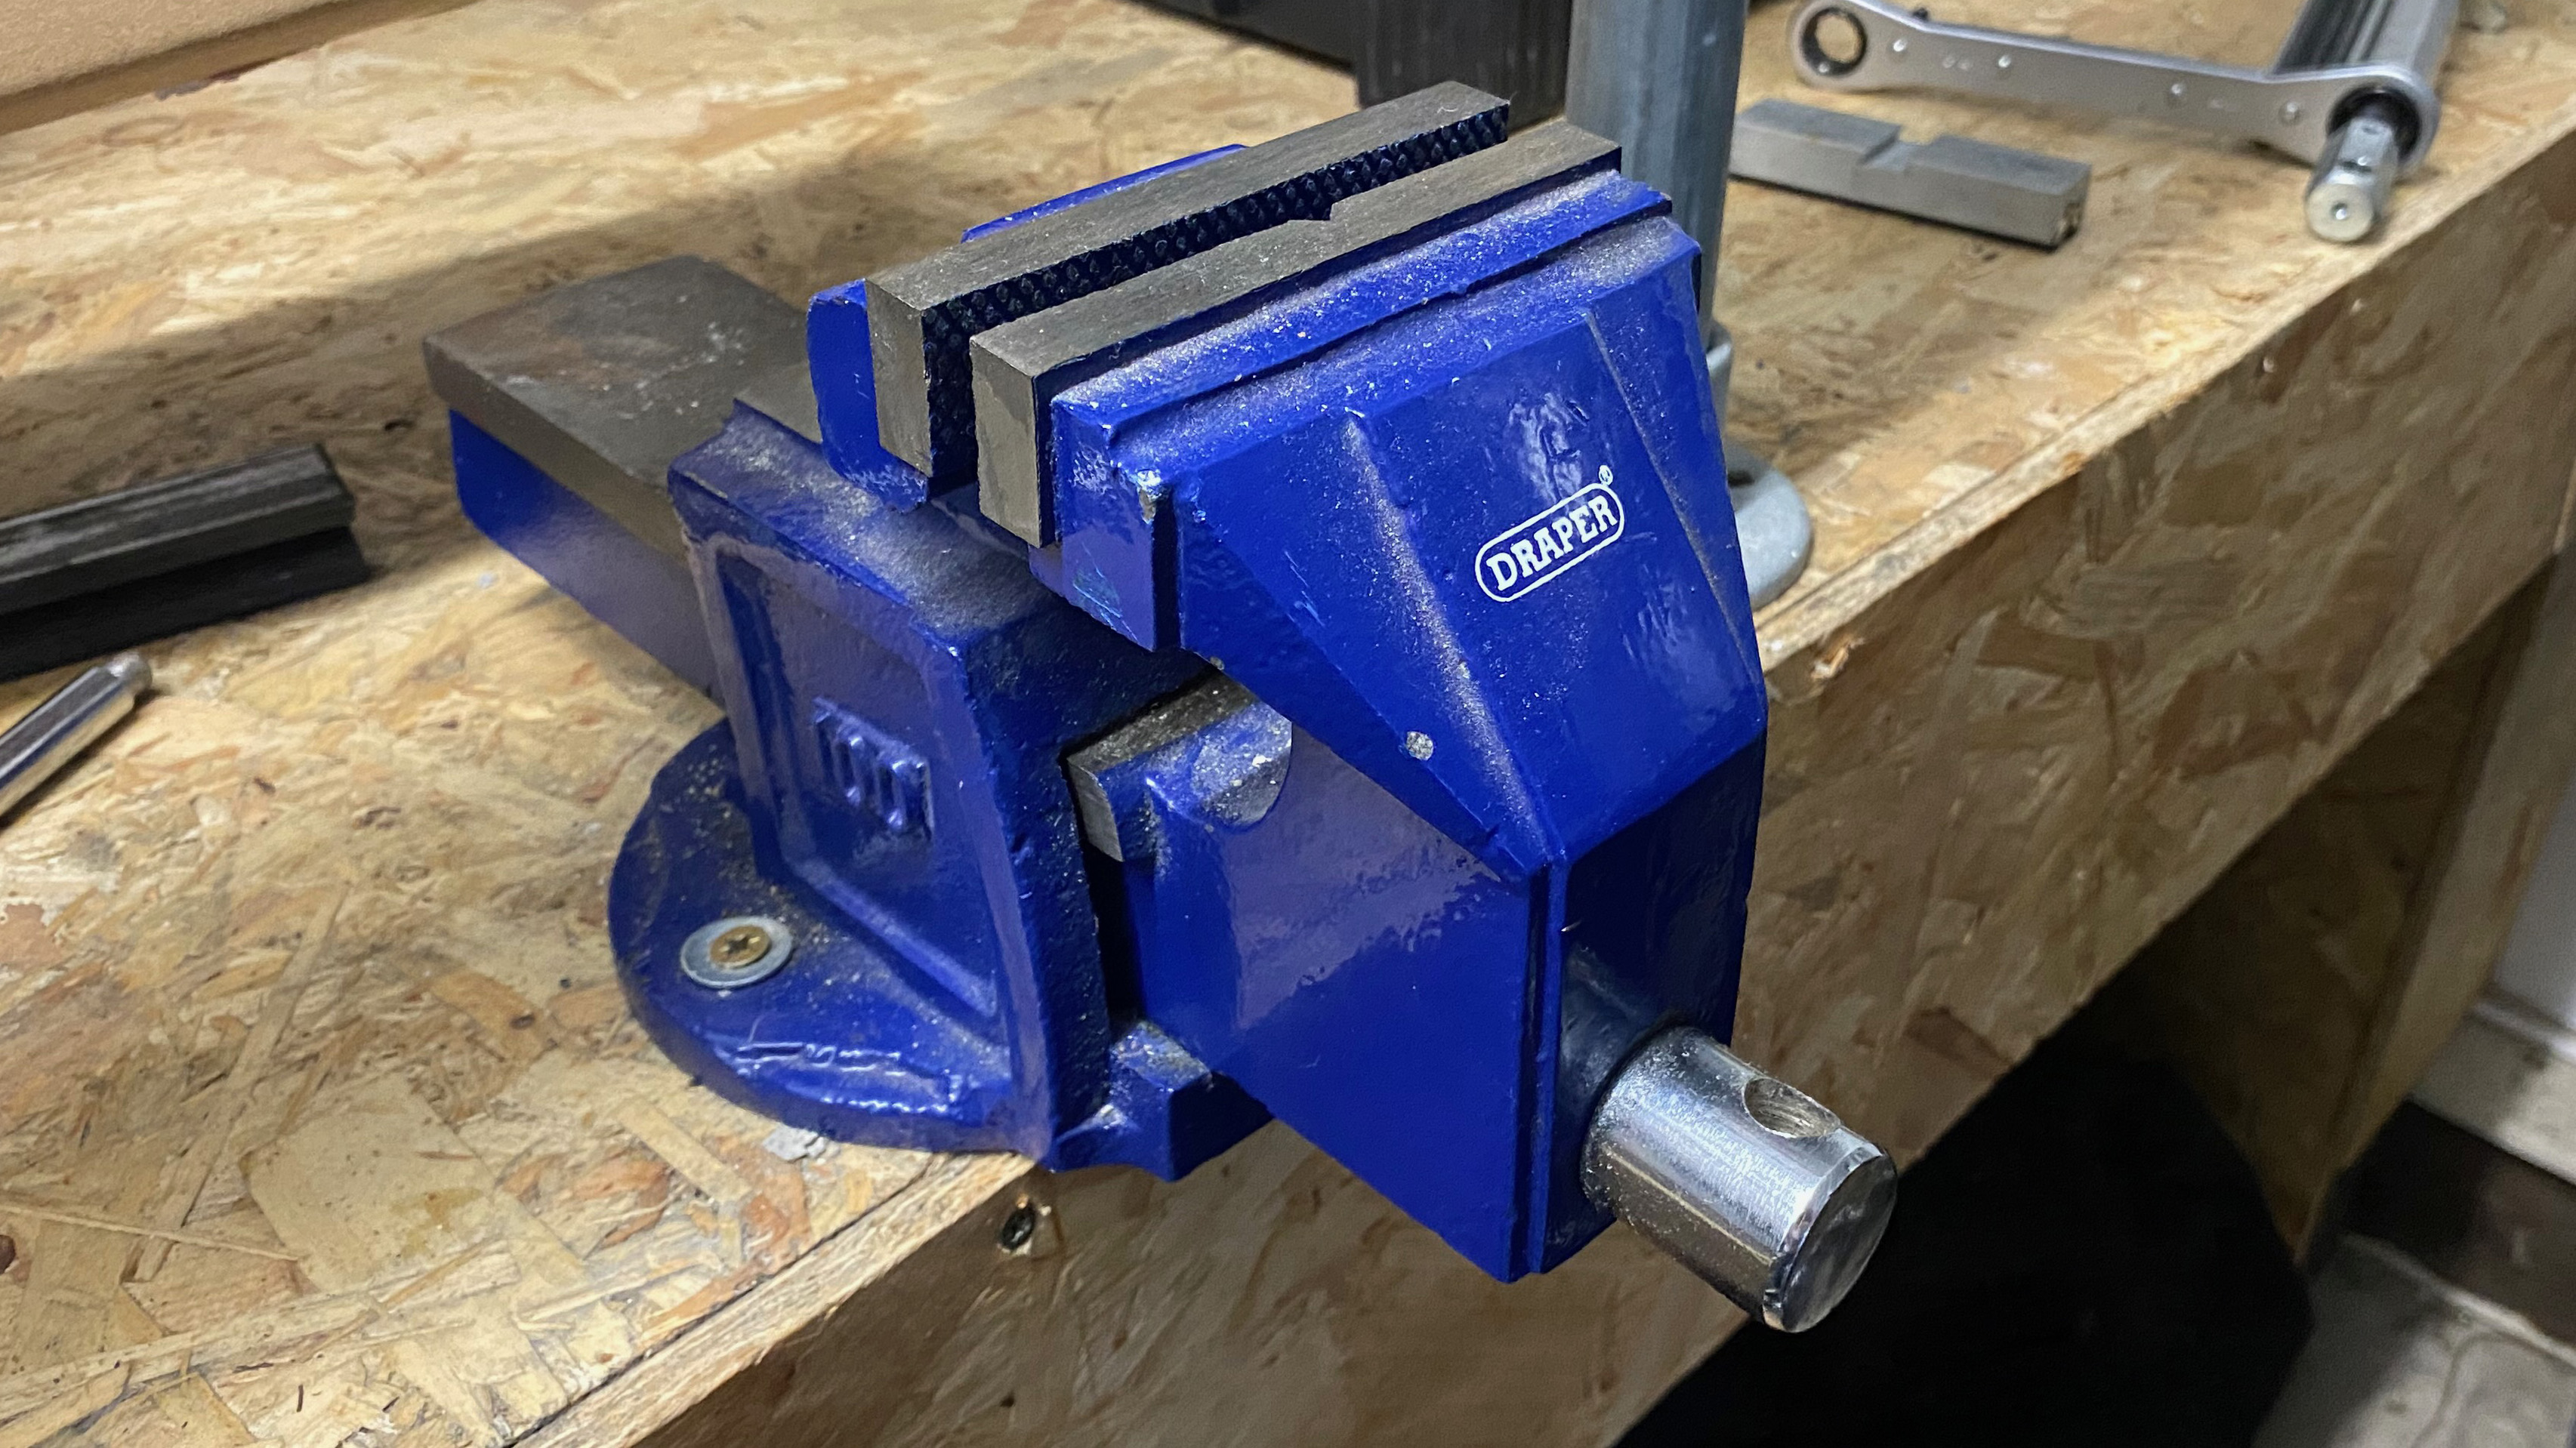
There are a multitude of jobs that you will need a bench vice for. From drilling out or removing shafts, all the way to stamping clubs, a strong high-quality vice is a worthwhile investment.
To drill out a hosel in order to remove old glue and dirt, you should clamp the clubhead (using rubber protectors) into the vice to ensure stability. I have unfortunately witnessed someone trying to drill out the hosel whilst holding the iron head, and it didn't end well for his hand, put it like that!
Similarly, if you are drilling excess glue from a shaft tip, it is vital that your drill bit stays parallel with the inner shaft walls otherwise you risk drilling through the walls and ruining the shaft, a potentially expensive error. Secure your shaft in the vice (again using rubber shaft protectors) at an angle and drill slowly and carefully ensuring the drill but stays centred within the shaft walls.
Make sure that your vice is very securely fastened to your workbench as it will need to be able to stand up to a fair amount of force and leverage.
Storage for small components
Trust me, there is nothing more annoying than rummaging through hundreds of black ferrules (that all look the same!) to find one of the correct diameter to fit the shaft you need. Similarly, having no idea where that tip weight you need to hit a precise swingweight might be is equally as frustrating.
Club building is a very precise operation and a lot of the equipment is very small, so having a really organised storage solution is critical to maximising your efficiency and keeping your inner rage in check! I have a really nice tool bench with drawers that I have separated into storage for various bits and pieces.
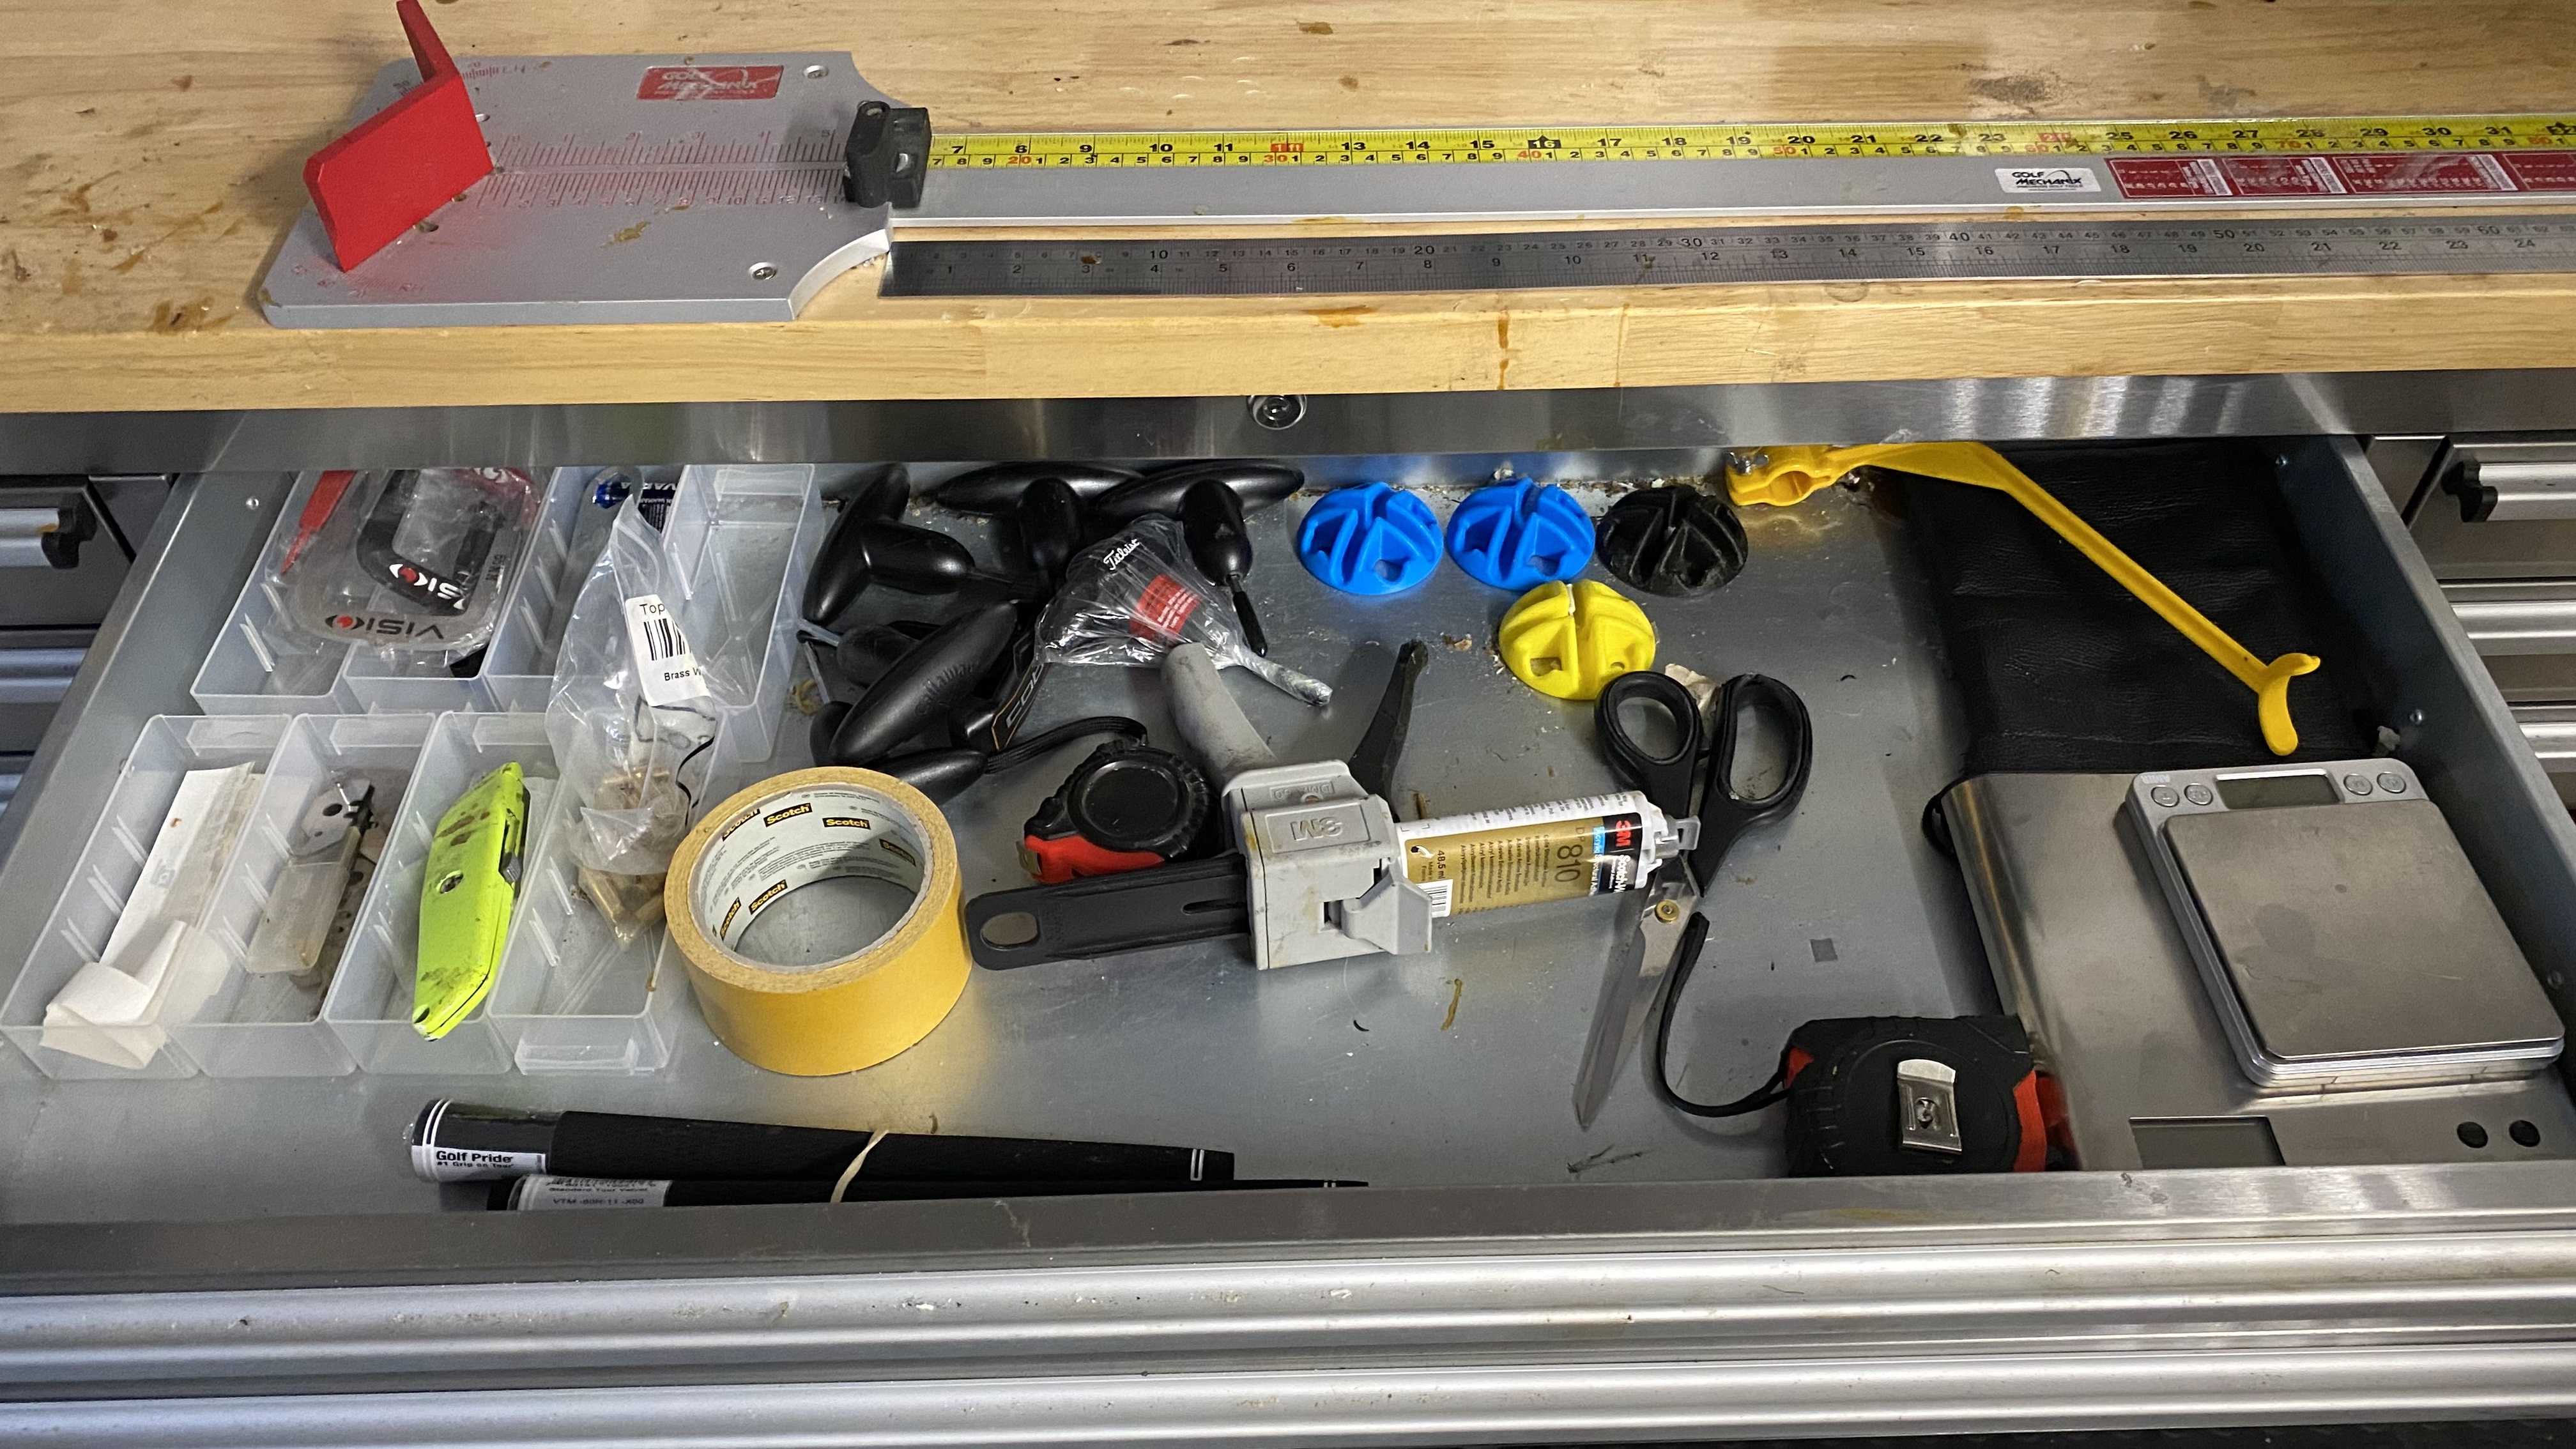
The top drawer in the middle is a bit of a miscellaneous area for the functional equipment that I use the most such as blades, tape measures, grip tape, lead tape and club wrenches.
The drawer below is where I keep my smaller, more fiddly components such as ferrules, various manufacturers weights and loft sleeves etc. I keep them all separate using these small plastic divider trays which is really useful.

I have another drawer for storing tip weights which are all kept in labelled plastic bags for ease of location.
The rest of the unit is filled with all sorts, such as screwdrivers, epoxy, allen keys and larger tools that I don’t want on display.
Drill and drill bits
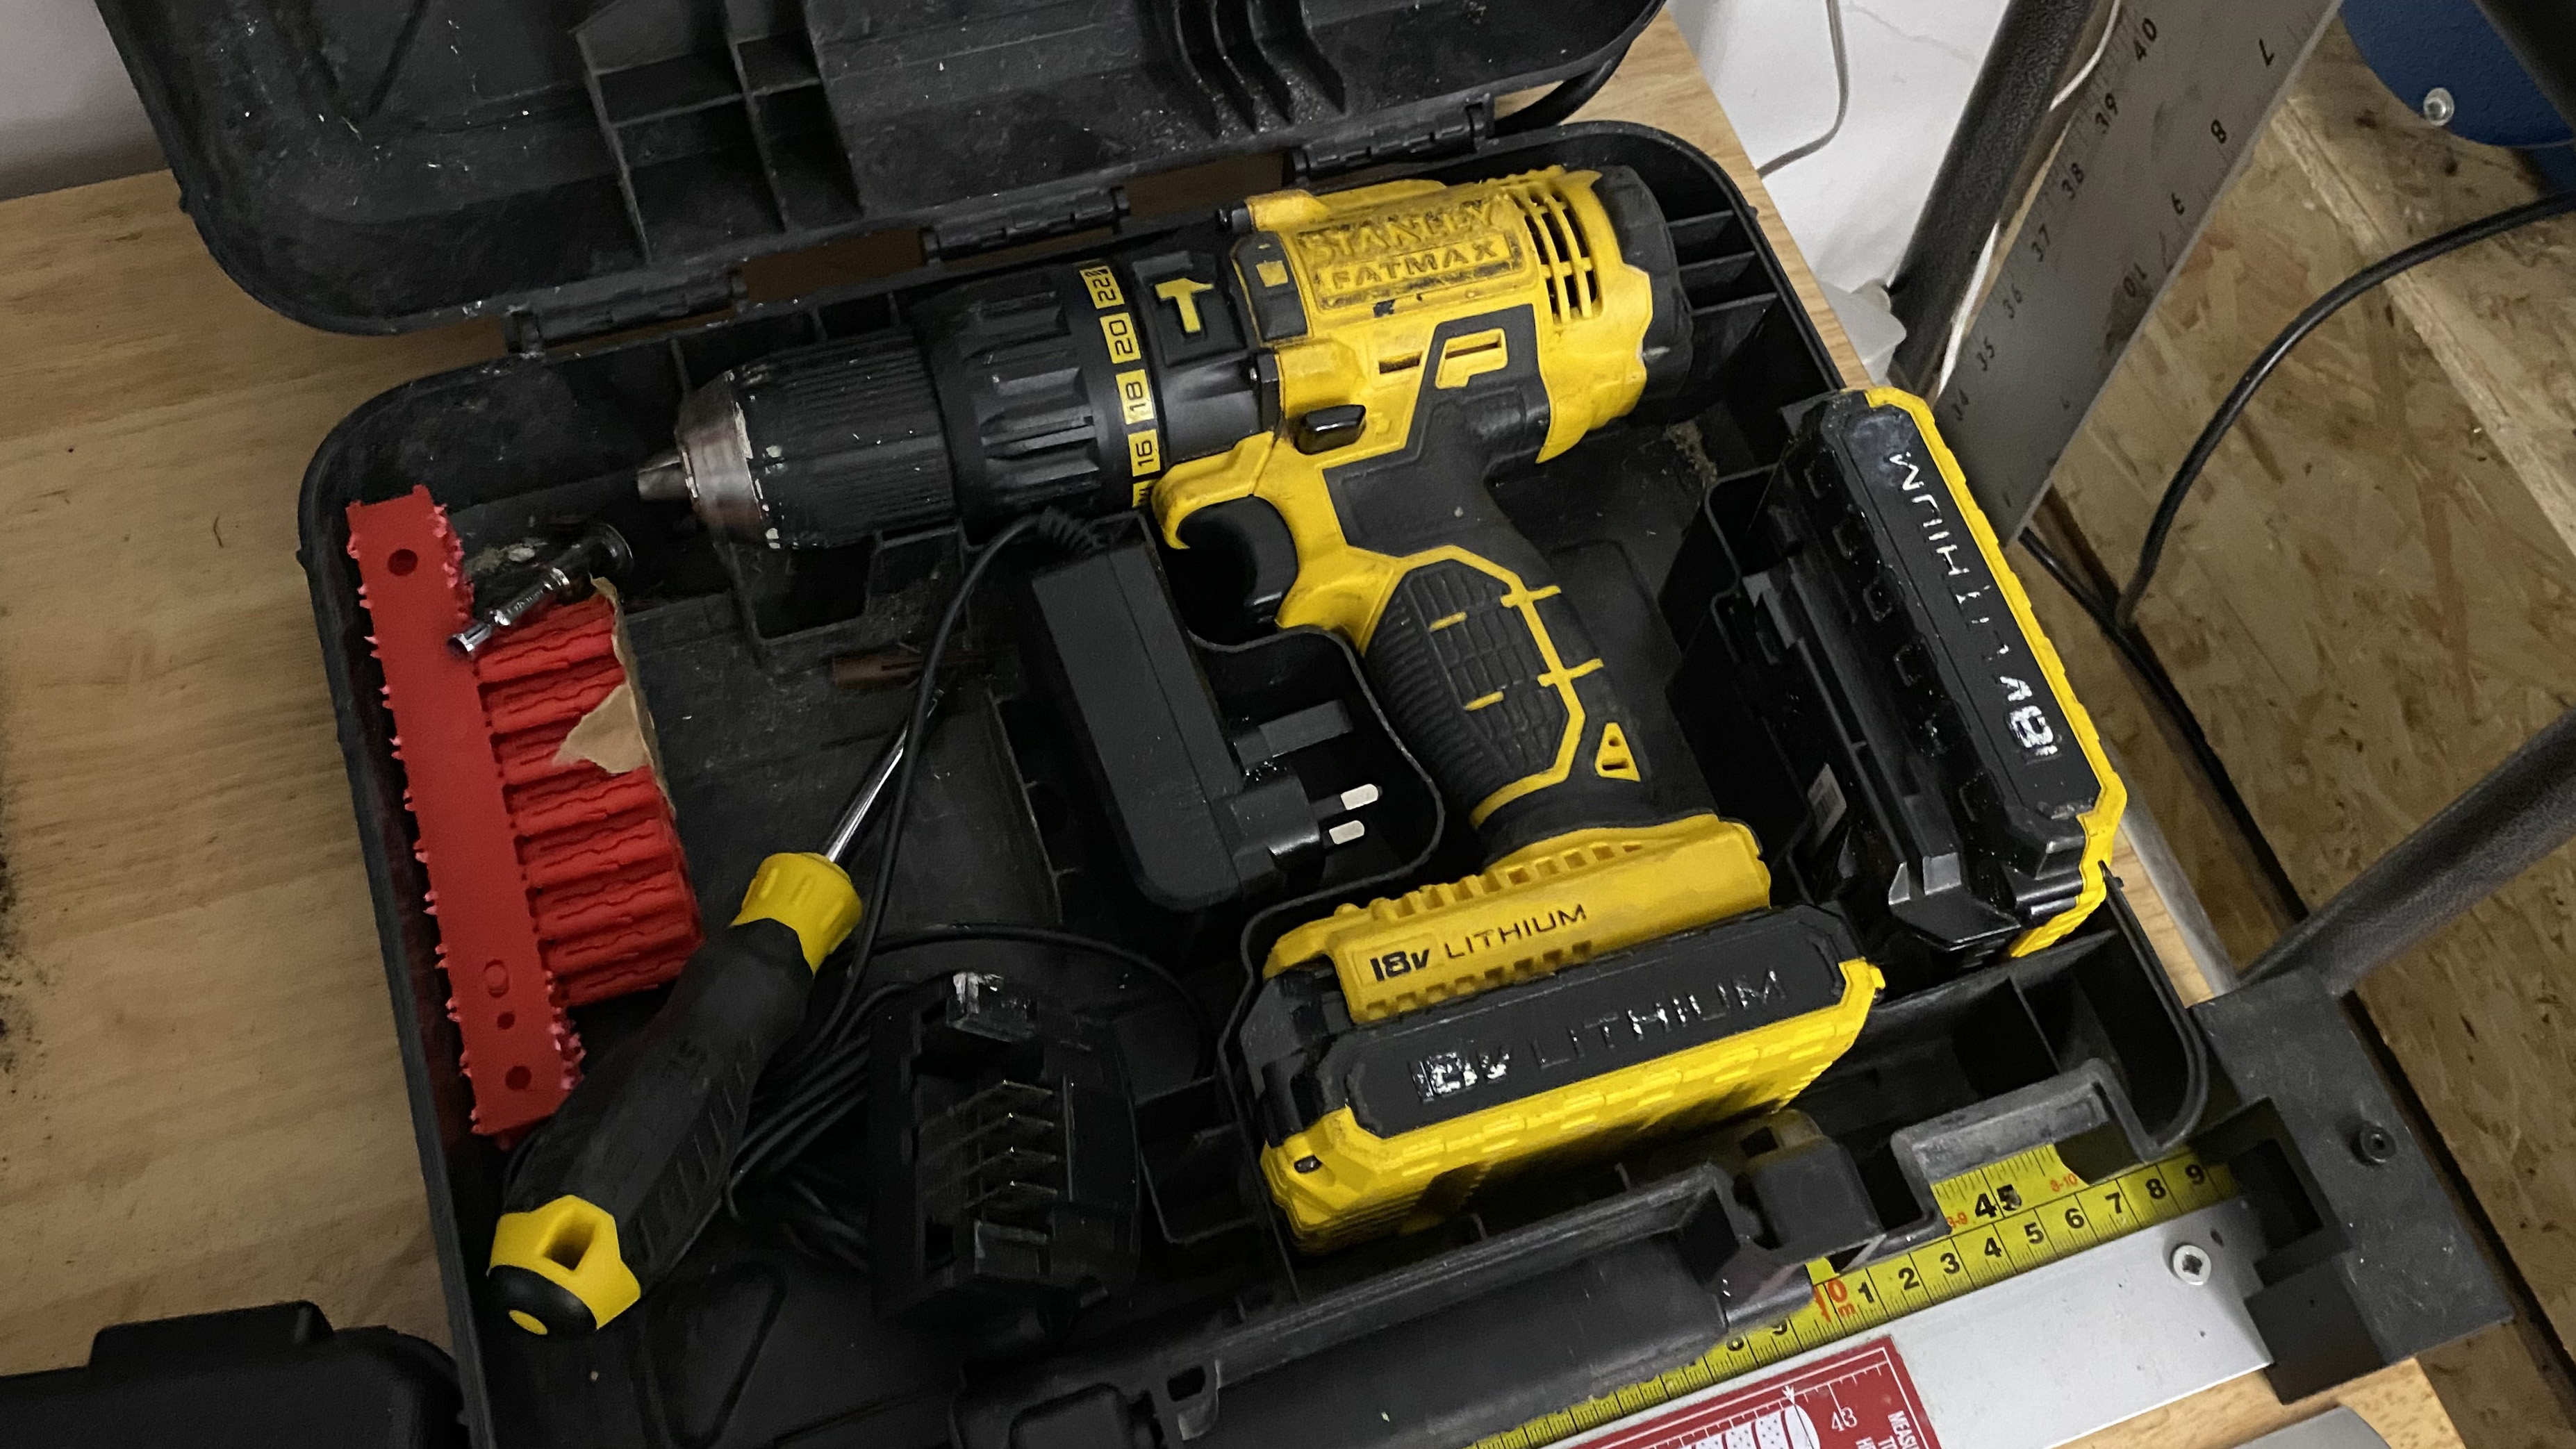
There is every chance that you will already have a cordless drill so that is a good start! Sadly, I am not a drill expert, so I cannot really make much of a recommendation here, but mine is a cordless drill from a recognised brand name and I just did a bit of reading prior to purchase. It has a couple of batteries so I always make sure that the spare is charged as it is really annoying to have to wait for a recharge when you are in your flow!
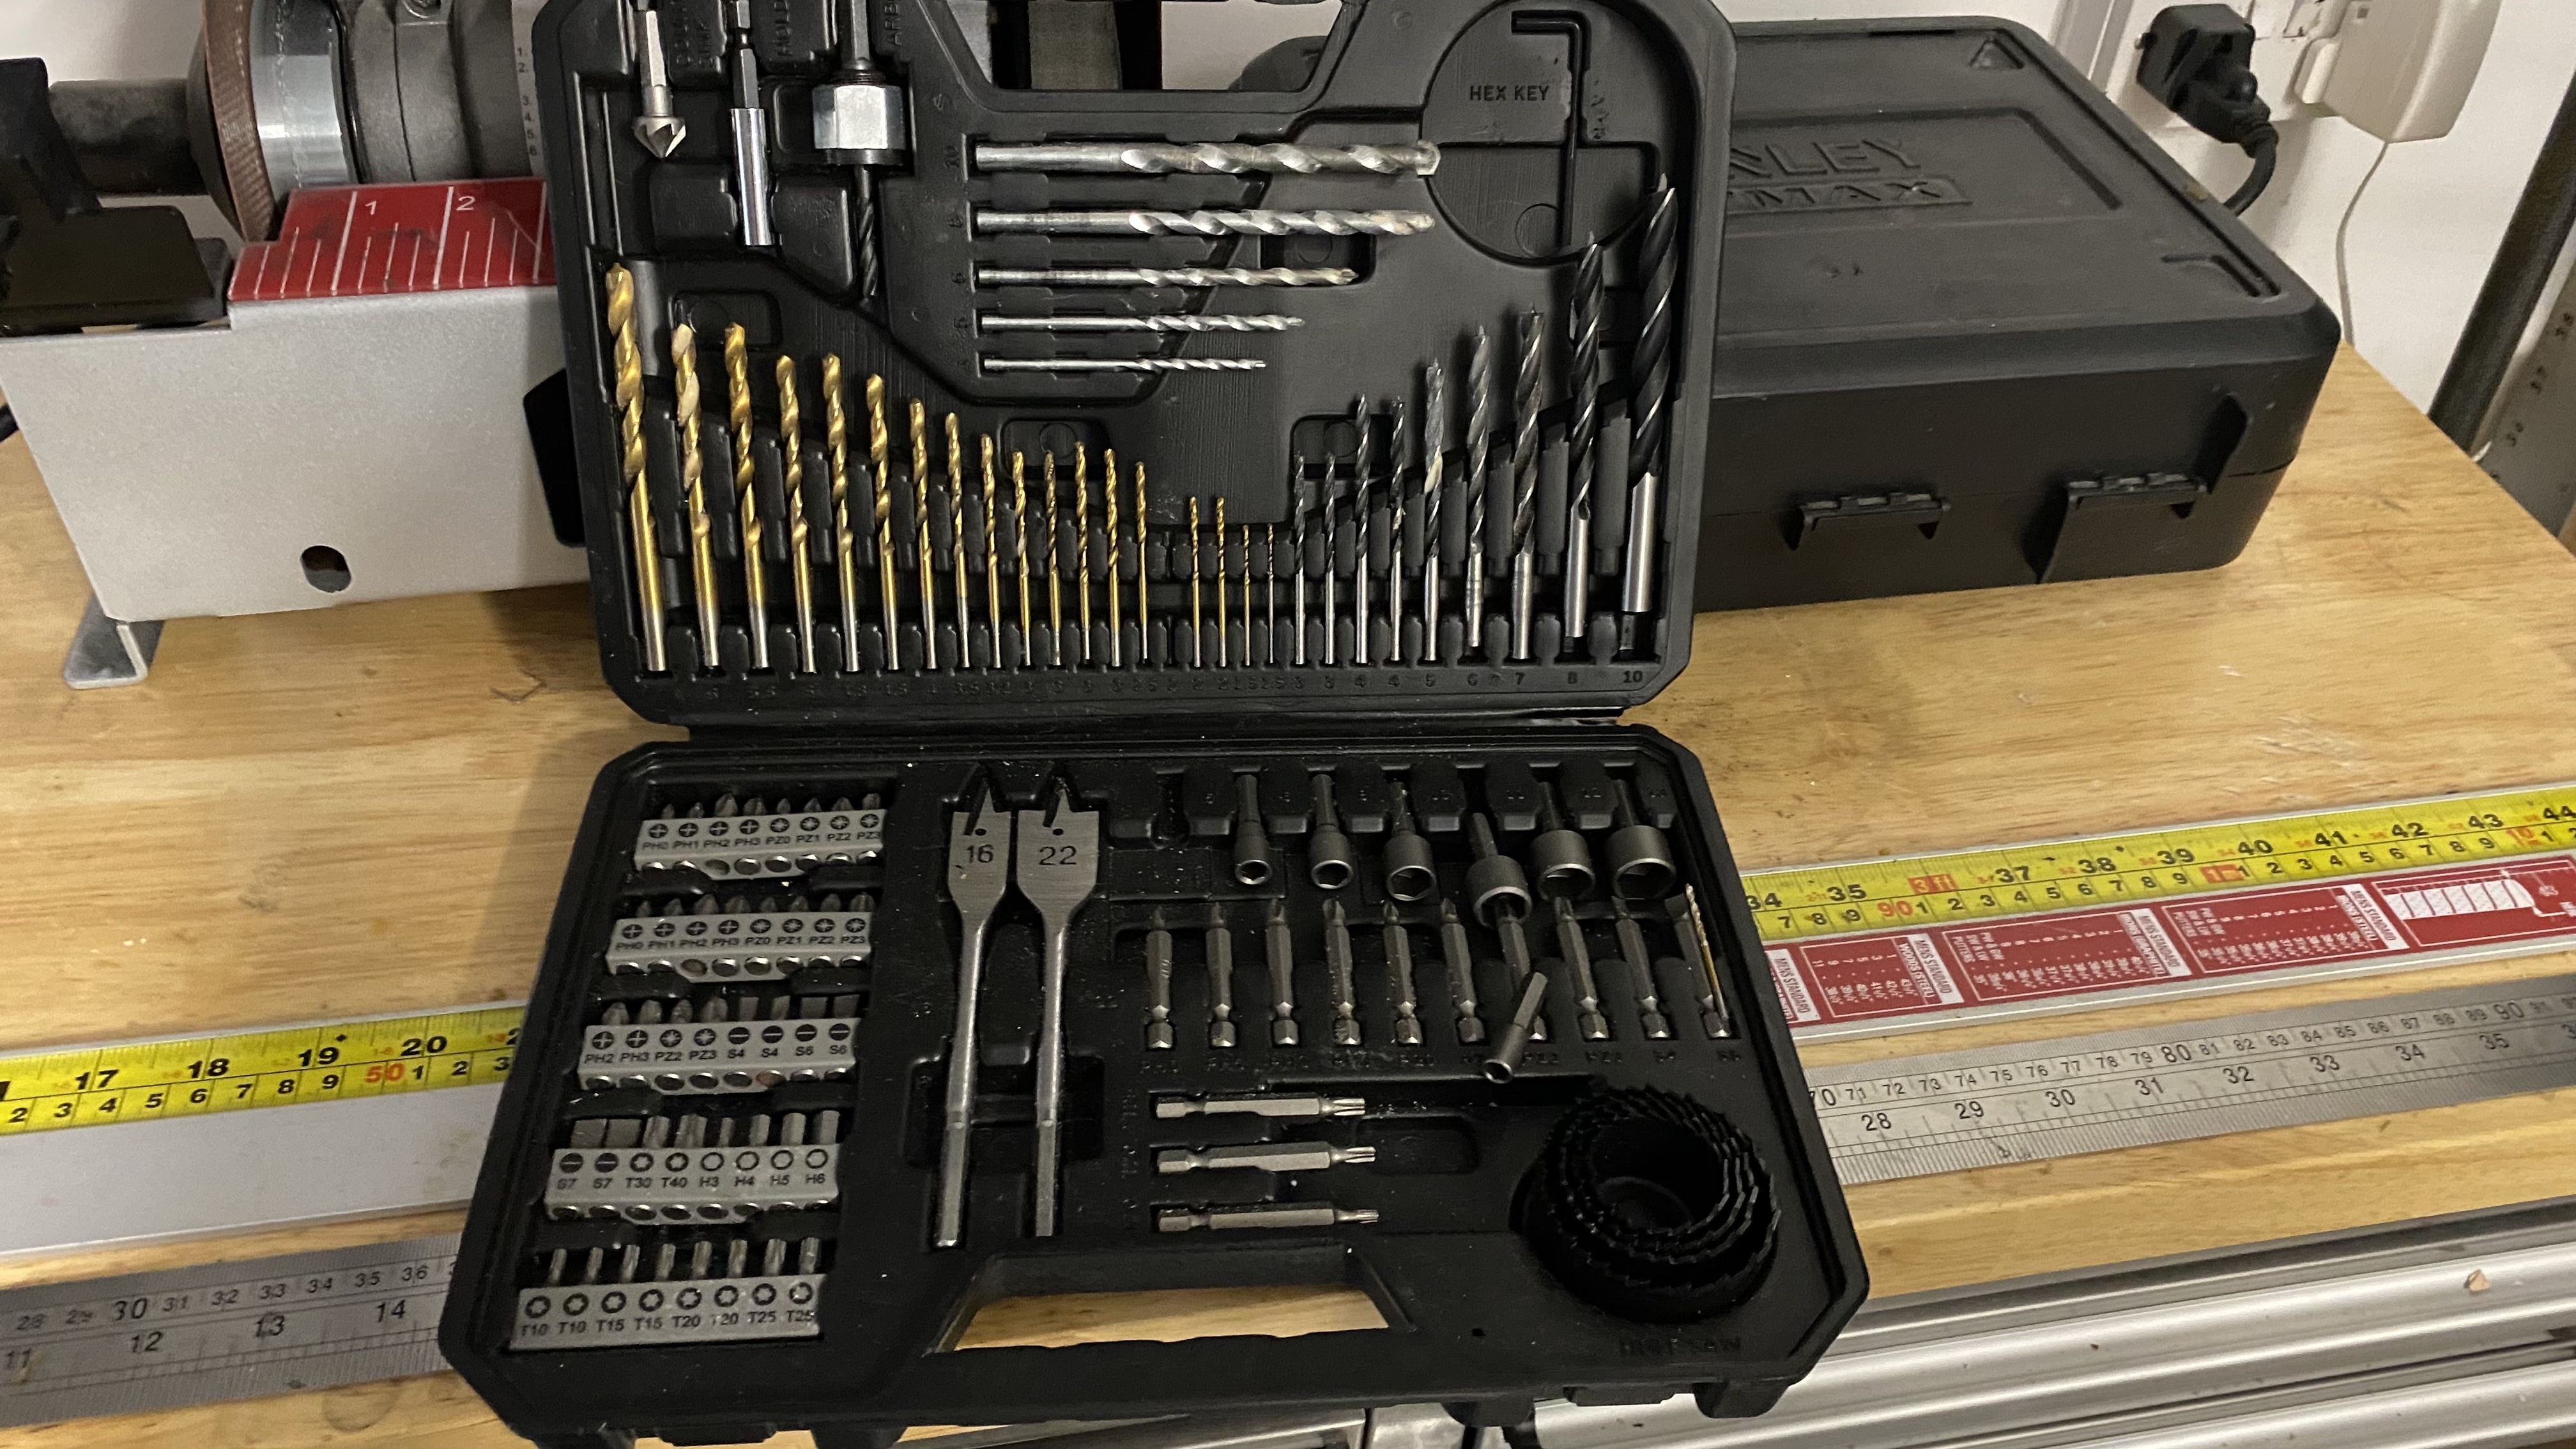
The main jobs you will use the drill for are drilling old glue out of shafts and for preparing the inside of a hosel to receive a new shaft, so it is crucial you have the right size drill bits to cover those jobs.
To prepare the inside of a hosel correctly, simply find the right sized drill bit for the inner diameter of the hosel and drill out any excess old dry glue. Then, I have a specific wire wool drill bit that I repeat the process with to get any finer bits the drill may have missed. Finally, I fill the hosel with acetone, give it a little shake, then pour out the excess for a finally deep cleanse. I then dry the interior with a bit of tissue paper and the hosel is clean and ready for glueing.
You will be able to purchase the relevant, golf specific sized drill bits from specialist club building component websites if you want just a few, but I like to have a full complement in the form of a set to cover every eventuality.
Bench ruler
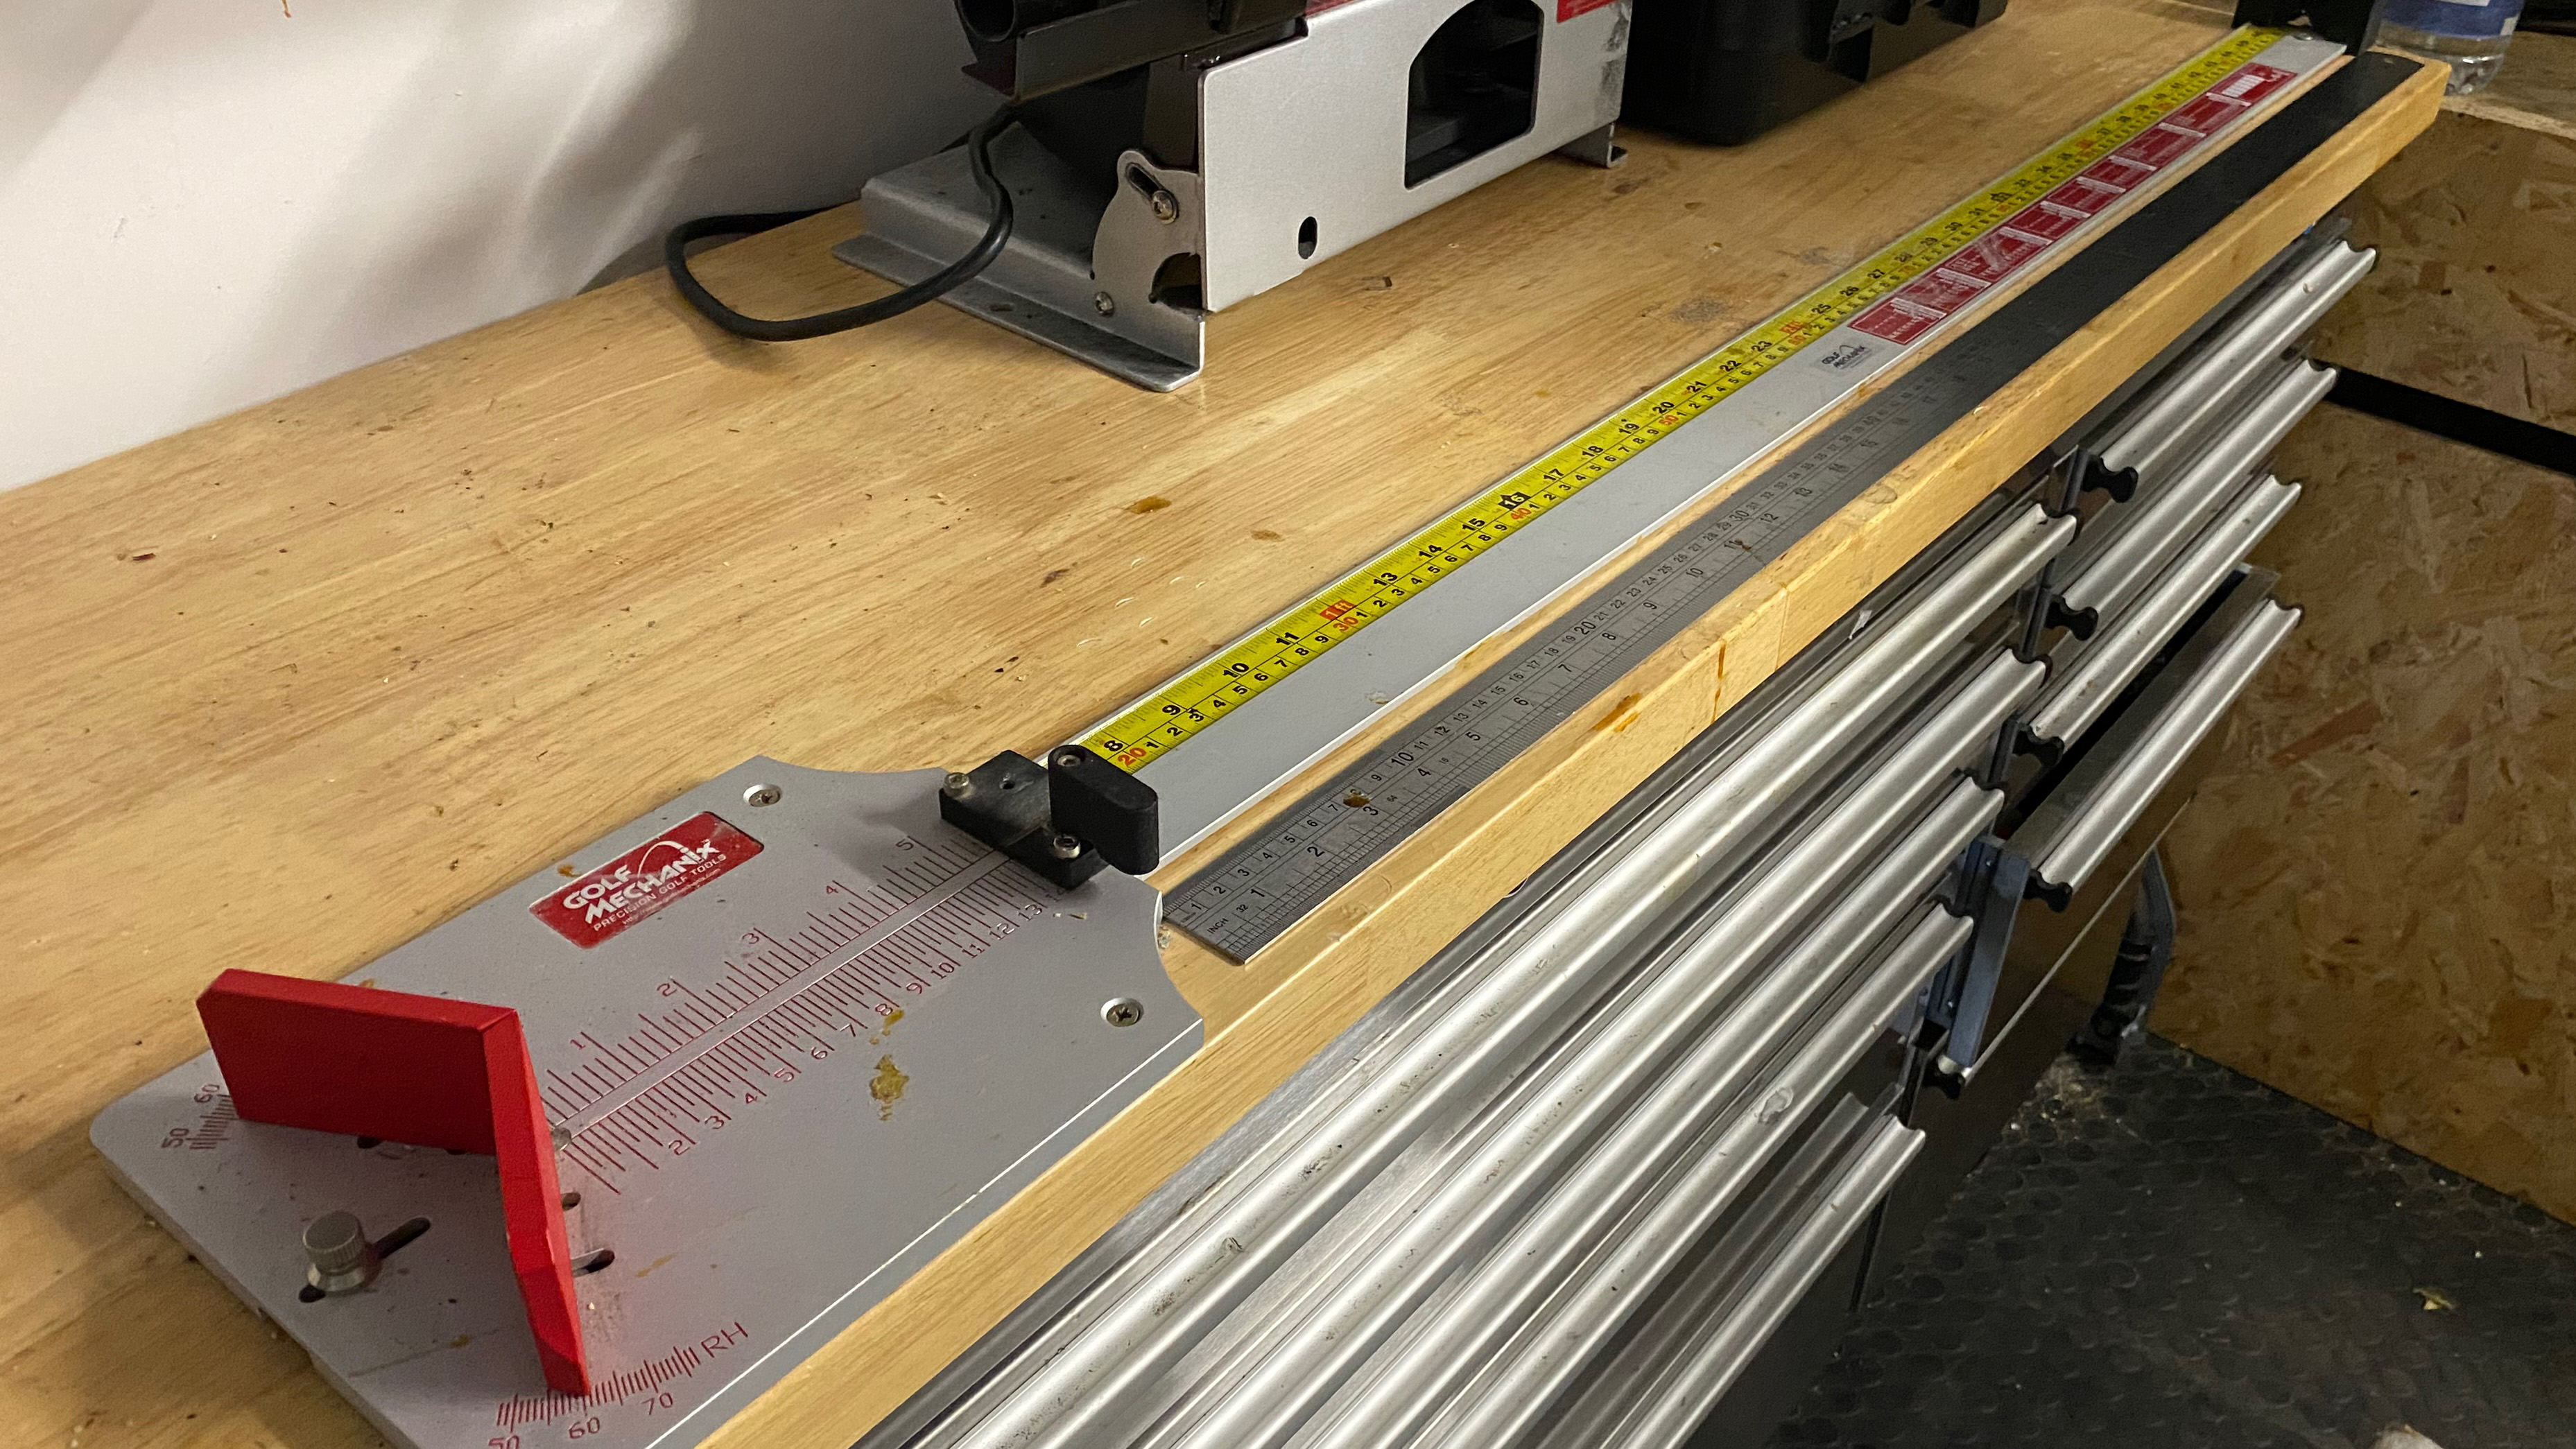
It is imperative that you have a ruler that will accurately measure the length of golf clubs. Firstly, to be able to build to exact and precise specifications, and secondly to ensure you don’t fall foul of R&A or USGA regulations on club length.
Simply measuring with a tape measure will not do the job, as the presence of lie angle in golf clubs will render that measurement inaccurate. Instead an R&A and USGA bench ruler will provide the requisite angle for the clubhead to sit in to provide accurate measurements.
To get an accurate measurement, place the clubhead face down on the ruler and push it against the angled seating position. From here, ensure the shaft is dead parallel to the ruler and note where the end of the grip reaches.
It is important to note here that some builders and manufacturers cut differently. Some people refer to the length as "cut length" which is the length of the club without a grip, whereas others refer to the length as a complete club with a grip on which generally adds 1/8th of an inch.
Blow torch or heat gun

In order to break the bond of very strong glue, high heat is required. That is where a blow torch or heat gun becomes necessary.
The blow torch is the hotter and quicker of the two tools and is more suitable to use on steel shafts, whereas the heat gun is generally a little less ferocious and should be used on when working with graphite.
To remove a clubhead from a steel shaft, simply apply the blow torch flame directly onto the hosel of the club which should be secured in a vice. Using gloves, begin to twist the clubhead until the glue bond has broken and you can simply pull the head off. Be sure to cool both the clubhead and shaft with cold water before handling.
Graphite shafts are more difficult to remove and must be undertaken with a shaft extractor. More on this later...
Something to cut with
Cutting shafts is a staple job when building clubs so ensuring you have something that can do the job accurately and safely is extremely important. Now, if you want to go very basic, a simple junior hacksaw will work perfectly well on both steel and graphite. However, this job can be done much quicker with some electrical assistance. A good chop saw is a sound investment and will zip through anything golf related swiftly and efficiently.
In my garage, I have a specific club building saw which clamps the shaft in place and actually has measurements visible so you don’t even need to mark up the shaft prior to cutting. If you are doing a high volume of shafts this can be extremely useful.
When cutting graphite shafts it is important to slowly rotate the shaft as the blade moves through in order to prevent fraying and splintering.
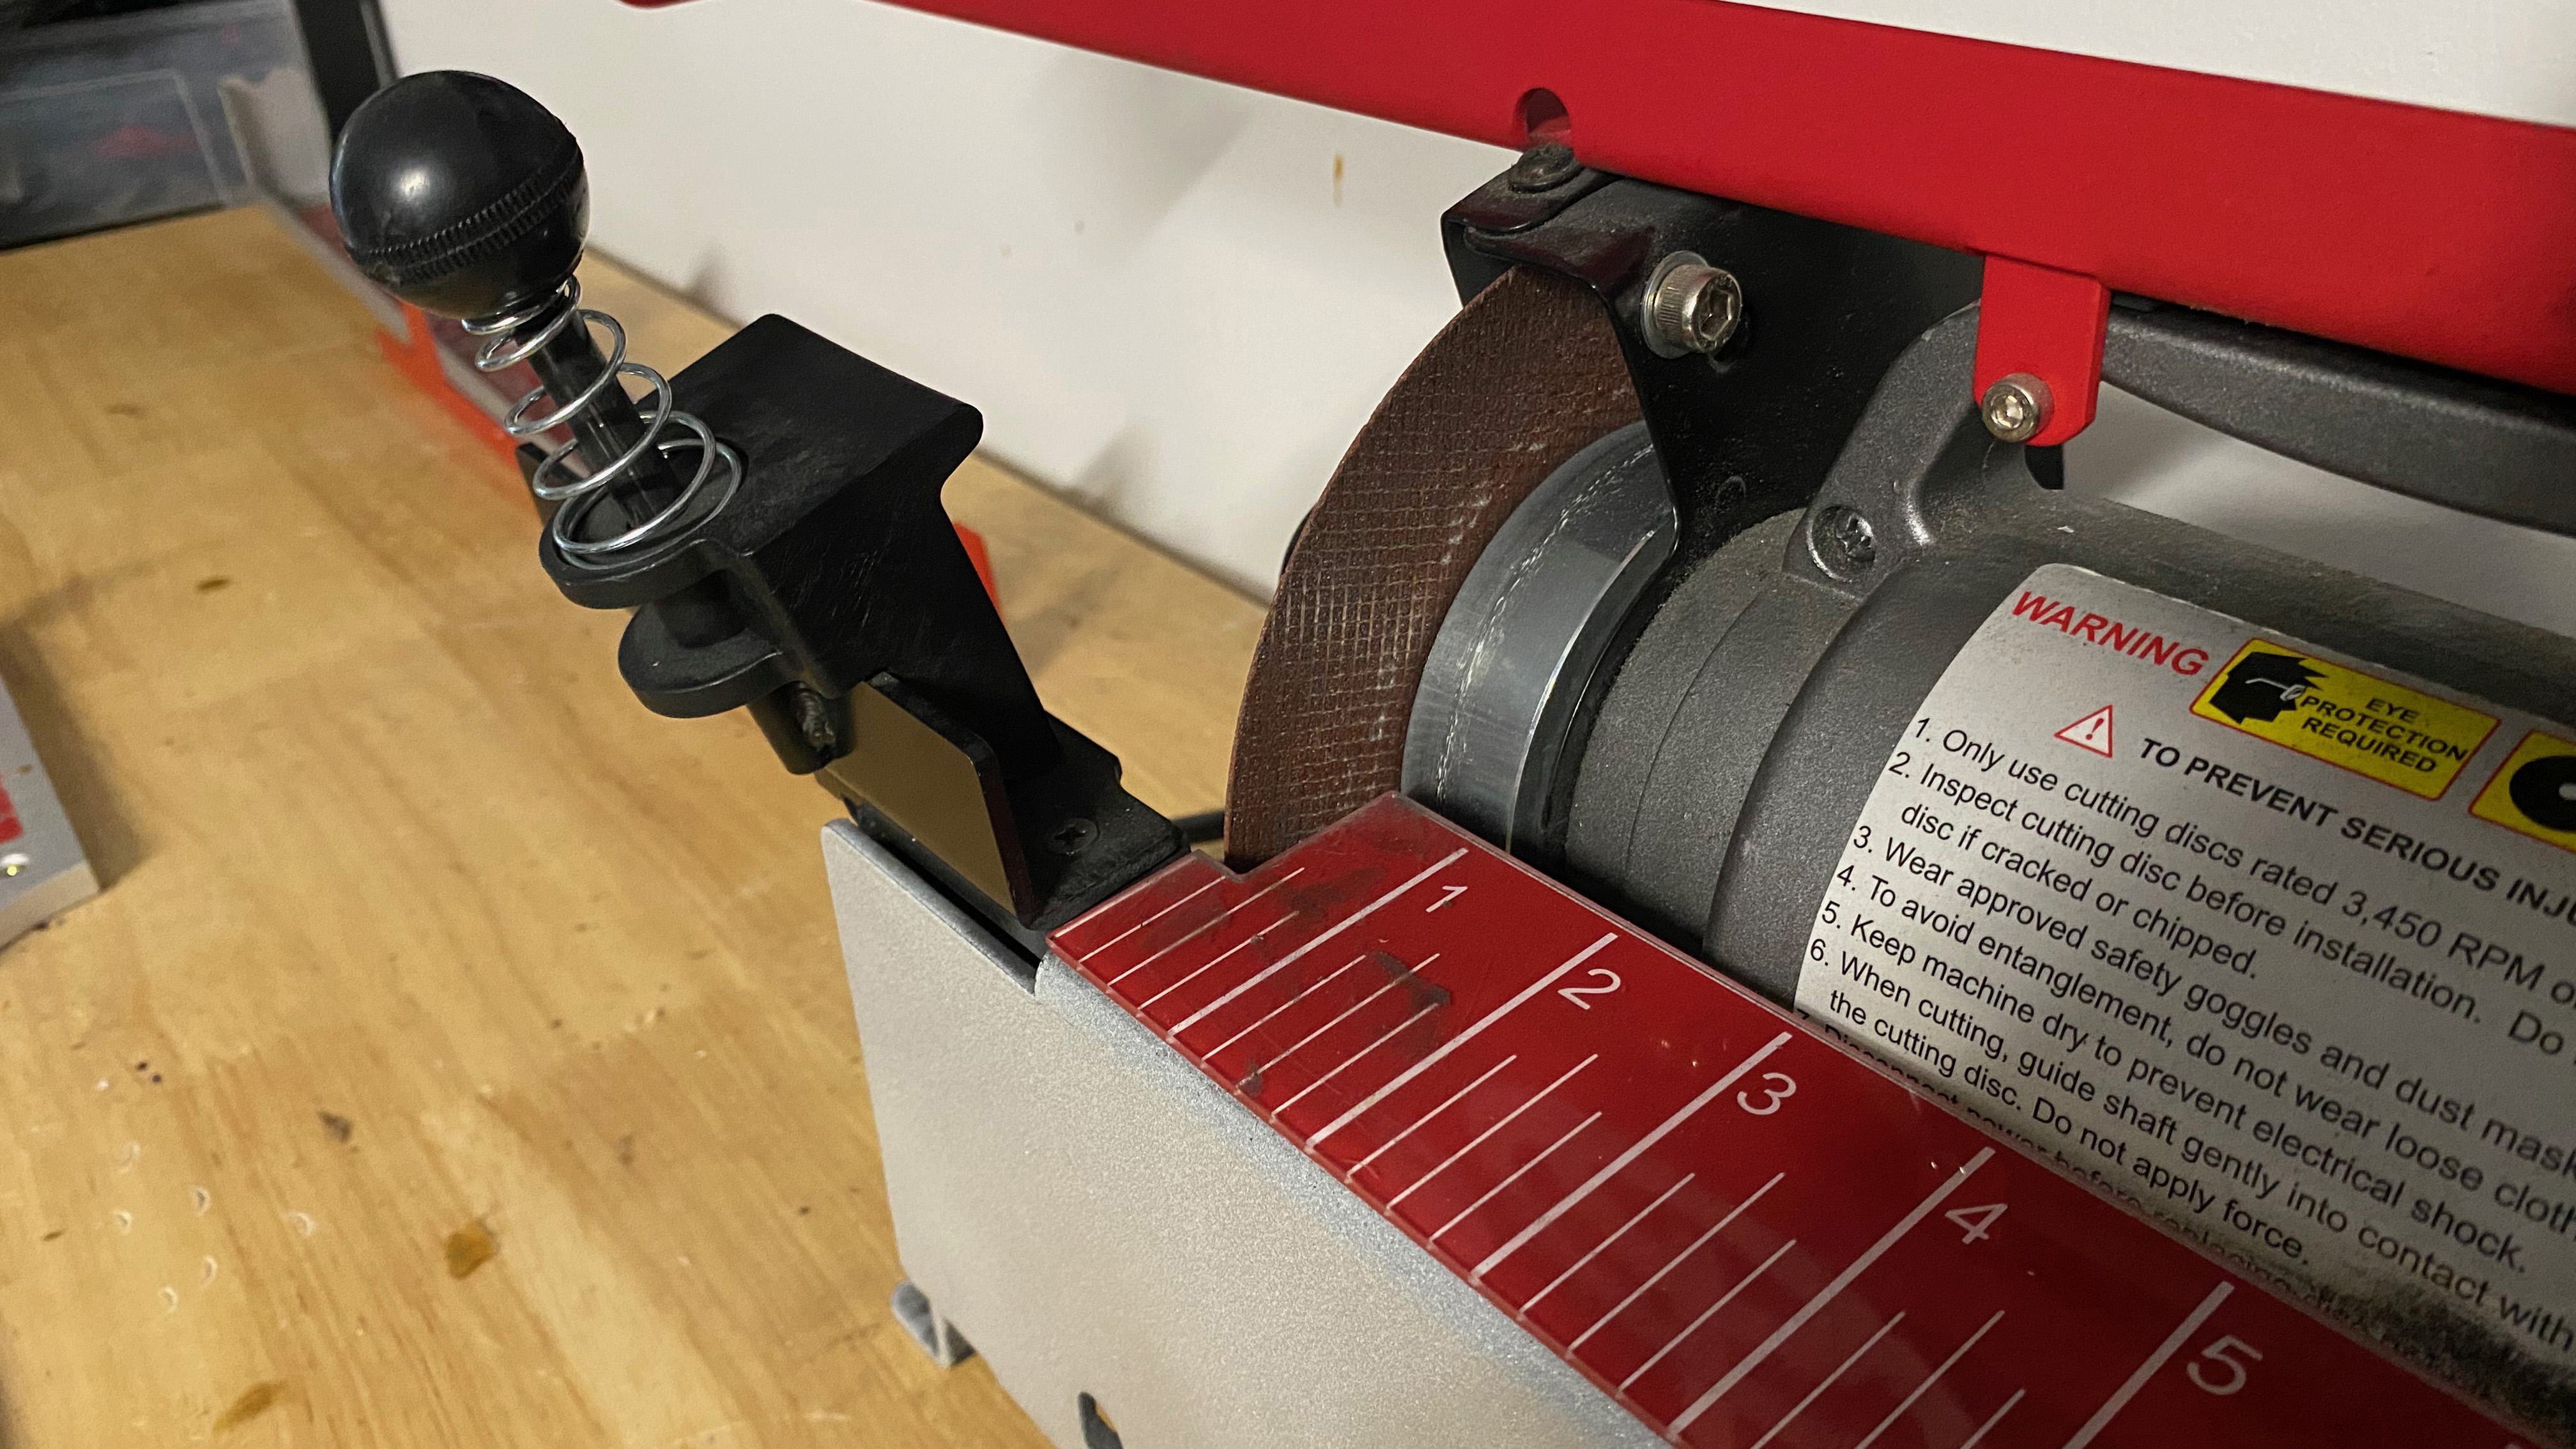
Ferrule finishing
A beautifully finished ferrule really is the hallmark of an expert club builder. Once again there is an inexpensive, more manual way to the job using a vice, some fine sandpaper, wire wool, and a lot of spinning(!), but I prefer the speed and precision of the belt sander.
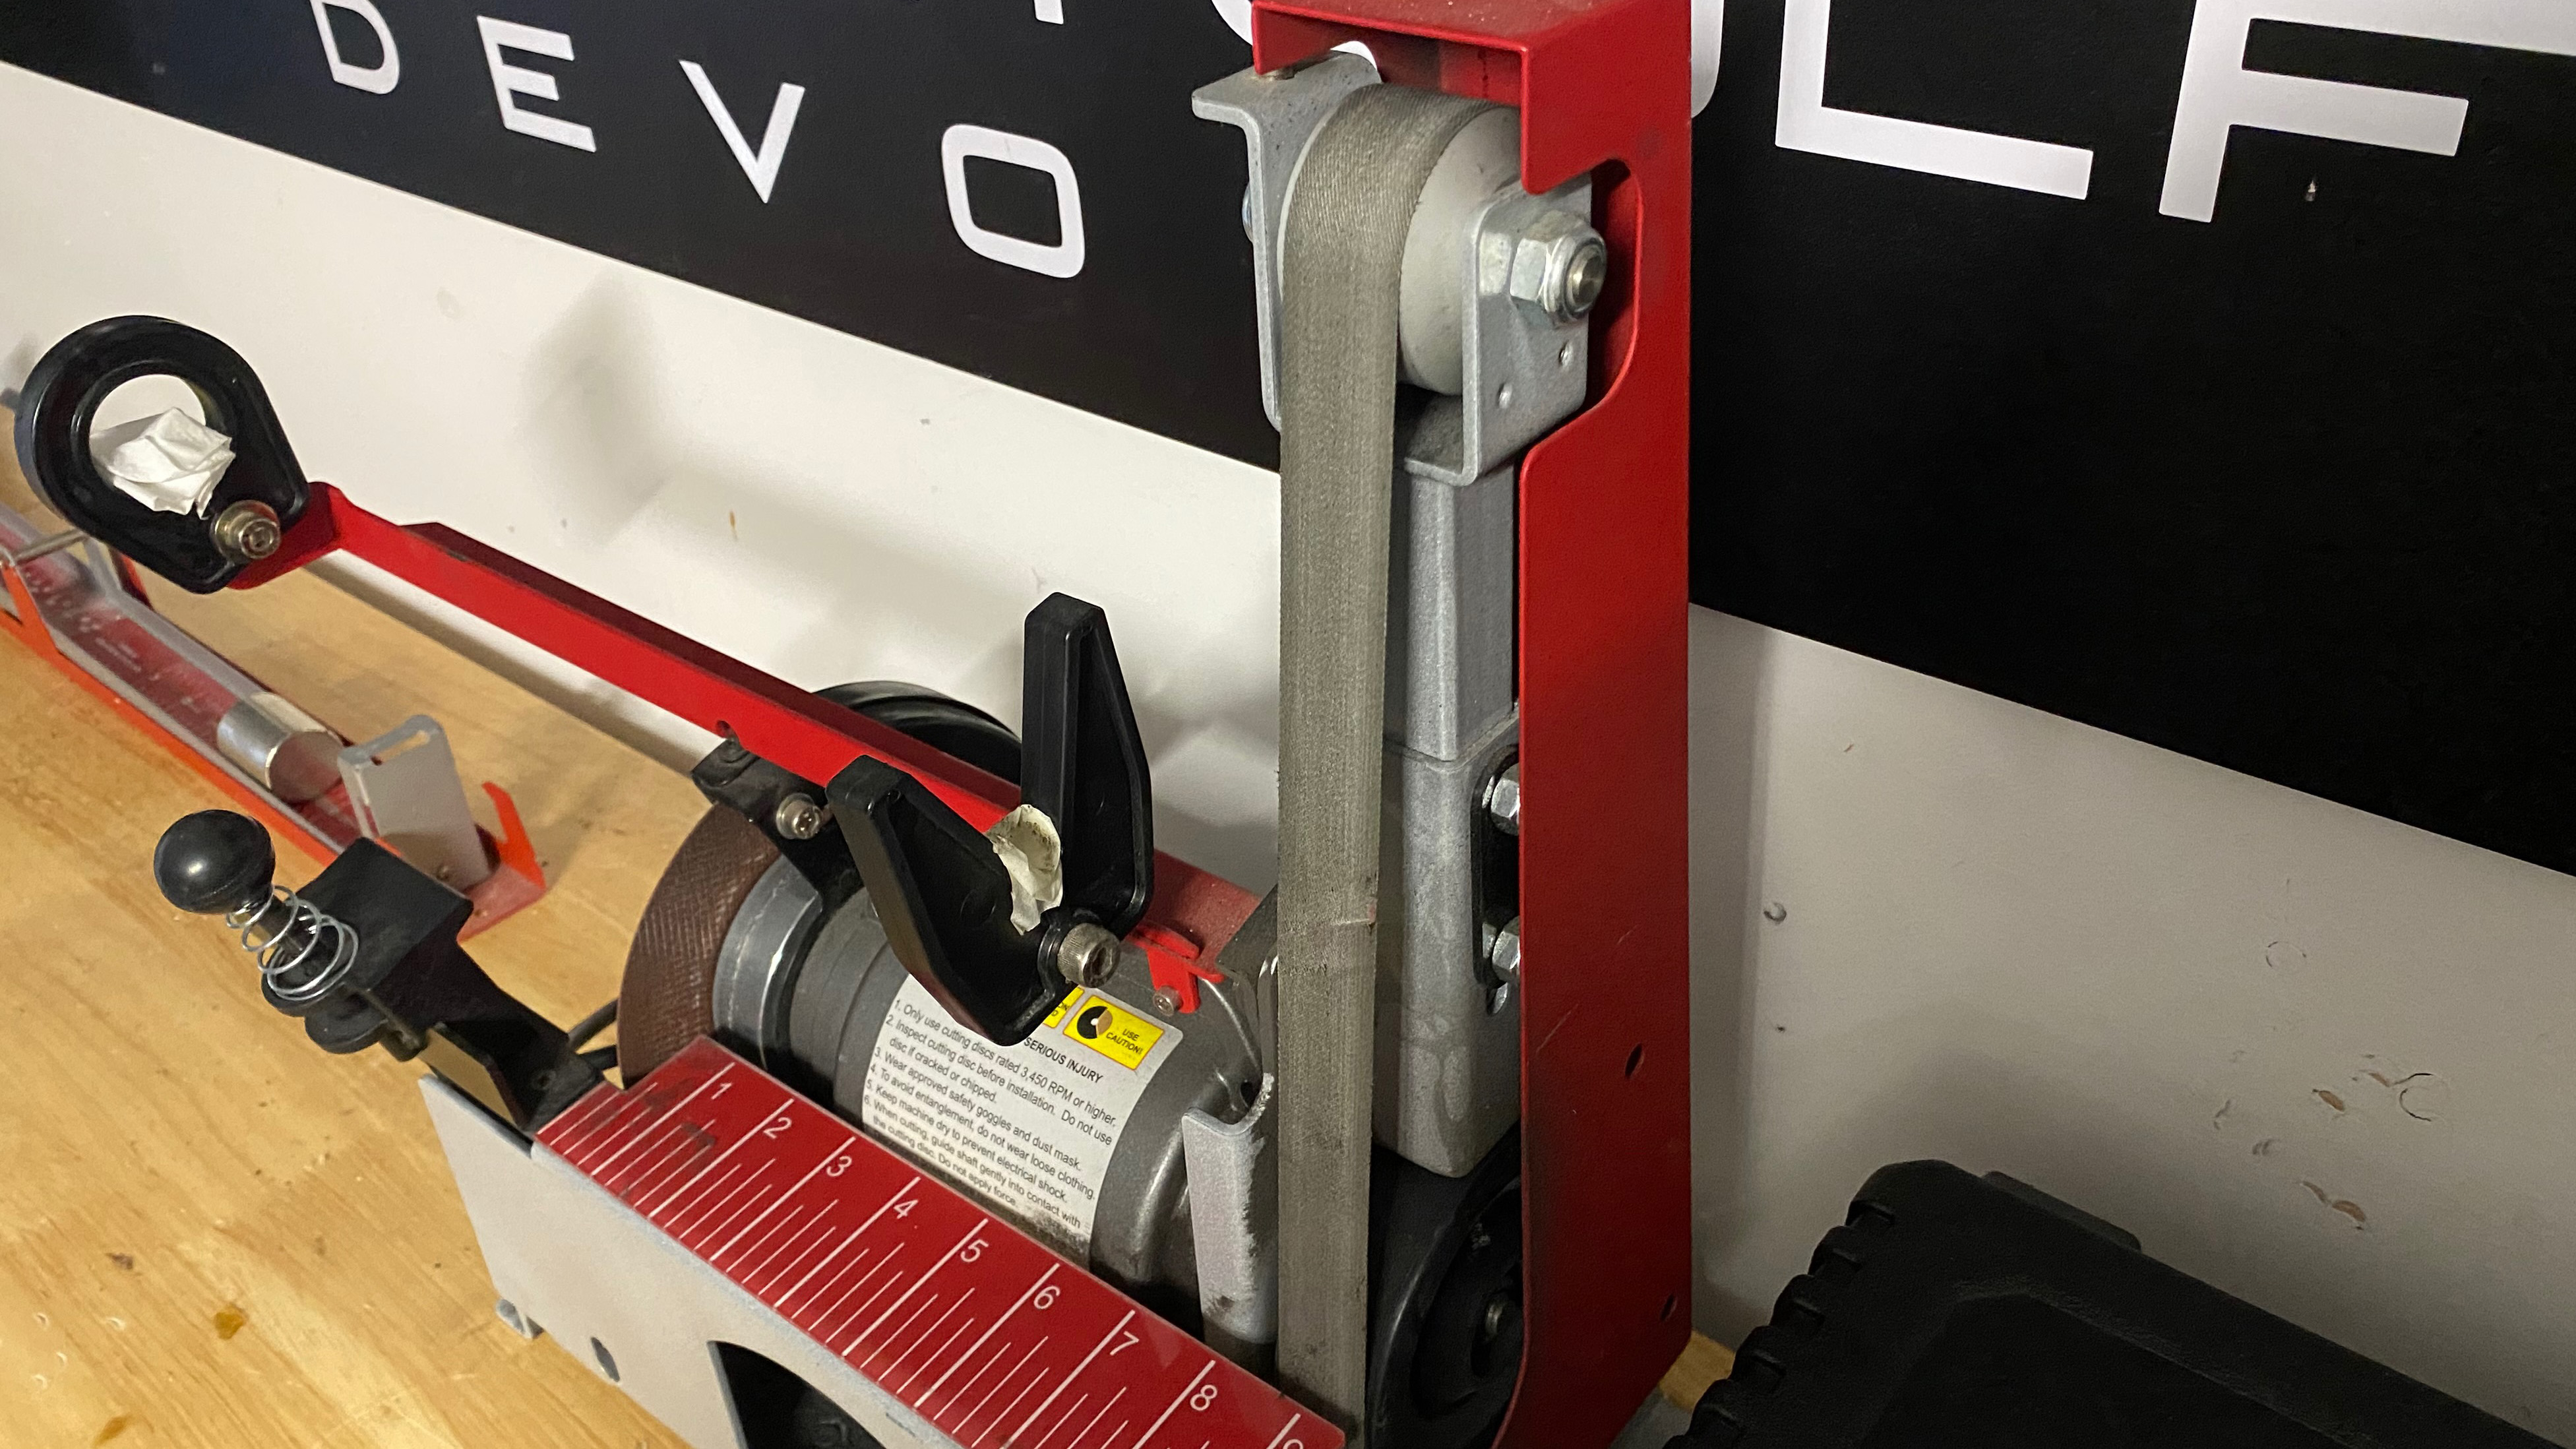
Once again, mine is specifically designed for golf clubs and has an arm attachment to keep the shaft at the same angle throughout and it helps me whizz through ferrules really quickly.
There is a bit of an art form to ferrule finishing, with the correct angles and pressure of paramount importance but it is nothing that can’t be learned with a bit of practice.
With a nice gentle initial pressure, the hosel should be pressed against the sanding belt and rotated the opposite way to the flow of the belt. While lightly increasing pressure and ensuring that the belt stays well away from the shaft, rotate until the plastic has been reduced and sits flush with the hosel. After the belt, a light rub with wire wool will remove any grain created, and some acetone on a piece of toilet paper to shine is all that is required for a professional finish.
Gripping station
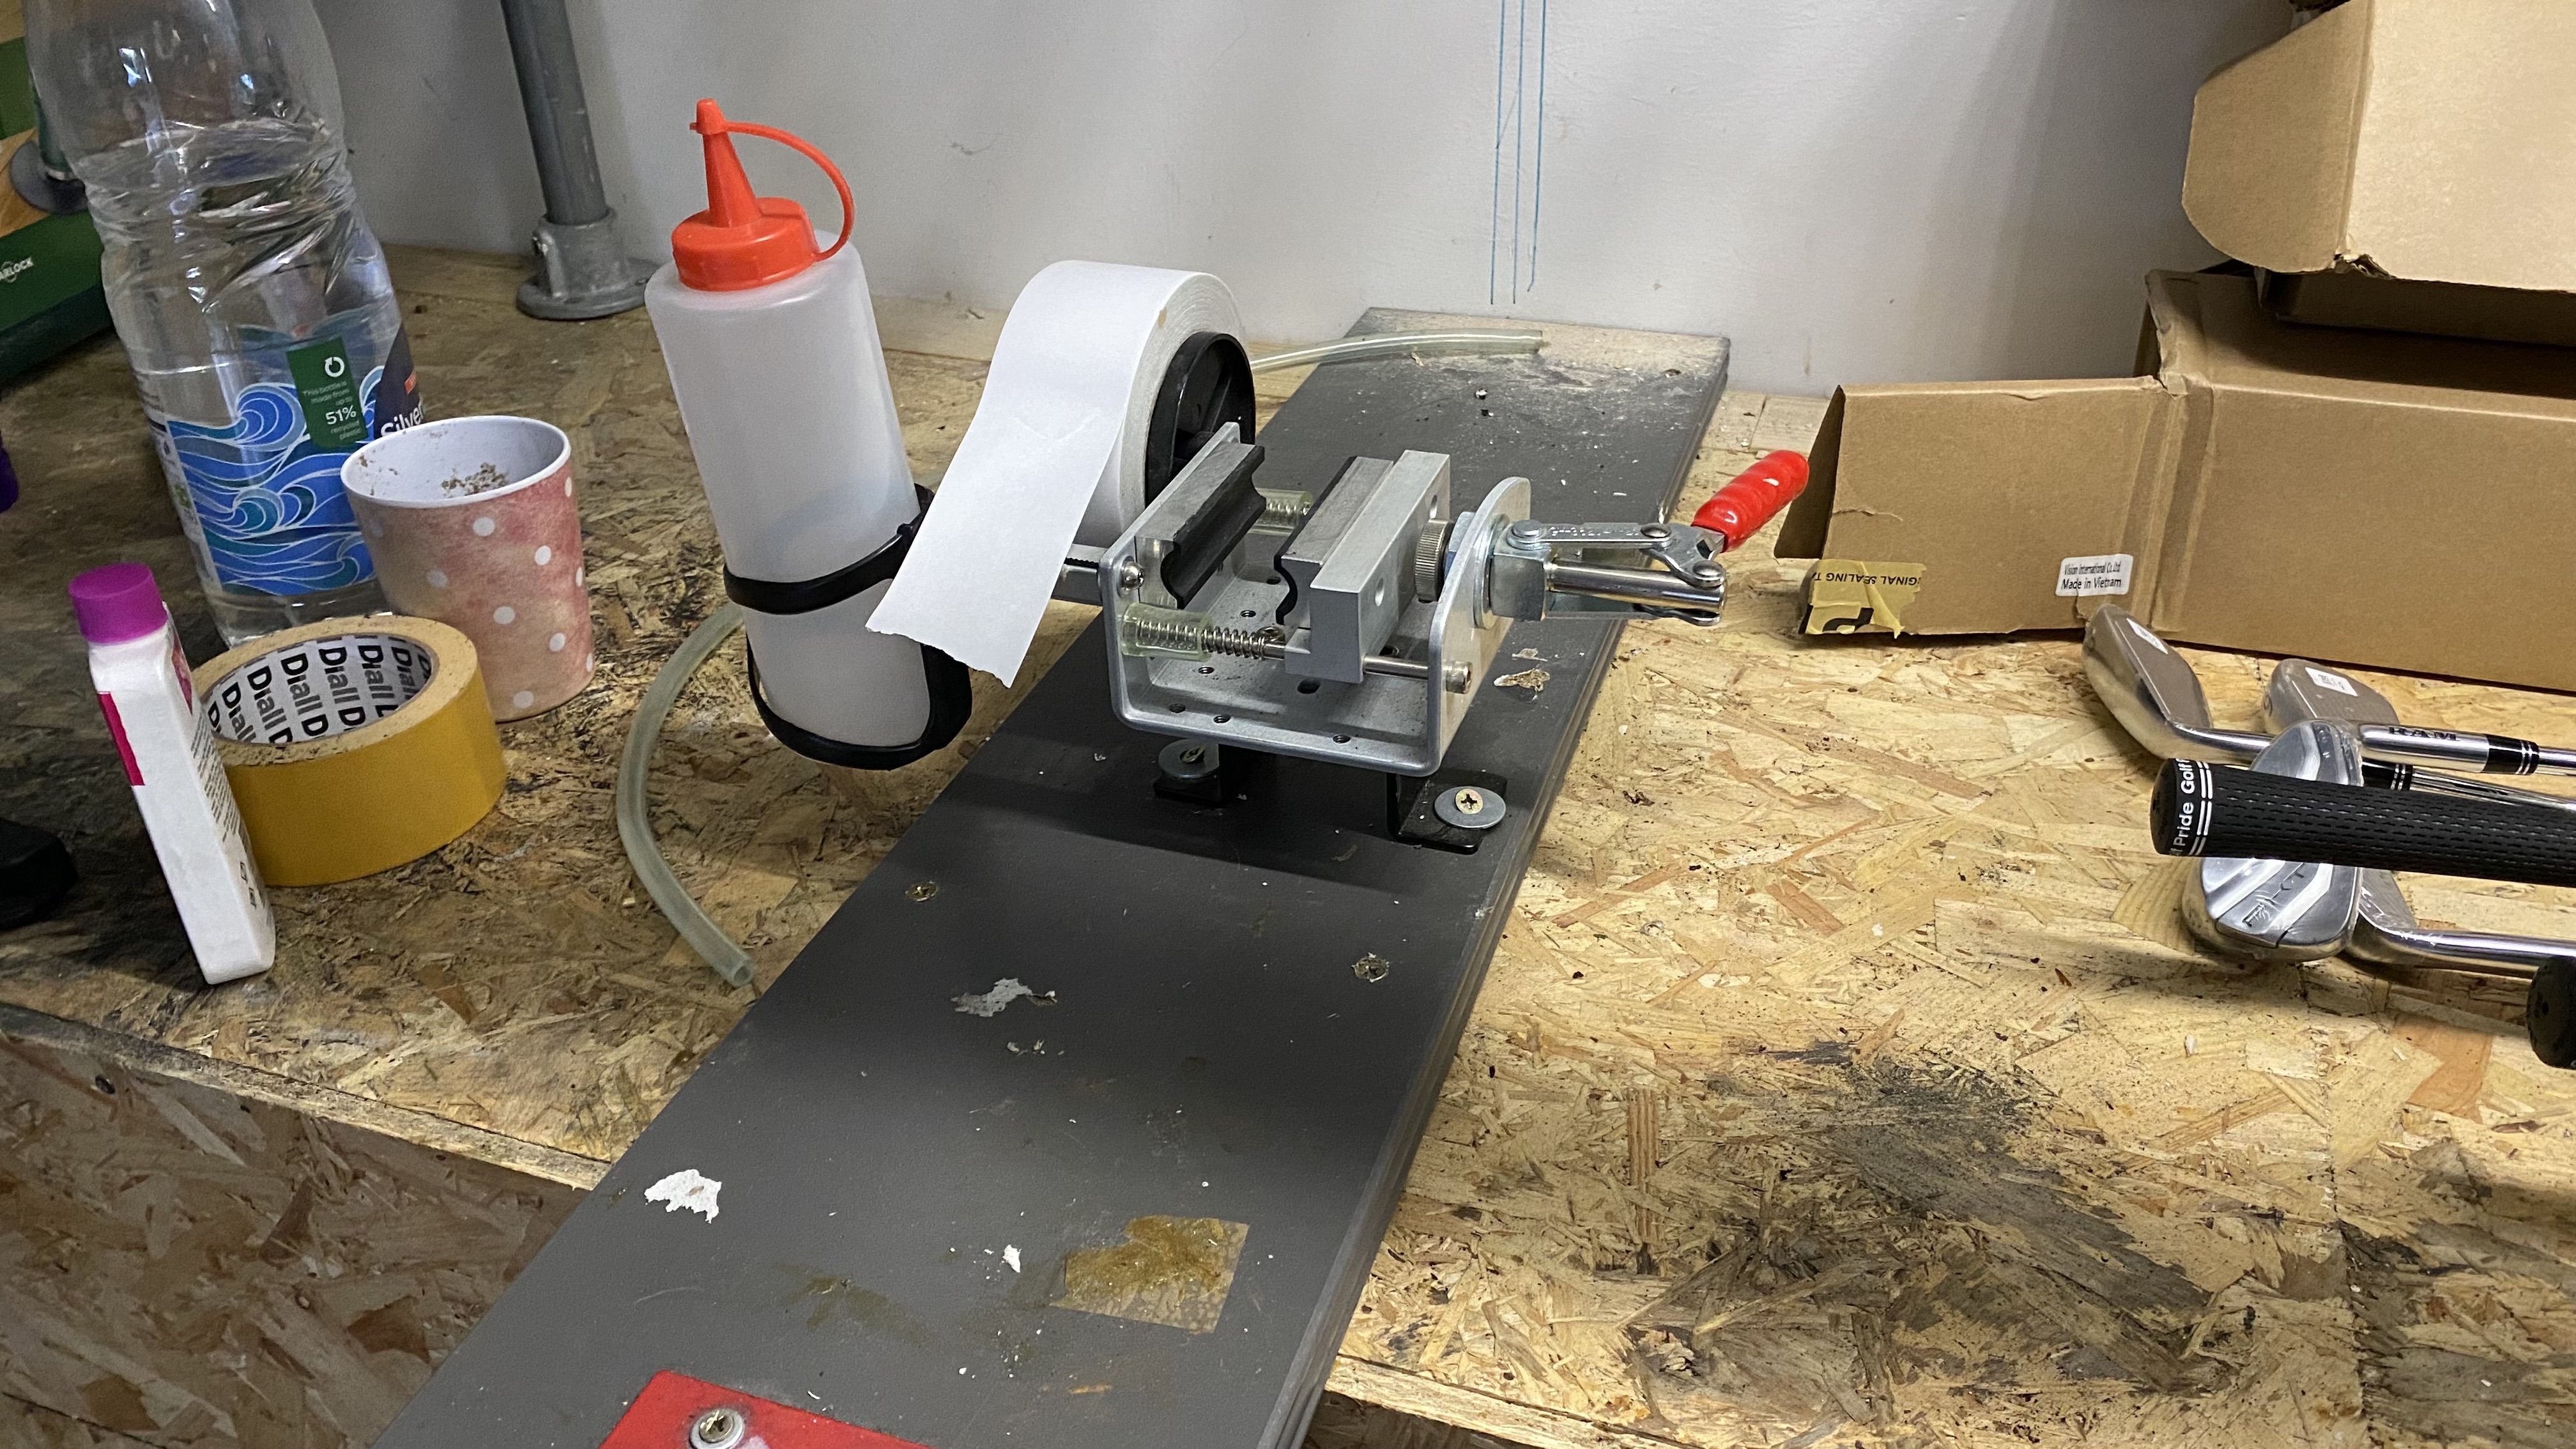
I wouldn’t be without my gripping station now. It saves so much time and mess that I would consider it an essential tool of the recreational club builder. Not only does the clamp ensure the clubface is square, it also ensures that the shaft won't slip when applying pressure to push a grip on. Those of us who have wrestled with a mid length SuperStroke grip before will appreciate the importance of that!
Secondly, the tray collects all of the grip solvent which obviously avoids mess but also saves every last unused drop, saving you money too!
Once you have applied your grip tape, line the clubface up to something square (I have vertical pen lines on the wall of my garage), lubricate the grip with an appropriate grip solvent and slide the grip on ensuring any logos are in line with the square clubface. Simply wipe off any excess fluid and allow to dry.
Shaft extractor
If you are looking to be able to remove graphite shafts, or tips from graphite shafts, then a shaft extractor is essential.
If you try to heat and pull a graphite shaft out by hand, you will almost always melt and twist the graphite fibers, rendering a potentially very expensive shaft useless.
A shaft extractor ensures correct alignment of any pressure and uses a pushing rather than a pulling force to safely remove heads and tips from the shaft.
All shaft extractors are slightly different but applying a combination of gentle heat and pressure is the key to success here.
Miscellaneous
There are hundreds of other pieces of equipment that may come in useful as your skill set and ambition grows, but those are the basics that will get you started.
I would encourage you to do as much research as possible before getting started and always wear appropriate protective gear when undertaking any club repair work.
Here is a short list of other useful equipment to help you on your club tinkering journey:
- Swing weight scale
- Tissue and blue roll
- Lots of old towels
- Wire brush drill bit
- Ferrules and tip weights
- Grinding wheel for preparing steel shafts
- Acetone.
- As much sandpaper as you can get hold of!
- PPE - Goggles and cut proof gloves - be safe!
- Grip tape.
- Sharp hook knife and straight blade.
- Strong Epoxy - (I use 3M Scotchweld DP810)