
Tiling a bathroom floor is one of the most effective ways to improve both the appearance and durability of a bathroom. Tile is naturally resistant to moisture, easy to clean, and available in a wide range of styles, making it one of the most popular flooring choices for bathrooms.
However, learning how to tile a bathroom floor involves more than simply placing tiles on the ground. Proper preparation, careful layout planning, and precise installation are essential to ensure the floor remains level, secure, and water-resistant for many years. This guide walks through the full process—from preparing the subfloor to sealing the grout—so homeowners can understand the steps involved in a successful tile installation.
Preparing the Bathroom Floor for Tile Installation
Before installing any tile, the existing floor must be prepared properly. Many tile installation problems occur because the surface beneath the tile was not properly prepared.
Inspect the Subfloor
Start by inspecting the subfloor to ensure it is structurally sound. The subfloor must be solid, dry, and free from movement. Look for signs of damage such as:
- Soft or spongy areas
- Water damage
- Loose plywood or uneven sections
Any damaged areas should be repaired before moving forward.
Install Cement Backer Board or Underlayment
Bathrooms are high-moisture environments, so installing cement backer board is typically recommended. Backer board creates a stable, water-resistant base that helps prevent tile movement and cracking.
The backer board is secured to the subfloor with thin-set mortar and screws, then taped at the seams to create a solid foundation for the tile.
Ensure the Surface Is Level
A level surface is essential for proper tile installation. Even small dips or high spots can cause uneven tiles or grout lines. Use a level to check the floor and apply floor leveling compound if necessary.
Proper preparation helps ensure the tile floor will remain durable and visually even.
Tools and Materials Needed
Having the correct tools and materials ready before starting the project makes installation more efficient.
Essential Tools
Most tile installations require the following tools:
- Tape measure
- Tile cutter or wet saw
- Notched trowel
- Level
- Rubber grout float
- Tile spacers
- Bucket and mixing paddle
These tools help ensure tiles are cut accurately and installed evenly.
Materials
Common materials needed include:
- Ceramic or porcelain floor tiles
- Thin-set mortar
- Grout
- Cement backer board
- Tile spacers
- Grout sealer
Porcelain and ceramic tiles are often recommended for bathroom floors because they resist moisture and wear.
Step-by-Step: How to Tile a Bathroom Floor
Once the floor is prepared and materials are ready, the tile installation process can begin.
Step 1: Plan the Tile Layout
Layout planning is one of the most important parts of tile installation.
Start by measuring the bathroom and finding the center of the room. From this center line, dry-lay several rows of tiles to see how they will fit within the space.
This step helps avoid placing small, uneven tile cuts along visible edges of the room.
Adjust the layout if necessary to create balanced tile spacing across the entire floor.
Step 2: Apply Thin-Set Mortar
Thin-set mortar acts as the adhesive that bonds the tile to the floor.
Mix the mortar according to the manufacturer’s instructions. Using a notched trowel, spread the mortar across a small section of the floor.
Working in small sections prevents the mortar from drying before tiles are installed.
Step 3: Install the Tiles
Press each tile firmly into the mortar, twisting slightly to ensure proper adhesion.
Tile spacers should be placed between each tile to maintain consistent grout lines.
Check alignment frequently using a level to ensure the tiles remain even across the floor.
During full bathroom renovation projects, tile flooring is often installed alongside other upgrades such as new vanities, showers, and plumbing. Experienced remodelers such as America's Advantage Remodeling frequently coordinate these upgrades to ensure that flooring installation aligns with the overall bathroom design.

Step 4: Cut Tiles to Fit Edges and Corners
Tiles along walls, fixtures, and corners often require precise cuts.
Measure the space carefully before cutting the tile. A tile cutter or wet saw is commonly used to make accurate cuts.
Cut tiles are usually placed along the edges of the room where they are less noticeable.
Step 5: Allow Mortar to Cure
After all tiles are installed, the thin-set mortar must cure before applying grout.
Most installations require waiting approximately 24 hours before walking on the floor or beginning the grouting process.
Allowing sufficient curing time helps ensure the tiles remain securely bonded.
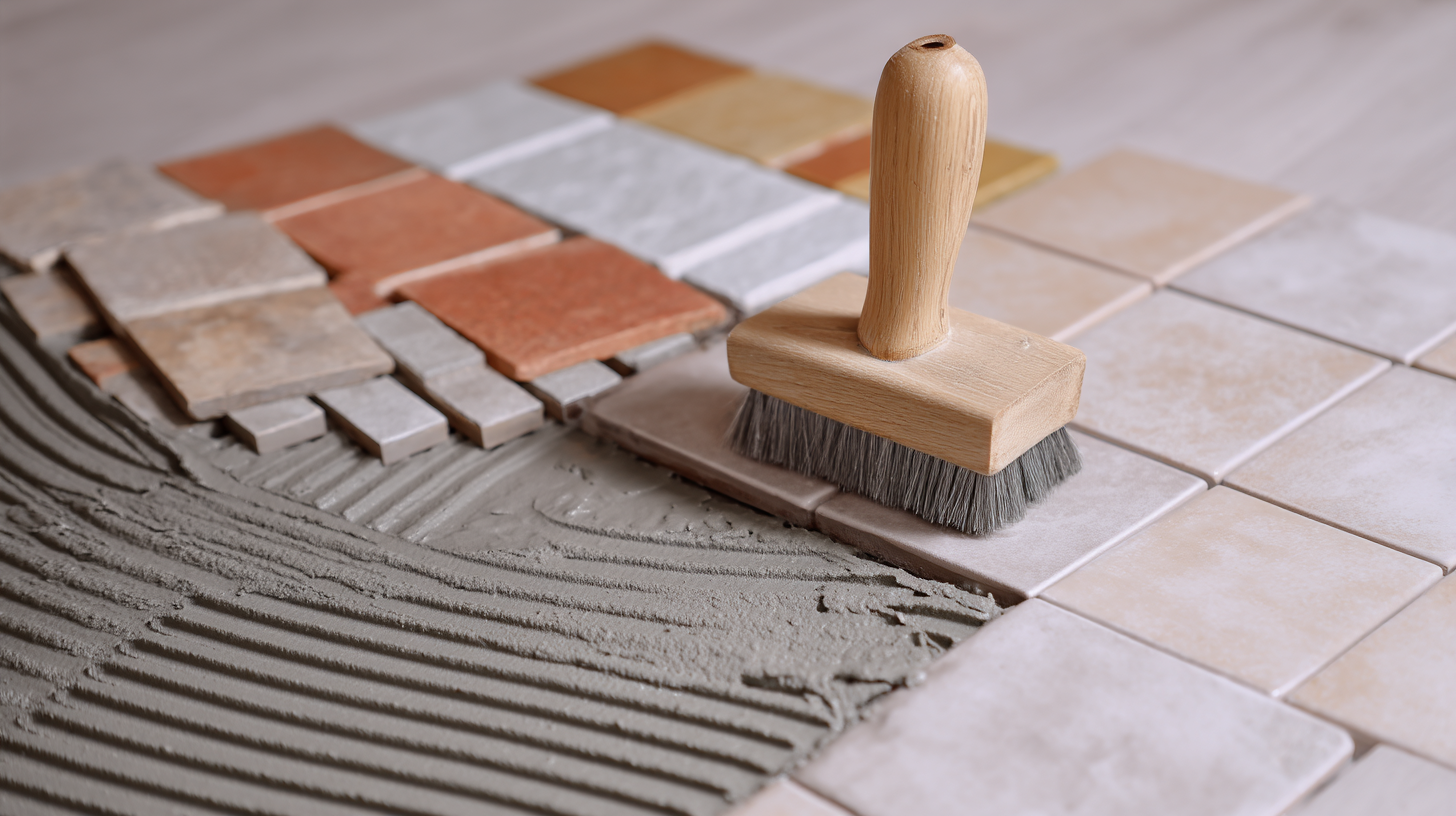
Step 6: Apply Grout Between Tiles
Once the mortar has cured, grout is applied between the tiles to fill the joints.
Using a rubber grout float, spread grout across the tile surface while pressing it firmly into the joints.
After the joints are filled, remove excess grout with a damp sponge and allow the grout to dry according to the manufacturer’s instructions.
Step 7: Seal the Grout
After the grout has cured, a grout sealer can be applied.
Sealing grout helps protect it from moisture, stains, and mildew—an important step for bathroom environments.
For homeowners installing tile across larger areas or multiple rooms, professional flooring installers such as Best Floor Coverings can help ensure precise tile alignment and long-lasting flooring performance.

Common Mistakes to Avoid When Tiling a Bathroom Floor
Even small mistakes during tile installation can lead to problems later.
Skipping Subfloor Preparation
Failing to properly prepare the subfloor is one of the most common reasons tiles crack or loosen.
Using the Wrong Mortar
Different tile types may require specific adhesives. Always confirm the correct mortar for the tile material.
Poor Tile Layout Planning
Starting tile installation without planning the layout can lead to uneven tile placement and awkward cuts along visible edges.
Rushing the Grouting Process
Grout should only be applied after the mortar has fully cured. Rushing this step can weaken the installation.
Tips for Maintaining Your Bathroom Tile Floor
Once installed, proper maintenance helps keep bathroom tile floors looking new.
Helpful maintenance practices include:
- Cleaning tiles regularly with mild cleaners
- Avoiding harsh chemicals that damage grout
- Resealing grout periodically
- Replacing cracked tiles quickly
These simple steps help extend the lifespan of the flooring.
Final Thoughts
Learning how to tile a bathroom floor requires careful preparation, precise layout planning, and patience during installation. While tile installation can be completed as a DIY project in some cases, it still requires attention to detail and proper materials to ensure long-lasting results.
When installed correctly, a tile bathroom floor can provide decades of durability while enhancing the overall appearance of the space. Whether completing a small bathroom update or planning a full renovation, understanding the tile installation process helps homeowners make informed decisions about their project.