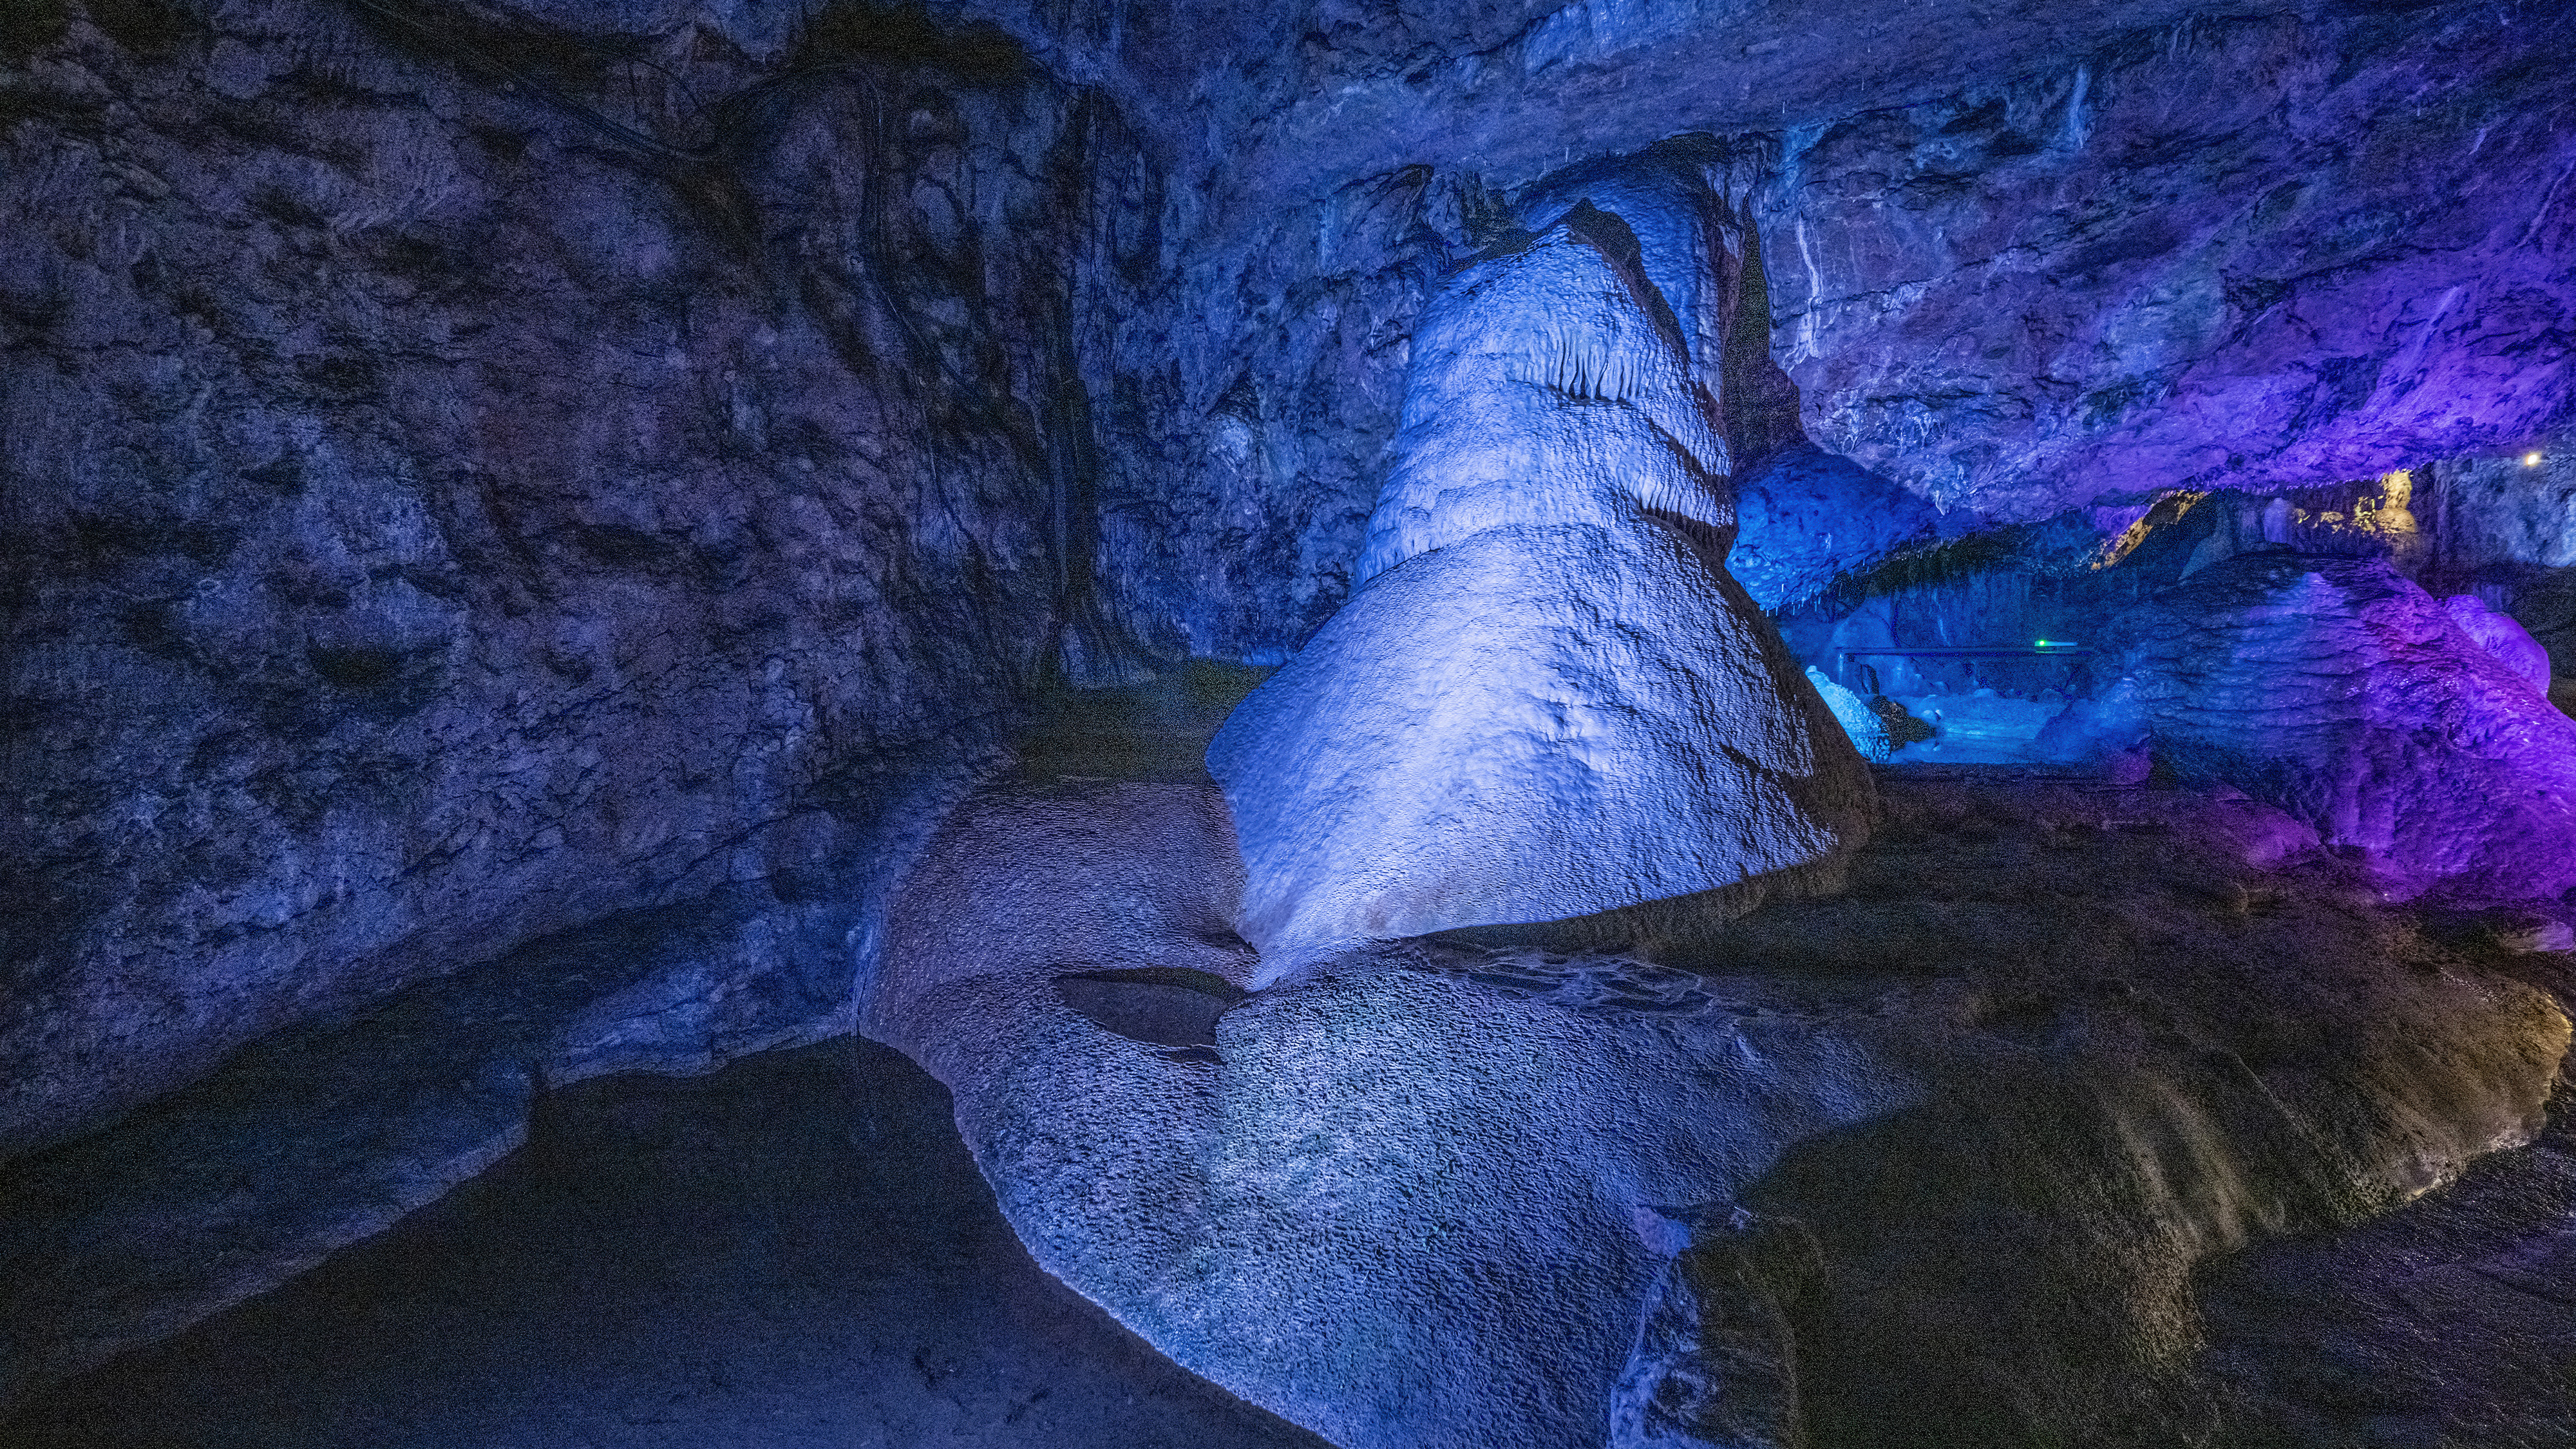
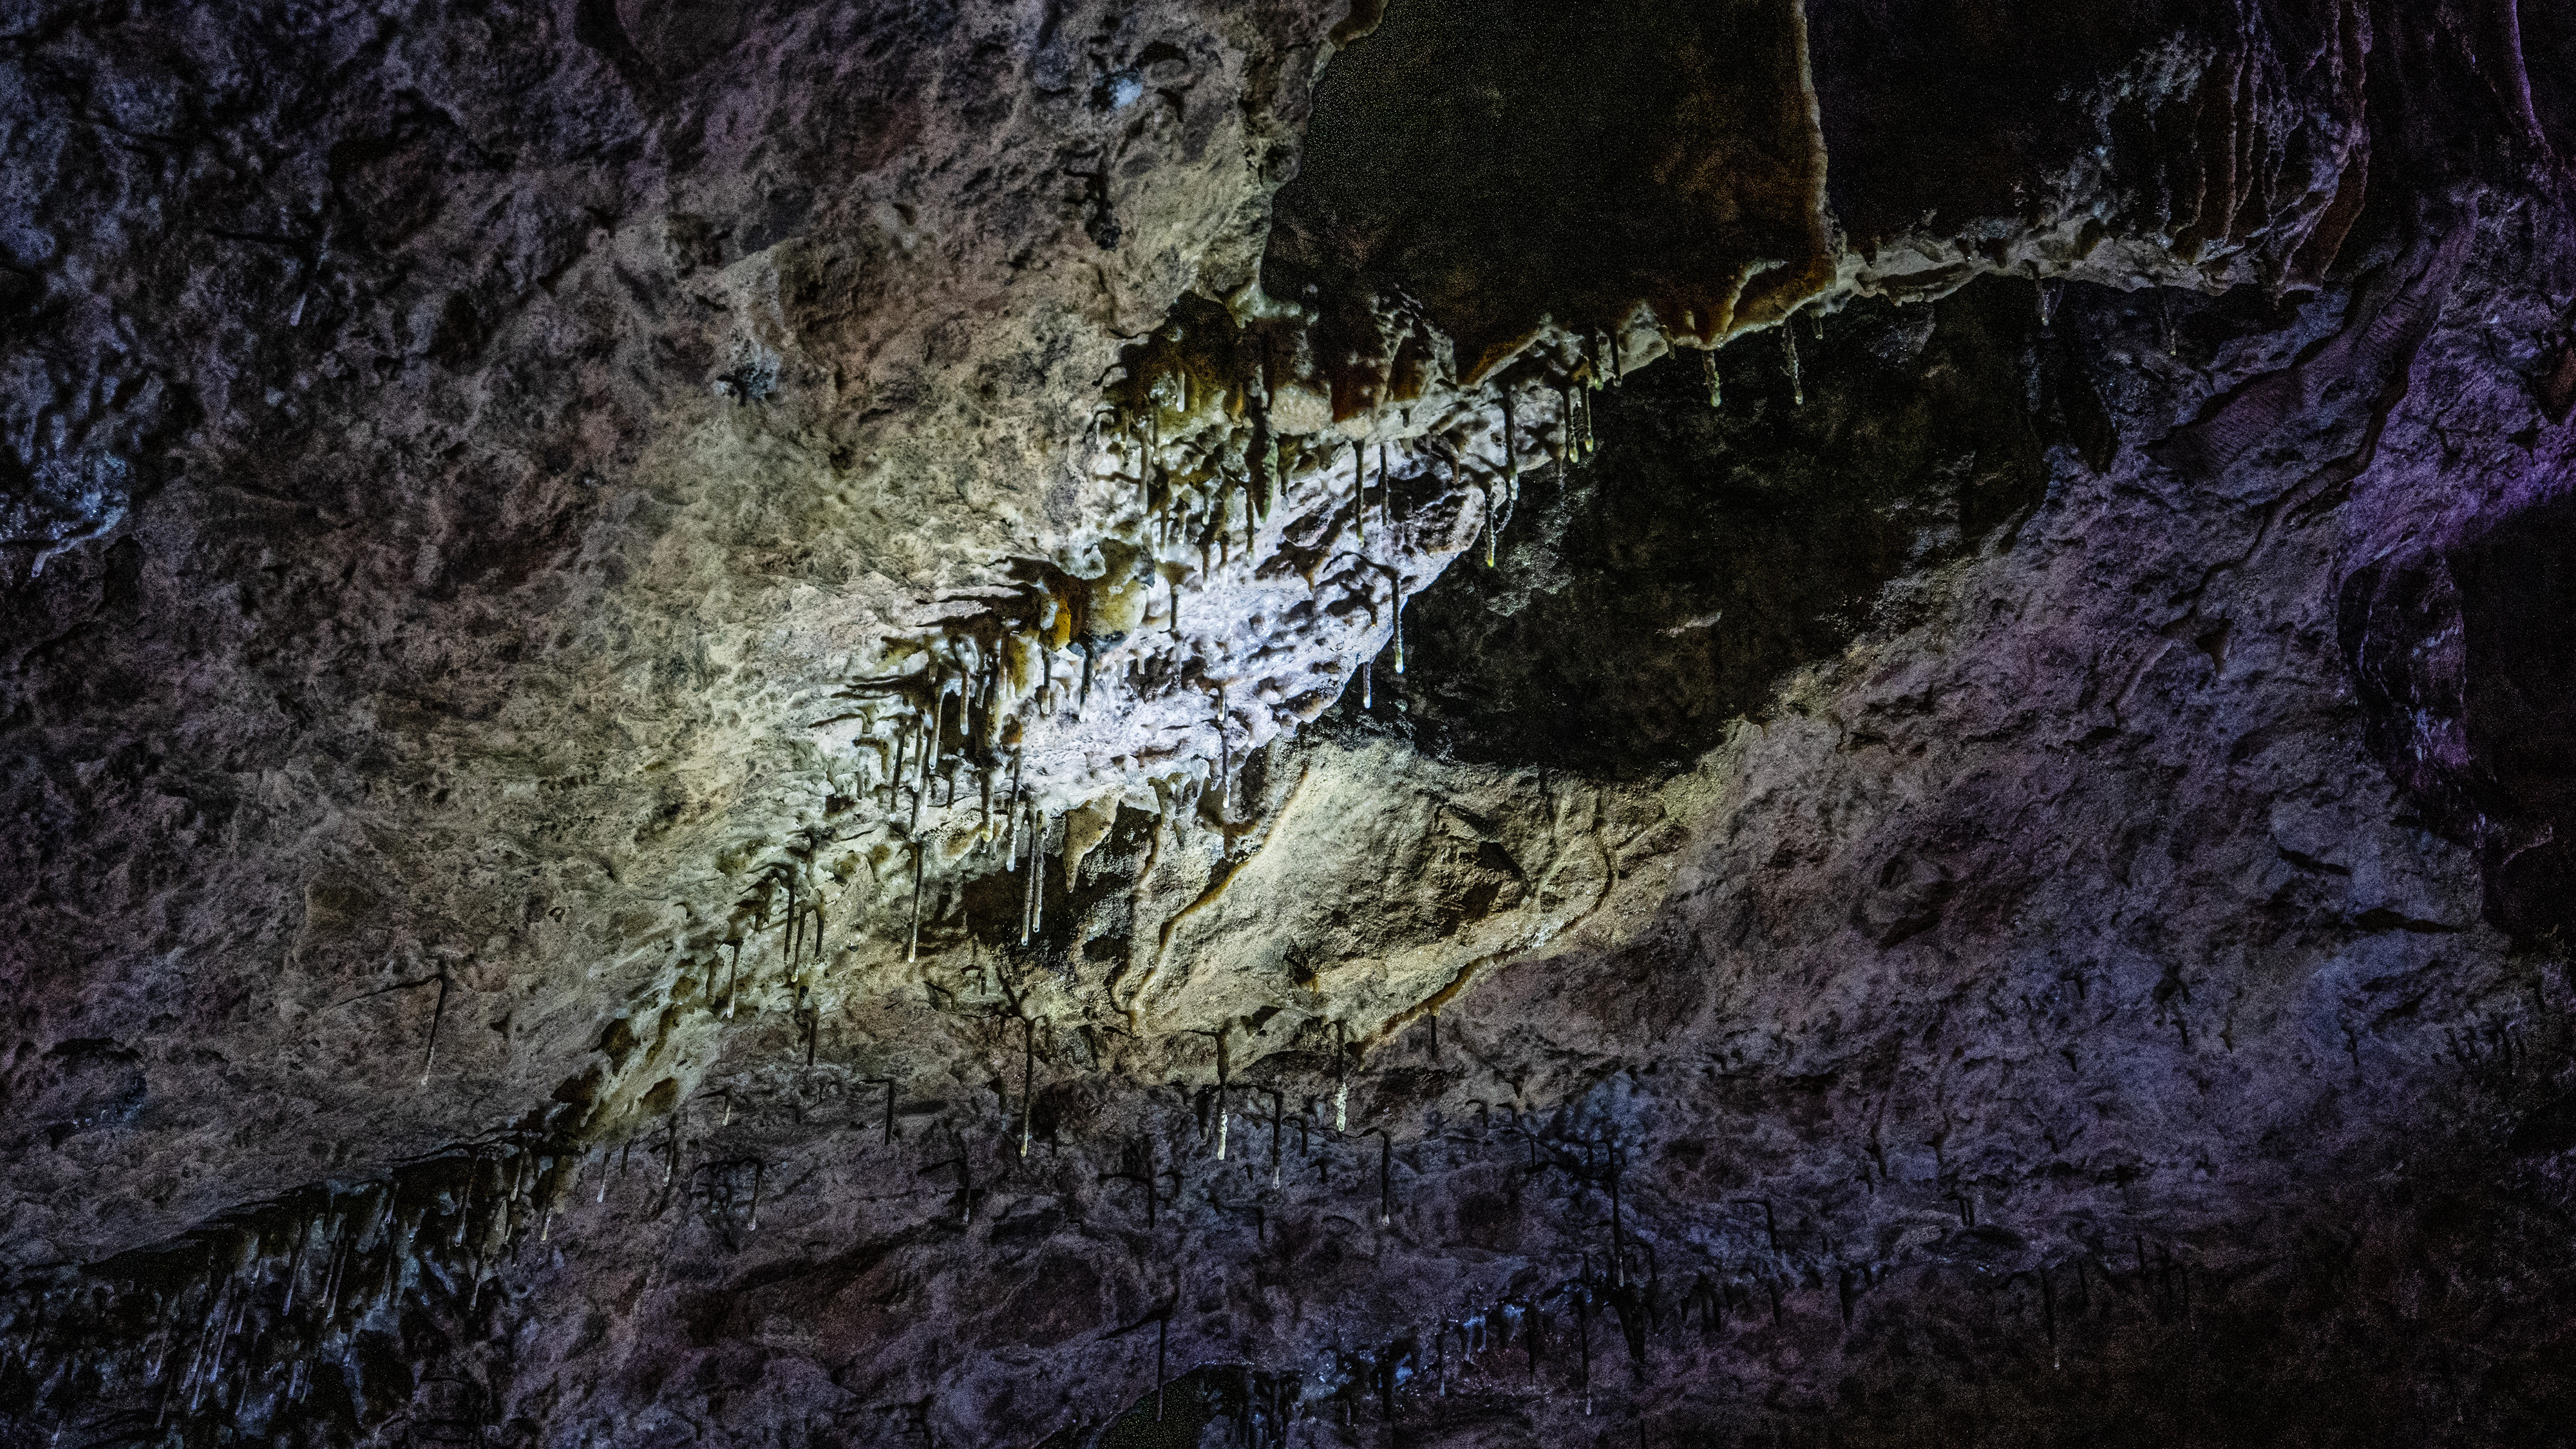
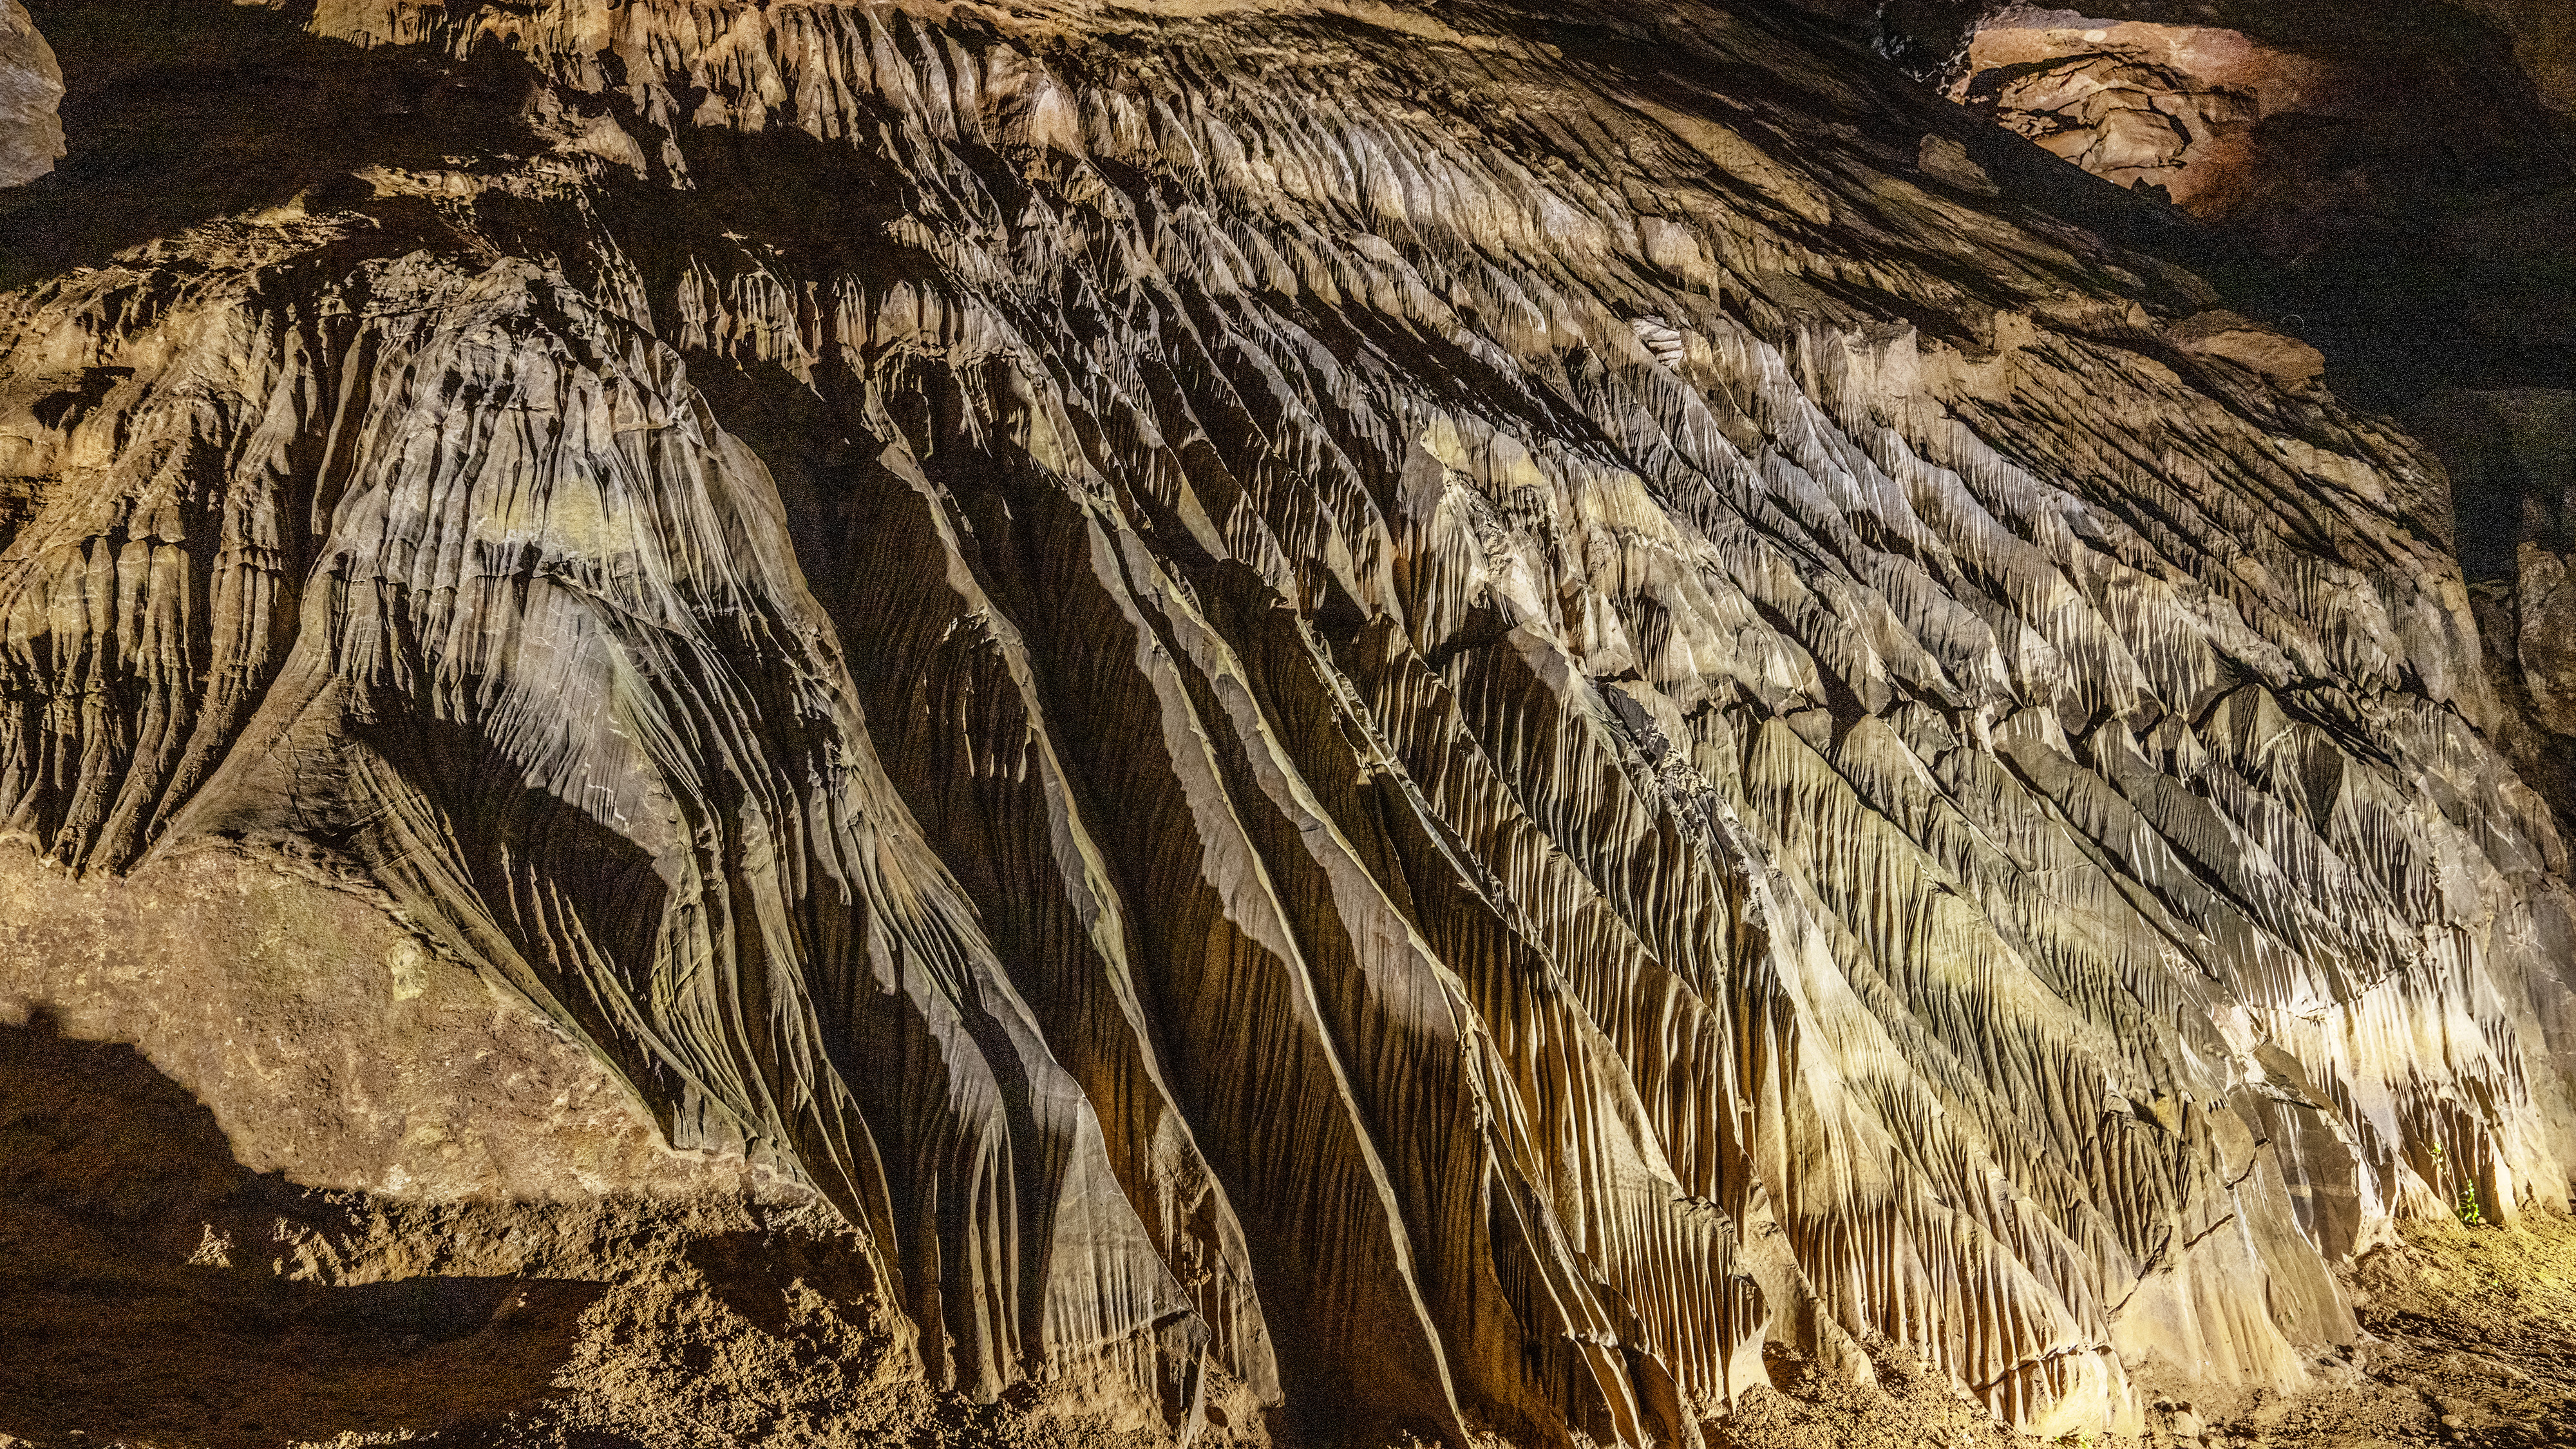
In times gone by, caves performed a vital service by providing shelter for animals and early humans. Usually created by faintly acidic rainwater running down through limestone and dissolving the rock, cave systems take thousands of years to fully form. Stalactites (the ones that hang down) and stalagmites (the ones that grow upwards) are created by rainwater loaded with dissolved calcium bicarbonate from the limestone above, typically growing at a rate of less than 10cm every thousand years.
The premise of this article is that you’re taking a tour around a commercial cave system, so tripods and using a flashgun aren’t allowed. It goes without saying that the low light level is going to be challenging throughout, but that’s not quite your biggest one.
The biggest challenge
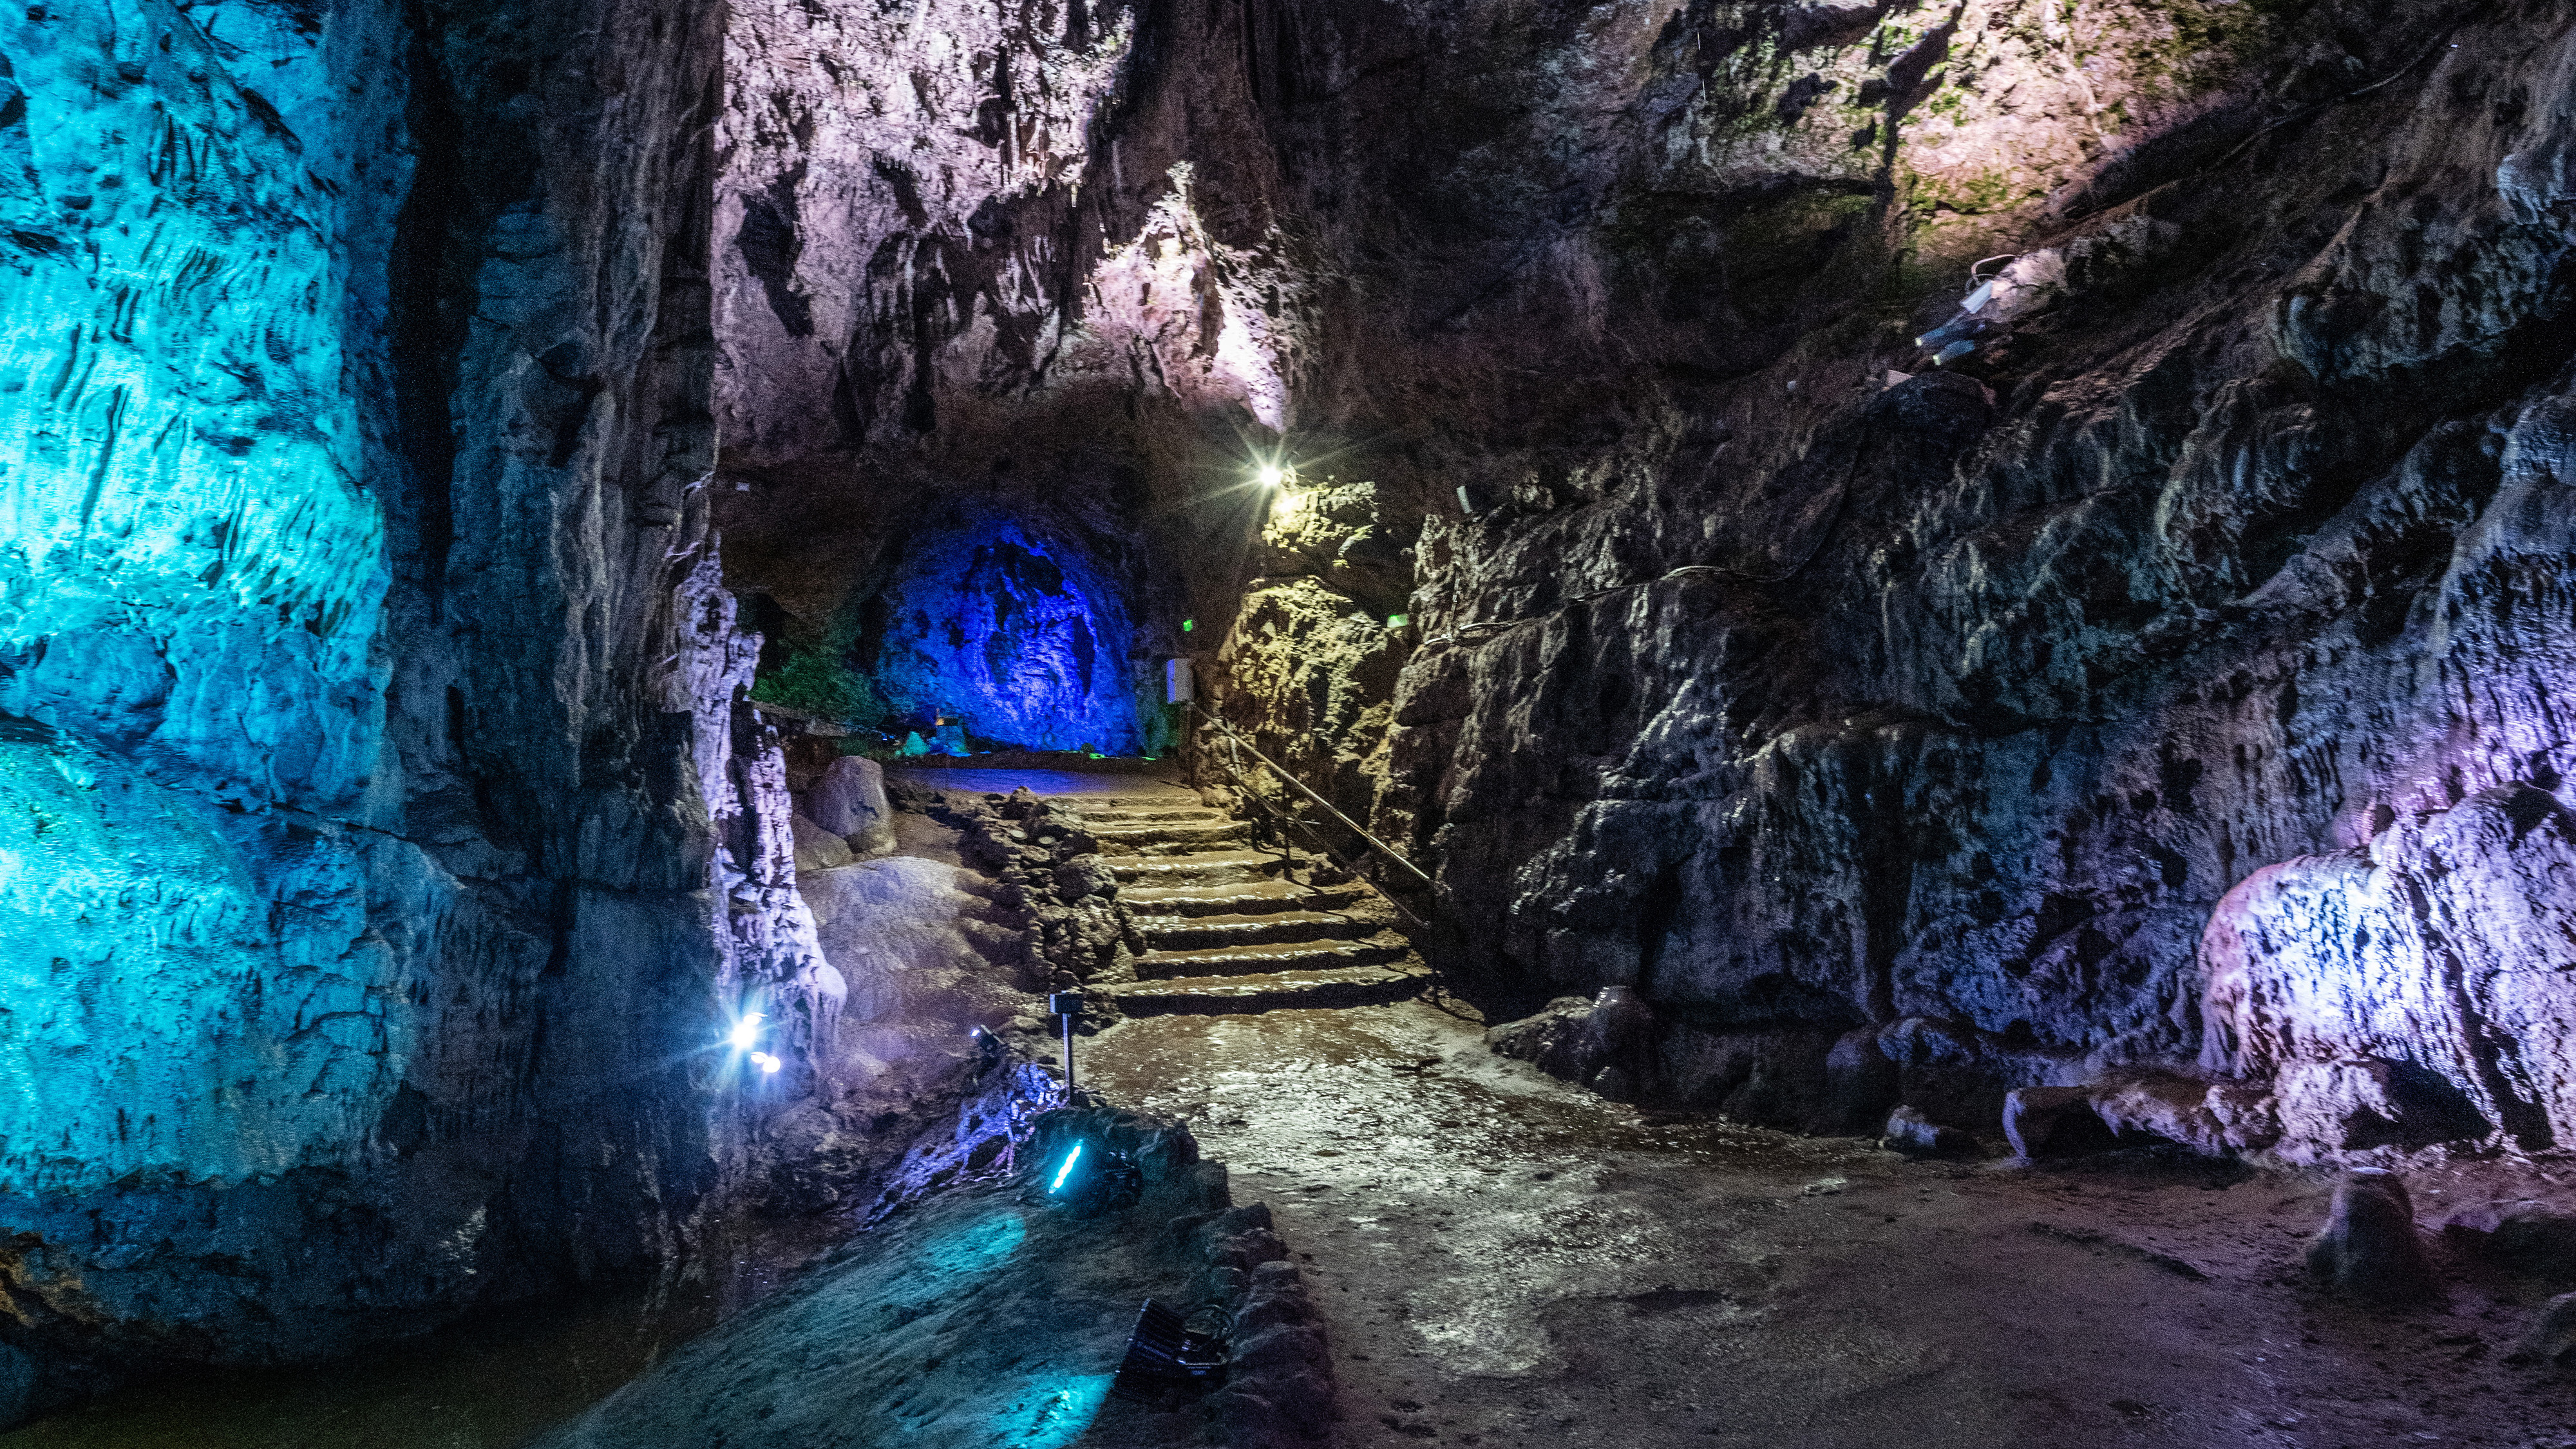
No, the bigger menace are spotlights on reflective surfaces. As this type of cave system has usually been opened up for visitors, there will be spotlights to highlight interesting features. The trouble is, they will be quite bright, in very small areas, whereas the rest of the cave will be suitably murky and dim. This will fool most metering systems, resulting in blown highlights on these reflective surfaces. For that reason, always shoot RAW, not JPEG. Sometimes you can get away with a couldn’t-care-less approach to file formats, but not here. Shoot JPEG and you’ll be crying over the hotspots later. Even RAW, though, has its limits, so in caves which do have some very bright spots then either use Highlight Metering or Center-Weighted Metering and meter off the lights, then lock the reading and recompose for the actual shot. Yes, you’ll have your work cut out in the RAW files later, pulling all the details out of the shadows, but at least that’s possible whereas cloning overblown highlights is no-one’s idea of a good time.
So that’s the metering side, how low you can go with the shutter speed with your camera setup is something you need to appreciate in advance because it dictates how much you’ll need to increase the ISO rating to get a usable shot. A wide-angle lens, lens-based vibration reduction, in-body image stabilisation, mirrorless systems, and steady hands all contribute to what’s feasible.
Also, if you can take a monopod around with you (often you can’t, some places you might be able to) then that will help facilitate lower shutter speeds. Where do you draw the line? Without being able to prop either myself or the camera against anything, I’m looking at 1/25 sec as the minimum and if the shutter speed drops below that, I need to take action.
One method of going about shooting down below is to use Manual mode, set the shutter speed to your minimum for handheld shots, use the aperture you want for the scene, and set the ISO to Auto to let it pull in enough light for the shot. This is a fairly quick method of working, as you’re only changing the aperture every so often but there’s less control over the ISO and the resulting noise.
The alternative method is to use Aperture Priority mode and set the aperture for the scene, keeping an eye on the shutter speed and adjusting the ISO as and when required. It’s a lot more fiddly, but there’s more control and if you’re not in a busy, large tour group where your time to get each shot is fairly limited, then it’s a good option.
So, the next question is what aperture to use? With a wide angle lens you’re getting a decent amount of depth of field compared to a telephoto lens, but the key factors are how big is each cavern, how much back to front sharpness do you need, how much light is there, how high is the ISO rating? It’s a constant mental juggling exercise. So, a small cavern, there’s less to include, you can use a wider aperture, bring the ISO down perhaps. If there’s not much light and you’re facing really high ISO ratings (such as 3200 or higher) then sometimes you just have to make the best of the situation by opening up the aperture to f/2.8-f/4 to get more light in, but then focus on the most important element in the scene, so at least that’s going to be in focus. For a bigger cavern, where maybe you can stop down to f/8, take the standard landscape path of focussing a third of the way into the scene.
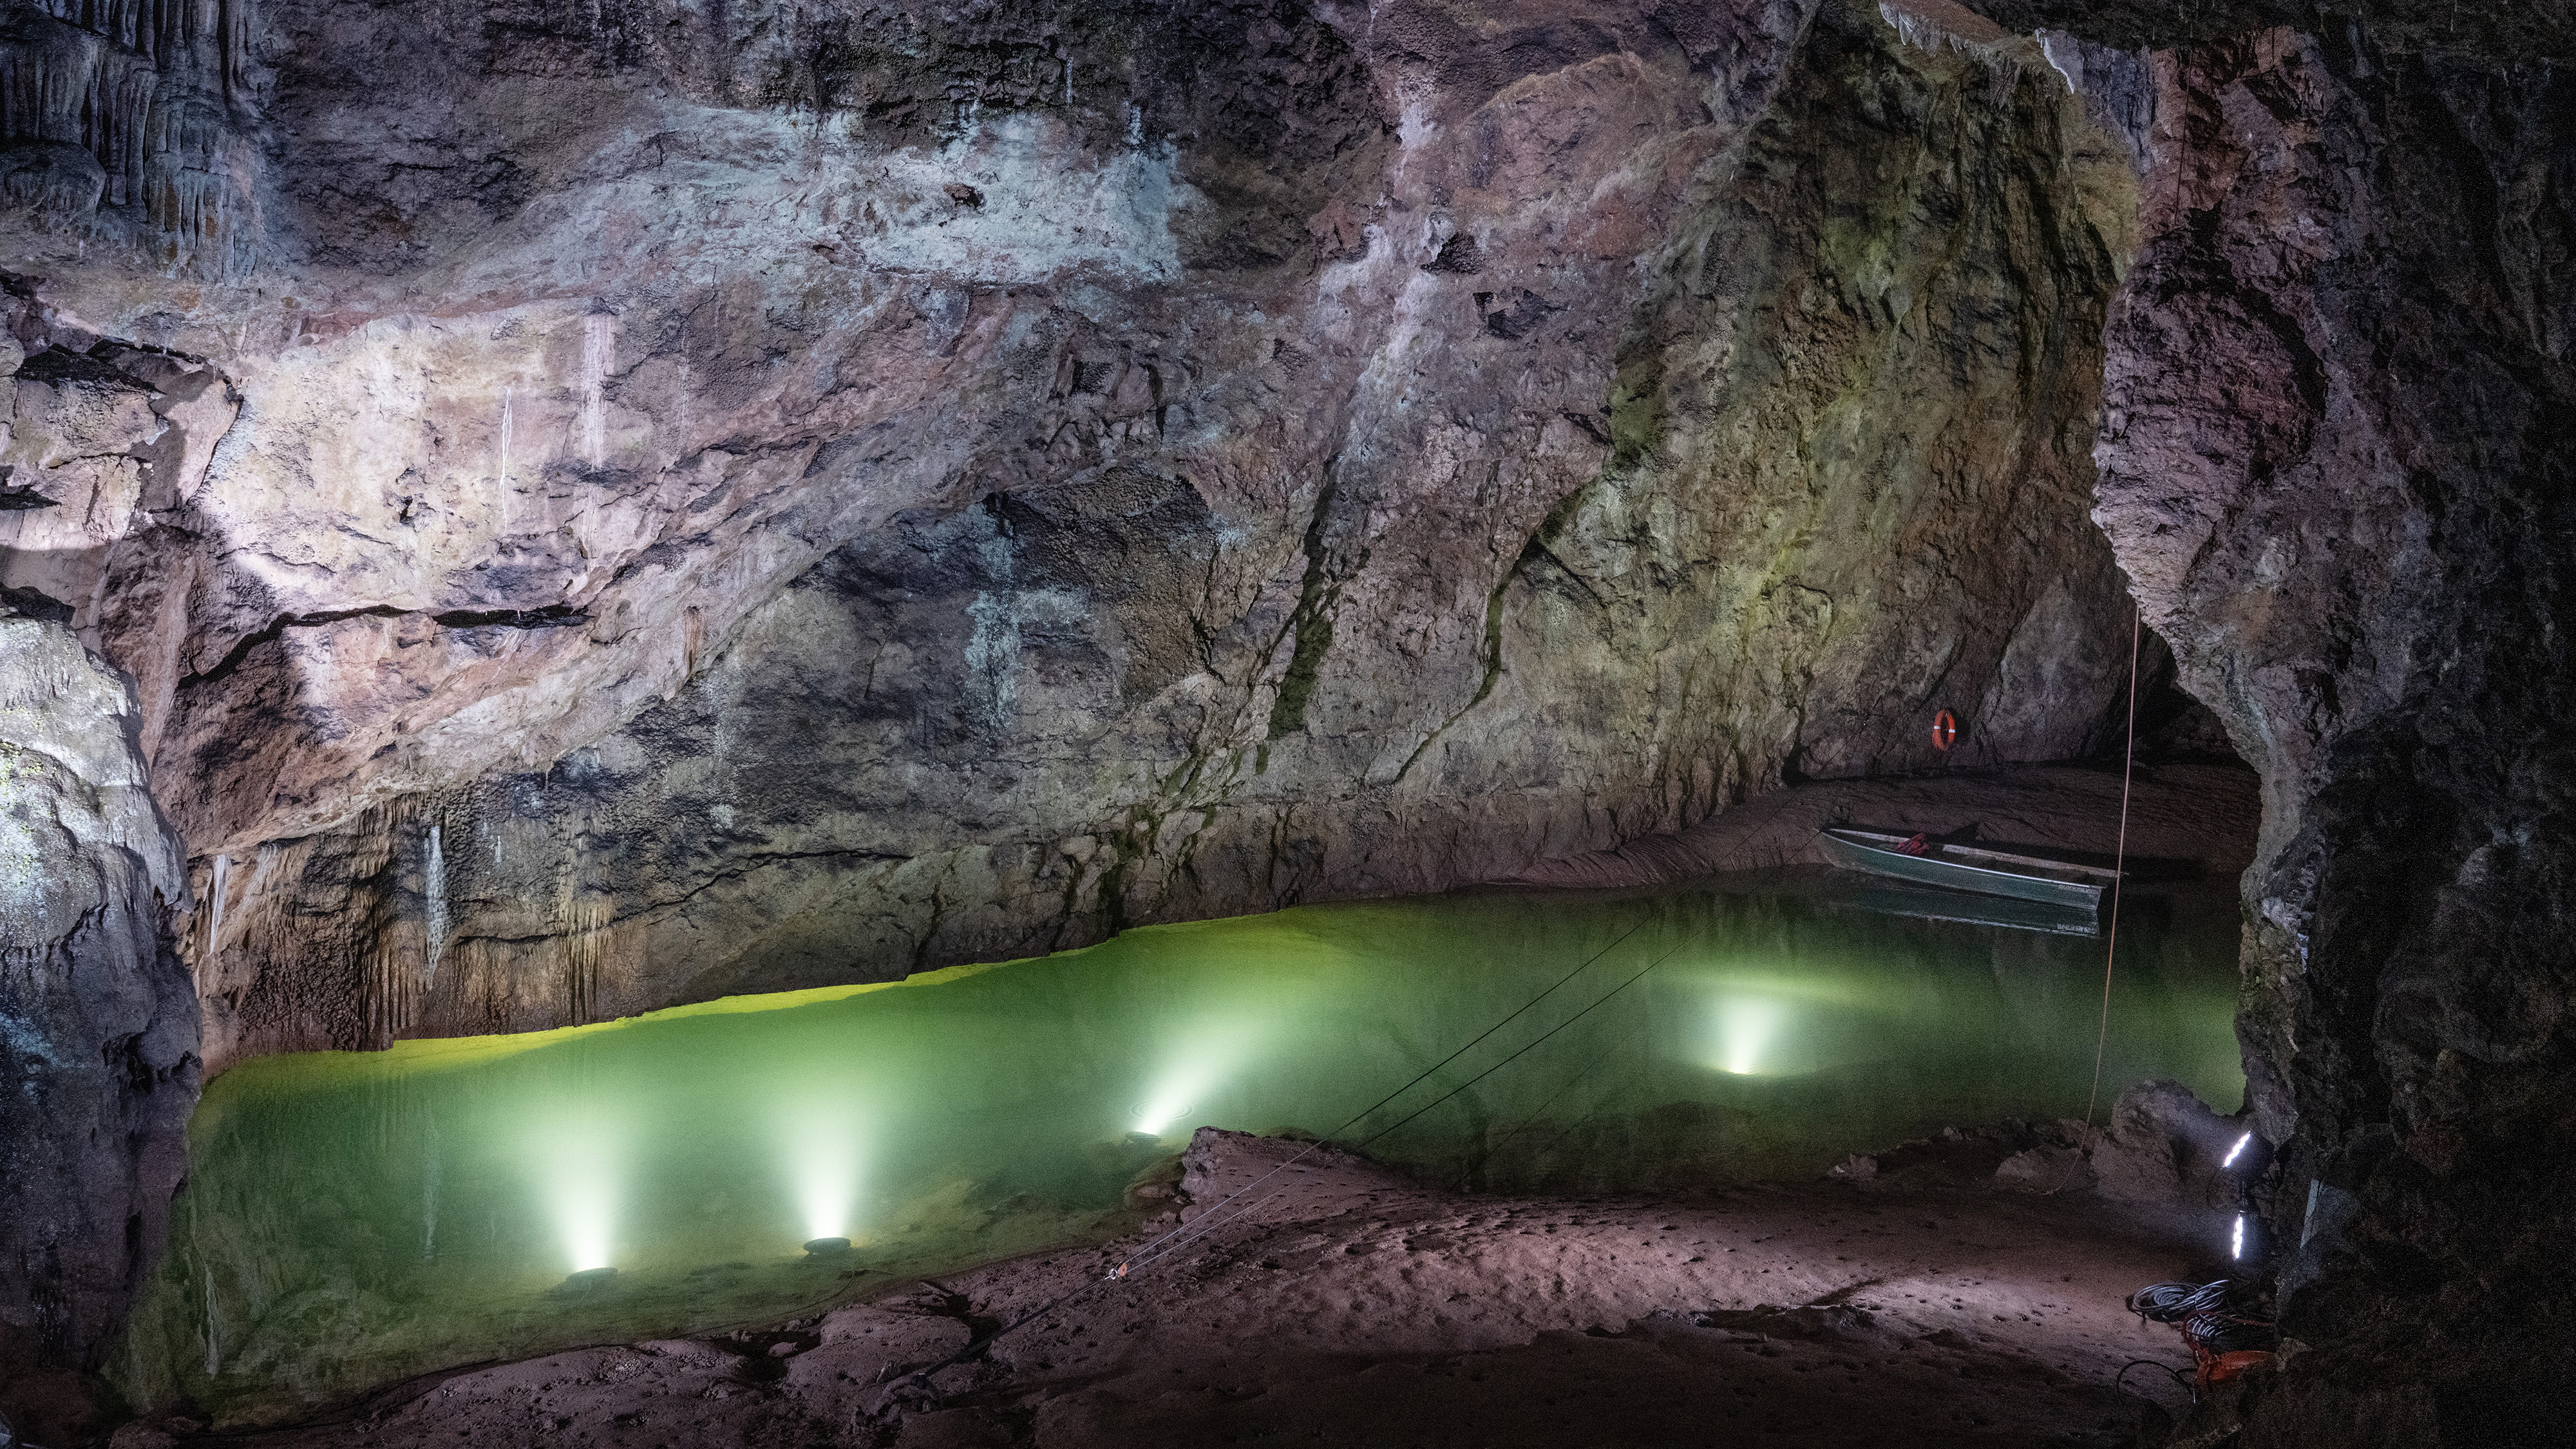
What about water
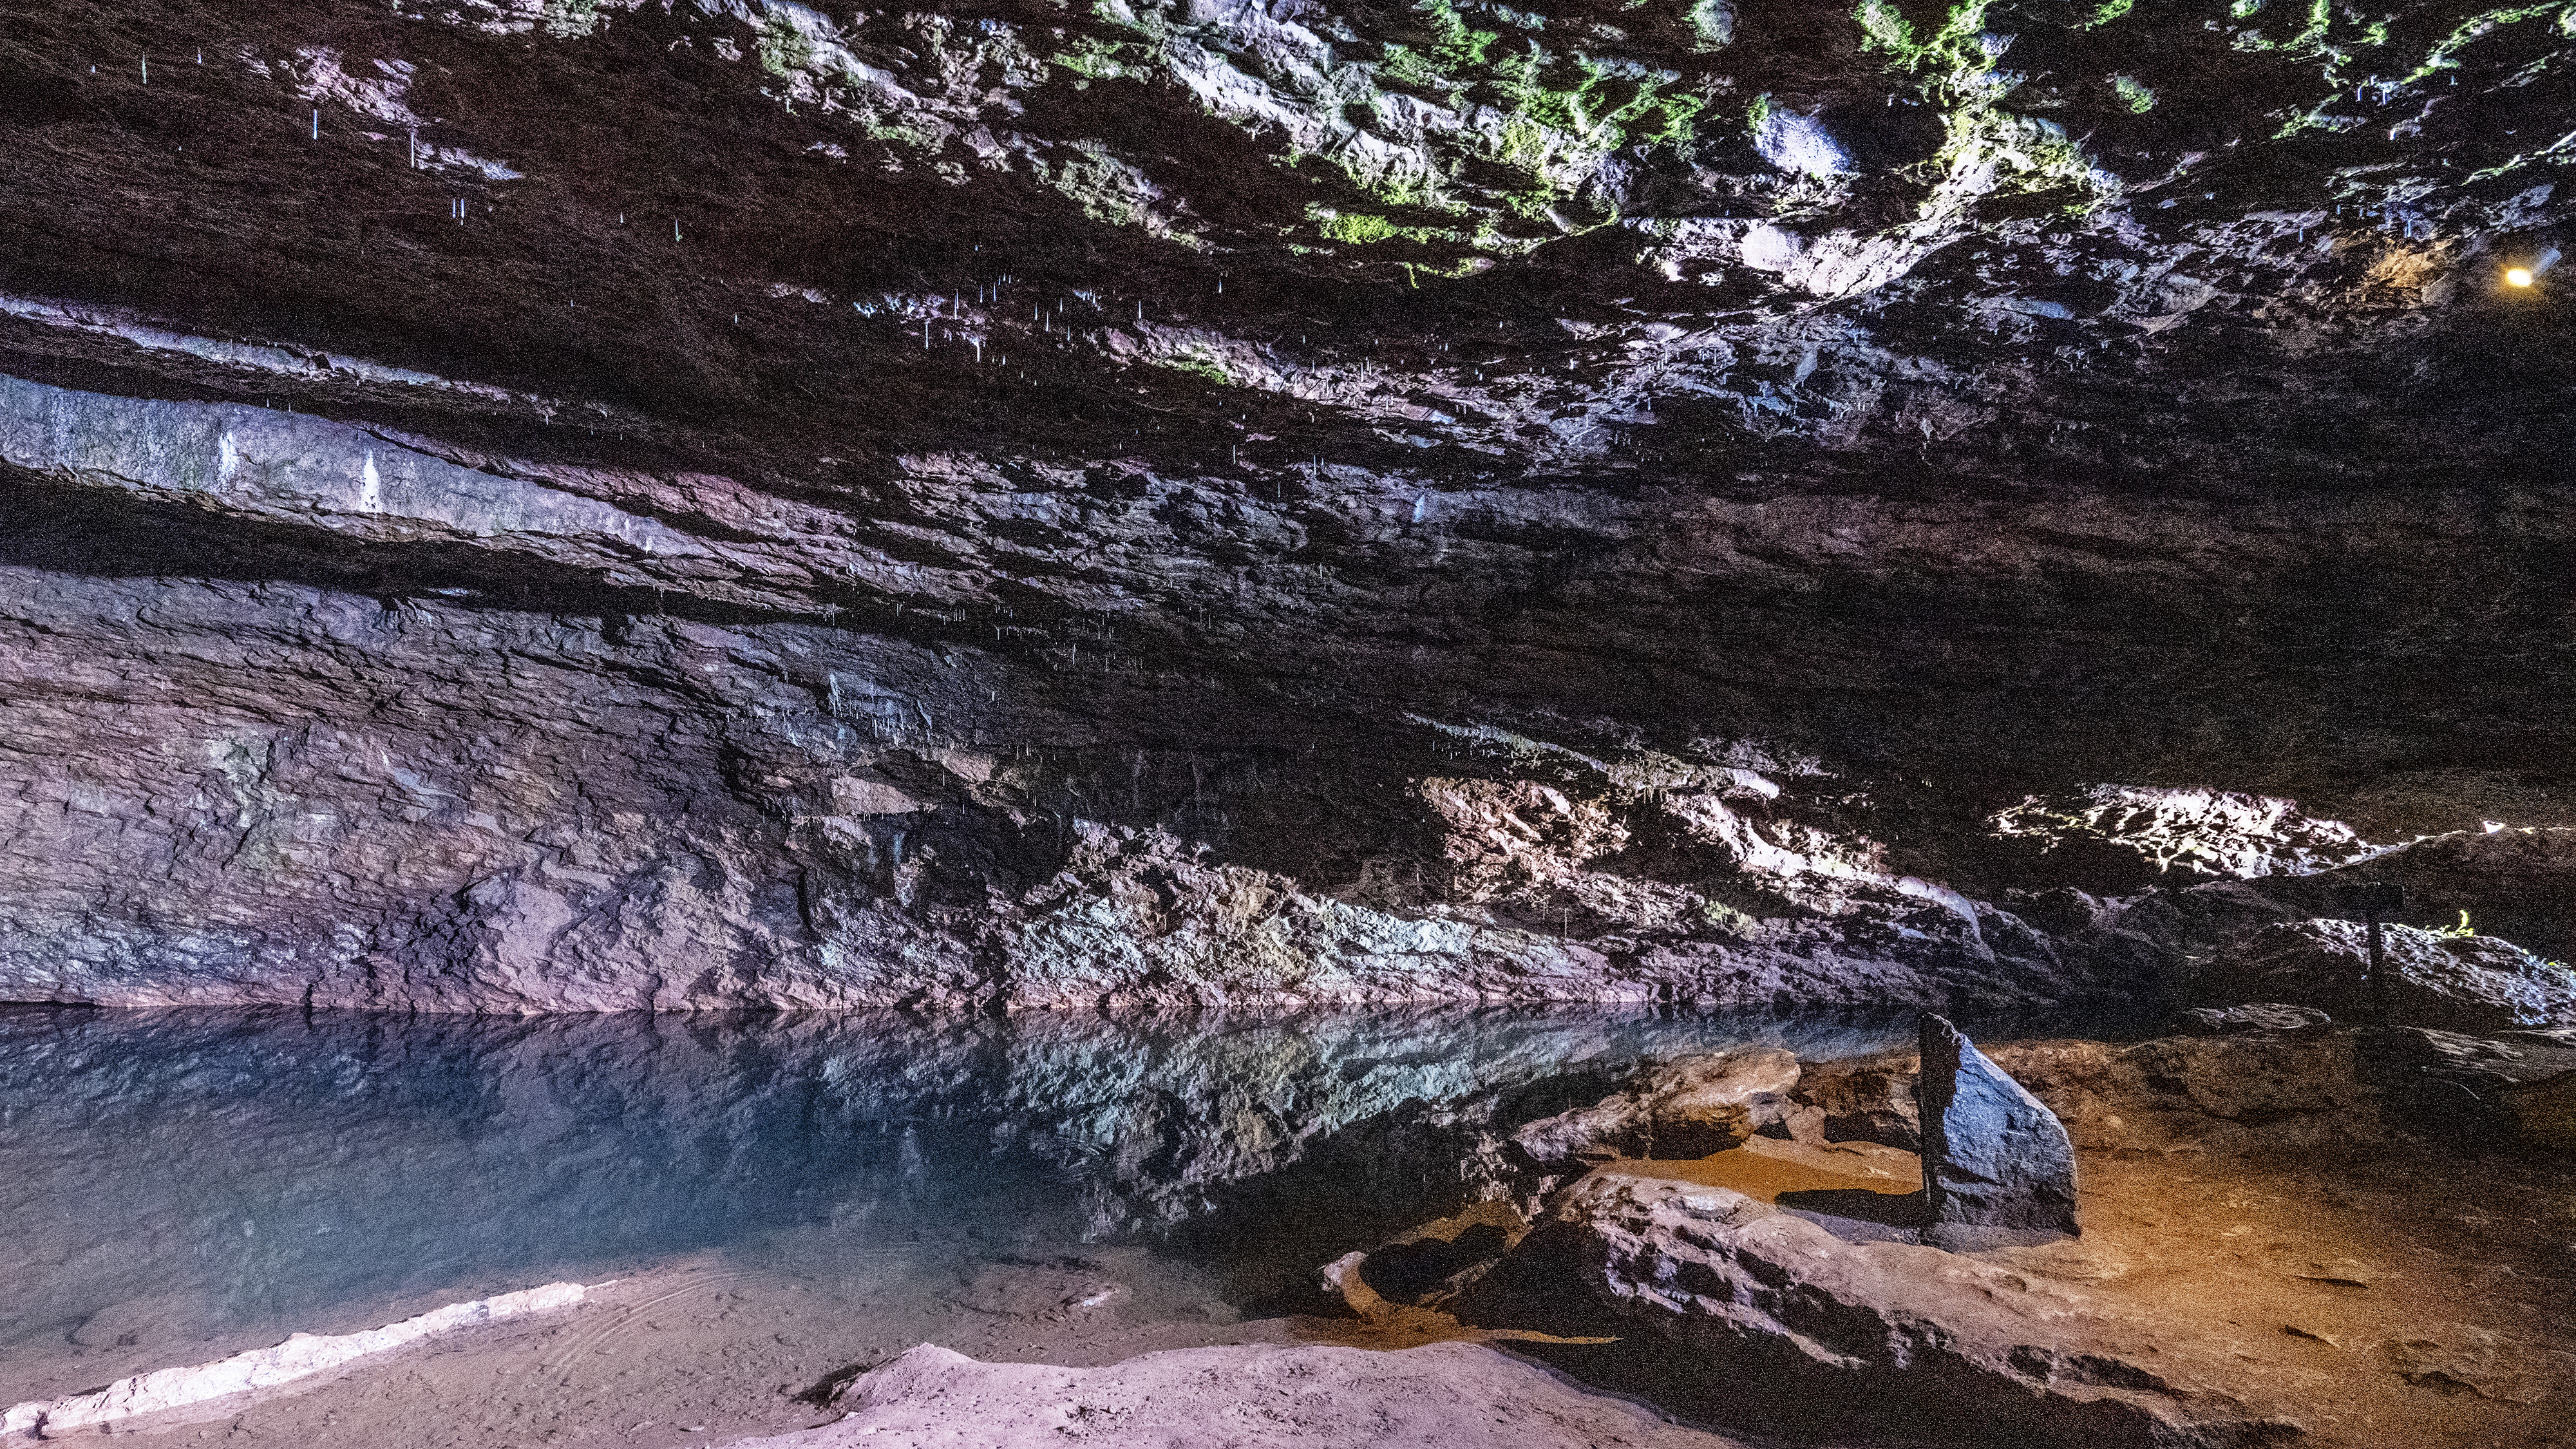
Pools of water, rivers, underground lakes, they all add to the interest. While any fast-flowing water can add a dramatic element to an underground photo, it’s the still pools that have more potential because of the reflections. If you’re lucky, there will already be a reflection off the water surface, but if not, are you willing to try using a circular polariser?
Rotate it to maximise reflections and get a better photo but there’s a price to pay. It’s around two stops less light coming into the camera. What difference does it make? Down in the depths, where you are shooting on the edge, quite a lot. Say the shutter speed was 1/32 sec, you’re good with that but then add the polariser. It’s now ⅛ sec. Do you feel lucky? Or, your ISO was 1600, but now it’s 6400. How much more noisy is the photo now? Of course if this particular cavern has relatively good light, then a two stop hit is much more palatable.
Past and present
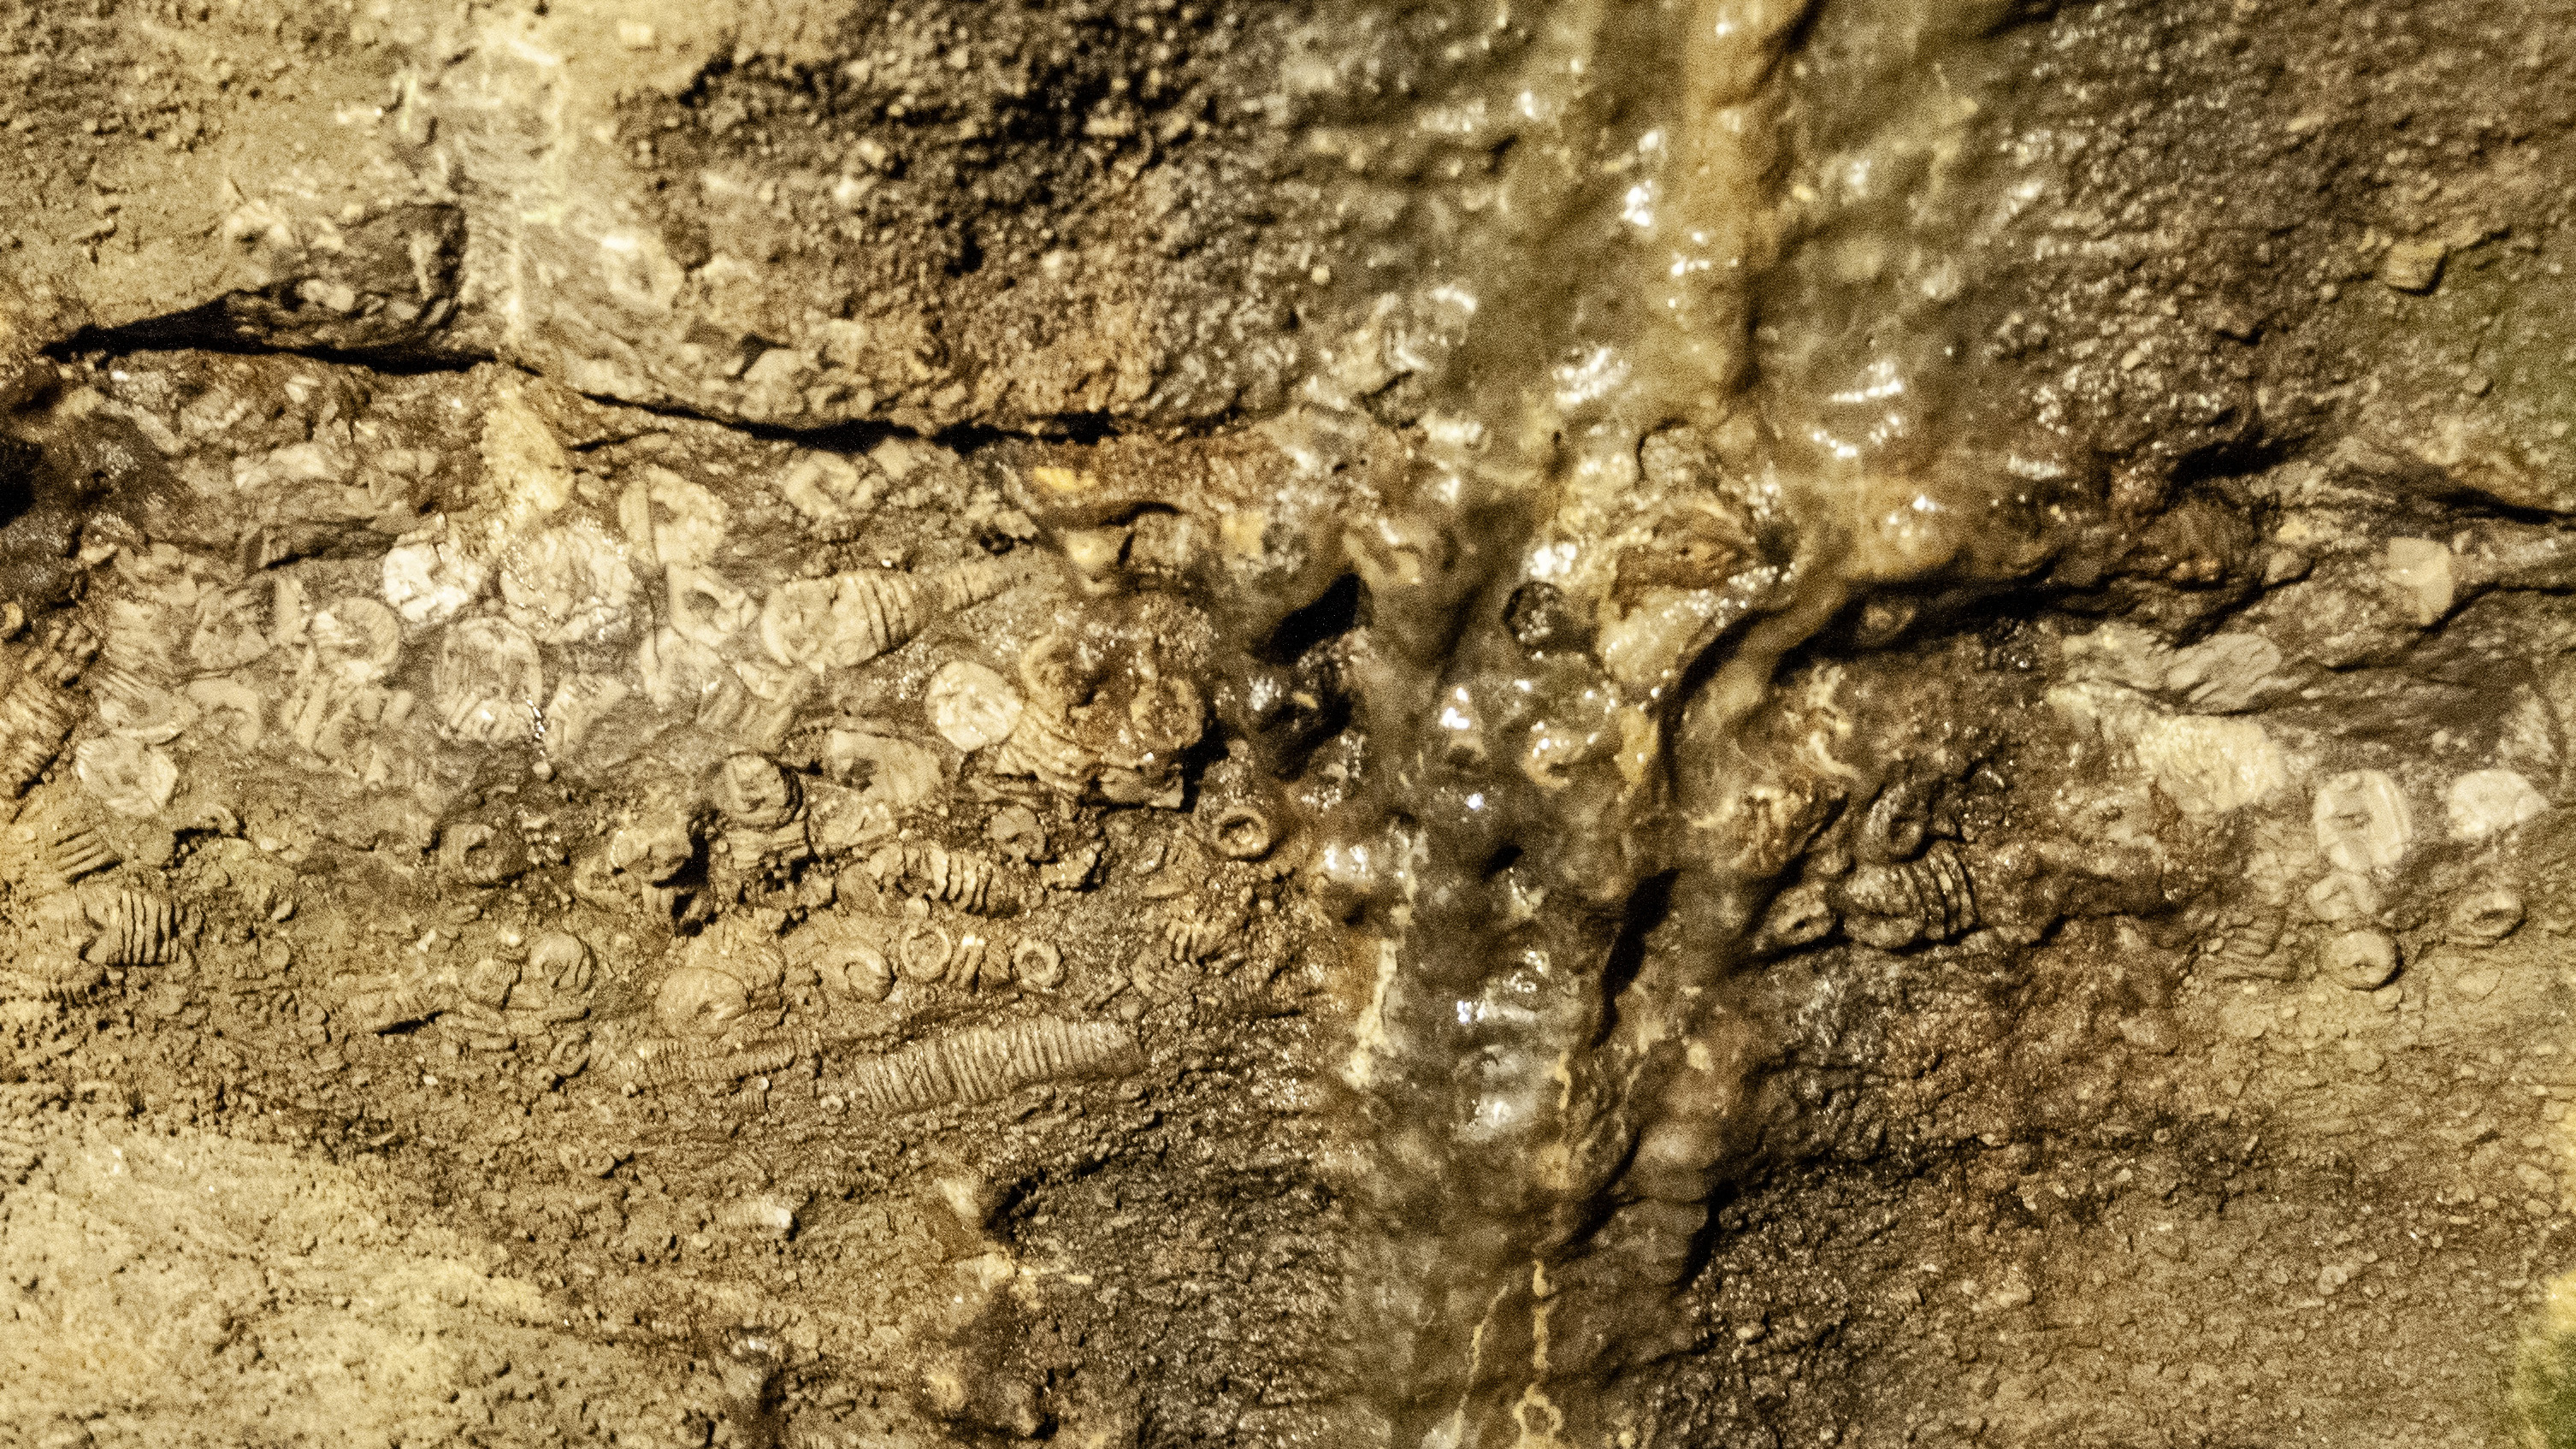
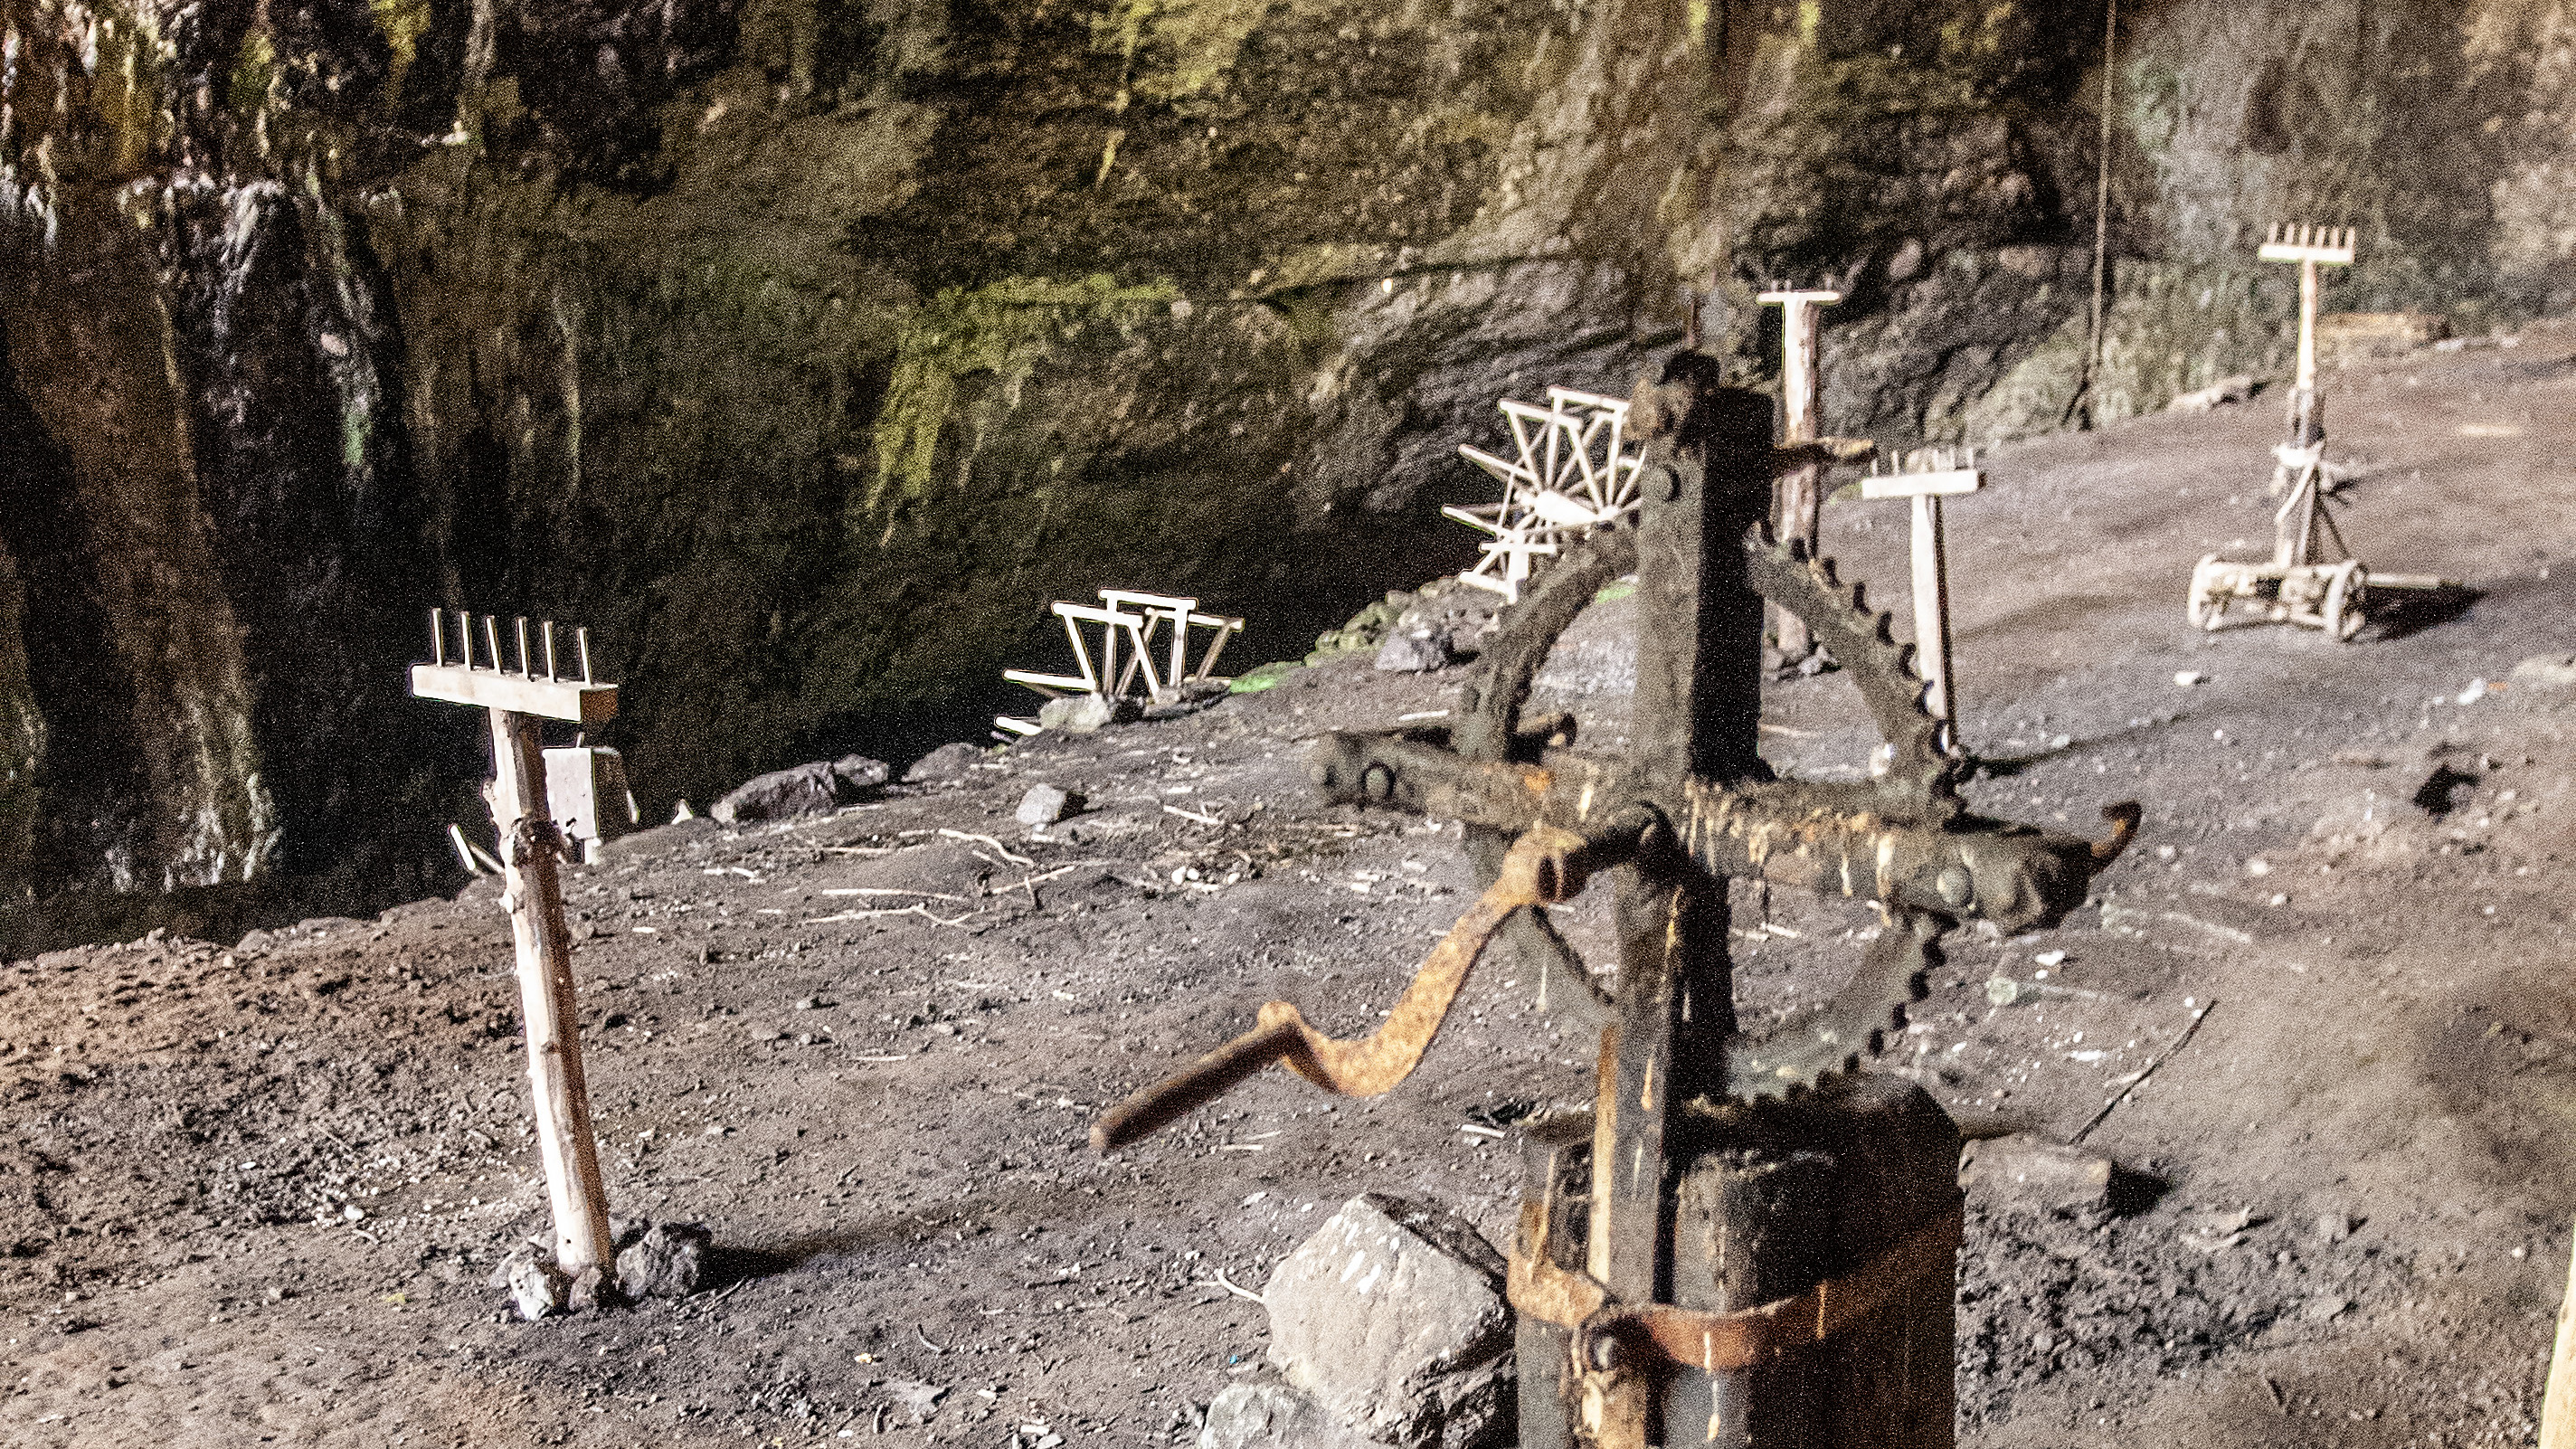
Caves have been occupied and used for thousands of years as seen in these shots showing fossils, 19th century mining equipment, and a current cheese making operation, deep underground.