It seems as if every gardener worth their salt is learning how to take cuttings at the moment, and who better to show us the way than gardening guru Monty Don?
One of our favourite ever garden ideas, learning how to take cuttings isn't just calming and meditative: when done well, it can also result in a backyard filled with blousy blooms, delicious edimentals, and plenty more covetable plants... for free!
No wonder it's become one of this year's fastest-growing garden trends, eh?

So, whether you want to learn how to take lavender cuttings, hydrangea cuttings, rose cuttings, or something entirely different, you've come to the right place.
Here's what you need to know.
How to take cuttings like Monty Don
'As August progresses, semi-ripe cuttings taken from current season’s wood that has started to harden off are increasingly available and also increasingly likely to root quickly,' writes Monty Don in his popular gardening blog.
Christopher O'Donoghue, one of the co-directors at Gardens Revived, agrees that now is the best time to try your hand at taking plant cuttings.
'It's warm during July and August, which promotes faster root growth,' he explains, 'and plants are in their active growth phase, increasing the chances if a successful propagation.'
'Taking cuttings over the next month or so, just as Monty Don suggests in his blog, will allow your plants time to establish themselves before winter hits, giving them a better chance of surviving and thriving in the new year,' adds Christopher.
Tempted, then, to try your hand at taking cuttings? Of course you are, so here's your Monty Don-approved step-by-step guide...
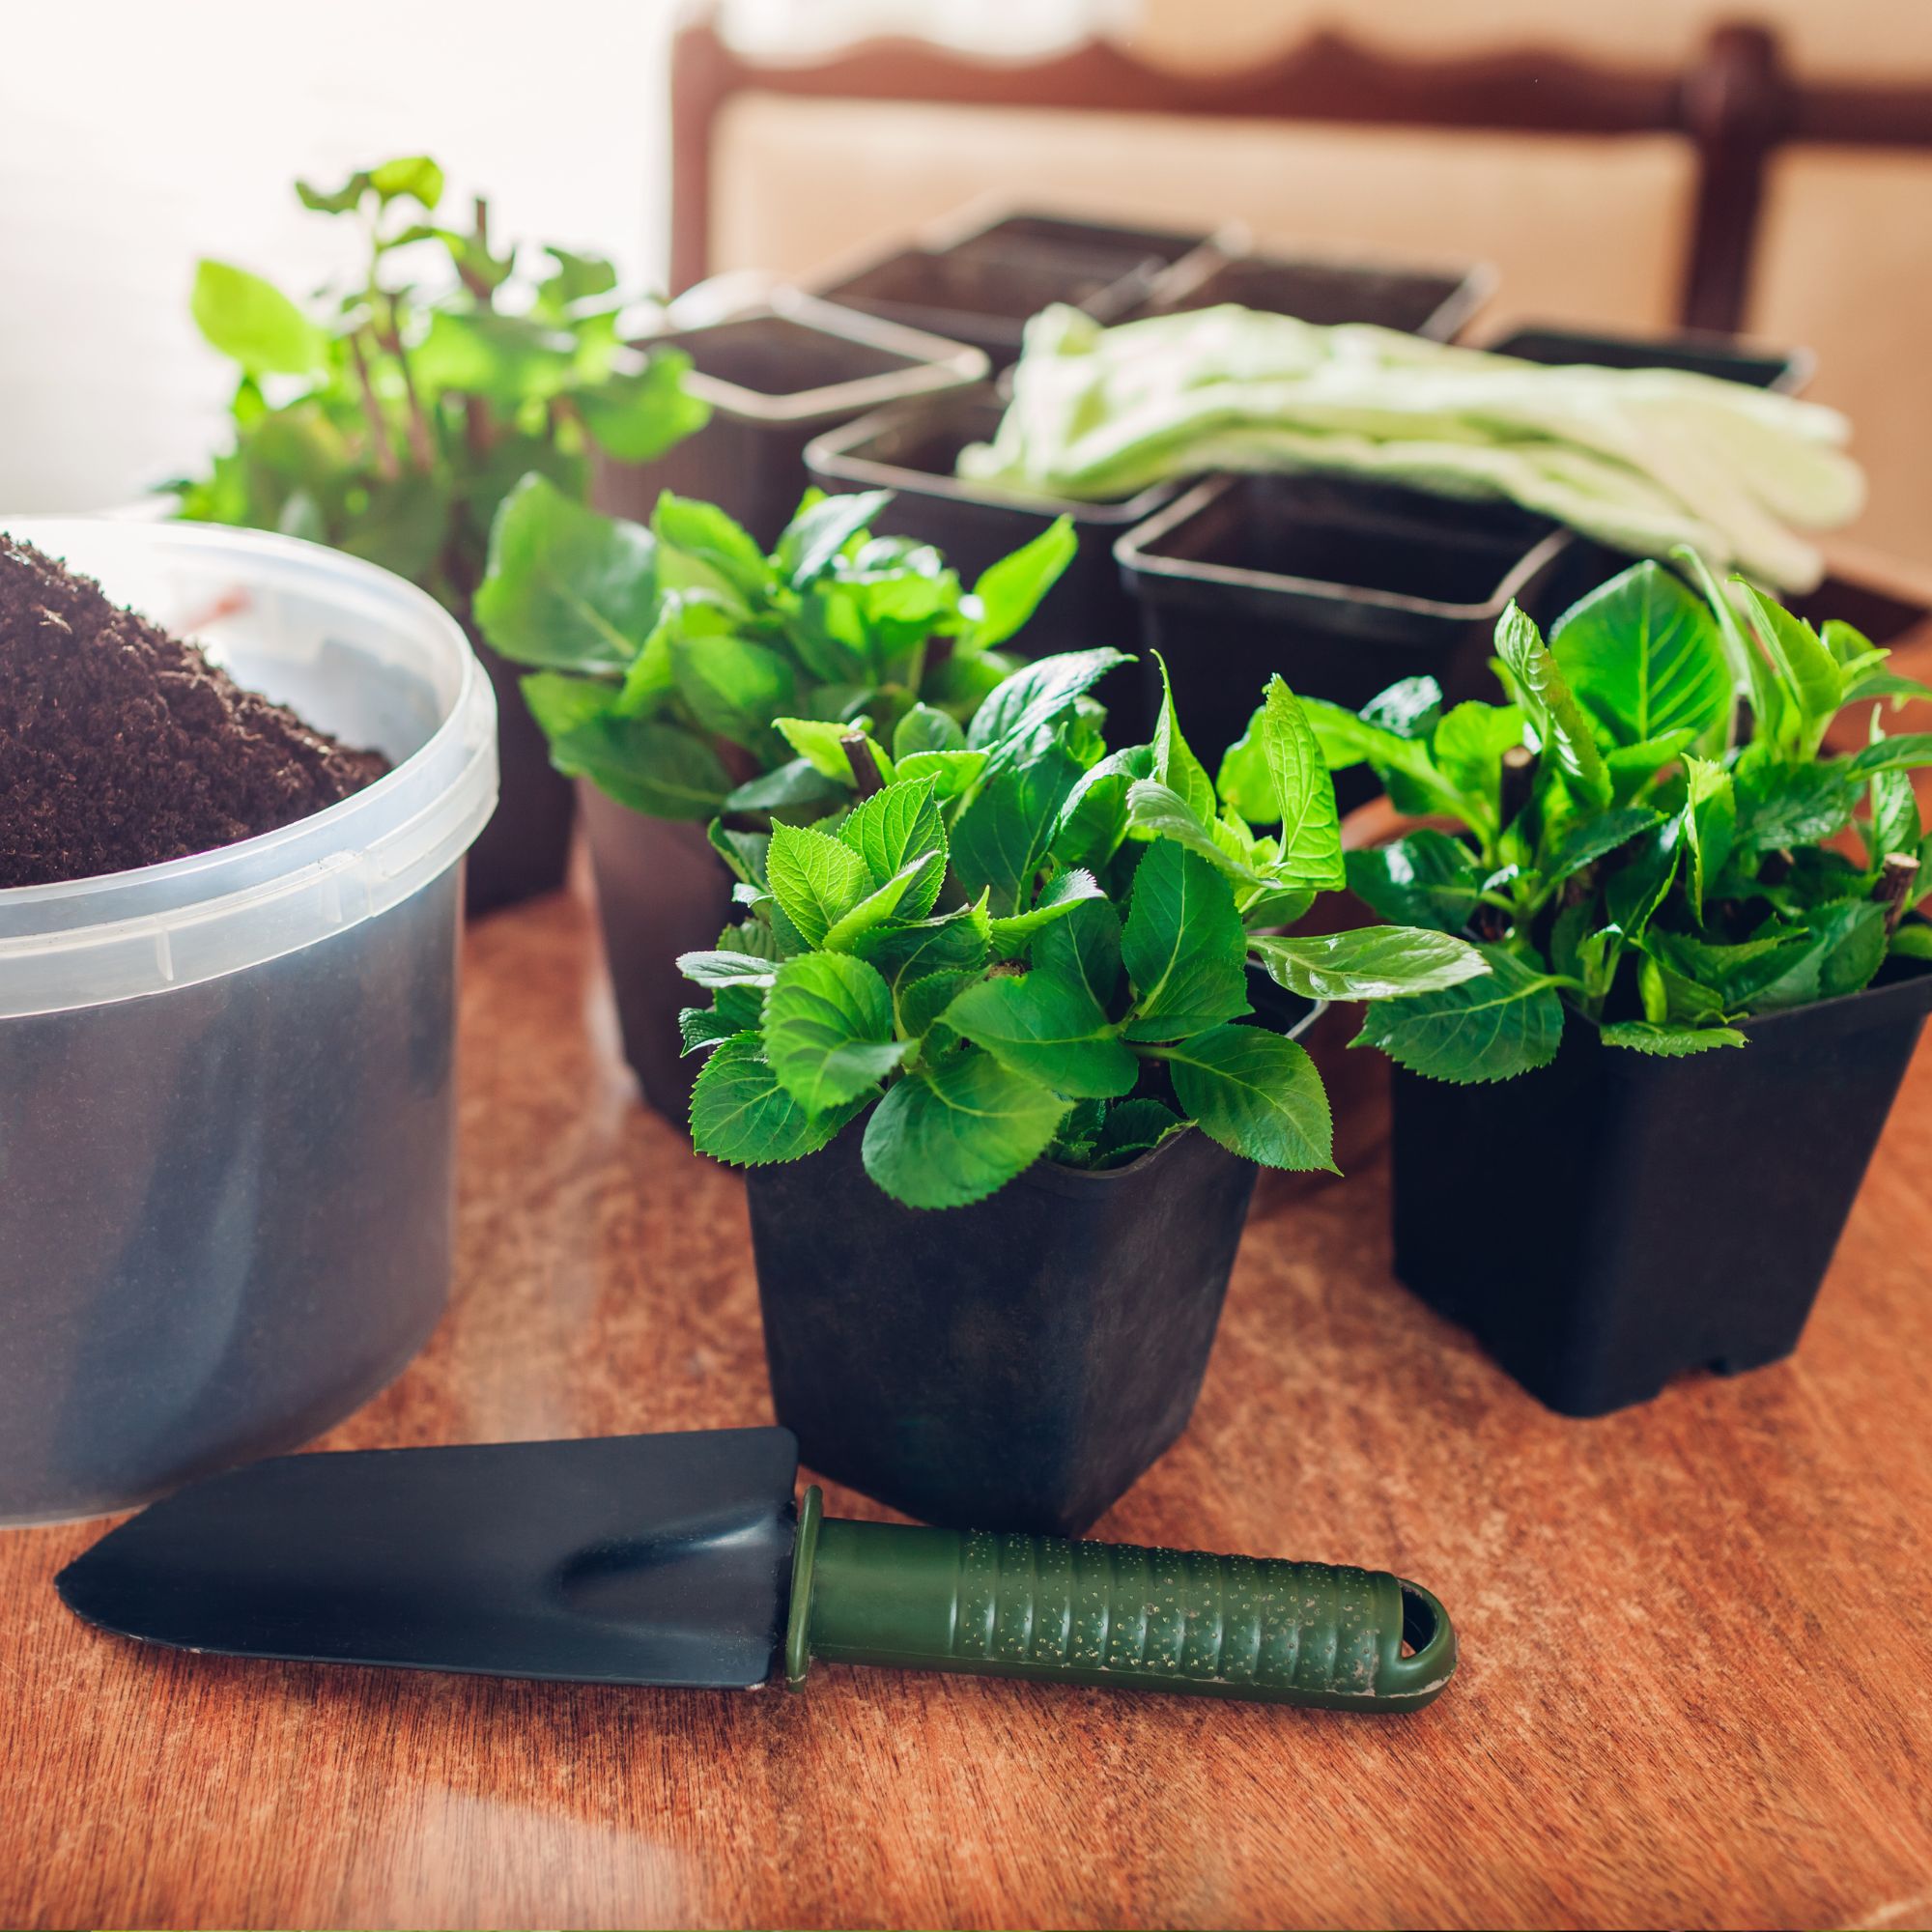
What you will need
Make sure you gather everything you need before you get started, because (as anyone who knows how to take cuttings will tell you) you need to work quickly once you begin.
- A healthy plant (ideally one of your own, although you could absolutely ask someone to trim a few stems from theirs. Just don't go around snipping at your neighbours' plants without asking, please...)
- A sharp knife/pair of secateurs
- A clean container
- A plant mister
- Peat free compost (try using Sylva Grow Peat Free)
- Hormone rooting gel or powder (optional)
- Individual 10cm pots
Step-by-step guide:
Once you have all of the equipment you need, check your calendar and block out a morning (or two).
'It is best to take cuttings in the morning whilst the plant is full of moisture,' says Monty Don, 'but in practice, it is something is best done as and when you are minded to do it.'
Basically, you want to set to work when it's early, your workspace is cool and shady, your secateurs are almost frighteningly sharp, and your plant of choice looks healthy as can be.
Then, and only then, should you begin tackling the steps on this list...
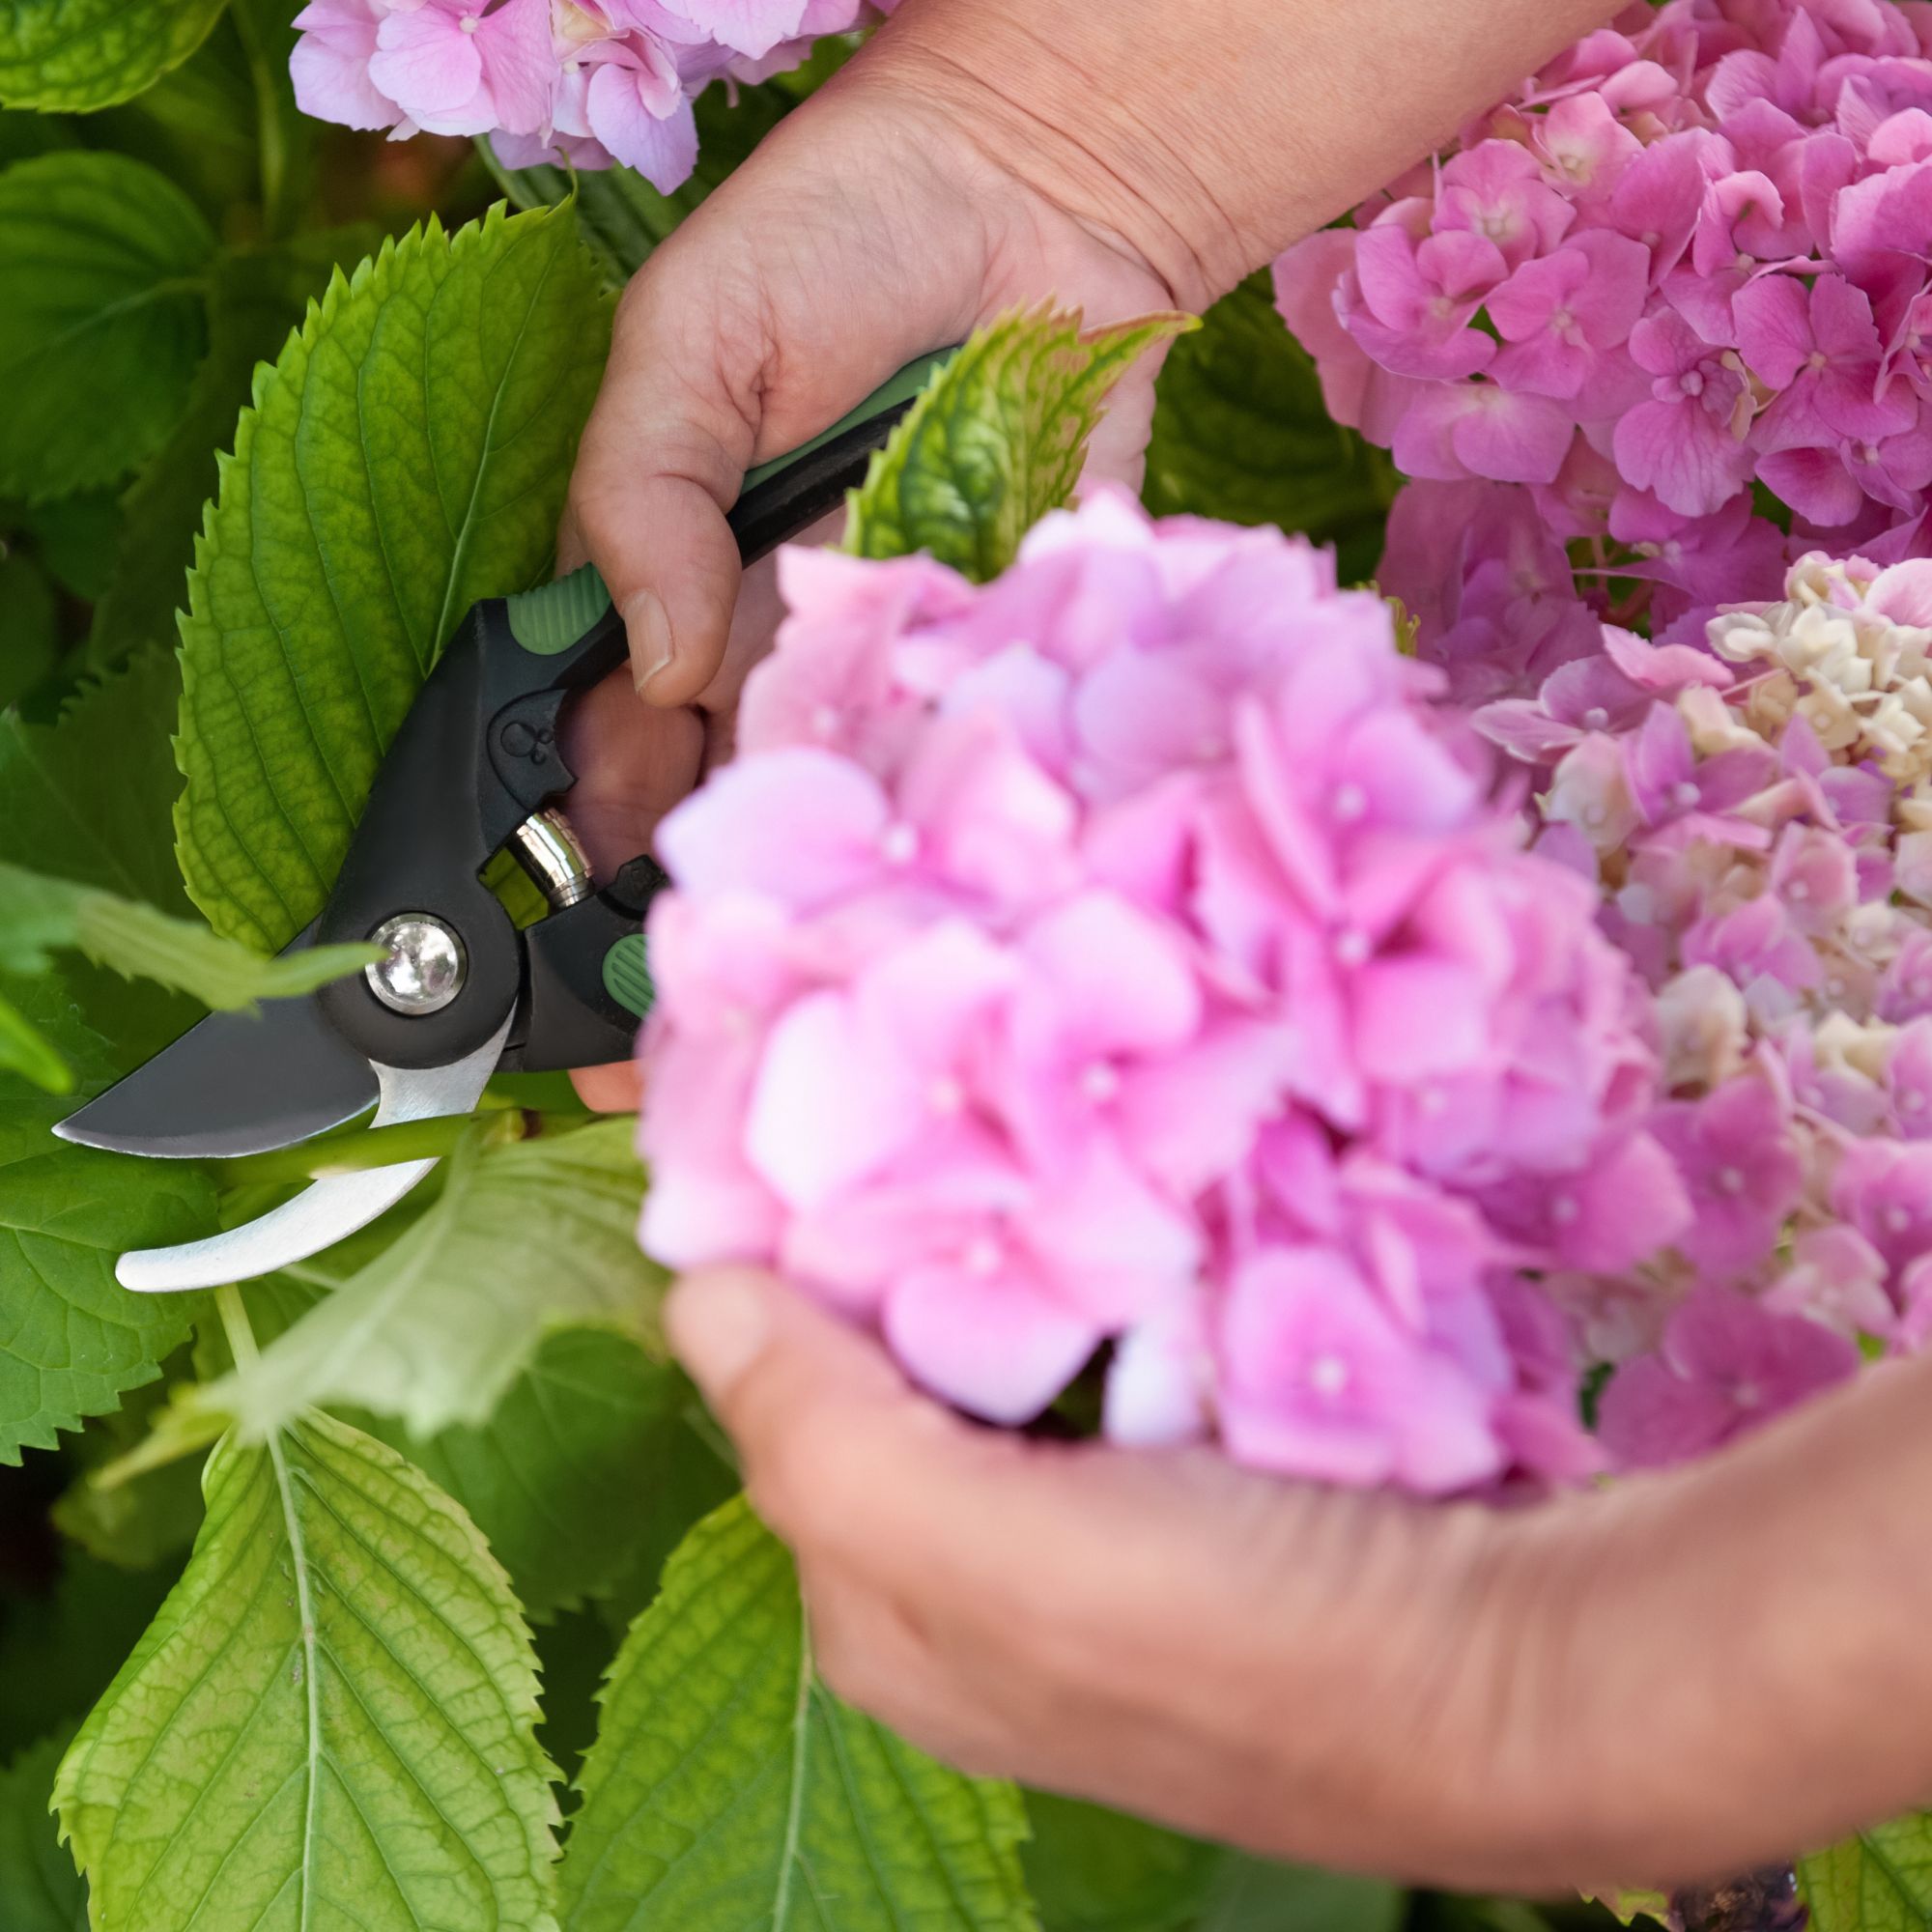
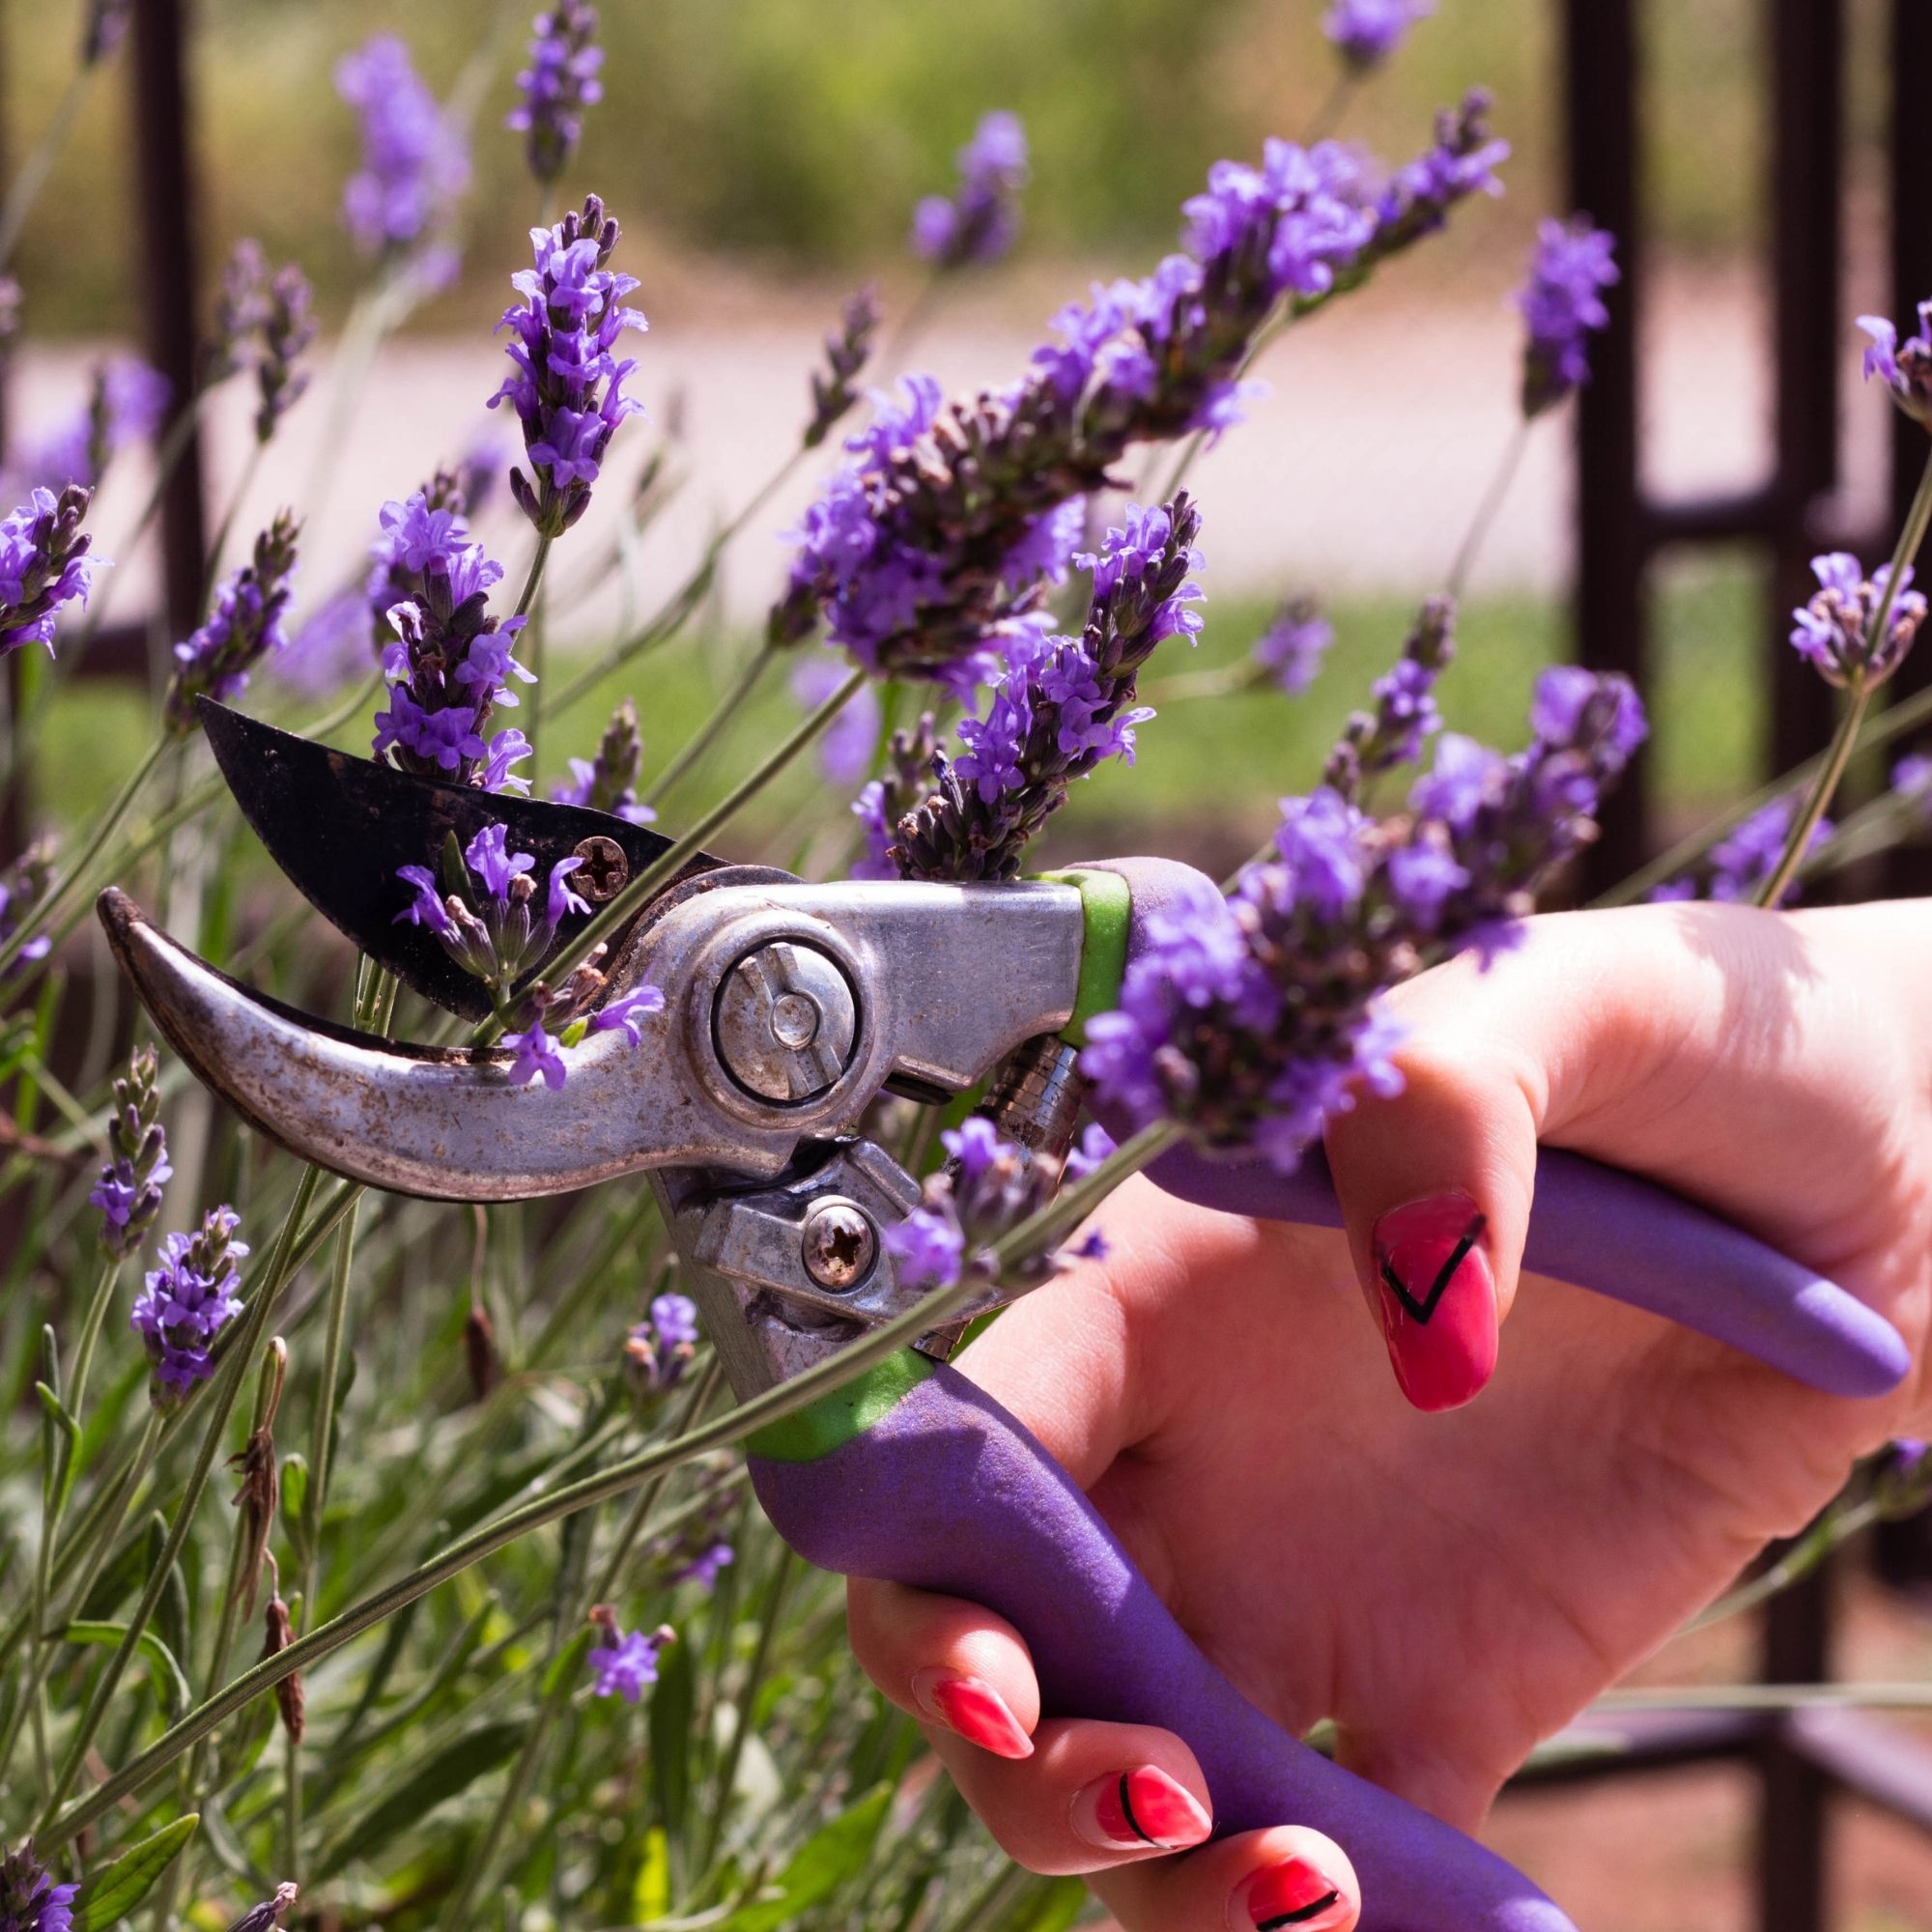
1. Select a strong and healthy plant
When it comes to taking cuttings over the summer, you will ideally be looking for woody plants – and healthy woody plants at that.
'Always choose healthy, strong, straight growth free from any flowers or flower buds,' says Monty Don.
Not sure which woody plants are best suited to the process? Christopher suggests the following...
- Hydrangeas
- Roses
- Lavender
- Butterfly bush
- Weigela
- Fuchsias
- Ceanothus
- Boxwood
- Escallonia
- Potentilla
'It is also worth ticking off a few of your herb garden ideas with some woody herbs, too,' adds Christopher.
Think rosemary, thyme, and sage, to name just three.
2. Strip and bury the cutting
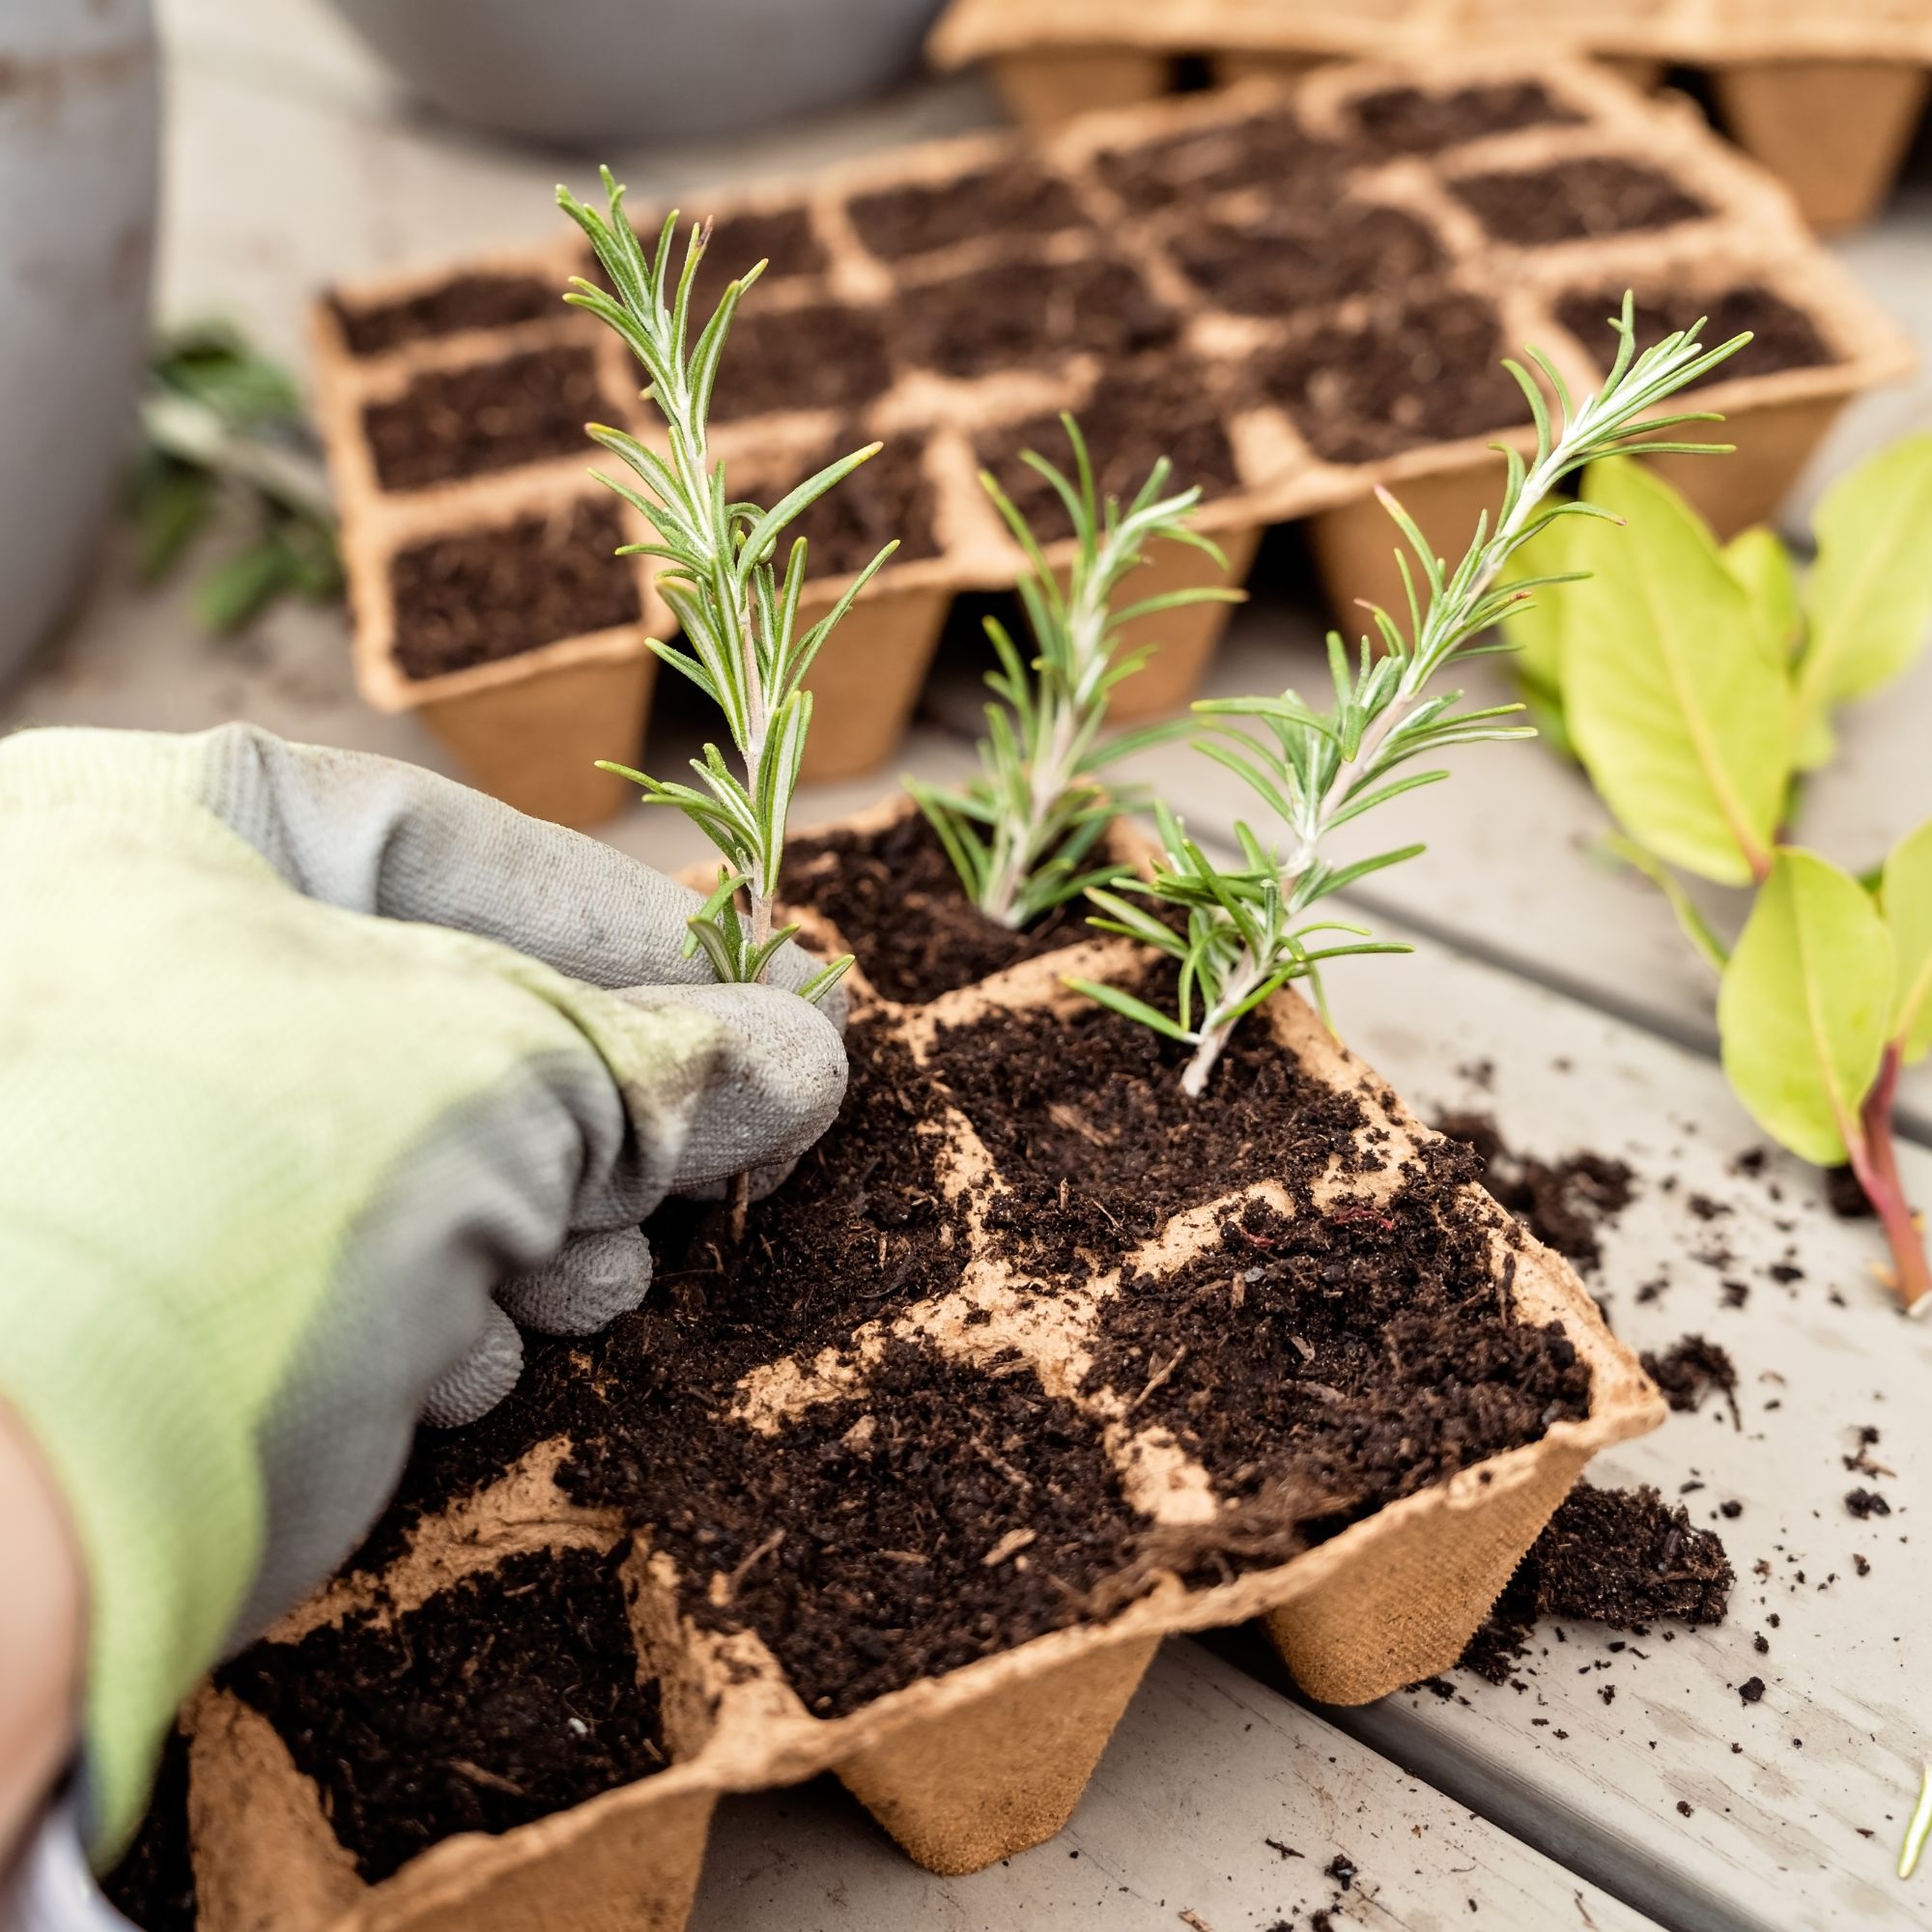
As mentioned already, you want to look for healthy looking stems without any flower buds on.
'Once you have taken material from the plant and placed it in the polythene bag go and pot them up immediately,' says Monty Don.
'Strip off all lower leaves and side shoots so that only an inch or less of foliage remains. Cut the bare stem to size with a sharp knife or secateurs and bury it in a container of very gritty or sandy compost, or even pure perlite.'
3. Get misting
If you are always worried about making a watering mistake in your garden, you'll be pleased to learn that your cuttings are very easy to care for.
'To form good roots the plant does not need any nutrition other than oxygen and water, so whatever material you put the plant into must be loose, drain well and not dry out,' says Monty Don. 'So water it well and then keep it moist with a daily spray from a hand mister to help stop the leaves drying out before new roots have time to form.'
Christopher adds that you should always mist your cuttings (rather than water them) as it will help to maintain your soil structure.
'Overwatering is the number one plant killer,' he adds, 'and the same is true for cuttings. Watering from a can or hose adds too much water and increases the chances of your cutting sitting wet and rotting.'
4. Find it a sunny spot
All that's left to do now is pop your cutting 'somewhere warm and light but not in full sun or on a south-facing windowsill as it may scorch,' advises Monty Don.
It will likely take between 4 and 6 weeks for your plant baby to produce viable roots, but once this happens, it's time to ramp up the TLC.
Take your cutting from the pot and pot it up 'into fresh peat-free potting compost and put aside over winter before planting out next spring,' says Monty Don.
Anyone else suddenly itching to block out a few mornings in their calendar for some good old-fashioned fun with plant cuttings? See you in the greenhouse...
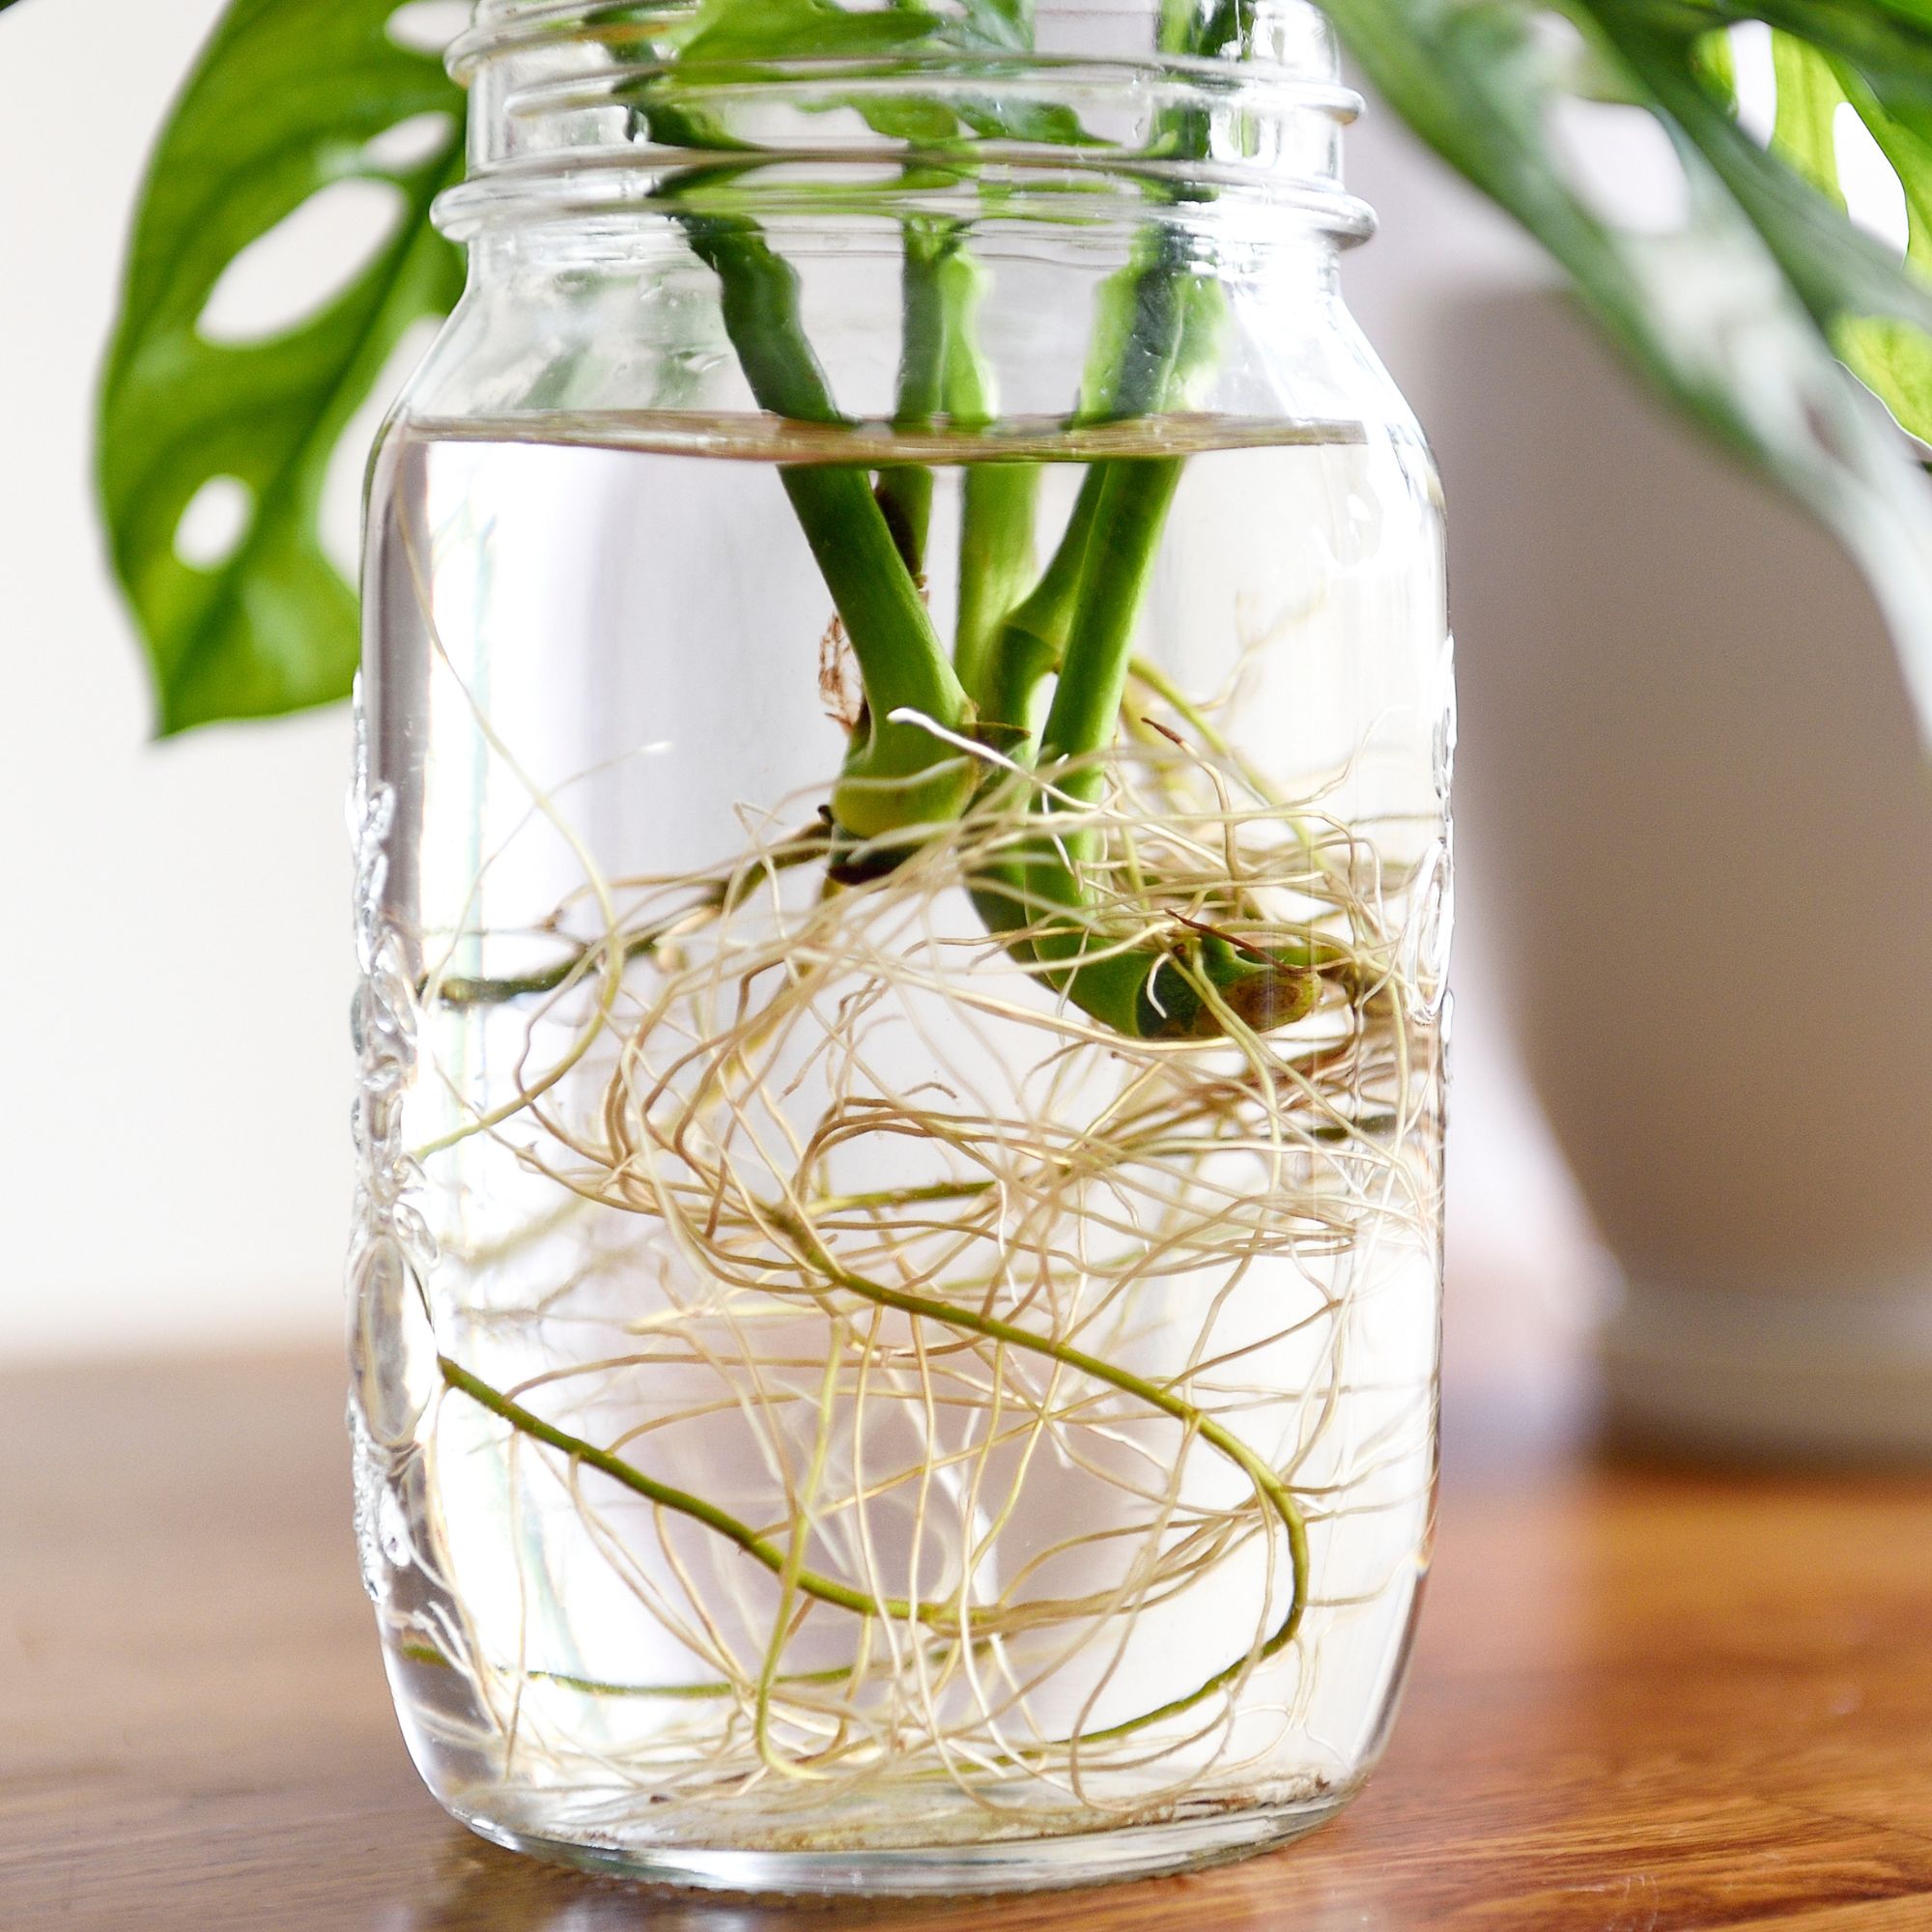
Is it better to root cuttings in water or soil?
When it comes to taking cuttings, most gardeners will advise that you pop them into a pot of gritty, free-draining soil, and keep it well-watered but not waterlogged. Ideally, you should be misting it daily. Once roots begin to form, you should repot into a good-quality sandy compost.
'This should provide the best drainage and keep your cutting from sitting wet,' says Christopher.
How do you take a cutting and get it to root?
When it comes to taking plant cuttings, it's best to just give it a go: some will take, and some won't – although you have a far greater chance of success fi you select a healthy plant, use clean (and sharp) tools, work quickly in a cool and shady environment, and use a mister.
'To form good roots the plant does not need any nutrition other than oxygen and water,' says Monty Don.
While it's completely optional, the RHS suggests using a rooting hormone or powder to help boost your chances of a cutting being propagated successfully.