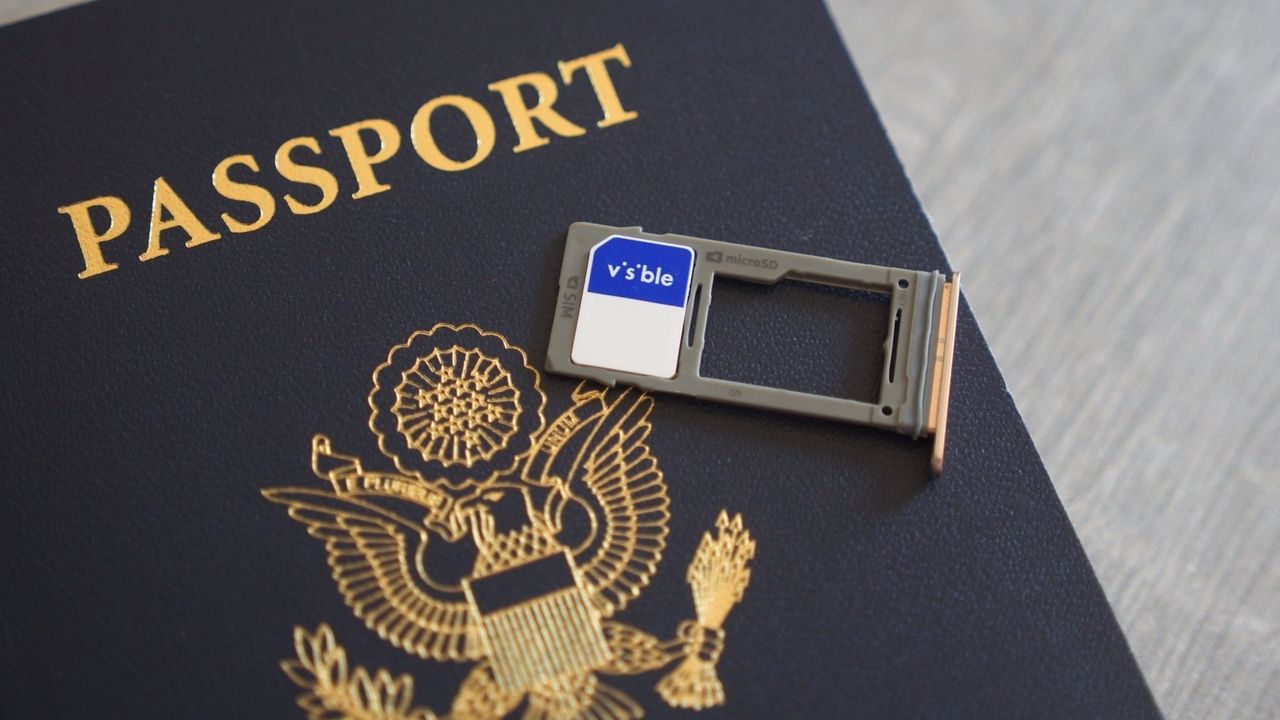
It's important that you know how to set up and use eSIM on Android, especially if you're planning an overseas trip soon. With a number of carriers (both in the United States and around the world) offering eSIM functionality for new and existing customers, it's really no surprise that an increasing number of modern smartphones come with eSIM support these days. In fact, the Google Pixel 10 does away with a physical SIM slot altogether (at least for the models sold in the United States), solely relying on dual eSIM support for mobile connectivity.
There are several advantages of eSIM, with seamless carrier switching arguably being among the biggest. An eSIM also makes it easier to activate a secondary number on your phone. However, since there's no physical SIM card involved and the activation process is software-based, it can often be confusing. Fret not, as we're here to help. Here's all you need to know about eSIM, and how to get one running on your Android phone.
What exactly is an eSIM?
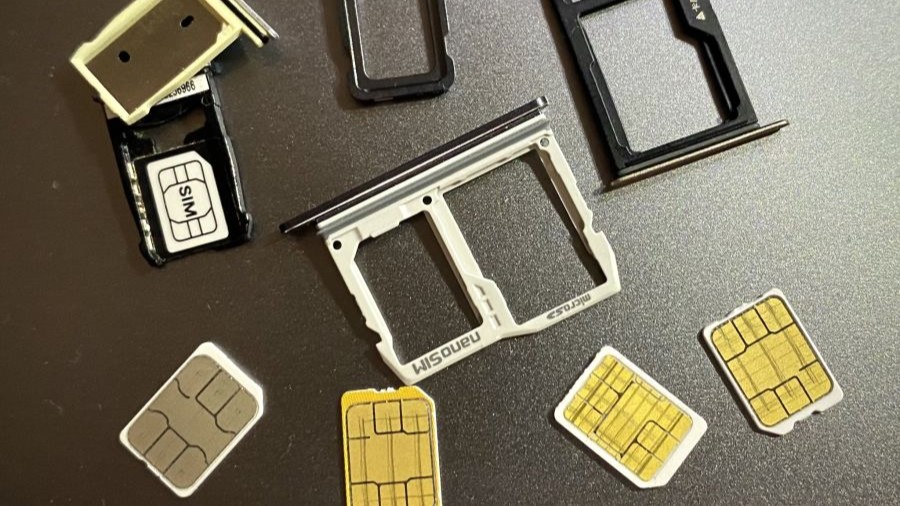
Just like a regular physical SIM card, an eSIM also stores all the information about your cellular account and identifies it to the wireless carrier that you're using. The primary difference is that an eSIM is entirely digital, and the information tied to it is stored on a programmable chip that's built into your smartphone. As such, all your account information and other details are stored on your device instead of being on a removable SIM card. With both regular operators and MVNOs offering eSIM functionality these days, it's about to become the default way of connecting to your mobile network, very soon.
Perhaps one of the biggest reasons for using an eSIM is that you don't need to go to a retail store to get it or even wait for it to be delivered at your doorstep. All you need is a reliable Wi-Fi connection, and you'll be ready to go in a few minutes.
Another benefit of using an eSIM on Android is that you can configure multiple phone numbers on your phone. Of course, that can also be done via physical SIM cards on phones that come with dual SIM slots, but eSIMs take that number even further. For instance, the Google Pixel 10 can store more than eight eSIMs, even if only two of those can be active at a time. This makes it easy to activate one of the best wireless plans for international travel before embarking on an overseas trip, especially if you want to do so on a secondary line. Similarly, it makes things a lot easier for those who want a prepaid connection while visiting the United States.
Now, majority of the best Android phones still have a physical SIM card slot, even if Apple removed the functionality from phones sold in the United States, starting with the iPhone 14. As noted above, Google Pixel 10 has also followed suit, so it's very much possible that other Android phone manufacturers could do the same in future. This makes it even more essential to know how you can set up and use an eSIM.
How to use eSIM on Android
Using an eSIM is fairly straightforward, which is excellent news if you're not tech-savvy. Most of the legwork is already done for you if you purchase a phone from a carrier. All you need to do is turn off your old phone, turn on your new phone, and follow the steps indicated in the initial setup.
However, if you already have a phone (or purchased one unlocked), you must find a carrier, ensure your phone is compatible, and sign up for a plan. Whether you're switching over to a new carrier with your old smartphone or moving your existing number to a different one, we've got you covered.
Set up and use eSIM on a Google Pixel
1. Open up the Settings app on your Google Pixel smartphone.
2. Tap on the Network & internet option.
3. Tap SIMs.
4. Select Add SIM or if the phone doesn't yet have an active SIM, select Set up an eSIM or Transfer a SIM from another device.

5. Select your network.
6. Follow the on-screen steps to finish the activation process.
The above instructions are similar for phones that have a stock-like Android UI, as is with Motorola phones, although there might be slight differences in working or layout of options.
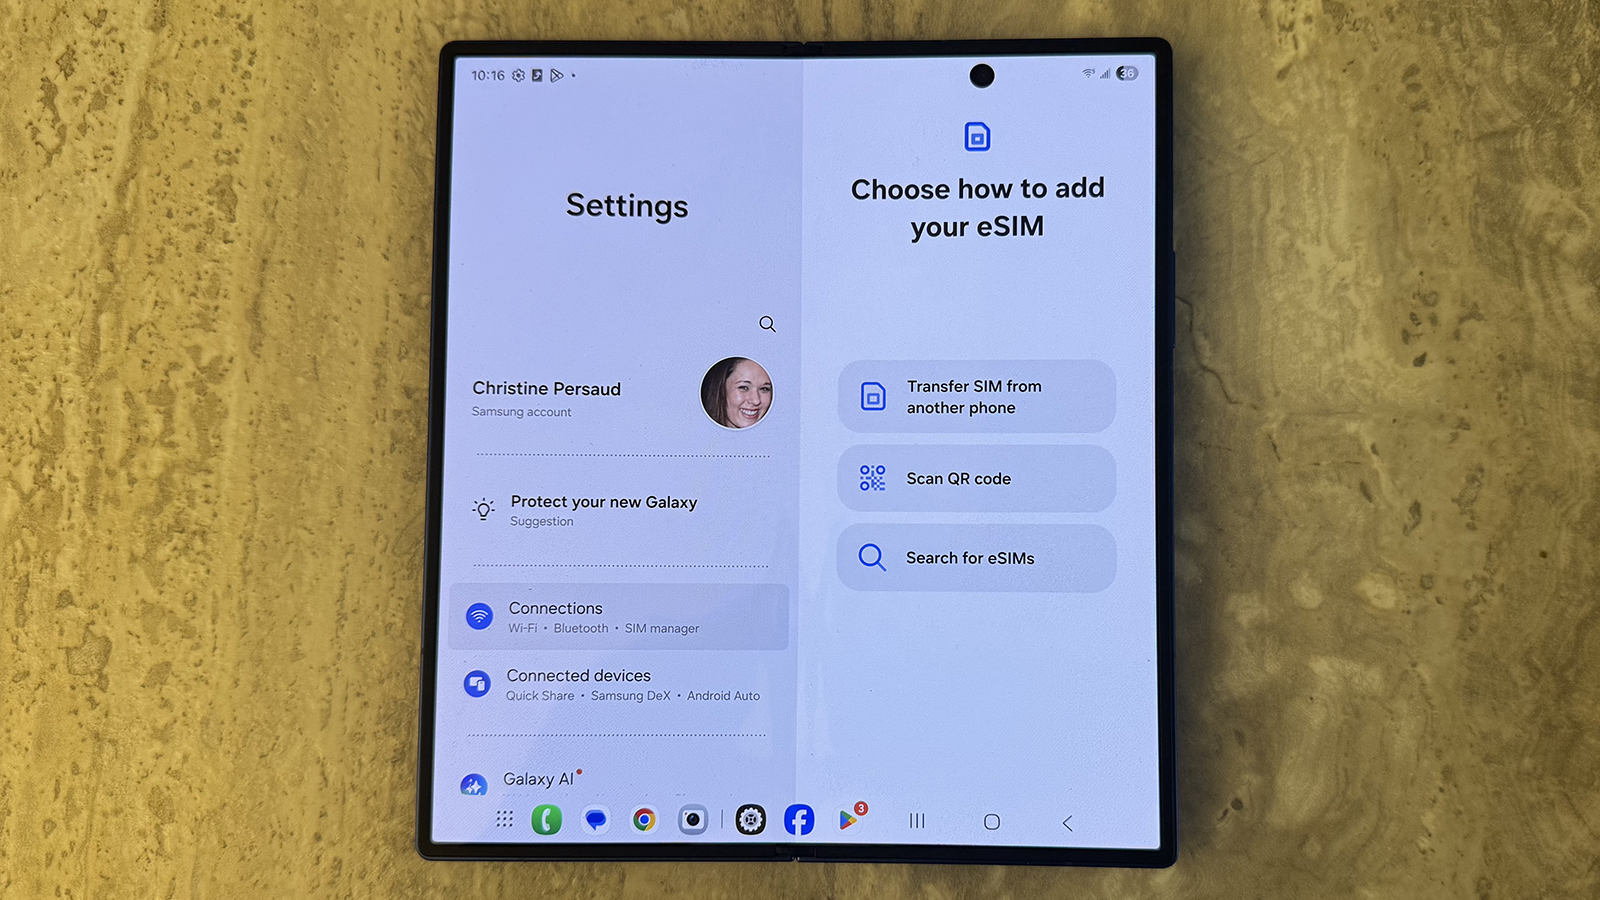
Set up and use eSIM on a Samsung Galaxy
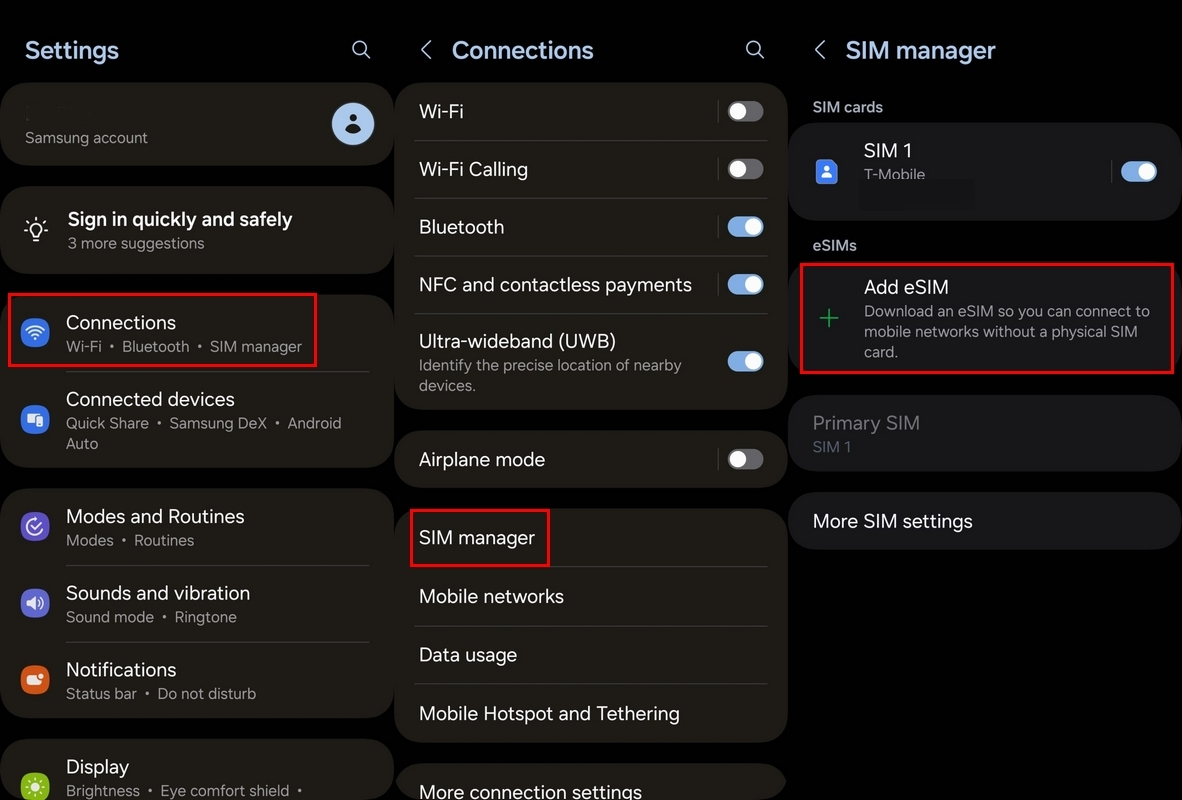
1. Open the Settings app on your Samsung Galaxy smartphone.
2. Tap on the Connections option.
3. Scroll down and tap SIM manager.
4. Tap the Add eSIM option.
5. Select Transfer SIM from another phone, Scan QR code, or Search for eSIMs.
6. If selecting Search for eSIMs, select your carrier.
7. Otherwise, follow the on-screen steps to finish the activation process.
How to transfer an eSIM
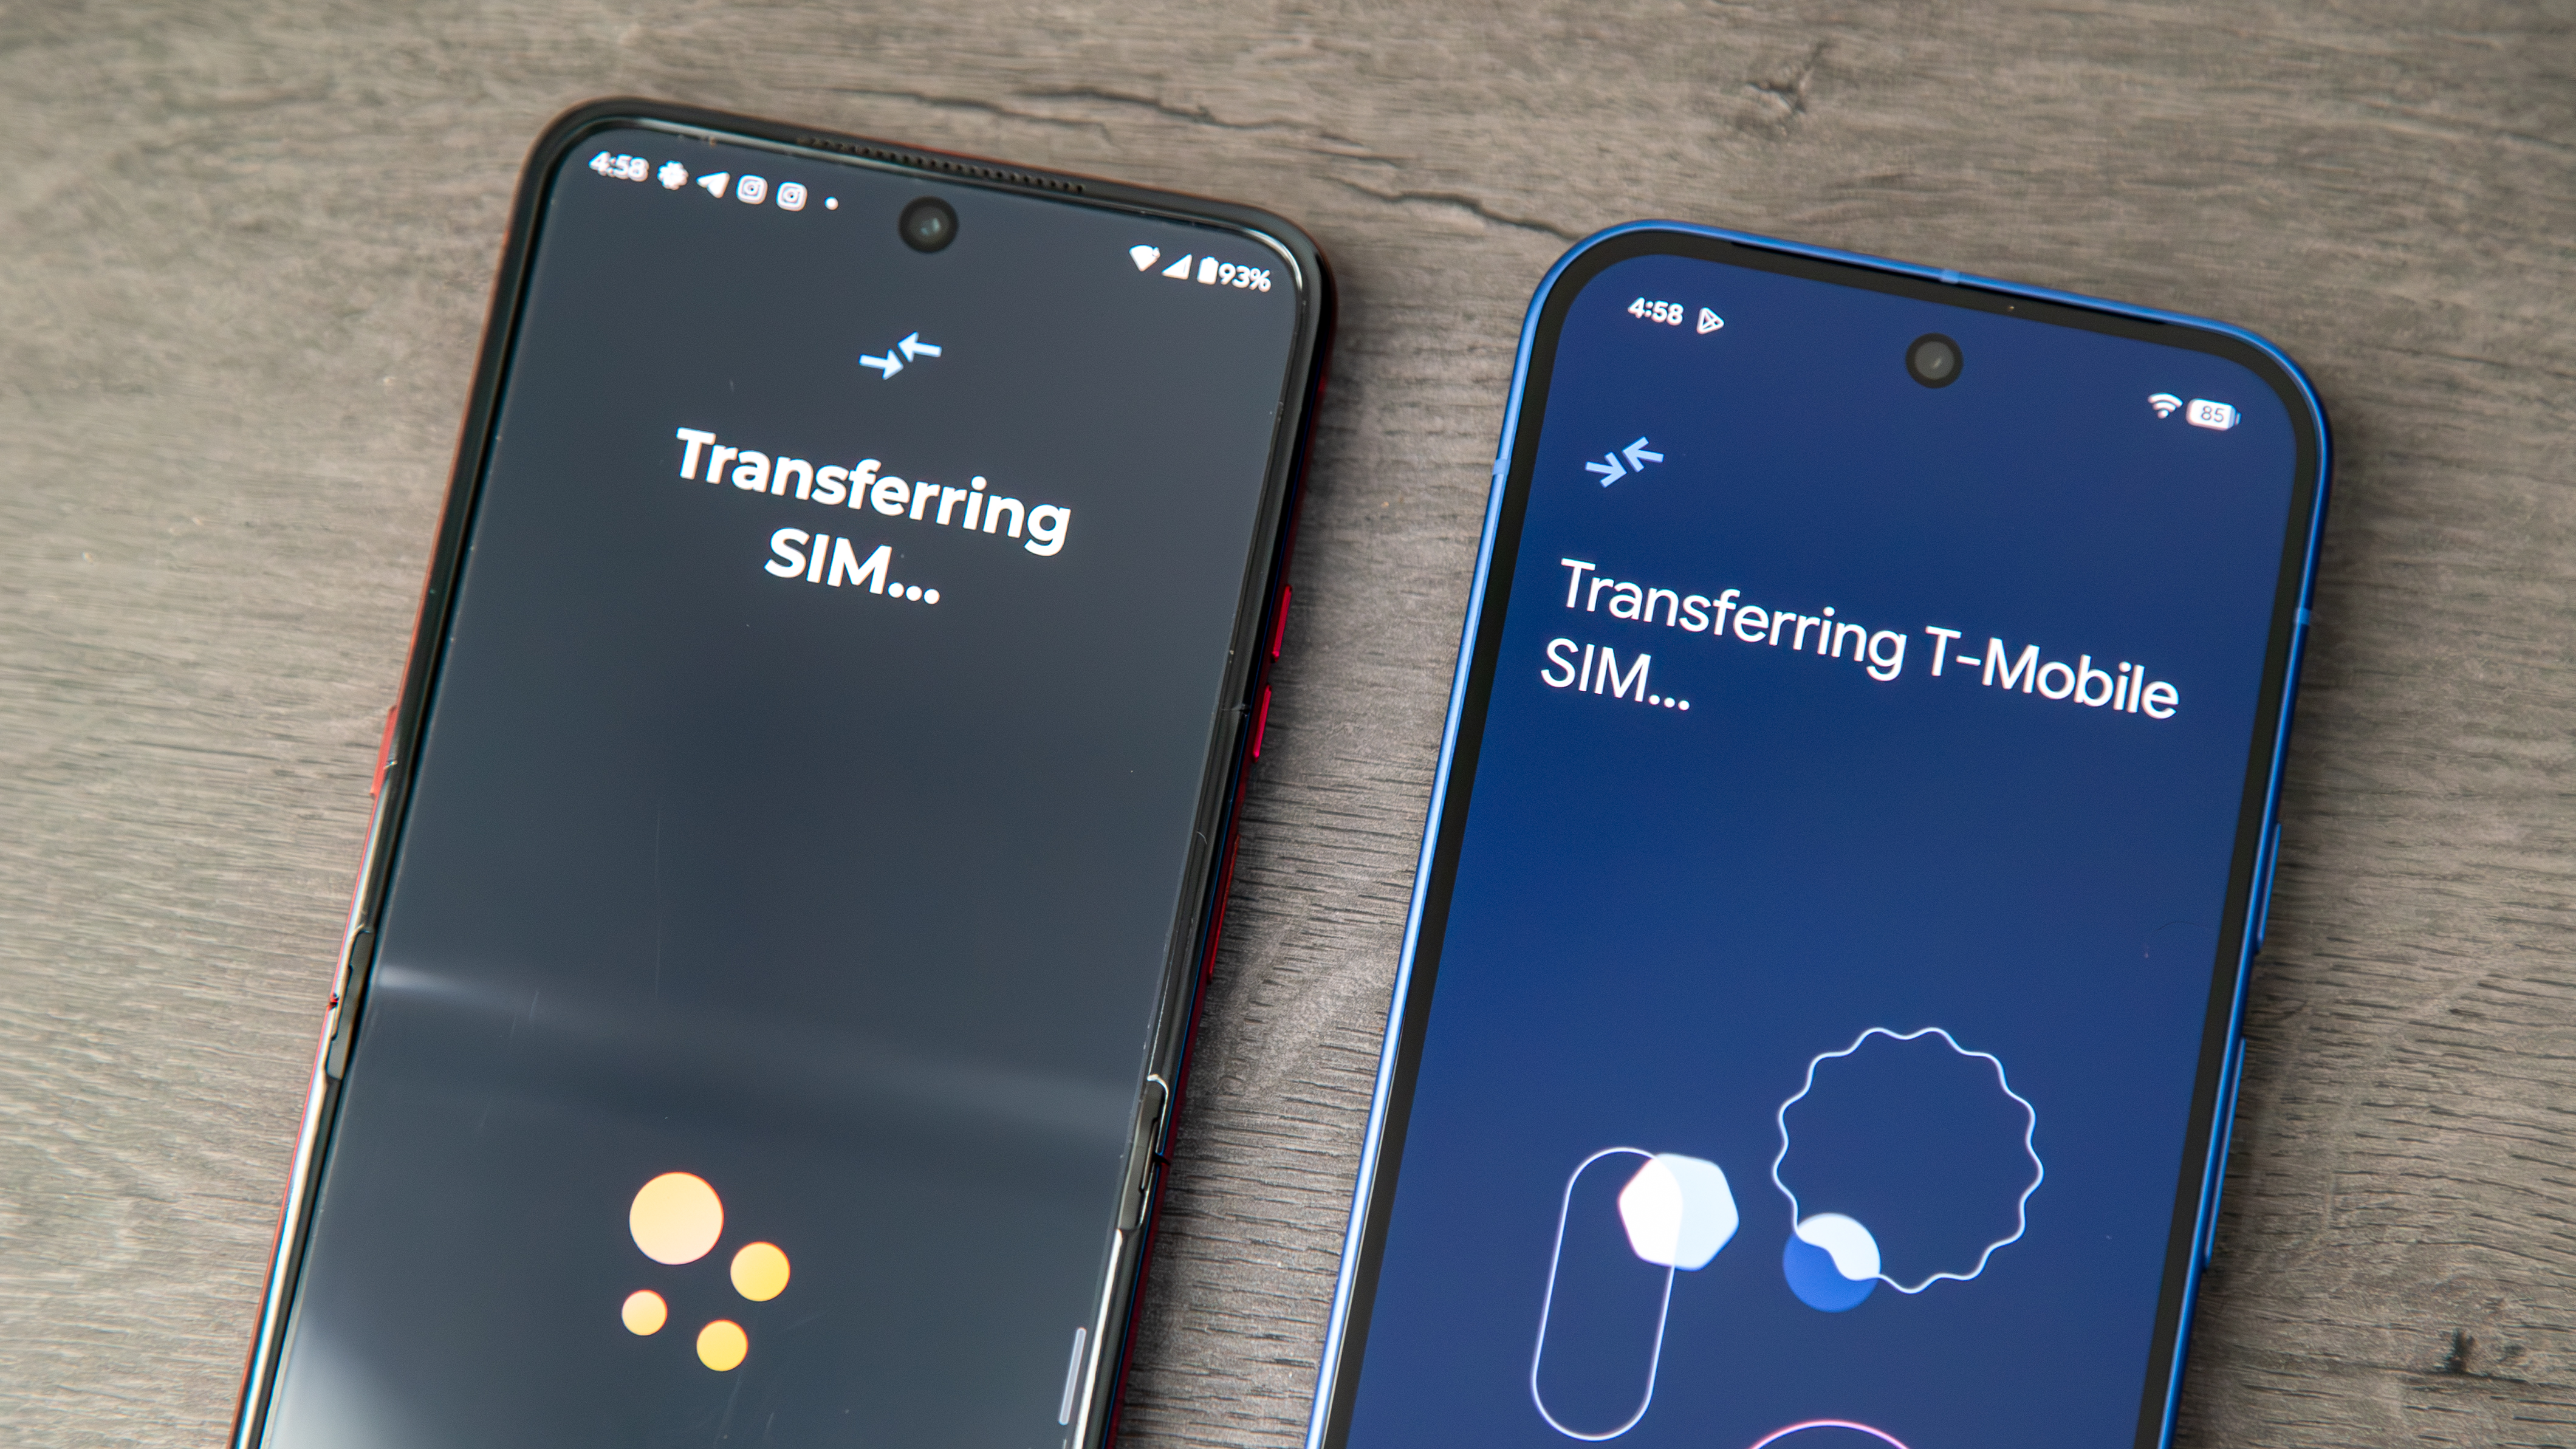
After debuting at MWC 2023, Google's eSIM Transfer Tool is now almost standard. Samsung introduced its eSIM transfer tool with One UI 5.1, which is now the new norm. Even so, eSIM support is now standard across majority of the new Android smartphones, making activation even more straightforward.
Here's how to transfer an eSIM from one Android device to another.
1. Follow the steps detailed above, for either a Google Pixel or a Samsung Galaxy smartphone.
2. If using a Google Pixel, tap the Transfer a SIM from another device option on the Connect to mobile network screen.
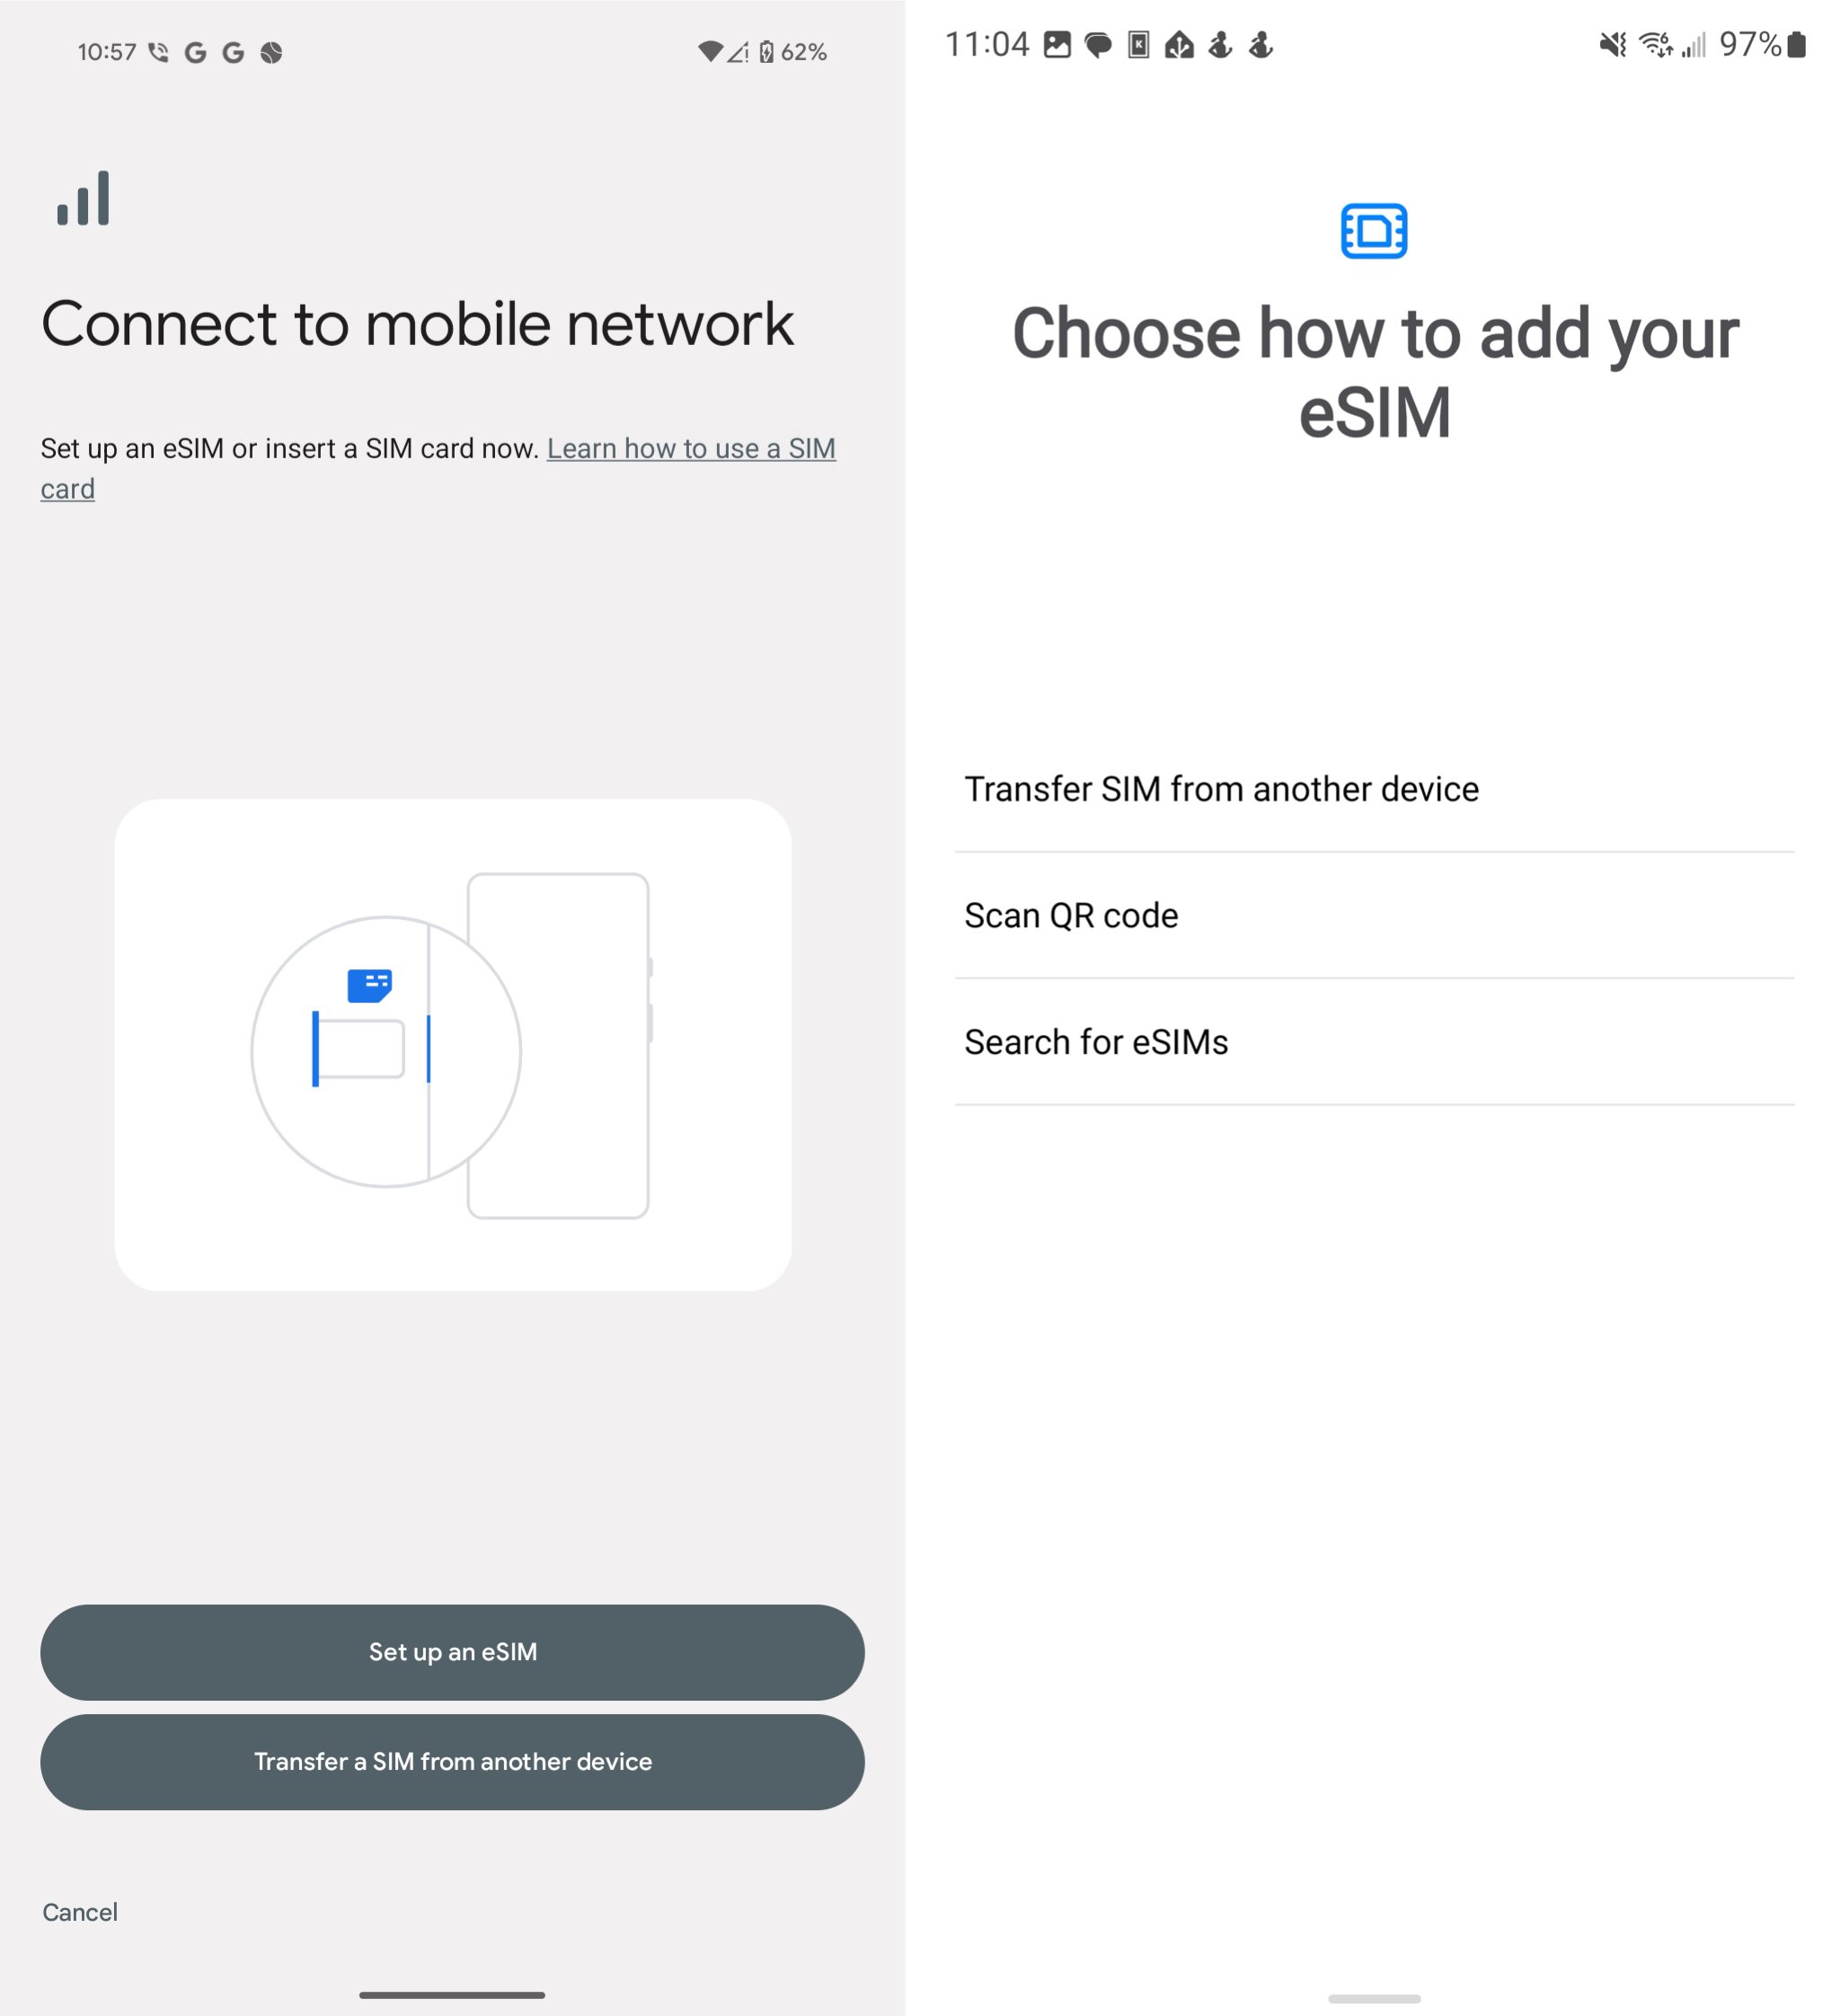
3. If using a Samsung, tap Transfer SIM from another device on the Choose how to add your eSIM screen.
4. Follow the on-screen steps to complete the transfer process.
There are (mostly) advantages to using an eSIM
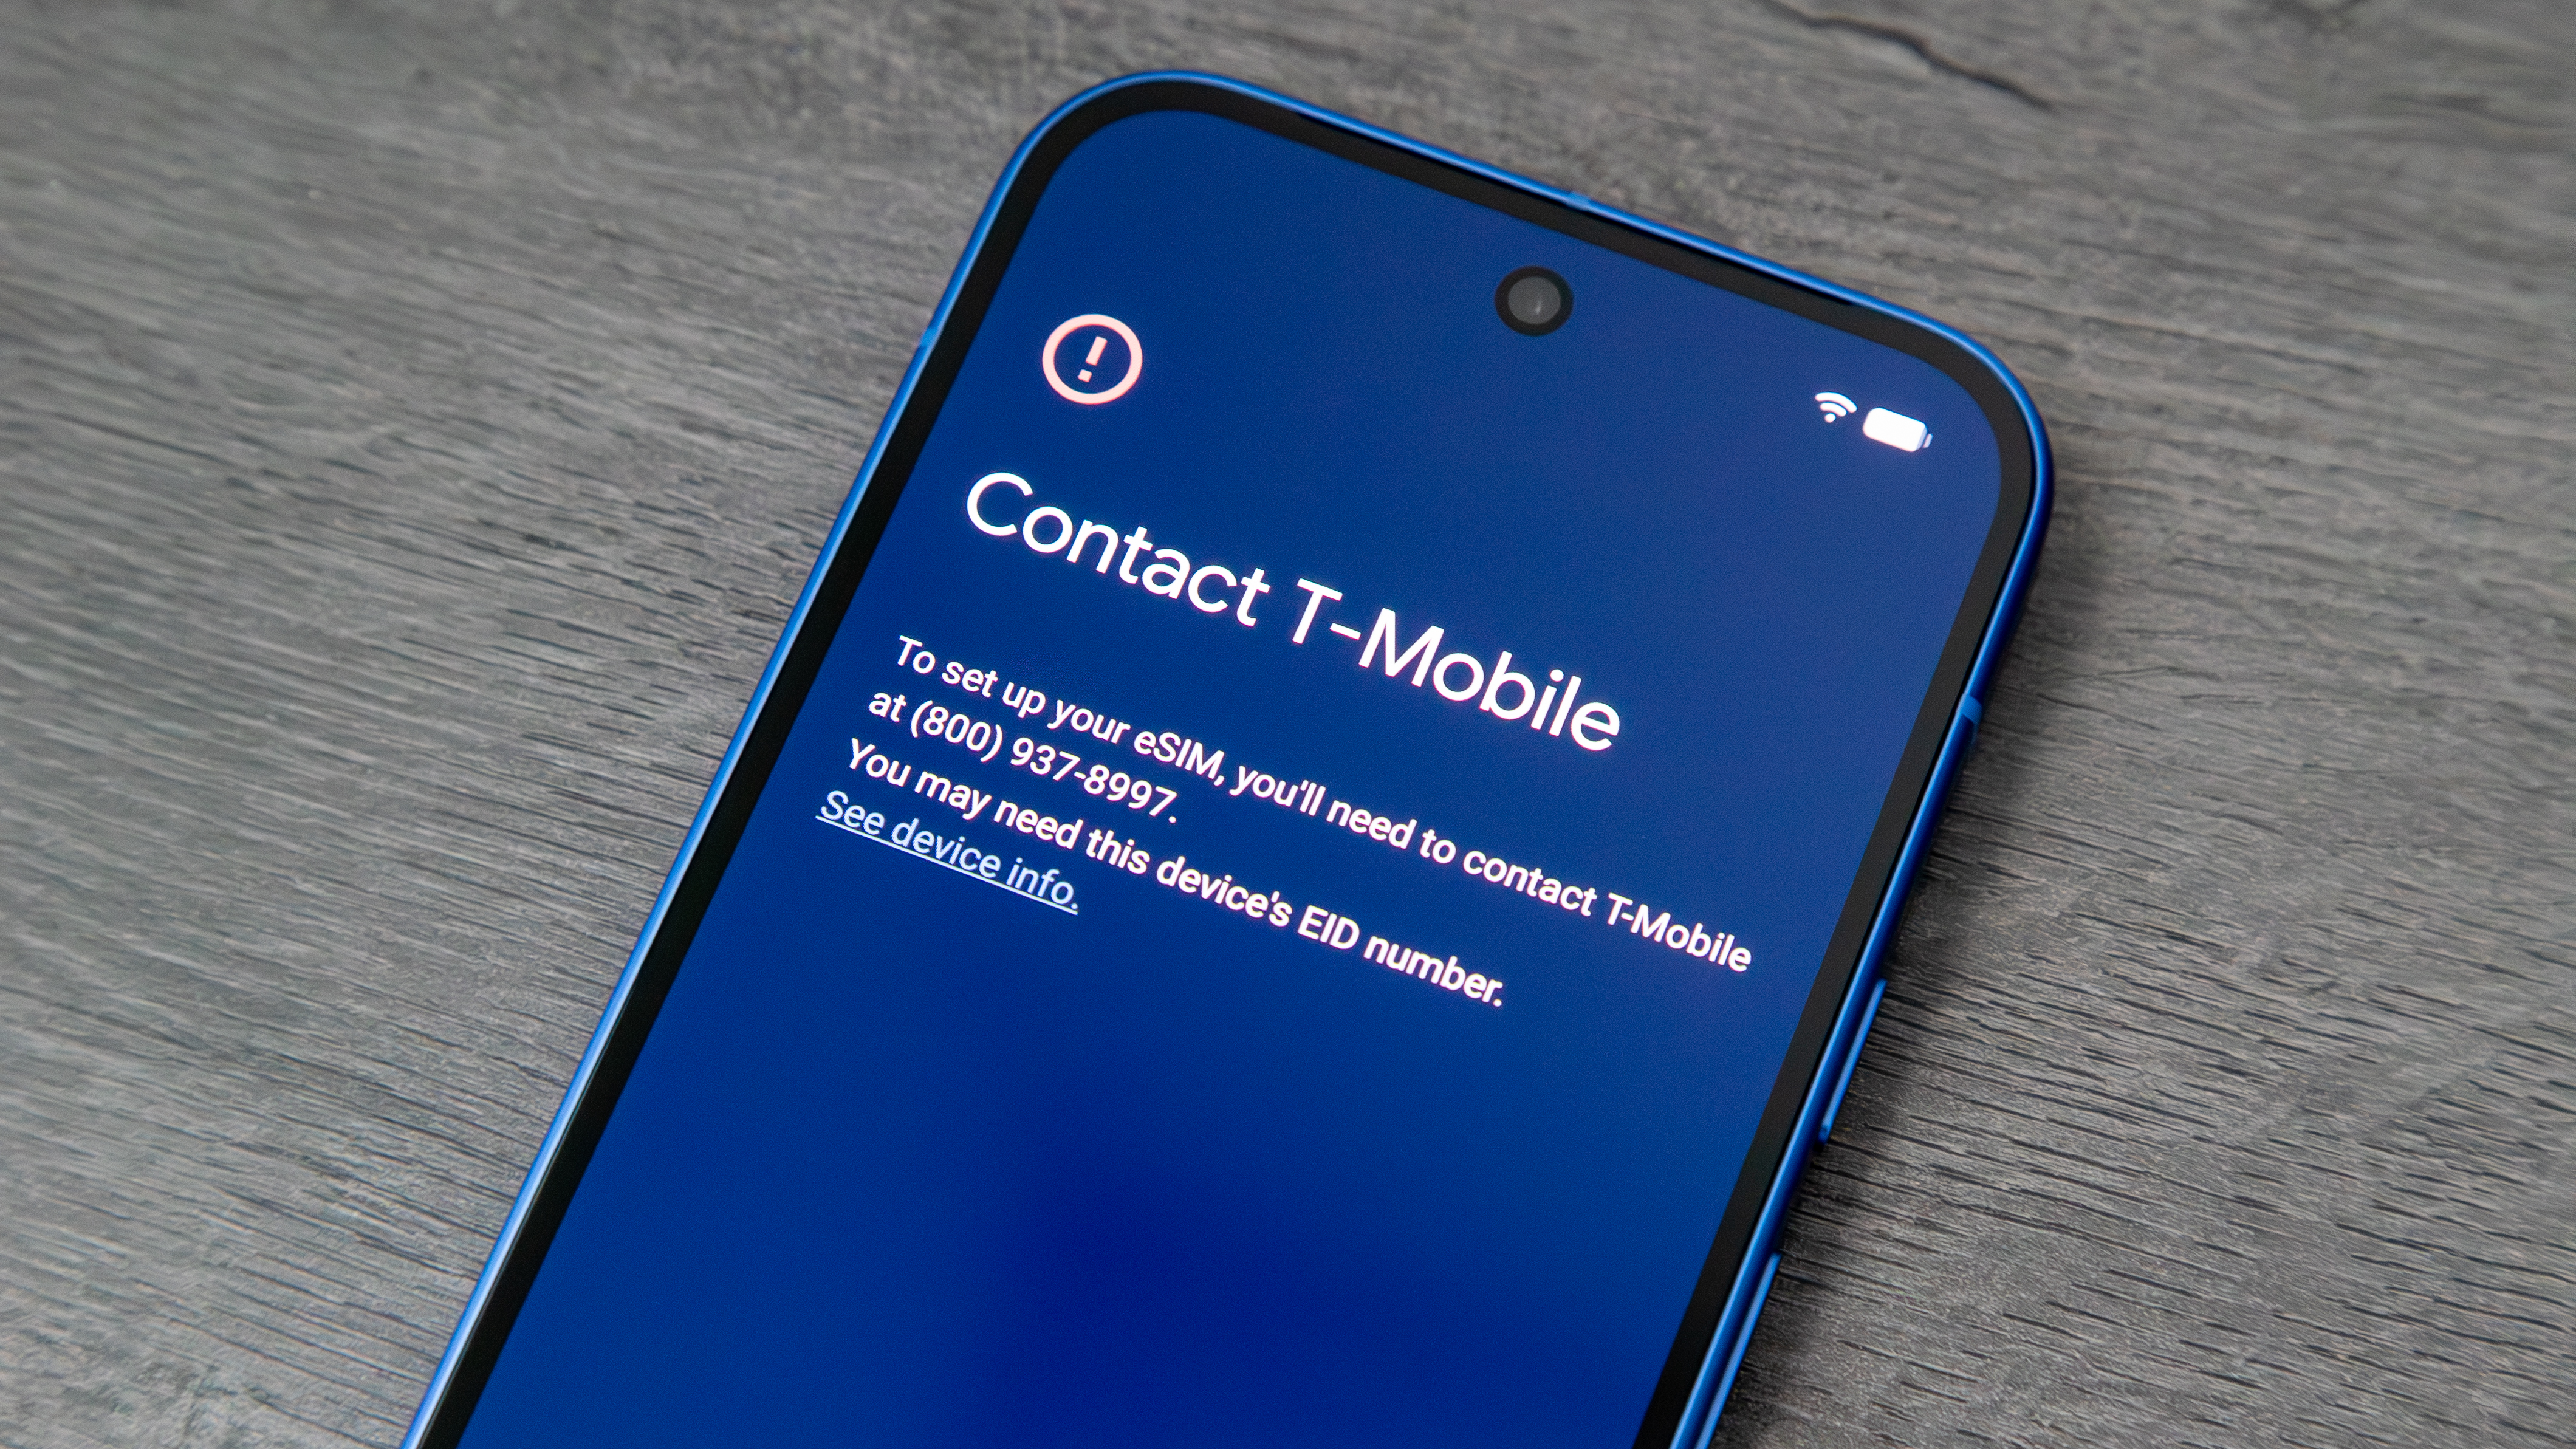
Using an eSIM has its benefits and set up is generally seamless. You may have to call up the carrier to get things activated but for the most part, you should have no trouble getting it all running, without having to visit a physical store.
Surely, eSIMs make it simple to store more than one number. With the Google Pixel 10 series of smartphones, as detailed above, users in the United States can have two SIMs active at a time, while being able to store more than eight eSIMs at a time and swap amongst them.
This is useful if you use travel eSIMs for other countries or just want two different phone numbers for work and personal use. The same phone could serve as both your business and personal phone at the same time, with no back and forth switching required.
Also, eSIMs eliminate physical waste and are easier to handle for those who don't have the dexterity to manipulate those small SIM cards (and get frustrated when they can't seem to insert them the right way!) They're just a digital version of your access to a mobile network that allows you to upgrade to new phones and switch between phones with ease.
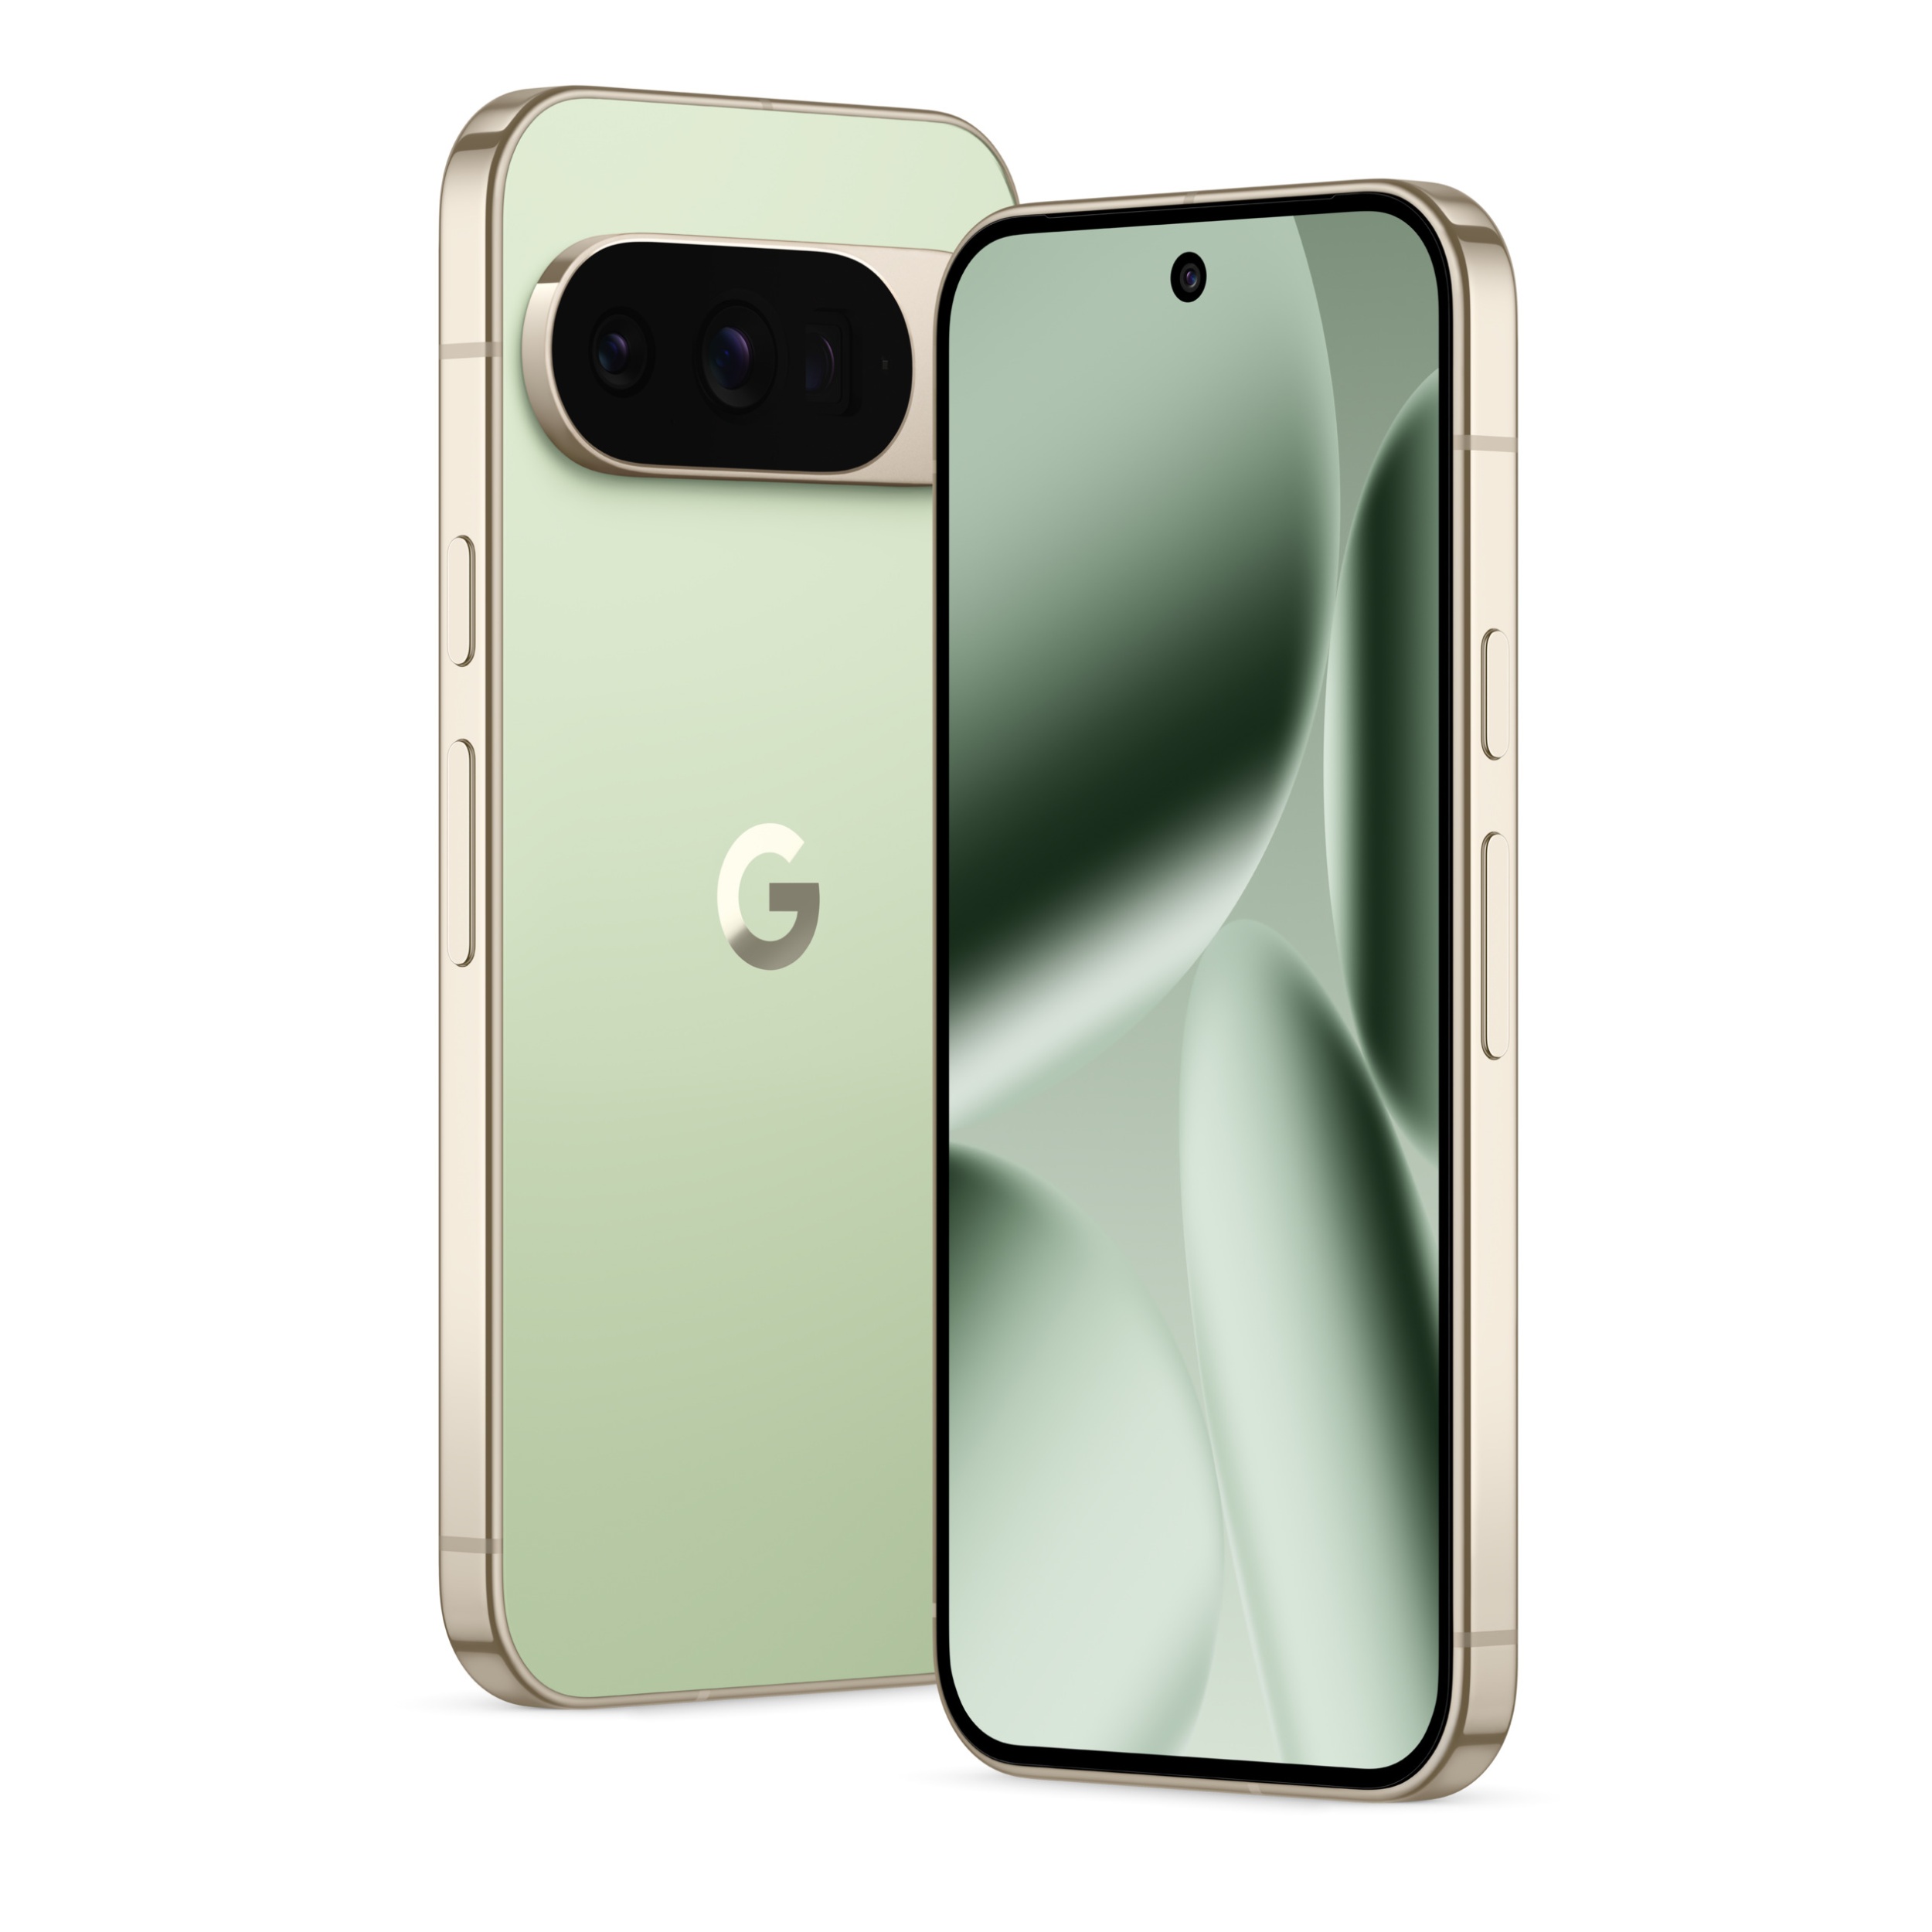
Google Pixel 10 Pro
Clean lines, more secure
The Google Pixel 10 Pro gets a cleaner frame thanks to the removal of the SIM slot in the U.S. That means you get the added security of eSIM when setting it up, and you can have two active eSIMs at the same time.