How do you propagate orchids?
It's a question many of us have pondered over the years, and little wonder: due to their rarity, beauty, and difficulty in cultivation, these blooming gorgeous flowers would be top of our list of garden ideas – if only they weren't so expensive.
Thank goodness, then, that propagation is one of this year's biggest garden trends, as it means we can make more orchid plants for free!
How to propagate orchids
If you are looking to expand your orchid collection, the easiest thing to do is learn how to propagate orchids. And, as luck would have it, there's two different methods you can try – although you may find you have more success with one than the other.
With that in mind, then, it's time to delve into one of our favourite house plant ideas of all time. Make sure you're sitting comfortably...
How to propagate orchids by division
Propagating orchids can be done using various methods – but the most common is division.
'Division involves separating a mature orchid plant into smaller sections, each with its own growth points or pseudobulbs,' explains Morris Hankinson, the director of Hopes Grove Nurseries.
What you will need:
If you are aiming to learn how to propagate orchids by division, you will need:
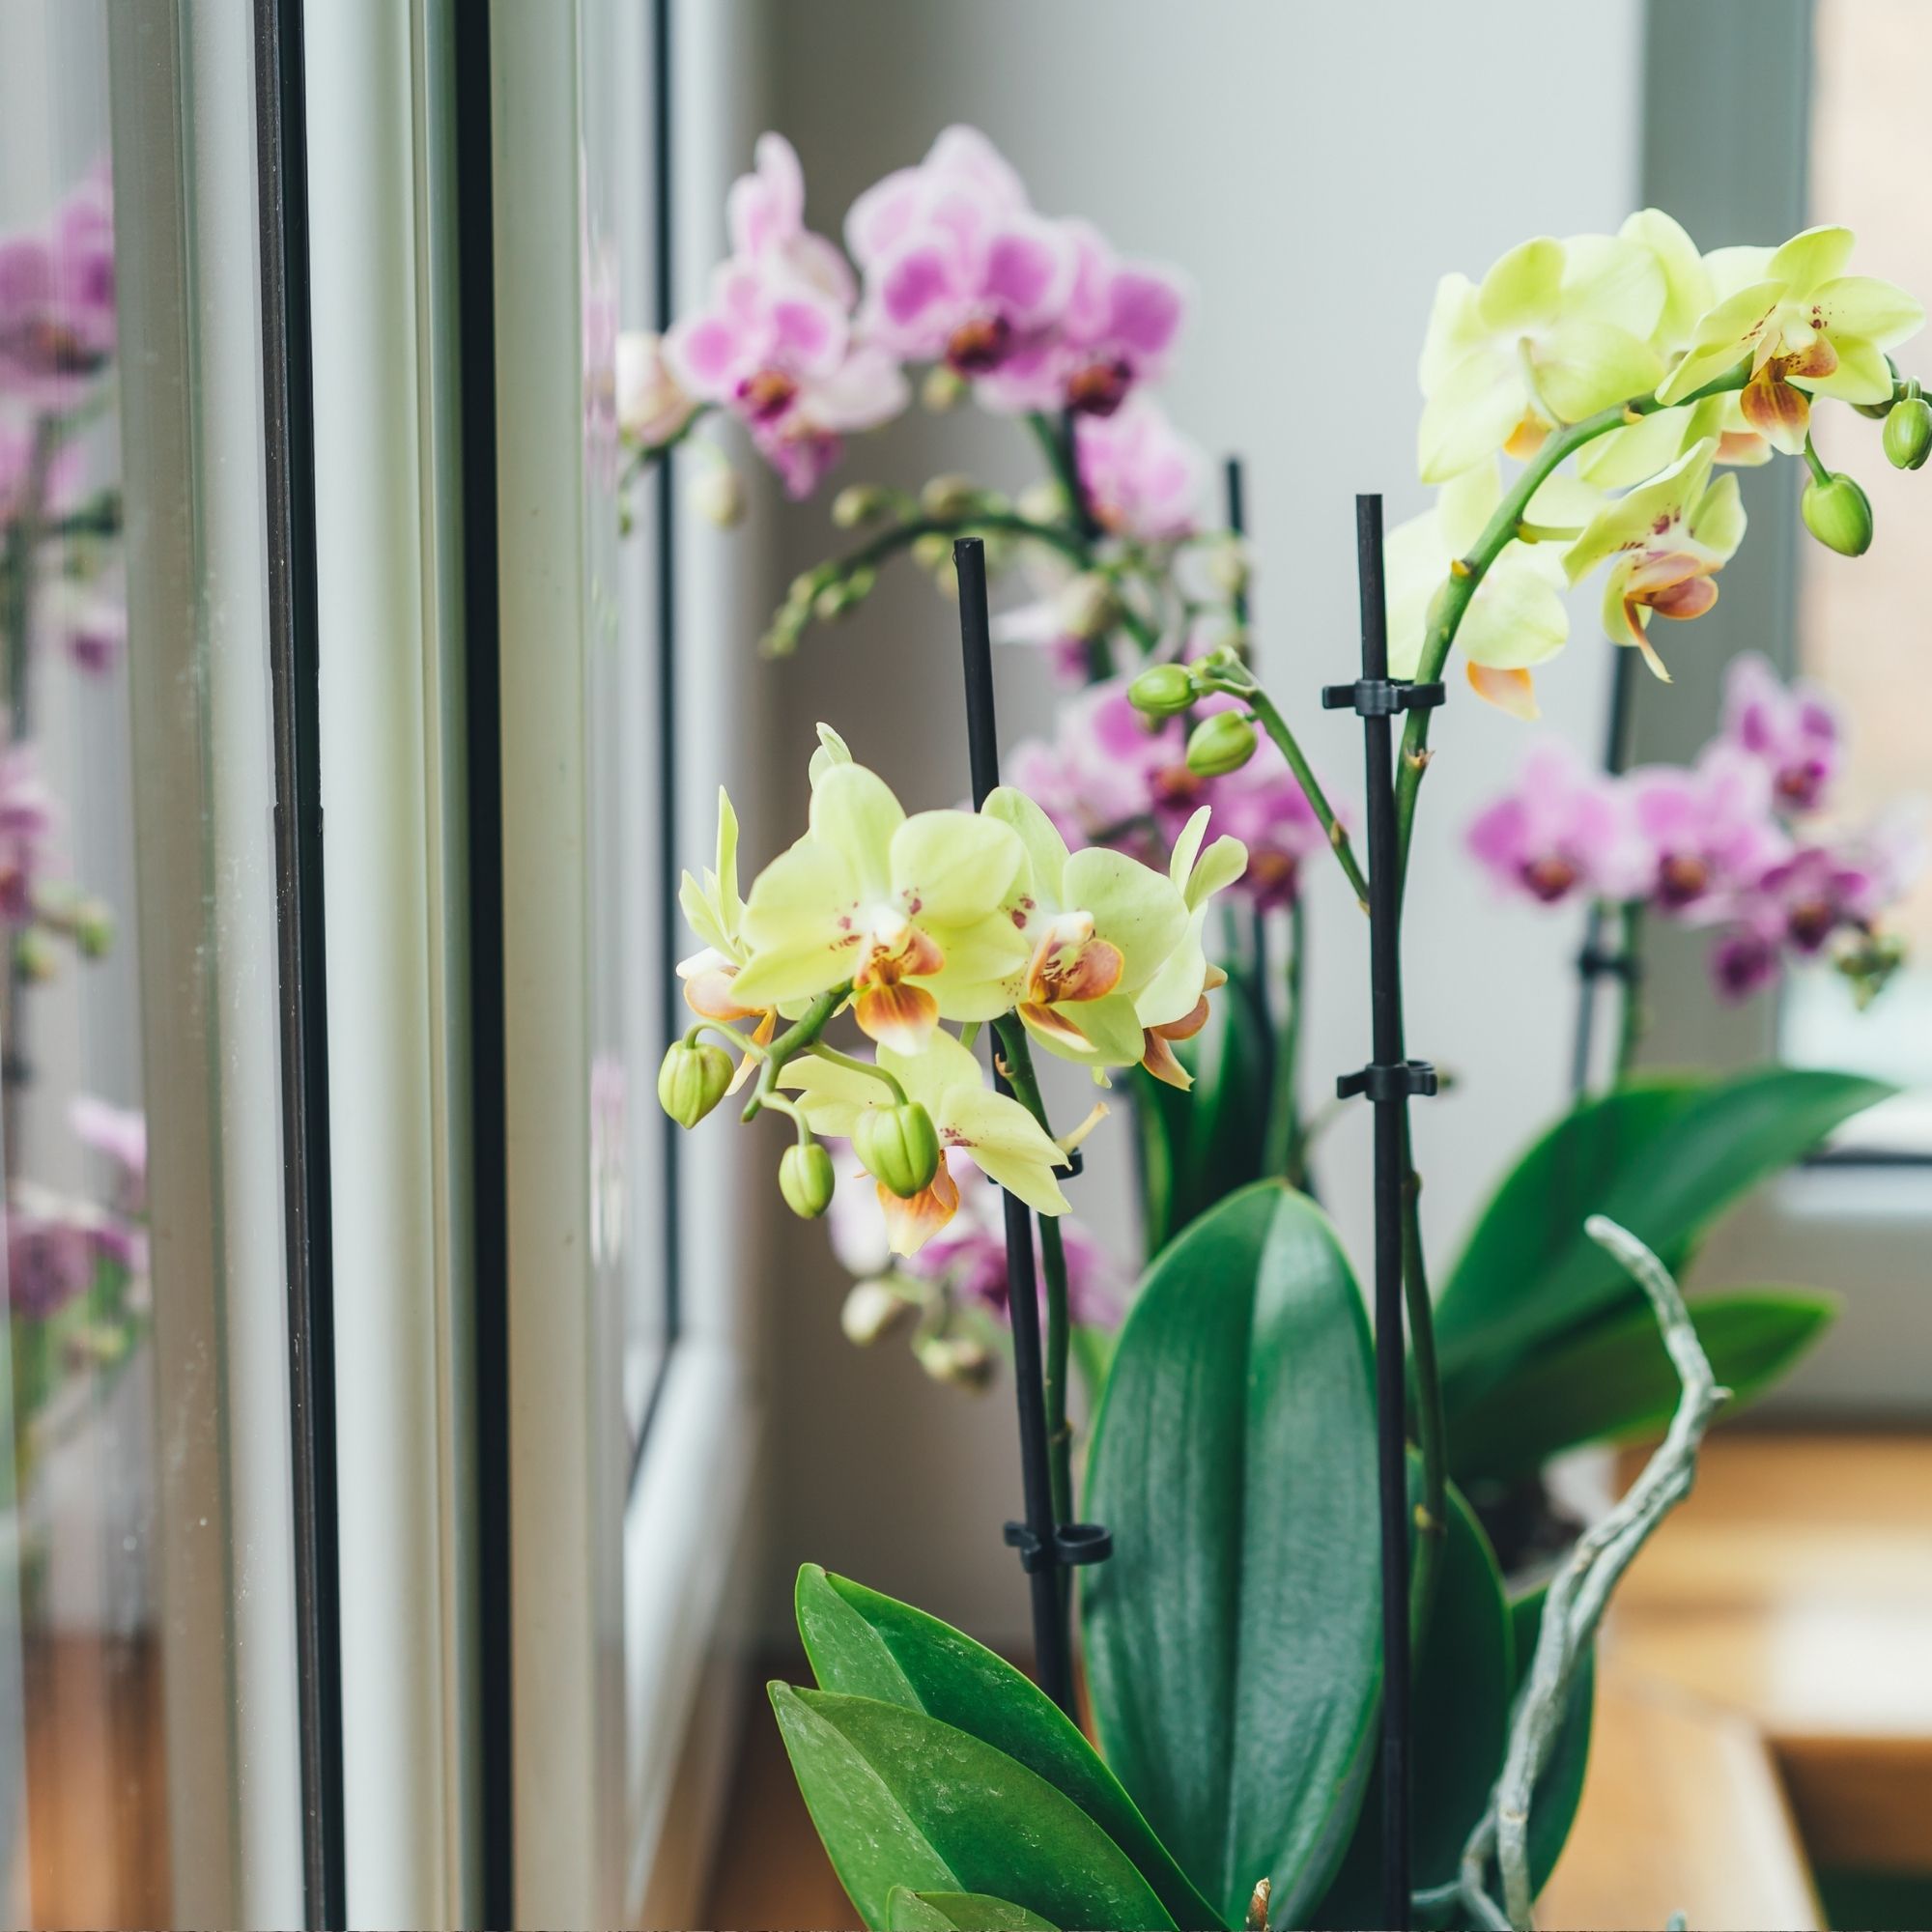
- A mature orchid plant, like this Phalaenopsis 'Asian Coral' from Crocus
- Sterilised pruning shears, like these Mijova pruning scissors from Amazon
- Small pots or containers (you can buy a multi-pack of 10 flower pots from Homebase)
- Orchid potting mix (try this Westland Orchid Growing Bundle on Amazon, as it includes compost and orchid water)
Step-by-step guide:
Once you've gathered all of your tools and equipment, you can start propagating your orchids by division.

Here's what you have to do:
1. Prepare
'Choose a healthy, mature orchid plant that has multiple growth points or pseudobulbs,' says Morris, who knows exactly how to propagate orchids by division.
'This will ensure that each divided section has the potential to grow into a new plant. Gather necessary tools: clean your pruning shears or a sharp knife, gather your pots or containers, orchid potting mix, and labels.'
2. Time it right
As is so often the case with gardening, timing is everything when it comes to propagating your orchids.
'The best time for division is typically after the orchid has finished blooming and is entering its active growth phase,' advises Morris. 'This is usually during the orchid's natural growth season.'
3. Remove the orchid from its pot
When it comes to removing the orchid from its pot, make sure to take it softly-softly.
'Gently tap or shake the pot to loosen the growing roots without causing any damage,' says Morris. 'Then, if the orchid is grown in a clear plastic pot, you can carefully inspect the roots to identify natural divisions or growth points.'
4. Separate and divide
You need to check the orchid's roots and pseudobulbs (pod-like structures that grow directly below the leaves) to identify natural divisions or growth points.
'These are areas where the plant has multiple pseudobulbs and a good root system,' says Morris. 'Using sterilised pruning shears, carefully separate the plant into sections, ensuring that each section has at least 3-4 healthy pseudobulbs and a good portion of roots.'
Trim away any damaged or rotting parts before moving onto the next step.
5. Re-pot and care
Now comes the fun bit: you need to place each divided section into a separate pot filled with a good quality orchid potting mix, so that your little orchid babies can truly thrive.
'Ensure that the pseudobulbs are partially above the mix's surface to prevent rot,' says Morris, 'and water the newly potted orchids thoroughly, allowing excess water to drain away.'
Once this is done, pop your orchid in a spot that's best suited to its individual needs (every orchid is different, so check what's appropriate when it comes to light and humidity for their specific type).
'Monitor the plants closely for the first few weeks, making sure they receive the right amount of water and light,' adds Morris. 'As the newly divided orchids establish themselves and show signs of new growth, you can gradually resume your regular orchid care routine.'
How to propagate orchids from cuttings
There is, of course, another way when it comes to figuring out how to propagate orchids: taking cuttings.
Usually the easiest way to propagate flowers (especially if you take cuttings the Monty Don way), this can prove much trickier with orchids. Largely because 'these are very delicate flowers,' says Christopher O'Donoghue of Gardens Revived, 'and many orchid varieties will not propagate from cuttings as a result.'
That caveat aside, you may find that cuttings from phalaenopsis and other single-stem orchids will propagate, if you do fancy experimenting.
What you will need:
If you are learning how to propagate from cuttings, you will need...
- A healthy orchid
- A sharp pair of scissors or secateurs
- A plant mister
- Sphagnum moss or orchid potting mix
- Hormone rooting gel or powder (optional)
- Individual 10cm pot
Step-by-step guide:
Before we get started, it's important to remember that your chances of successfully propagating an orchid from a cutting are far lower than they are from a division.
'Try and see this as more of an interesting experiment,' says Christopher. 'Go in with low expectations, and you may just come out with a beautiful bloom!'

With that friendly reminder ringing in our ears, then, let's get started:
1. Sterilise your pruning equipment
It's important to sterilise your pruning scissors or secateurs before you get started, as failing to do so can introduce harmful bacteria to your orchid.
'You can do this by dipping them in something like Jeyes fluidor Citrox and letting it sit for 20 minutes, before wiping them clean,' says Christopher.
2. Select a healthy orchid stem
Wait until your orchid has finished blooming and the flowers have started to fade before making a cutting... but this will basically mean cutting your single-stem orchid in half.
'Cut the stem near the base of the orchid and just above a node,' advises Christopher, noting that doing so will allow a new orchid to continue to grow from the trimmed stem.
You can leave the bottom half of your orchid plant in its current container, where it will continue growing with the right care.
3. Give your cutting some TLC

Your cutting can be wither be wrapped with moist (but not soaking) sphagnum moss or planted in orchid potting mix – where, with a bit of luck and patience, it may sprout roots and start growing.
'I'd cover the cutting with a clear plastic bag to help keep the moisture in,' says Christopher, 'and pop it in a sunny location with lots of indirect light.'
'Keep it warm and moist, using a mister when necessary, and you never know what might happen!'
Optional: you can dip the end of your orchid cutting in a hormone rooting gel to improve its chances of propagating successfully.
Of course, once you've sussed how to propagate orchids, you will need to learn how to care for your orchid and keep it flowering year after year (they live for a surprisingly long time!). Best of luck...
FAQs
Can you grow an orchid from a cutting?
While you can propagate some varieties of orchid from cuttings, it is the least successful method of propagation – and many gardeners would instead advise you to try the division method instead.
How do you propagate indoor orchids?
The easiest way to propagate indoor orchids is to adopt the division method:, which basically asks that you separate a mature orchid plant into smaller sections, each with its own growth points or pseudobulbs.