Knowing how to pitch a tent may seem obvious, but it can leave even seasoned campers flummoxed – especially if it's late at night, conditions are blustery or you've already celebrated your arrival at the campsite with a few cold beers.
Not to panic though, whether you're on a fastpacking mission with a solo shelter, or erecting a sizeable 4-person tent for the family, knowing the basics can make the difference between a successful pitch, or a night squashed up in the car or with fellow campers.
Ultimately, our tips are about improving the speed of your pitch, meaning you can spend more of the day on the trail, or drinking in the sunset at your destination. And they're about creating a safe and stable shelter, making sure you sleep easy knowing it won't budge or get damaged by outdoor unknowns – namely wildlife, the elements, or natural hazards such as falling rock.
You definitely don't want to start your camping trip on a sour note. Check out our trusted techniques before you get there and be the hero who erects a fully serviceable fortress of fabric in no time at all.

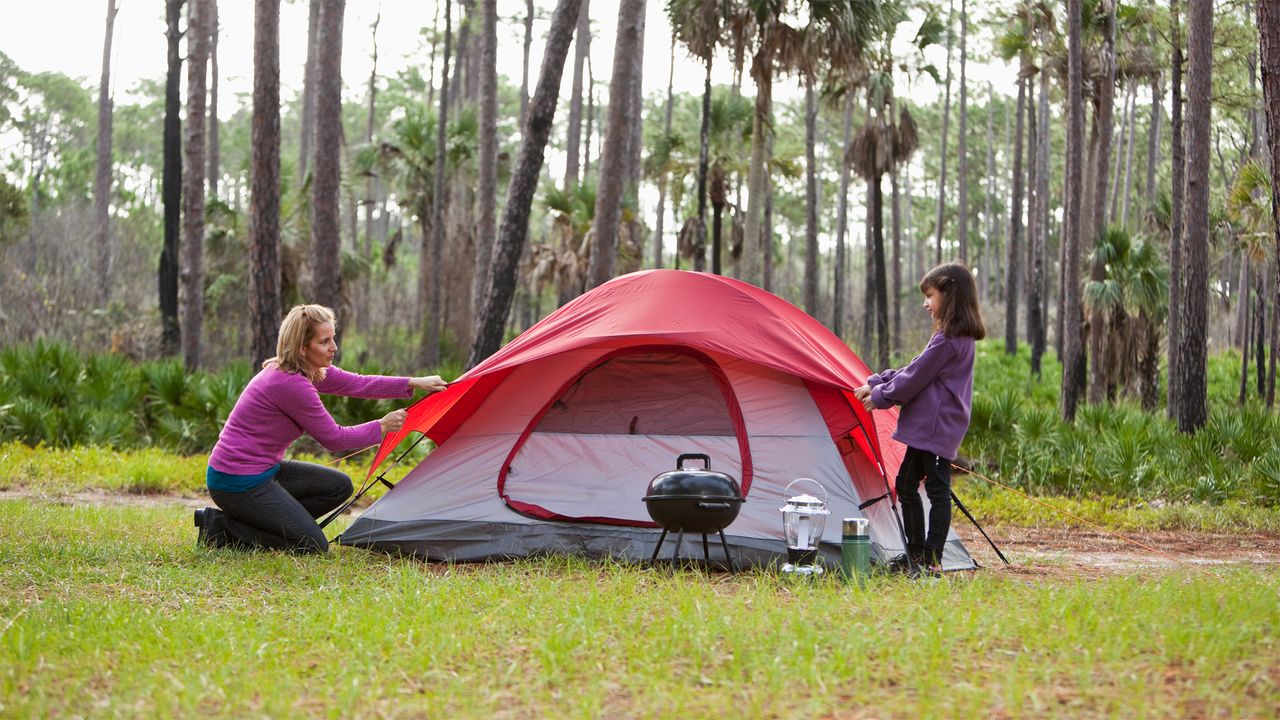
Better still, if you're confident with your poles, pegs and guylines, you can instruct others and turn the whole thing into a fun activity for the whole family. The best camping tents are usually straightforward to pitch once you scratch beneath the surface, so there's no reason not to get everyone involved.
Of course, there's more to this than the 'how'. Where to pitch a tent is also crucial, especially if you're wild camping. The last thing you want when you nestle into your best sleeping bag is to immediately get back out because your sleeping platform is wonky and criss-crossed by bulging tree roots. In this guide, we detail the what, how and where of tent pitching, as well as how to take the thing down when you're finished.
Choose wisely
Long before you get to the pitching stage, you need to think about choosing a tent. This really depends on what you are going to be using it for, as there is a smorgasbord of options out there. If you're just looking at spending time in campsites during summer or are planning to head to a music festival, you can take the stress out of pitching almost entirely by opting for a tent that just pops up. In fact, the best pop-up tents assemble in less than 10 seconds.
However, if you want a more durable tent that is going to give you great protection against the elements, most pop-up tents aren't going to cut it. Standard tents are usually categorised by how many adults they’ll sleep, so you’ll see models listed as ‘2-person’, ‘4-person’ and so on. If you're heading into hills or mountains, the advantages of the best one-person tents and 2-person tents is that they're generally lightweight and require a smaller area of level ground.
If you're camping with kids, the separate sleeping compartments often offered by the best family tents are ideal, give you loads of space and are a good way to keep bedding and daily life apart. However, it can be more difficult to find a flat piece of ground big enough for everyone to sleep in comfort and large tents don't stay as warm during the night.
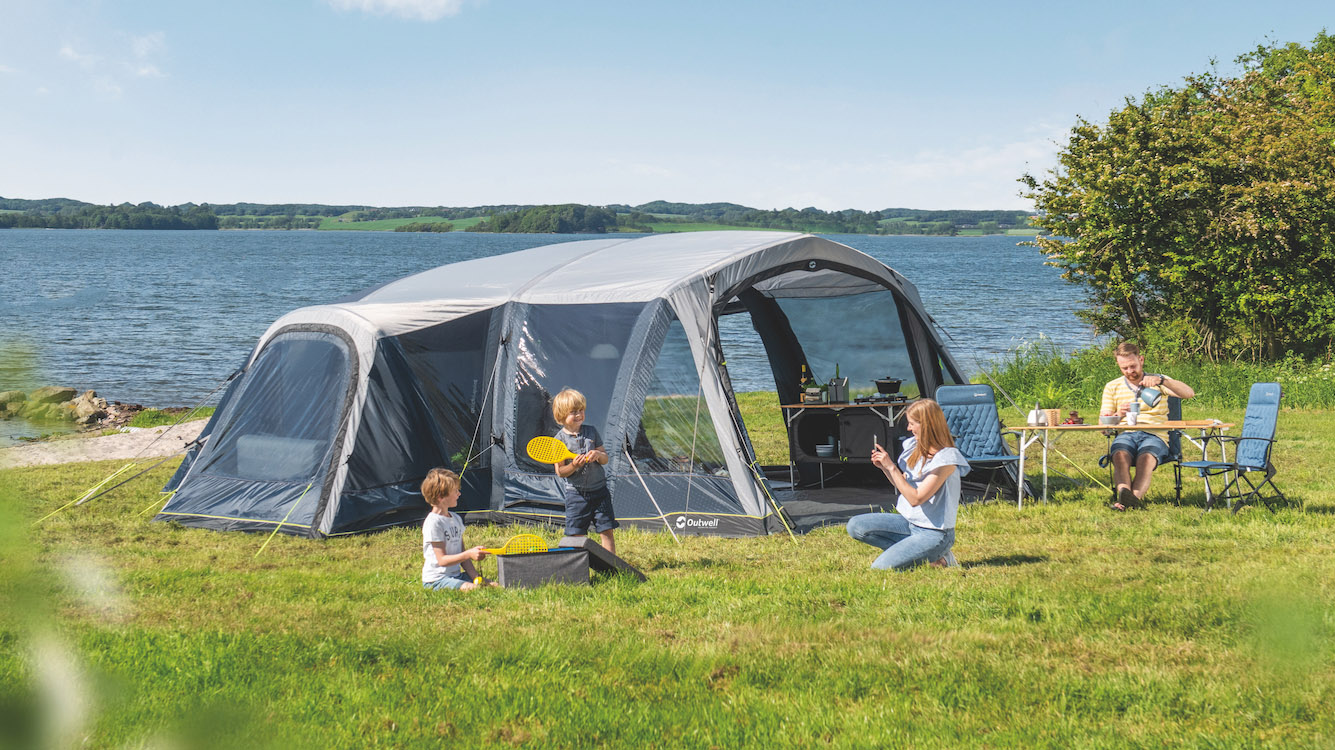
In the last ten years or so, air tents have risen to prominence as an alternative to traditional shelters. Featuring inflatable air beams instead of poles, they're a doddle to erect and can be luxuriously roomy inside, with high ceilings and huge living spaces. I know what you're thinking: can a tent that gets its structural integrity from air cope with strong winds and inclement weather? The answer is an emphatic yes. Air tents are a superb choice for big families who enjoy car camping trips.
Also, think about what helps you to get a good night's sleep. If you’re troubled by light mornings (or evenings), some tents feature blackout inners.

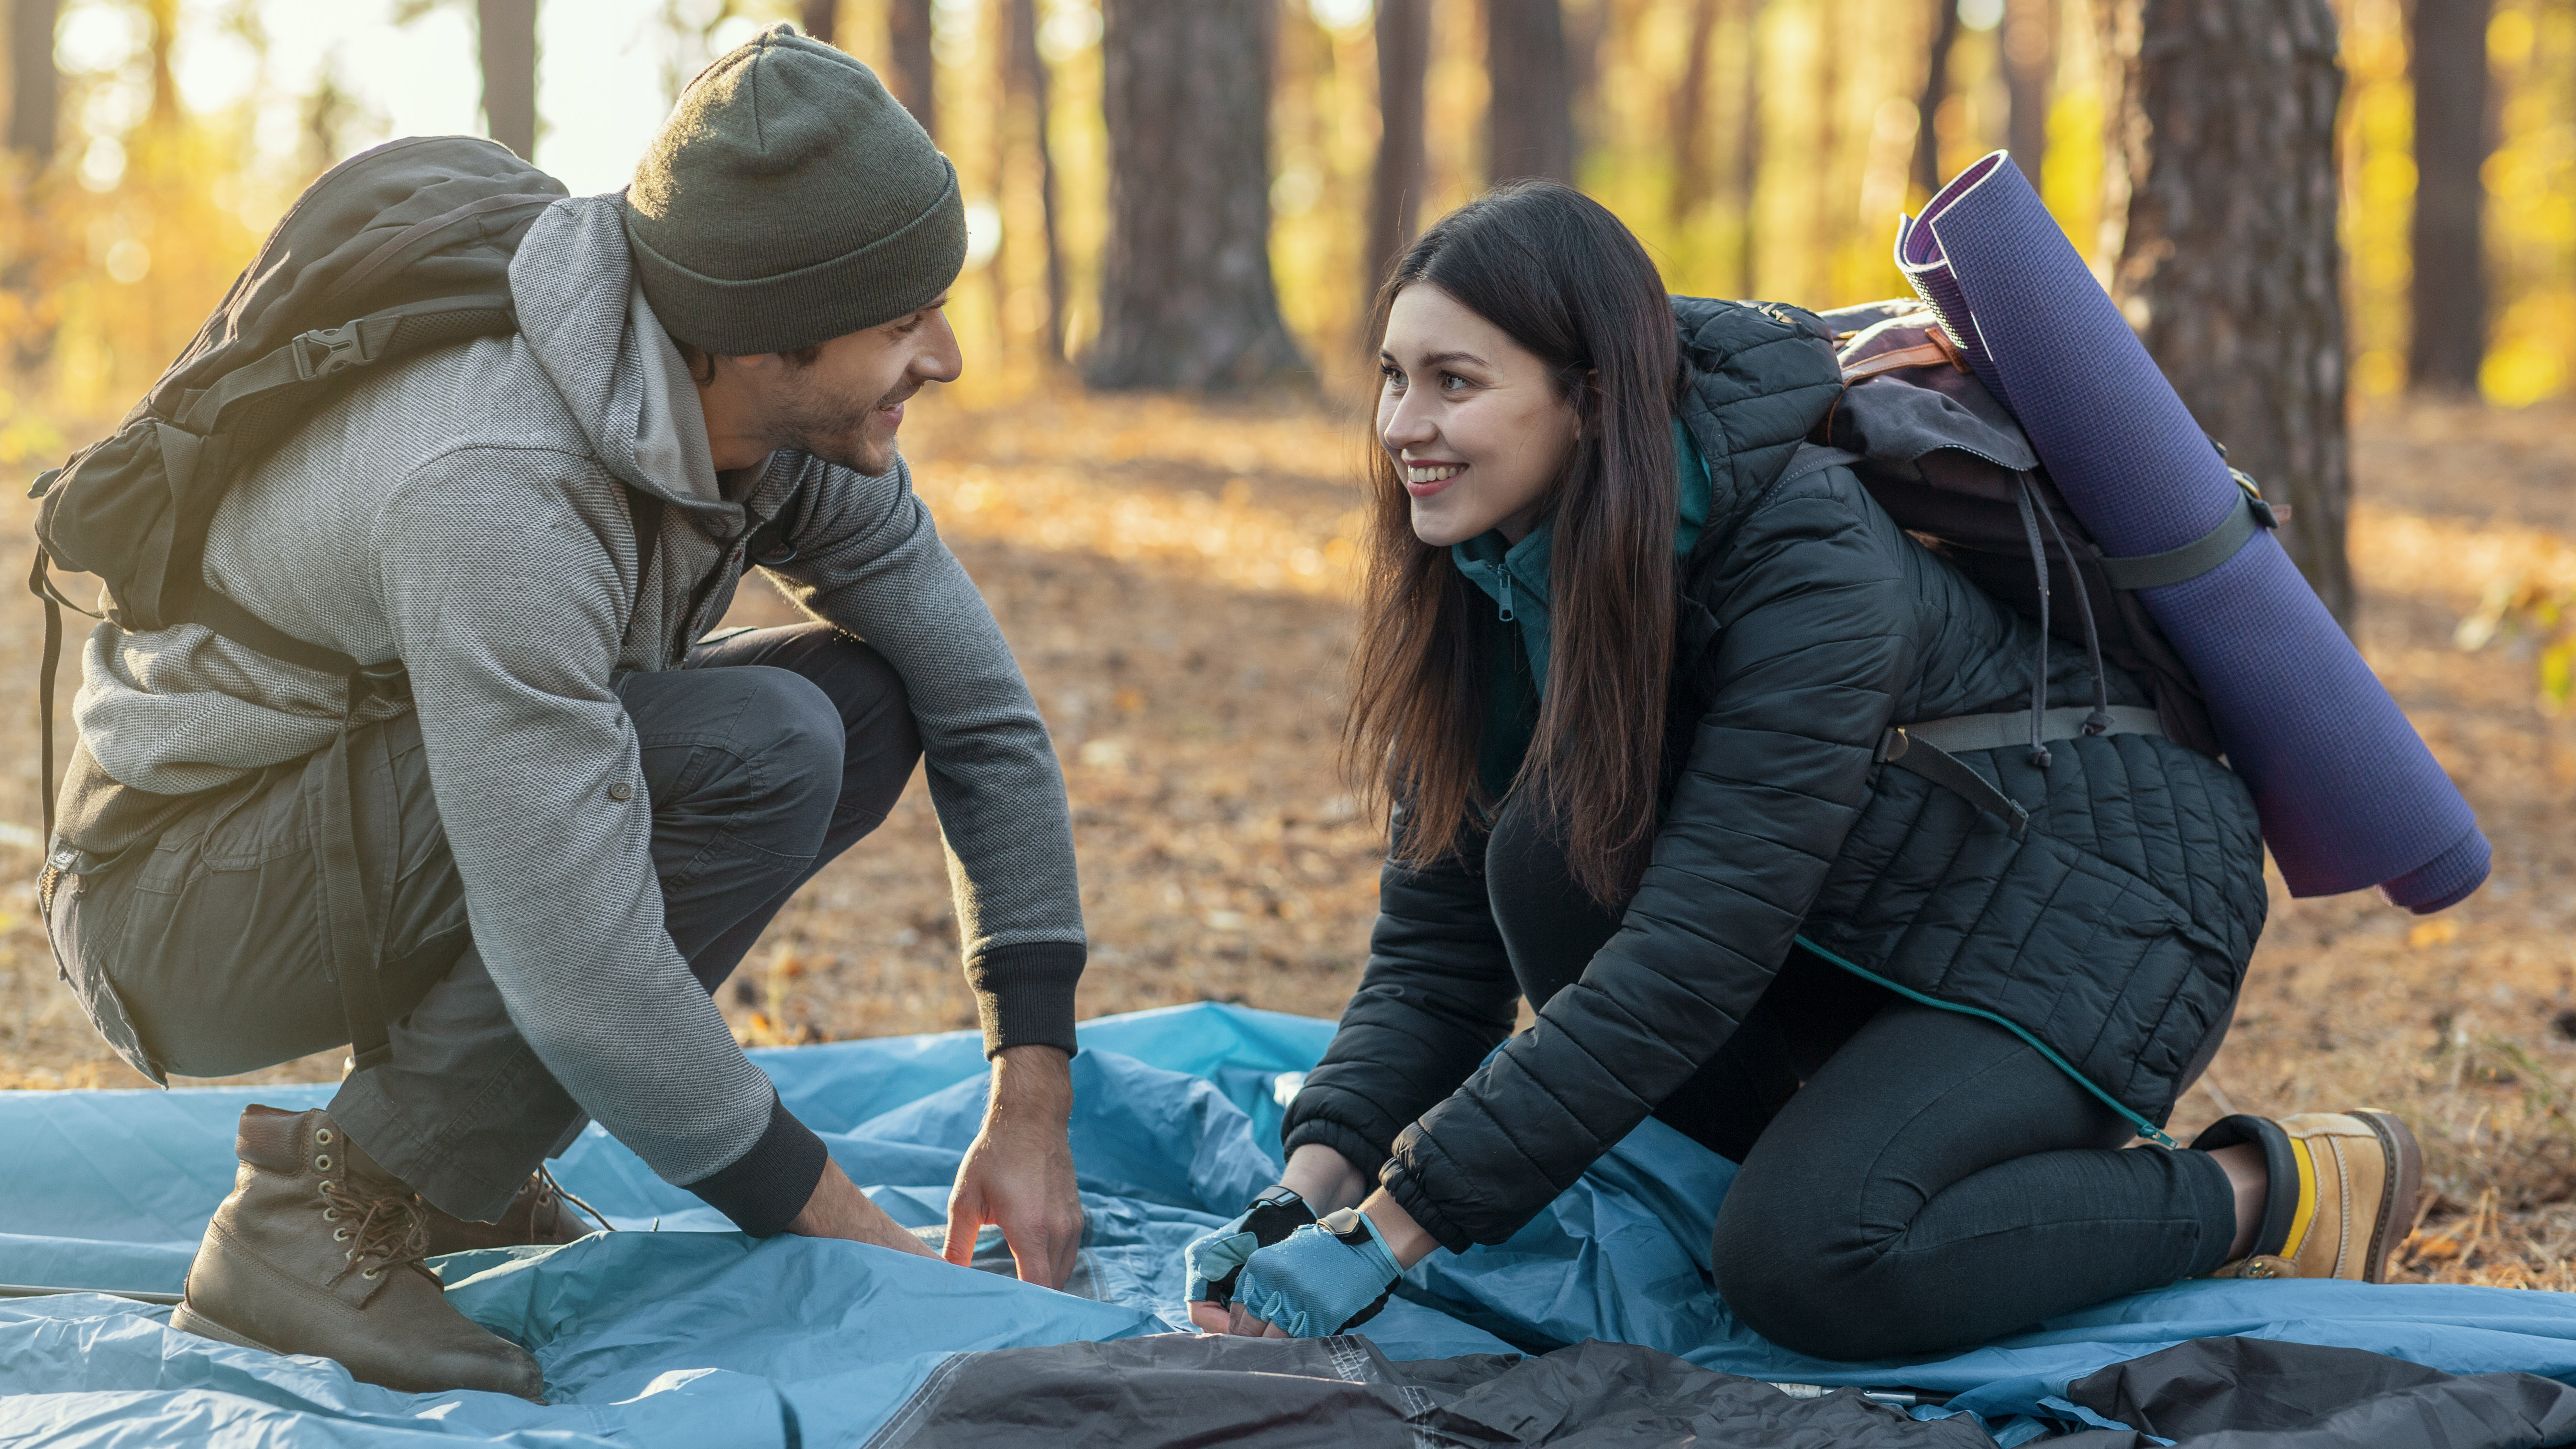
Practice makes perfect
Right, you've got the tent. That's the most essential item of your camping checklist ticked off. But before you pack the car boot, there's more to do yet.
Trying to work out how to put together a brand-new tent with a strong wind and an audience isn’t the most relaxing way to start a camping holiday. Even worse is when you've forgotten the insect repellent and you're out in the wilderness with the little nasties swarming around your chosen camp.
It's best to think about how to pitch a tent before you head for your campsite. If you can, practise putting it up somewhere quiet the first time – a garden works well – before braving it in public or on a mountain summit. This is also a good time to sort out any fiddly bits like attaching the guy ropes, and for checking you have everything you need, including the right number of poles and pegs. Without these, sleep will be the last thing on your mind. Just remember to put everything back in the bag before you head off…
Level pegging
Choosing a flat piece of ground on which to pitch your tent is really important, particularly if you’re camping for more than a single night. It’s amazing how even the slightest of slopes is enough to send your sleeping bag sliding into an uncomfortable corner of the tent in the early hours of the morning. Even the best sleeping pads can't mask a slope.
If you have no choice but to camp on an incline, sleep with your head pointing uphill to minimise discomfort. Before you spread out your groundsheet, check the whole area carefully for sticks, stones and other objects that could cause damage to you and your tent.
Location, location, location
If you’re keen to get a peaceful night, positioning is paramount. Pitch well away from potential disturbances such as busy roads, railway lines, generators, security lights and certain other groups of campers who may have other plans for the evening. Many larger campsites have separate areas for families, groups and quieter campers and it’s worth choosing wisely.
Thinking about where not to camp is just as important. Avoid pitching under trees if you can, and steer clear of livestock and their trampling hooves (and midnight mooing and bahing). Perhaps the most invigorating spot for a camp is on a beach, with the ebb and flow of the waves lulling you to sleep – just keen an eye on high-tide times.
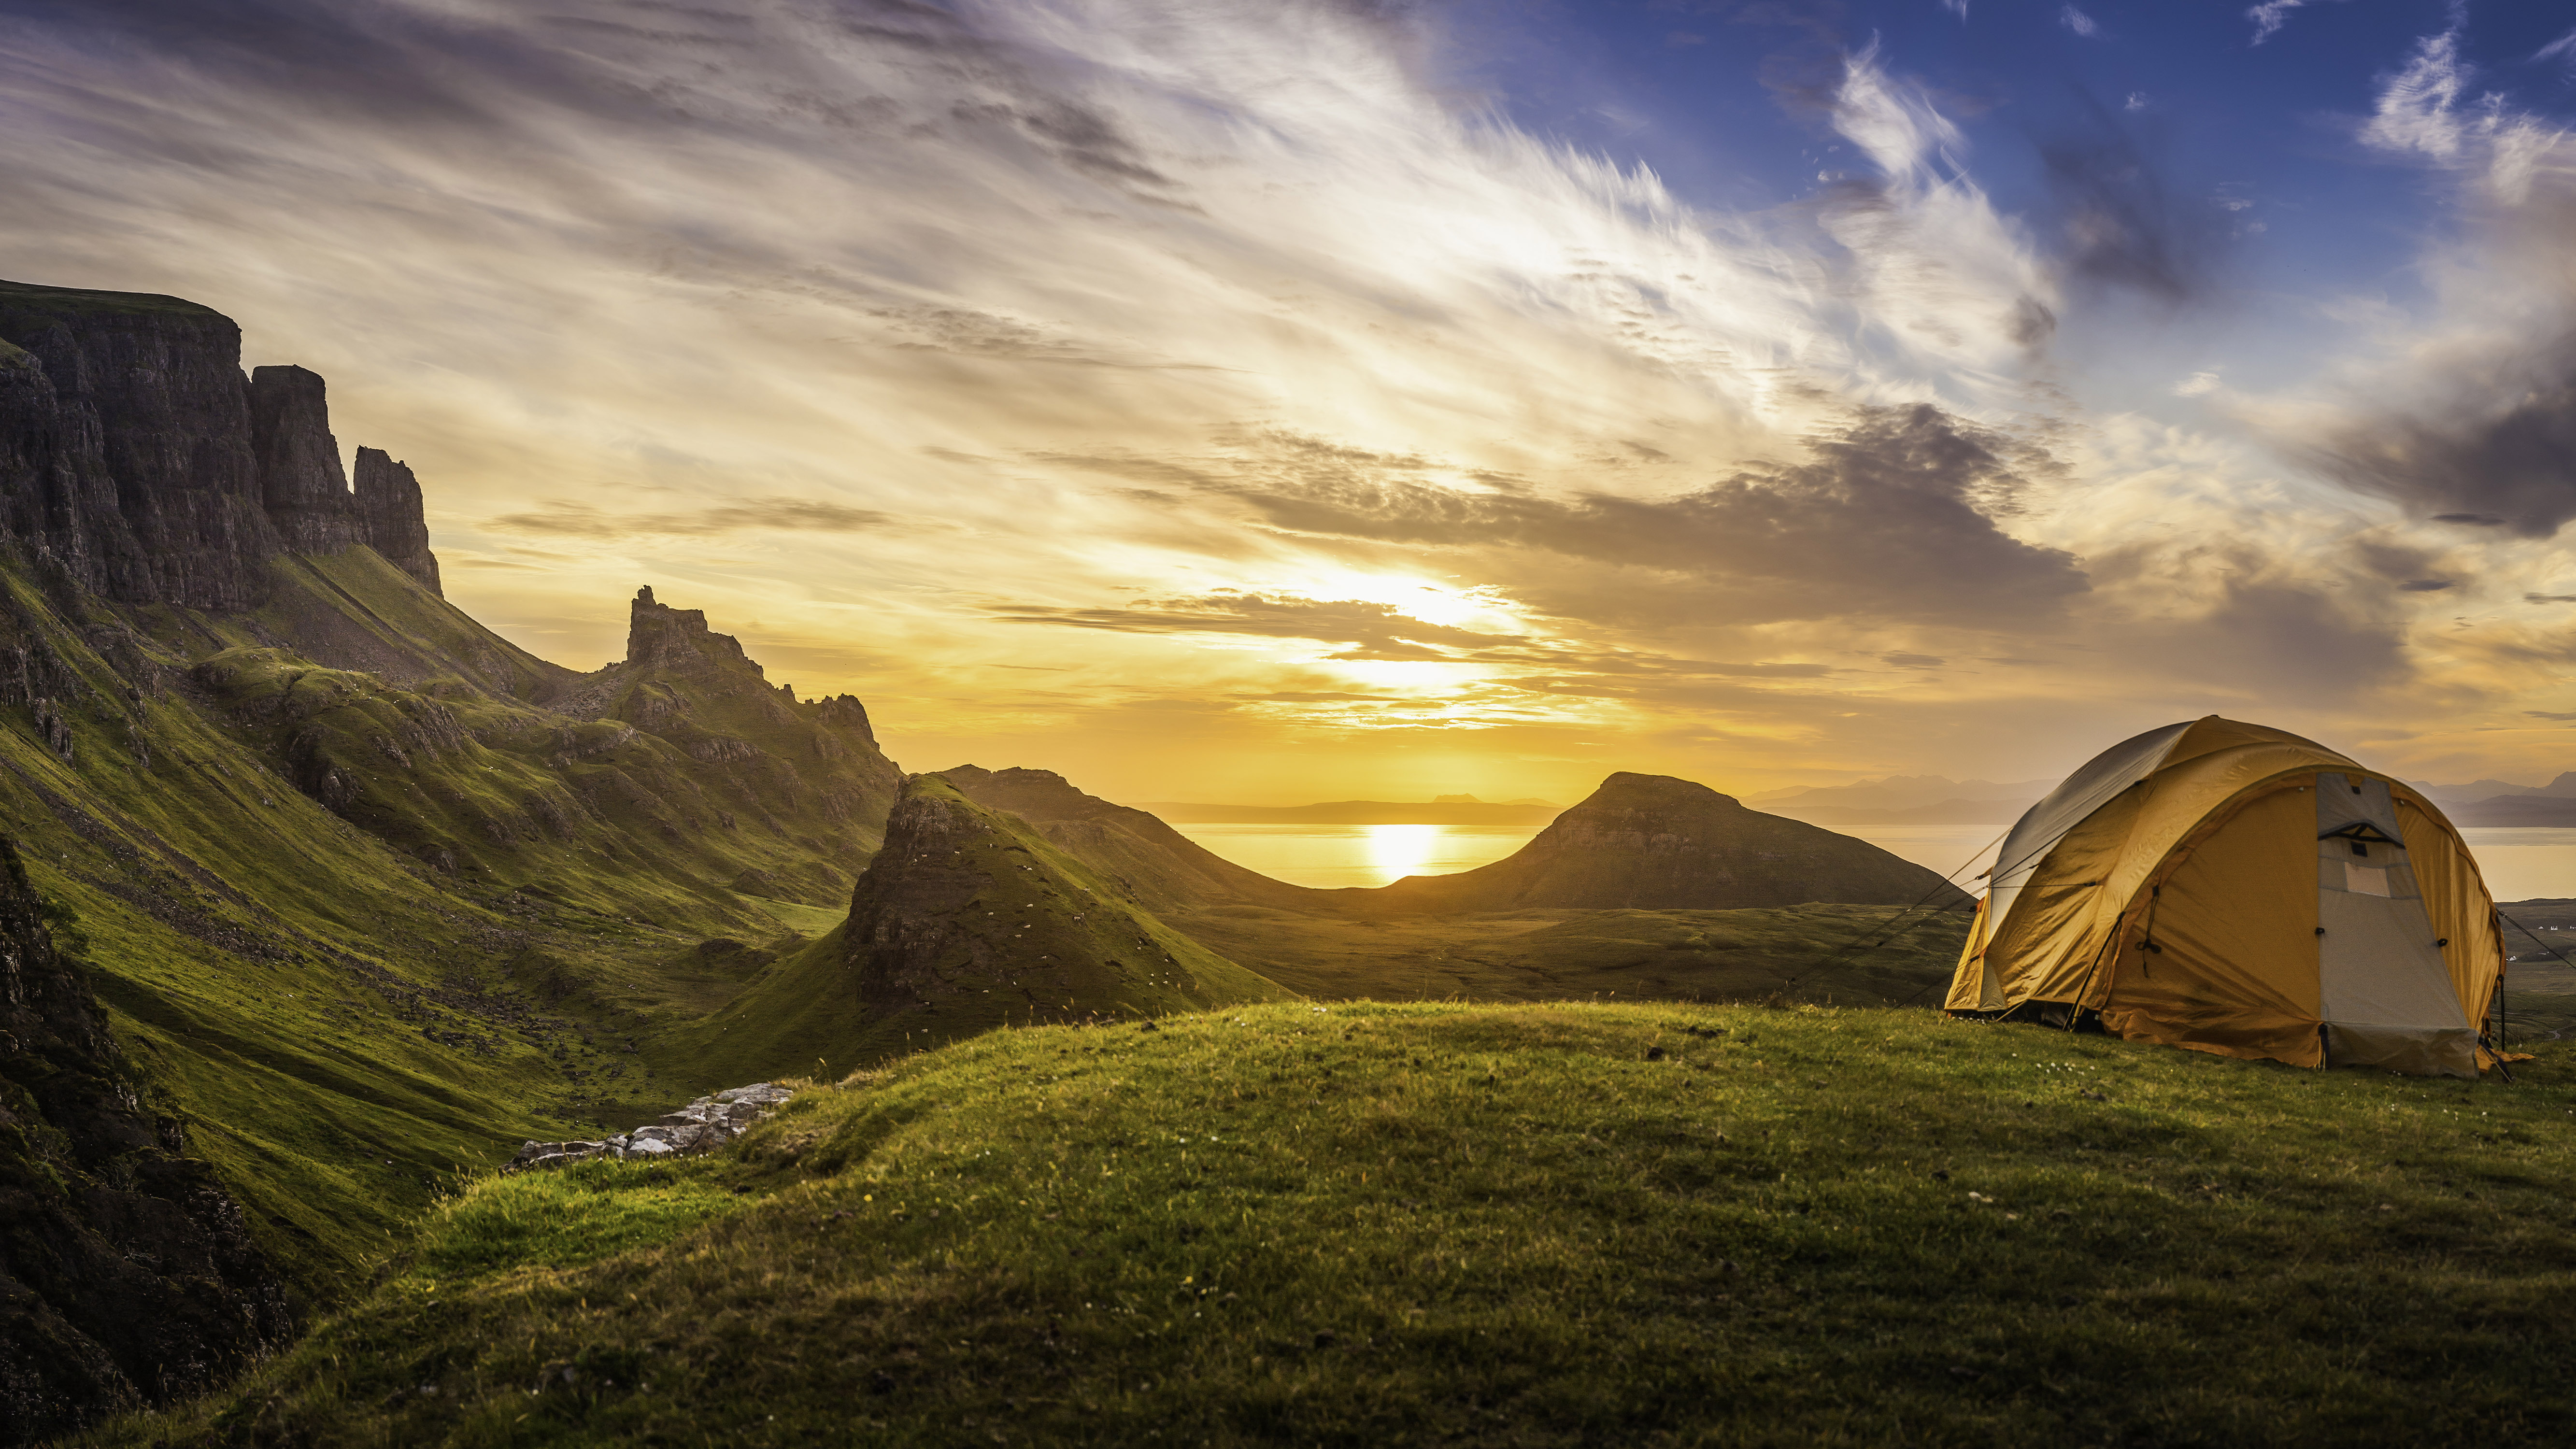
When wild camping, bear in mind with every 3,300ft (1,000m) of elevation gained you can expect the temperature to drop by around 44°F (6.5°C). This has a bearing on the layers you choose to take with you. Even in the height of summer, if you're heading up the mountains you'll need your best hiking hat, best base layer, best fleece jacket and best down jacket as well as your sleeping bag, just to keep warm. For more on this, check out our guide on how to stay warm in a tent.
Although you might think it's novel and intrepid (like in those Everest films) to begin with, pitching on a windy mountainside is not a good idea and many tent poles have been casualties to such folly. When planning a backpacking adventure in the mountains, check the forecast for the wind direction and plan to pitch your shelter in lee of a barrier, such as on the side of the mountain that's sheltered from the wind. Never pitch directly under crags or anywhere where rocks could conceivably lead to a particularly rude awakening.
Batten down the hatches
A good tent can withstand a surprising variety of weather, but only if it’s pitched right. Set up your tent with the main entrance angled away from the prevailing wind and orientate it so that the smallest surface area is head on to any gusts that might come your way, so it doesn’t act like a sail.
Peg the tent out so everything’s under equal tension. Baggy areas of fabric are a sign of a poorly pitched tent that may not withstand the weather and flap about noisily in the wind, neither of which will help you sleep. Use all the guy ropes and peg points, even if it feels like you don’t need to – you never know when the weather might change.
How to take down a tent
Knowing how to pitch a tent is just half the battle, of course. You also need to know how to take down a tent. Once you've wrestled your sleeping bag into its stuff sack and placed your belongings back into your backpack or car, it's time to disassemble your shelter.
First, clear the inner of any leaves and clumps of dirt it's gathered during the trip; future you will thank you when it comes to the next adventure. Don't fully zip up the doors; a little gap will allow air to escape when the time arrives to fold the fabric up.
Future you will also thank you for a quick damage check and, if necessary, the odd tent repair via application of repair tape. If there's any major damage, it's much better to know about it when packing up then at the start of your next trip.
When you take out the pegs, leave a couple of them in the ground right up until its time to fold the fabric away – you don't want the wind snatching it away before you have chance to grapple with it. Once your poles are stowed and the last peg is out, roll your tent up, squeezing all the air out as your go.
Leave no trace
It should go without saying but, when you take down a tent, have a good look around. It is vital for the conservation of our outdoor spaces that we leave no trace when camping.
The only difference between the environment you pitched in and the environment you leave should be a slightly lighter area of earth where your tent has been. In fact, if you can, try to leave the place in a better state than when you found it by picking up any litter you find while out adventuring.
When you get home
Conversely, part of the ritual when you take down a tent is putting it up again as soon as possible in the garden on a sunny day, especially if you've camped in wet conditions. You don't have to peg out absolutely every guyline but doing this allows your tent to dry out properly and be fully ready for your next trip. Open up all the zippered doors and allow your inner tent to breathe.
If you leave a wet tent folded up for months, the next time you come to use it you will be greeted by an awful damp smell and it may be covered in mould and mildew. Looking after your tent properly will mean that it lasts longer, which is good for your future adventures, your wallet and the environment.