The total solar eclipse is coming, and of course you'll want to capture this once-in-a-lifetime moment with your best camera. Whether that's your DSLR, mirrorless, or smartphone, we're here to give you the best tips possible. But let's be honest, taking photos of the sun is hard on a normal day, and the total eclipse won't make things easier.
Let's set expectations. Even if you have a great camera or one of the best smartphones, your camera and your equipment may not be up to the task, and you probably won't get an amazing shot worth hanging on your wall or selling in a gallery, not unless you are a dedicated solar photographer.
That's why we have tips for taking the best shots of the eclipse that capture the moment and the special day, not just the sun and moon in the sky. We'll teach you how to set up properly, stay safe during the eclipse, and have a great time taking your best shots.
Most of all, don't forget to look up - with the proper eyewear in place, of course. Don't spend the entire eclipse managing your gear or you'll miss a truly stellar event that likely won't come your way again in your lifetime.
What is a total solar eclipse?
A total solar eclipse is when the Moon passes in front of the Sun, completely covering the face. This incredible event happens roughly every 18 months, which sounds frequent, but usually only a small part of the Earth has a good view of any total eclipse. This time around, the eclipse will reach a massive cross-section of North America, including many large cities in the United States, Canada, and Mexico. The next total eclipse in the US won't come until 2044.
According to NASA, the eclipse happens because the Sun is 400 times larger than the Moon, and it is also 400 times farther away from the Earth than the Moon. This serendipity means that the Sun and the Moon appear to be the same size in the sky. When the two objects line up, the Moon covers the Sun almost perfectly.
We say 'almost' because the type of eclipse depends on how far the Moon is from the Earth in its orbit. When the Moon is farthest from the earth and closer to the Sun, the Moon cannot block the entire face of the Sun, so the eclipse is not total.
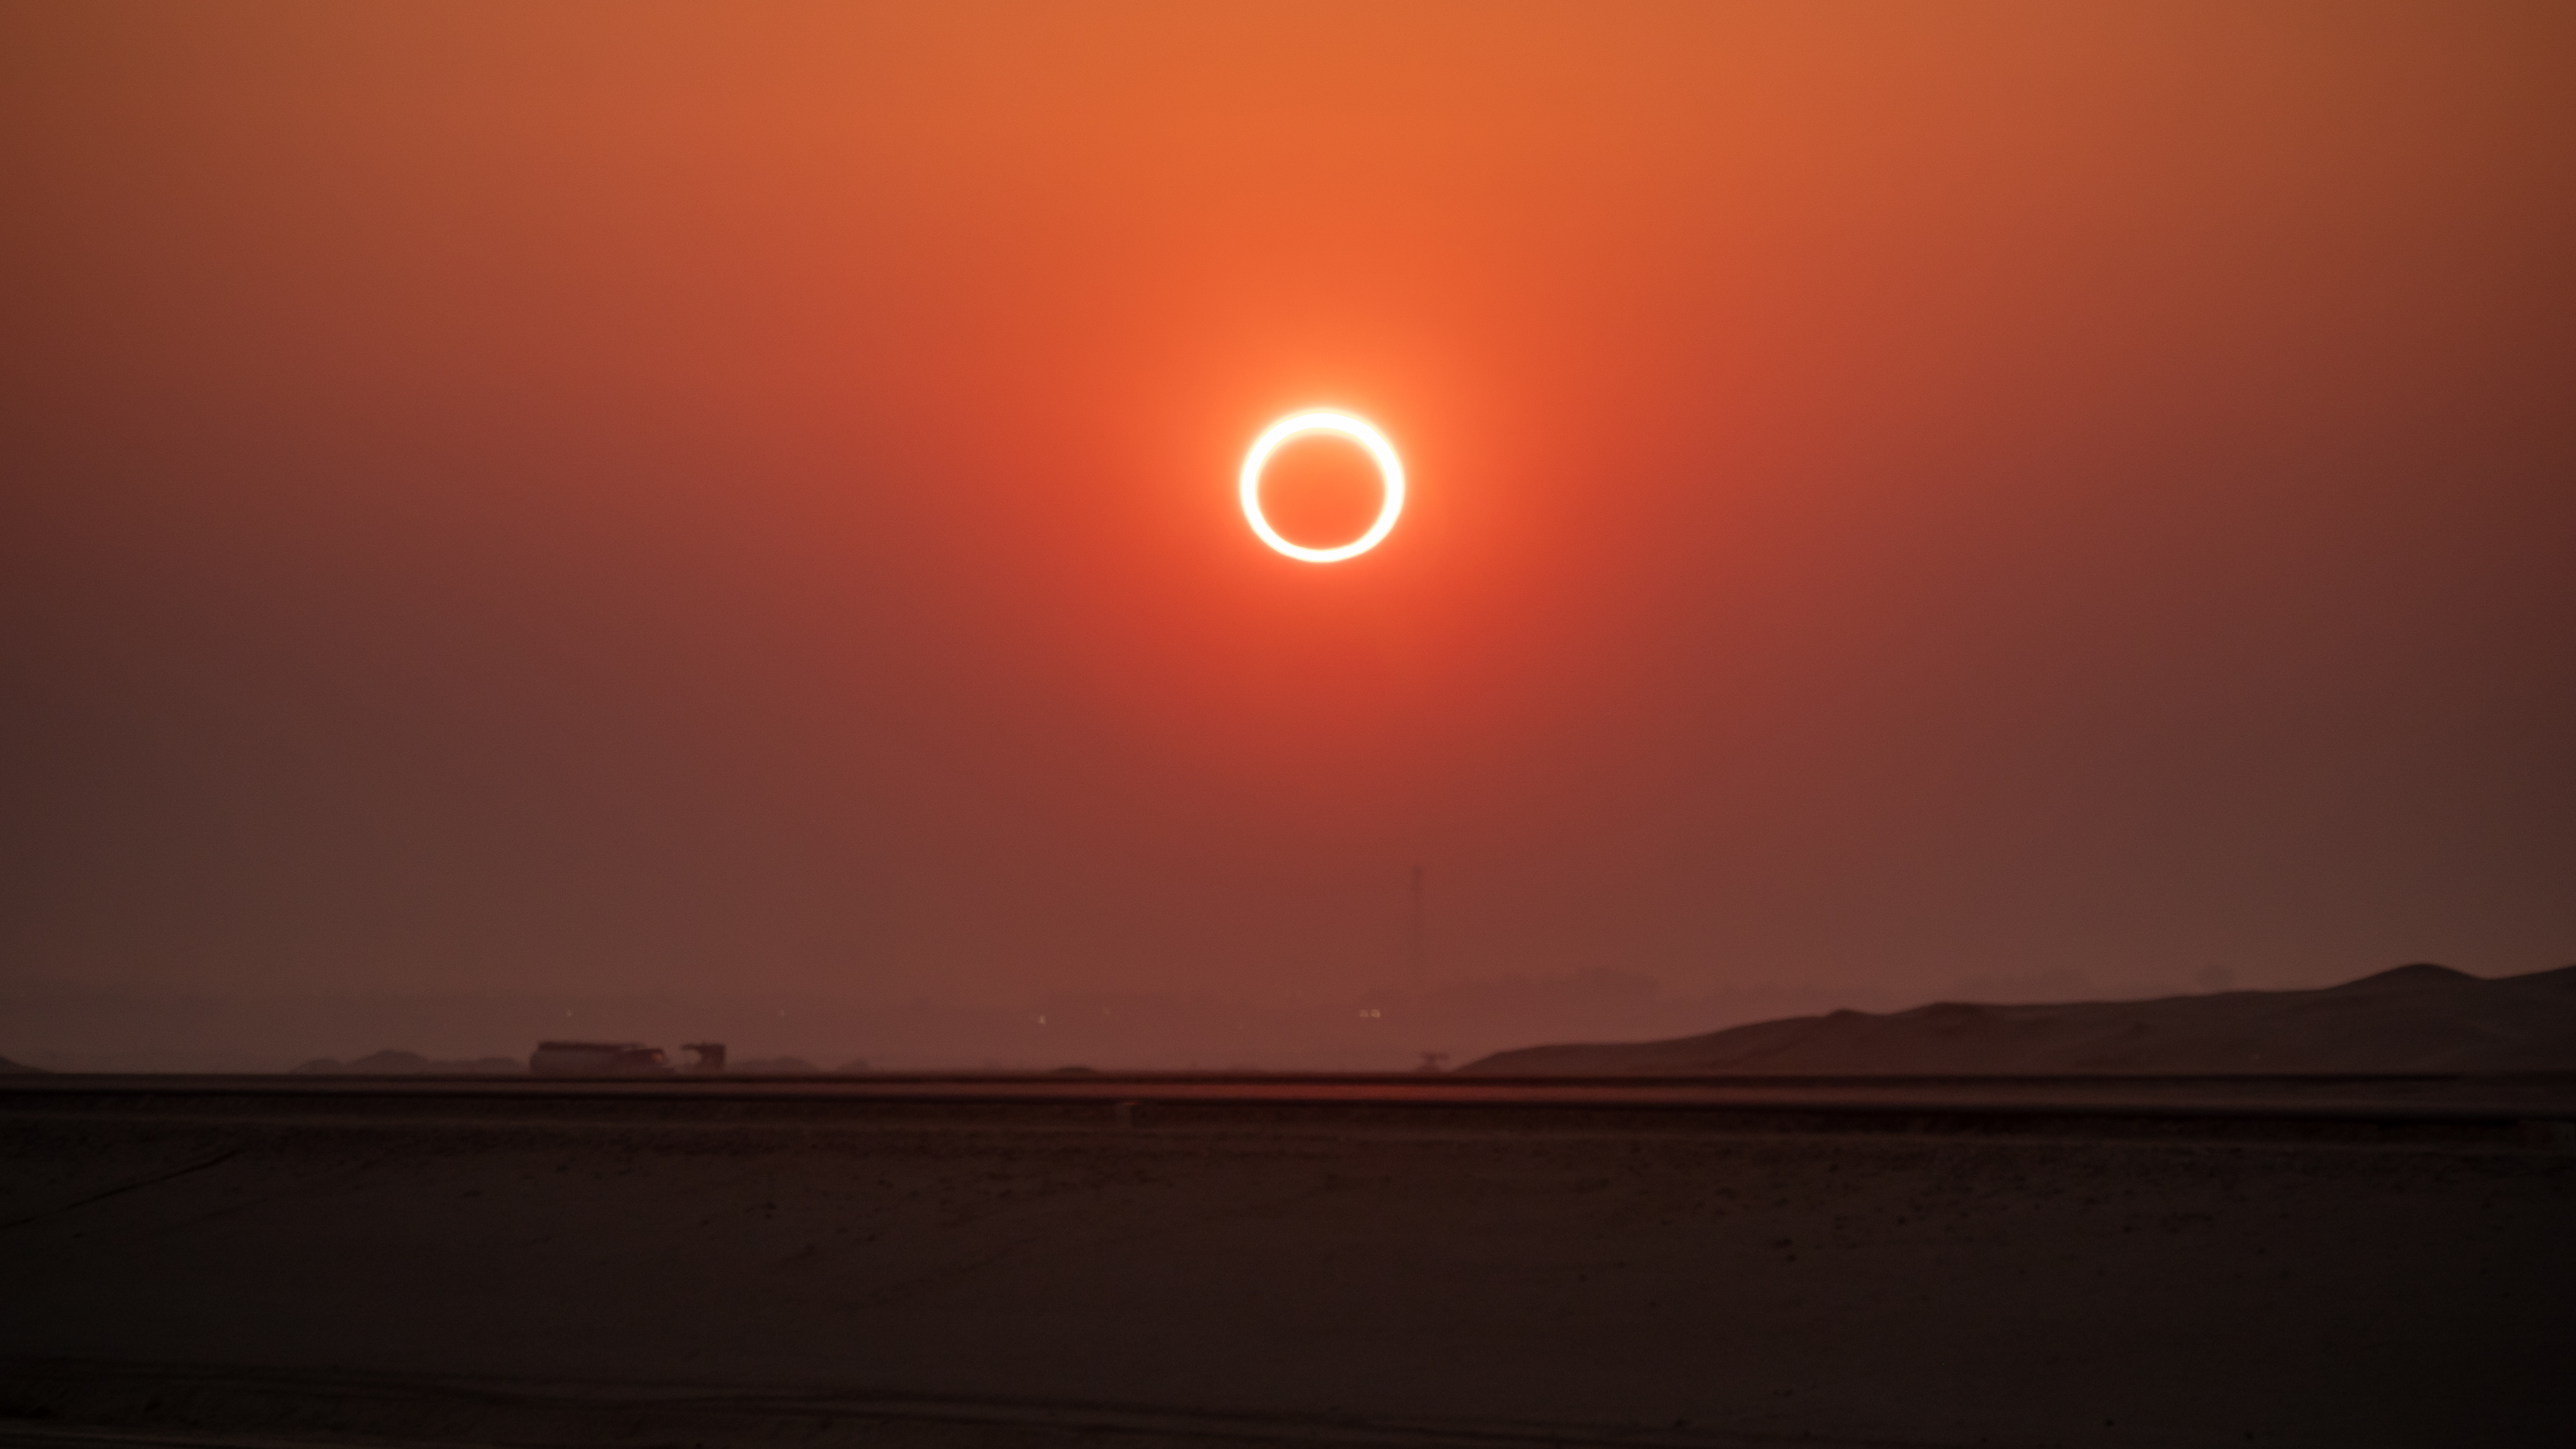
This gives us an 'annular' eclipse, which produces the ring of fire effect around the Sun because some of the Sun's face is still visible. During an annular eclipse, it is very dangerous to view the eclipse without proper eyewear.
This year's total eclipse takes place when the Moon is closer to the Earth. During the total eclipse, the Moon will block all of the face of the sun, including the bright corona. When the Sun is totally blocked, it is technically safe to remove your eclipse eyewear, but only if you are in the path of totality, and only while the sun is totally blocked. NASA and the American Optometric Association still suggest leaving your glasses on, just to be safe.
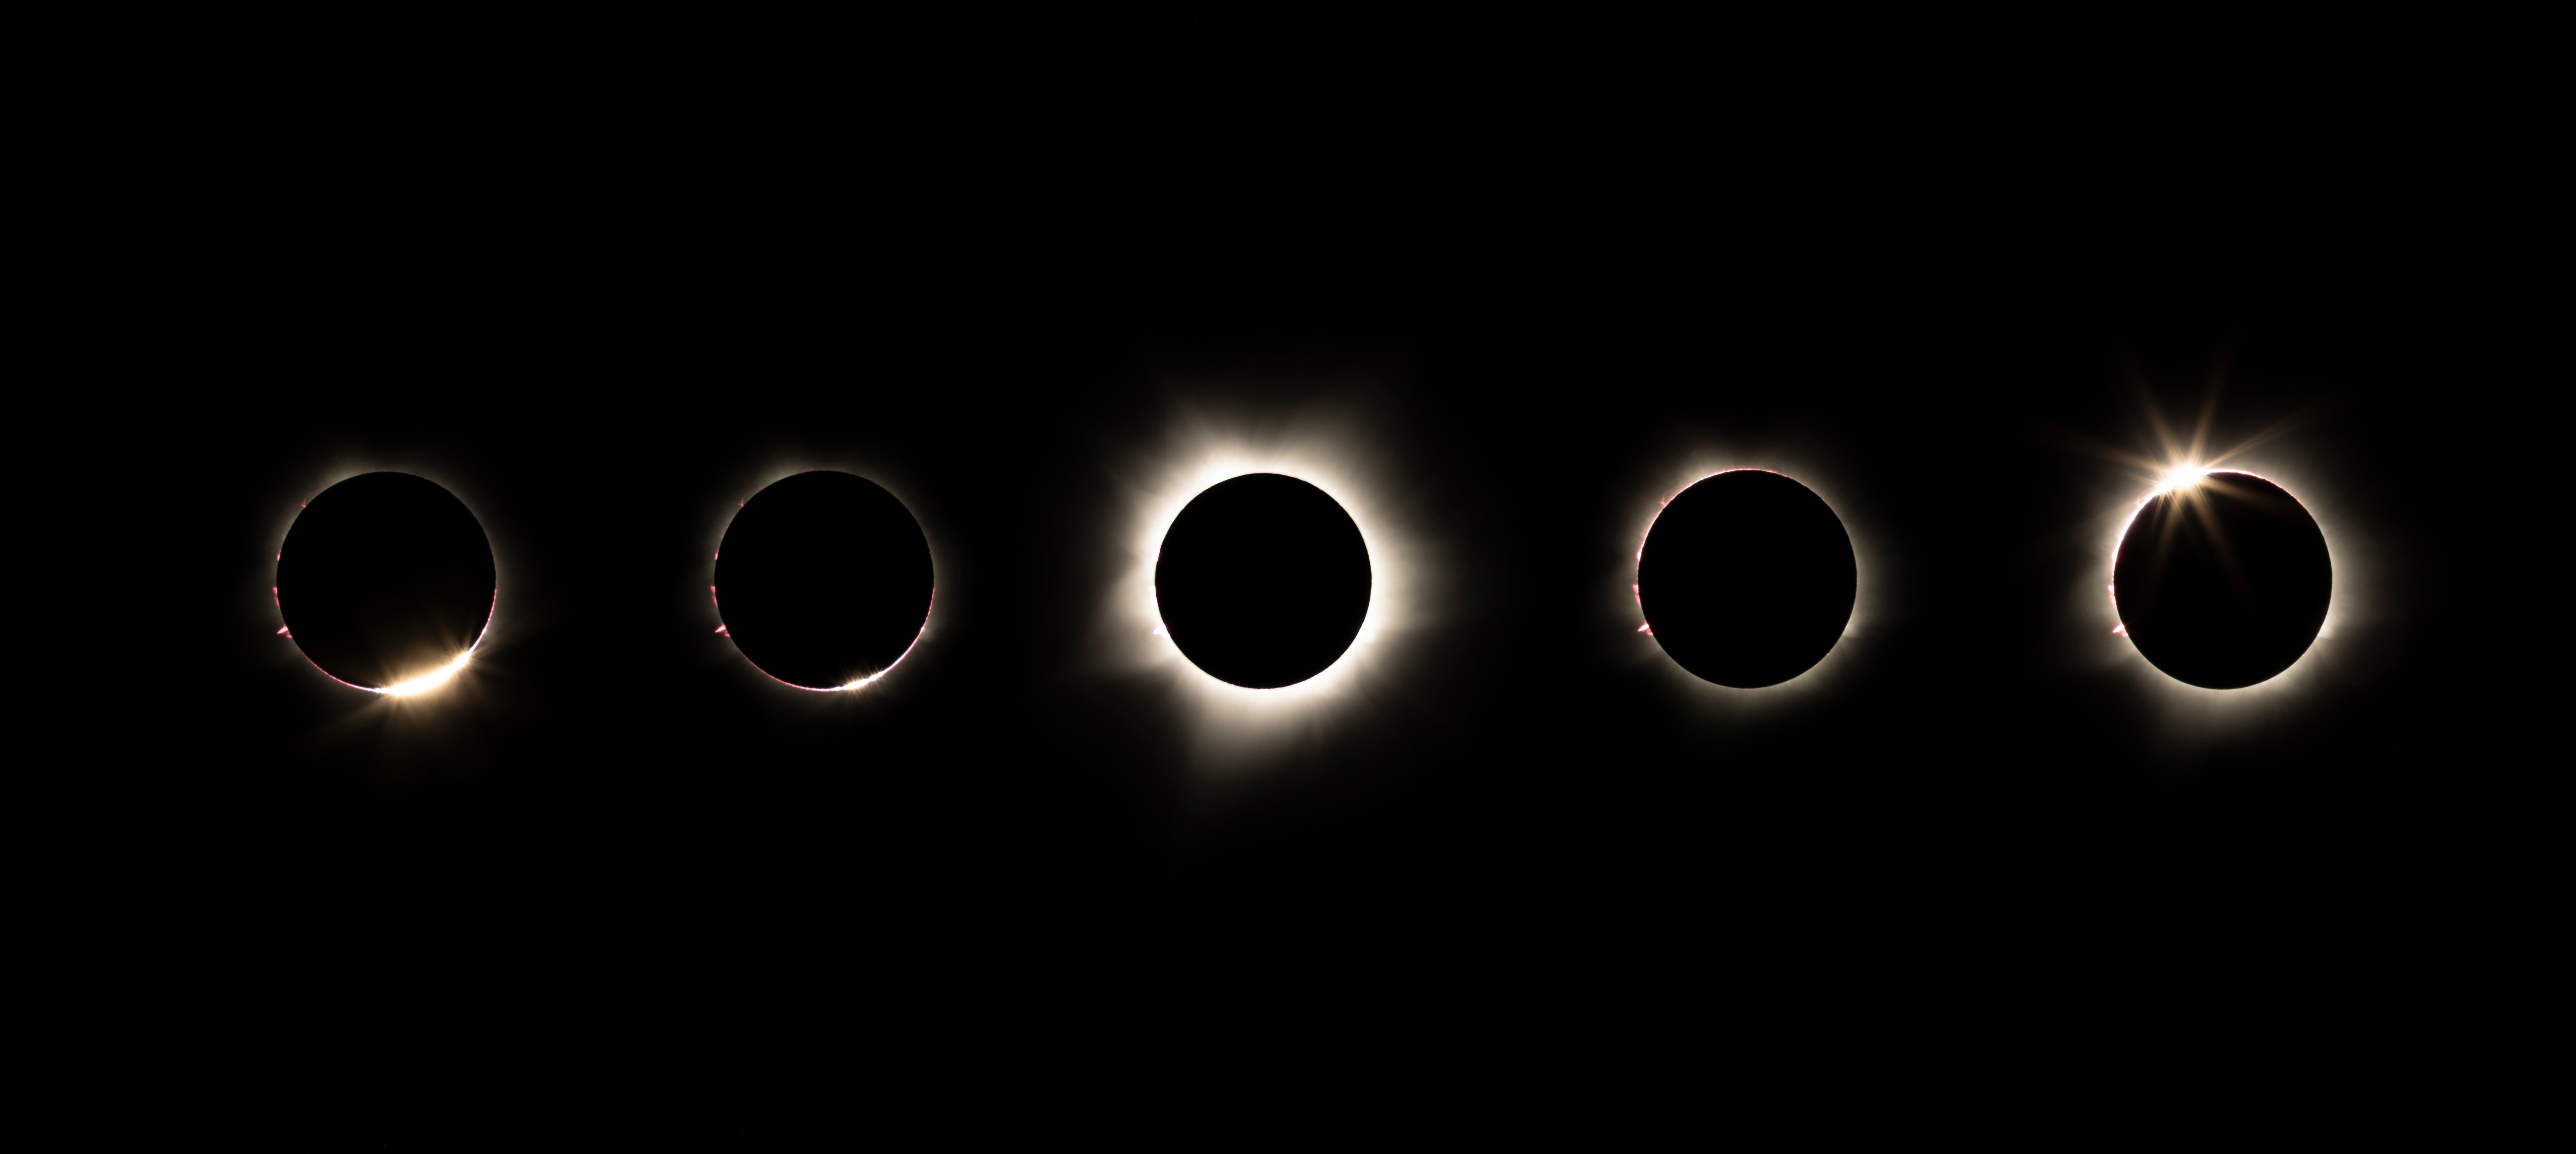
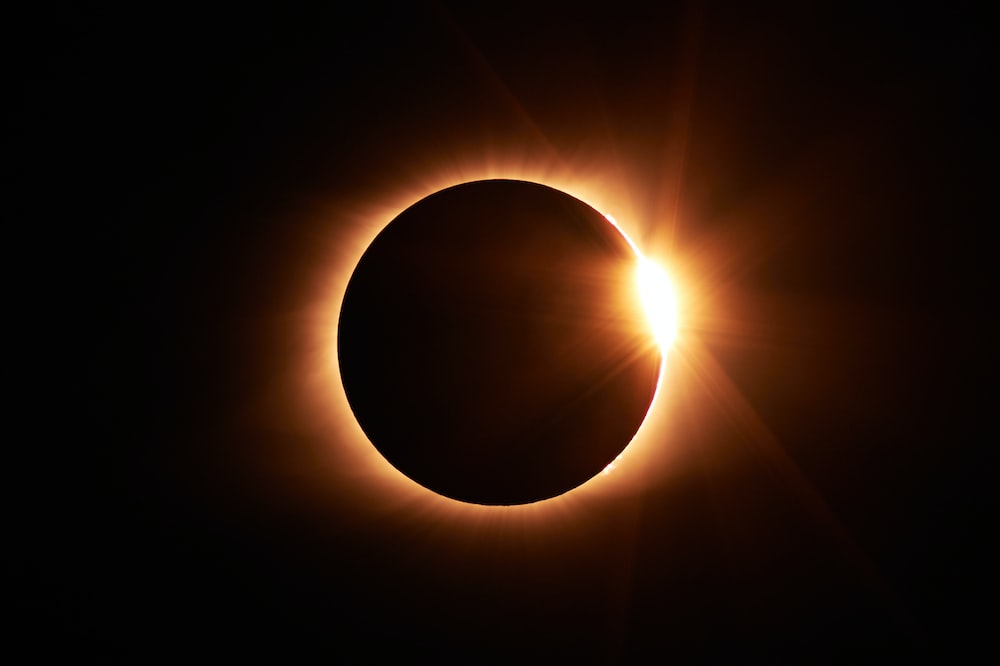
The ultimate treat is when the moon covers the entire face of the sun. This leaves the outer atmosphere of the Sun, the Corona, visible around the Moon. Photographers love to capture every stage of the event, but that Corona shot is something truly special because the Corona is usually invisible to the eye, but visible when the Moon is blocking the Sun's light.
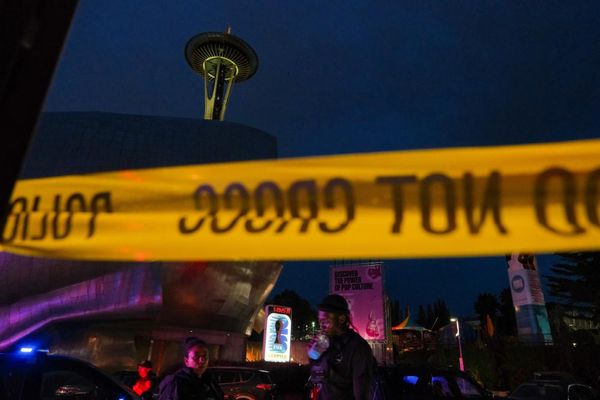
The total solar eclipse is often a once-in-a lifetime event. The eclipse itself seems to change everything. Darkness looms, birds start behaving strangely, and it gets noticeably colder. All of this adds up to a moment where you realize how incredible our solar system truly is.
When and where can I photograph the total solar eclipse?
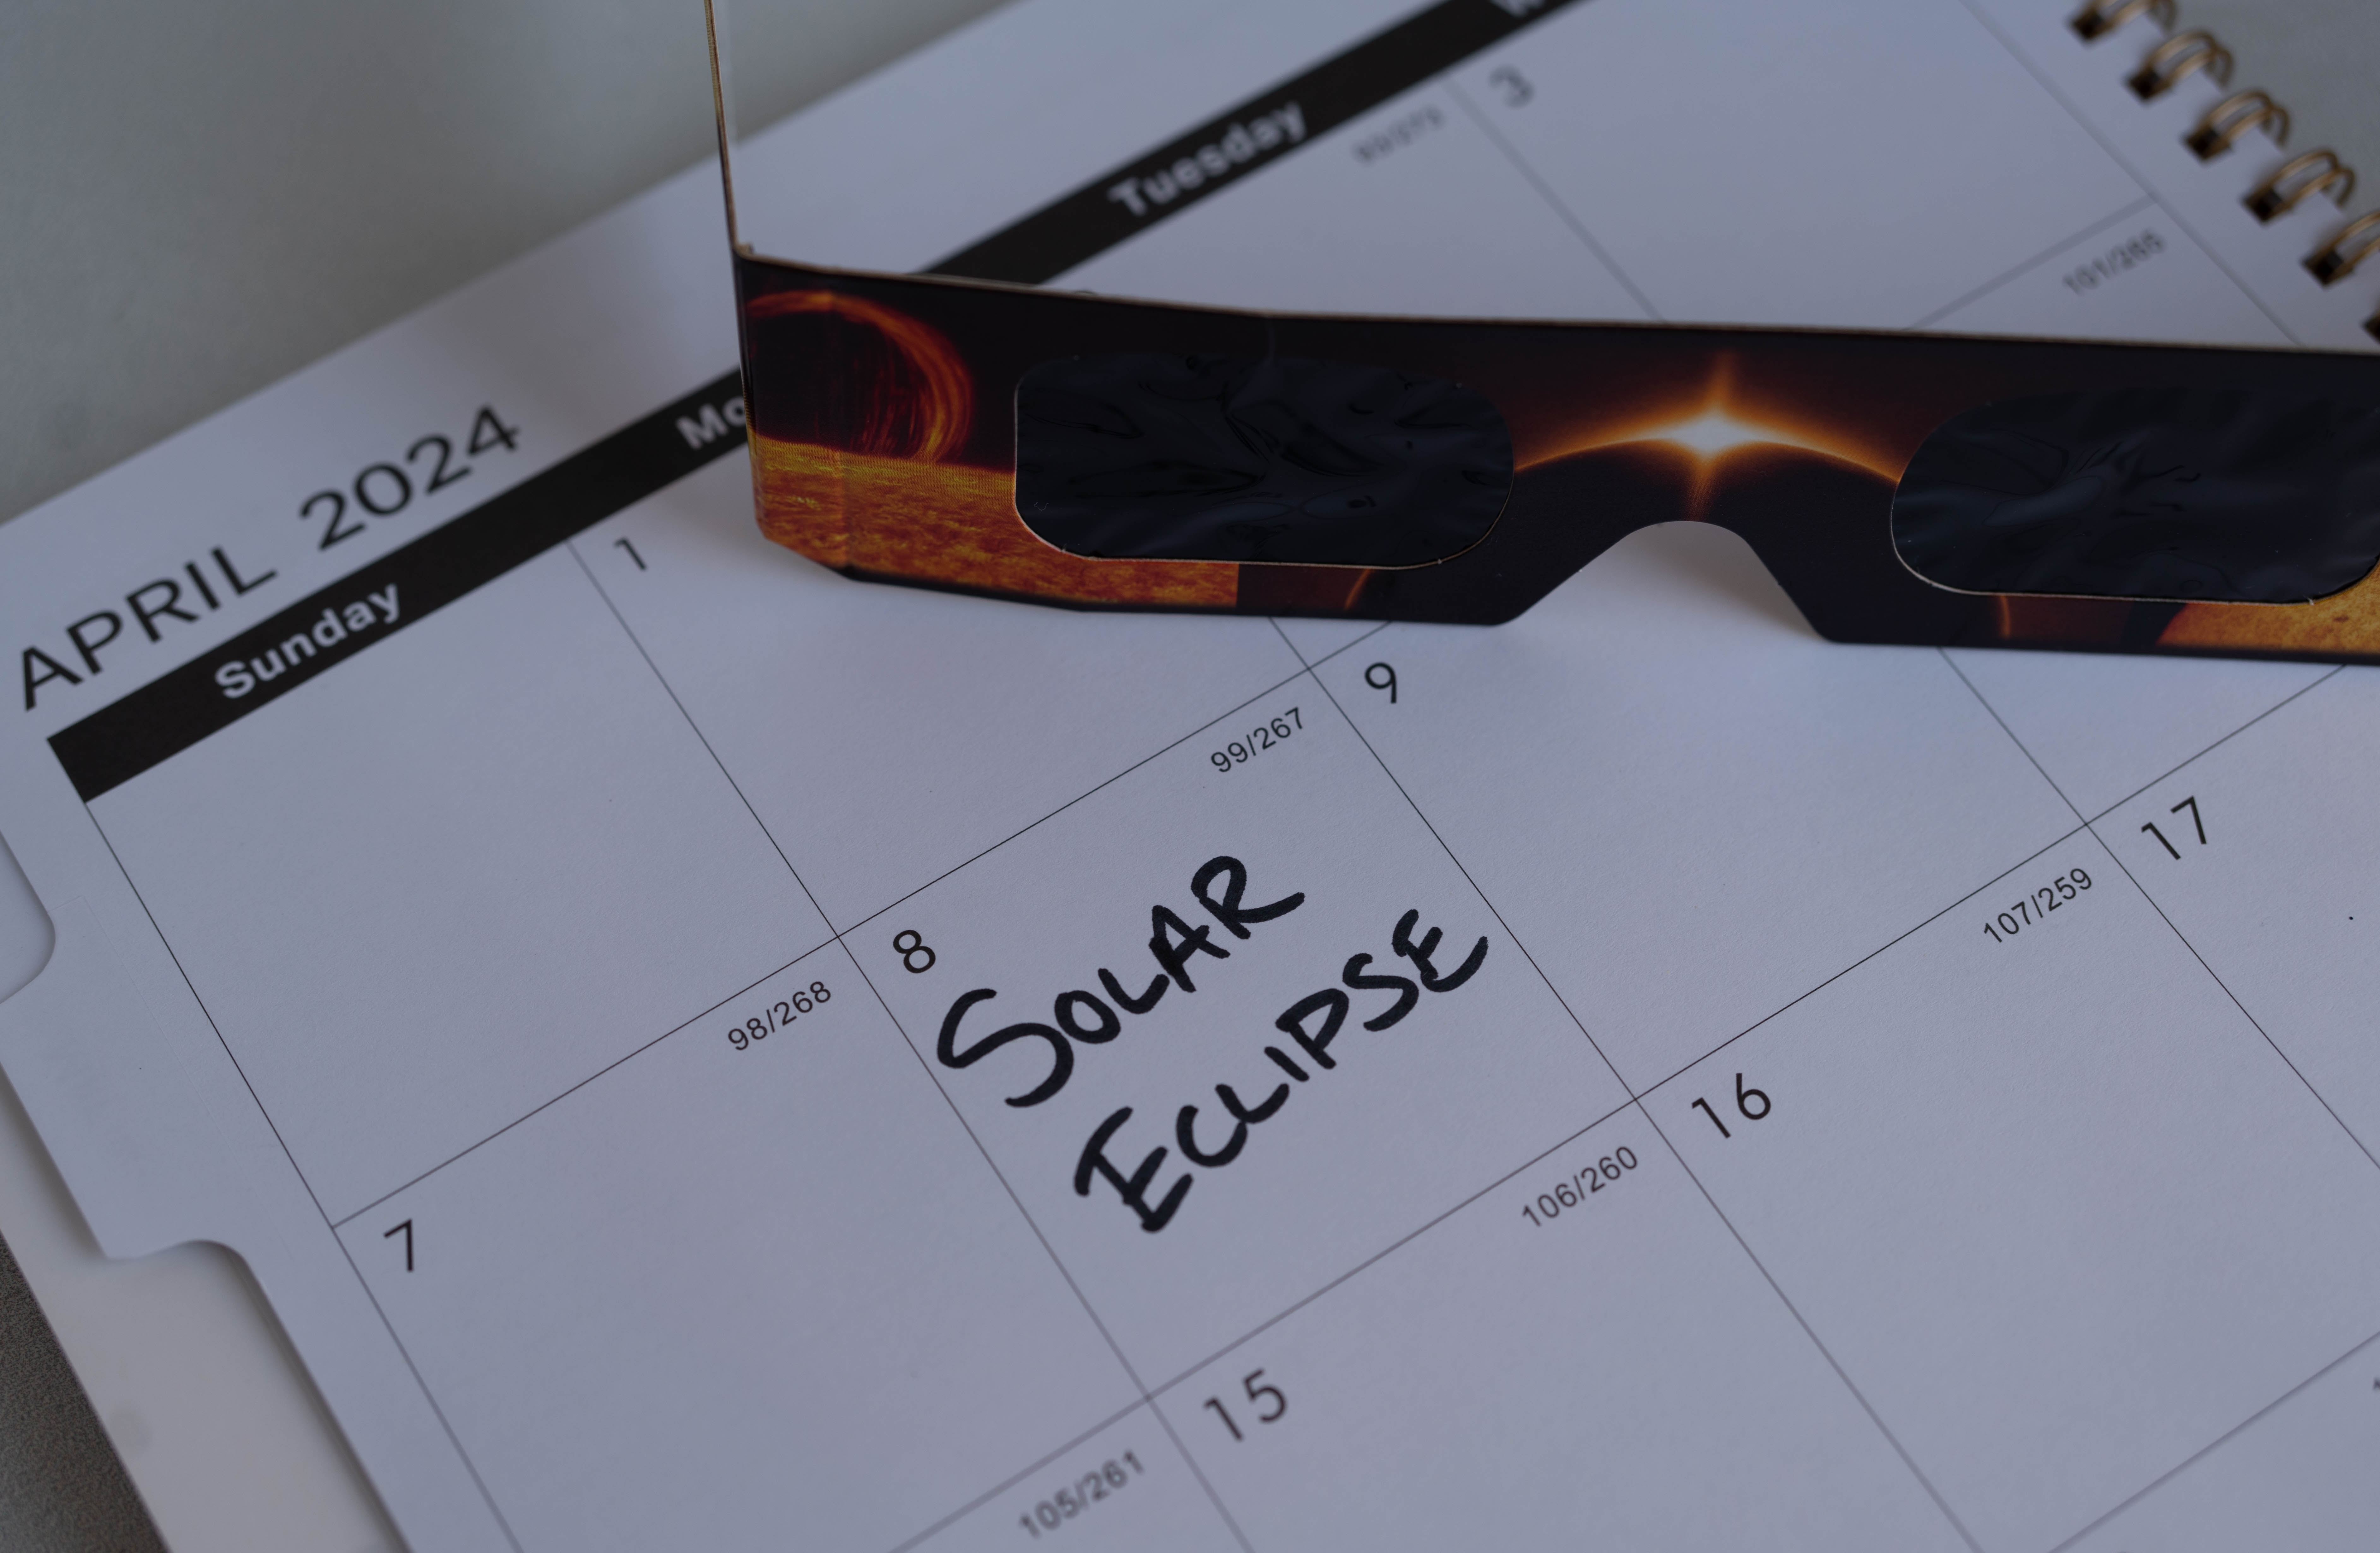
The total solar eclipse on April 8, 2024, will cast its shadow of totality on land starting around Mazatlán, Sinaloa in Mexico at 11:07 AM local time. It will take around one hour forty minutes to cross the continent. During that time, some portion of the Sun may appear obscured by the moon, no matter where in the country you live.
The total solar eclipse will reach totality, when the moon completely covers the face of the Sun, at the times listed below for major cities in each time zone. If you want a more detailed look, check out NASA's excellent Where and When website.
If you haven't already picked your spot to see the eclipse, you may want to plan ahead to get the best shot possible. Unless you are carrying a serious zoom lens on a professional camera, your best shot of the eclipse is probably not going to be a close-up of the sun. You'll want to have some scenery as well.
To pick the best location, including the surroundings and any other background you'd like to include, check out the app PhotoPills. Though PhotoPills is a bit complicated to use, it does an amazing job helping you plan the best photos when the Sun and/or Moon are involved.
With PhotoPills, you enter the date and time, then choose the location where you'll be sitting, and the app will show you where the sun sits in the sky. If you want to shoot the total solar eclipse with the Statue of Liberty or your favorite local monument, PhotoPills is a must-have. We have more from PhotoPills below.
What to know about shooting an eclipse with your camera
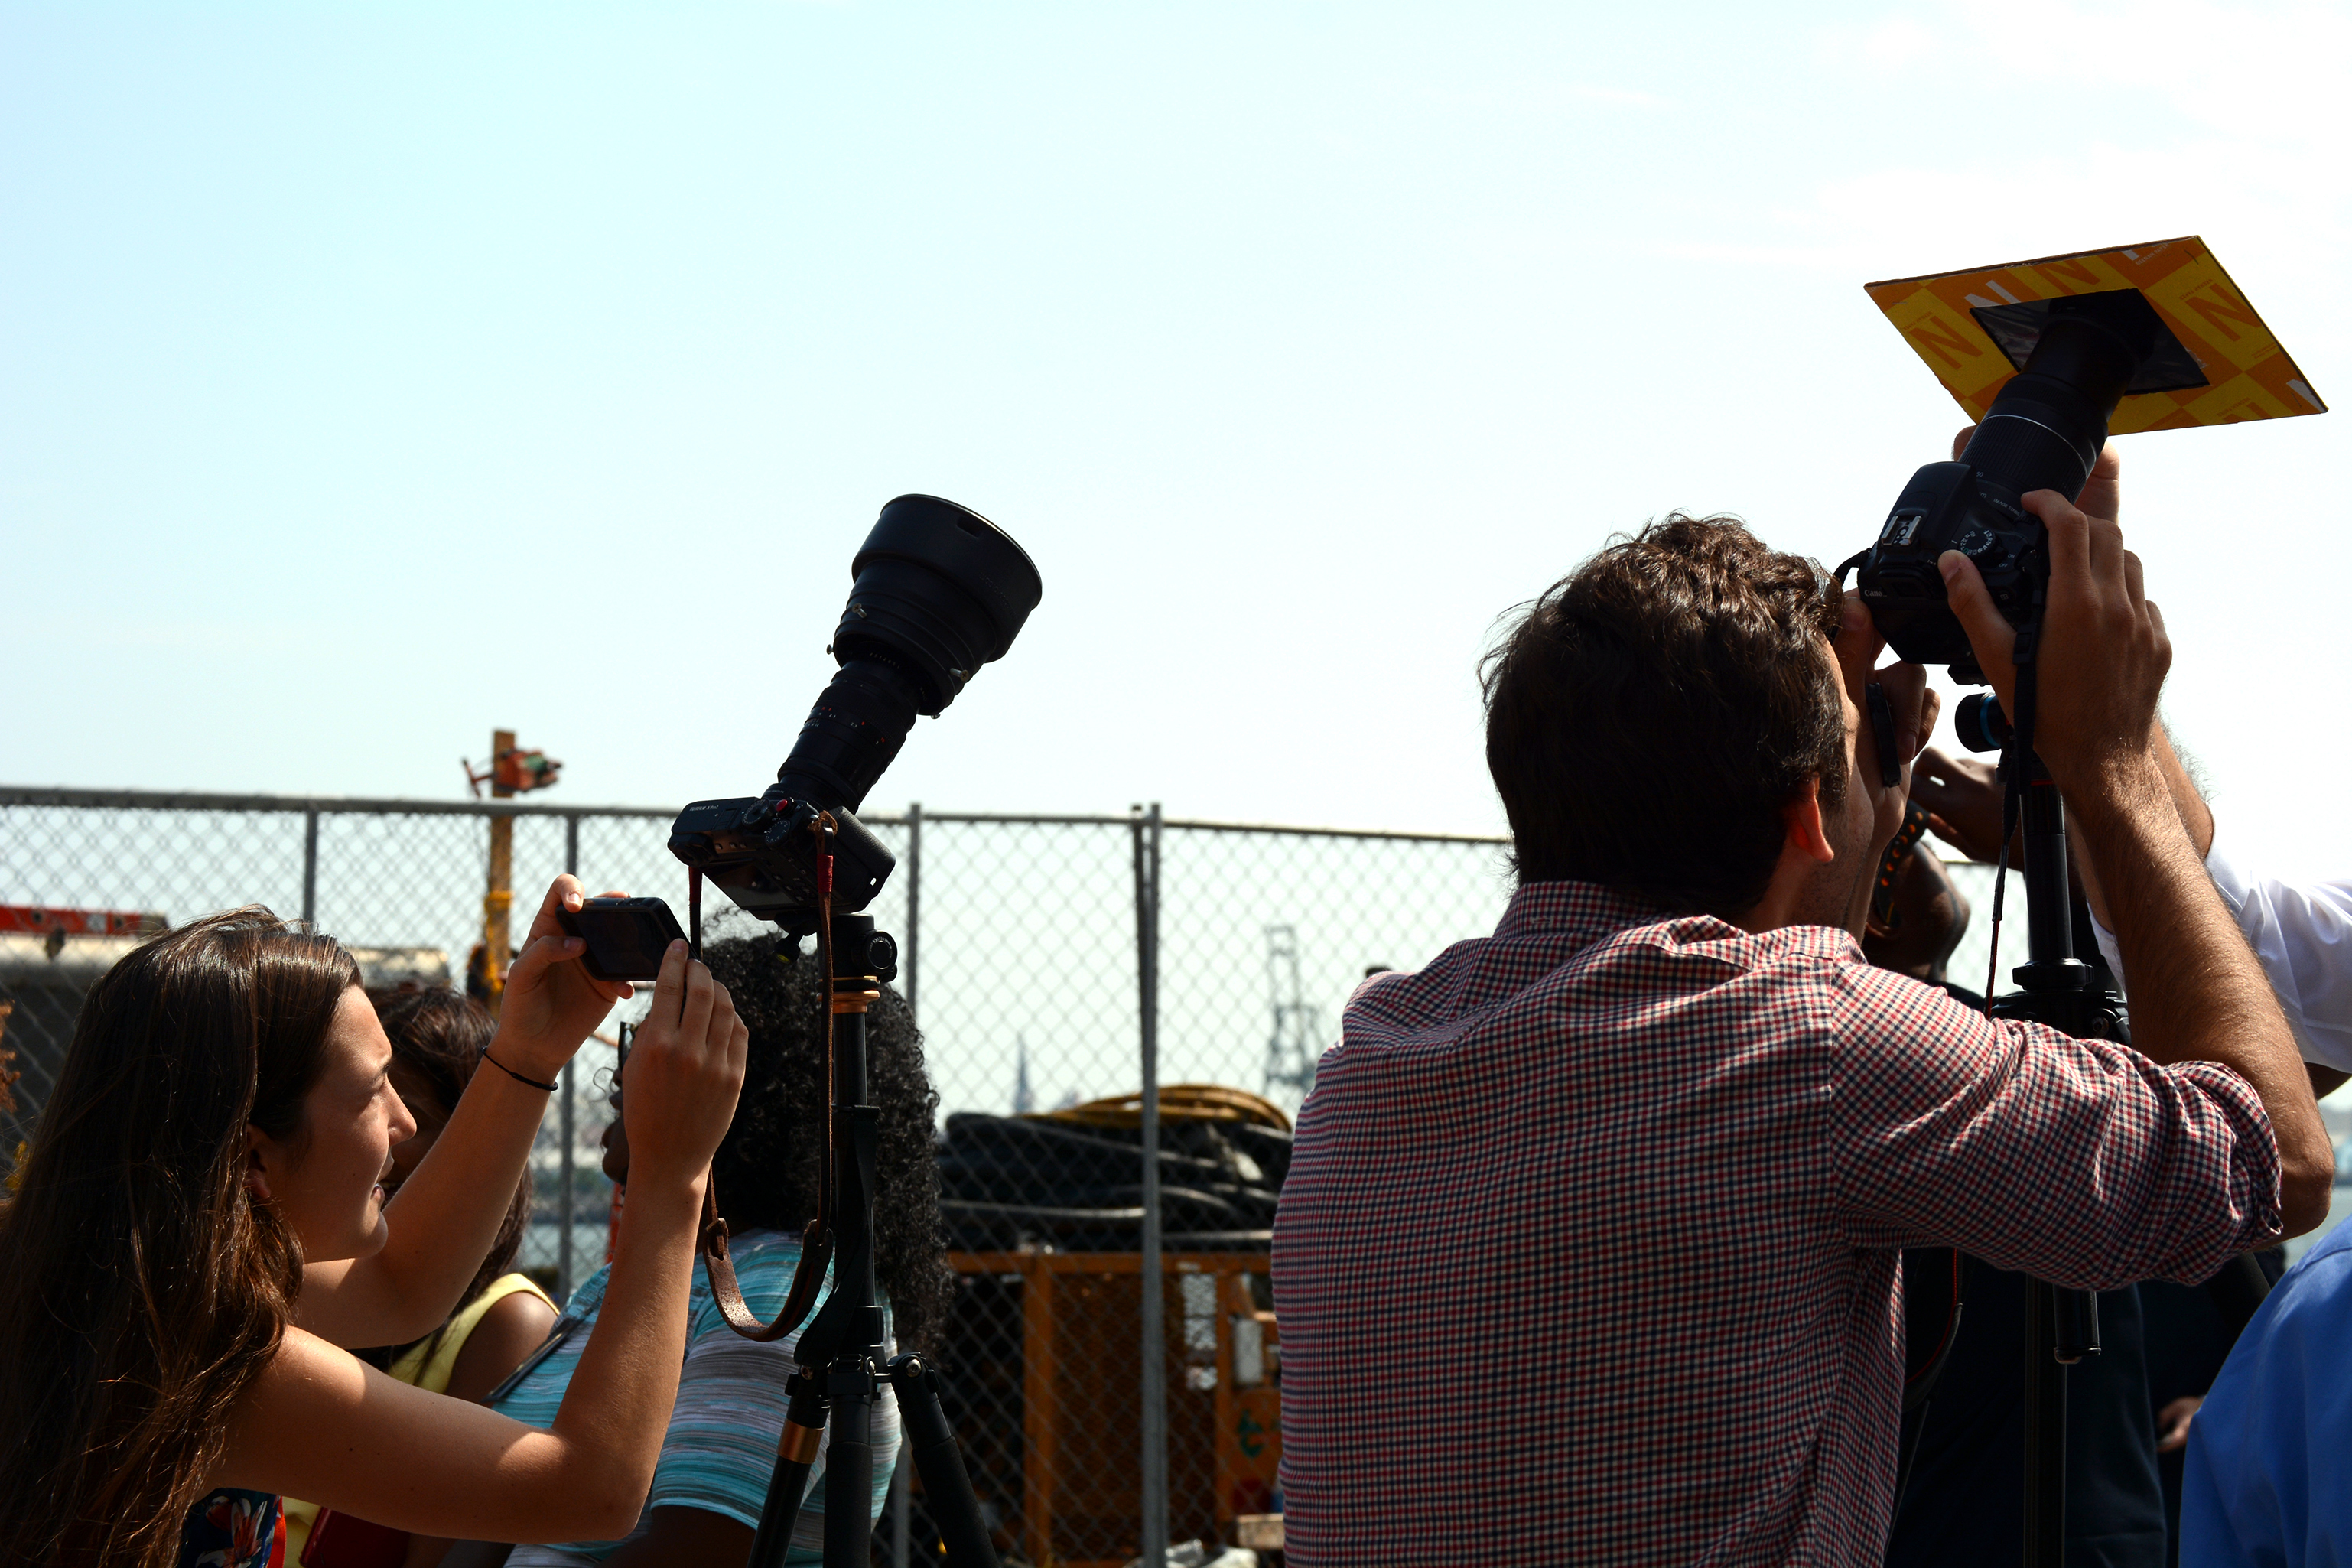
If you're in the path of totality within the United States, Canada, or Mexico and want to capture the event, then there are a number of things to do to make sure you're properly prepared. First, you'll need to make sure you pack the right kit.
Other than your DSLR, picking the right lens is one of the most important considerations, especially if you have an idea of the type of shot that you want to capture. At the very least, you'll want a 200mm telephoto lens or, even better, 300mm or longer. This will result in the sun taking up around a fifth of the height of the shot.
On the other end, if you want the total solar eclipse to take up your whole shot, then you'll need to get a lens with 1,200mm range. This can also be achieved by pairing a telephoto lens with a teleconverter, which is a secondary lens that magnifies the center of your image. So, 1,200mm is possible with a 600mm lens and a 2x teleconverter. Teleconverters add more glass, though, so the shot may not be as bright or sharp as it would be with a dedicated lens.
Getting the closest possible crop might seem like the best course of action, but there are other things to consider. The first is that the sun's corona extends beyond the edge of the Sun and the total eclipse, and therefore a tight crop risks cutting off details. The second is that the closer the crop, the more regularly you'll have to reframe.
To avoid both of these pitfalls, we recommend a lens focal length of between 400-800mm perfect for capturing all the beauty of a total solar eclipse.
- Camera or phone
- A telephoto lens (at least 300mm - up to 1200mm)
- Safety solar filter
- Safety solar glasses
- Tripod
- Shutter release
For most photography, you're all set with a DSLR and a lens, but that's not the case when capturing the total solar eclipse. In the same way that you'll need solar glasses for your eyes, you'll also need a solar filter for your lens. This will help you avoid damaging components and ruining sensitive electronic parts.
Solar filters are fitted like any other filter, with a screw-in thread at the end of your lens. They block out enough UV and IR light to not only protect your equipment but also to protect your eyes when looking through the viewfinder.
The first step to finding the perfect filter is to find the diameter of your lens. This number, in mm, will be displayed either on the side or front of the lens and may even be preceded by the Ø symbol.
With all your gear purchased and ready to go, it's time to make sure everything is clean and free from dust. The last thing you'll want is a speck of dust ruining that once-in-a lifetime photo. Use a camera cleaning kit, or if you want it done professionally, then it might be worth paying for the service for this special occasion.
Pack your gear into your favorite camera bag, or look at our best camera bags for some ideas. Get to your pre-determined site well ahead of time, set everything up, and wait for the magic to happen.
Step-by-step instructions for shooting an eclipse with your camera
1. Choose your location
By far the easiest way to make sure you're in the right location is to purchase the Photopills app ($10.99 / £10.99 / AU$14.99). The app includes an incredible augmented reality function that superimposes the moon onto your camera feed. Being able to frame your shot in advance will save you the stress of having to work on the fly. Preparation is key to avoiding missing that special shot, and if you can visit the location ahead of time, then all the better. Position your tripod and lens in your desired location, and make sure your lens is pointing in the correct direction.
2. Set your lens to manual focusing
You may be able to get away with autofocus, but to have maximum control, you are far better off switching to manual focus. By doing this, you'll avoid the hassle of having to wait for the camera to find focus every time you want to take a snap.
3. Turn off VR/IS
There is no need for your camera to apply vibration reduction or image stabilization when you're using a tripod. Turning these settings off will result in a better image.
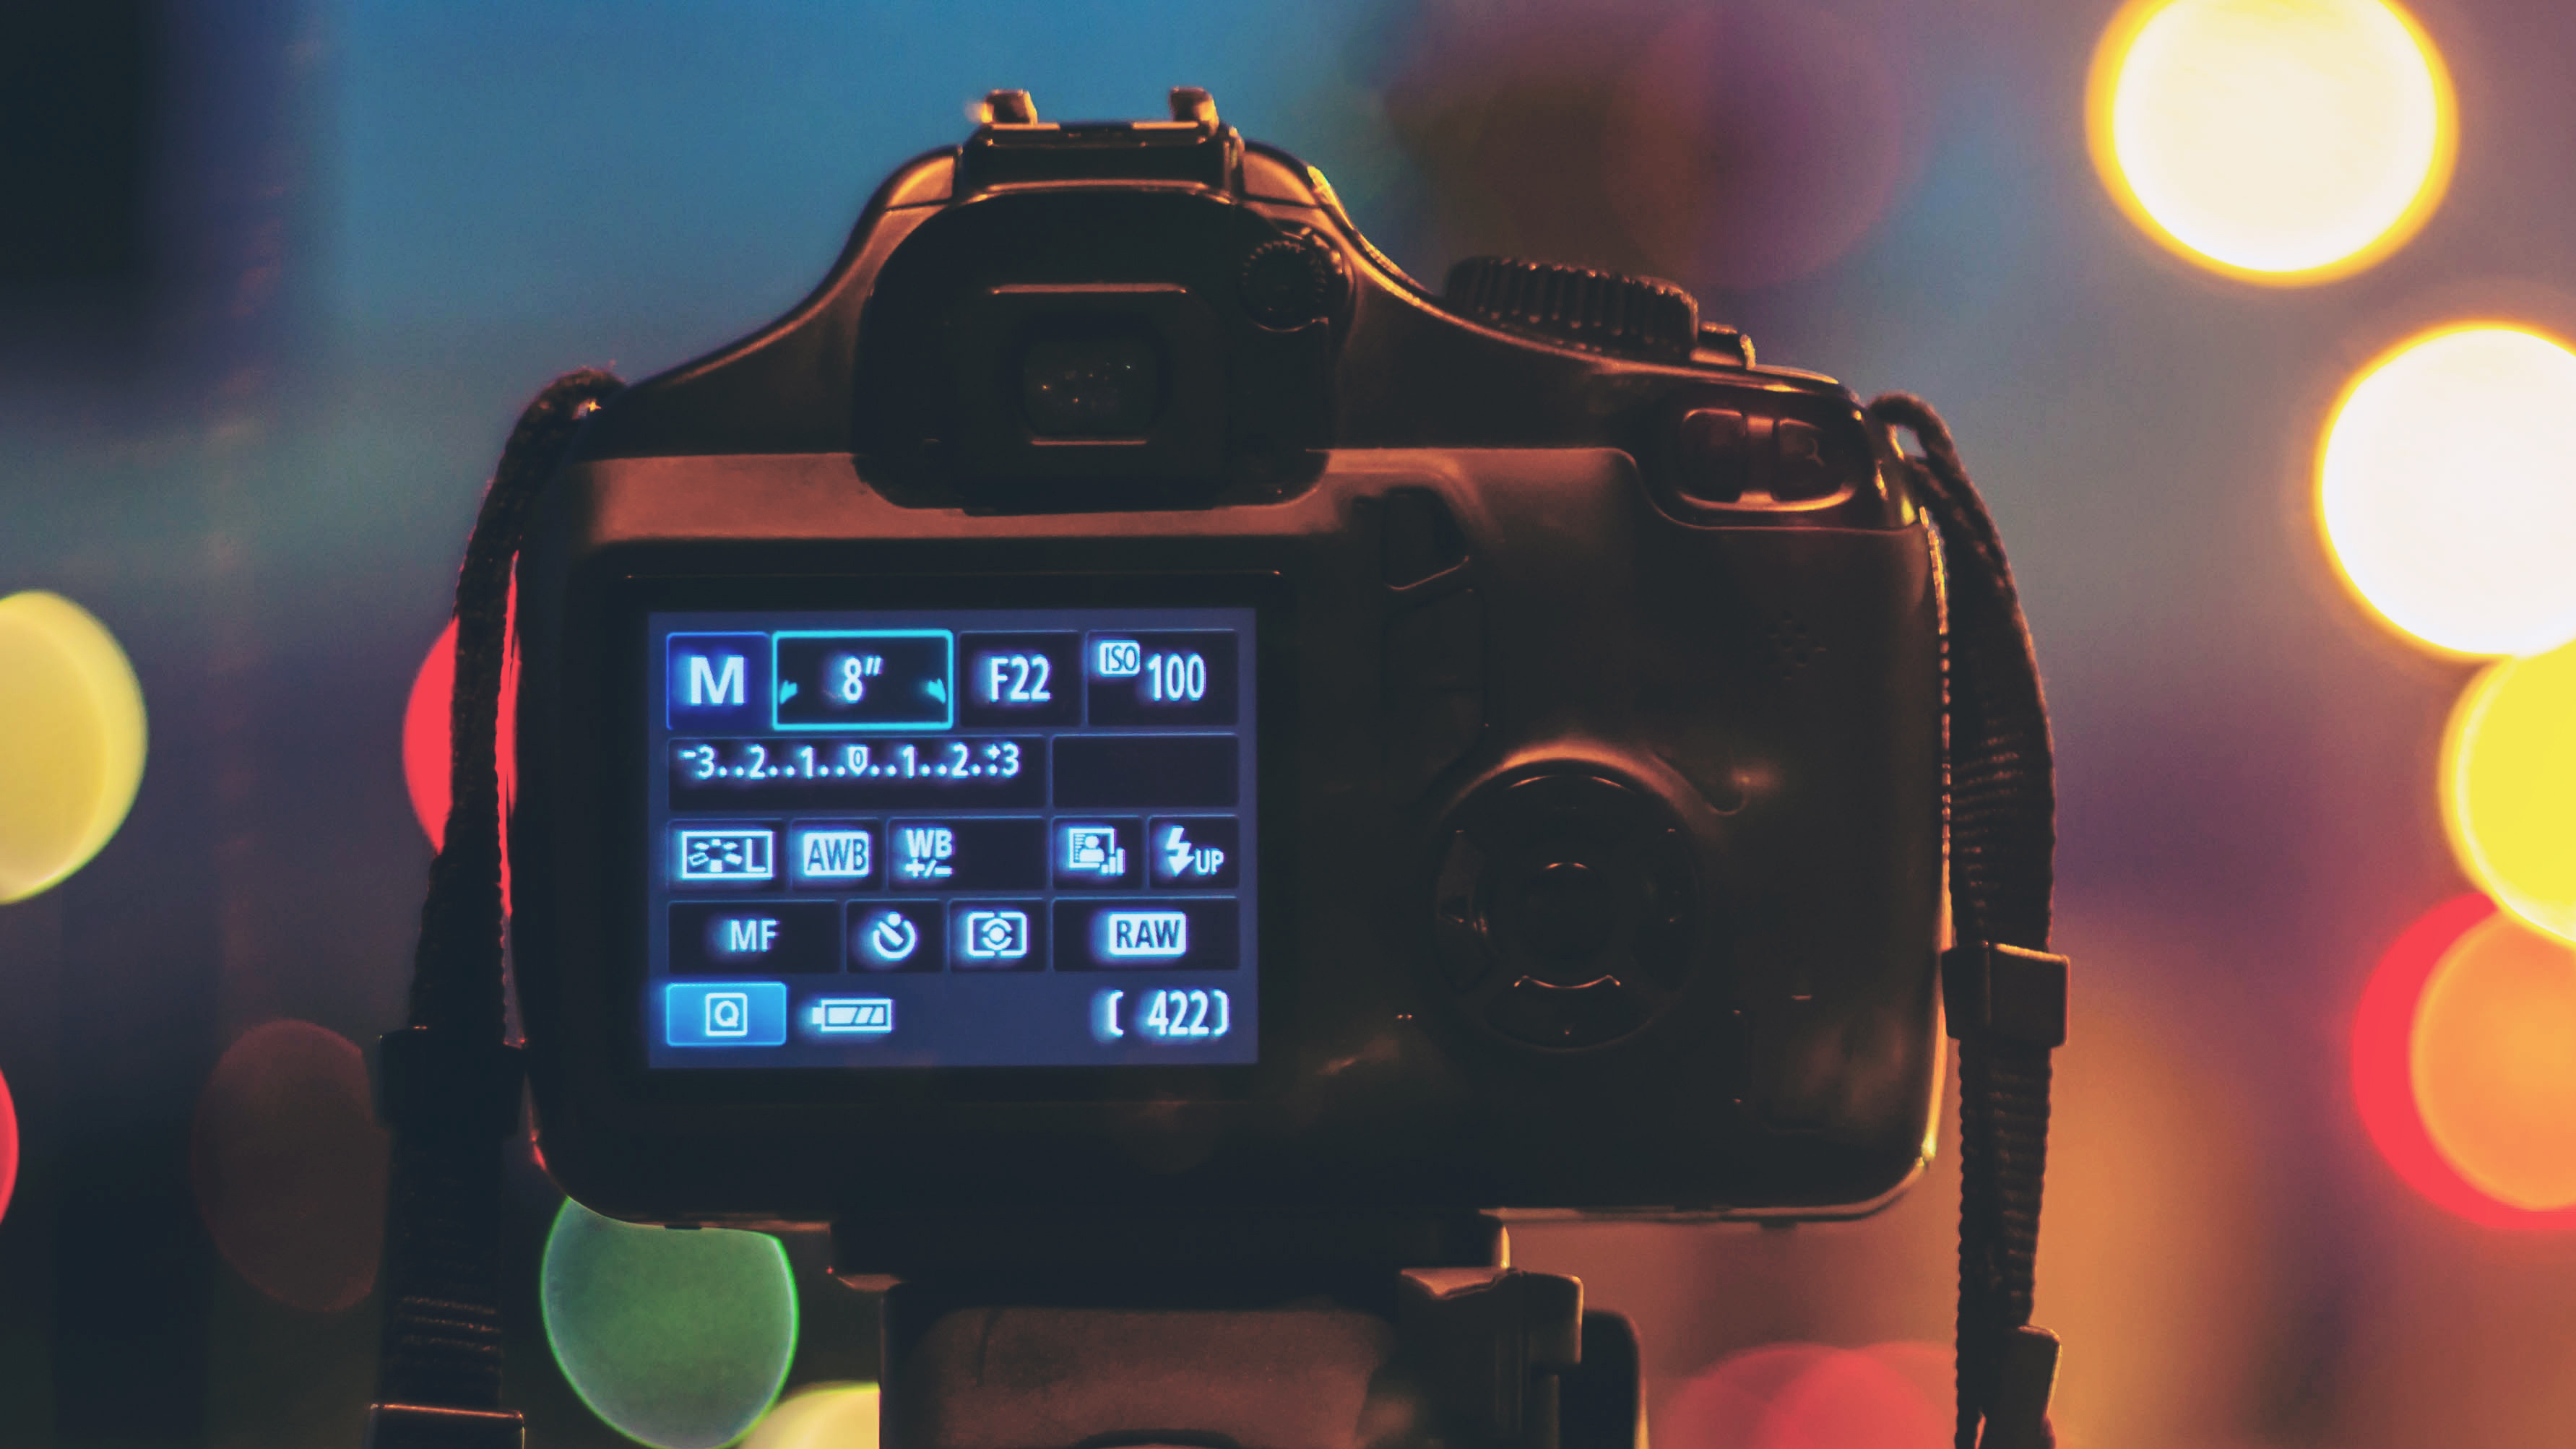
4. Shoot in RAW
If you want to edit your image in post, then give yourself the most dynamic range by shooting in RAW format. This will enable you to adjust highlights, shadows, and the overall exposure in case you don't capture it perfectly in camera.
5. Choose spot metering
The only bright part of your shot is going to be the sun so make sure you meter on the sun specifically. Any of the other metering modes will struggle to accurately process the frame due to the amount of dark versus light parts.
6. Use aperture priority mode
Switch on your camera and make sure it is set to aperture priority mode. In this mode, all you have to do is set the aperture and the ISO. Your camera will work out the ideal shutter speed for a well-exposed shot. An aperture between f/5.6 and f/8 is ideal. Finally, adjust your ISO so that you get a shutter speed of somewhere between 1/100s and 1/500s. Keep in mind that the higher the ISO, the more noise that will be introduced.
7. Capture the solar eclipse
You are now ready to take some photographs. Use your camera's self-timer or a remote shutter release to make sure you're not touching your camera when the shutter is open. Any movement to the camera or tripod when the shutter is open could result in a blurry image.
What to know about shooting an eclipse with your phone
The most important thing to consider when you're planning to shoot the total solar eclipse with your smartphone is just what sort of image you plan to capture. Even if you have one of the best smartphones with a real optical zoom lens, you won't come close to making a photograph with an eclipse that dominates the image.
As we mention above in our camera section, to photograph the eclipse in full view, you'd need a lens with around 1,200mm focal range. The iPhone 15 Pro Max has a 24mm equivalent main lens, and that 5X zoom lens only reaches to around 120mm. Even the 10X zoom lens on the older Samsung Galaxy S23 Ultra is equivalent to around 240mm zoom. That's very impressive for a smartphone, but not adequate for astrophotography.
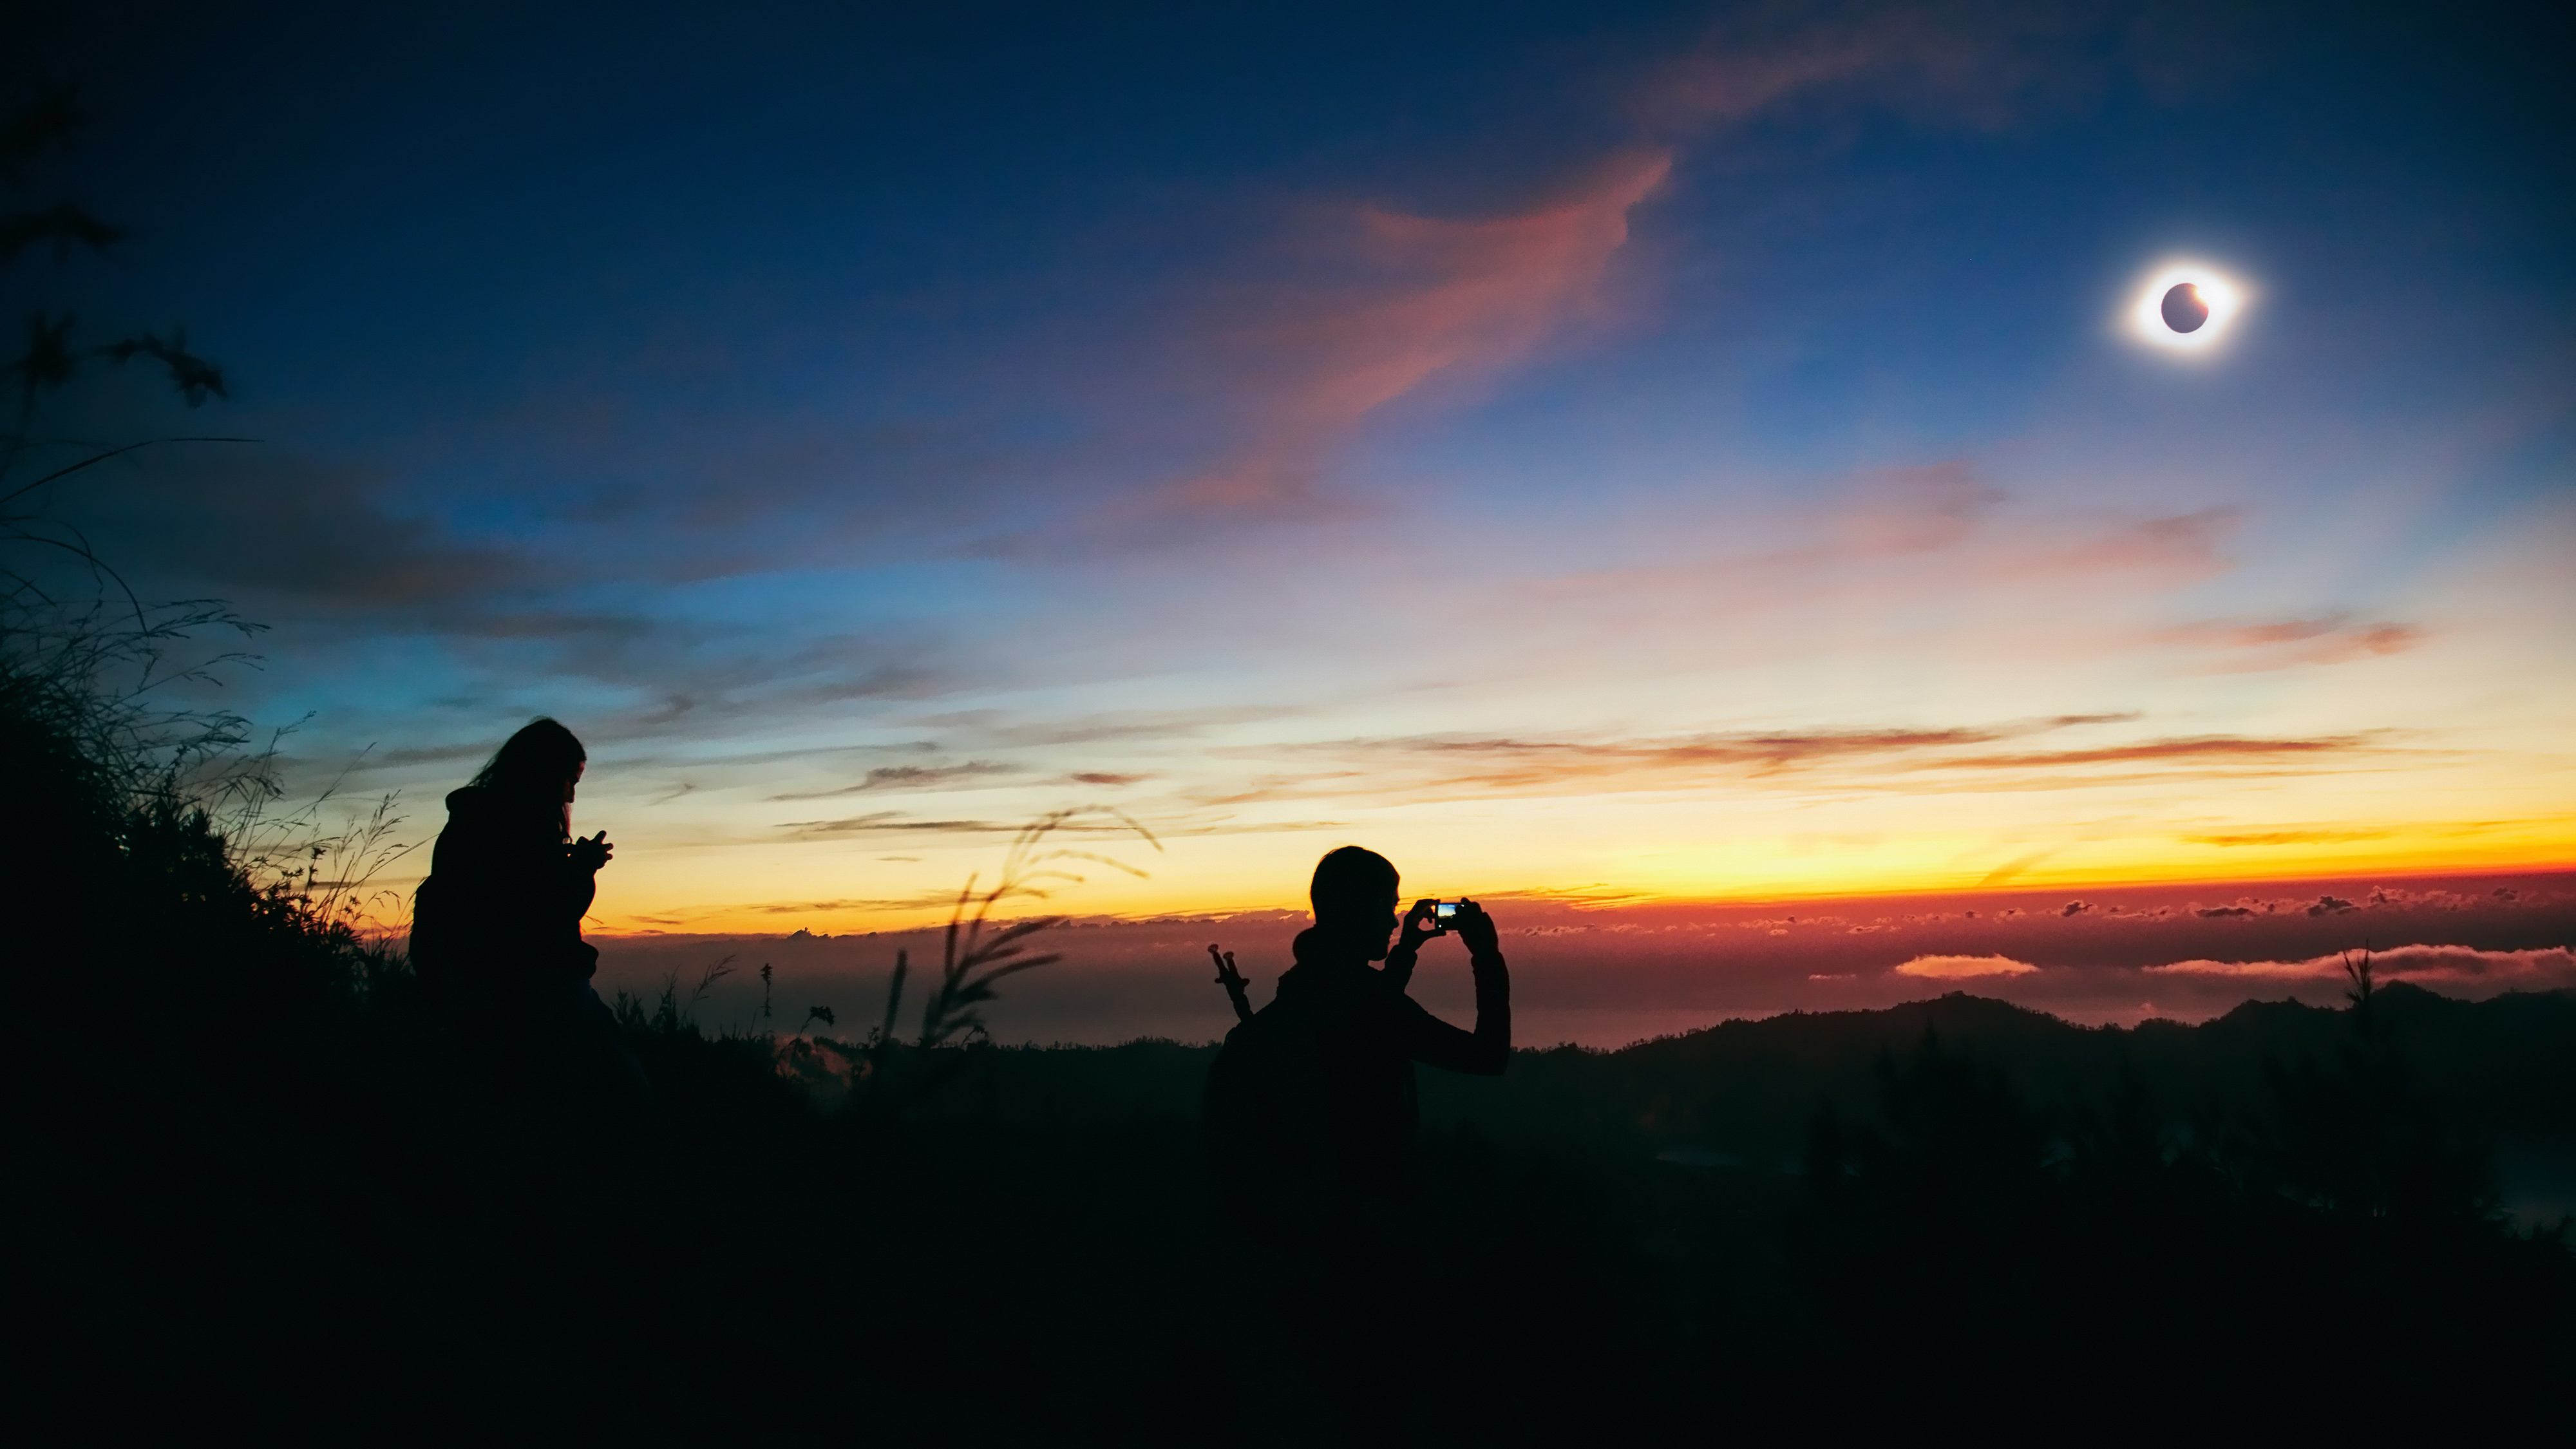
Instead of trying to capture a close-up of the Sun's corona, why not use your smartphone for what it does best? Take photos of the entire scene. Take photos of the landscape as the Sun disappears.
Even better, smartphone cameras are great for taking photos of people. Take photos of all the people around you, staring up at the eclipse with glasses on, wide-eyed with wonder. In 20 years, when the next eclipse rolls around, those are the photos that will be the most interesting: the photos that show what it was like to be there, not the photos that show just the moon and the sun.
Step-by-step instructions for shooting an eclipse with your phone
1. Use a tripod (even if it's not really a tripod)
You don't need a tripod to stabilize your phone, but making sure your camera is steady is the best thing you can do for a sharp shot. On Amazon you can find plenty of options for phone tripods, or if you have a photo tripod you can just get an adapter to hold your phone. If you don't have a tripod, find an object you can lean your phone against to hold it steady.
2. Use the camera's timer
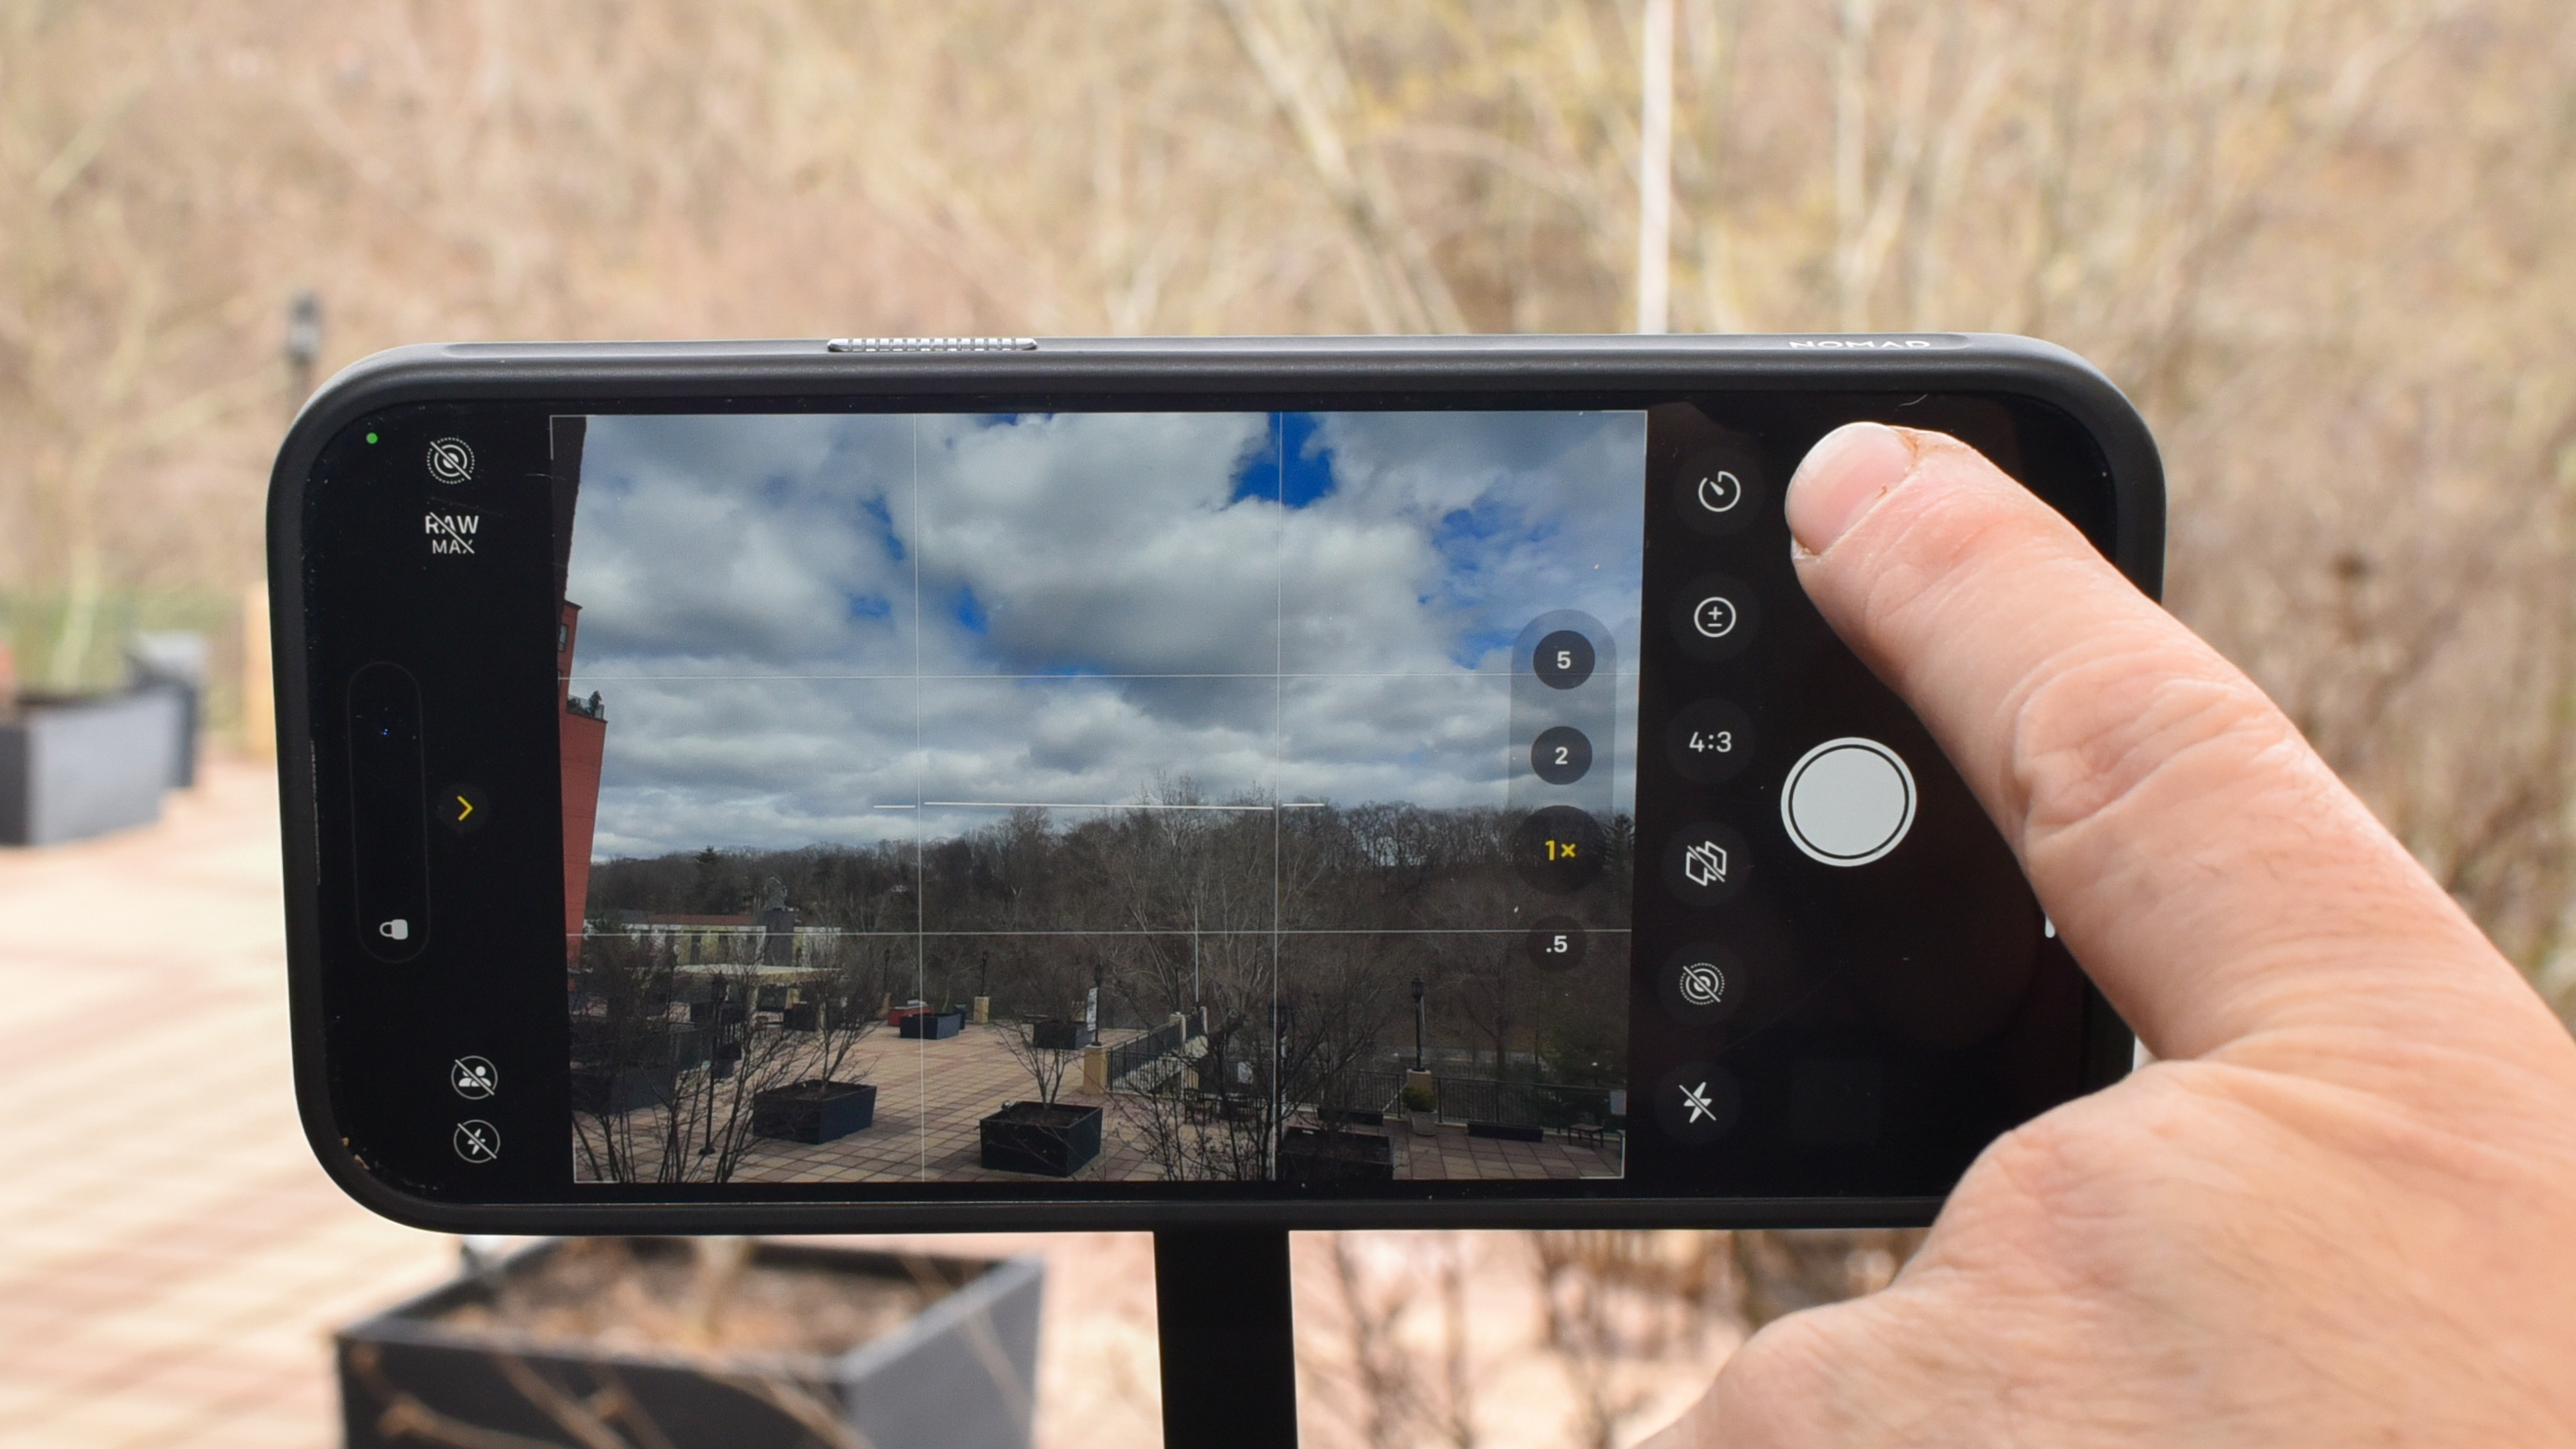
When you tap the shutter button on screen, you can shake the phone, which causes blur. Better to set the timer. Look for the timer on the left side of the camera screen, when you hold your phone sideways (landscape). On iPhone and Galaxy phones, you'll find a small clock icon that you can tap to set a timer.
3. Attach a solar filter
Normally, your phone can balance a scene with the sun just fine. During an eclipse, when the Moon partially blocks the Sun, your camera will adjust for the dark scene but the Sun will still radiate intense light. The difference can damage your camera sensor, just like it can damage your eyes. When the Moon is not totally blocking the Sun, you need to use a solar filter.
Samsung agrees. Company reps tell me "we encourage the use of a filter to protect your device for extended shots taken before, during, and after the eclipse when using a tripod." The good news is that you don't need to buy a special filter for your phone. If you have standard ISO 12312-2 eclipse glasses, you can just tape one of the lenses to the back of your phone. As long as it is covering your phone lens during the eclipse, your phone will be safe.
4. Turn down your exposure
Even during the darkness of the eclipse, the bright light of the Sun's corona may be overexposed in your shot. You can dial down the exposure on an iPhone. When you focus, a yellow box appears with a small sun icon. Hold the sun icon and drag it down to lower the exposure value (EV).
On Galaxy and other Android phones, you may need to use your camera's Pro mode. Don't worry, you won't have to mess with too many settings. Just look for EV (exposure value) and lower this to a negative number. Lower your exposure until you can see texture on the sun, not just a bright blob of light.
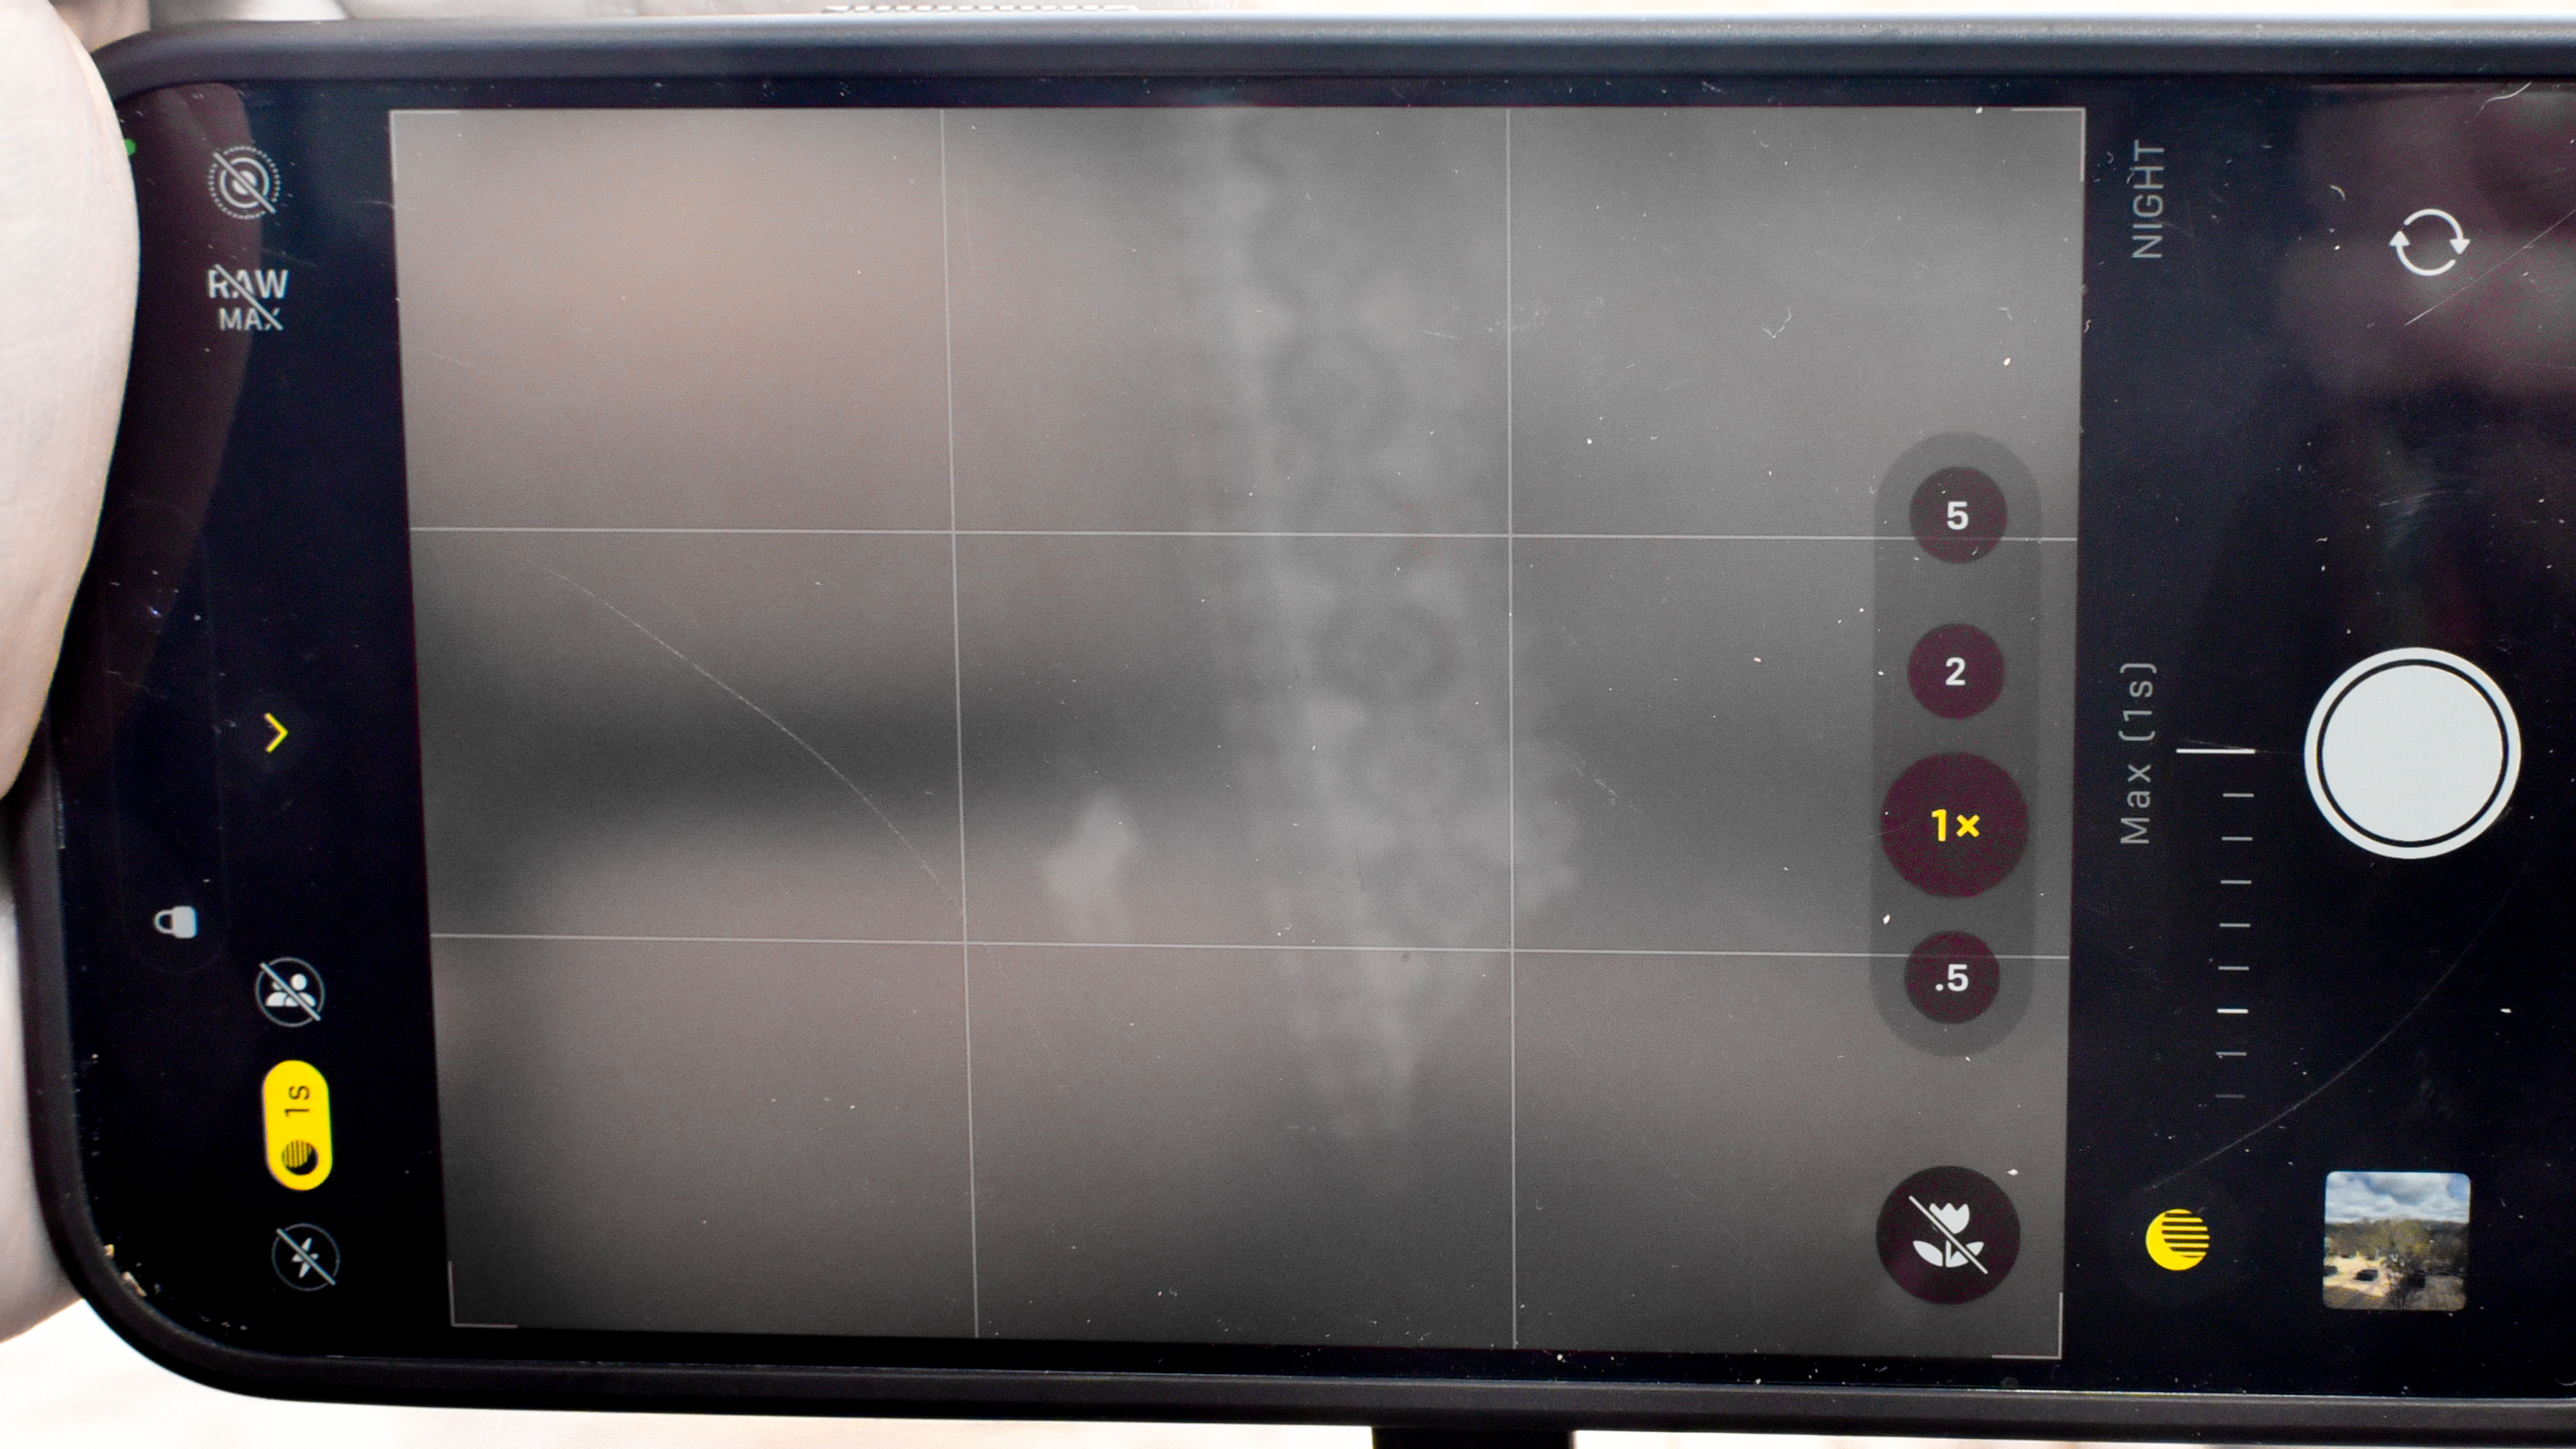
5. Shoot in Night mode during totality
When the sky is dark, Night Mode will help you balance the difference between the eclipse and your surroundings. On the iPhone, Night Mode should activate automatically when your scene gets dark. A special Night Mode icon will appear, and if you tap on the icon you can set the controls for longer or shorter shots.
On Galaxy phones there is a Night Mode you can manually select. On Pixel phones, this is called Night Sight mode. Experiment during the totality of the eclipse to take a variety of photos for the best possible results.
6. Shoot video and photos at the same time
Did you know your phone can shoot video and take photos at the same time? If you start taking a video of the eclipse, you'll see a white circle appear on the screen. Tap that circle and your iPhone or Android phone will also take a photo, separate from the video. Just remember to use a solar filter when you shoot video before and after totality occurs.
- These are the best phones for photography
Should I buy a lens attachment for my phone?
Sadly, extra lenses won't help your smartphone take better eclipse photos. While there are some interesting lens attachments for smartphones, especially the very cool lenses made by Moment, I wouldn't recommend buying a lens attachment to photograph the solar eclipse. Lens attachments are made to work with the main camera, the 1X zoom lens, so they won't help take better photos of the eclipse.
If you attach a lens to the 5X zoom on the iPhone 15 Pro Max or Galaxy S24 Ultra, the image will not be clear because attachment lenses are not made to work with those zoom cameras. The zoom camera leaves too much space between the sensor and the lens, making it hard for the camera to properly focus. Your shot will be blurry.
Also, adding 2X zoom won't be enough for great solar photography. To fill your frame with the eclipse, you'd need at least 600mm focal range, and up to 1,200mm would be ideal. The iPhone 15 Pro Max and Galaxy S24 Ultra give you 120mm with 5X zoom, and doubling that would result in 240mm equivalent. That's nice, but still not close enough for a great, detailed eclipse photo.
- 52 photography projects: a great technique to try every week of the year