Like most survival games, Grounded 2 features a Workbench to help you craft essential items. But it’s not available right off the bat—you’ll need to unlock its recipe first.
As a sequel to the hit 2022 title Grounded, Grounded 2 expands the experience with a larger, more detailed open world and introduces new features like rideable bugs, revamped combat mechanics, and more. With so many new possibilities, it’s only natural to find yourself stuck at times.
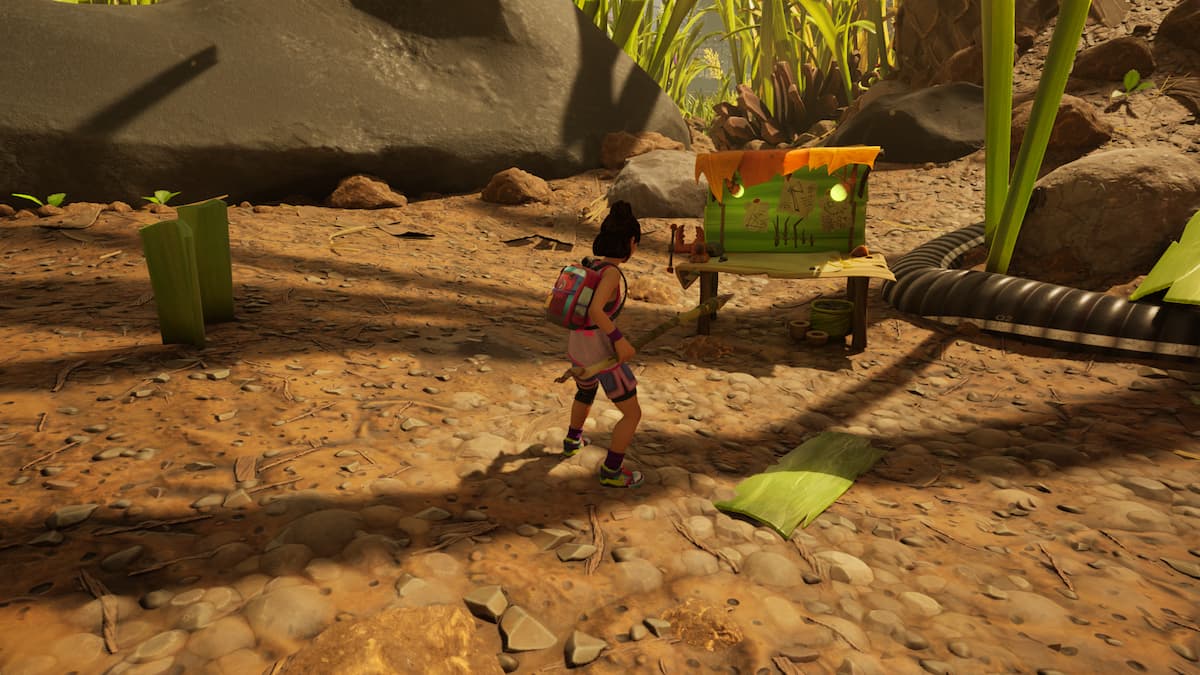
The Workbench is an early-game essential, so you’ll want to craft one shortly after starting your adventure. It’s not a weapon itself, but it’s key to crafting all defensive gear, including Spears, Needles, Sabers, and more, as well as other crucial items. Here’s how to make a Workbench in Grounded 2.
How to unlock Workbench recipe in Grounded 2
Unlike in some survival games, Grounded 2 doesn’t grant your first crafting table automatically—you’ll need to find its blueprint first and then gather the required materials yourself.

The secret to activating the Workbench recipe in Grounded 2 lies in Grass Plank. Just take one of these to the Resource Analyzer at a Ranger Outpost and analyze to unlock the blueprint.

To get a Grass Plank, you have to chop down Grass with an Axe. Thankfully, the Scab 2k system gives you an Omni Axe for free: Just enter the first Ranger Outpost the game guides you to and you’ll spot the Omni Tool board on the right.
Once you’ve unlocked the recipe, you can build the Workbench. But you also need to source the raw materials first.
How to build a Workbench in Grounded 2
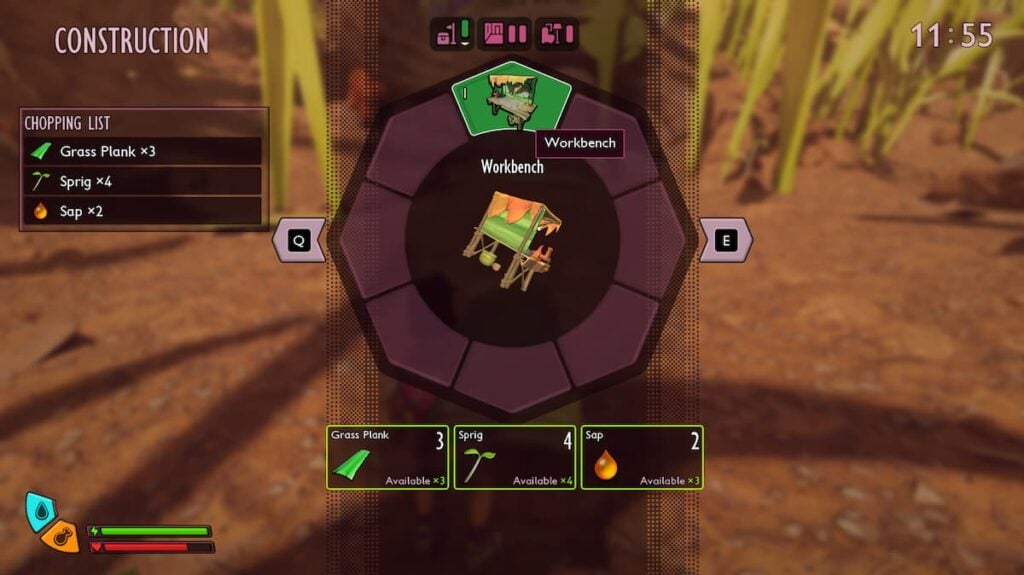
To build a Workbench in Grounded 2, you need the following items:
- Three x Grass Planks
- Two x Sap
- Four x Sprig
Both Sap and Sprigs are easy to find as ground loot. Sap appears as brown, sticky-looking blobs on tree bark, while Sprigs are small, grass-like plants growing from the ground.
Sap and Sprigs can be stored in your inventory, unlike Grass Planks. While making sure you have enough Sap and Sprigs, carry three Grass Planks to the location you want to build the Workbench, bring out the Build menu, select the Workbench icon, and then select Place. Once placed, go near the transparent Workbench and select Build.
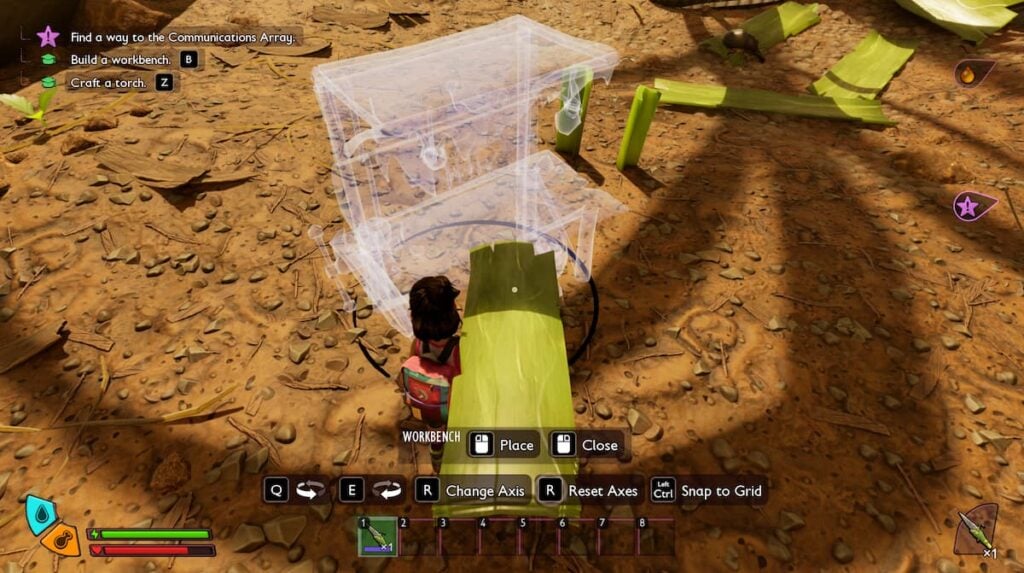
Alternatively, you can place the Workbench at a place of your choice and then add the raw materials to build it. This way, you can take your time sourcing the materials and you don’t have to carry all of them in your backpack or hand at once.
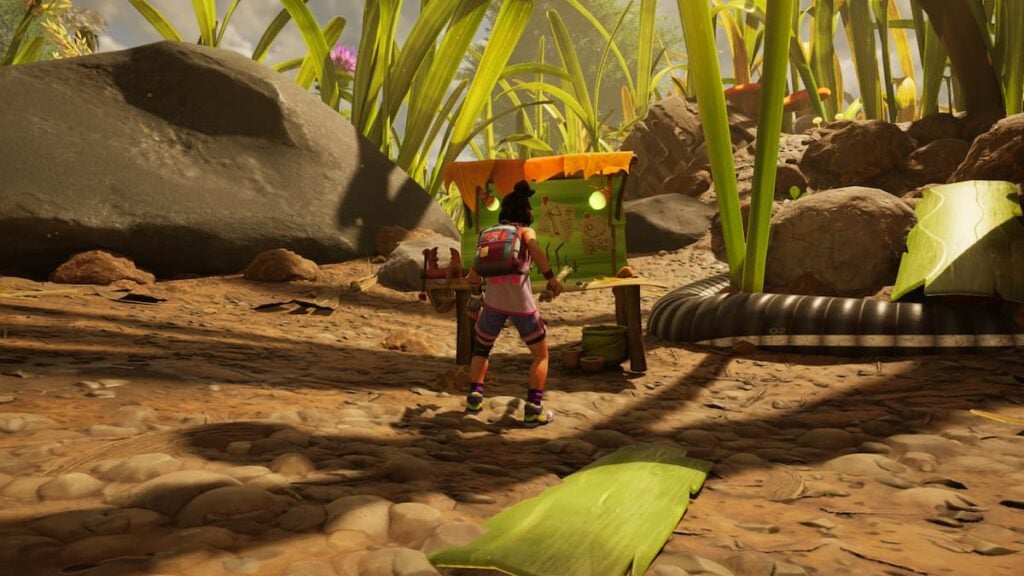
That’s it. You now have a Workbench in Grounded 2. Now, you can jump into crafting all the lovely recipes you have and will unlock in the game as you progress.