When deep cleaning our homes, the one thing that almost always gets neglected is the cleaning tools themselves. Dirt and bacteria that build up over time can affect their ability to do their job properly, ultimately making your cleaning efforts counterproductive.
By incorporating some simple habits into your routine, you can keep cleaning supplies fresh between uses and ensure that they will continue to be effective for longer.
From storing cleaning supplies to the best ways to maintain them, our experts reveal their top cleaning tips below.
How to keep your cleaning supplies clean
'The effectiveness of your cleaning arsenal is directly proportional to its own cleanliness. Keeping your supplies in top condition ensures a healthier environment and prolongs the life of the tools themselves,' says Rocky Vuong, owner of Calibre Cleaning.
1. Regularly clean, rinse and dry products
Your different cleaning tools will have varying cleaning needs, depending on how often they are used and how they are used. However, it will boost their effectiveness to give each tool a brief clean after every use to remove loose debris and grime, then periodically schedule deep cleaning sessions to disinfect them properly.
When doing so, always stick to the manufacturer's guidelines, being especially sure to dilute cleaning solutions correctly to sanitize your cleaning tools safely.
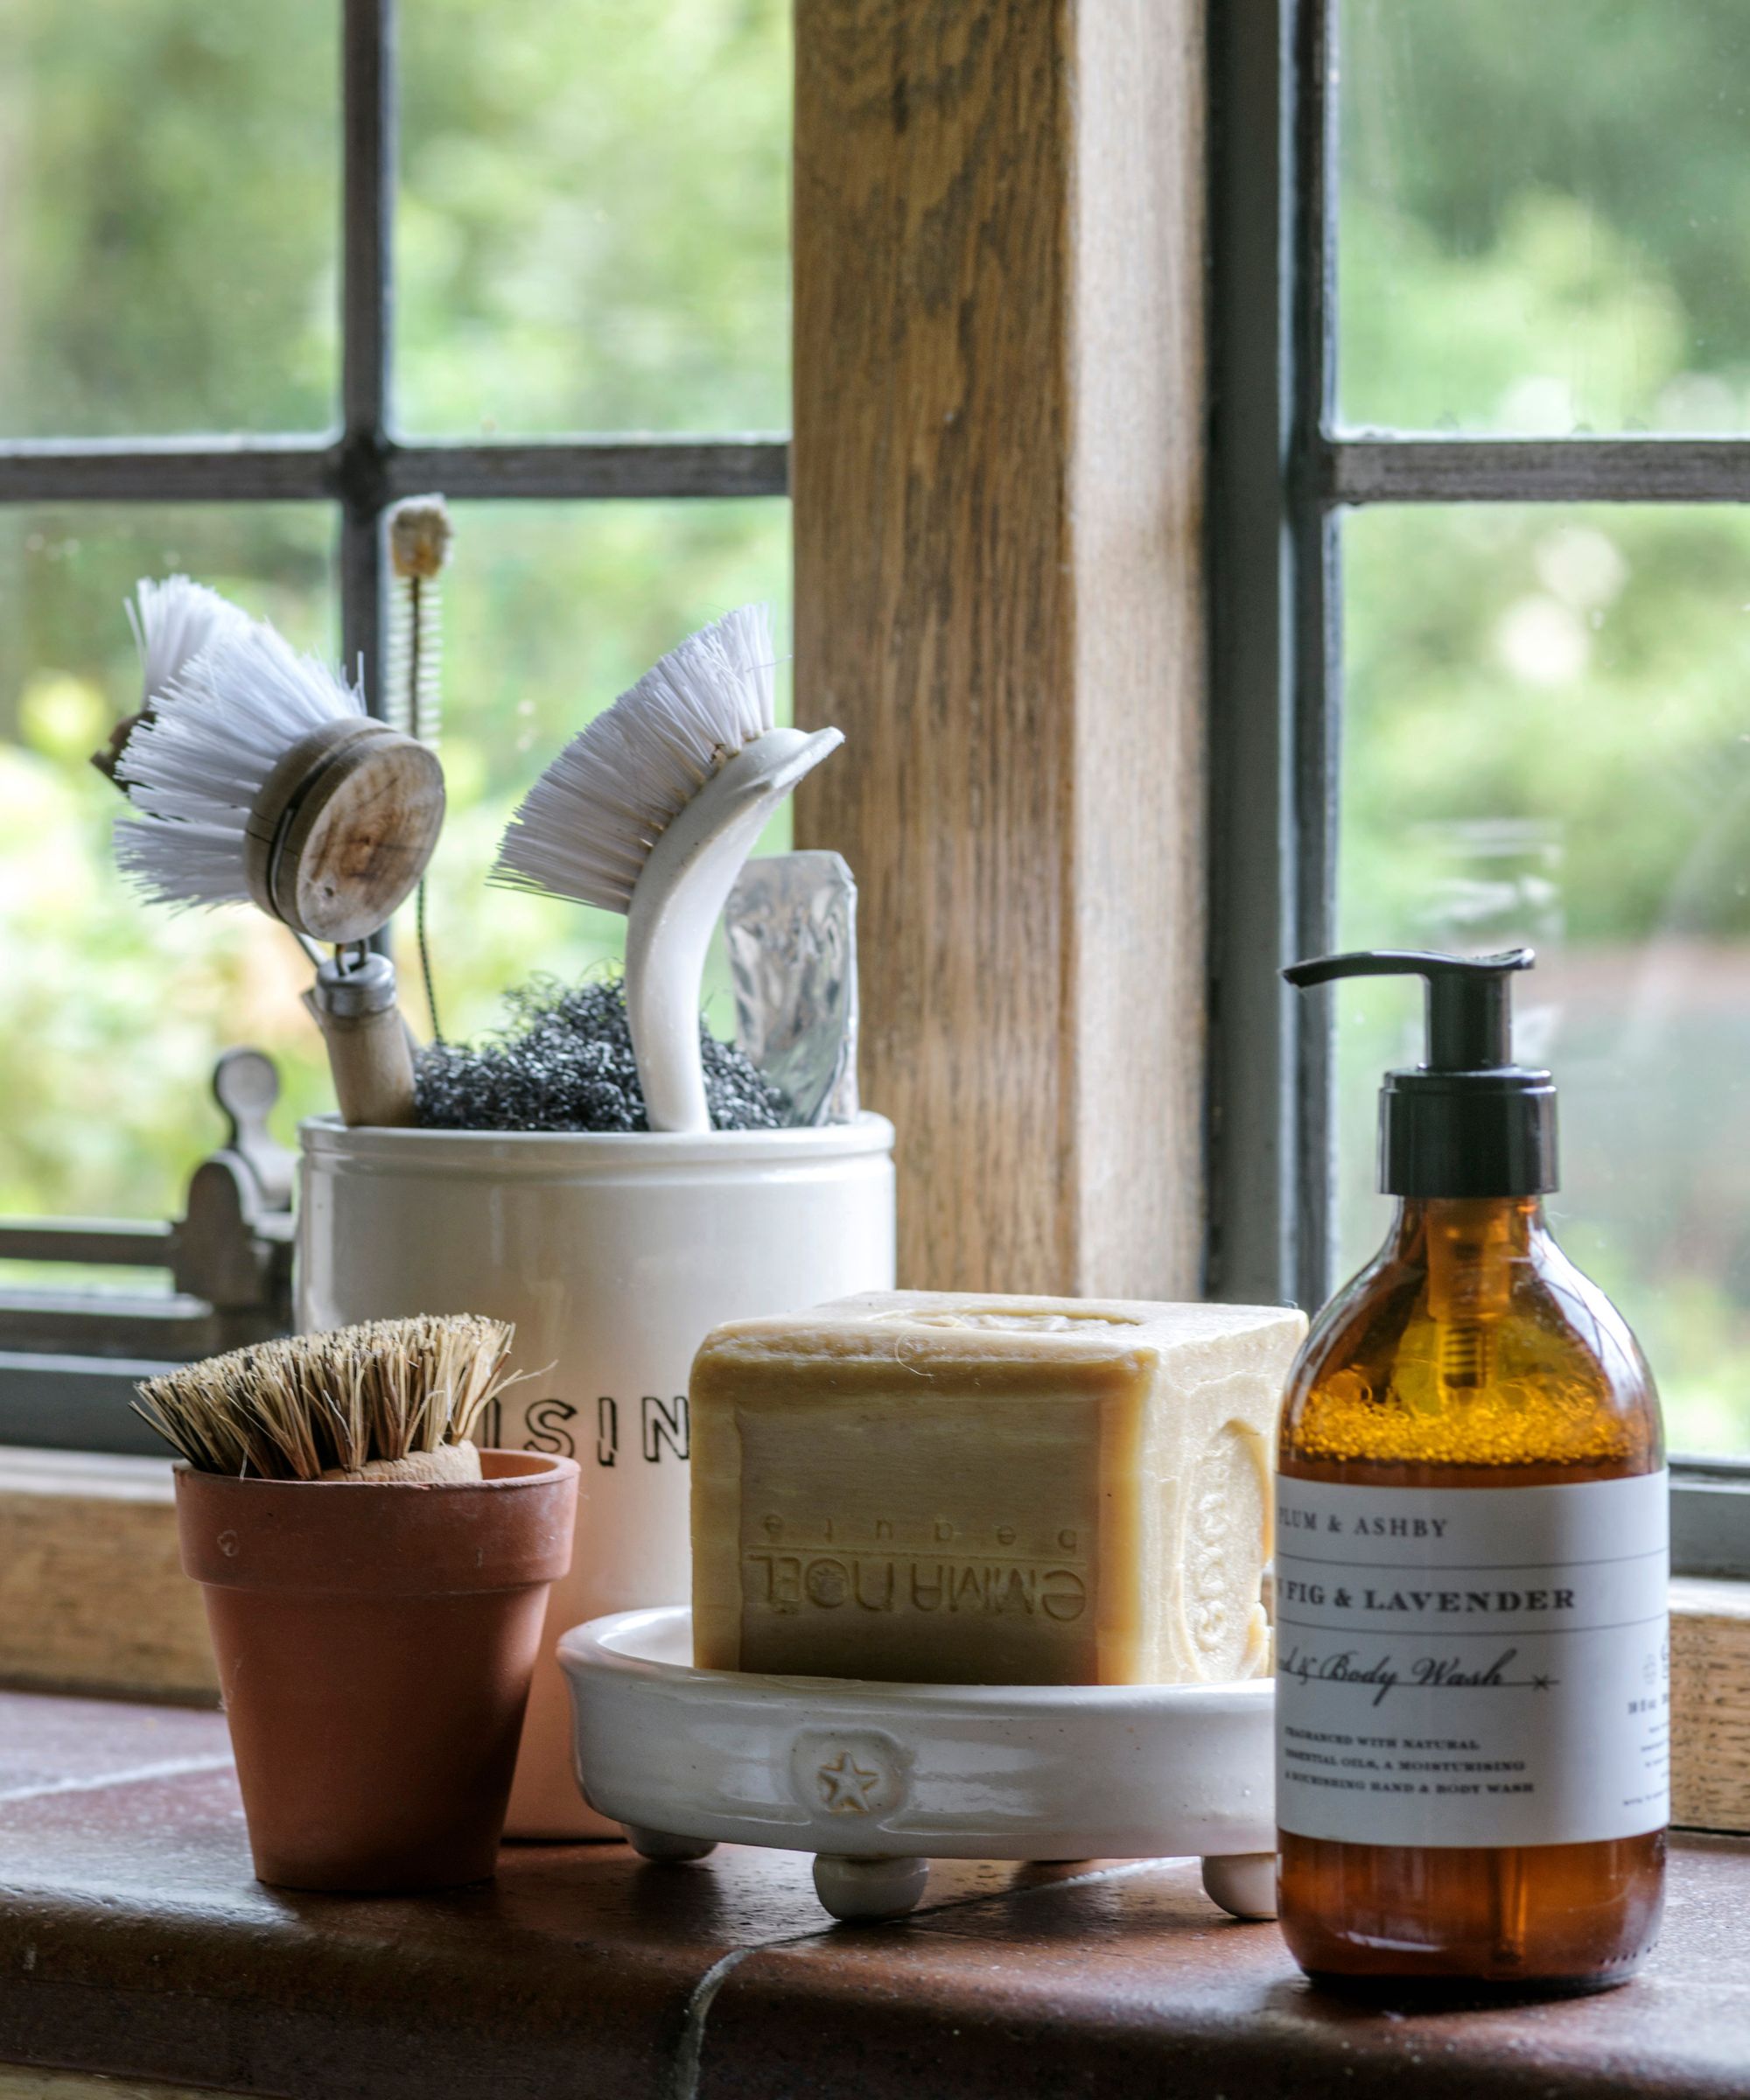
Microfiber cloths, sponges and mop heads
After every use: To eliminate bacteria and clean reusable objects such as microfiber cloths, sponges, or mop heads after every use, submerge them in a basin filled with warm water and a combine a small amount of mild detergent or disinfectant solution. Gently agitate them with your hands to lift any dirt or oils from the fibers. Let them soak for about 15 minutes before massaging the material to loosen any girme. Then, wring them out and you're done!
Additionally, for a quick way to clean sponges, Jennifer Rodriguez, chief hygiene officer at Pro Housekeepers says: 'Microwave wet sponges for 2 minutes daily to kill bacteria or run them through the dishwasher with a drying cycle.'
Deep cleaning: For a more thorough clean, either soak them in a solution of water and bleach or put them through the washing machine's hot cycle. If you opt for the washing machine method, add your usual laundry detergent along with one cup of baking soda. This will help remove odors and release debris.
Vacuum cleaner
'One cleaning tool people often forget to clean is vacuum cleaners, particularly the filters! The many filters of modern vacuums and the collection canisters of bagless models are especially important to keep clean,' says Natalie Wise, natural cleaning expert.
To clean regular filters: 'Many filters (felt, foam) are easy to quickly hand-wash in the sink with a very small drop of dish soap. Rinse them fully and let them air dry completely before re-inserting. These should also be cleaned every month or so and replaced at least every 3 months,' Natalie continues.
To clean a HEPA filter: 'If your vacuum has one of the rigid filters usually composed of many folds/pleats, this is your HEPA filter. It needs to be cleaned regularly and replaced at least every 6 months.'
Tap it against the side of the trash can to release the first layer of debris, then open each fold and tap again. You can rinse it with water only, but do not use soap.
To clean collection canisters: 'I like to clean these in a bathtub or utility sink as the dirt and dust get a bit messy!' says Natalie. 'Add a tiny drop of dish soap to the canister and swish fully, using a brush to get any stuck-on debris. Rinse thoroughly and let air dry.'
These should be cleaned every one to three uses or when it is visibly full.
Brooms
1. Before cleaning, take the broom outside and shake it vigorously to remove any loose dust, hair, or debris lodged between its bristles.
2. Next, fill a buck with warm water and a mild detergent and let the broom soak for a few minutes.
3. You can use another brush to scrub the bristles gently while they are submerged in the soapy water.
4. Once the bristles are clean, give them a rinse.
5. You can also use the hose to wash through the bristles and remove any remaining debris or dirt.
Dusters
1. After cleaning, take your duster outdoors and give it a good shake.
2. Then, mix some dish soap with warm water in a bucket to make a cleaning solution.
3. Make sure your duster gets well saturated by dipping it into the soapy solution and swirling it around.
4. Let the duster soak for a few minutes before it is wrung out.
Caddies and spray bottles
'Clean caddies and buckets regularly to remove dirt, grime, and bacteria,' advises Karina Toner, operations manager at Spekless Cleaning.
'Use warm, soapy water and a scrub brush to clean the inside and outside of the caddy or bucket, then rinse thoroughly and air dry.'
'Additionally, regularly clean spray bottles to prevent residue buildup and bacterial growth.
'Cleanse the bottle and spray mechanism with warm, soapy water, then rinse with clean water and air dry.
'This practice ensures that your spray bottles remain clean and effective.'
2. Allow items to dry properly
'It's essential to allow cleaning supplies to dry completely before storing them to prevent the growth of mold and mildew,' says Angela Rubin from Hellamaid.
'Use a drying rack or drying mat for sponges and cloths to facilitate quick drying.
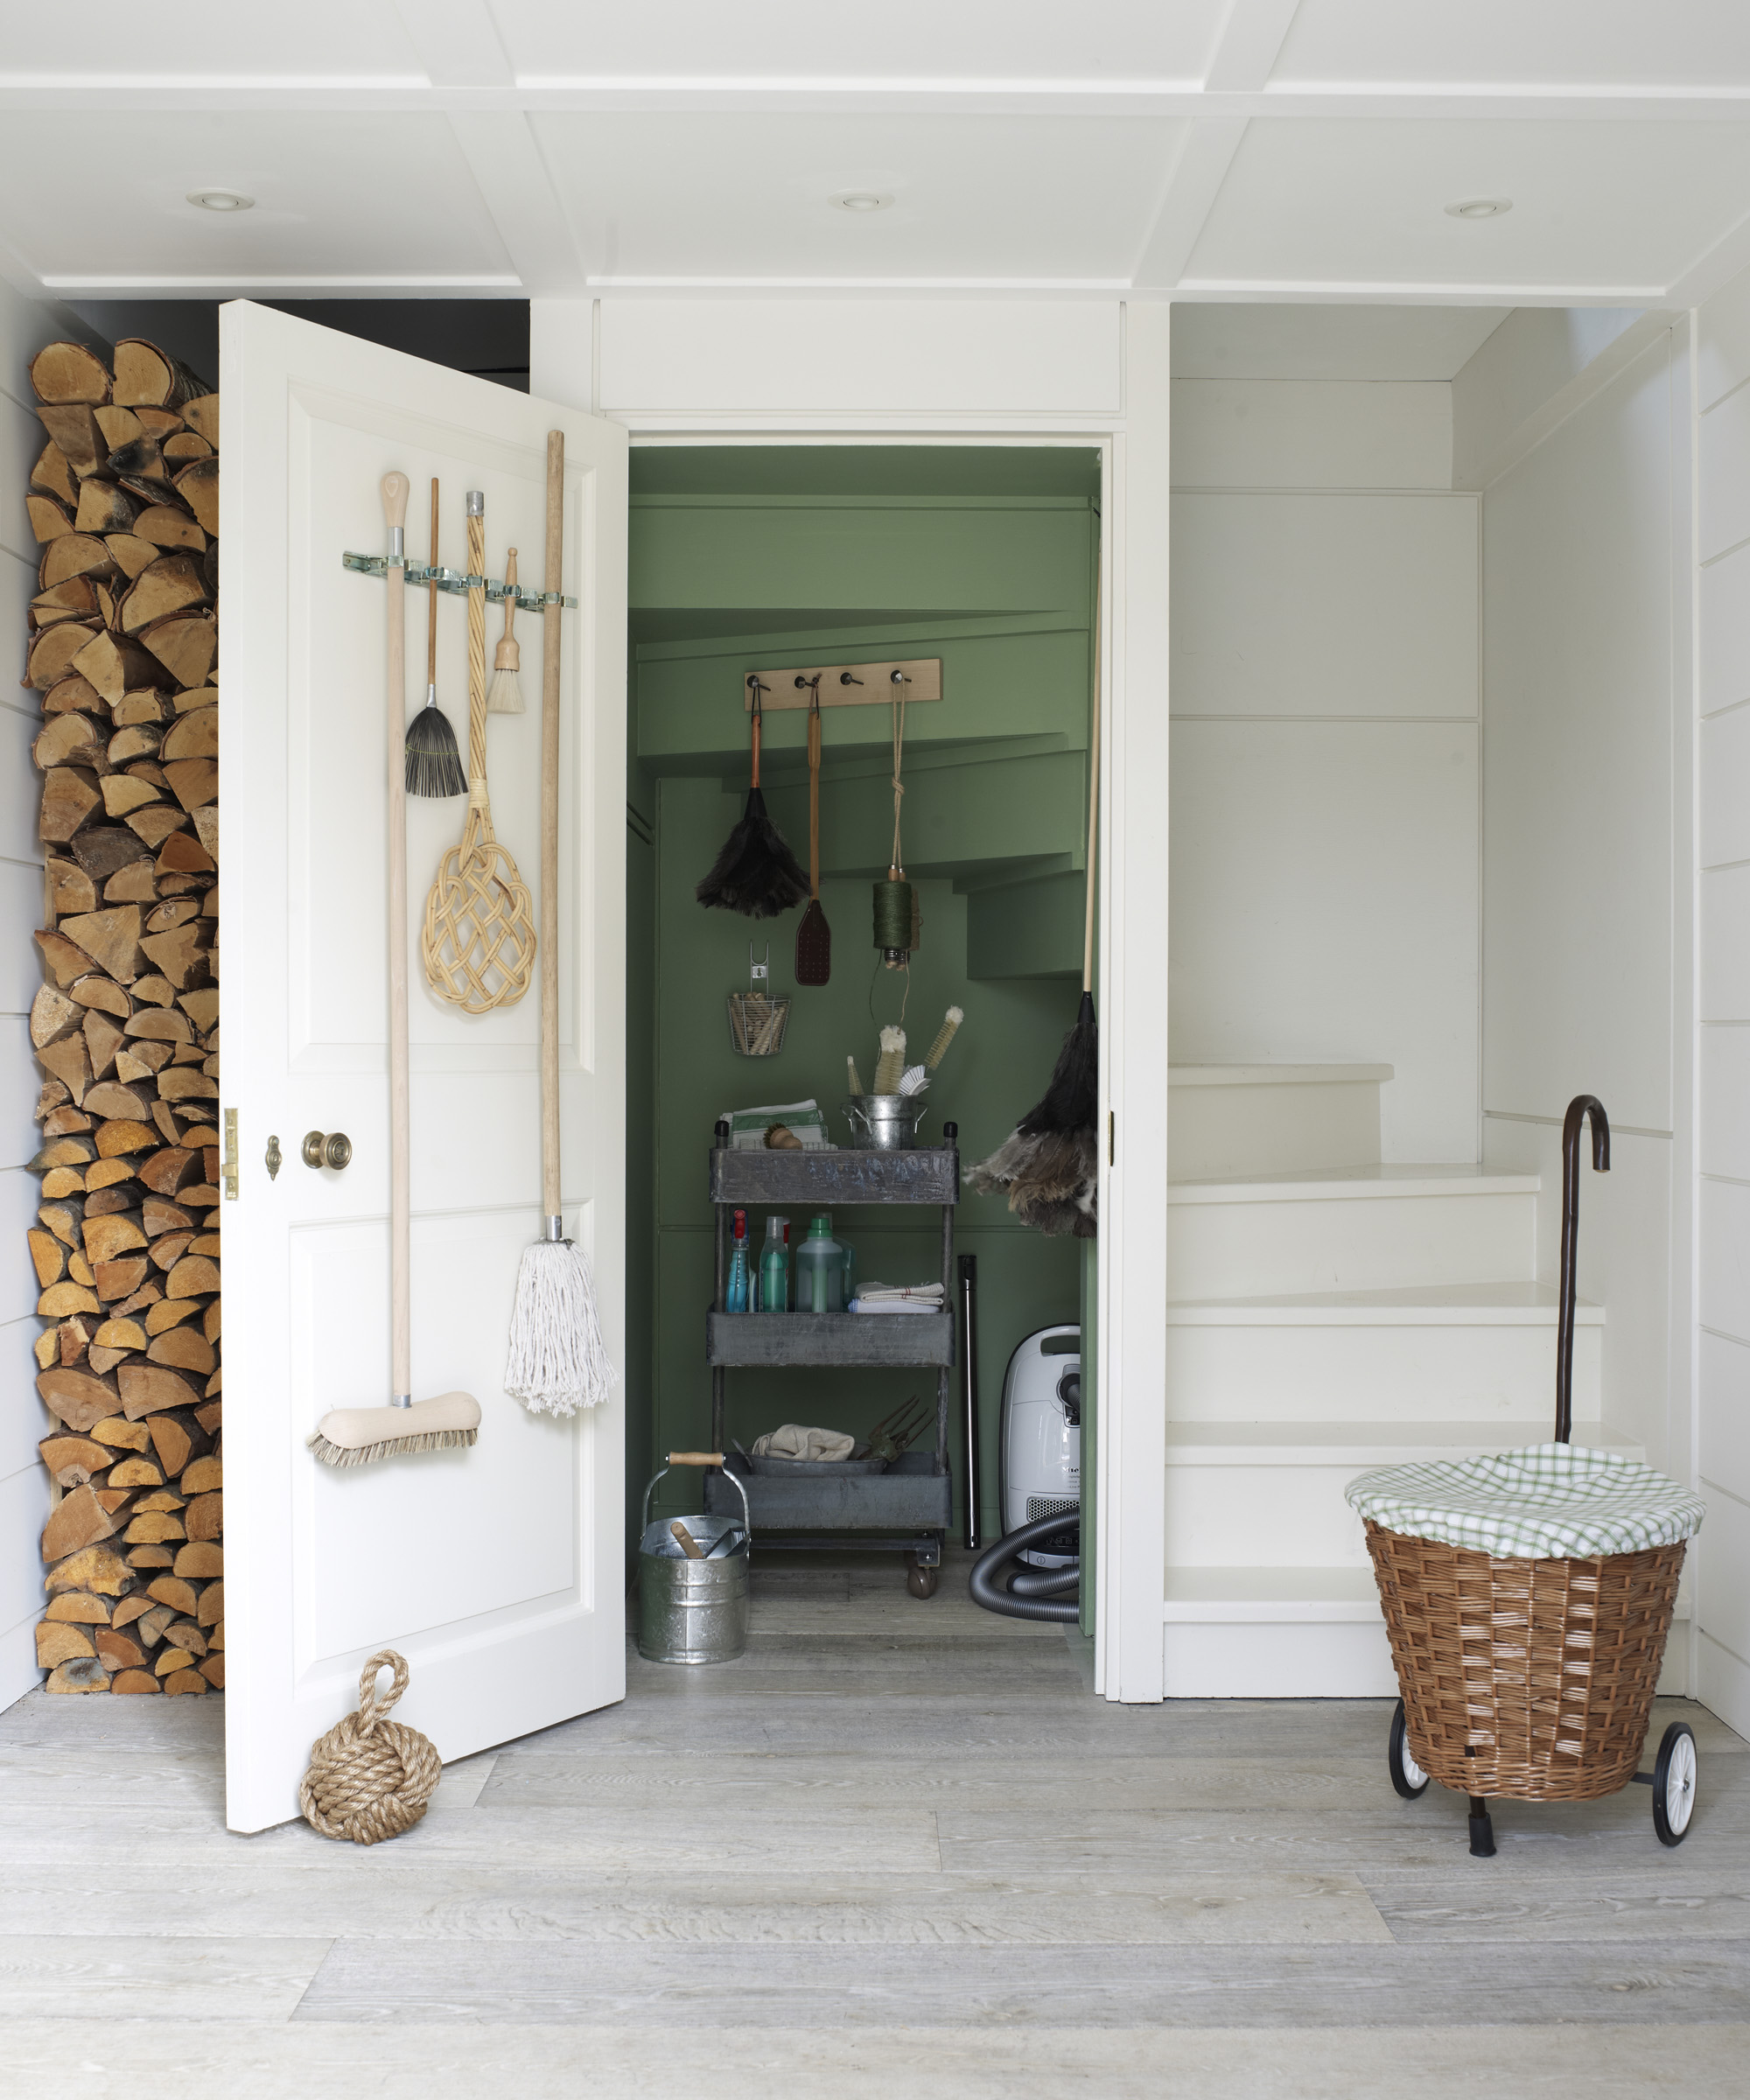
'Hang mops and brushes upside down to ensure proper airflow and drainage.' We recommend this QTJH broom and mop wall-mounted holder, from Amazon.
Wring out items you have soaked, and consider putting items like sponges and mops on a delicate drying cycle. Where possible, air dry items outside in sunlight.
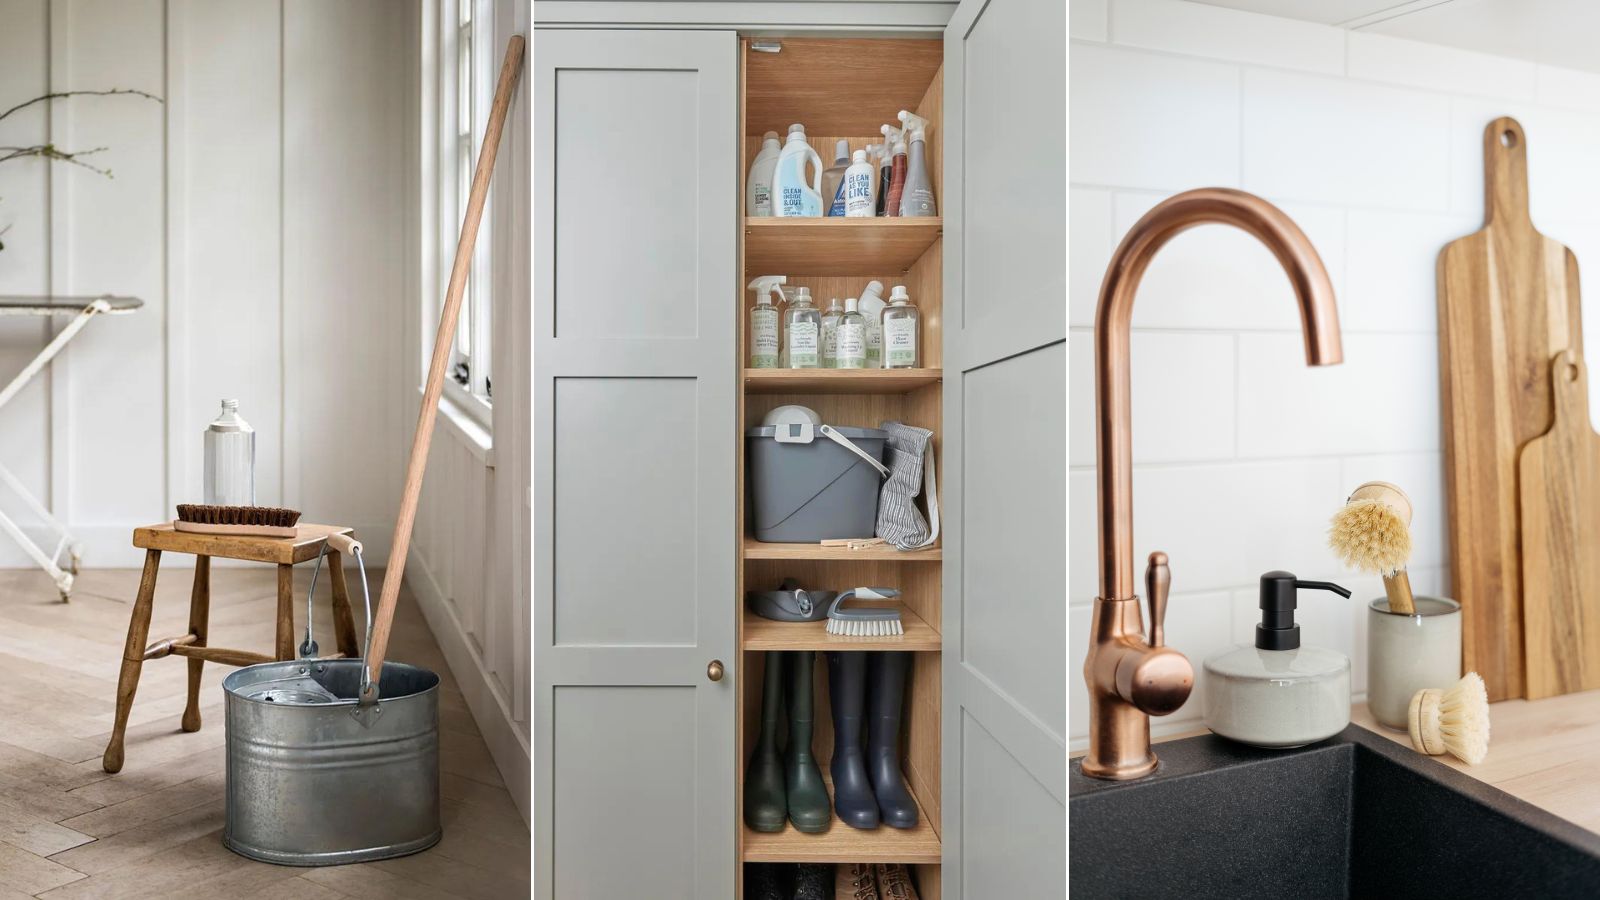
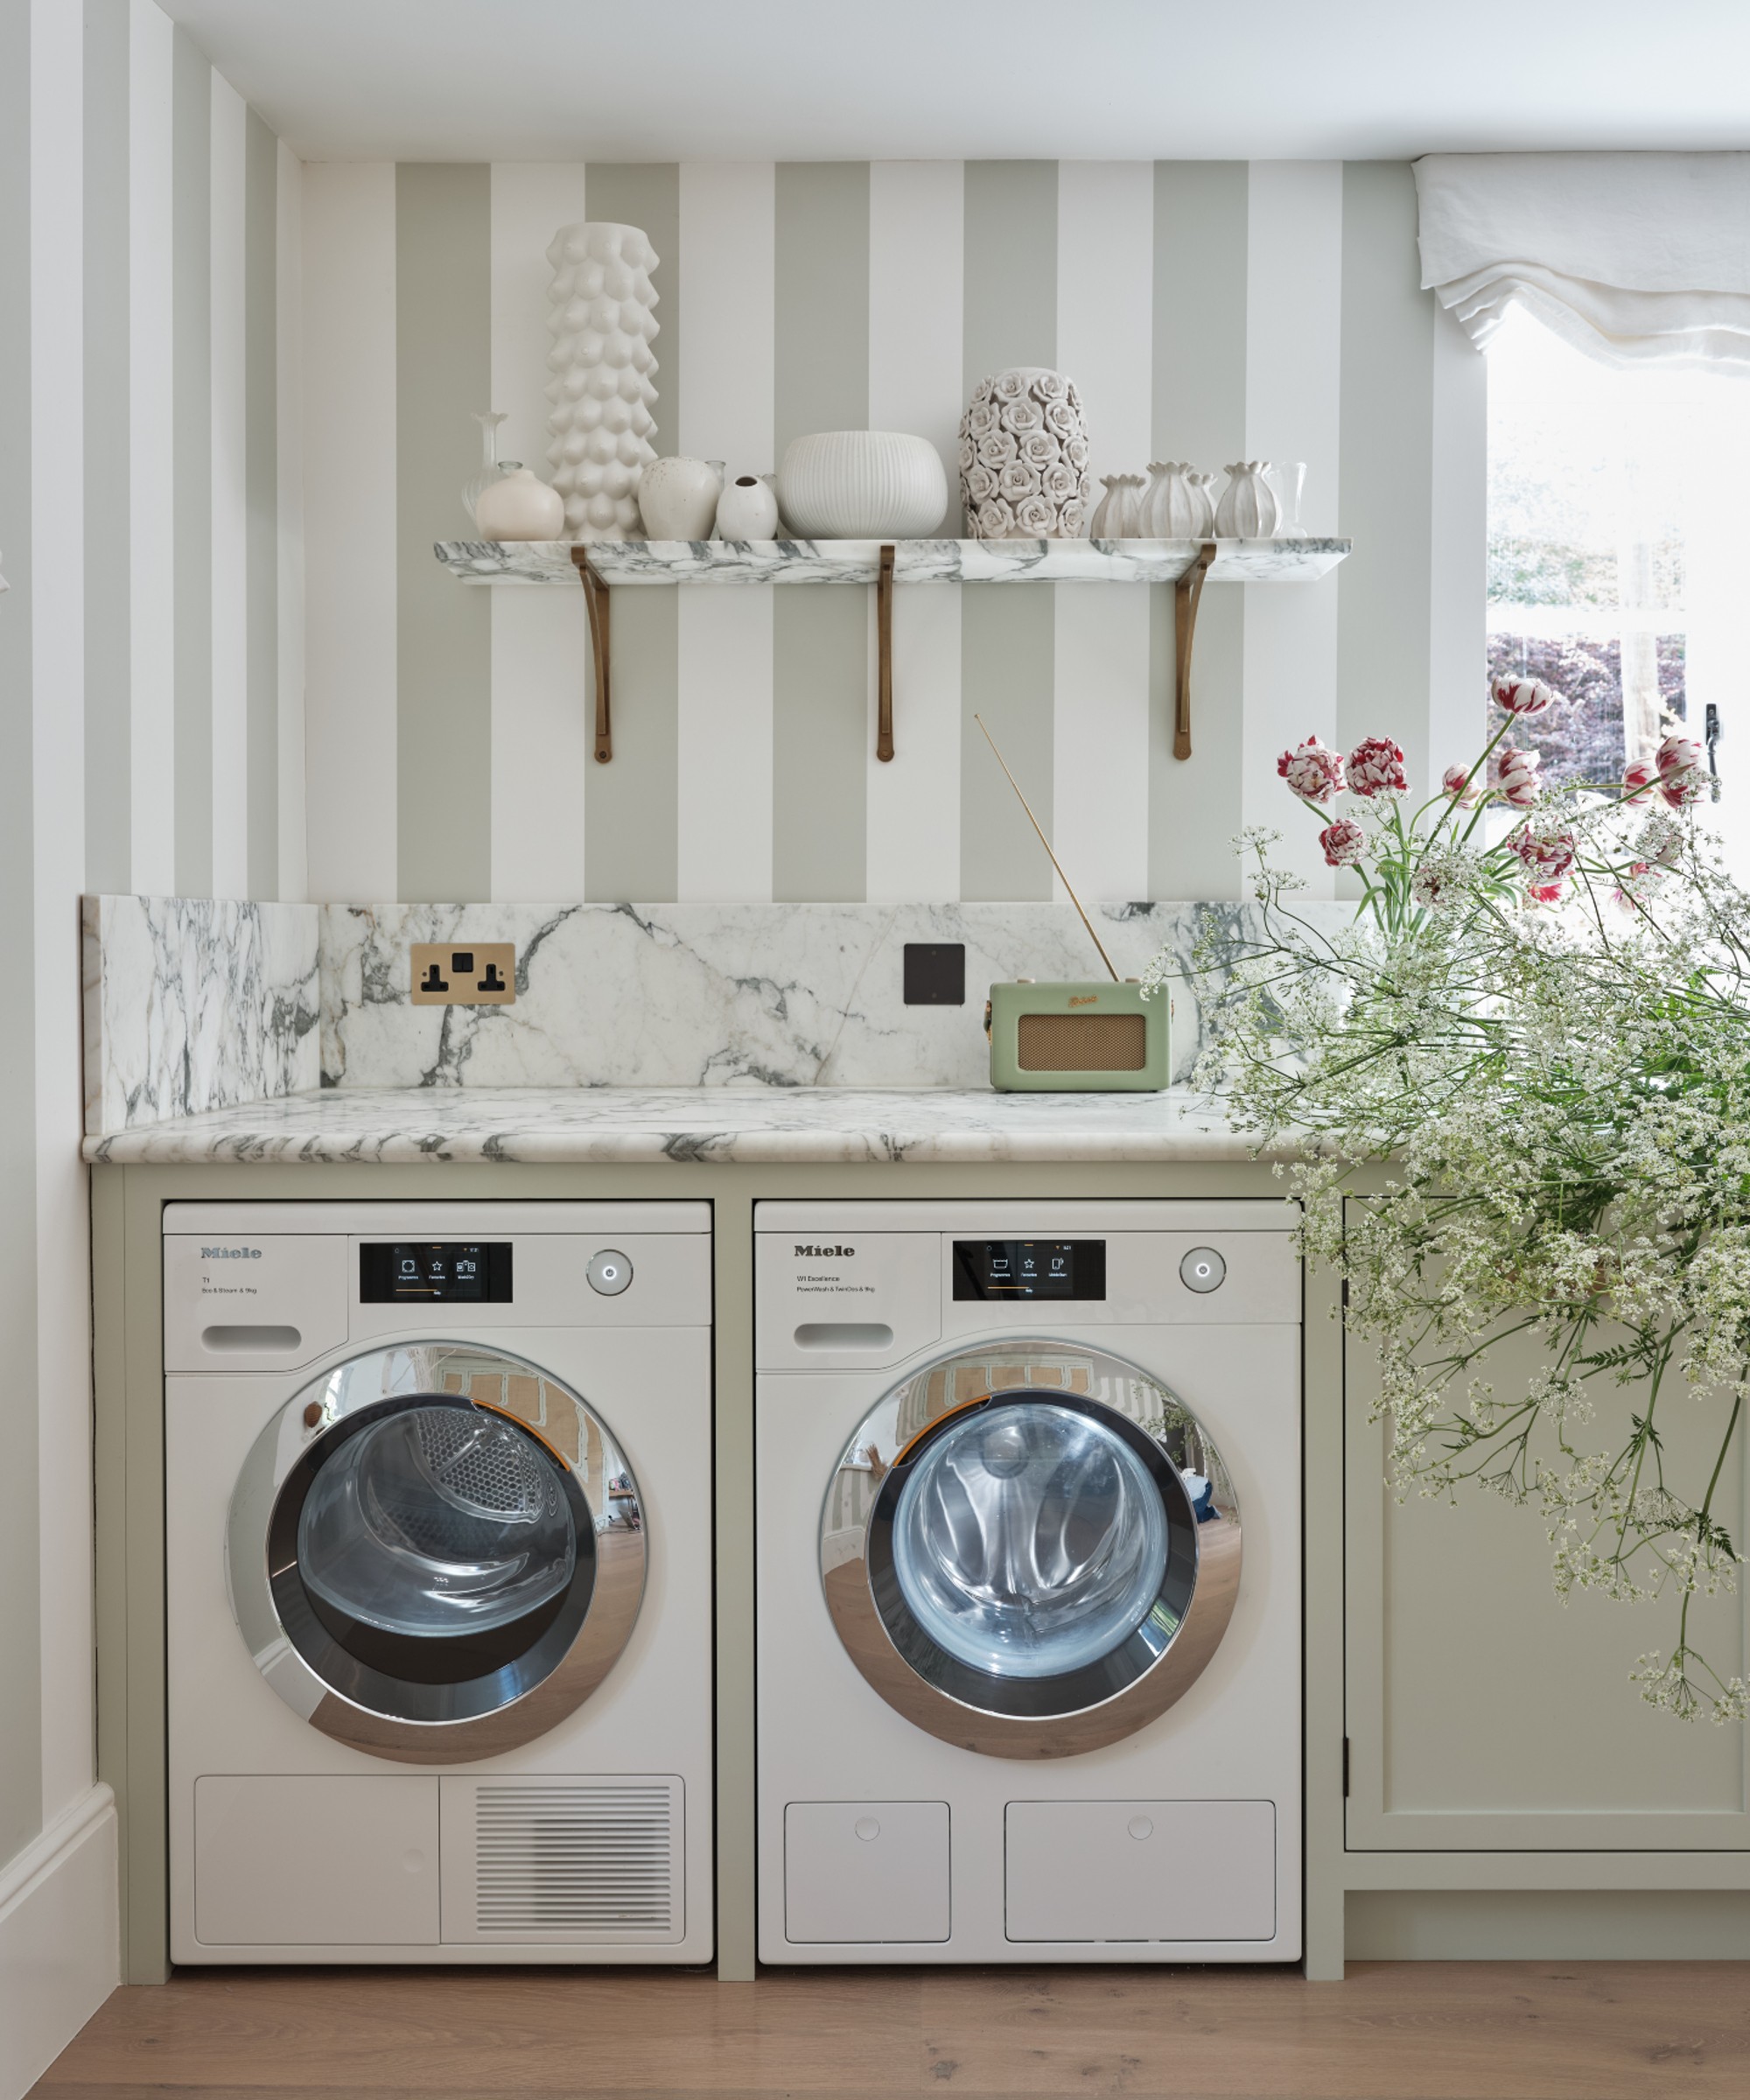
3. Proper storage makes a big difference
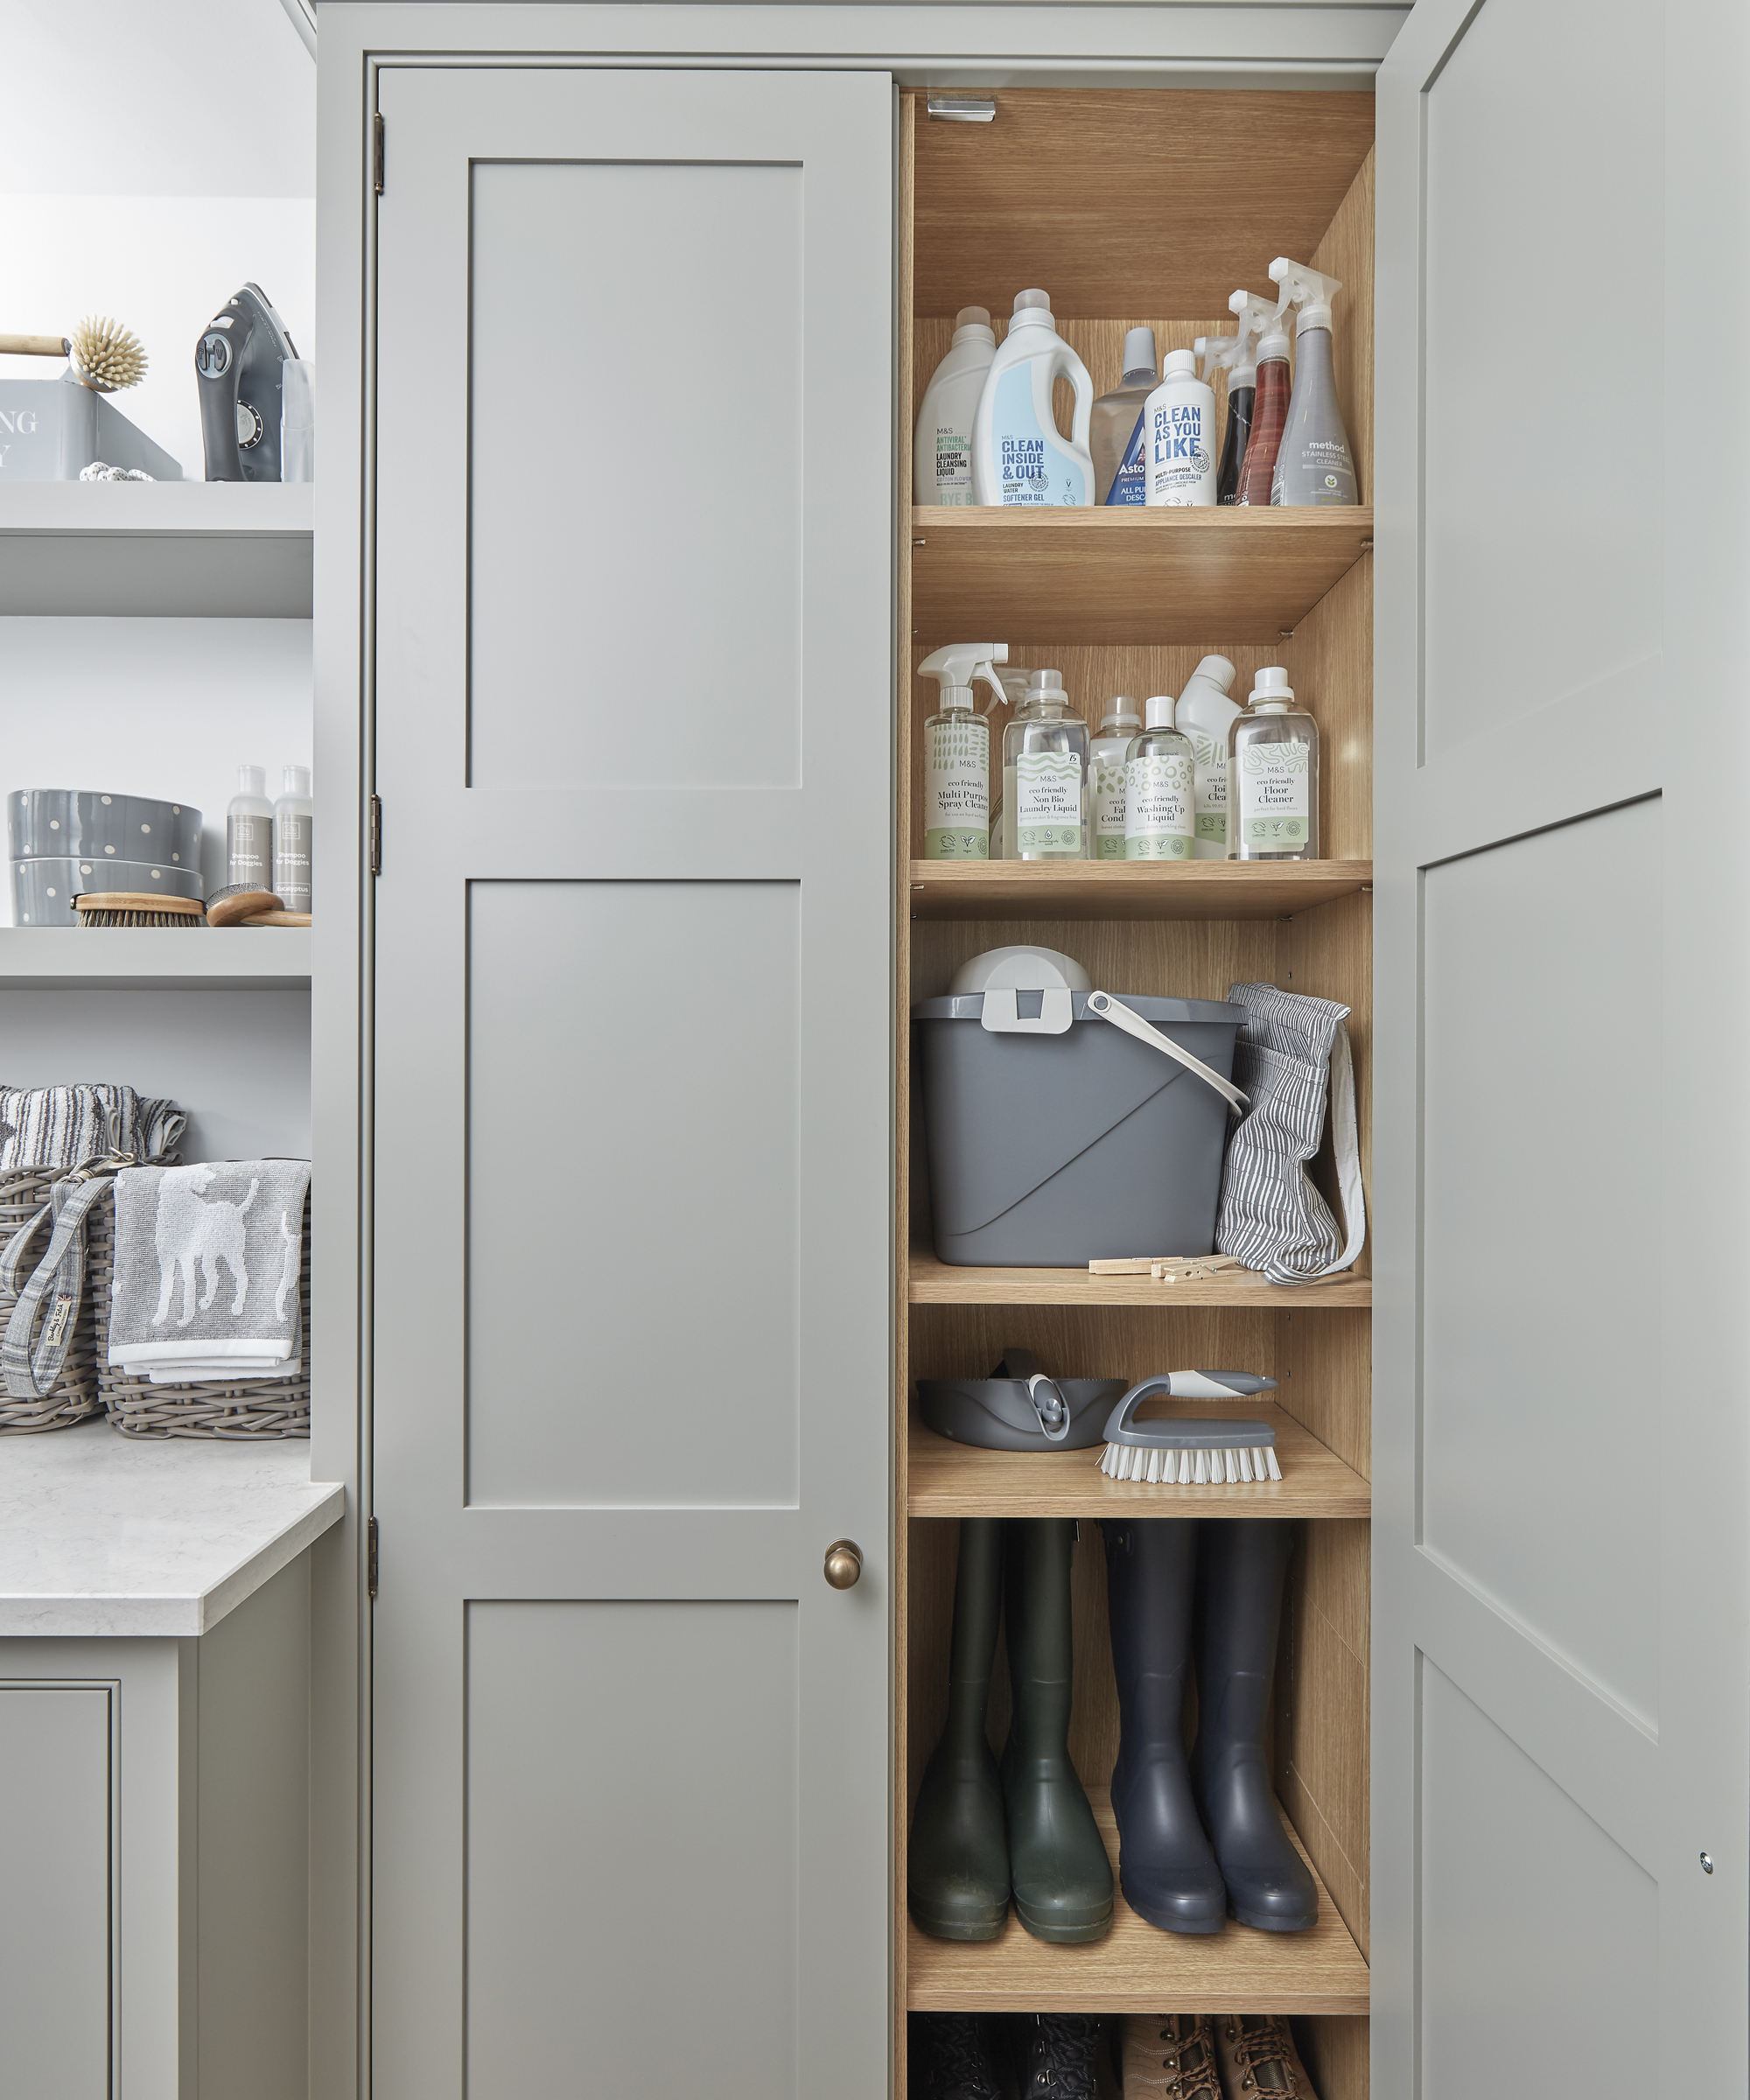
Storage makes all the difference when it comes to keeping your cleaning supplies hygienic, ventilated, and effective.
'Keep cleaning supplies for different home areas separate to prevent cross-contamination,' advises Angela Rubin. 'Organize your cleaning supplies using color-coded cloths or labels to designate specific tools for the kitchen, bathroom, and other areas. This helps maintain cleanliness and reduces the risk of spreading germs between surfaces.
'Consider using organizers or storage solutions designed specifically for cleaning supplies. These can help keep your supplies neat, tidy, and easily accessible, making cleaning tasks more efficient. Organizers also help prevent clutter and promote a clean and organized space.'
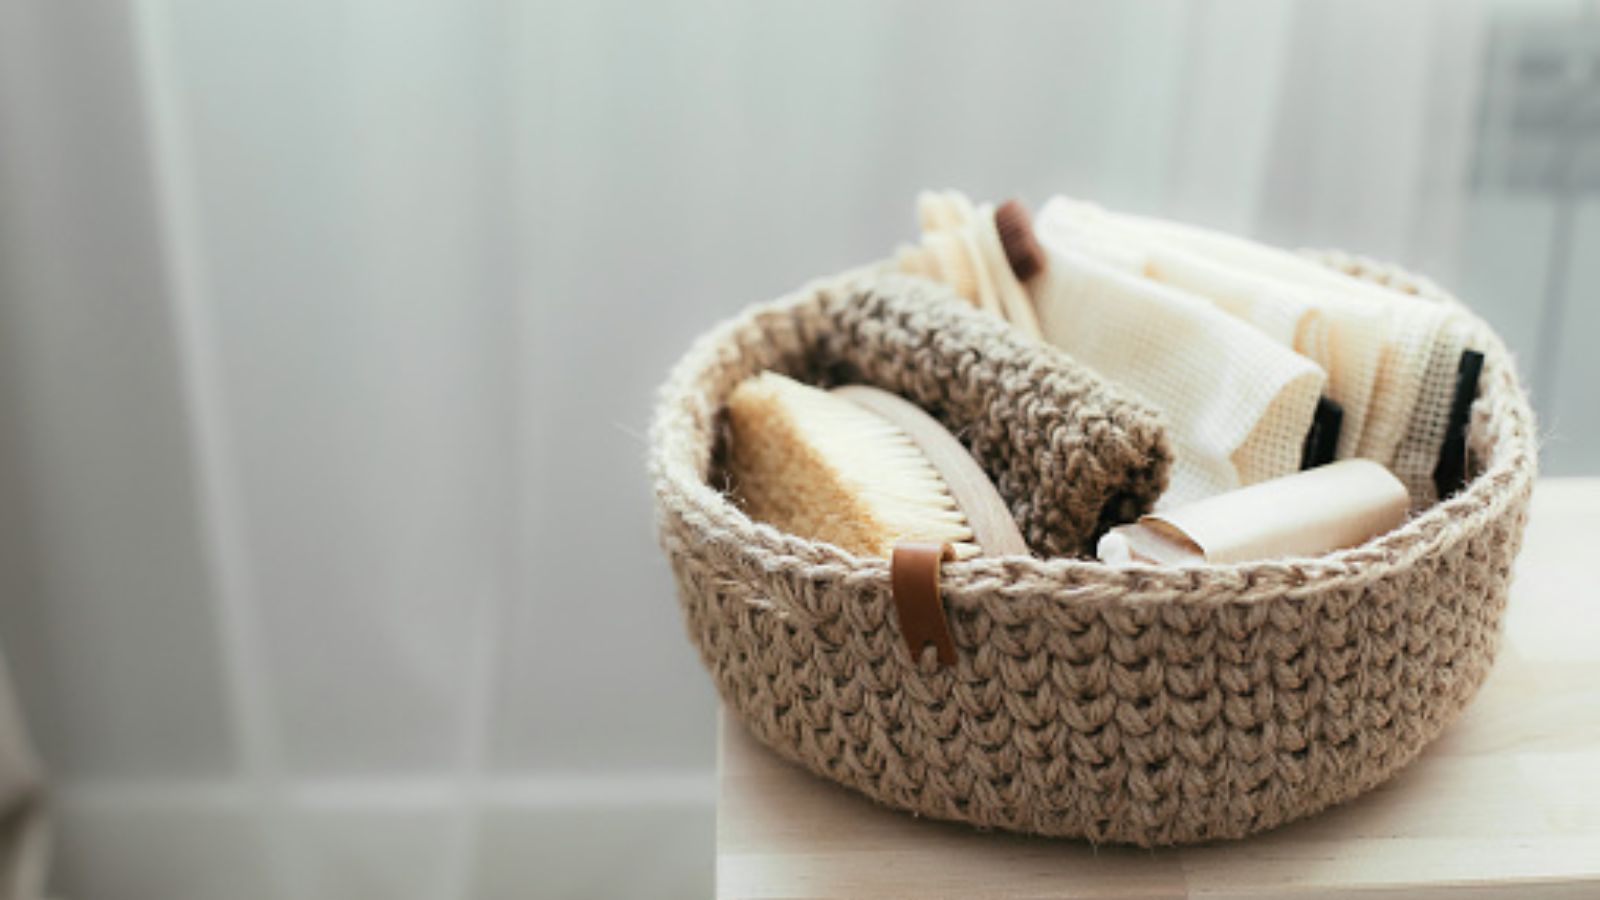
Invest in sturdy, hygienic, and easily cleaned non-porous containers, such as storage caddies or plastic bins. Steer clear of cardboard and fabric containers since these materials have the potential to absorb moisture and retain bacteria.
'Keep supplies in a dry, ventilated area,' urges Karina Toner. 'Humidity breeds bacteria, so a well-ventilated cupboard or storage area is ideal. Store cleaning supplies in a clean, dry environment away from moisture and direct sunlight.'
'Mops, brooms, and dusters should be hung so that they do not come into contact with the floor and air can circulate them,' explains Matt Lashway, CEO of Whitehall Carpet Cleaners.
'Detergents and disinfectants are examples of liquids that should be stored in their original containers with the lids securely fastened,' he adds. 'This will prevent any spillage or evaporation from occurring. It's a good idea to check your storage location regularly to see if there are any leaks or signs of damage.'
4. Hire professional cleaners
'For optimal performance, consider scheduling professional maintenance for your cleaning supplies,' recommends Karina Toner.
'A professional cleaning service can inspect the condition of your supplies, clean them thoroughly, and provide recommendations for maintenance and replacement. Professional maintenance helps extend the life of your cleaning supplies and ensures their effectiveness.'
While this won't be necessary for items like mops which you can easily replace, for more expensive items like steam cleaners and vacuums, this can save you money long term by prolonging the longevity of these items.
Finally, Rocky Vuong, owner of Calibre Cleaning, advises: 'Don’t wait for cleaning supplies to fall apart. Regularly replace sponges, cloths, and scrubbers to maintain effectiveness and hygiene. Replace disposable cleaning supplies such as sponges and wipes regularly to prevent the buildup of bacteria and germs.'