The beauty of knowing how to grow garlic in pots is that you can enjoy a home harvest of this versatile crop even if you don't have a garden – or any outdoor space.
There is a huge range of types of garlic bulbs available, so with some careful planning, you can grow a variety for a year-round supply of this essential culinary ingredient that also stores well after harvesting.
Growing garlic is a slow process – taking up to 10 months from planting to harvest – but it is a perfect choice if you're considering growing vegetables in pots as then you can engineer the best growing conditions of temperature, position and soil. You don't require a lot of space for growing garlic in pots, so it's a good choice as a balcony garden or even on a windowsill indoors.
'Although garlic is relatively easy to grow in pots, it’s not fast-growing,' says Lucie Bradley, Co-owner of greenhouse and garden product suppliers, Two Wests & Elliot. 'So unlike if you're growing tomatoes in pots, when you will see growth potentially within days, with garlic you could be waiting eight to nine months from planting your garlic clove before having garlic ready to harvest.'
'But, if you have patience, you will be rewarded with some tasty cloves that you can use in your recipes and impress your friends with.'
How to grow garlic in pots
The type of garlic you choose to grow will dictate when you need to plant it. Garlic is generally planted from autumn until early spring. There are two main types of garlic: hardneck and softneck.
Hardneck varieties also produce an edible flower stem as they grow, which can be chopped up for use in salads. These are hardier and need a period of cold weather to grow well, so are generally planted in autumn and could be nurtured in pots in a DIY greenhouse.
'Although it takes a long time to grow, you get to plant it in the autumn when it’s not as busy in your gardening schedule and you’ll have it ready to harvest the following summer – so just in time for summer barbeques, picnics and pizzas outdoors,' says Lucie.
Softneck garlic varieties don't produce an edible flower stem, but tend to mature quicker and can be stored for longer. These can be planted in spring.
Check which variety of garlic you want to grow before taking the next steps in how to grow garlic in pots.
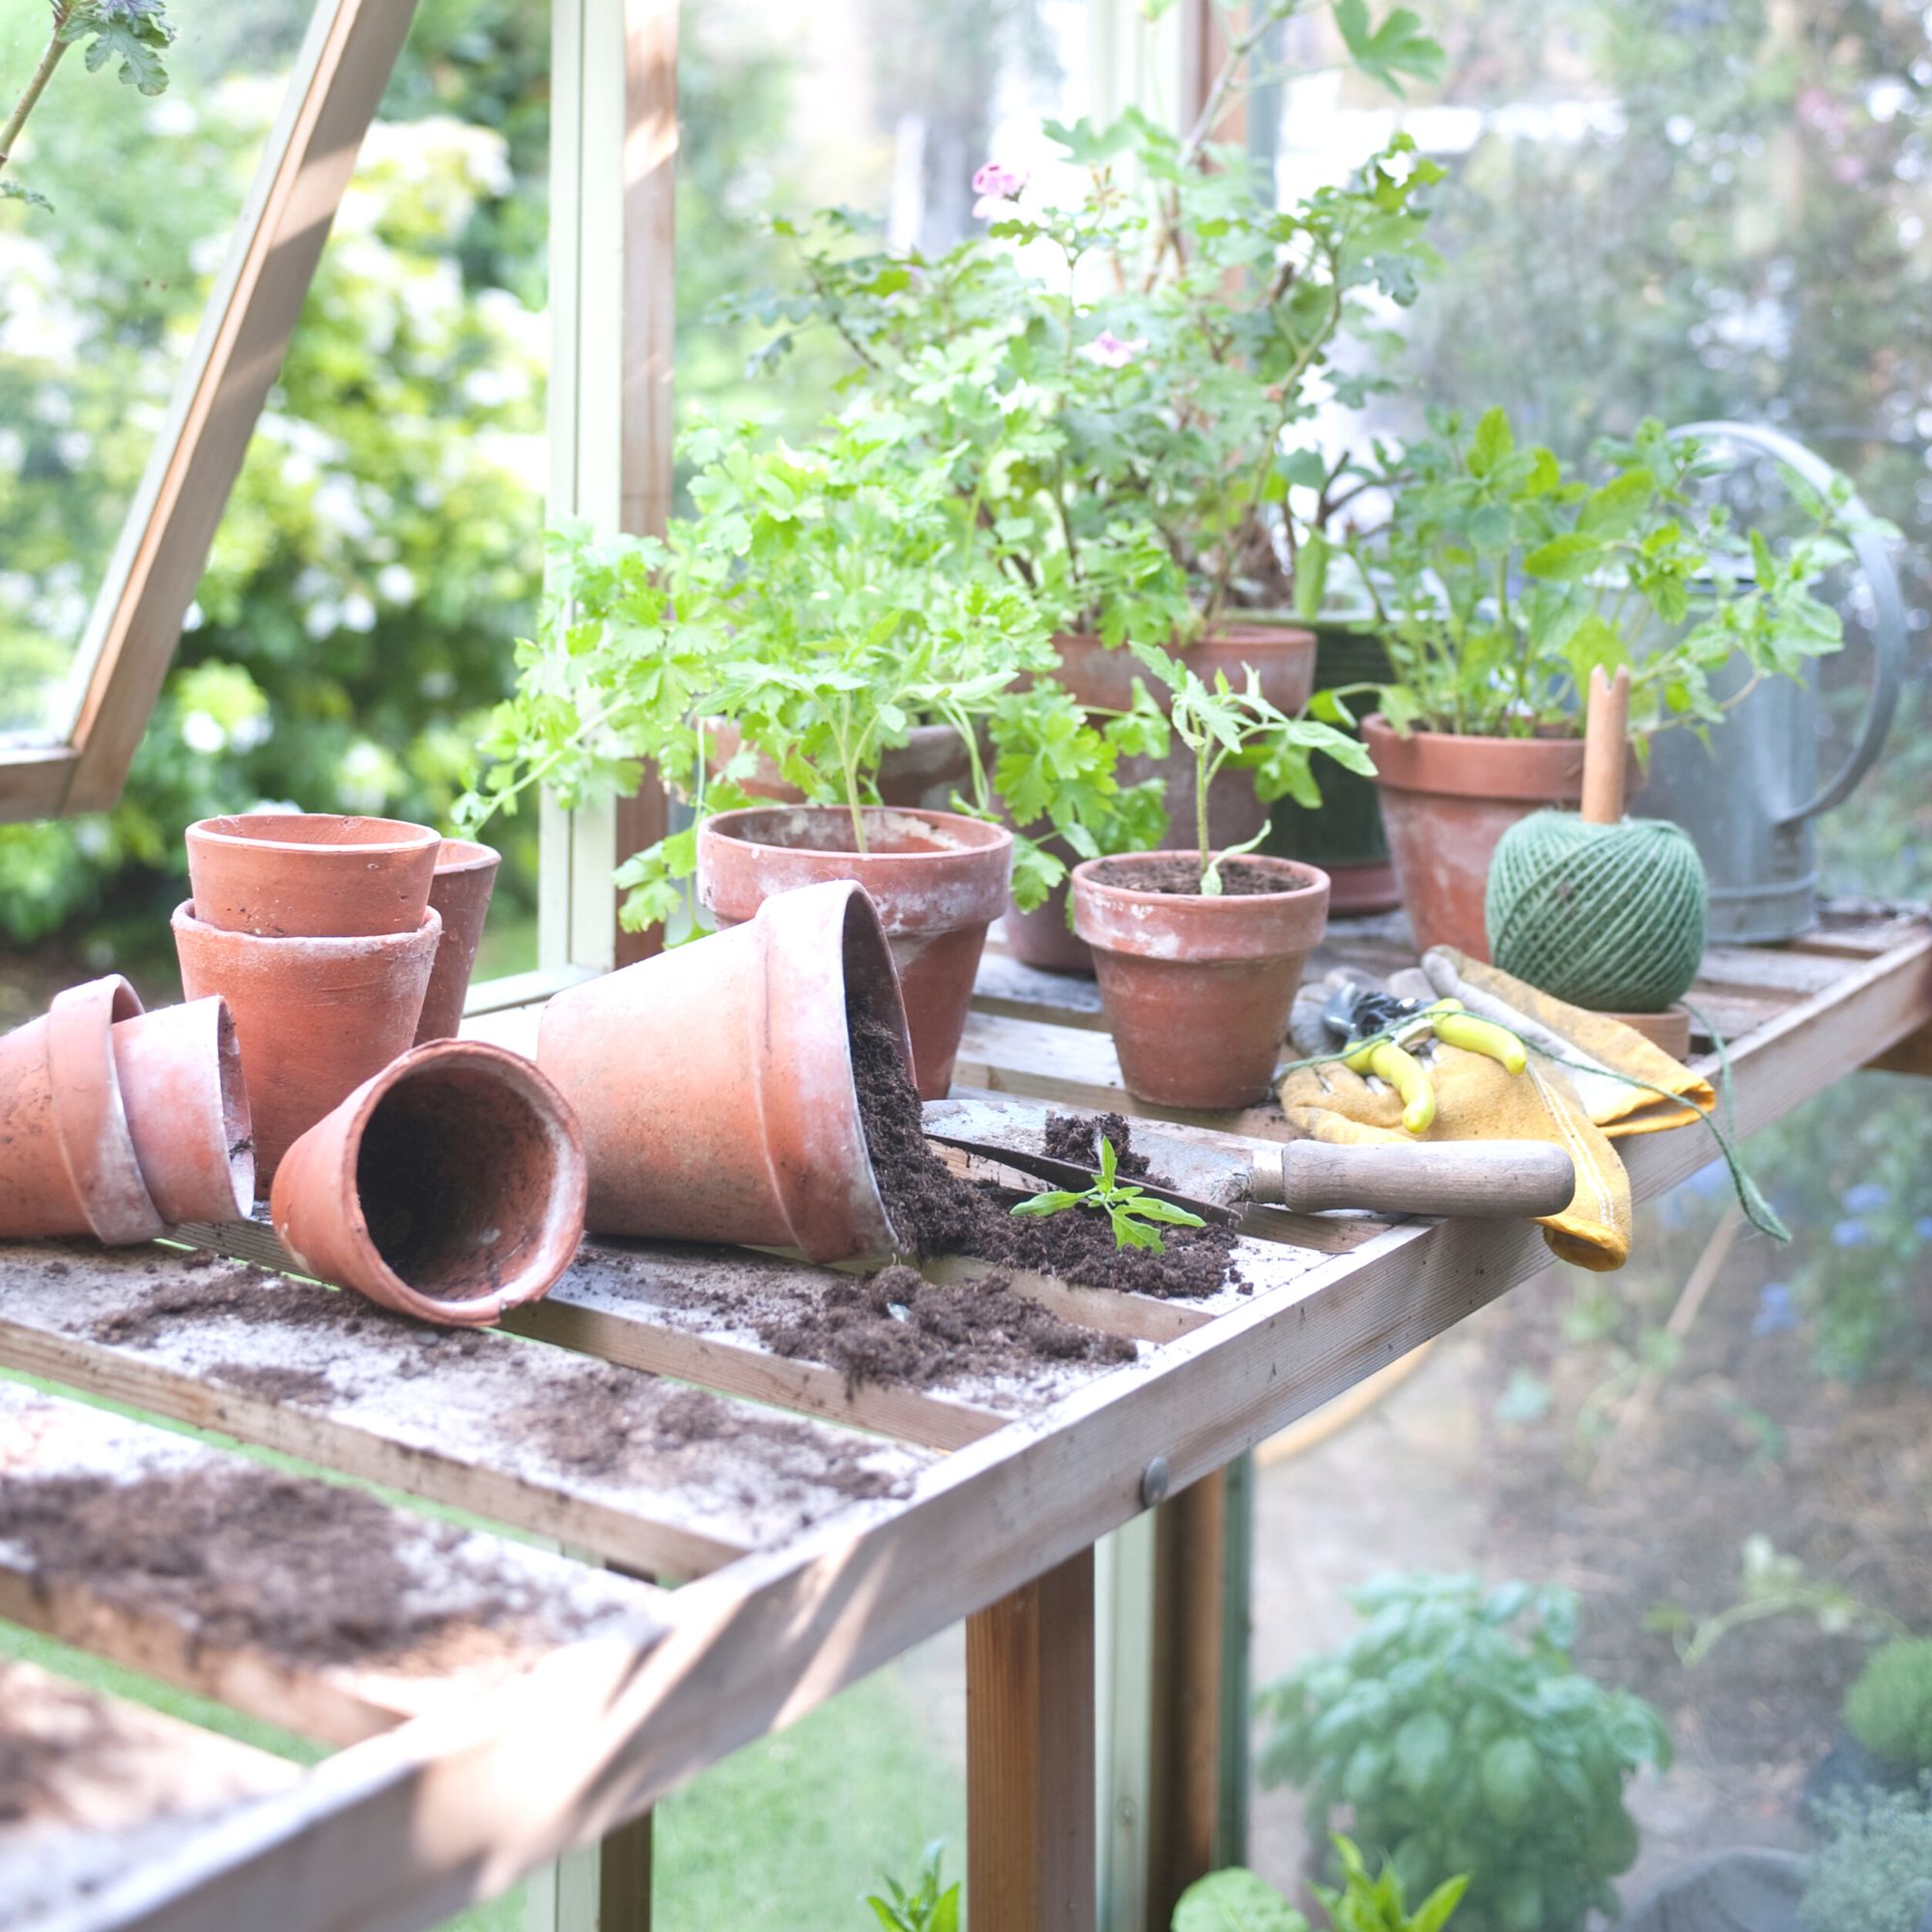
What you will need
- Suitable pot (see below)
- Selected garlic bulbs from a garden centre
- Vegetable potting compost
- Dibber (optional)
- Watering can
- Leaf mulch or straw (if growing outdoors)
6 steps to growing garlic in pots
Create the best environment for growing garlic in pots, whether you choose to do so on a patio, balcony, in a greenhouse, or on a windowsill, by following the steps below.
'Growing your own garlic is not as labour-intensive as you might think. However, the results are entirely worth it when you are able to use home-grown garlic to add a delicious edge to your cooking,' says Daniel Carruthers, grow your own expert at the premium greenhouse manufacturer, Cultivar Greenhouses.
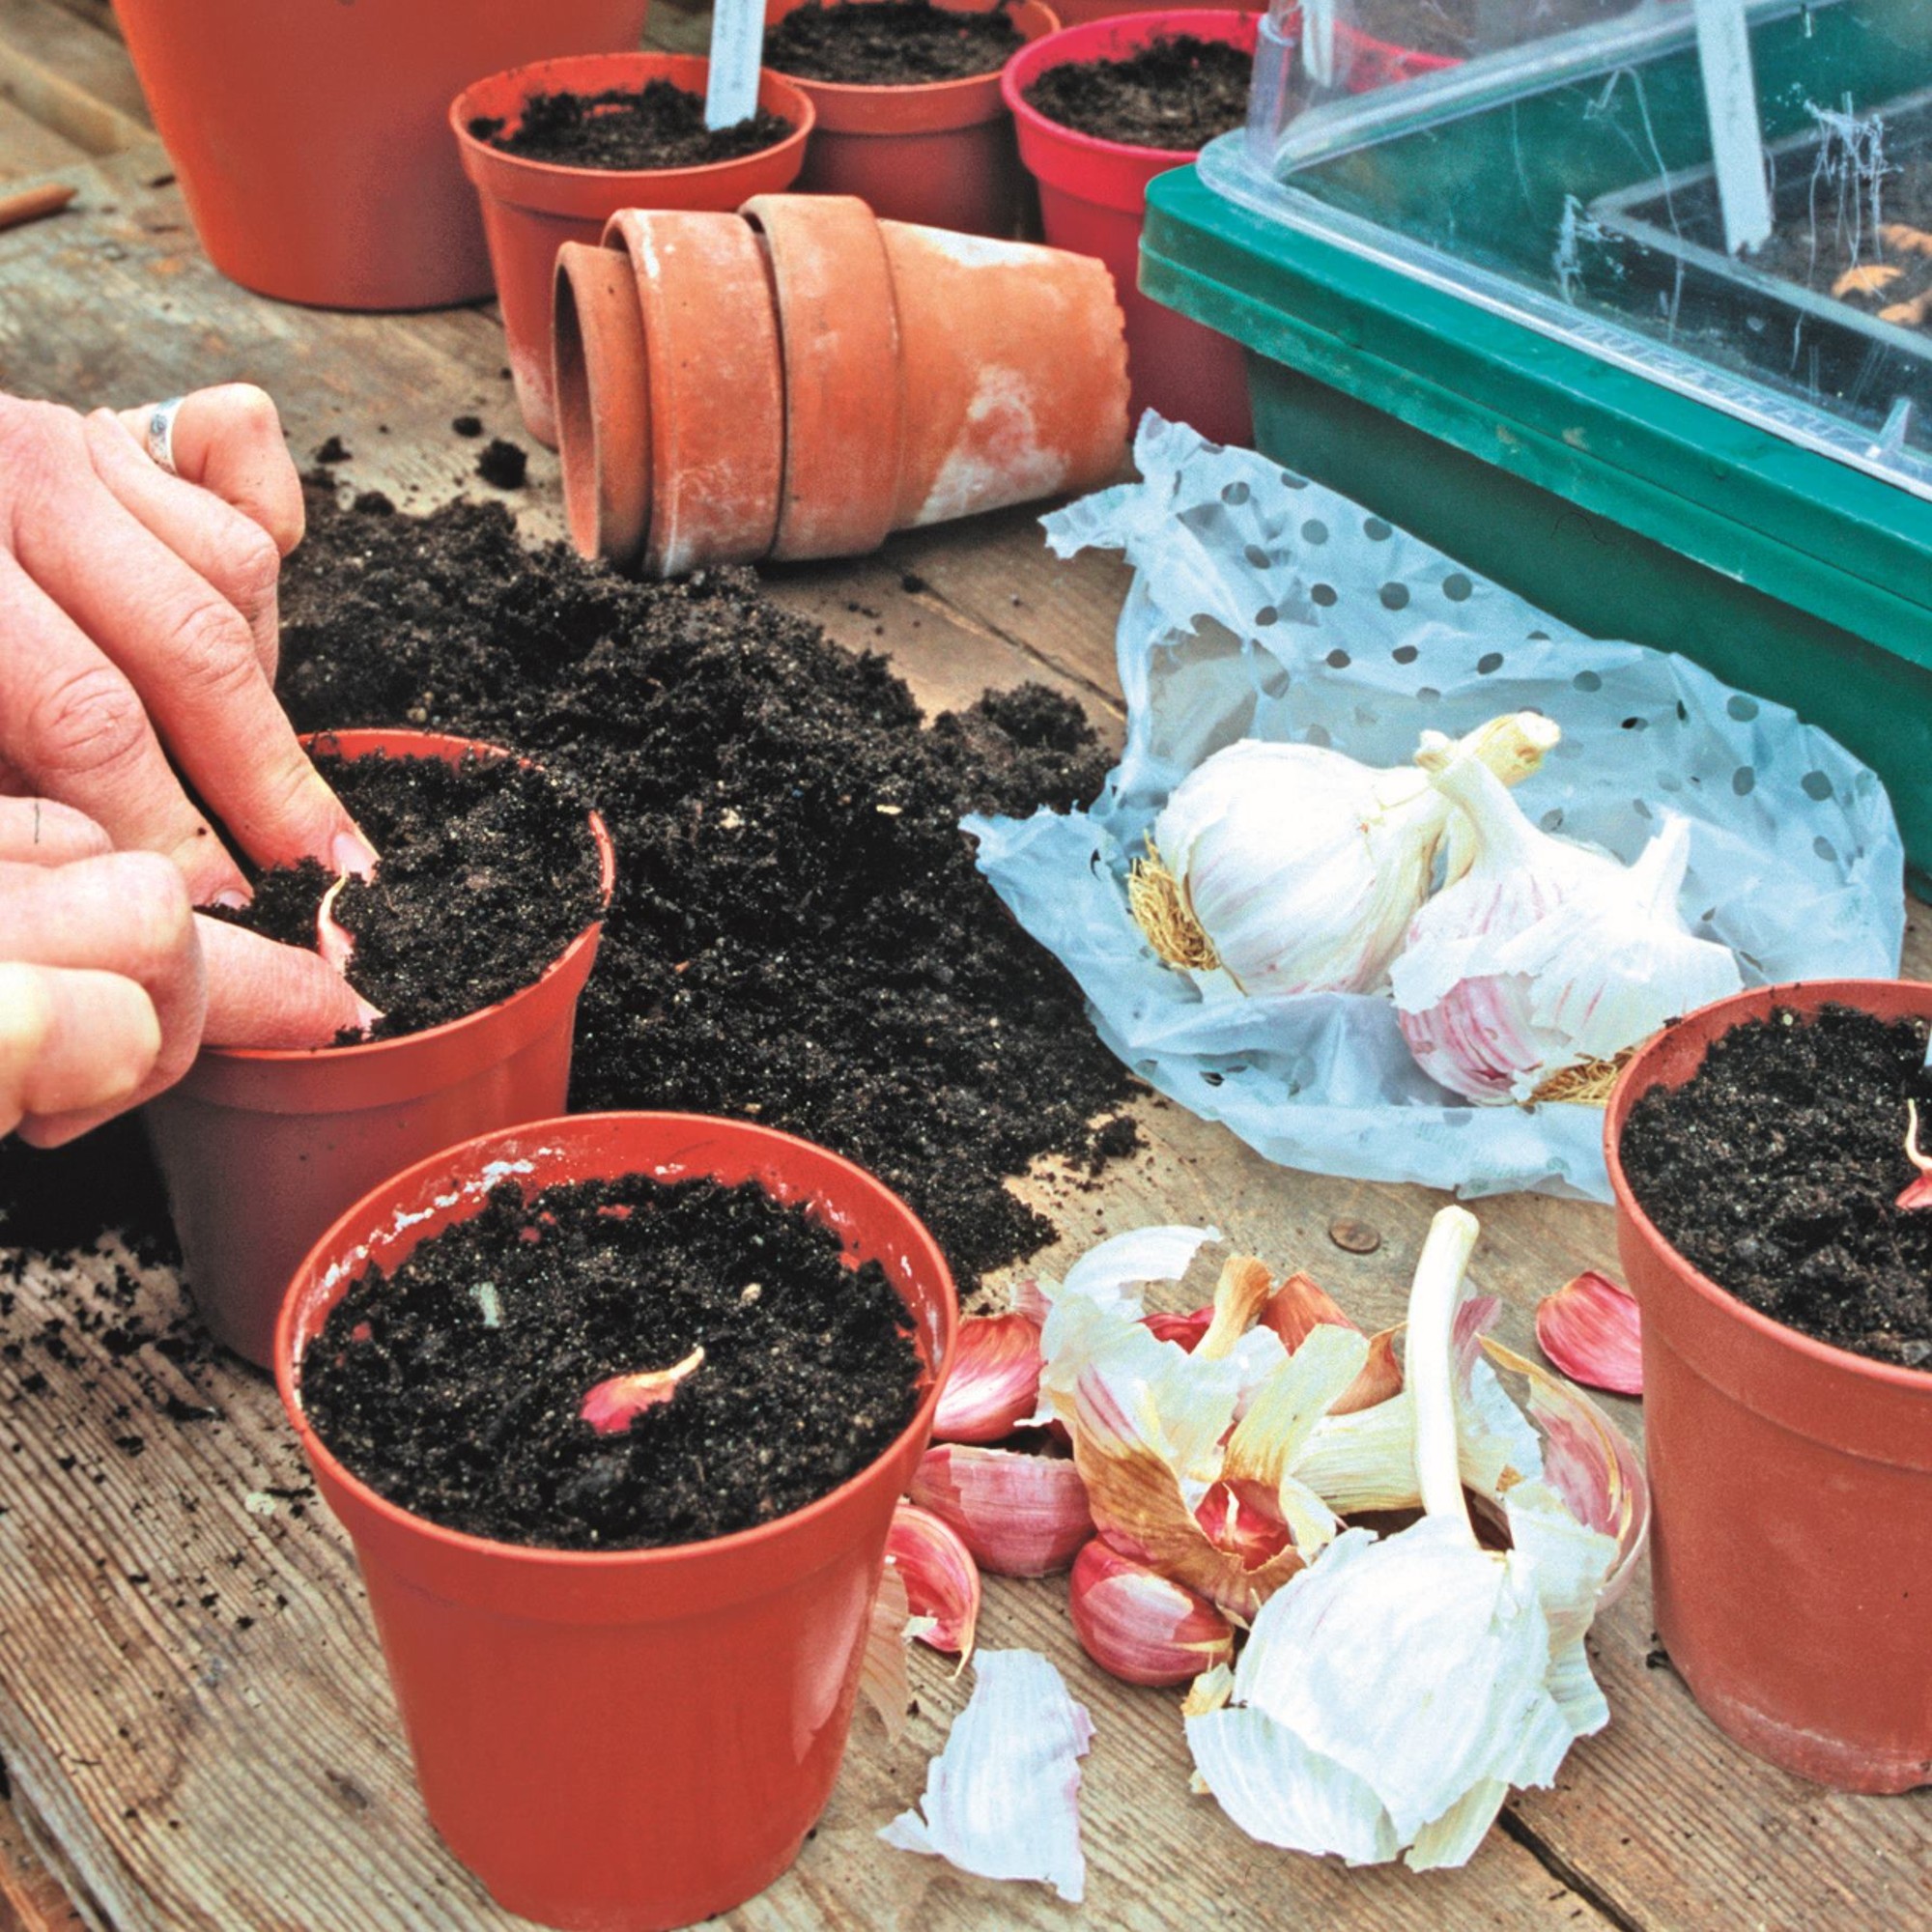
1. Choose a suitable pot
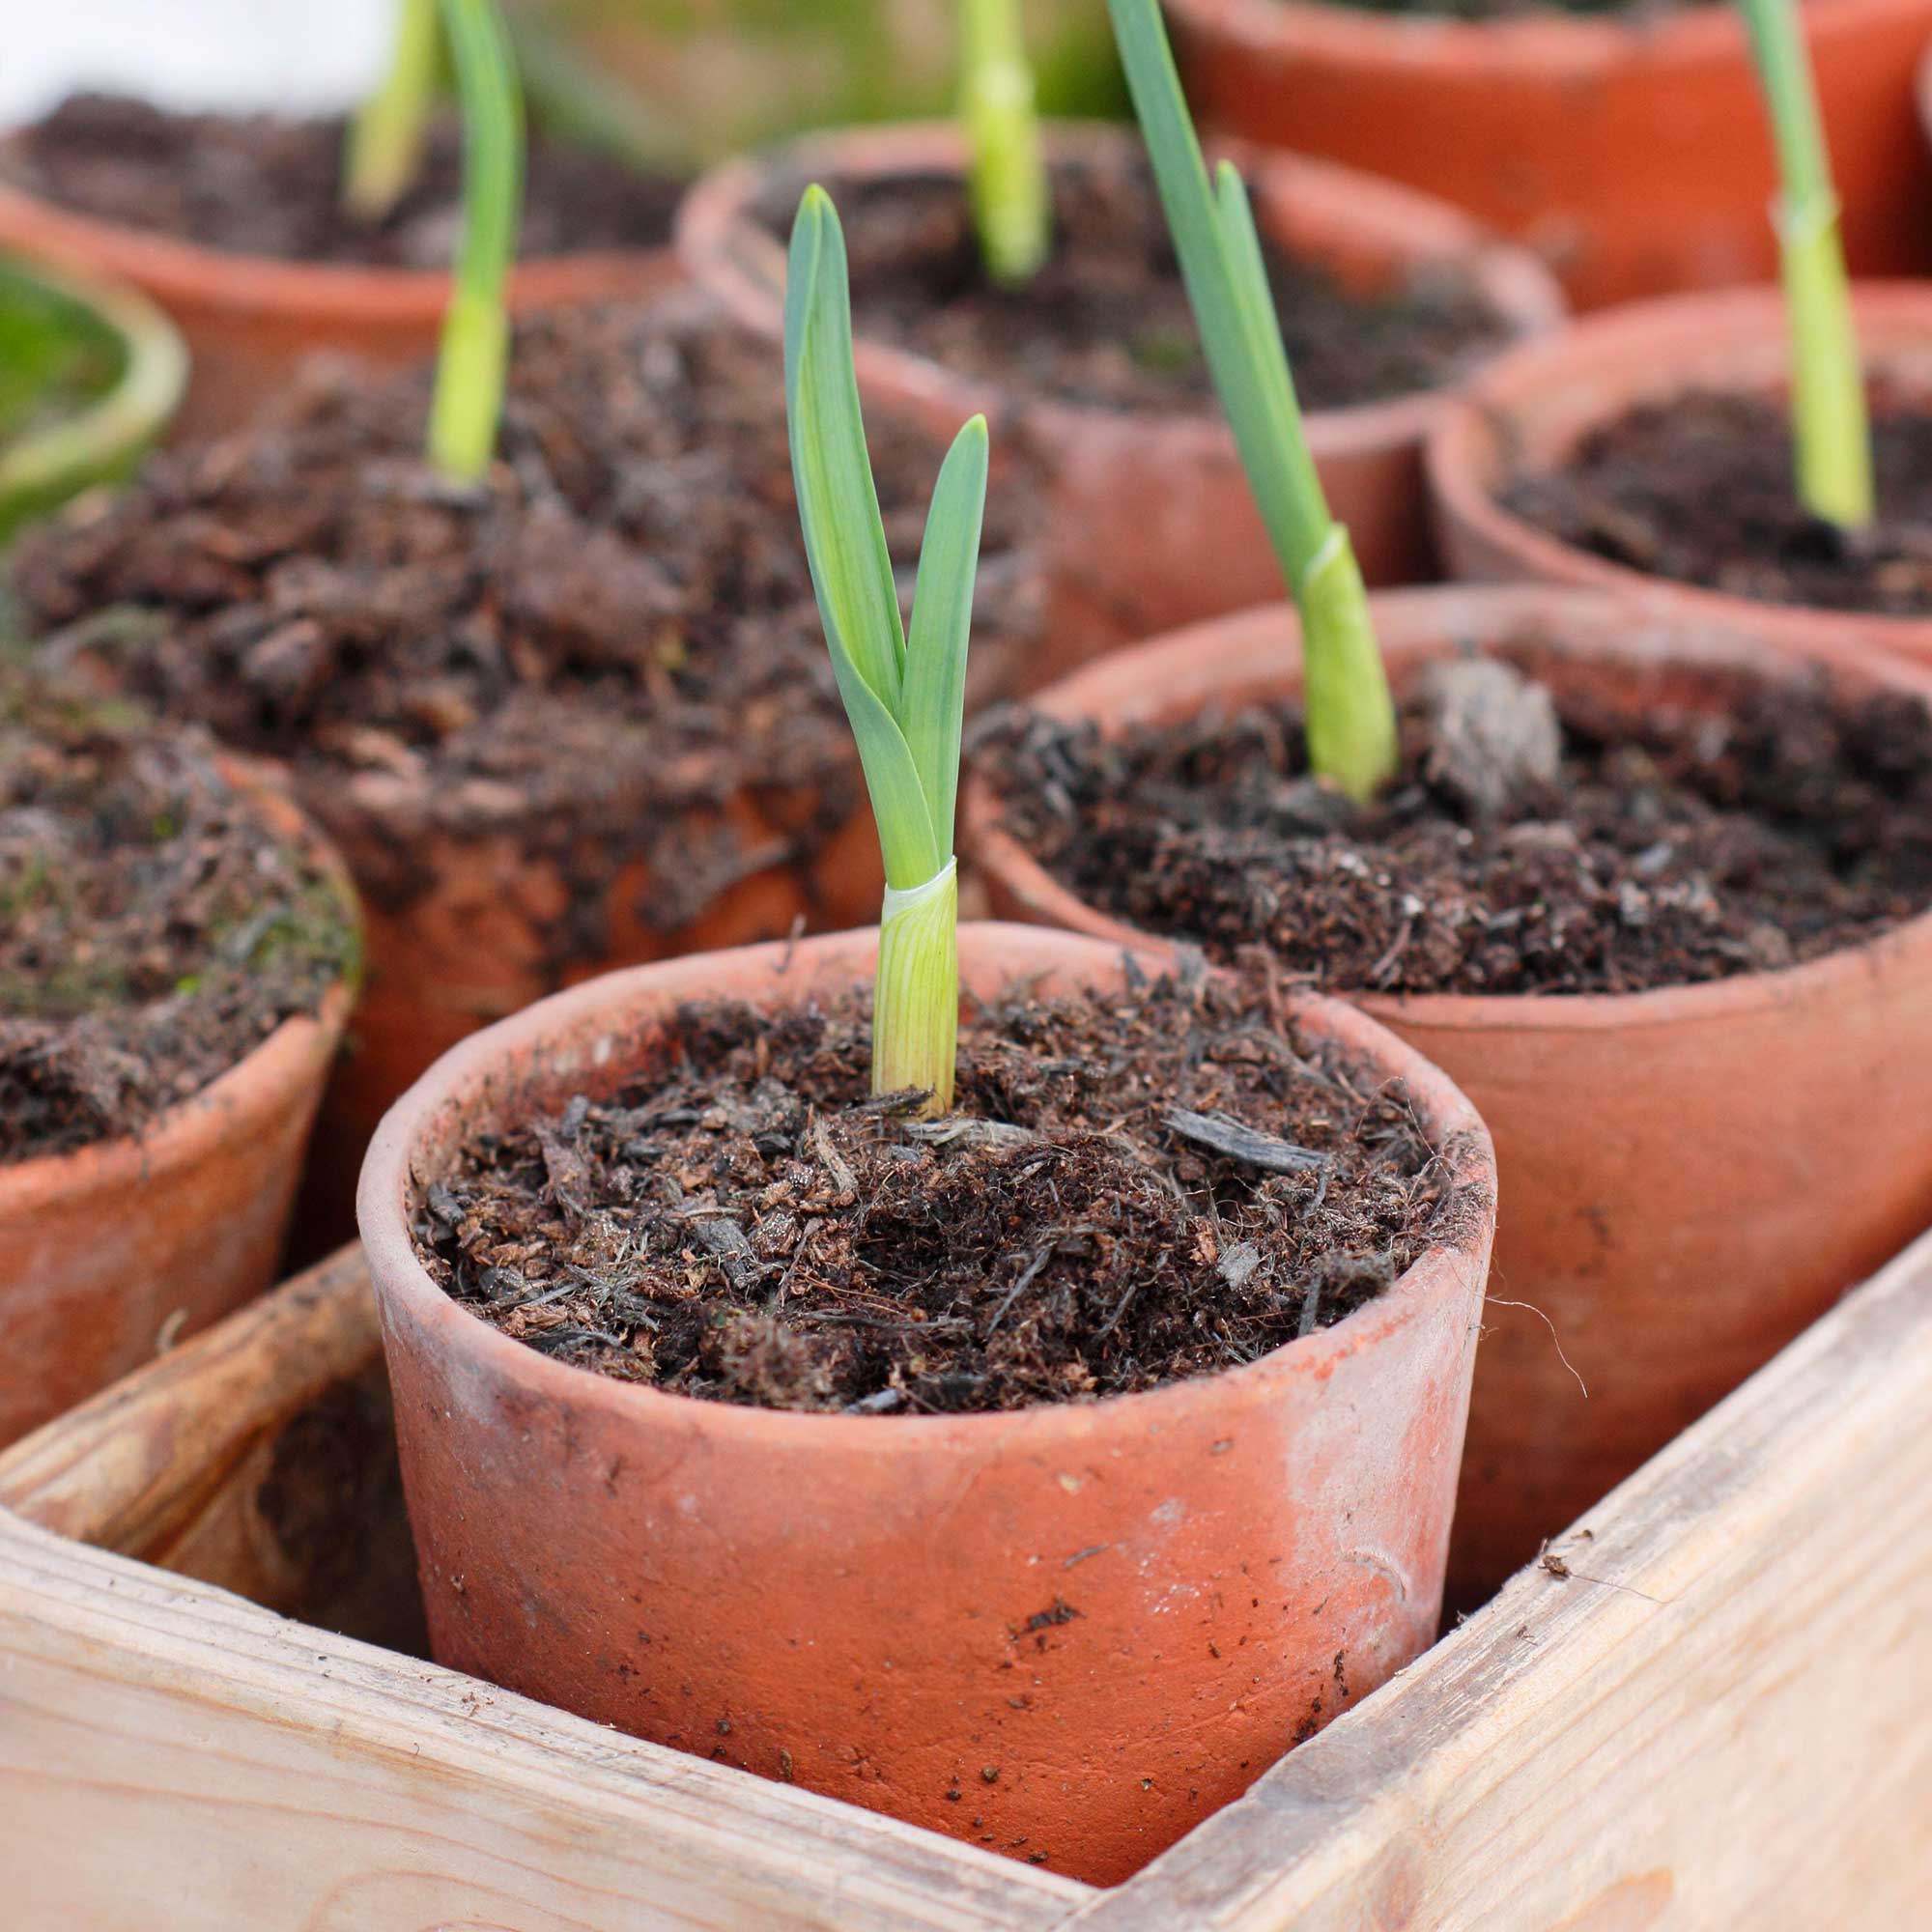
'Before planting your garlic cloves, it’s important to choose the right pot,' explains Daniel. 'It should be at least 20cm deep to allow ample room for the roots to grow. Typically you should plant three cloves in a 15cm pot; six in a 20cm pot, and eight to ten in a 25cm pot.'
'Our recommendation is to use a pot that is approximately 30cm deep and 2 to 3 feet wide,' adds Julian Palphramand, head of plants at British Garden Centres.
This means if you’ve only got a window ledge, balcony, or patio, you can still grow your own garlic in 15 cm pots.
'When growing just a small quantity of garlic, don’t be tempted to buy a gorgeous-looking, traditional terracotta pot – it might look good, but you’ll just be causing yourself extra work as the pot itself will soak in some of the water you’re providing for your garlic, so you’ll have to water more often,' cautions Lucie from Two Wests & Elliott.
'Plus, terracotta pots, when used outside, can crack during very cold weather because they have been absorbing water. So ideally choose a pot that is both frostproof and non-porous – such as recycled plastic, glazed ceramic, fibreglass and fibrestone.'
Make sure the pot has holes in the base to allow for good drainage. 'Without these, you could just be creating a mini "pond" in which the roots will drown, and you’ll get no garlic,' she adds.
Lucie's top tip for those concerned about losing compost through the holes in the base of the pot – particularly if you are growing garlic in pots indoors and don't want to create a mess – is rather than adding crocks to the base of the pot, which will use up valuable root space, to line the base with a piece of weed, fine net, newspaper or kitchen roll before adding the compost. 'This will still let the water drain through while not obstructing root growth.'
2. Add potting compost
'I’d recommend using a high-quality potting soil, mixed with compost if you have it available, plus some organic fertiliser to give the cloves the best chance of growing well,' says Daniel from Cultivar Greenhouses.
You can find quality general vegetable and potting compost at your local garden centre.
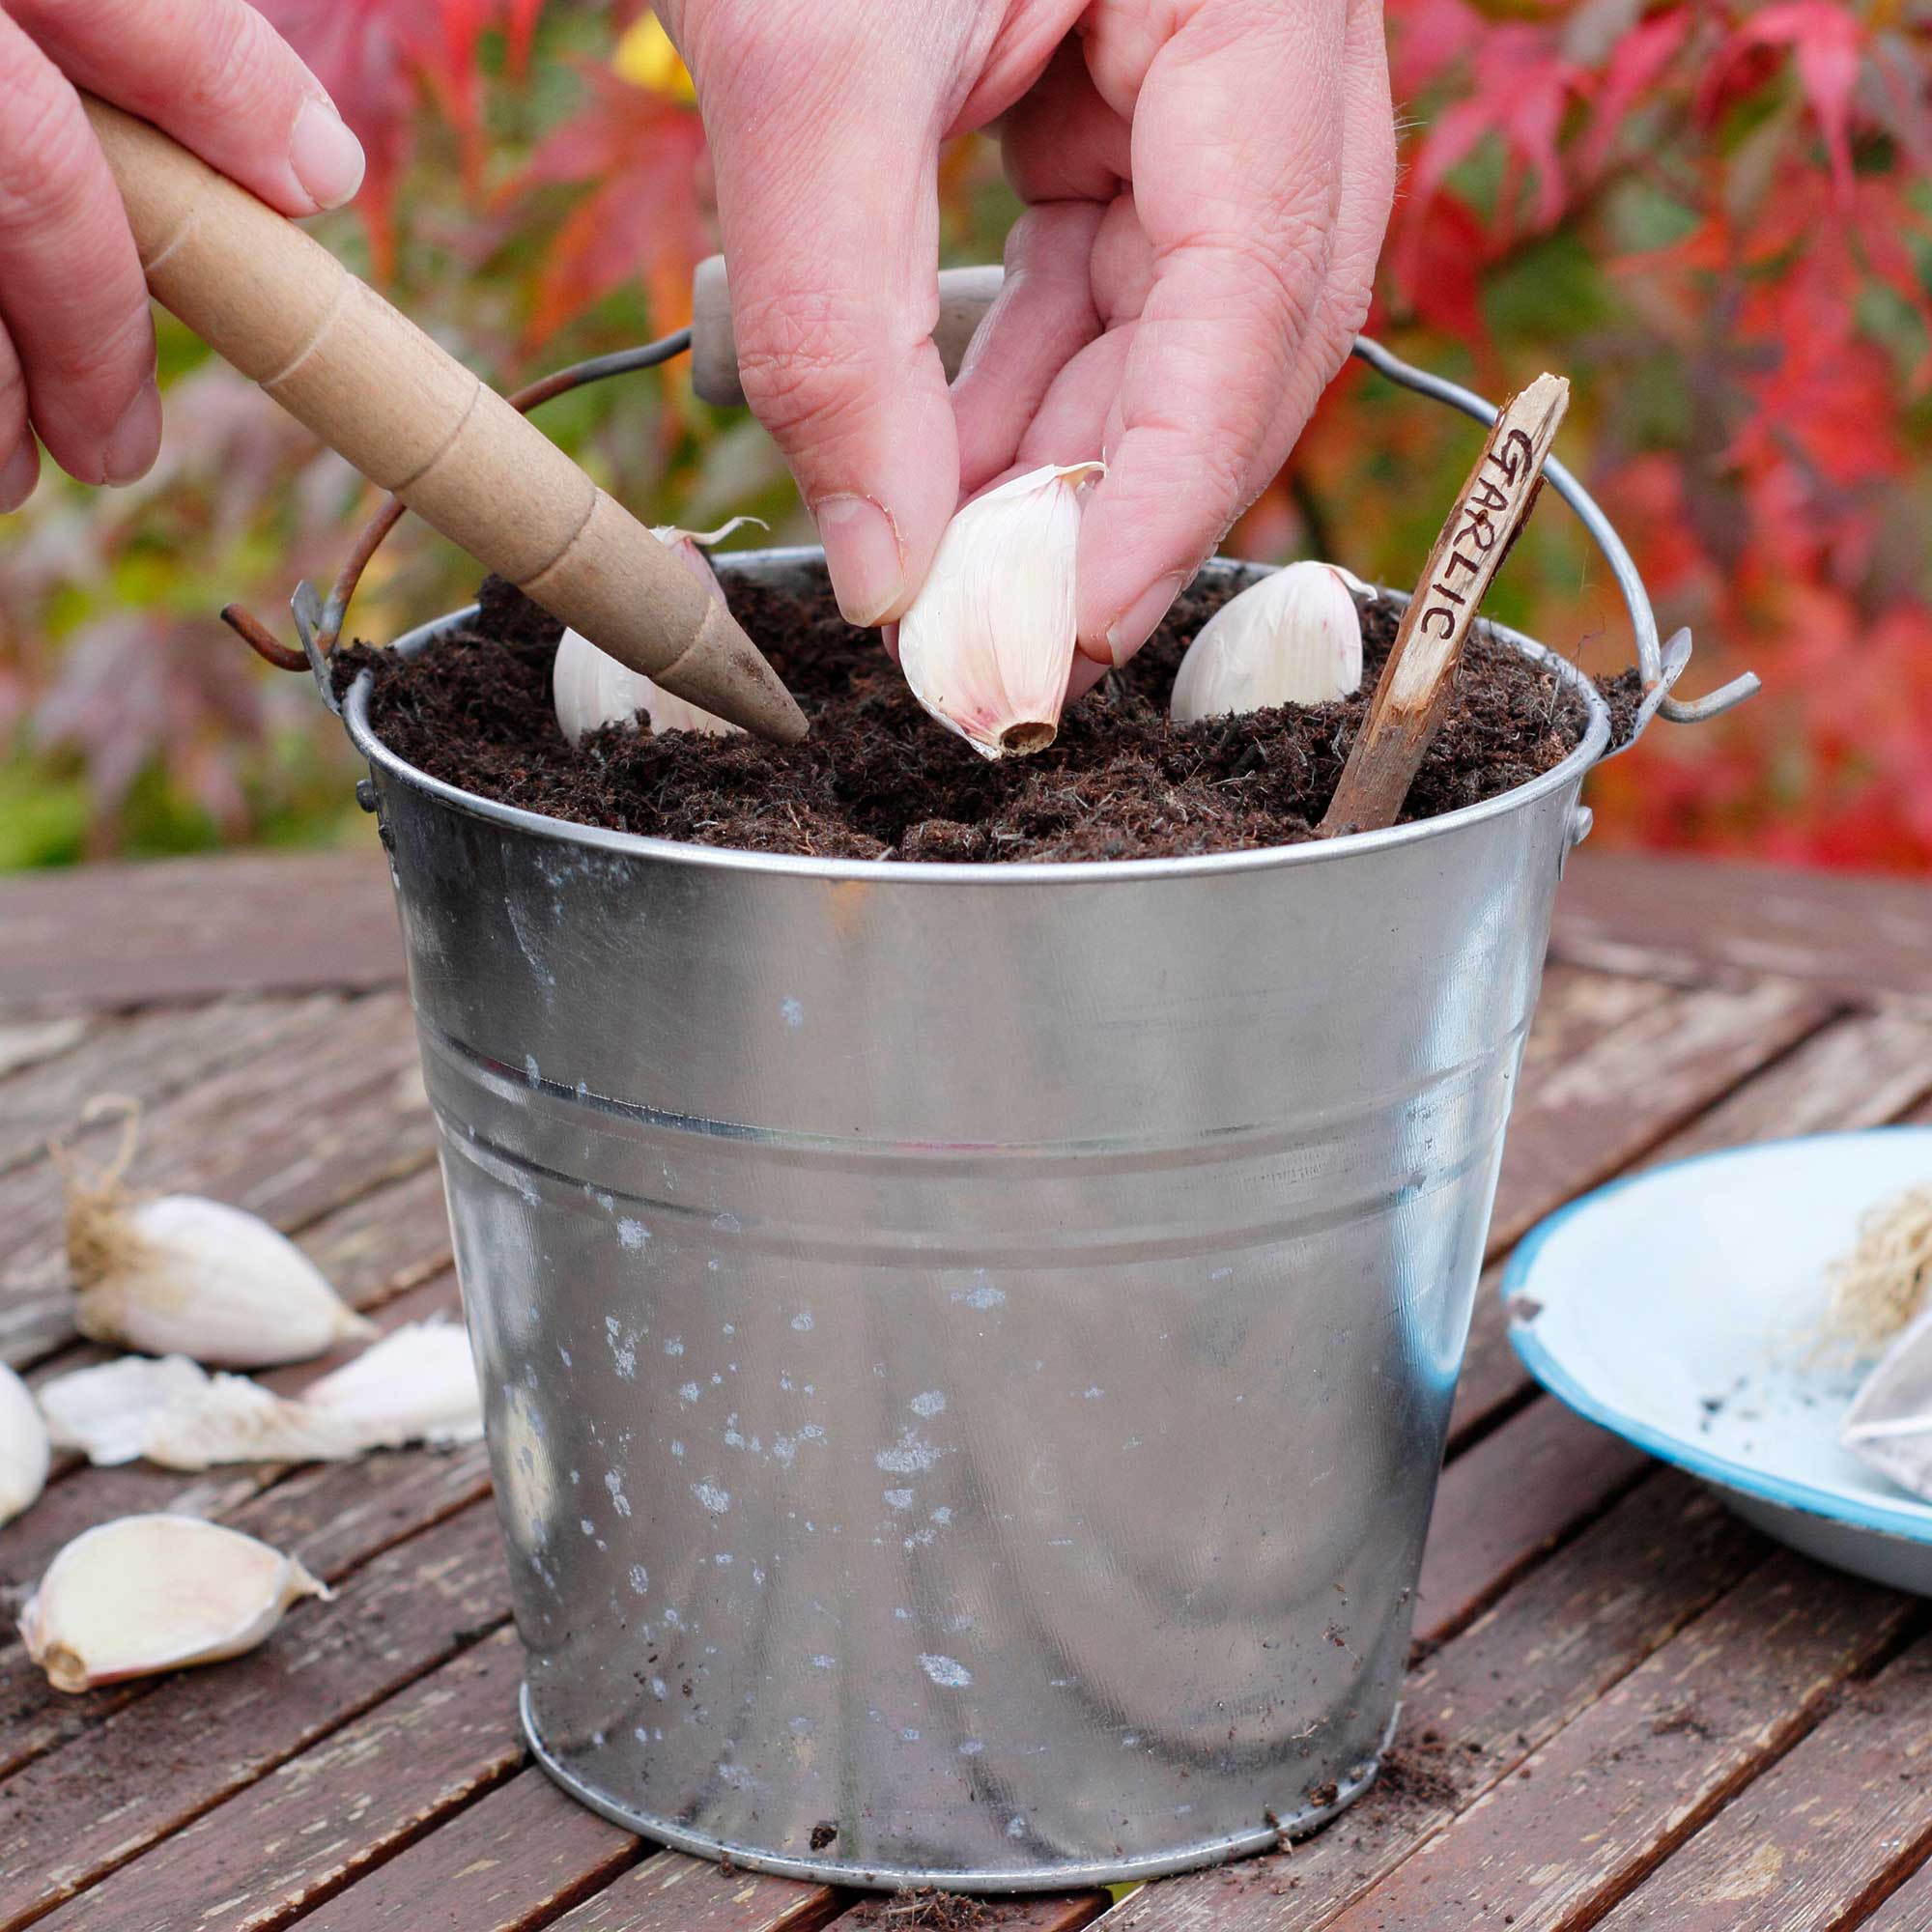
3. Plant the garlic bulb
Split your garlic head into cloves, choosing the largest, healthiest-looking ones to plant.
'Then plant at 10-15 cm spacing. Make sure the pointed end points upward when you push them into the soil, about 5 to 7cm deep,' explains Julian from British Garden Centres. Then cover them over with soil.
'There’s no need to use a trowel here – planting by hand works just as well. Space each clove so they have plenty of room to grow,' adds Daniel from Cultivar Greenhouses.
'If you don’t want to use your fingers to do this, simply use a dibber to make a hole, drop in the clove so that it’s still pointing upwards, and cover it over,' adds Lucie Bradley.
4. Water well and mulch if necessary
Once the cloves are in place, water the pot well. Watering regularly throughout the garlic’s entire growing lifecycle is essential.
If you're growing the garlic in pots outdoors through the winter months, you can add mulch to the top of the pot for added insulation. 'Alternatively you could wrap some bubble wrap around the pot if temperatures fall really low – just to protect the cloves from freezing,' advises Lucie.
5. Position the pot
'Place the pot in a warm, sunny spot, such as a greenhouse, to get them off to the best possible start,' says Daniel.
This should ideally be a spot where the pot is going to catch the sunshine for at least six hours a day.
If you are growing your garlic indoors in a pot, place it on a sunny windowsill.
6. Harvest and store

'In time tiny green shoots will emerge from the soil, which will grow and begin to turn yellow. When they are around 50 per cent yellow, now is your time to harvest,' says Daniel. 'Unearth the full heads of garlic, ready for tasty dishes – and of course, you could use some cloves to begin the whole process again!'
Spring-planted bulbs should be harvested between late summer and early autumn.
'Once bulbs have been lifted, let them dry in a light, airy area. Their outer skins will rustle when they are fully dry. Make sure you store it in a cool place until you need it,' adds Julian.
Growing garlic in pots FAQs
Can you plant supermarket garlic?
'If you're wondering if can you grow garlic you buy from a supermarket, the simple answer is yes... but we don’t recommend it,' says Lucie from Two Wests & Elliott.
'And one of the reasons we don’t is simply that there are so many varieties of garlic available to grow – way more types than you see in your supermarket – so if you’re spending time growing it yourself, why not try some of the other varieties?'
When should I lift garlic?
If you're wondering when should you lift garlic, 'as soon as the foliage starts to turn yellow and wither, the garlic is ready to be lifted,' says Julian of British Garden Centres.