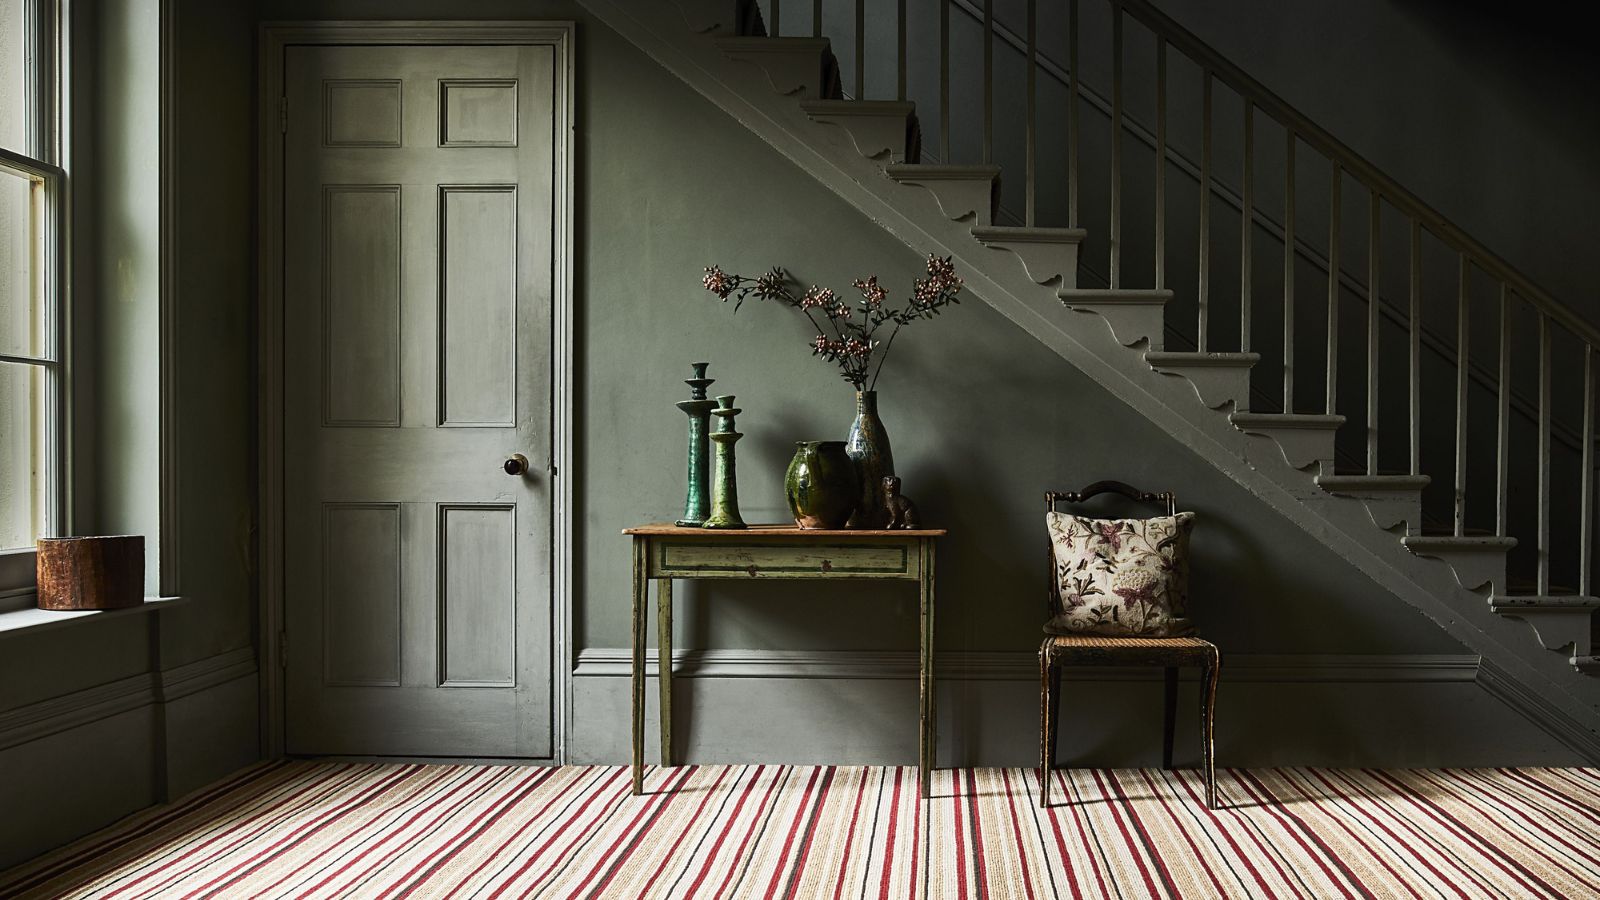
A ripped carpet can be unsightly and pose a safety hazard, but replacing the whole thing may be costly and unnecessary. Luckily, you can repair a carpet tear yourself in just a few simple steps.
Dealing with a ripped carpet might seem an impossible task, but fear not; fixing this problem can be surprisingly simple. Whether the damage is due to wear and tear or an accidental snag, there are several methods you can employ to restore your carpets' appearance and functionality.
Our experts explained some effective techniques for fixing a ripped carpet, helping you to seamlessly mend the tear and prolong the lifespan of your flooring.
How to fix ripped carpet
Before diving into the repair process, assess the extent of the damage. This will help you decide which repair method is most suitable.
'Identify where the rip or tear is located and how big it is. For minor tears, simple DIY solutions may suffice,' says home expert and Co-Founder of SD House Guys, Alex Capozzolo. 'However, larger or more complex damage may require professional assistance or for you to replace that section of carpet entirely.'
For manageable rips, follow the steps below to repair your carpet:
What you will need

- A utility or carpet knife
- A straight edge or ruler
- A measuring tape
- For smaller rips: Carpet adhesive (tape or glue)
- For larger rips: Carpet seam tape
- A carpet seam roller (optional)
- Heavy objects (such as books or weights)
1. Clean and trim the rip
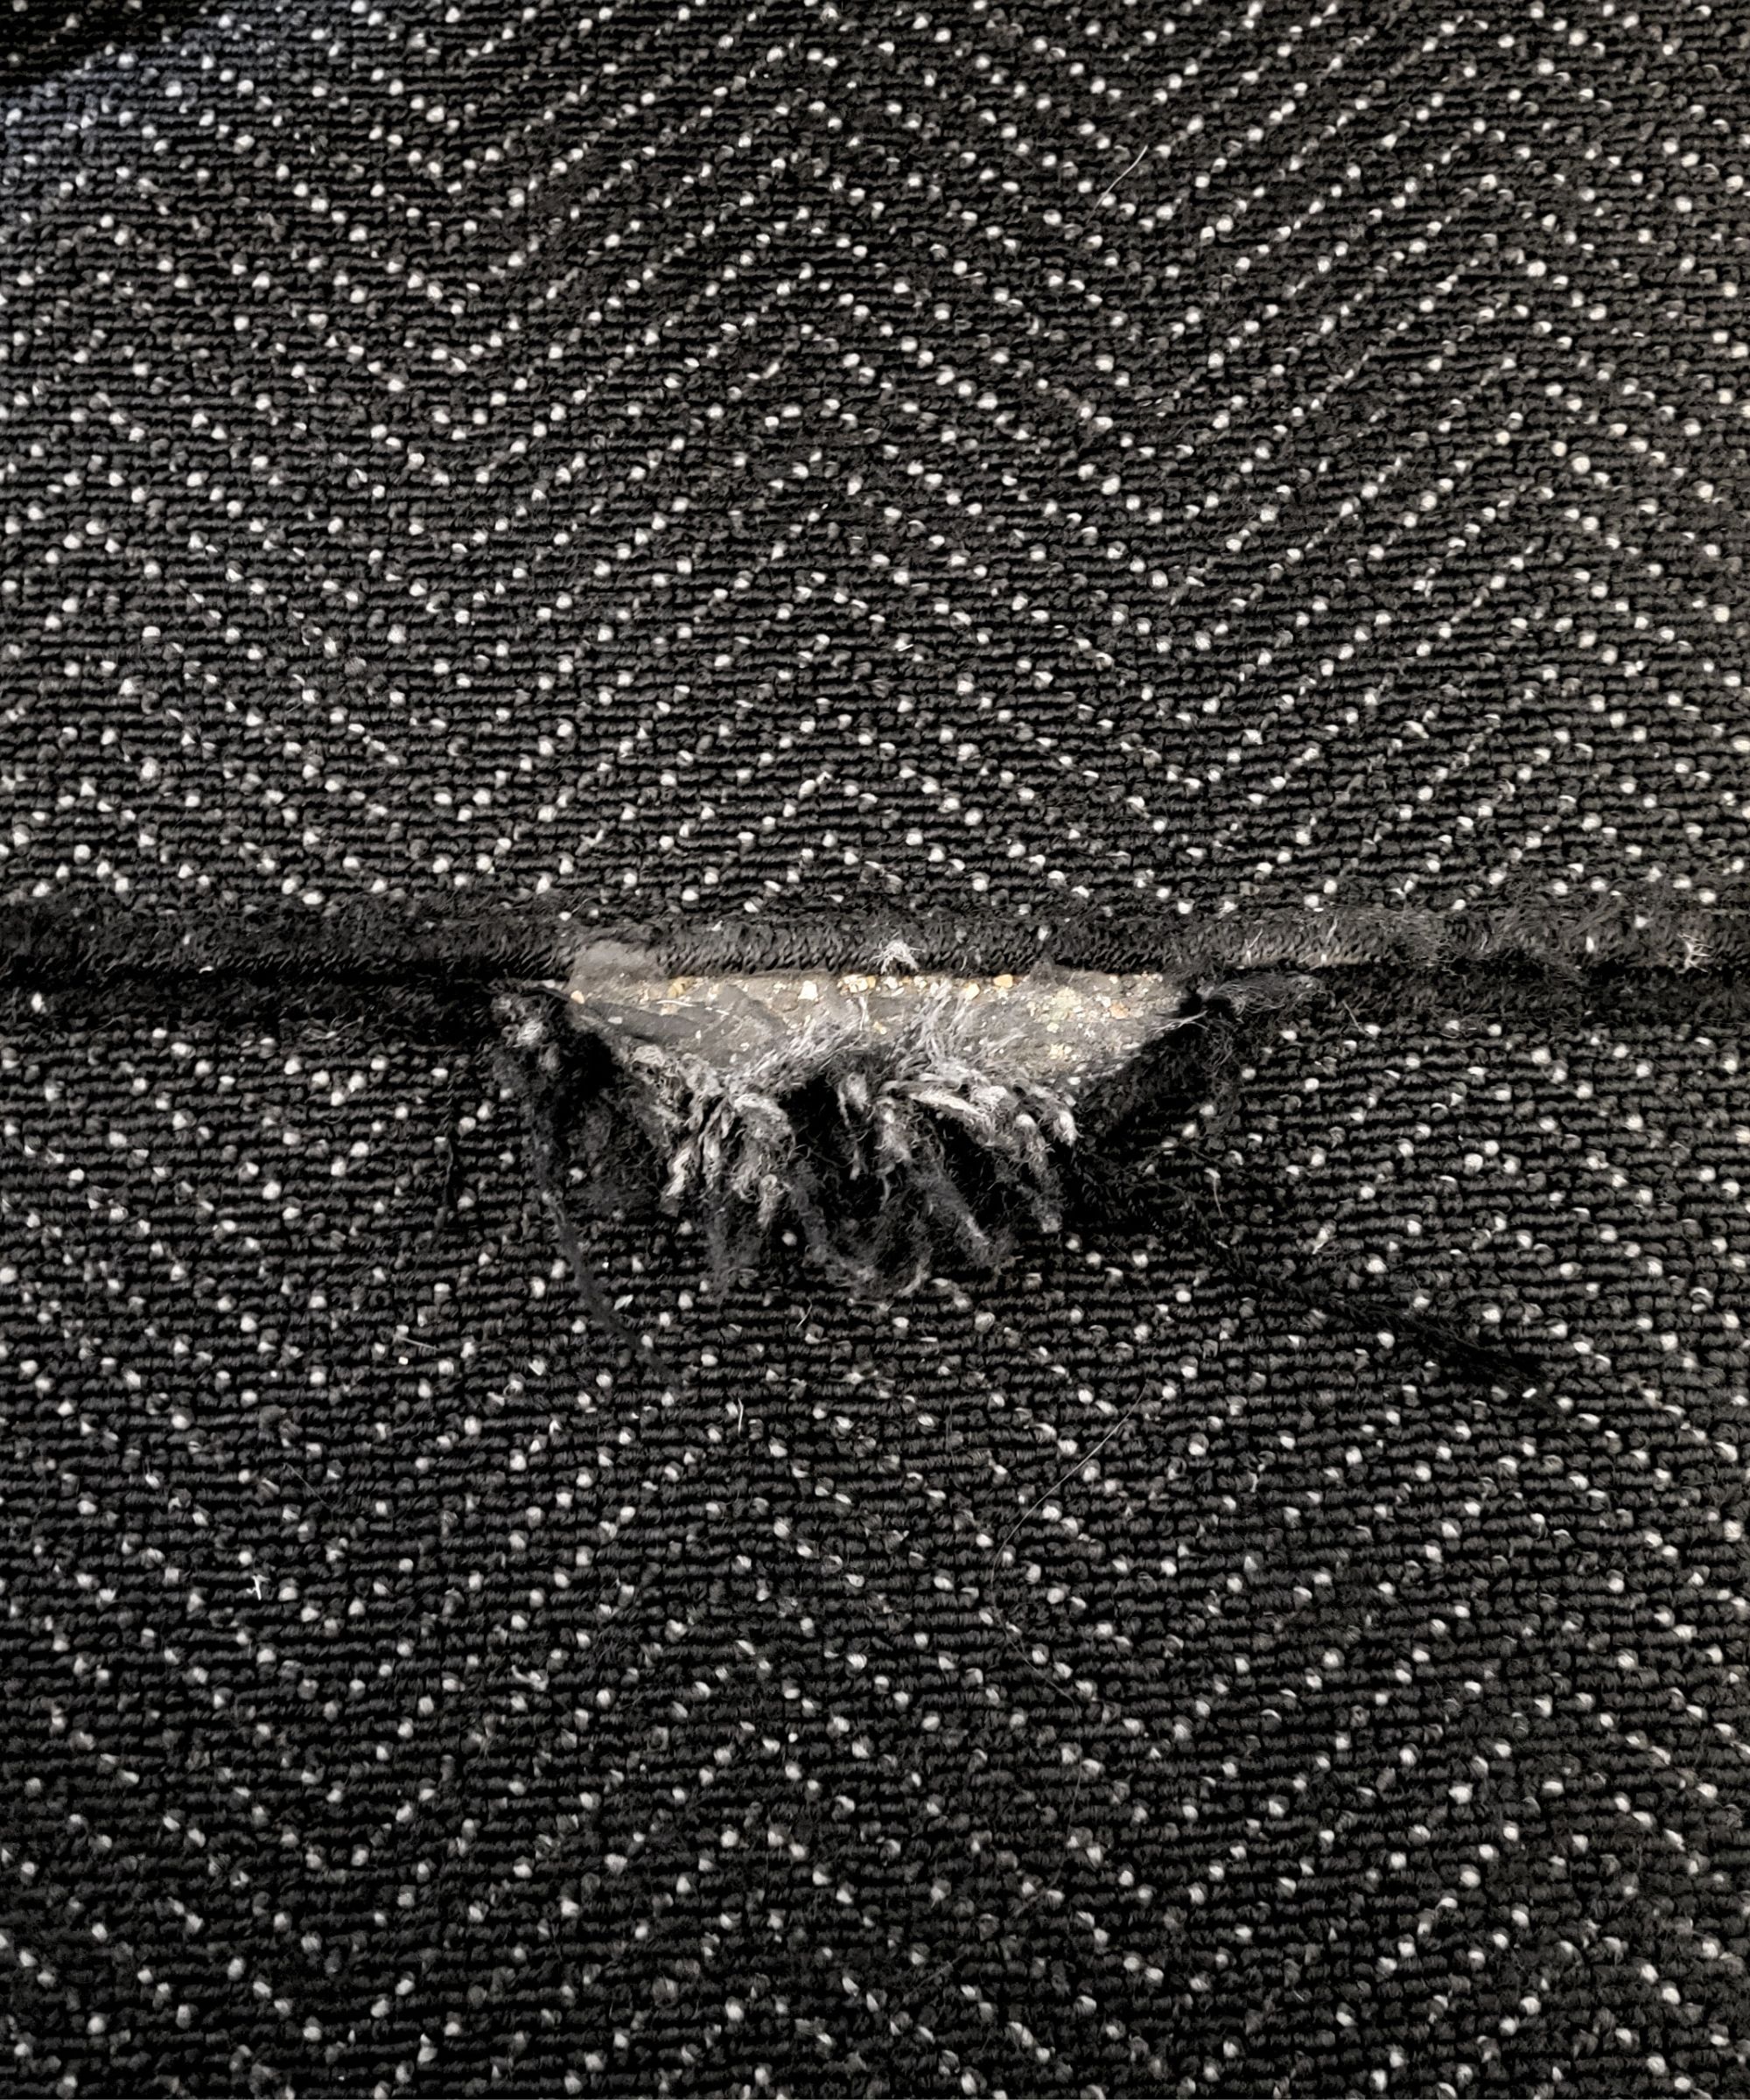
Begin by deep cleaning your carpet and trimming any loose fibers or frayed edges around the torn area.
'Create straight edges along the sides of the rip using a ruler or straight edge and a carpet knife,' advises Gabriella Dyson, Head of Solved at Homes & Gardens. 'Ensuring the edges are clean and even will make it easier for the patch or replacement piece to blend in seamlessly.'
These KATA 2-pack carpet knives from Walmart are a best seller.
2. Apply adhesive to the ripped area

'Depending on the size of the rip, you can either use adhesive or carpet seam tape to fix it,' says Alex Capozzolo.
Use adhesive or carpet tape for small rips
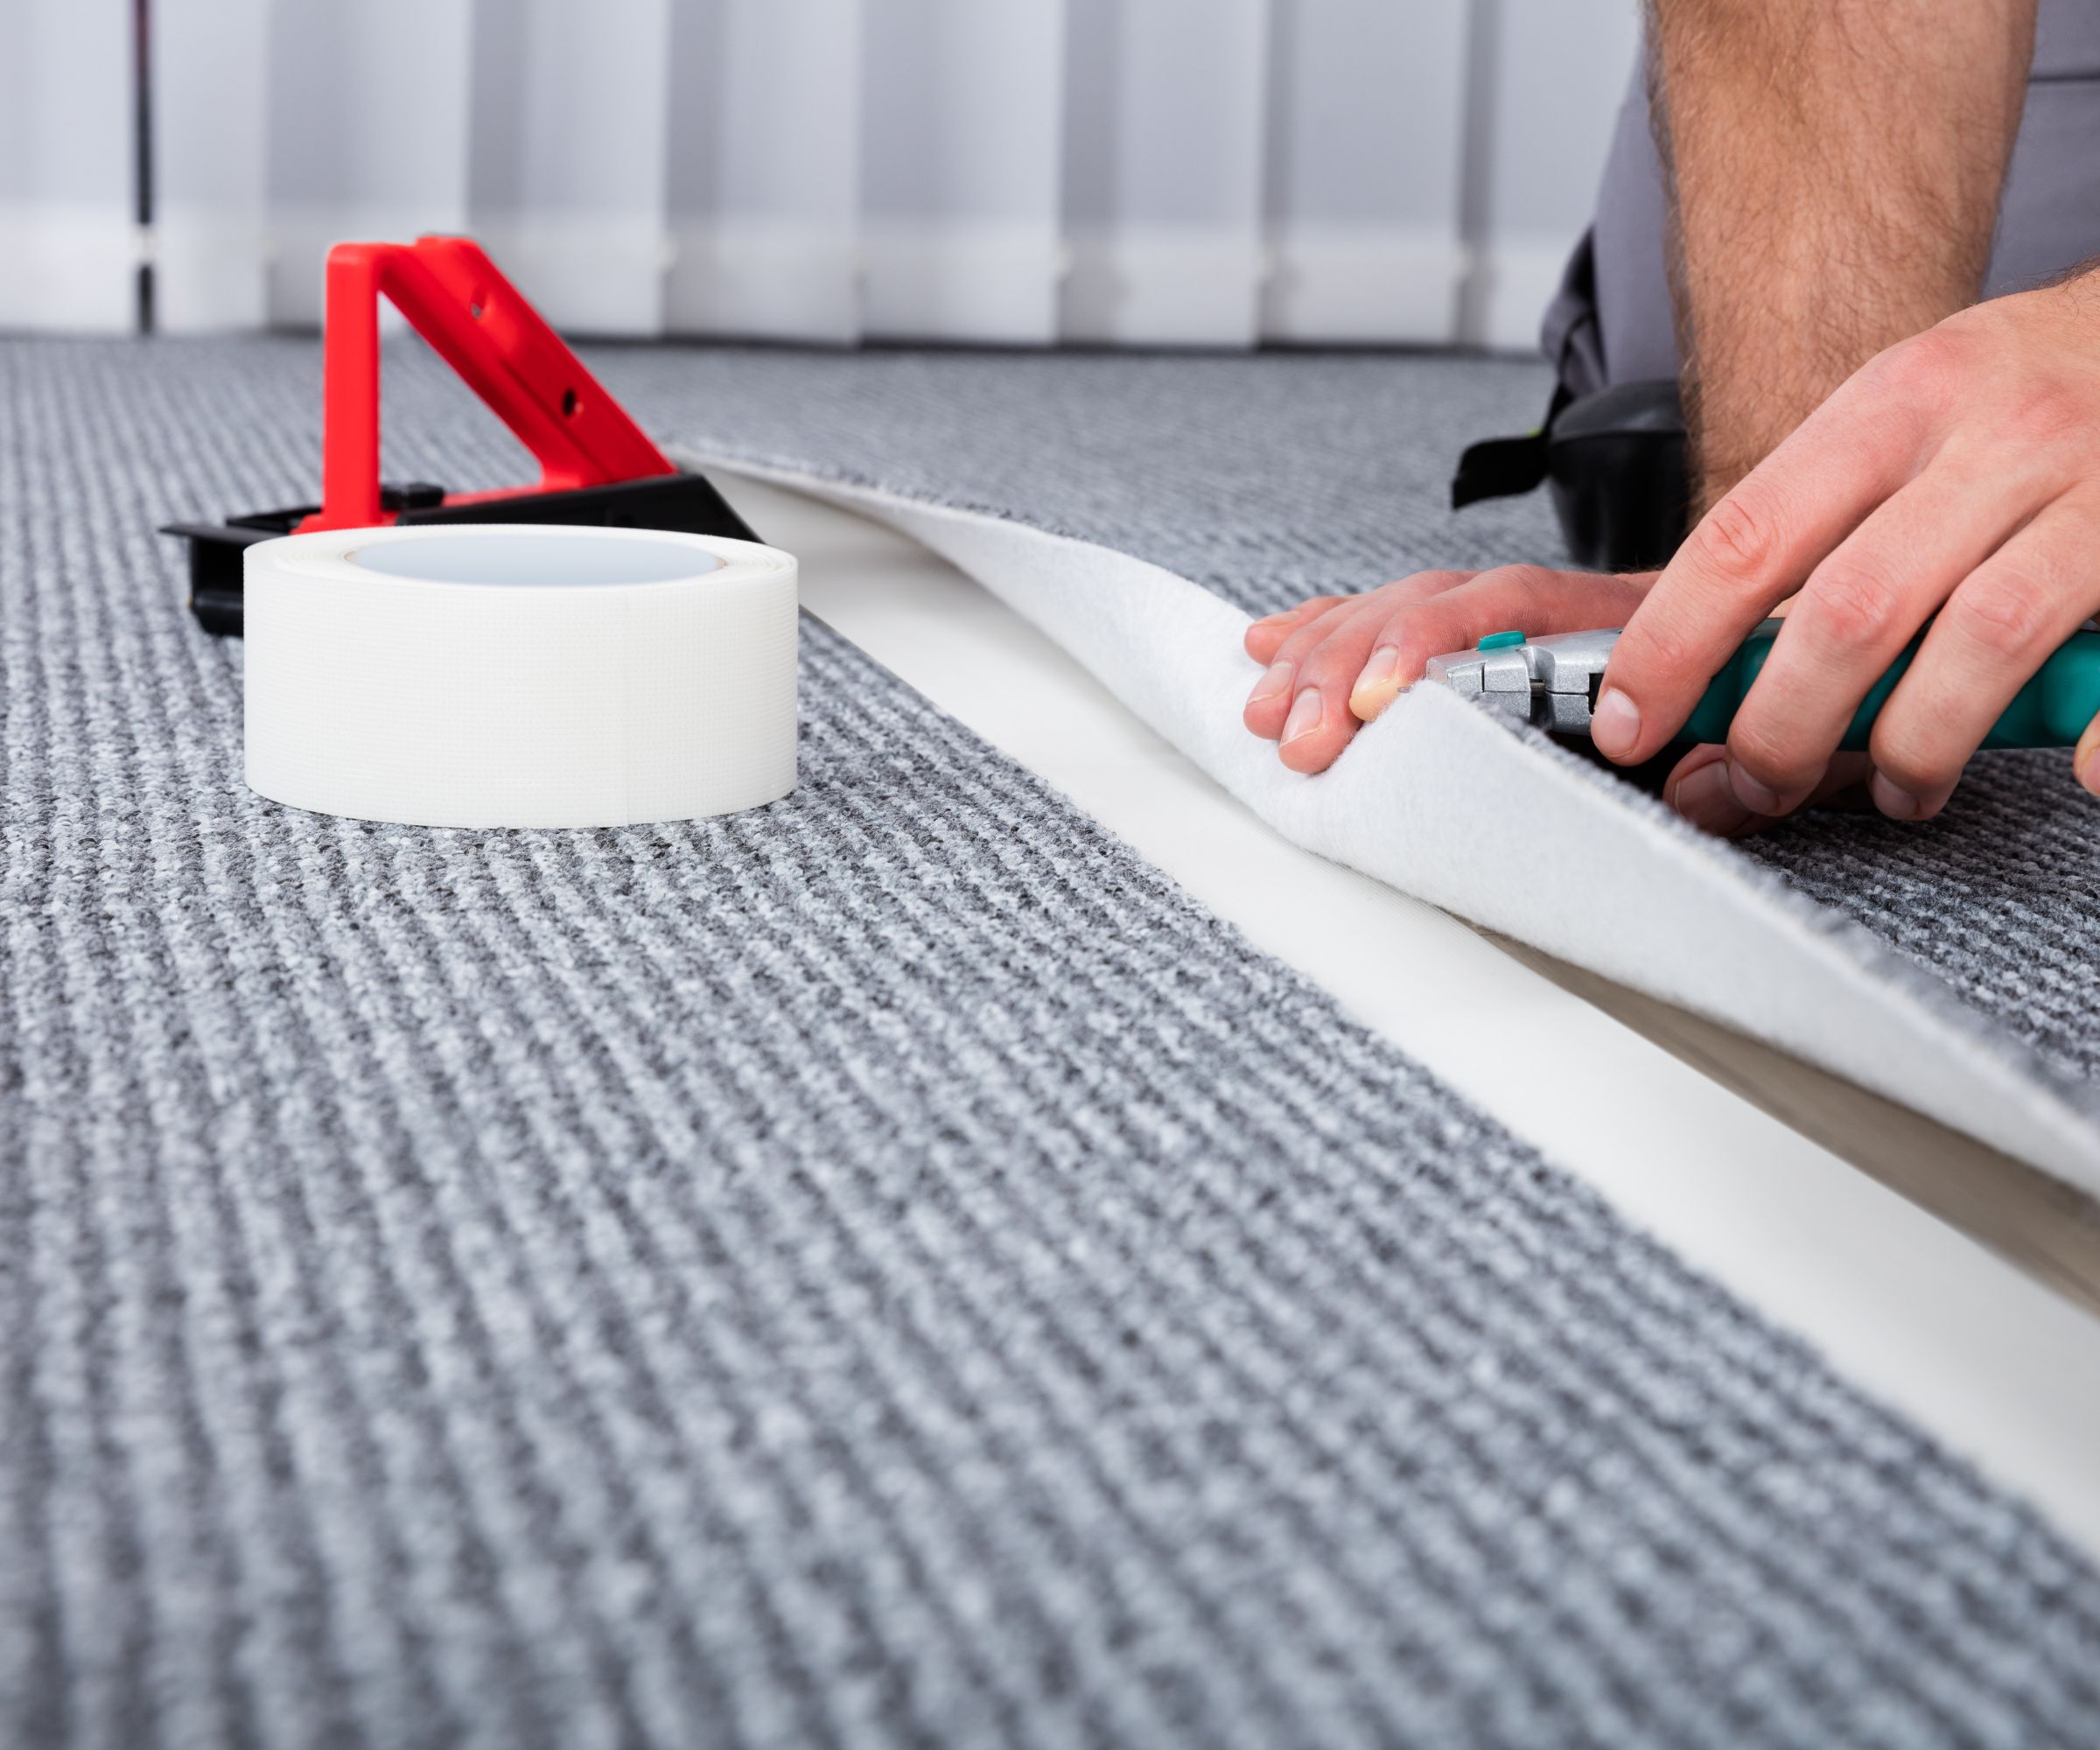
'For smaller rips, you can apply a thin layer of adhesive along the edges of the rip and press them together firmly,' says Alex Capozzolo. 'Alternatively, you can apply the adhesive or carpet tape to the subfloor or backing material beneath the torn area.
'If you are using adhesive, follow the instructions on the product to prepare it for use. Some adhesives may require mixing with water or heating up before application.'
Use a sufficient amount of adhesive to ensure a secure bond. If you are using carpet tape, cut out a strip long enough to secure the ripped parts of the carpet. You can use the measuring tape to do this.
Use seam tape for larger rips

For larger rips, place a strip of carpet seam tape underneath the ripped edges and press them down onto the tape to secure it in place.
We recommend using this TradeUnderlay gel double-sided carpet joining tape from Amazon since it requires no heat for adhesion. However, if you have chosen heat-activated carpet tape, you will need to use a seam iron, like this one, from Amazon to bind the tape to the carpet.
If you use the heat-activated tape, Kerry Sherin, home expert and consumer advocate at Ownerly instructs:
1. Plug the seam iron into the heat source.
2. Then, cut a piece of heat-activated tape to the length of the rip.
3. Align the edges carefully and secure the edges tightly by placing the tape under the seam.
4. Then, use a carpet seam roller to apply pressure along the repaired seam, ensuring a secure bond.
'Start the first length of tape at the seam's bottom edge to heat it. Press the seam edges down as you move the iron to the next piece. Press the edges of the seam into the heated tape by moving the iron up 8 inches after 30 seconds.'
Keep heating the seam length while resting the iron on a safe base to avoid burning.
3. Apply pressure

'To ensure that the adhesive or tape bonds well with the carpet, place heavy objects on top of the repaired area,' recommends Alex Capozzolo. 'This will prevent any movement or lifting while it dries.'
You can use anything from weights or books to a coffee table.
4. Allow it to dry

Allow the adhesive to dry completely according to the manufacturer's instructions before walking on or vacuuming the repaired area. This will usually take an average of 24 - 48 hours, in which time you can leave the weight on the rip to continue to secure the bond of the adhesion.
5. Fluff and blend the carpet

Once the repair is dry, use a carpet brush or your fingers to fluff up the fibers around the repaired area. This will help blend the repair into the surrounding carpet and, with any luck, hide any evidence that there was ever a rip.
You can gently use this carpet restoration rake from Amazon and this soft SUGARDAY brush from Walmart. Also, if necessary, trim any excess fibers for a seamless finish.
Remember, while this is a task you can DIY, if the damage is extensive or if you're unsure about tackling the repair yourself, consider consulting a professional carpet repair service for assistance to avoid causing further damage to your carpet.