This is an archived Laptop Mag article. With the end of Windows 10 support set for October 14, 2025, you can keep up with the latest about Windows 11 with our special coverage.
Telnet, or “teletype network,” was launched before Microsoft even opened its doors. It uses a command-line interface to allow users to access or control remote networks. Its age shows in the fact that it is disabled by default on most computers. However, it’s not exactly obsolete.
Back in the day, users employed Telnet to test for connectivity issues. These days it still has a handful of uses, but better options are available for those looking for more than nostalgia.
Since it is disabled by default, you’ll need to enable it before you can start using the program. Windows 11 makes this fairly straightforward, and we’ll walk you through the steps today.
But before you enable Telnet on your Windows 11 PC, you’ll first need to recognize the risks. Telnet should be avoided on any open network if you're not an advanced user. Unlike the newer Secure Shell Protocol (SSH), you’ll lack security features that help keep your network safe.
Enable and use Telnet on your Windows 11 PC
1. Open the Control Panel by pressing Windows + R, typing “control”, and pressing enter.
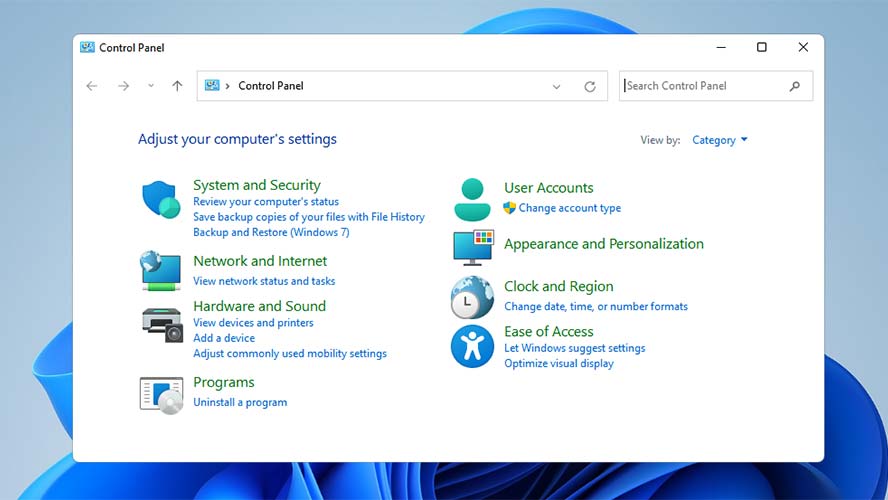
2. In the Control Panel window, click on Programs.

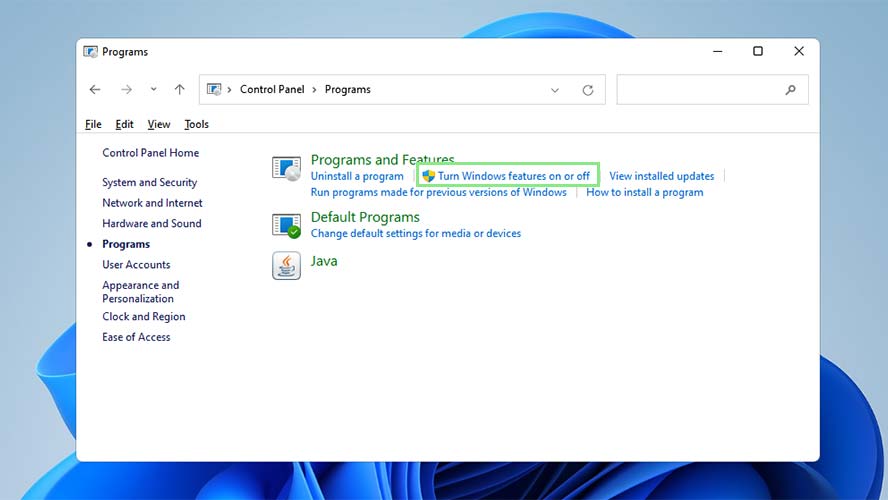
3. On the next screen, click “Turn Windows features on and off” under the Programs and Features section. This action will open a small window with a list of Windows features.

4. Scroll down to find Telnet Client and tick the box beside the Telnet Client.
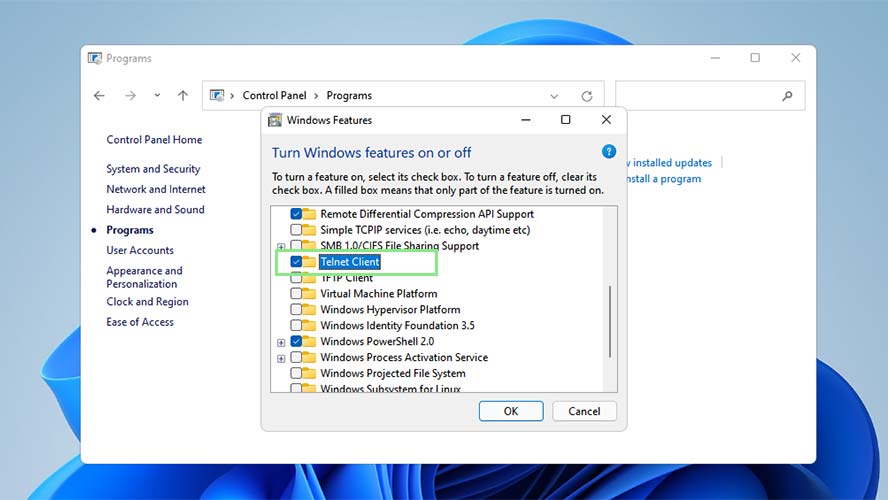
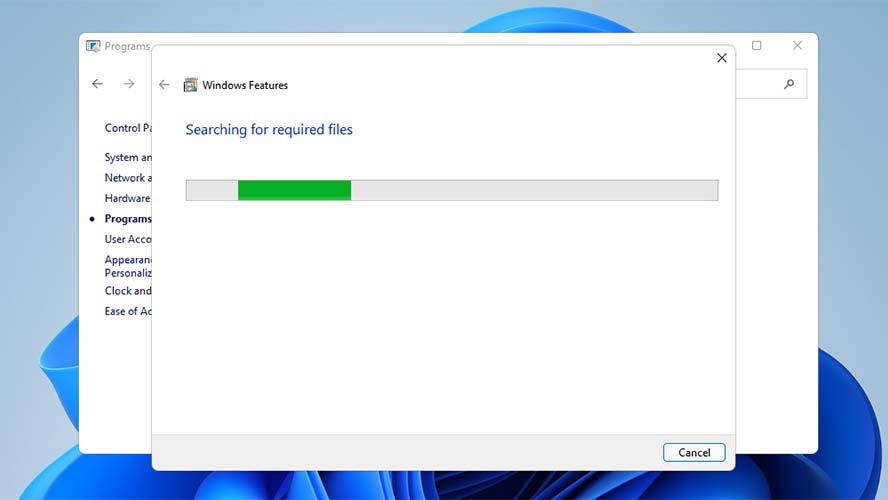
5. Click Ok. Another window will appear where you will see a loading bar as Windows search for the necessary files. Once installed, another window appears stating that “Windows completed the requested changes.”

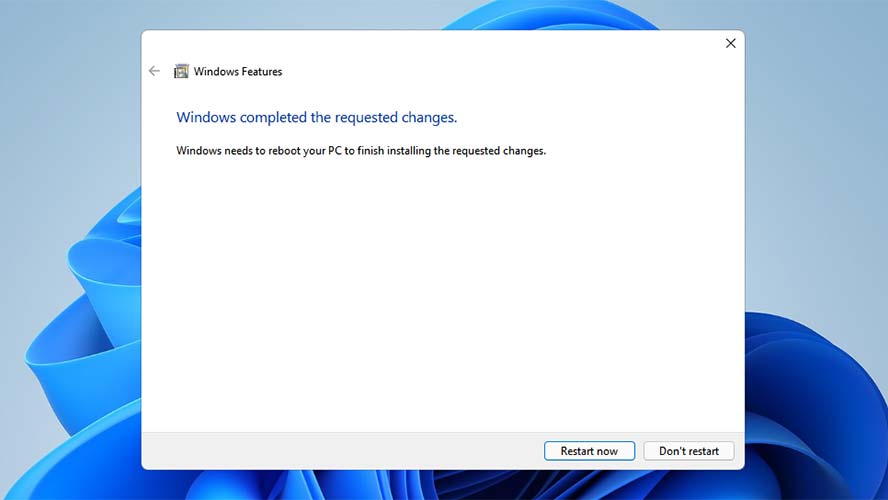
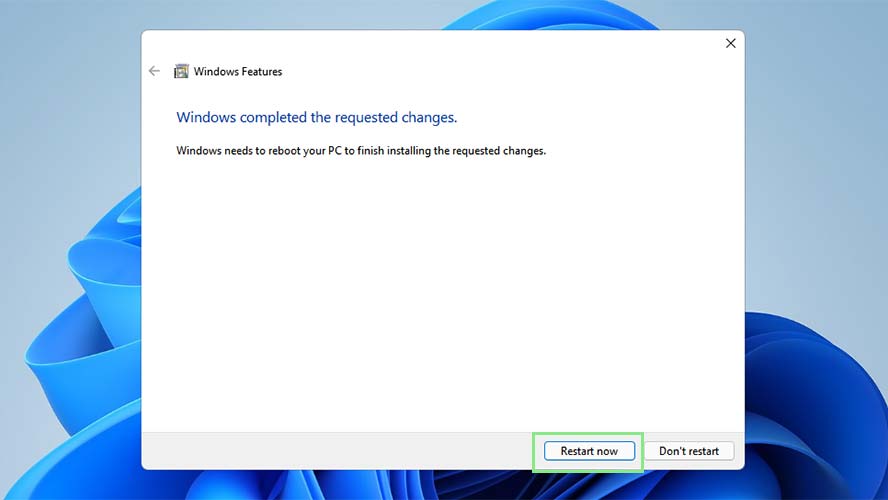
6. Click Restart now to apply the changes.
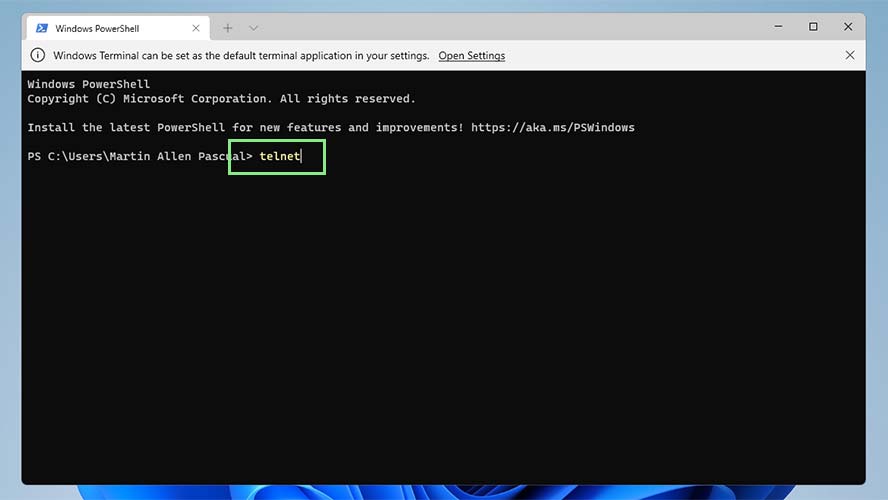
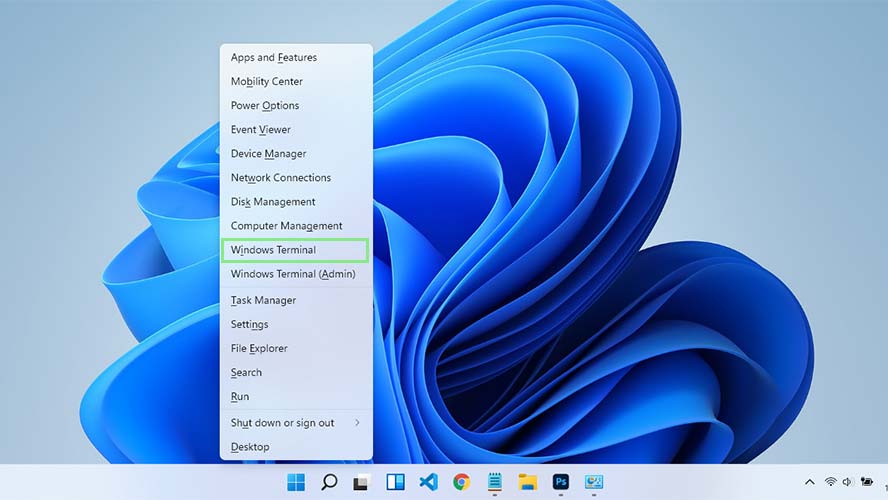
7. Now that you have Telnet enabled, you can open it using the command prompt. Open your command prompt by pressing Windows + X on your keyboards.

8. From the menu, select Windows Terminal.
9. In the Windows Terminal, type “telnet” and press enter.