How to carve a pumpkin for Halloween - in pictures
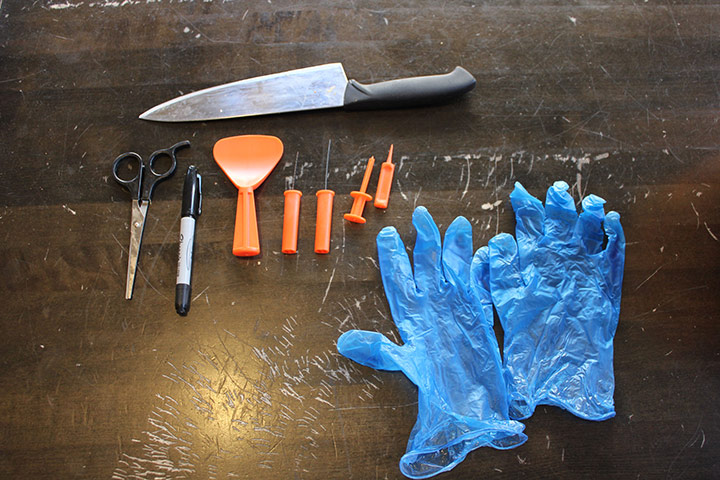
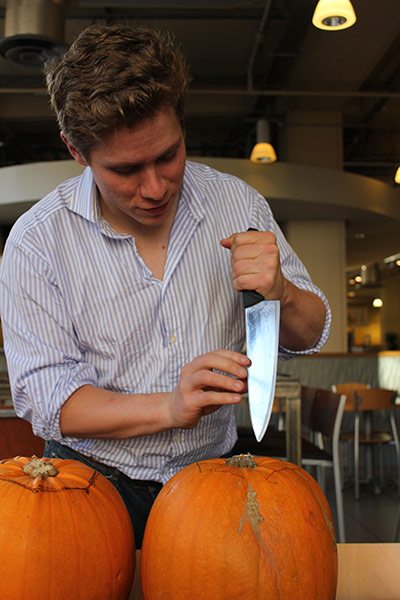
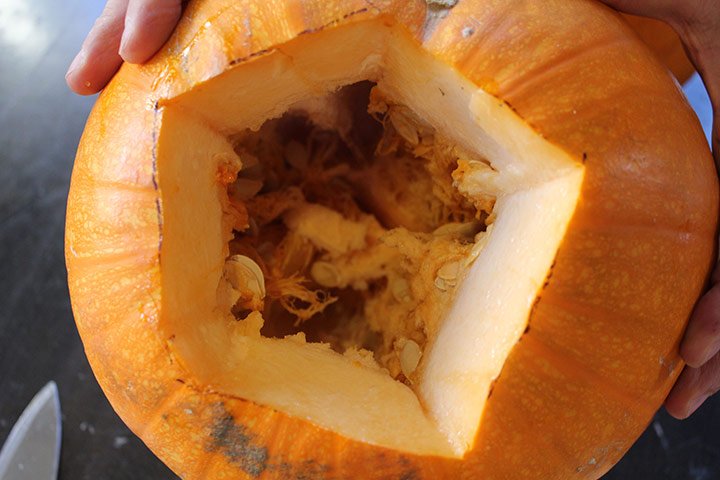
1. Basic pumpkin carving kit: knife for removing the lid, scissors, felt-tip pen, scraper, two saws, drill, pointerPhotograph: Oliver Thring2. Removing the lid. Trace a square or hexagon with a felt-tip pen along the top of the pumpkin, an inch or two from the stalk. Using a fiercely sharp knife with the blade pointing away from you, cut along those lines, into the flesh. Angle the knife slightly inwards: if you cut down vertically, the lid might fall into the pumpkinPhotograph: Oliver Thring3. Remove the lid and scoop out the seeds and flesh – you can either keep the seeds for eating (roast for 20 minutes at 180C, tossed in olive oil, seasoning and spices) or use them as a vomity accessory for your final pumpkinPhotograph: Oliver Thring
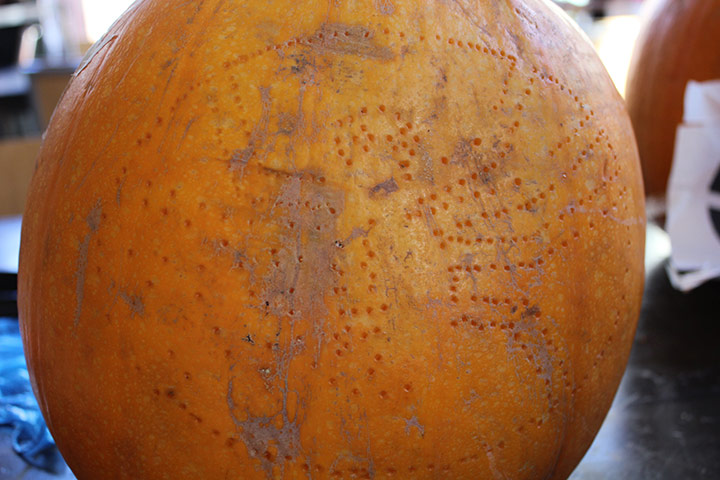
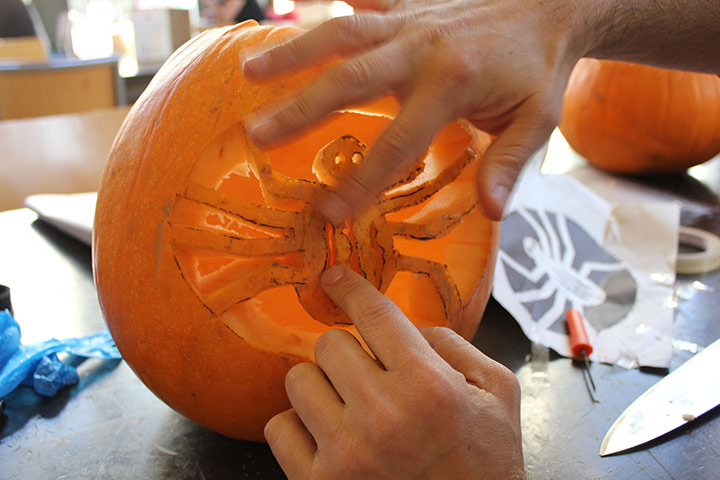
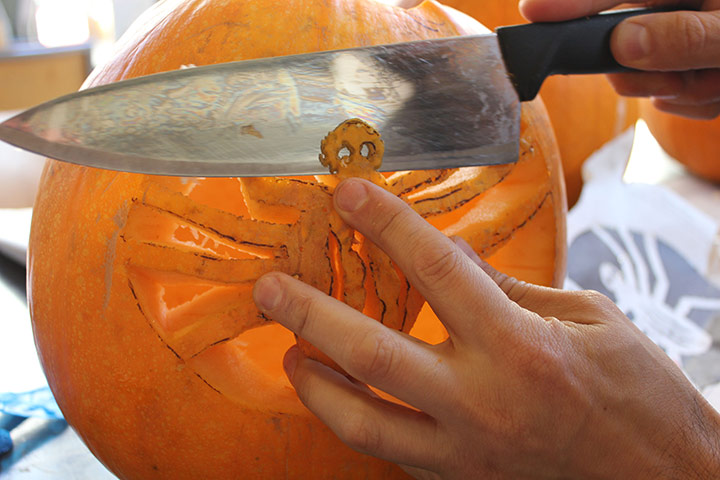
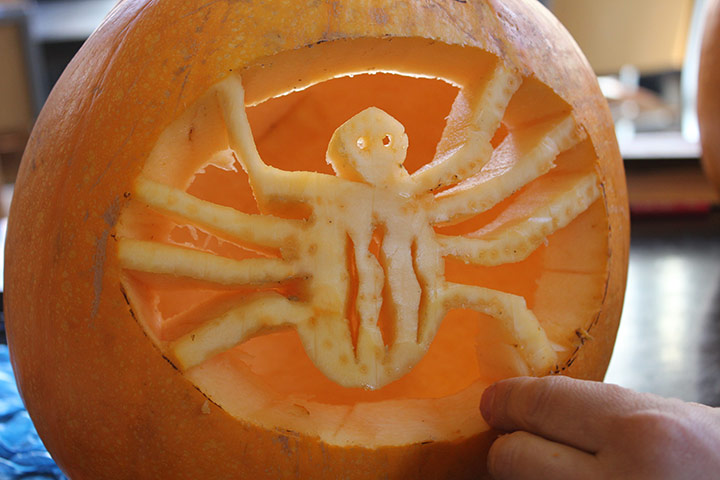
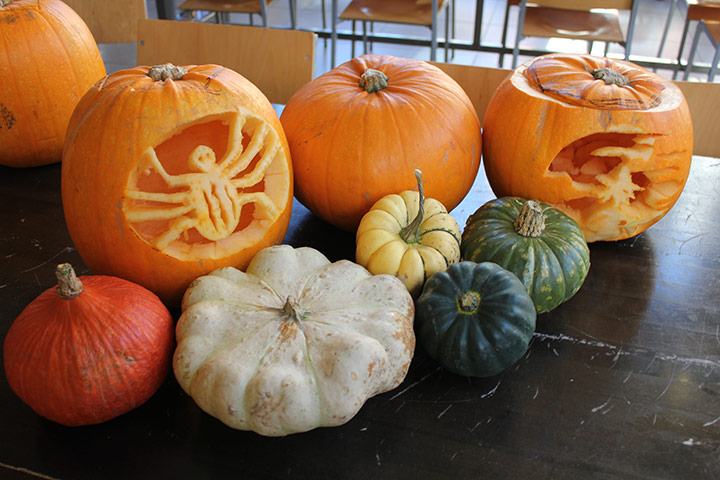
4. Sit the pumpkin down and find the flattest part to take the carving. Either sketch your pattern on to the skin with a felt-tip pen ... Photograph: Oliver Thring... or tape a design to its surface and punch out dotted lines using your 'pointer'Photograph: Oliver Thring6. When you punch through your design remember the more holes you make the more clearly you'll see the design when you remove the paper. Claudio’s efforts on the right side of this pumpkin are much clearer than mine on the leftPhotograph: Oliver ThringTake your saw and cut along the lines through the flesh and into the pumpkin. The pieces should then punch out relatively easilyPhotograph: Oliver Thring8. Finish by very carefully trimming off the skin over your pattern. Sharpen your knife again if you need toPhotograph: Oliver Thring9. Once the skin is removed, the design should stand out more clearlyPhotograph: Oliver Thring10. Assemble with other gourds and squashes. It should look lovely with candles inside, or even a bike lightPhotograph: Oliver Thring
Sign up to read this article
Read news from 100’s of titles, curated specifically for you.


