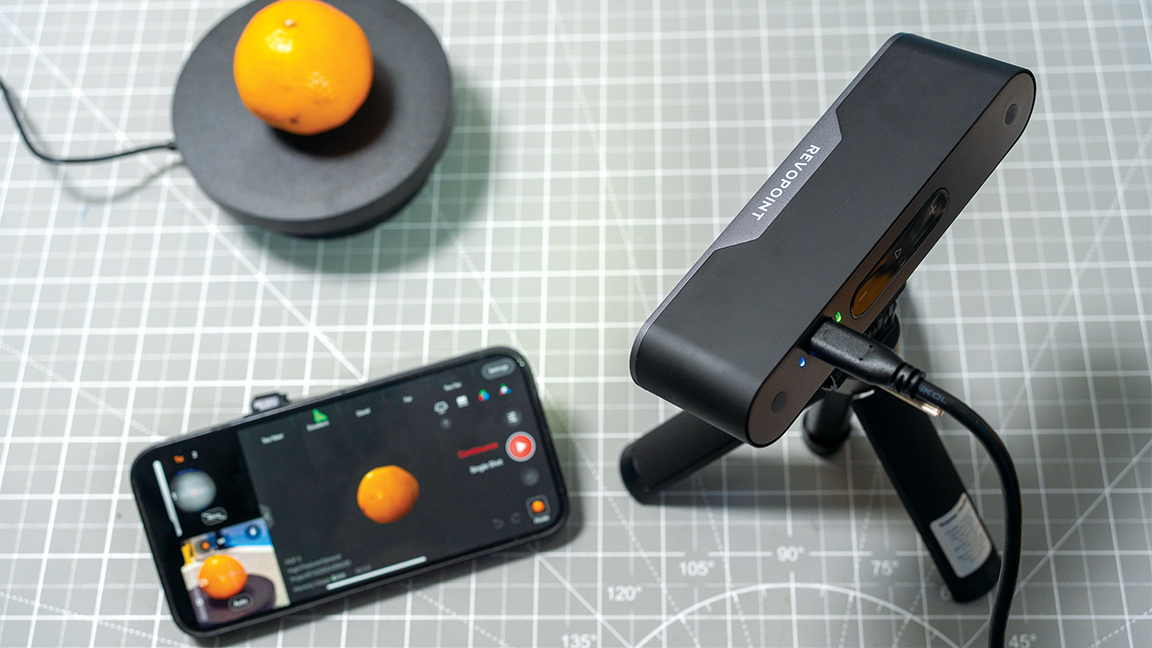
Creating bespoke 3D assets can be a chore, especially for those artists who are in a rush or don’t have the skills to develop them using complicated software. To alleviate this problem, 3D scanning can be a great way to create assets quickly.
There are numerous 3D scanning solutions; some use mobile phones (read our hands-on with Epic Games' Reality Scan for mobiles), and it can be a quick, easy way to find a solution. However, the best results are achieved by those who own the latest phone hardware containing LiDAR scanners. Many of the top software packages are also expensive. Read our guide to the dedicated best 3D scanners for ideas, or our list of the best iPhones for photography for a smartphone solution; iPhone 12 Pro and upwards feature LiDAR scanners.
An example of a dedicated handheld scanner is Revopoint’s POP 3, which will set you back a lot less than a flagship phone and comes with free software for PC and mobile. It also has a range of accessories such as a portable turntable that can make scanning an object easy.
The Revo Scan software that comes with the POP 3 is intuitive. It allows for a step-by-step process that uses a range of default options to optimise the scanned point cloud, mesh it, and place a scanned texture onto the model. The scan can then be exported to a default 3D file format such as OBJ, which can be imported into most standard 3D software.
The Revo Scan desktop app also offers a wider range of export formats straight out of the box, such as GLTF
While the core features of Revo Scan offer the same core functionality in both mobile and desktop variants, they are tuned to their respective use cases.
The mobile version is convenient while the desktop version offers a much larger workspace and easier access to the core controls. The Revo Scan desktop app also offers a wider range of export formats straight out of the box, such as GLTF, which means that your scanned objects can be used in applications such as After Effects using the new 3D render engine.
The supplied turntable makes it simple to use the device to capture objects from every angle. It includes a variety of speed, accuracy and lighting settings to ensure the object is captured to the best of its ability. A single-shot option is available as well. A 3D-scanned object can bring props into a scene with minimal effort, just as long as the lighting is even.
1. Place the object
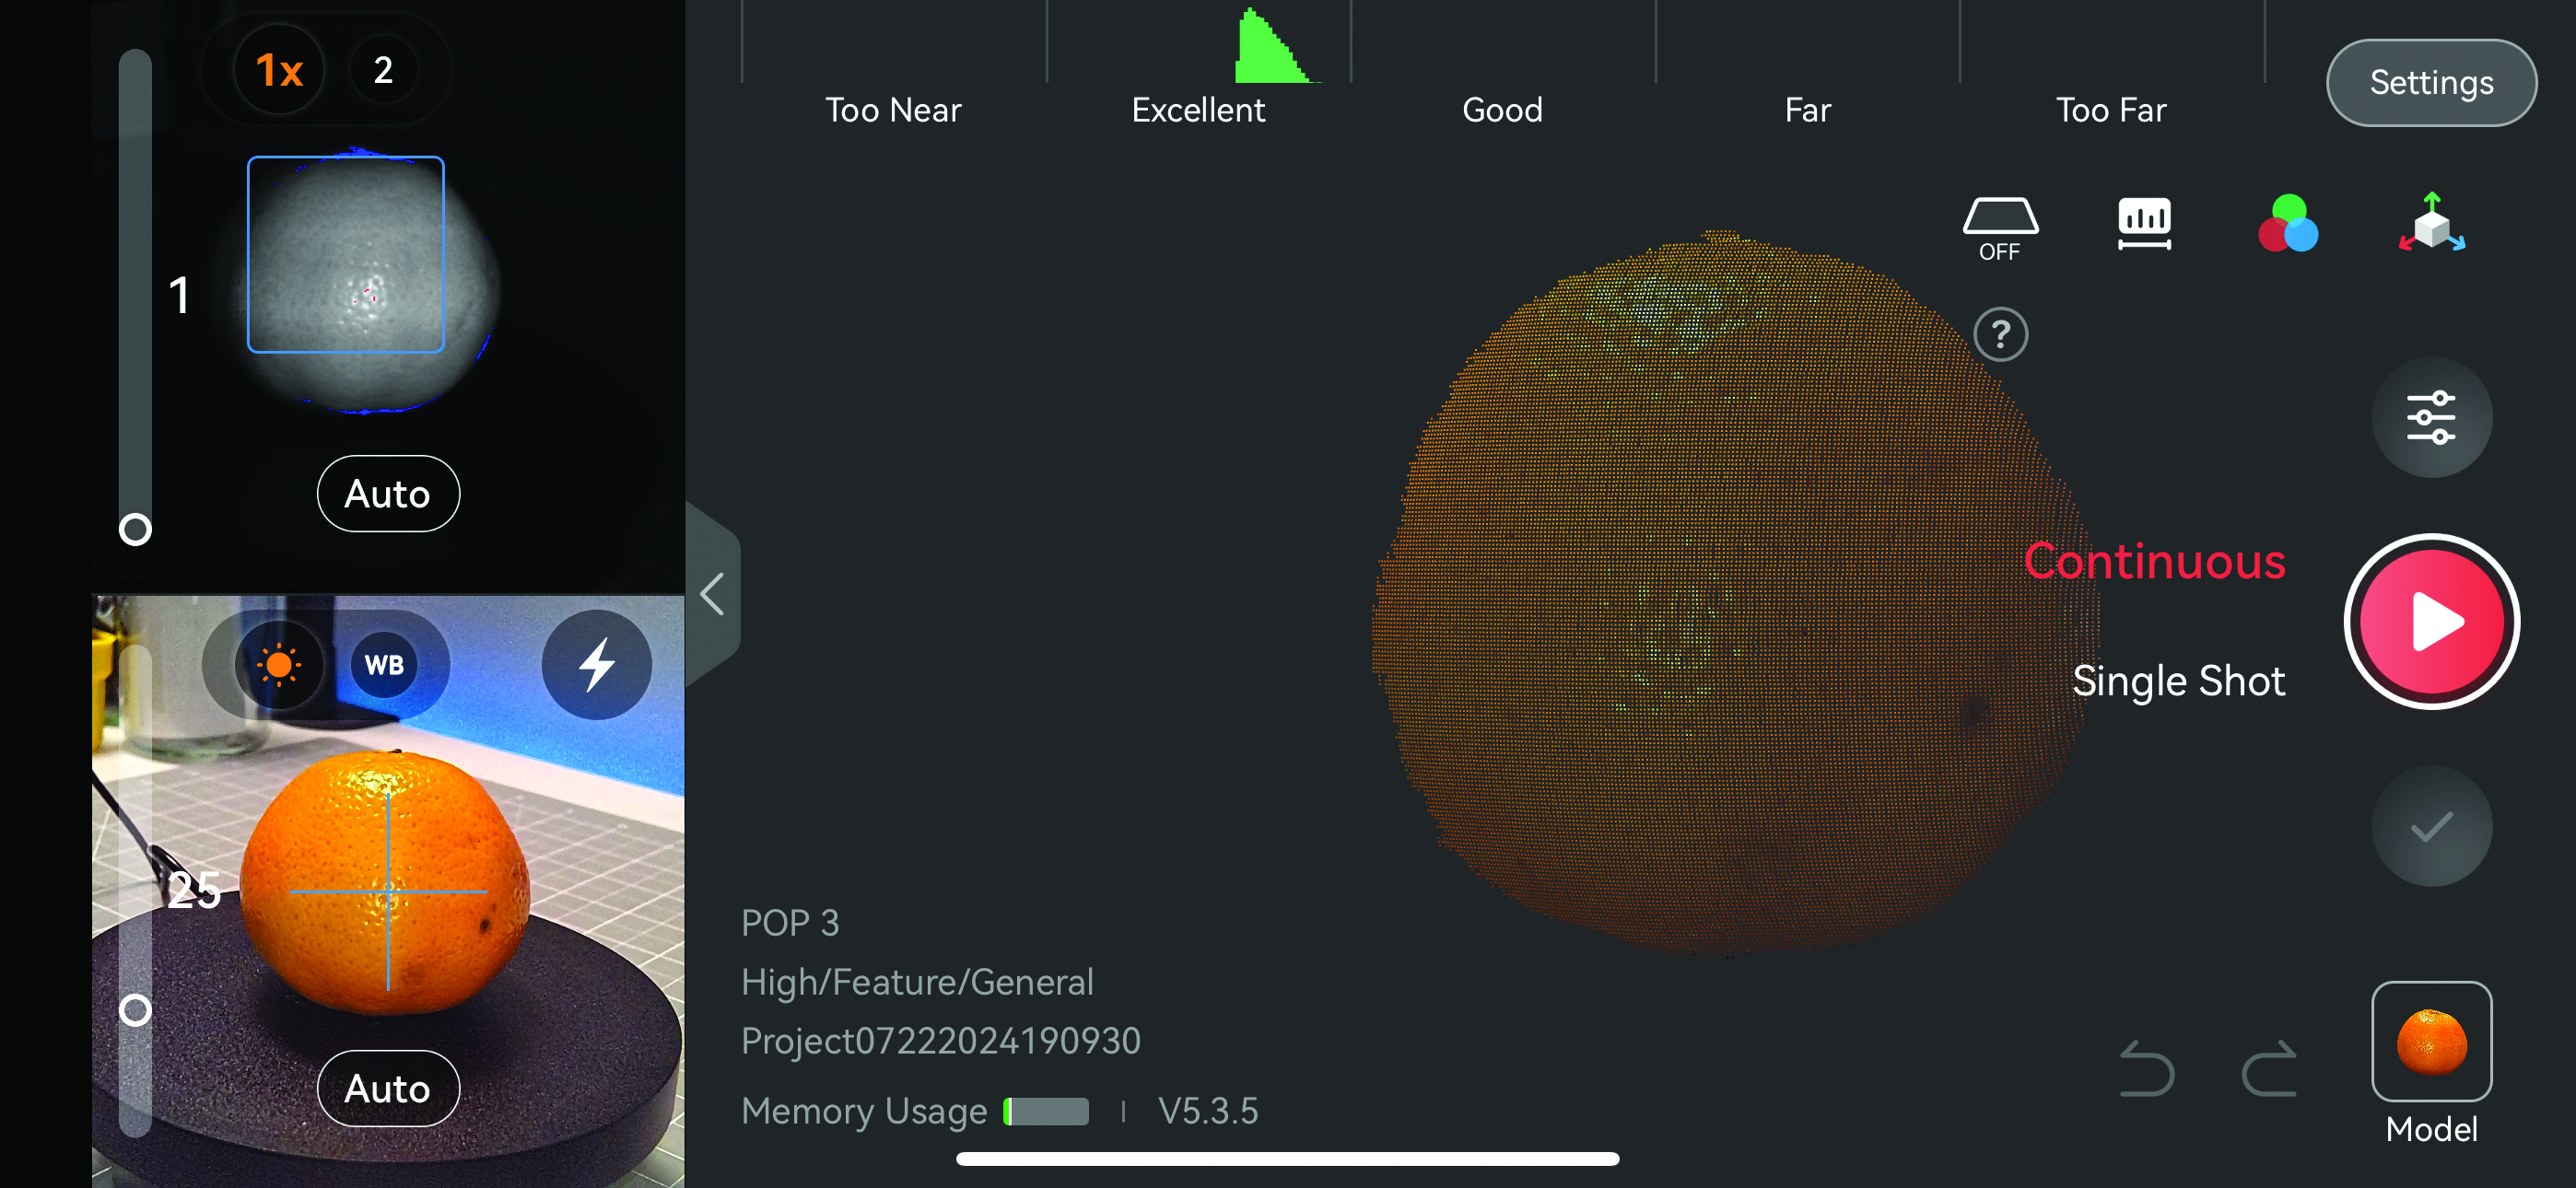
This tutorial was created using the POP 3 scanner and the iOS version of Revo Scan. In this image, the colour scanning option has been set, which is why the orange appears in colour. Be mindful that using colour scan creates a strobe effect from the scanner. Ensure the object is placed in even lighting, as seen from the colour and depth views, which will help you create an even scan.
2. Capture the scan
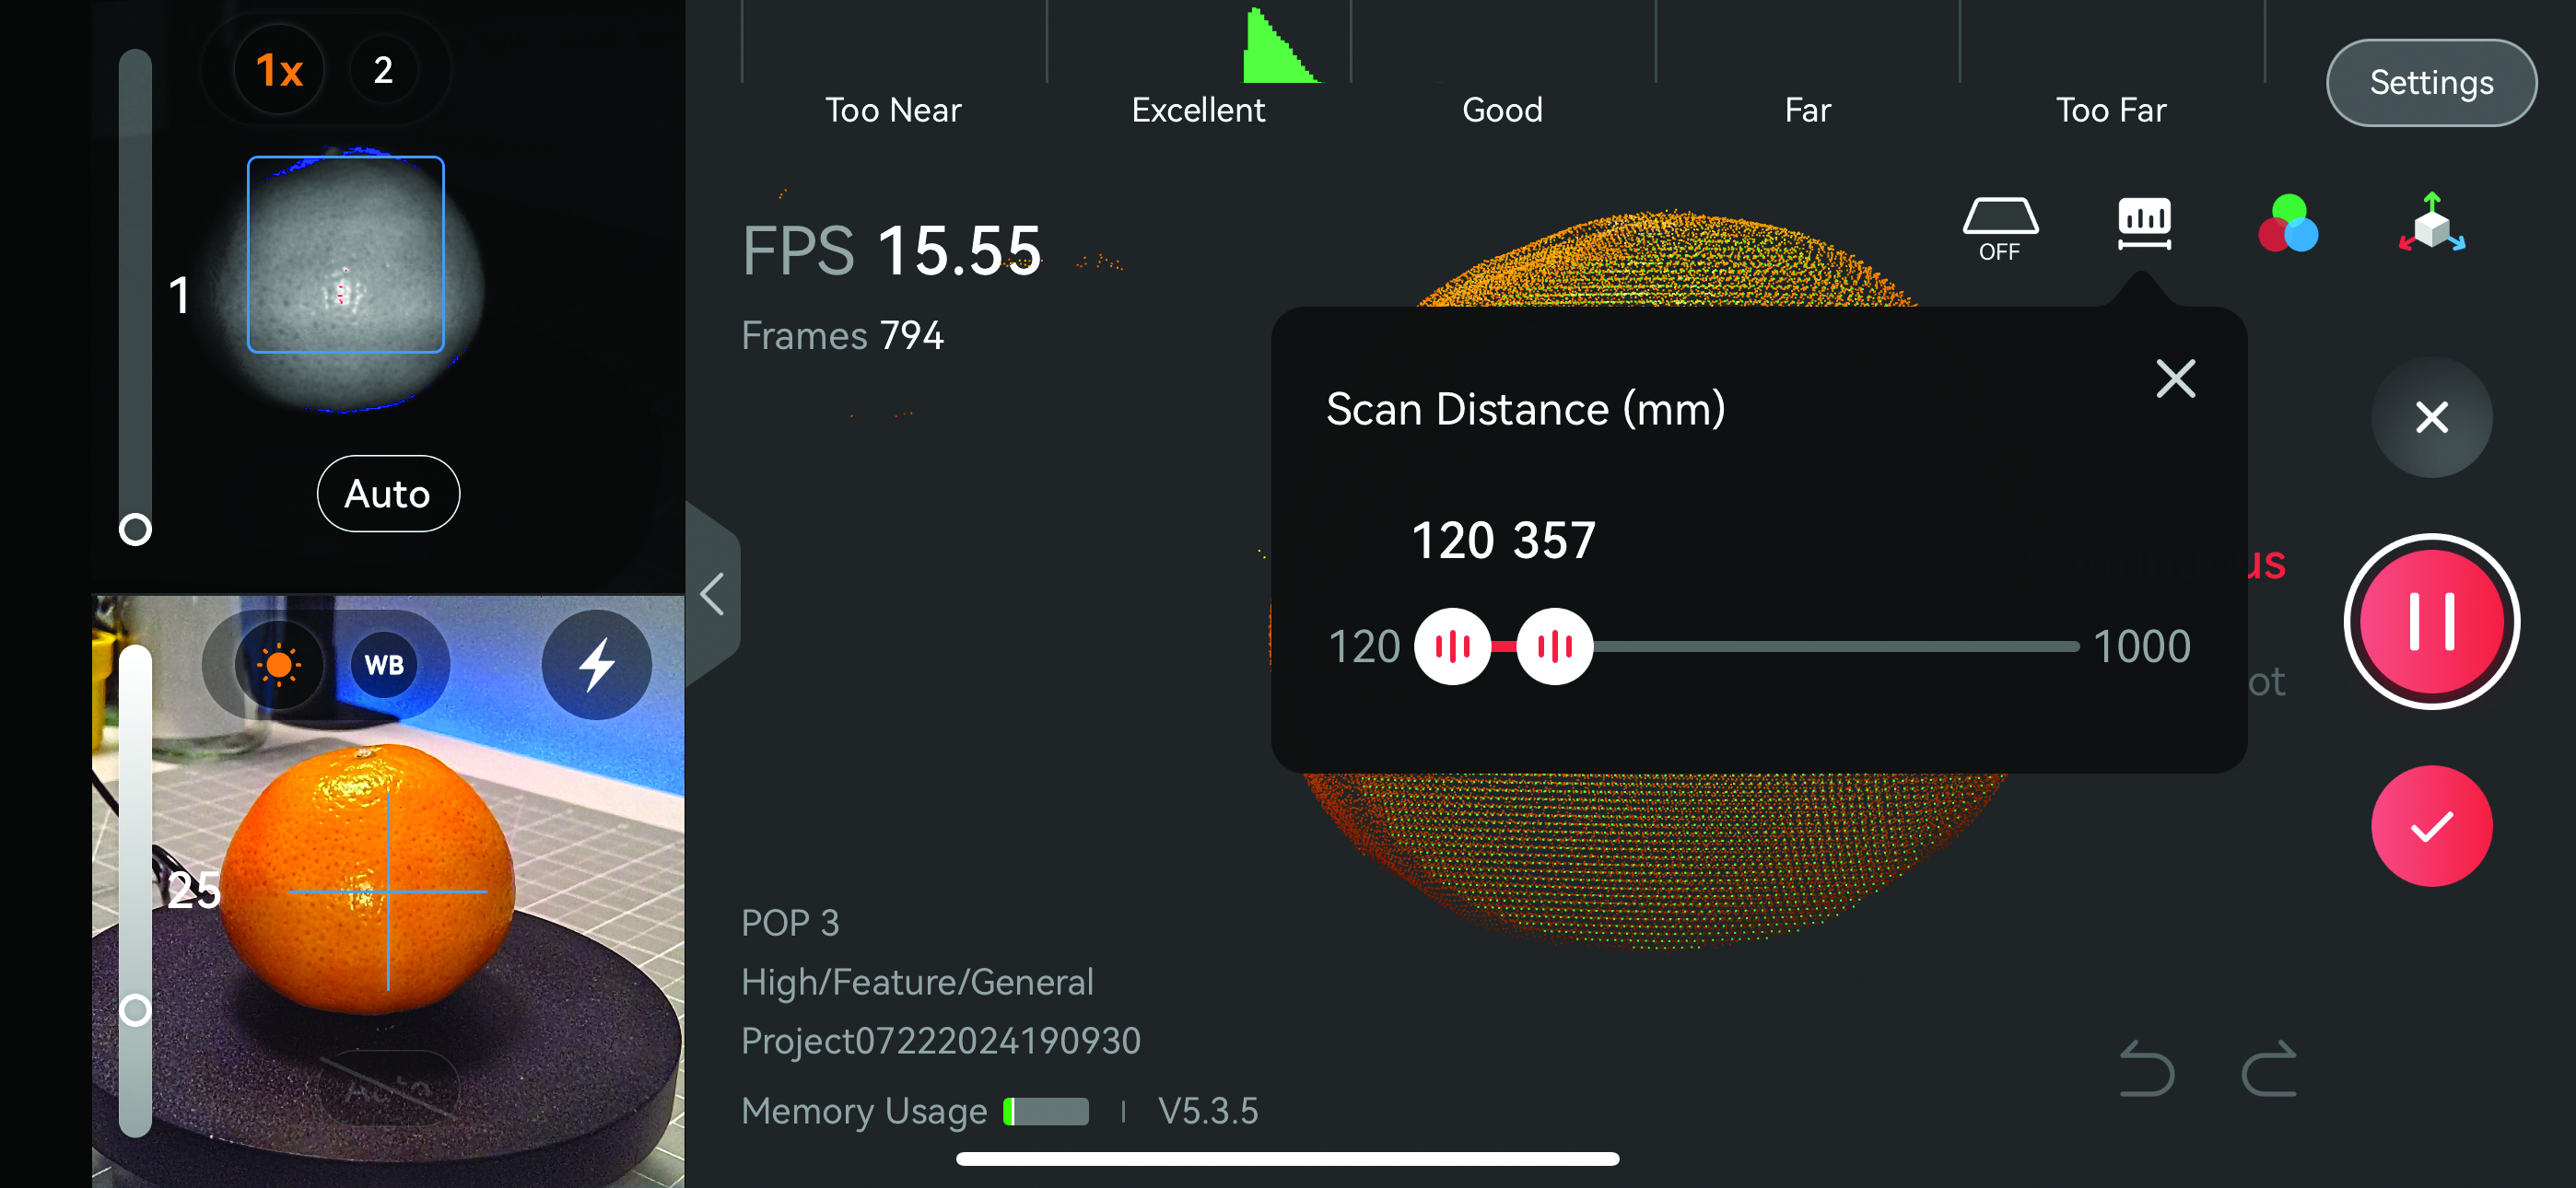
When using the POP 3, it can take in every object it sees. To select only the required object, tools such as the Scan Distance button are available to set the depth that the scanner will use. The handy Base Removal tool can also intelligently remove an object’s base plate. When the scan is ready, press the Play button and you can get the scanning process under way.
3. Create the model
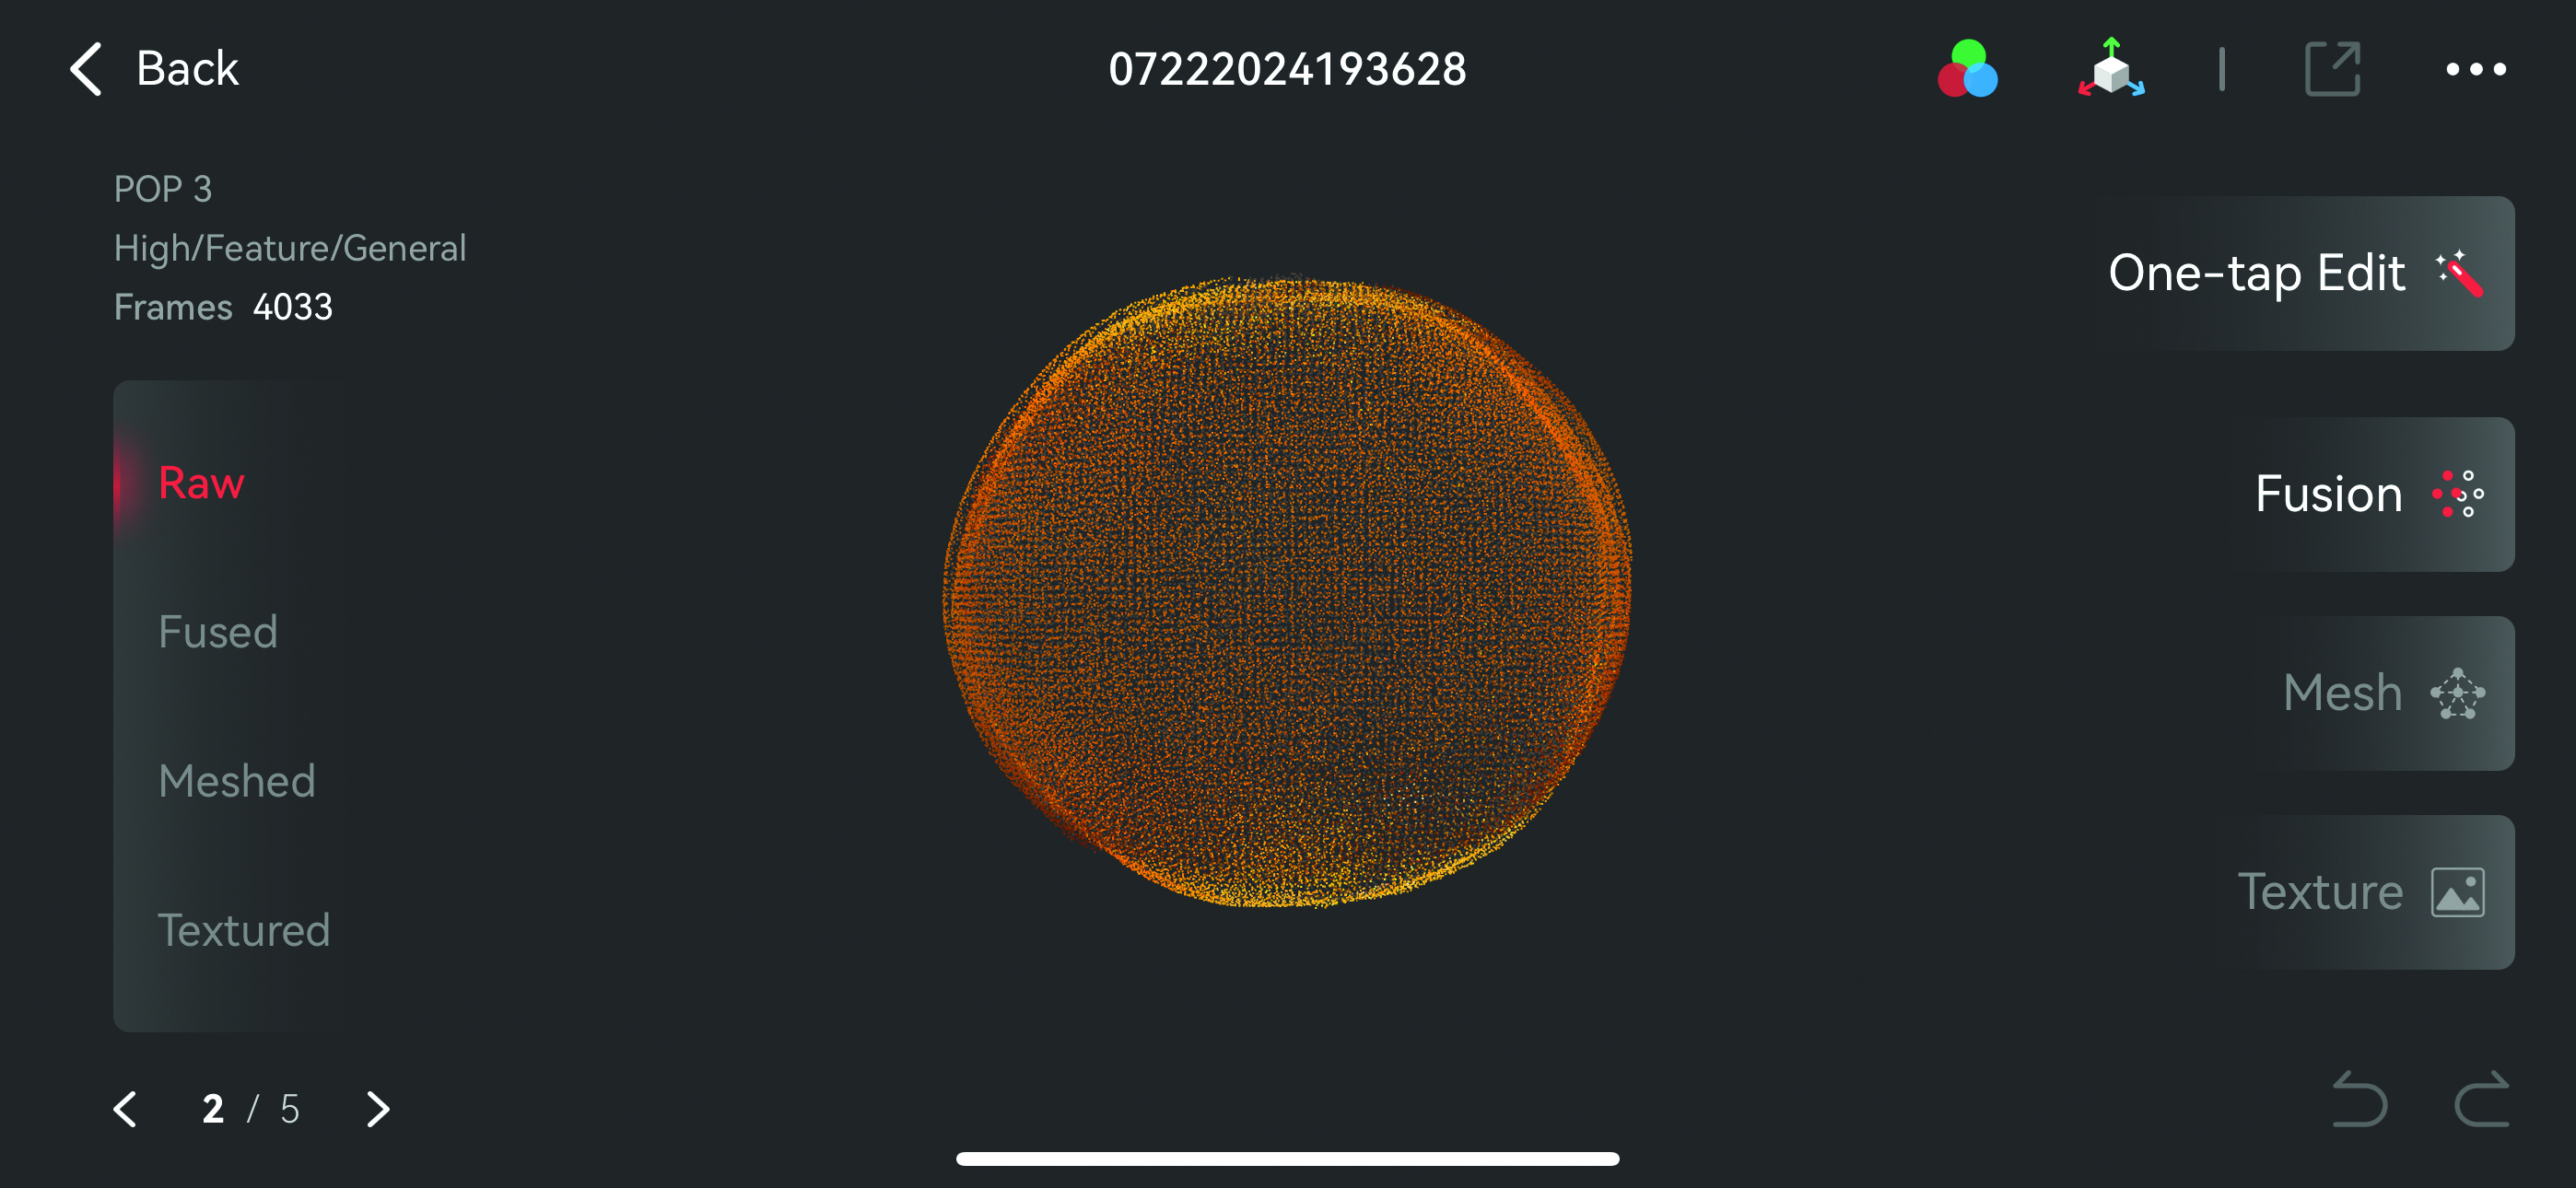
When the scan has been completed, press on the model square in the bottom-right of the screen, and either press the one-tap edit or work through the Fusion, Mesh and Texture buttons to optimise the scanned point cloud. Convert that to a polygon mesh and then apply a texture. This can then be exported in a variety of formats, with OBJ being a good default option.
4. Import the completed file
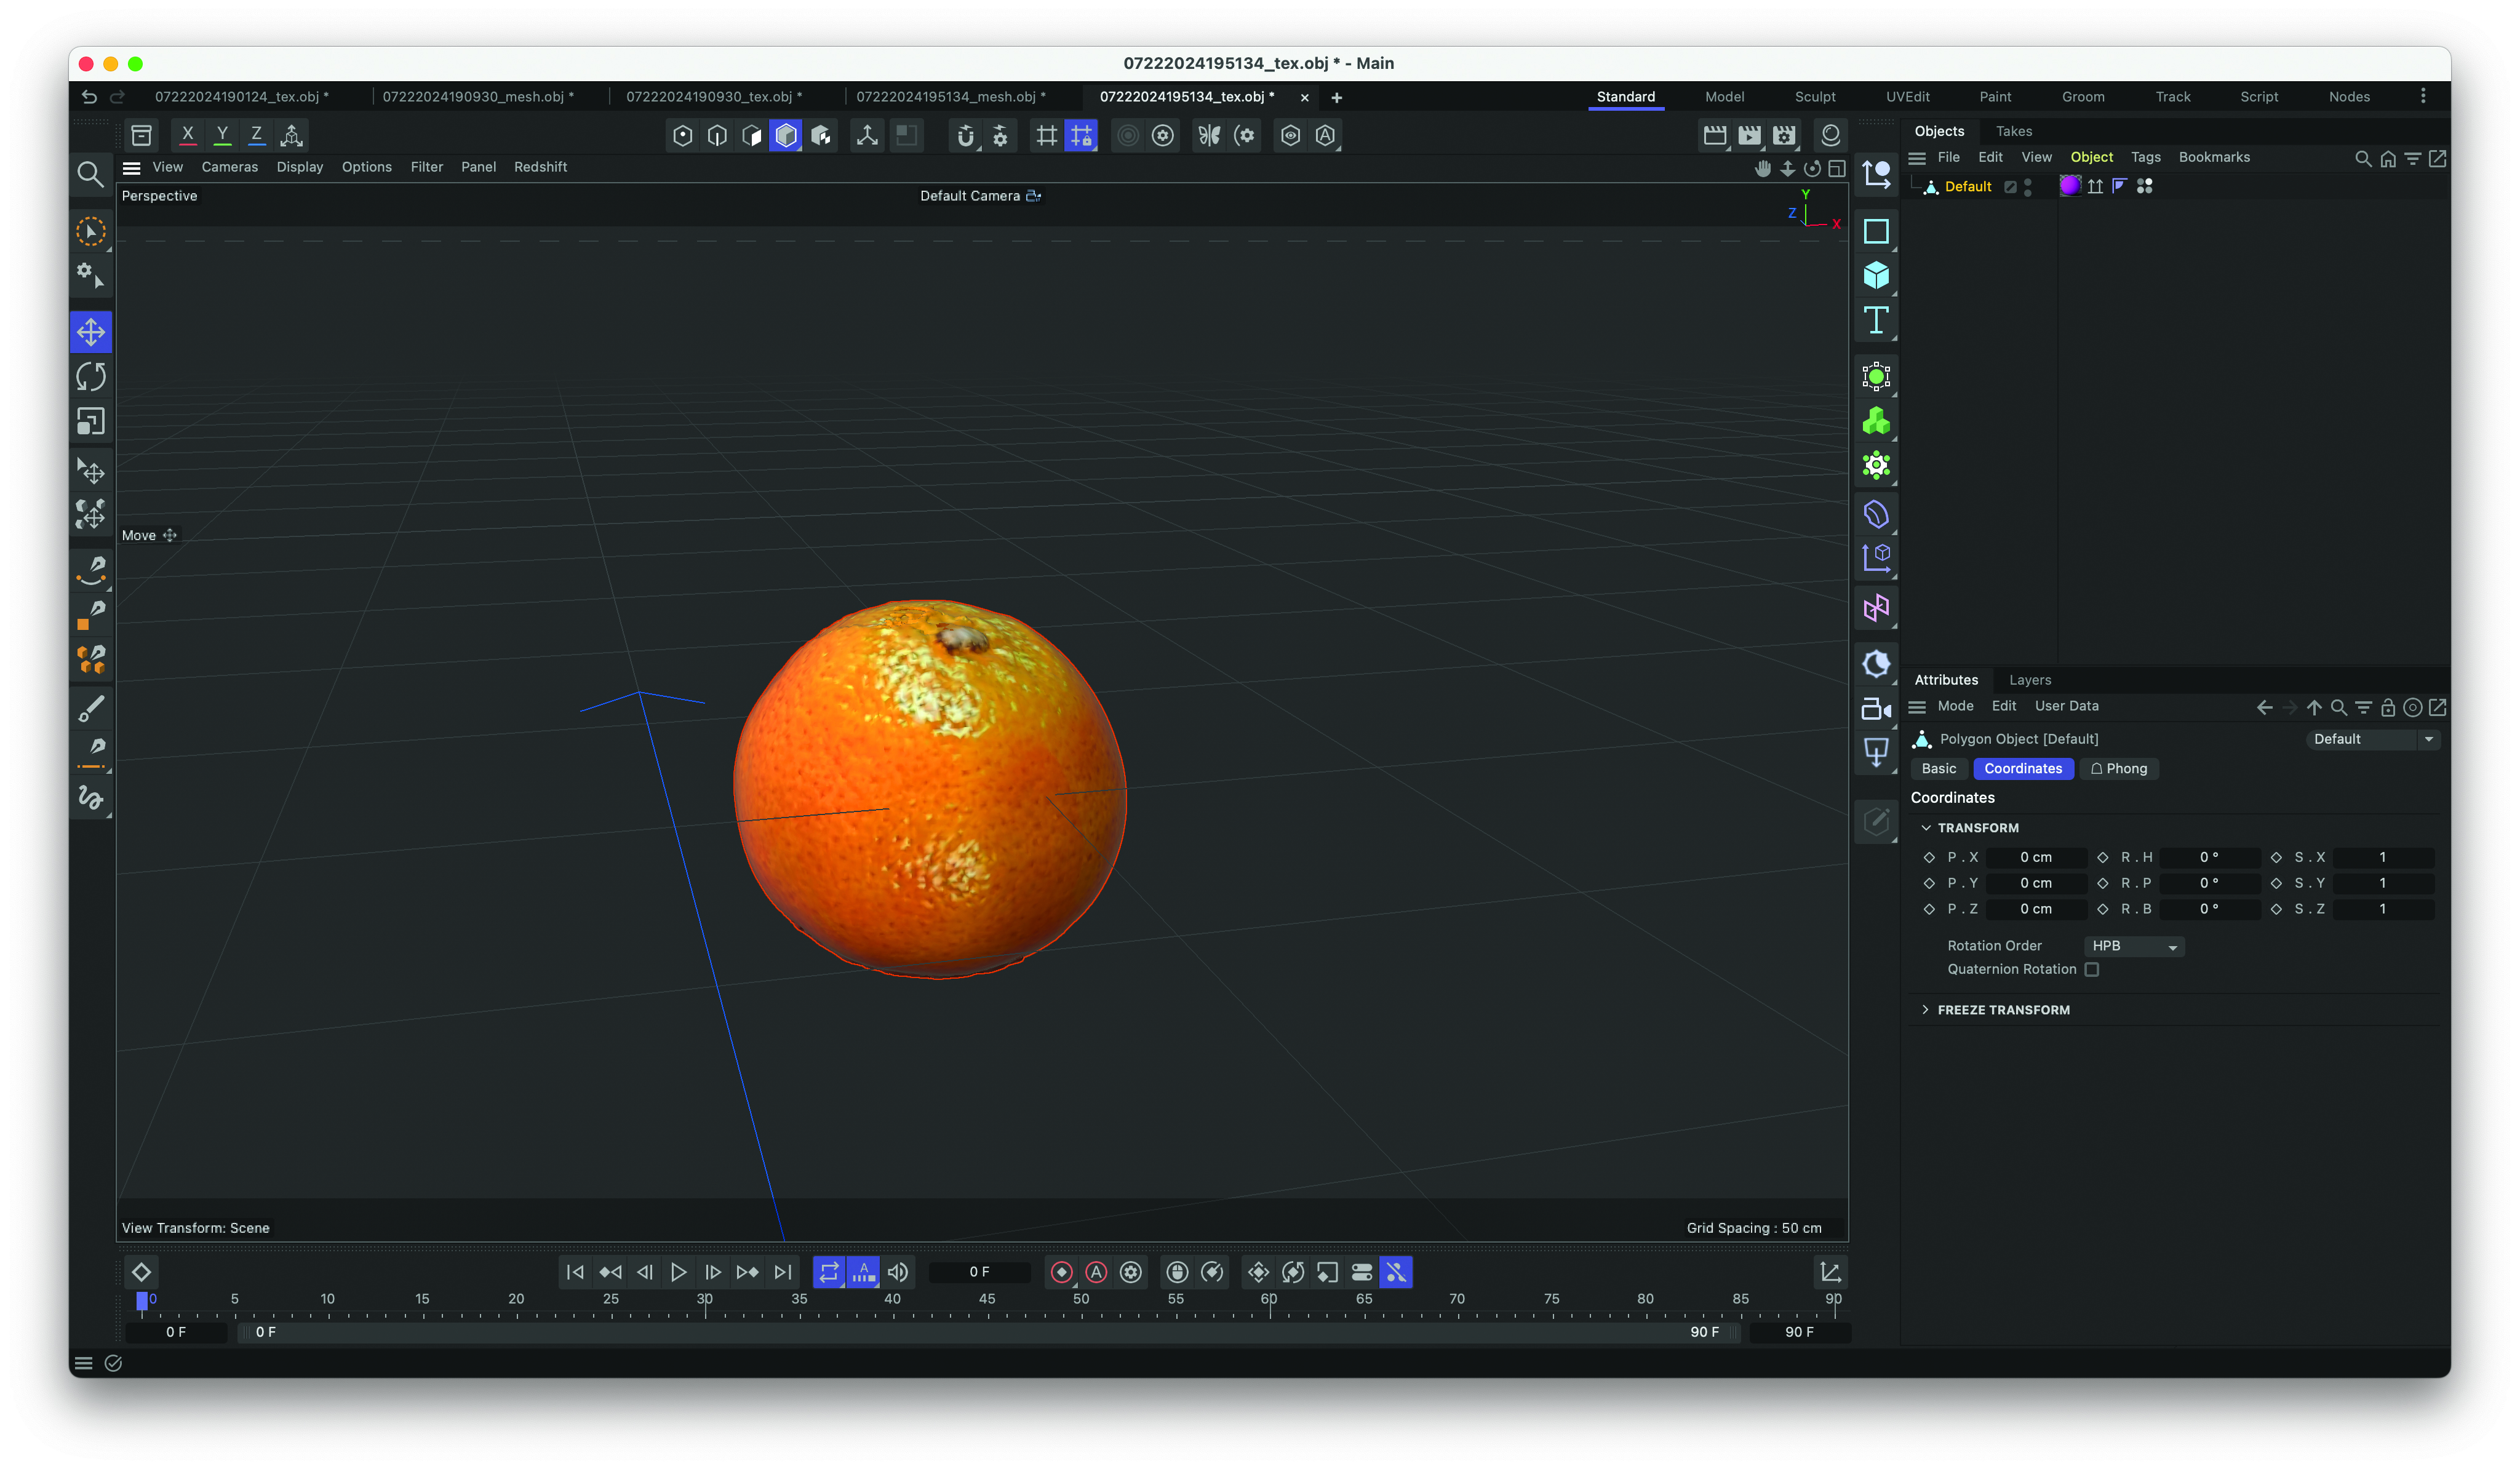
Simply drag and drop the textured OBJ into a 3D content creation tool like Cinema 4D for the model to appear. It’s worth pointing out that the object may be missing elements at this stage, such as its bottom as the scanner can’t see underneath. However, as background props or starting points for a more advanced model, a scanned asset can be a huge time-saver for any scene.
This content originally appeared in 3D World magazine. Subscribe to 3D World at Magazines Direct.


