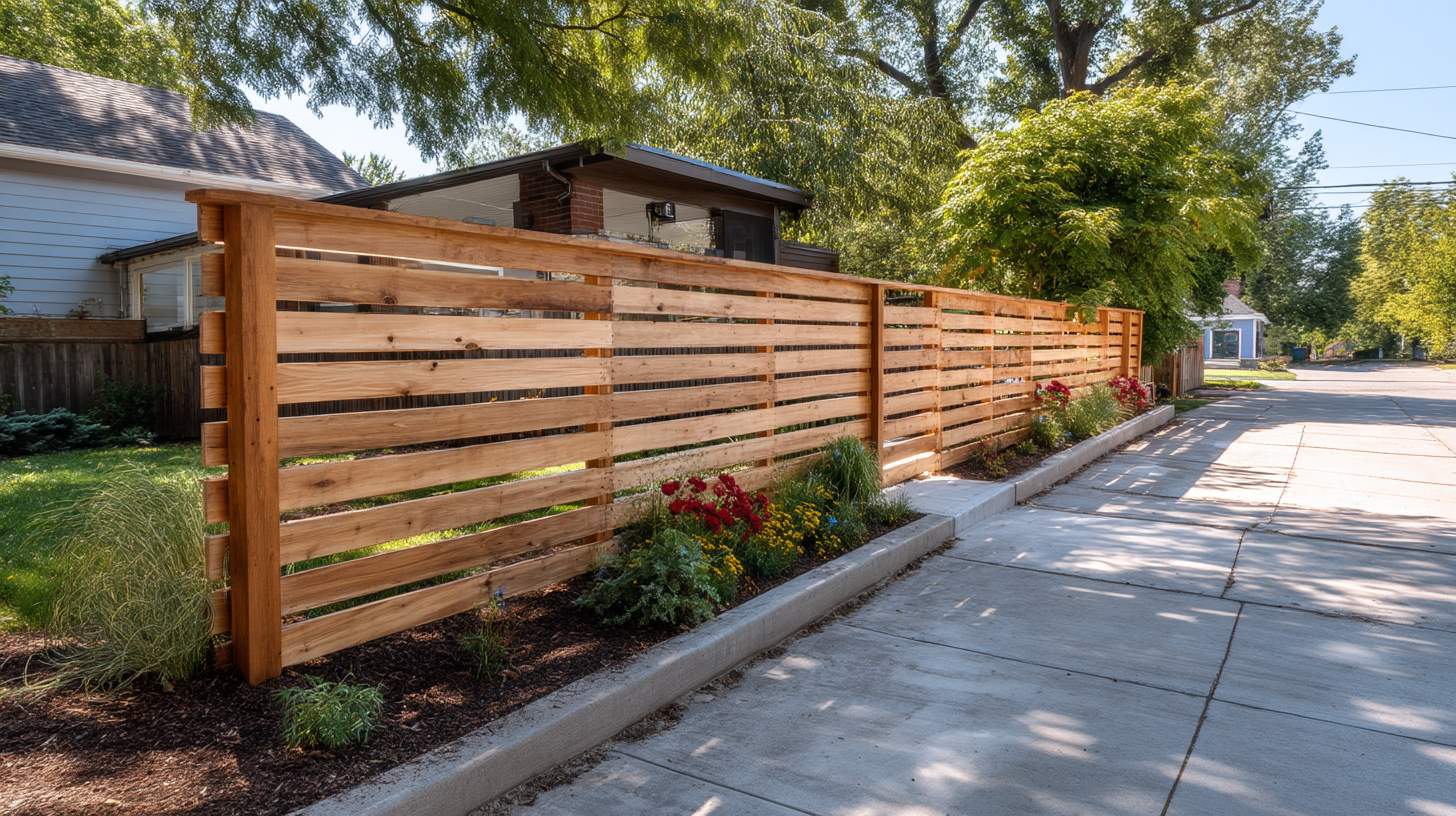
Building a privacy fence is one of the most effective ways to create a more secure and comfortable outdoor space. Whether you want to block visibility from neighbors, keep pets safe, or improve your property’s appearance, a properly installed privacy fence can make a significant difference.
However, building a fence involves more than simply attaching boards to posts. The durability and appearance of your fence depend on careful planning, proper installation techniques, and choosing the right materials. This guide explains how to build a privacy fence step by step so homeowners can approach the project with confidence.
Planning Before You Build a Privacy Fence
Before digging the first post hole, it is essential to plan the project carefully. Proper preparation helps avoid costly mistakes and ensures your fence meets local regulations.
Check Property Lines and Local Regulations
One of the most common issues homeowners encounter when building a fence is accidentally installing it outside their property boundary. Before construction begins, confirm property lines using a survey or official records.
In addition, many cities and homeowner associations have regulations regarding:
- Fence height limits
- Distance from sidewalks or streets
- Approved materials
- Permit requirements
It is also important to contact local utility marking services before digging. Underground electrical, water, and gas lines may run through your yard, and marking them helps prevent serious safety hazards.
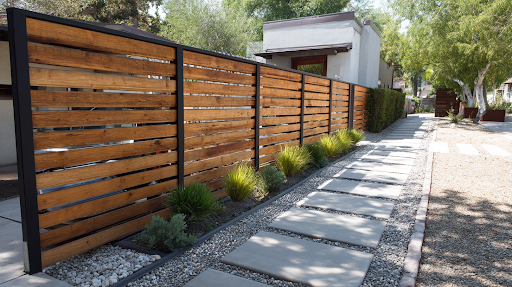
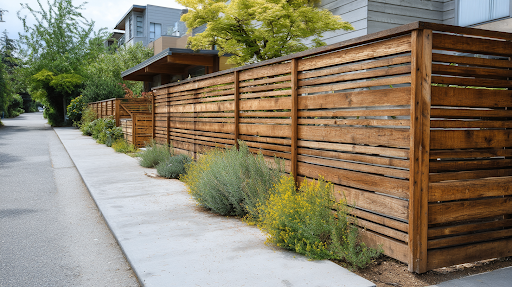
Choose the Right Fence Material
Privacy fences are available in several materials, each with its own advantages.
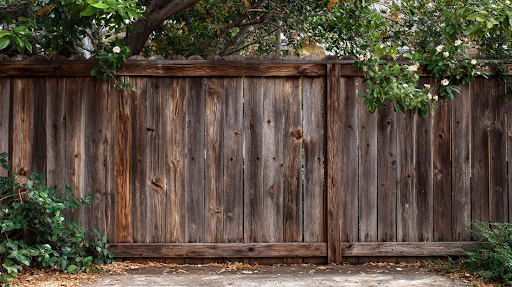
Wood fencing remains the most common DIY choice because it is affordable, customizable, and widely available. Pressure-treated lumber is often used because it resists moisture and insect damage.
Vinyl fencing is another popular option. While it typically costs more upfront, it requires very little maintenance and resists weather damage.
Composite fencing combines wood fibers with recycled plastic to create a durable material that requires less upkeep than traditional wood.
Selecting the right material depends on your budget, maintenance preferences, and long-term durability goals.
Tools and Materials Needed
Having the correct tools and materials ready before starting the project makes installation much smoother.
Basic Tools
Most privacy fence installations require the following tools:
- Post hole digger or power auger
- Level
- Tape measure
- String line and stakes
- Power drill
- Circular saw
Materials
The primary materials needed for a standard privacy fence include:
- Pressure-treated fence posts
- Concrete mix for post footings
- Horizontal fence rails
- Fence pickets or prebuilt panels
- Exterior-grade screws or nails
Choosing high-quality materials can significantly extend the life of the fence.
Step-by-Step: How to Build a Privacy Fence
Once planning and materials are in place, the installation process can begin.
Step 1: Mark and Measure the Fence Layout
Begin by outlining the fence line using stakes and string. This step ensures the fence runs straight and follows the intended property boundary.
Fence posts are typically spaced six to eight feet apart, depending on the design and material. Maintaining consistent spacing helps keep the fence structurally sound and visually balanced.
Step 2: Dig Fence Post Holes
Fence post holes should generally be dug to a depth equal to one-third of the total post height. For example, a six-foot fence usually requires holes about two feet deep.
In colder climates, holes should extend below the frost line to prevent shifting caused by freeze-thaw cycles.
Adding a few inches of gravel at the bottom of the hole helps improve drainage and reduces the risk of water damage around the base of the post.
Step 3: Set Fence Posts in Concrete
Posts form the structural foundation of the fence, so this step is critical.
Place each post into the hole and use a level to ensure it stands perfectly vertical. Concrete is then poured around the base of the post to secure it in place.
Spacing and alignment must be checked carefully before the concrete cures. Even small inconsistencies can create noticeable problems later during panel installation.
Proper post installation is one of the most important factors in fence longevity. For larger projects, complex terrain, or long fence lines, many homeowners choose to consult an experienced professional like Fantastic Fence to ensure the structural foundation is installed correctly.
Step 4: Install Horizontal Rails
Once the posts are fully set and the concrete has cured, horizontal rails can be attached between the posts.
Most privacy fences use two or three horizontal rails, depending on the height of the fence. These rails provide the support structure for attaching pickets or panels.
Use exterior screws or galvanized fasteners designed for outdoor construction to prevent rust and maintain durability.
Step 5: Attach Fence Pickets or Panels
After the rails are installed, the vertical pickets can be attached.
Spacing should remain consistent across the fence line to maintain a uniform appearance. Using a spacer board can help ensure each picket is installed evenly.
It is also important to check the top alignment frequently to maintain a straight fence line.
Prebuilt panels can speed up installation, but individual pickets offer more flexibility for adjusting to uneven terrain.
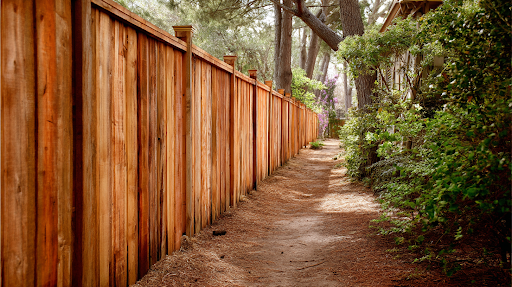
Step 6: Install Post Caps and Finishing Touches
Post caps serve both functional and decorative purposes. They protect the tops of wooden posts from moisture penetration, which helps prevent rot and extends the life of the fence.
Wood fences may also benefit from staining or sealing after installation. Protective coatings reduce moisture absorption and protect against UV damage.
Common Mistakes to Avoid When Building a Privacy Fence
Even a well-planned project can encounter problems if certain installation details are overlooked.
Incorrect Post Depth
Shallow posts are one of the most common causes of leaning fences. Proper depth and concrete footings are essential for stability.
Inconsistent Post Spacing
Uneven spacing can create weak points in the fence structure and make panel installation difficult.
Skipping Concrete Footings
Although some homeowners attempt to install posts without concrete, this often leads to movement and structural failure over time.
Ignoring Terrain Changes
Sloped yards require careful planning to ensure panels remain aligned and the fence maintains a consistent appearance.
When Professional Installation May Be the Better Option
While many homeowners successfully install their own privacy fences, certain situations make professional installation a better choice.
These include:
- Large properties with long fence runs
- Sloped or uneven terrain
- Security fencing requirements
- Commercial or industrial applications
In situations where property layout or soil conditions present challenges, working with a professional provider such as Inline Security Fence can help ensure the fence is installed with proper structural support and long-term durability.
How to Extend the Life of Your Privacy Fence
A well-built fence can last many years, especially with regular maintenance.
Homeowners can protect their investment by:
- Inspecting the fence annually for loose boards or damage
- Keeping vegetation trimmed around the base
- Cleaning debris from fence lines
- Re-staining or sealing wood fences periodically
- Replacing damaged pickets quickly to prevent structural issues
Preventative care helps extend the life of the fence and maintain its appearance.
Final Thoughts
Learning how to build a privacy fence involves more than basic carpentry. Proper planning, careful post installation, and attention to structural details all play a role in creating a fence that lasts.
By selecting quality materials, following proper installation steps, and maintaining the fence over time, homeowners can create a durable barrier that improves both privacy and property value. For more complex installations, consulting experienced fencing professionals can help ensure the project delivers long-lasting results.