If you’ve ever raked a mountain of crunchy autumn leaves into the corner of your yard, patted yourself on the back, and then come back months later only to find…well, basically the same pile of crunchy leaves, you’re not alone. Leaf mold—the gardener’s black gold—sounds easy enough to make, but in reality, it can be painfully slow if you don’t know the tricks.
The good news? With just a few simple steps, you can turn those stubborn leaf piles into crumbly, rich organic matter that your garden will thank you for. Ready to speed things up and make your leaf mold pile actually work?
Why Leaf Mold Matters
Leaf mold isn’t compost—it’s better. While compost is made from a mix of green and brown materials that supply nutrients, leaf mold is pure, broken-down leaves that work wonders for soil structure. It improves moisture retention, boosts beneficial microbial life, and makes heavy clay or sandy soils much more plant-friendly. Plus, it’s free—just lying around waiting to be collected every fall. Gardeners who learn the art of making leaf mold save money and give their plants an instant health upgrade.
Step 1: Choose the Right Spot
Your leaf mold pile needs a good home to thrive. Pick a shady area of your yard where the pile won’t dry out too quickly—moisture is key here. If you want a neat look, you can build a simple bin with chicken wire or pallets, but tossing leaves in a loose heap works too. Avoid windy spots unless you love chasing runaway leaves across your lawn. The goal is to keep the pile contained, damp, and out of direct blazing sun.
Step 2: Shred Those Leaves
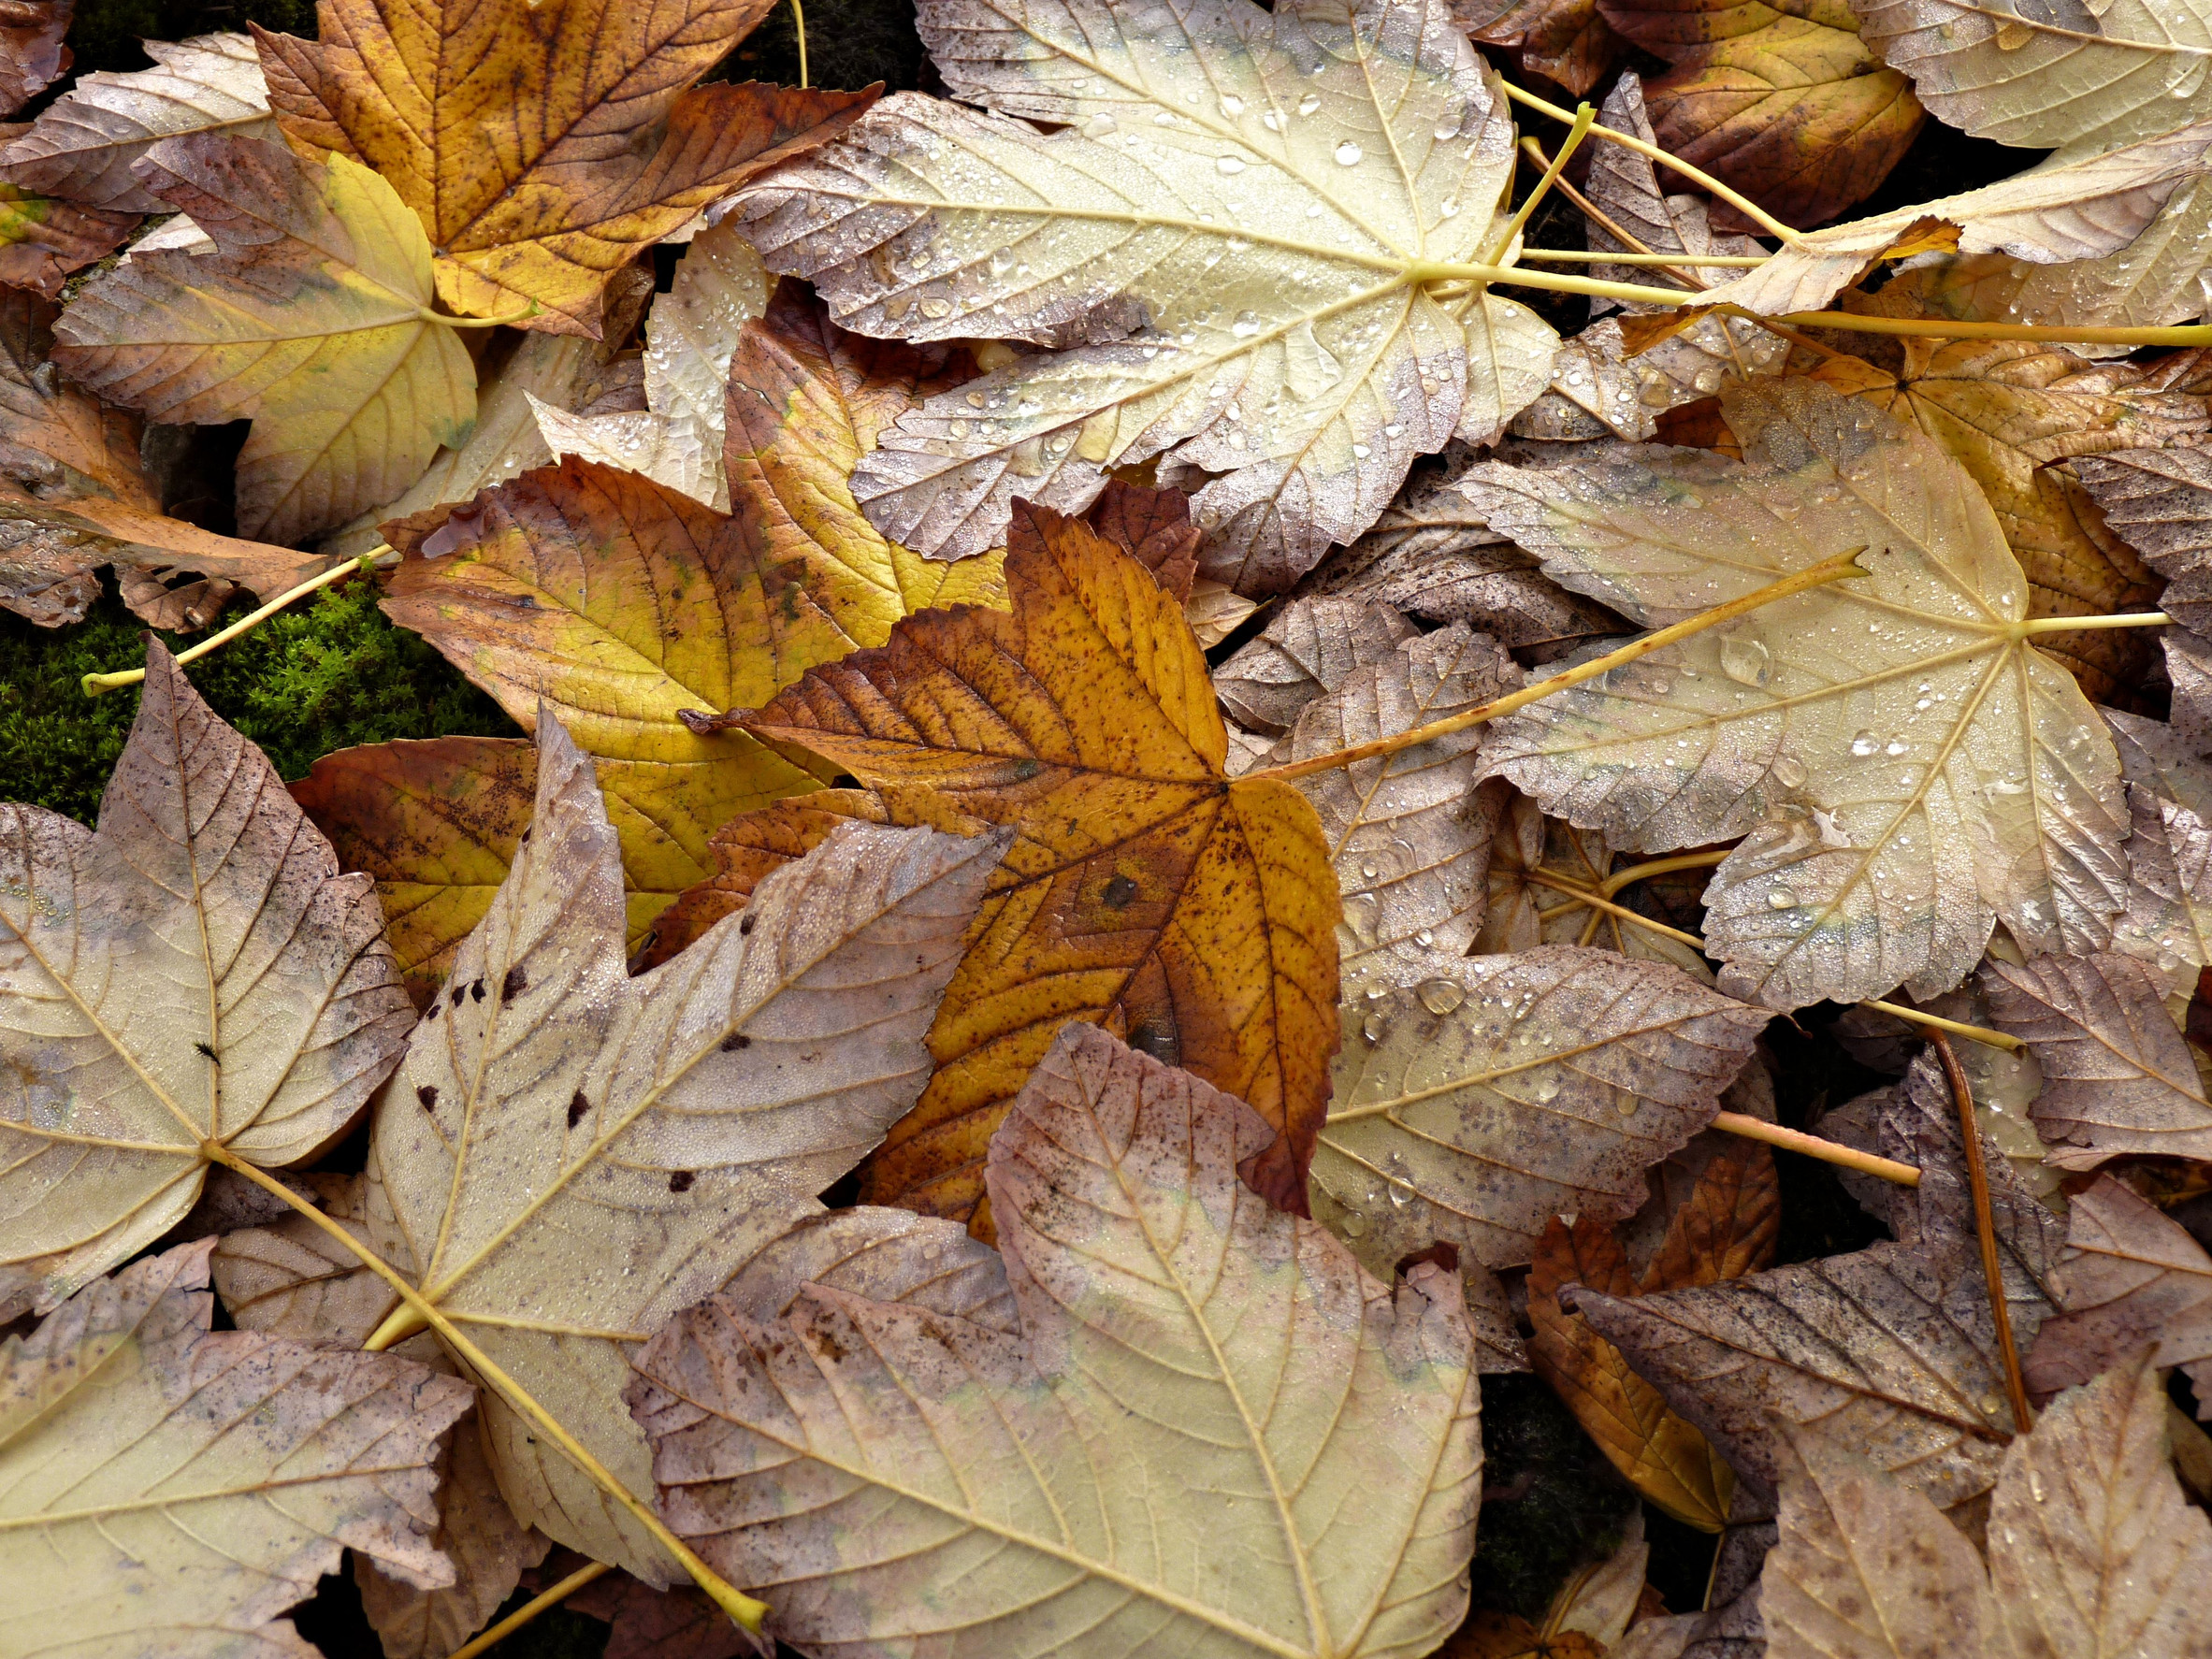
Whole leaves can mat together like soggy lasagna, trapping air and slowing decomposition. Shredding them speeds up the breakdown dramatically because it creates more surface area for fungi and microbes to work their magic. You can use a mulching mower, leaf shredder, or even run over the pile a few times with your lawnmower. If shredding sounds like too much effort, at least crumble them by hand to prevent big clumps. Smaller pieces mean faster results, and faster results mean less frustration.
Step 3: Keep It Moist (But Not Soggy)
Think of your leaf mold pile like a sponge—it should feel damp but not dripping wet. Too dry, and the fungi go dormant; too soggy, and you risk creating a slimy, smelly mess. A quick way to check is by grabbing a handful: if it clumps slightly but doesn’t ooze, you’re in the sweet spot. Watering occasionally, especially during dry spells, can keep the process moving along. A pile left to dry out will take years, while a well-moistened pile can break down in 12 to 18 months.
Step 4: Turn It…Sometimes
Unlike compost, leaf mold doesn’t need constant turning, but a little aeration goes a long way. Every few months, give the pile a gentle toss with a pitchfork or shovel. This prevents matting, introduces oxygen, and helps fungi spread evenly. If turning sounds like too much hassle, you can poke holes into the pile with a garden fork instead. Think of it as giving your leaf pile a nice breath of fresh air to keep the breakdown humming along.
Step 5: Add Extras to Speed Things Up
While leaf mold is traditionally just leaves, you can give your pile a turbo boost with a few extras. A sprinkle of finished compost or garden soil introduces more microbes to kickstart decomposition. You can also add grass clippings in thin layers—they supply nitrogen, which fungi love. Just don’t overload the pile with greens, or you’ll veer into compost territory instead of pure leaf mold. A dash of variety can mean the difference between waiting two years and enjoying results in one.
Step 6: Be Patient (But Not Too Patient)
Here’s the kicker: leaf mold takes time, even under the best conditions. Unlike hot compost, which can be ready in a few months, leaf mold is a slow fungal process. Depending on your climate, shredded leaves can take anywhere from 6 months to 2 years to become that dark, crumbly goodness. The good news is, even half-broken-down leaf mold is useful as a mulch. Don’t stress if it’s not “perfect”—your plants won’t complain.
Step 7: Harvest and Use Like a Pro
When your leaf mold is ready, you’ll know. It will be dark, earthy-smelling, and crumbly—no sign of its leafy origins. Spread it over your garden beds as a mulch, mix it into containers as a soil conditioner, or use it to top-dress lawns. Plants love it because it helps retain moisture and supports healthier root systems. The best part? You’ll feel like a backyard wizard, turning autumn litter into gardening treasure.
Your Garden’s Secret Weapon
Building a leaf mold pile that actually breaks down isn’t rocket science—it’s patience, moisture, and a little bit of shredding power. Too many gardeners give up after tossing leaves in a pile and waiting years for magic to happen, but with these steps, you’ll speed up the process and enjoy results much sooner. Leaf mold is free, effective, and one of the simplest soil boosters you can make at home.
Have you tried making leaf mold before? Share your tricks, stories, or questions in the comments section.
You May Also Like…
10 Perennials to Divide Before the First Frost
The Container Gardening Trick That Saves Space and Boosts Yield
Why Fall Is the Best Season to Start a Compost Pile
9 Vegetables You Should Still Plant in October
Using Shredded Paper As Garden Mulch
The post How to Build a Leaf Mold Pile That Actually Breaks Down appeared first on Frugal Gardening.