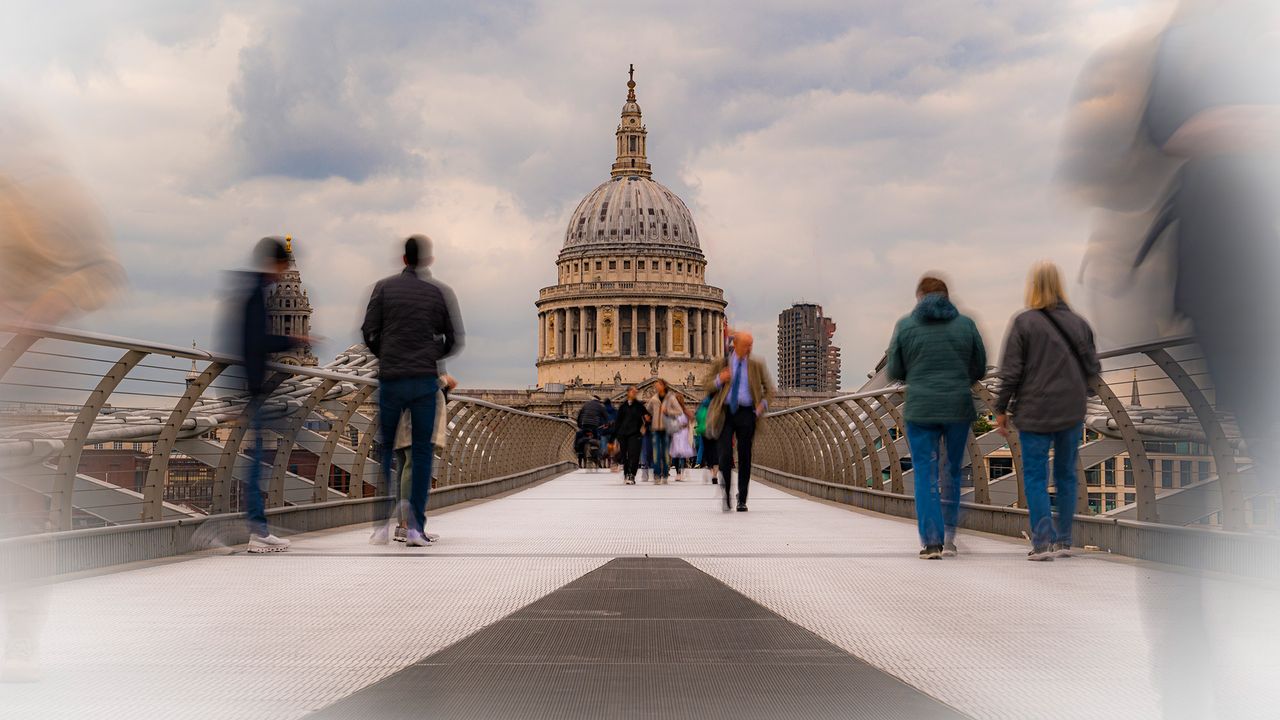
A bustling metropolis, such as London in the UK, provides a fascinating contrast of old and new, with modern glass-and-steel structures butting up against historic buildings. However, cities are also full of people, traffic, building work and other unsightly distractions that could spoil your shot.
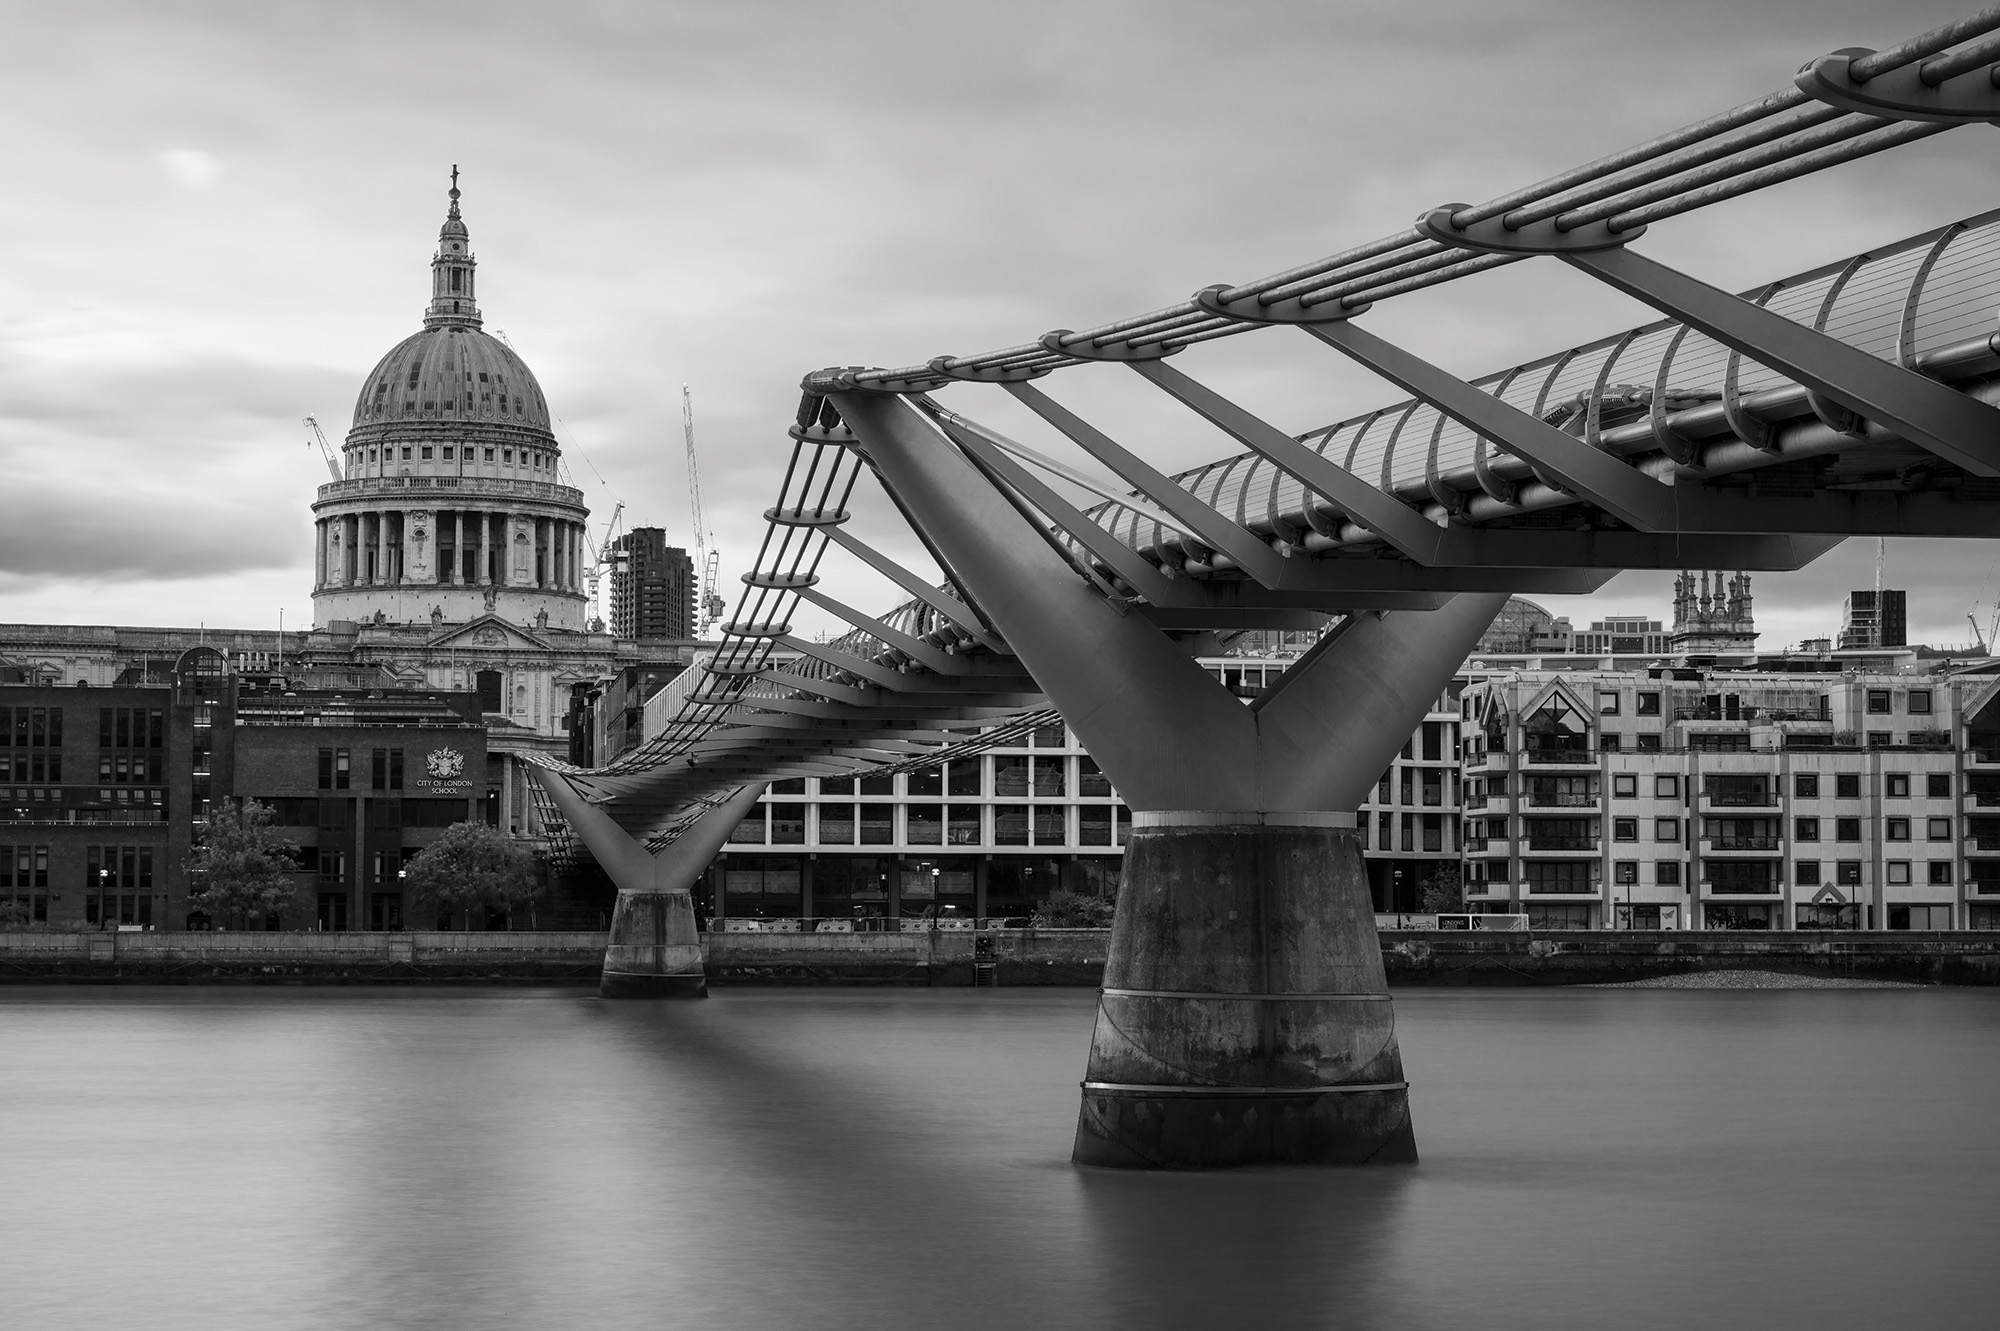
But employing the use of an ND (neutral density) filter can help blur moving elements, turning a choppy river into a smooth surface and making moving boats magically disappear (as in the shot below).
Or you can use them artistically to blur passers-by into ghostly shapes, to further emphasize the feel of a busy city while making individuals indistinct and unrecognizable.
How to blur crowds with a long exposure
1. Set up on a tripod
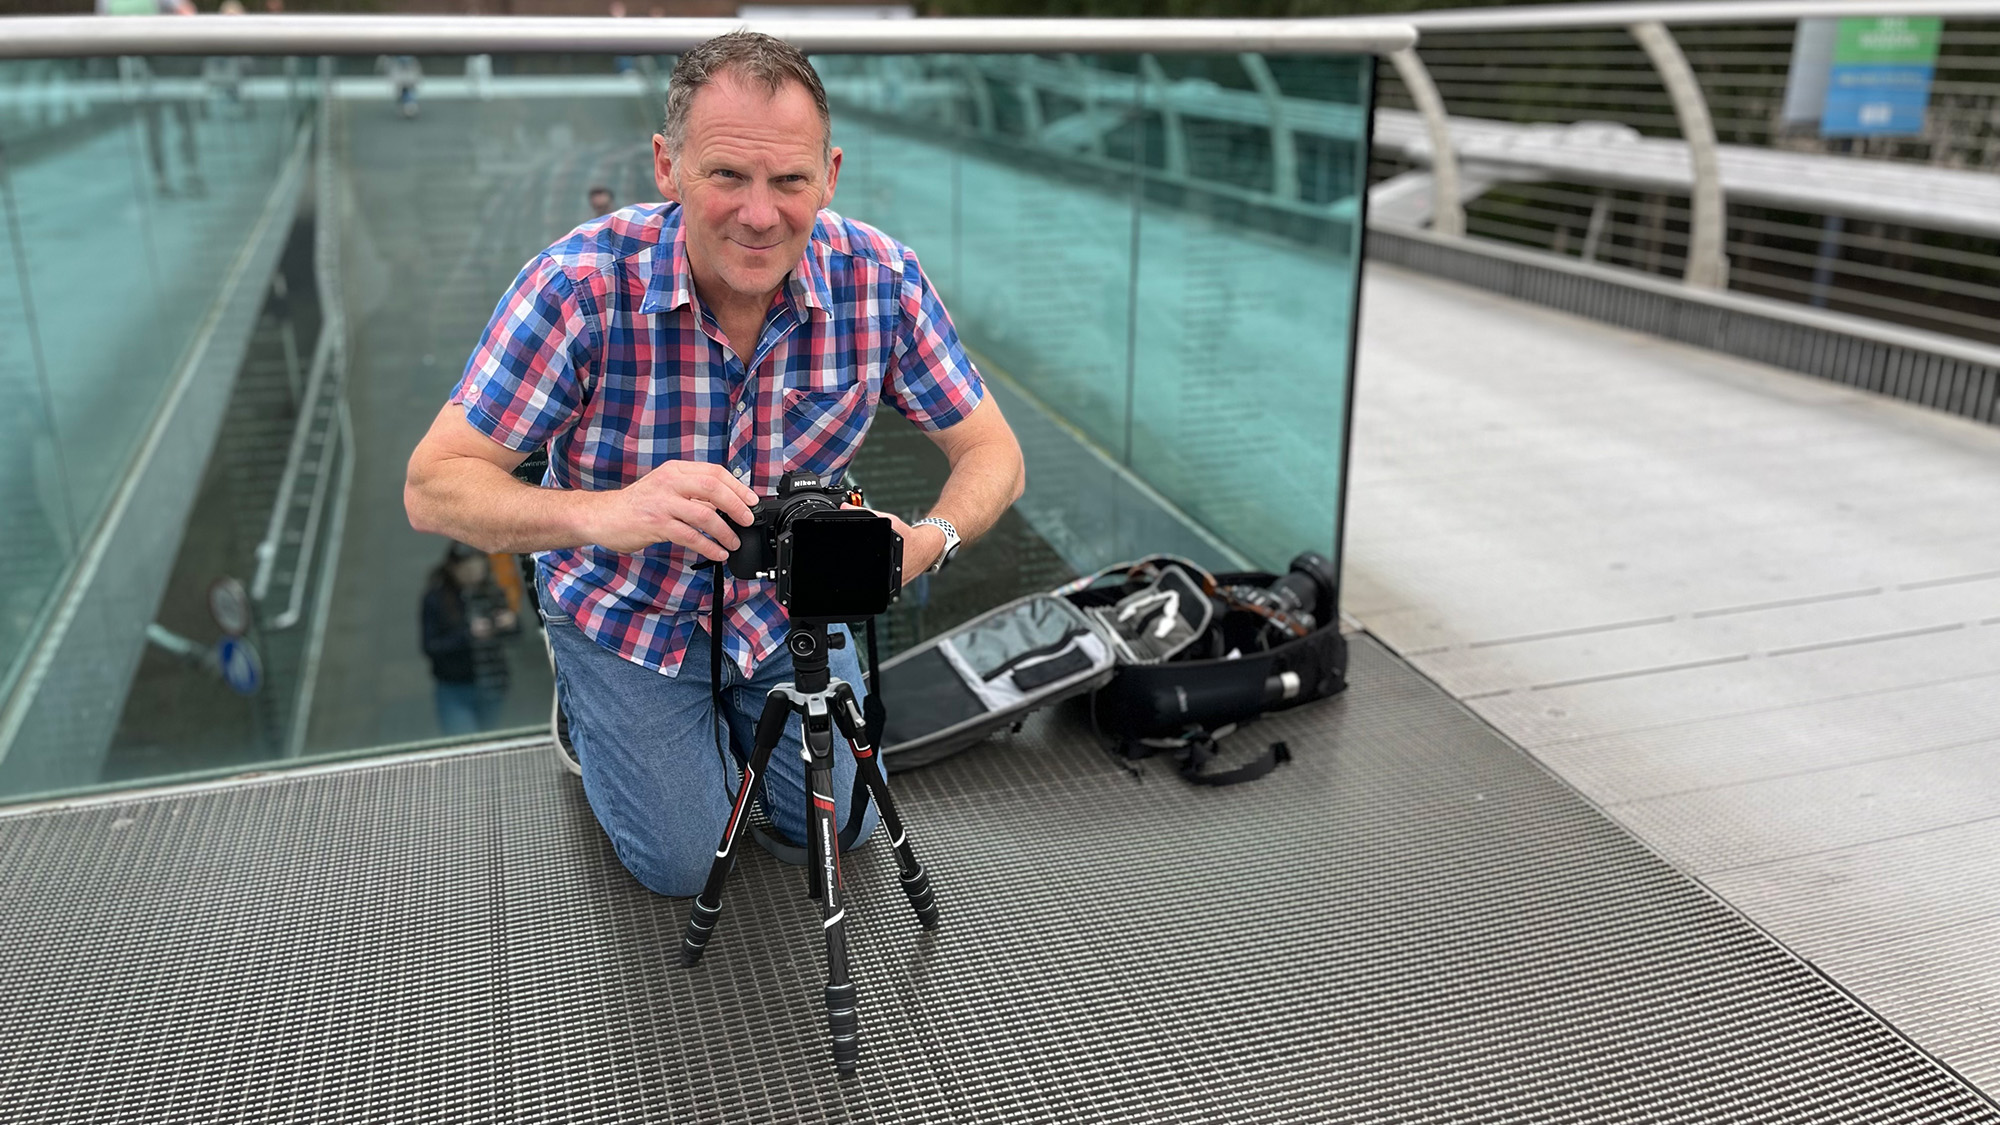
You’ll need to use a tripod for any long-exposure shot to not only avoid camera shake, but to get your composition spot-on. In the hustle and bustle of the city, this will require setting up out of the way of rushing pedestrians. Beware that shooting with tripods from private land is likely to incur the wrath of security, so try to set up in as unobtrusive a spot as you can.
2. Camera settings

Use manual mode so you have full control over aperture and shutter speed. Set a narrow aperture, such as f/11-f/16, which will maximize your depth of field and give you a head start when it comes to slowing your shutter speed down. Select your camera’s lowest ISO and set Exposure Delay Mode, the self-timer or use a remote shutter release to help avoid camera shake.
3. Which ND filter?
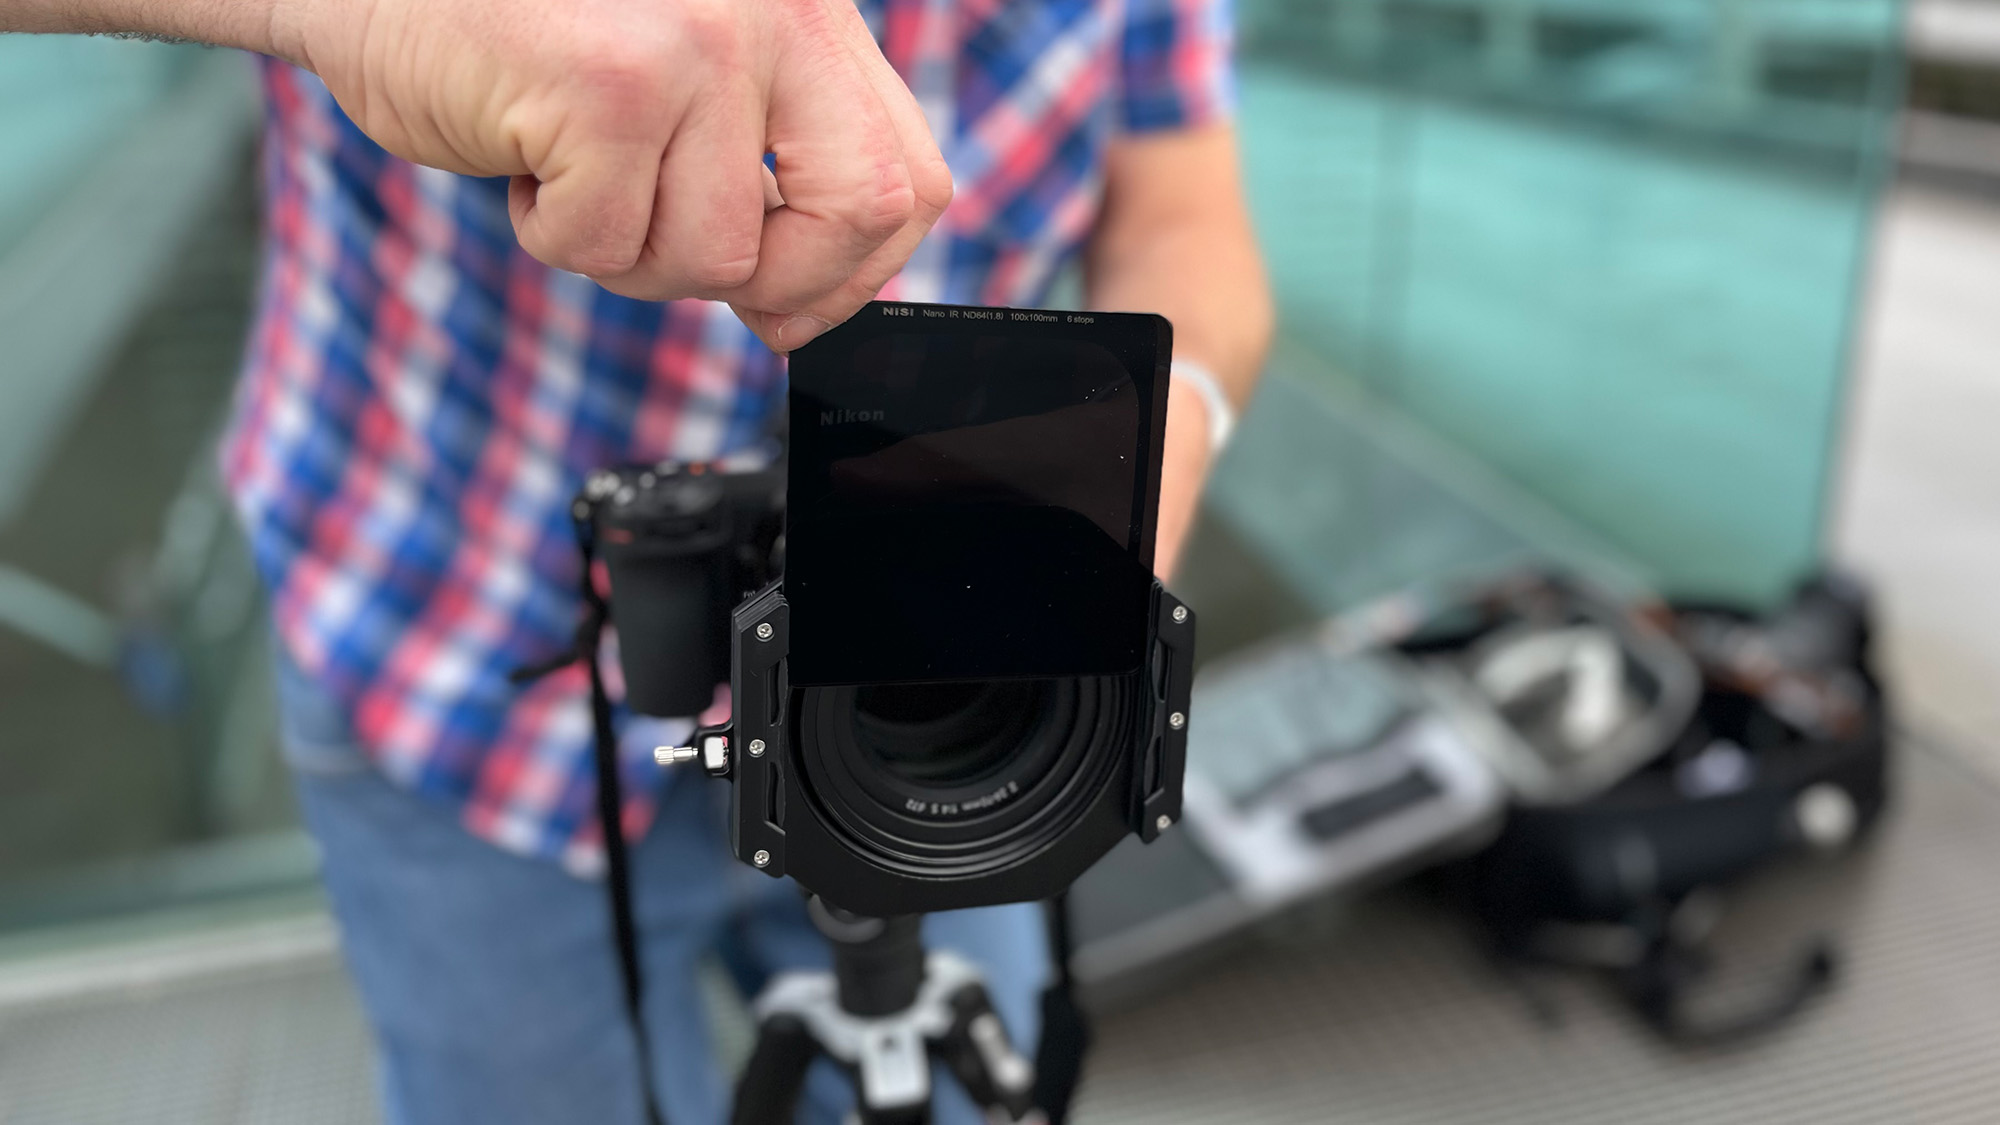
Neutral density filters typically come in 3-, 6-, and 10-stop varieties; the one you use will depend on how much you want to slow the moving elements in the scene and the available light. To turn people into ghostly shapes, I used a 6-stop ND and a shutter speed of 1.6 secs. To smooth the water when shooting the Thames, I used a 10-stop ND for a 15-sec exposure.
4. Correct your composition
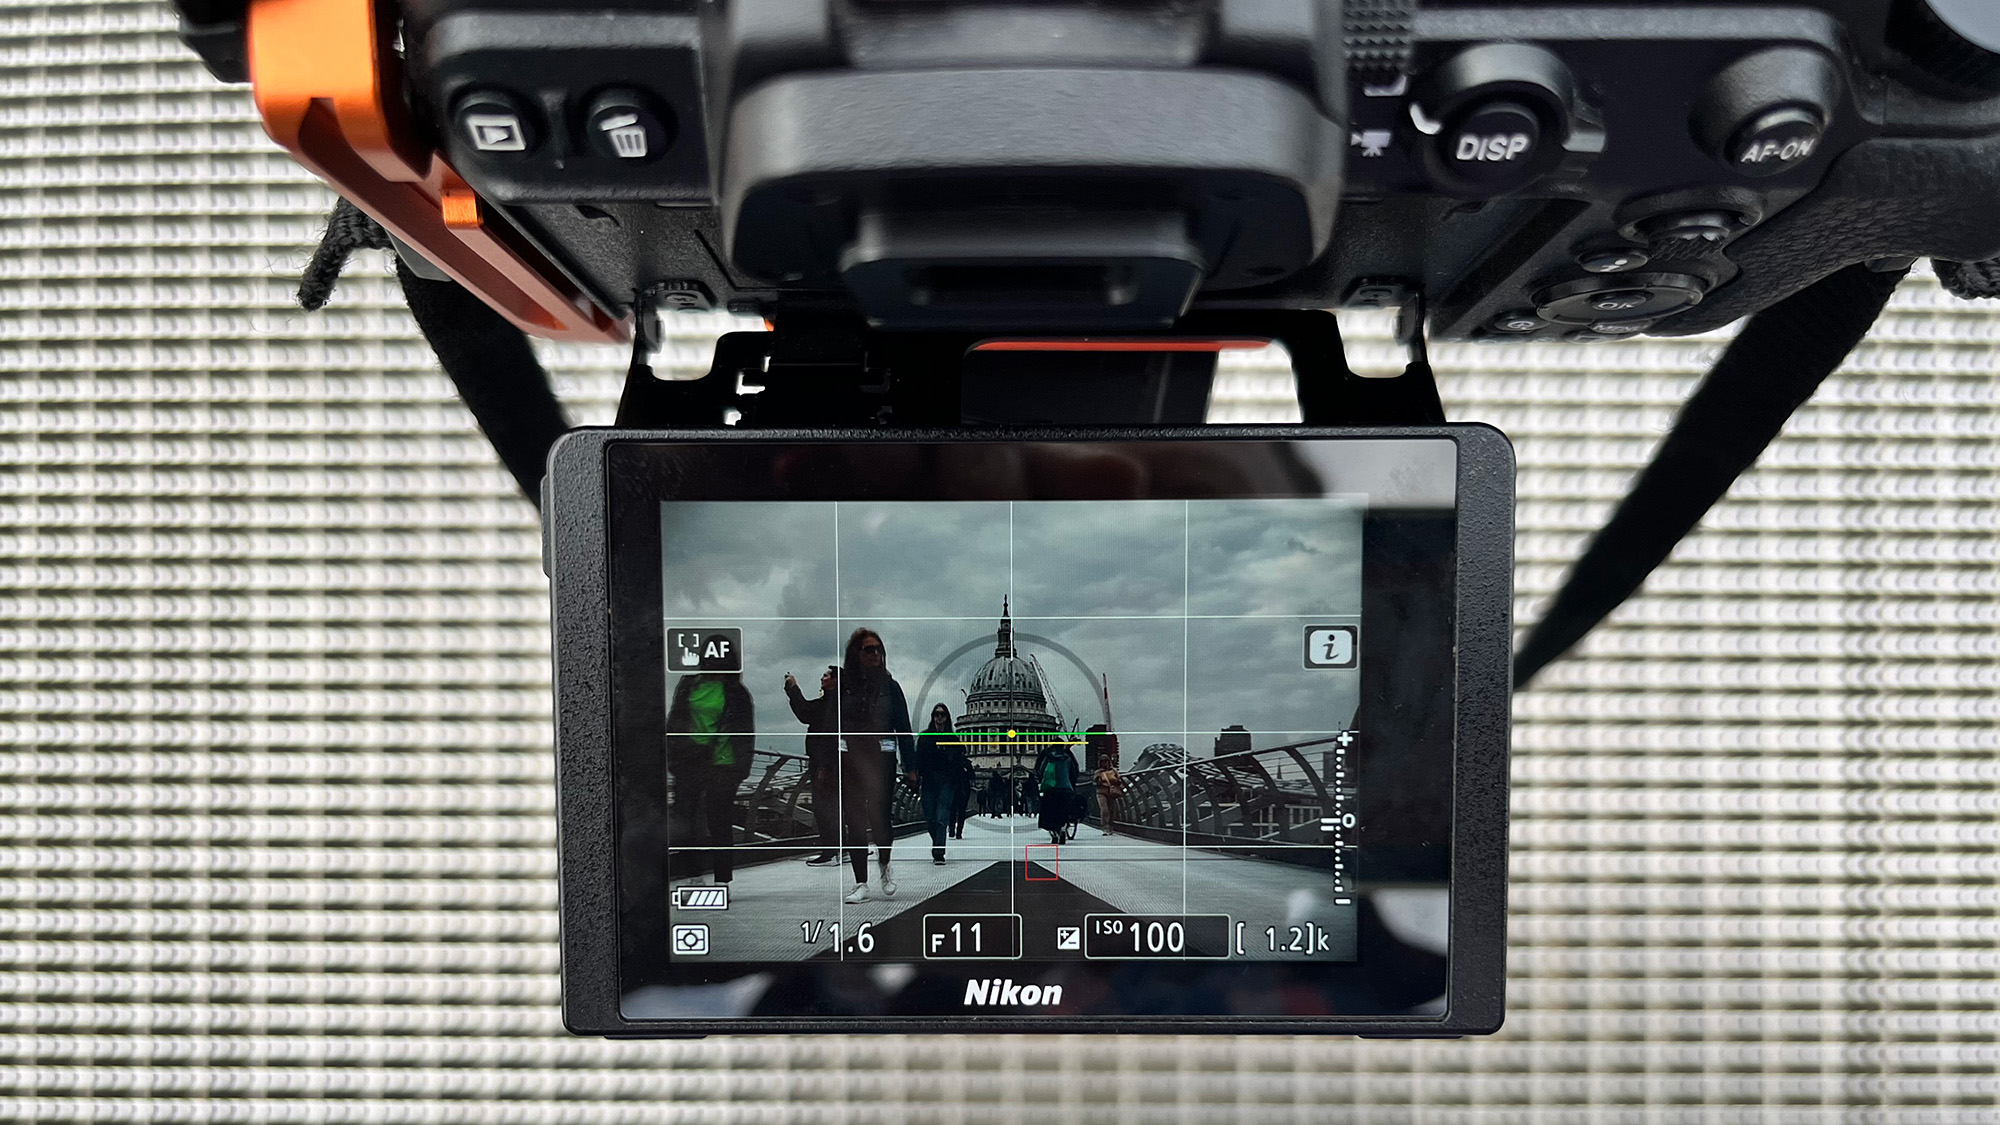
Using Live View, select the 4x4 grid display to help compose your shot. Here I used it to ensure that St Paul’s Cathedral was slap-bang in the middle of the frame using the central vertical line, while the outer lines were used for handy reference points. I also used the in-camera level to ensure that the composition was perfectly square-on.
5. Try black and white
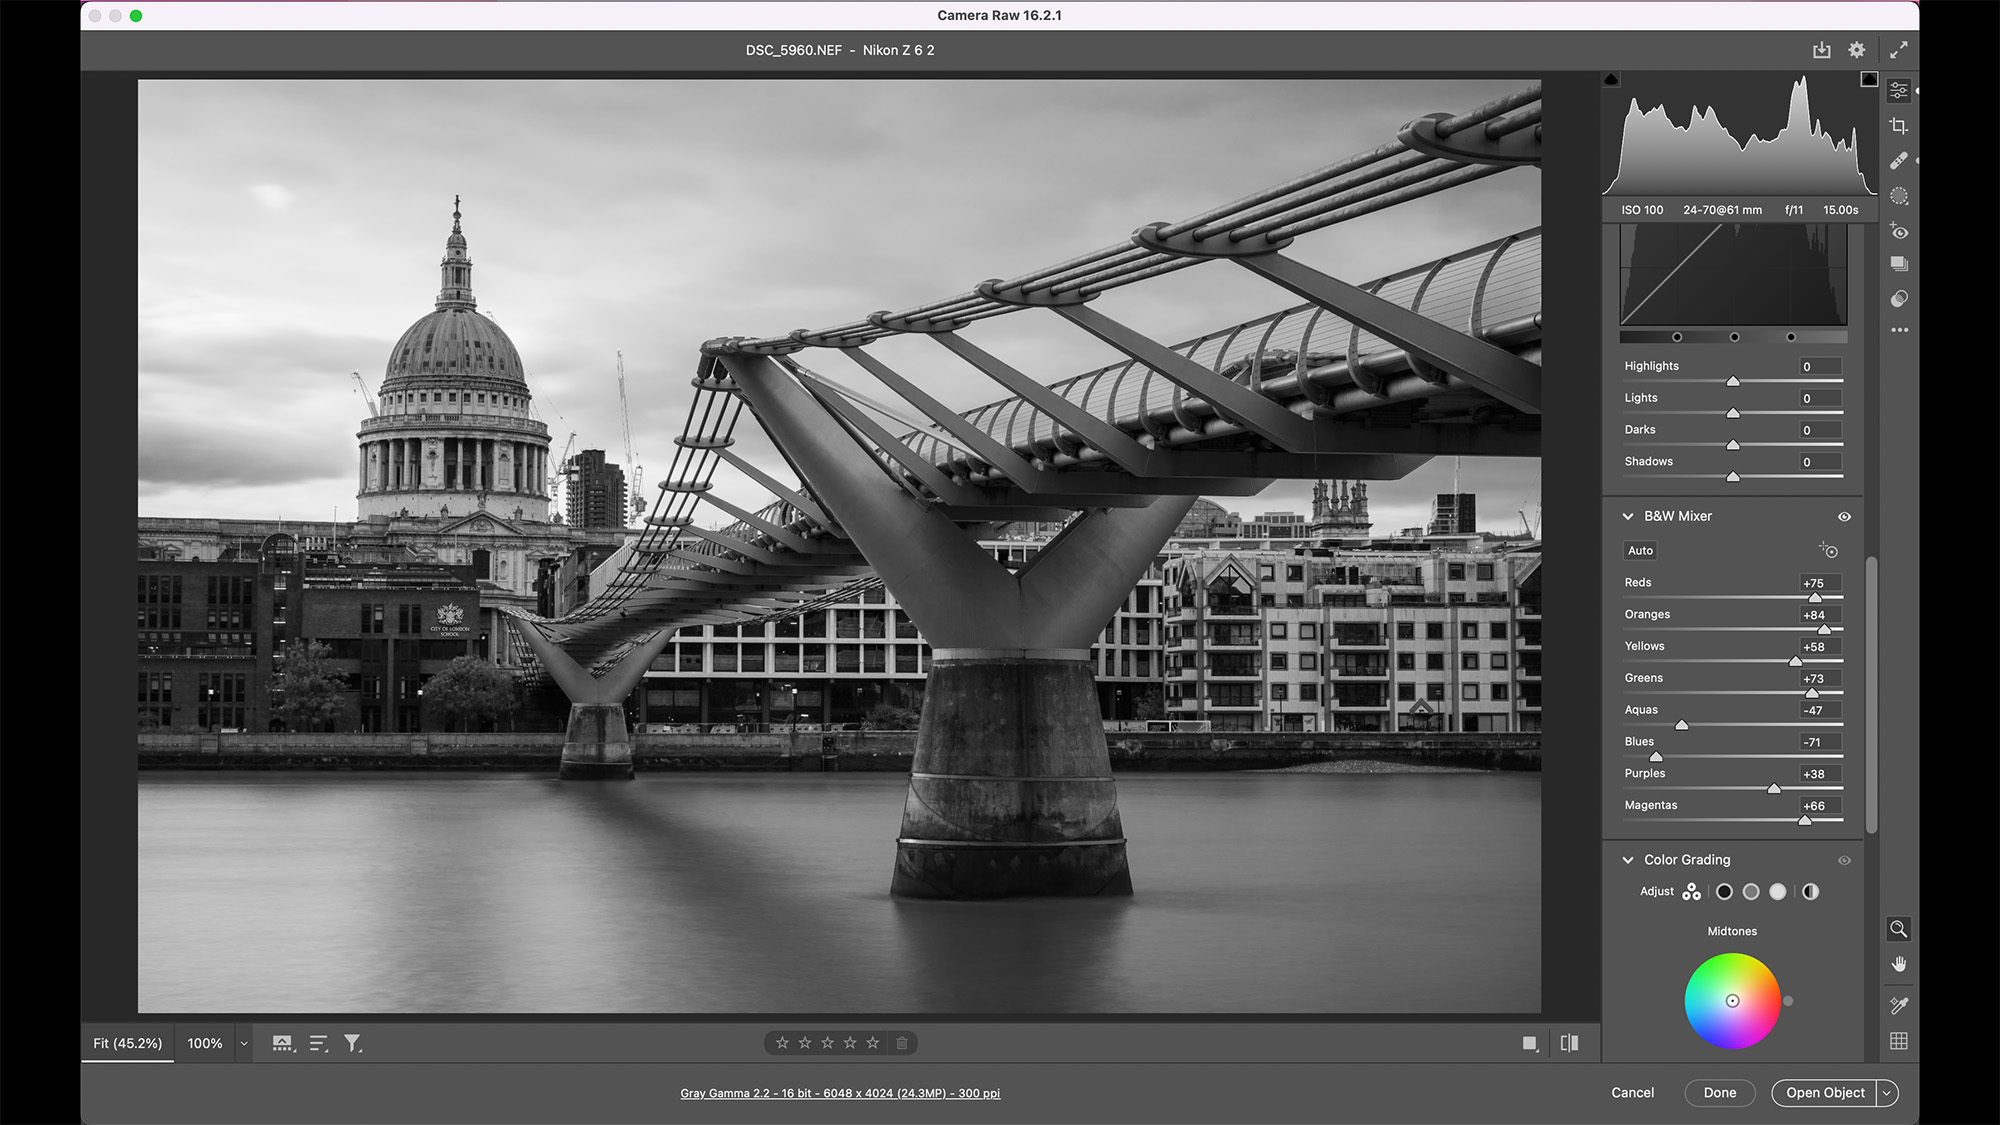
A monochrome conversion simplifies the scene and can help hide distractions. For greater control, use Adobe Camera Raw’s B&W Mixer panel to determine how colours are rendered in monochrome. Decreasing Blues and Aquas helped to accentuate the sky, while increasing Reds, Oranges and Yellows lessened the impact of buildings and bright-red cranes.
6. Remove distractions
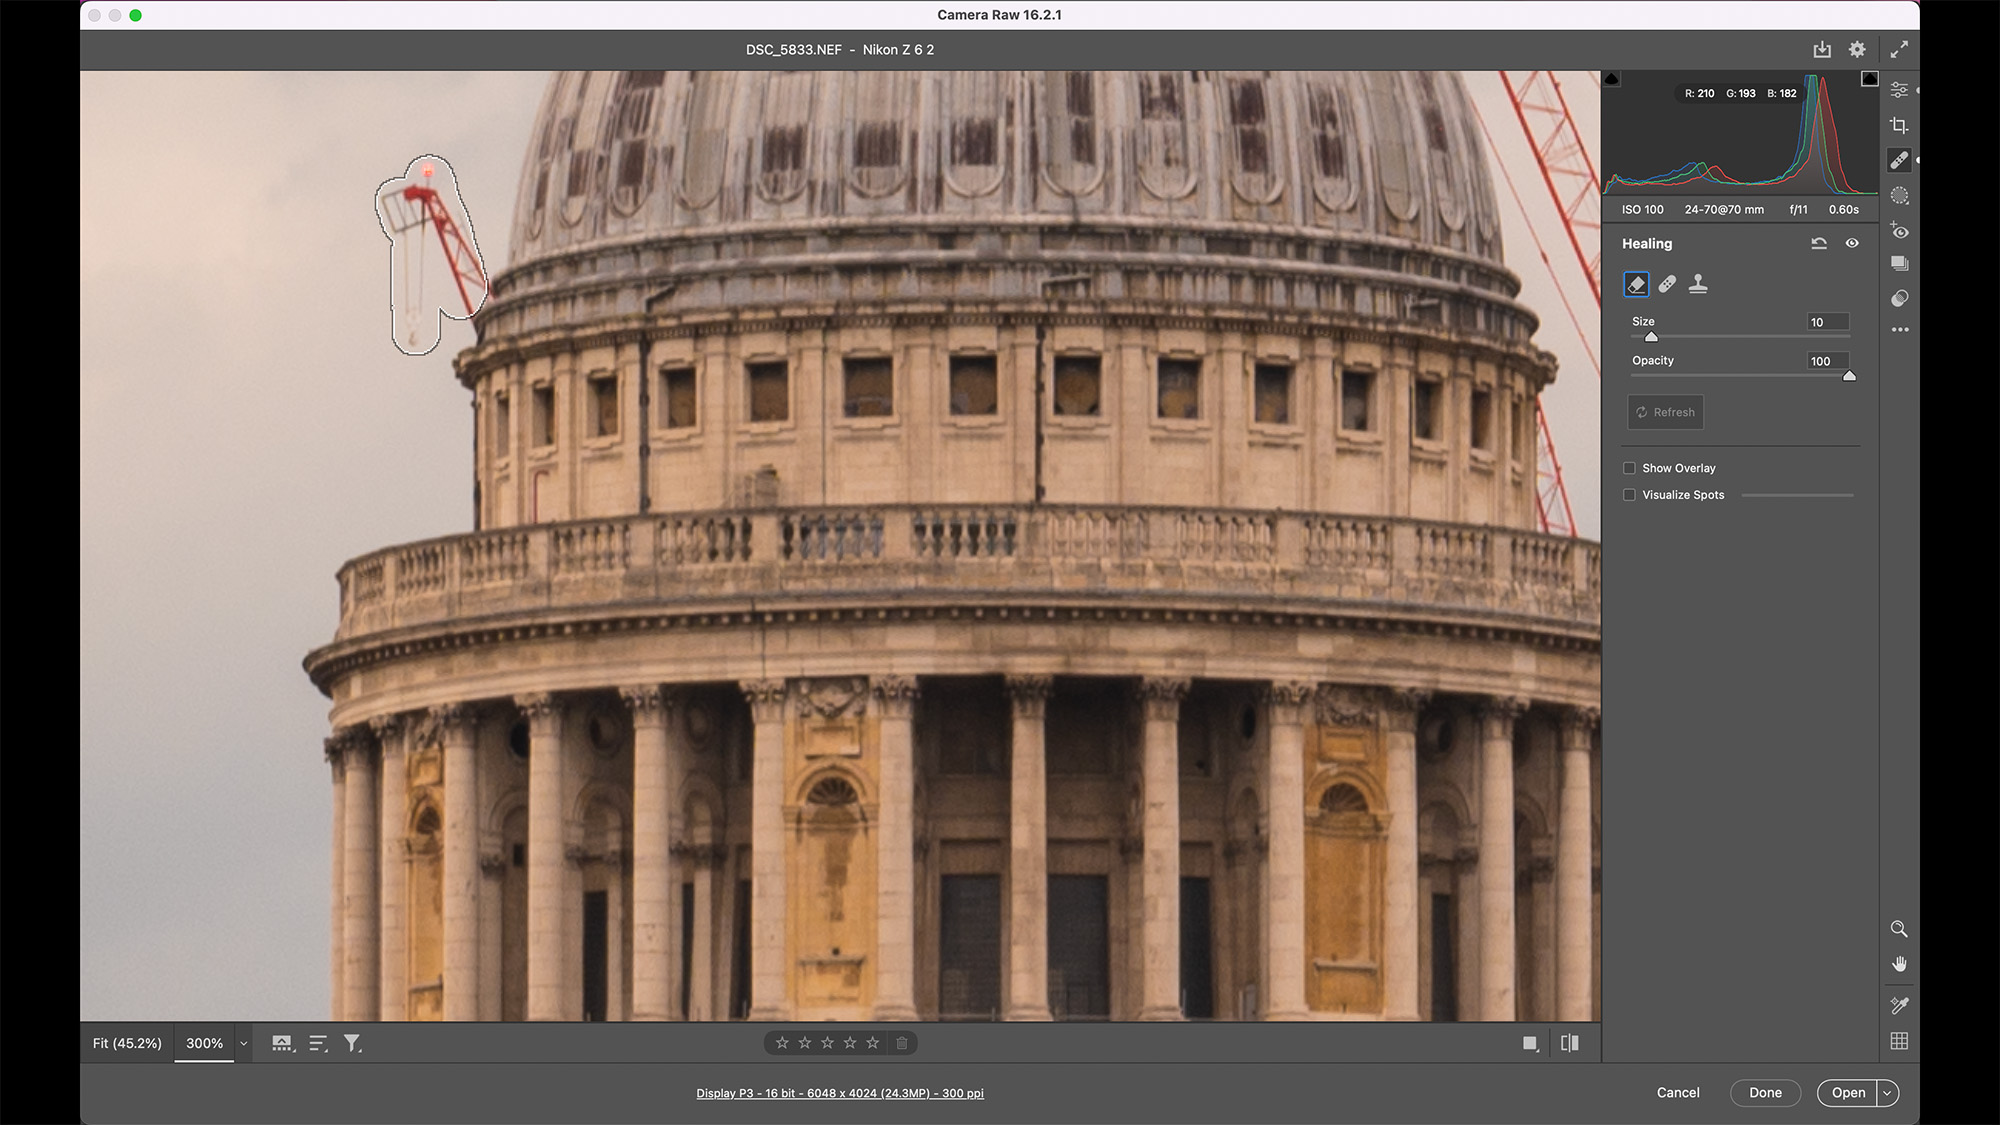
Cities are constantly evolving, with new buildings popping up all the time. Unfortunately, all this building work means towering cranes can create an annoying blight on the city skyline. I used ACR’s Healing Brush with Content Aware Fill to remove them, filling the pixels with sky-like textures. I also got rid of the odd bright-orange carrier bag or two.
You might also like...
Want to learn more about urban photography? Here are 10 tips for urban city shots. Maybe you're into photographing buildings specifically. Here are 5 tricks and settings I use when I shoot architecture for my travel photography. And if people are more your thing, here's how to get started in street photography.