With the festive party season still in full swing, you will no doubt be wanting to be looking your very best as the bells ring in for 2023.
But with hairdresser and salon appointments hard to come by at this time of year, you may be worrying about how your hair will look on New Year's Eve.
Achieving a salon-worthy blow dry may seem difficult to achieve, but hairdresser Ricky Walters has shared a simple guide that you can do at home.
Speaking to The Mirror, the owner of SALON 64 in London broke the process down so you can tame your hair to look like it's been done by a professional.
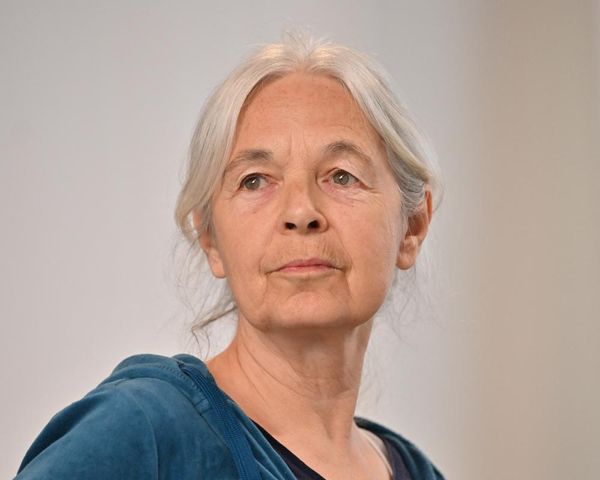
Ricky demonstrated the process on model Danielle Copperman Sersoub (@dcopperman). Here's a step-by-step guide.
1. Wash your hair
He started by shampooing twice before adding a little conditioner through the lengths and ends, avoiding the roots. He then added a 'workable' volume spray and a heat protector before carefully detangling the wet hair.
2. Rough dry
Ricky kicked off the blow dry with a 'rough dry'.
"A few tips, slow speed and hot heat is key," explains Ricky. "People often think when you rough dry hair you just kind of blast it in any direction but actually you can achieve so much with just rough drying hair.
"The rule is lift up for volume, so lift those roots and really work the roots if you want to achieve volume in your hair. Ignore your parting, you can put that in at the end."
He proceeds to rough dry Danielle's hair until it is 80 to 90 percent dry, ensuring that the hair he is drying in sections is given volume by lifting the roots up and away from the head on a slow speed, but with high heat.
3. Use a round brush
This is where the tricky bit comes in, as it's time to grab your round brush.
"A huge factor when rough drying hair is how much time it saves you. You would never want to get a brush involved on soaking wet hair," says Ricky.
And when it comes to brushes, you have to be careful with the ones you pick. Metal brushes aren't great for the hair as they get hot when used with hairdryers, so the expert opts for wooden round brushes - and size matters too.
The bigger the brush the straighter the look, the smaller the brush, the curlier the look.
4. Start with sections
The pro advises starting at the front if you have bangs or shorter face-framing pieces.
"The first thing to do is pretend that you have no parting and just separate them from the rest of the hair and then you're going to blow dry them all forwards with a large brush, with a little air through the back and front. Then when you let them down, you'll get a cool shape around the face."
For this particular style, we were aiming for a glam, party vibe so start blow drying from the top with the bigger brush, lifting up again at the roots and pulling upwards, trying to keep maximum tension in the section as we go.
Each section then gets pushed over the opposite way from where the hair would naturally lie, to add more volume on top.
5. Use the 'moulding' technique
When you're done with your sections and your hair is almost dry, this is when you switch to your small round brush to work on a 'moulding' technique to create curls/waves.
"So it's all about moulding the brush like a roller on a stick," Ricky explains. "You pull the hair around it, but you don't want to brush the hair too much, just get those ends tucked in and then wrap it around and use the hairdryer to heat it up as you go.
"Unravel it and do the exact same thing over again on that piece of hair, until it's 100 percent dry."
He continues: "We're slow cooking the hair, we're moulding it, but we're definitely not brushing because brushing smooths it out, but we want to retain curls."
Repeat the moulding process around the head for each section, creating curls until you're done, but be sure never to take a section of hair that's wider than the brush, as this could leave your hair in nasty tangles.
6. Pin the curls
There's another step you can take that will mean you can continue getting ready for a party without worrying about your curls all falling out before you leave.
For this, you would do the exact same moulding technique, but when you unravel the curl from the brush instead of leaving as is, you pin it up onto your head to create a pin curl.
Ricky demonstrates this on Danielle's hair, taking a section that's been moulded and curling it back up to her scalp, wrapping it around two fingers as he goes and then clipping it into place.
Repeat with all the hair until it's all pinned up, then spray with a flexible hold hairspray and leave it for as long as you can to set the curls.
When you're ready to take all the clips out and free the curls, it's then up to you whether you want to leave them as they are, or 'tone it down a bit' for a more relaxed wave.
Don't miss the latest news from around Scotland and beyond - sign up to our daily newsletter here.