If you're looking for a way to refresh an old glass-fronted sideboard, cupboard, or even wardrobe, then this guide on how to update a display cabinet, will talk you through the simple steps.
An easy diy project, it only takes a couple of hours to complete and will leave you with a piece of furniture that looks much more luxe than when you started. Plus the costs can come in at under £20!
One of the designs that is inspiring this hack, is the Morillo 2 door glass display cabinet, £340, Habitat. It's stunning, contemporary looks are sure to make a style statement in any home and it's firmly at the top of our lust-list. But if your budget doesn't currently stretch to buying new, this clever update could be a way to cheat the look.
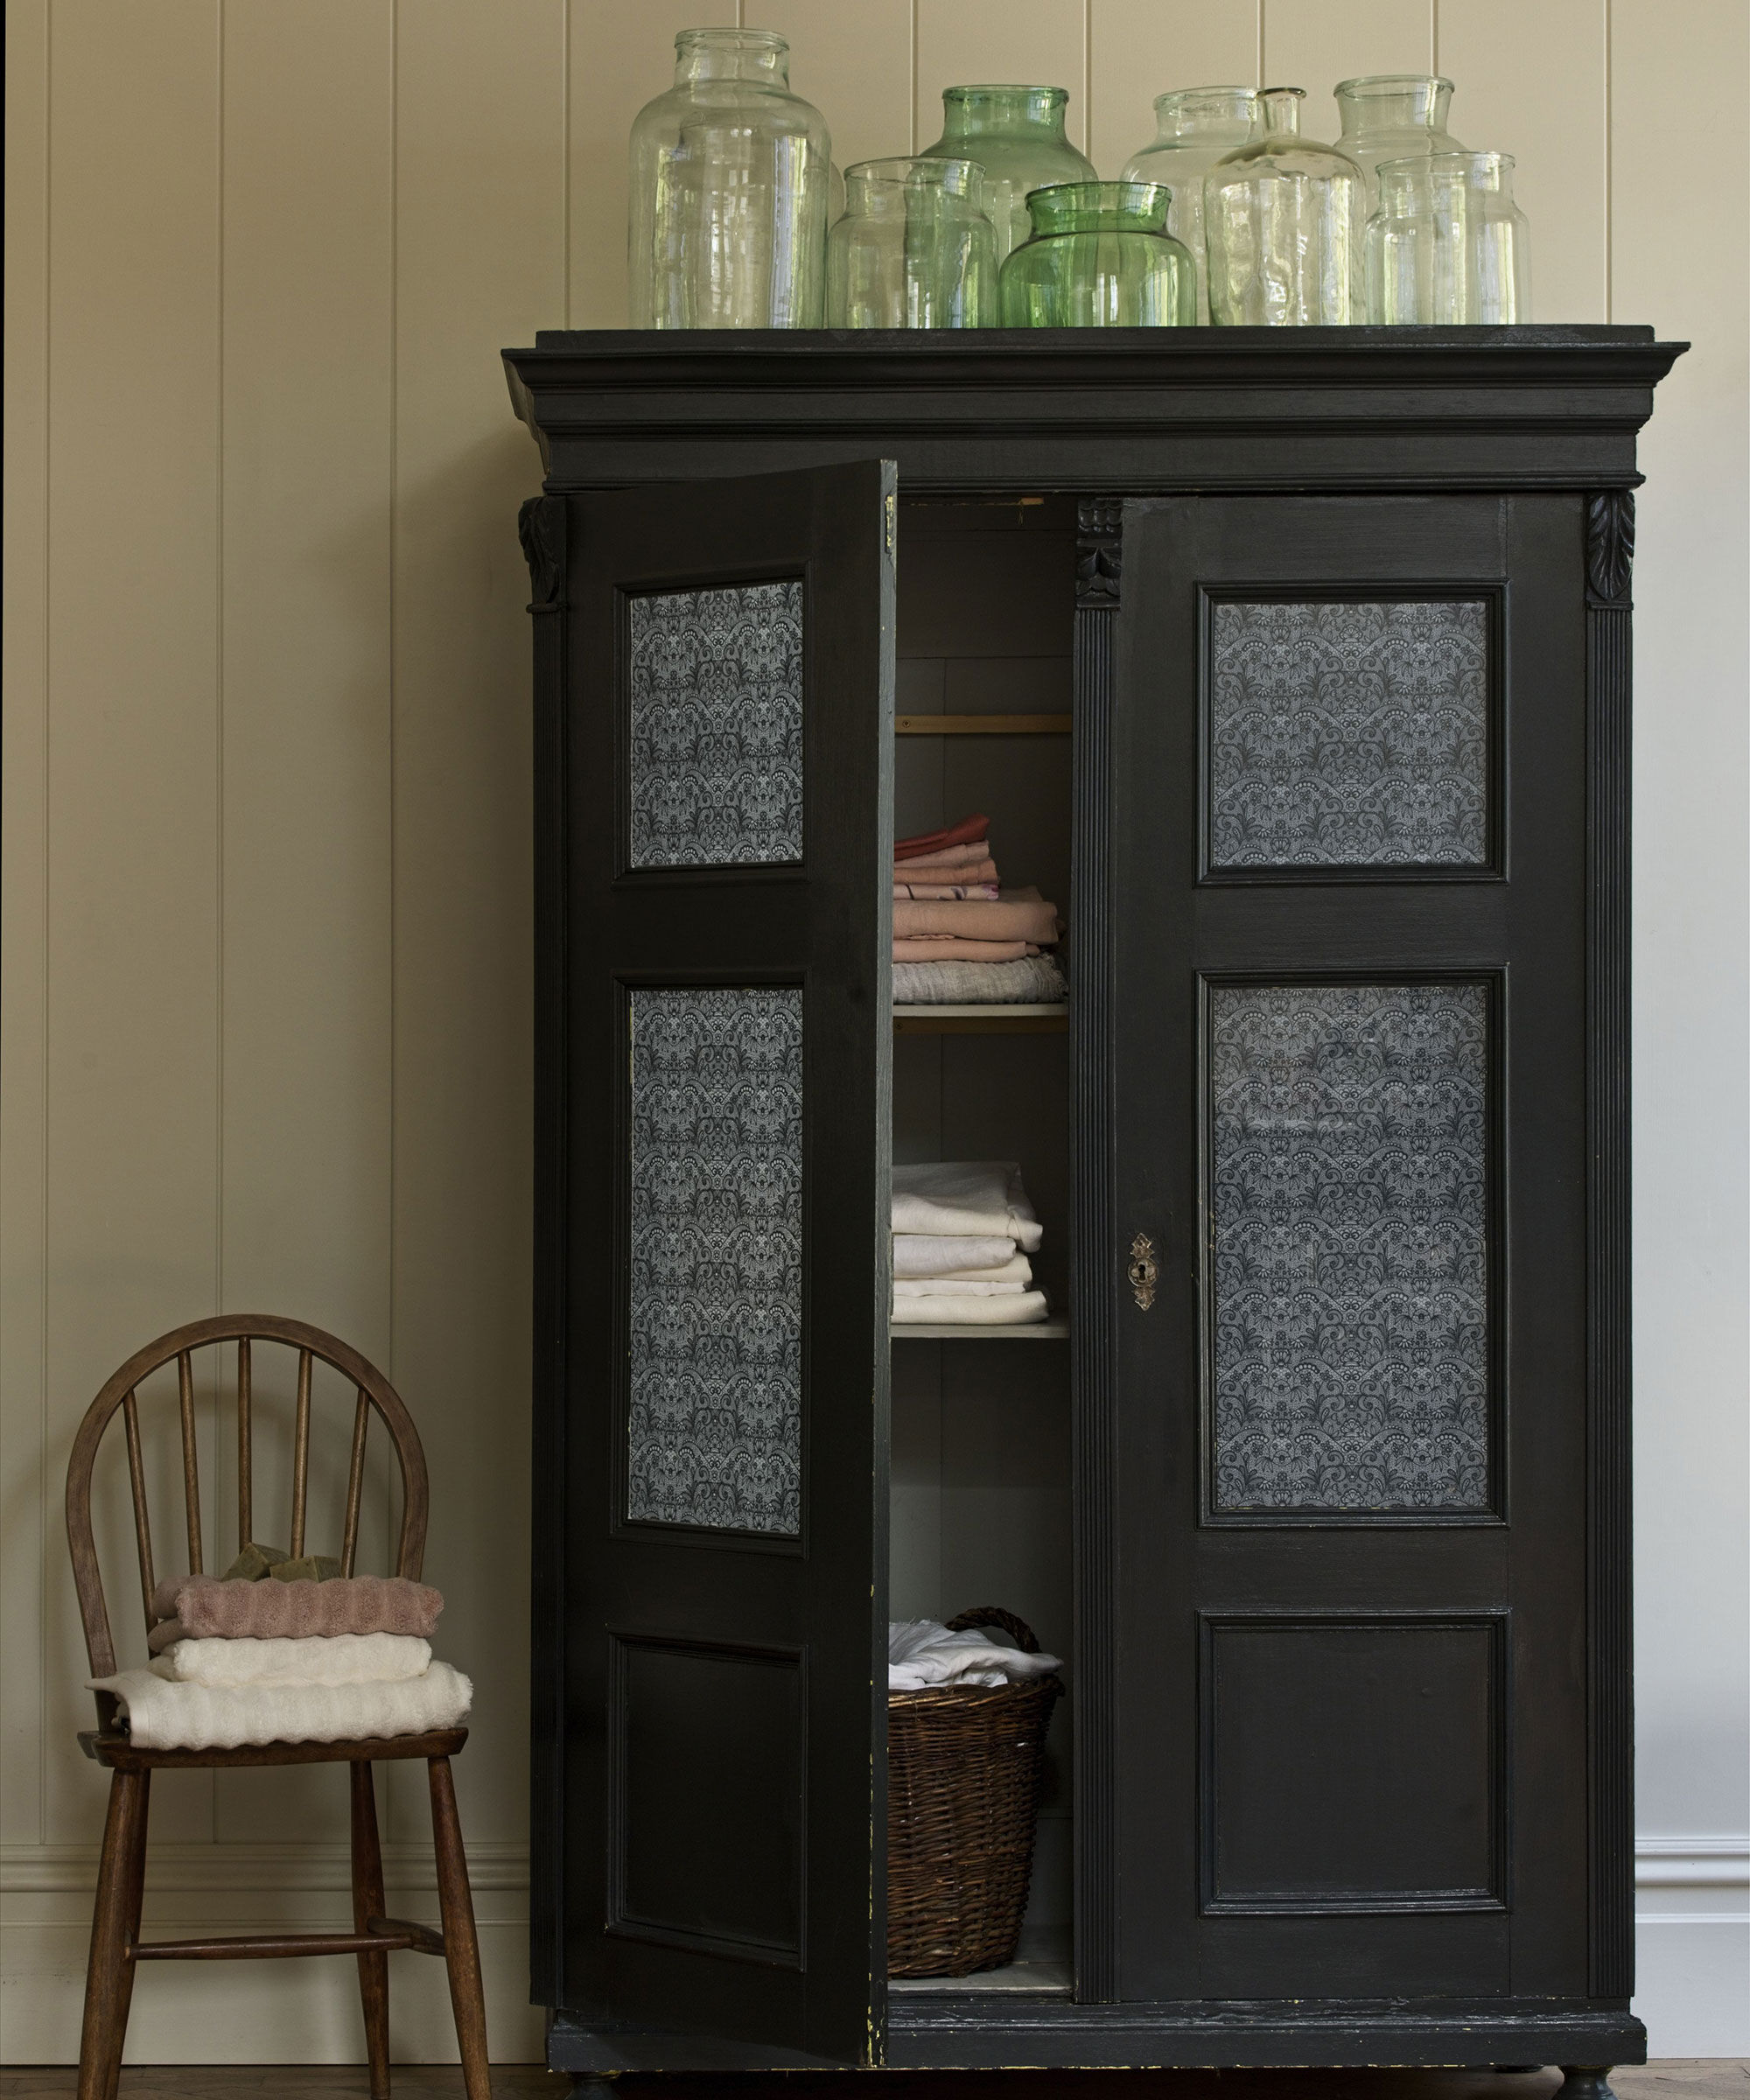
While glass-fronted cupboards and cabinets are great for keeping a check on what you have inside, they can also be hard to keep looking neat 24/7, so the addition of window film can certainly help with this.
Joanna Baumard, Co-founder of Purlfrost says, 'Cupboards are a great place to start when tidying your home, however sometimes even the most organised glass-fronted cabinet can look a little unsightly at times.'
'To give your storage a stylish upgrade, add a decorative window film, as this will reduce visibility inside the cupboard and limit the urge to throw out more than you really need to.'
How to update a display cabinet

While there are many styles of window film available on the market, one finish that is proving hugely popular at the moment is a reeded effect.
Joanna explains, 'Reeded glass has taken the interior world by storm. A fluted style window can often come with a hefty price, not to mention the upheaval of having it fitted. Thankfully that’s where window film coverings come to the rescue, not only are they affordable and easy to install, you’d never guess the glass wasn’t an original. This easy update gives your cabinet a designer-feel in minutes.'
With that in mind, here is our step-by-step guide to applying this simple decoration to your furniture in minutes.
What you'll need
- Your chosen window film
- Scissors
- Craft knife
- Microfibre cloth
- Glass cleaner
- Spray bottle of water
- Squeegee
1. Cut your film to size
Start by carefully measuring your glass pane and using the scissors or craft knife, cut your film to size. Give yourself an extra 1-2cms along the bottom to allow for sliding the film into place.
We love this reeded glass film, from £14.38, Purlfrost.
2. Clean the glass

Next give the glass pane a good clean with a microfibre cloth and glass cleaner.
'The principle of how to install a window film is always the same, whether it’s frosted, decorative or reeded', explains Joanna.
'First start by cleaning your existing glass pane. This is an important step as the film works best on a clean surface. If needed, use a glass scraper to remove specks of paint, or any other glass covering like stickers.'
3. Wet the glass with a slip solution
'Make a slip solution using a few drops of washing up liquid mixed with water in a spray bottle', advises Joanna. 'This same solution can be used to clean the window, but it also helps with the application.'
'Thoroughly wet the glass with the slip solution, spraying it all over the surface.'
4. Cover the film with water too
'Next, place the window film face down an a flat surface and expose a small amount of the adhesive or cling side,' continues Joanna.
'Spray the adhesive or cling side liberally with the slip solution as you peel off the protective liner.'
5. Apply the film to the glass
'Attach the adhesive or cling side of the film on to the glass, butting one edge and the top against the glass frame.'
'Next, liberally wet the face of the film with the solution to act as a lubricant for your squeegee, then squeeze out the solution from under the film using a firm and even pressure, starting from the top and working your way down and across the film,' Joanna explains.
6. Trim the film and check for air pockets
Once your have smoothed out the film and are happy with its positioning, trim any excess with a craft knife.
Joanna adds, 'Run a credit card and a retractable knife blade down the edge of the glass to trim any excess film. The thickness of the card will allow for a small gap to help any remaining solution to be squeezed out.'
'Once trimming is complete go over the film once more to squeeze out all the solution.'
Finally, wipe away any remaining solution with a paper towel.
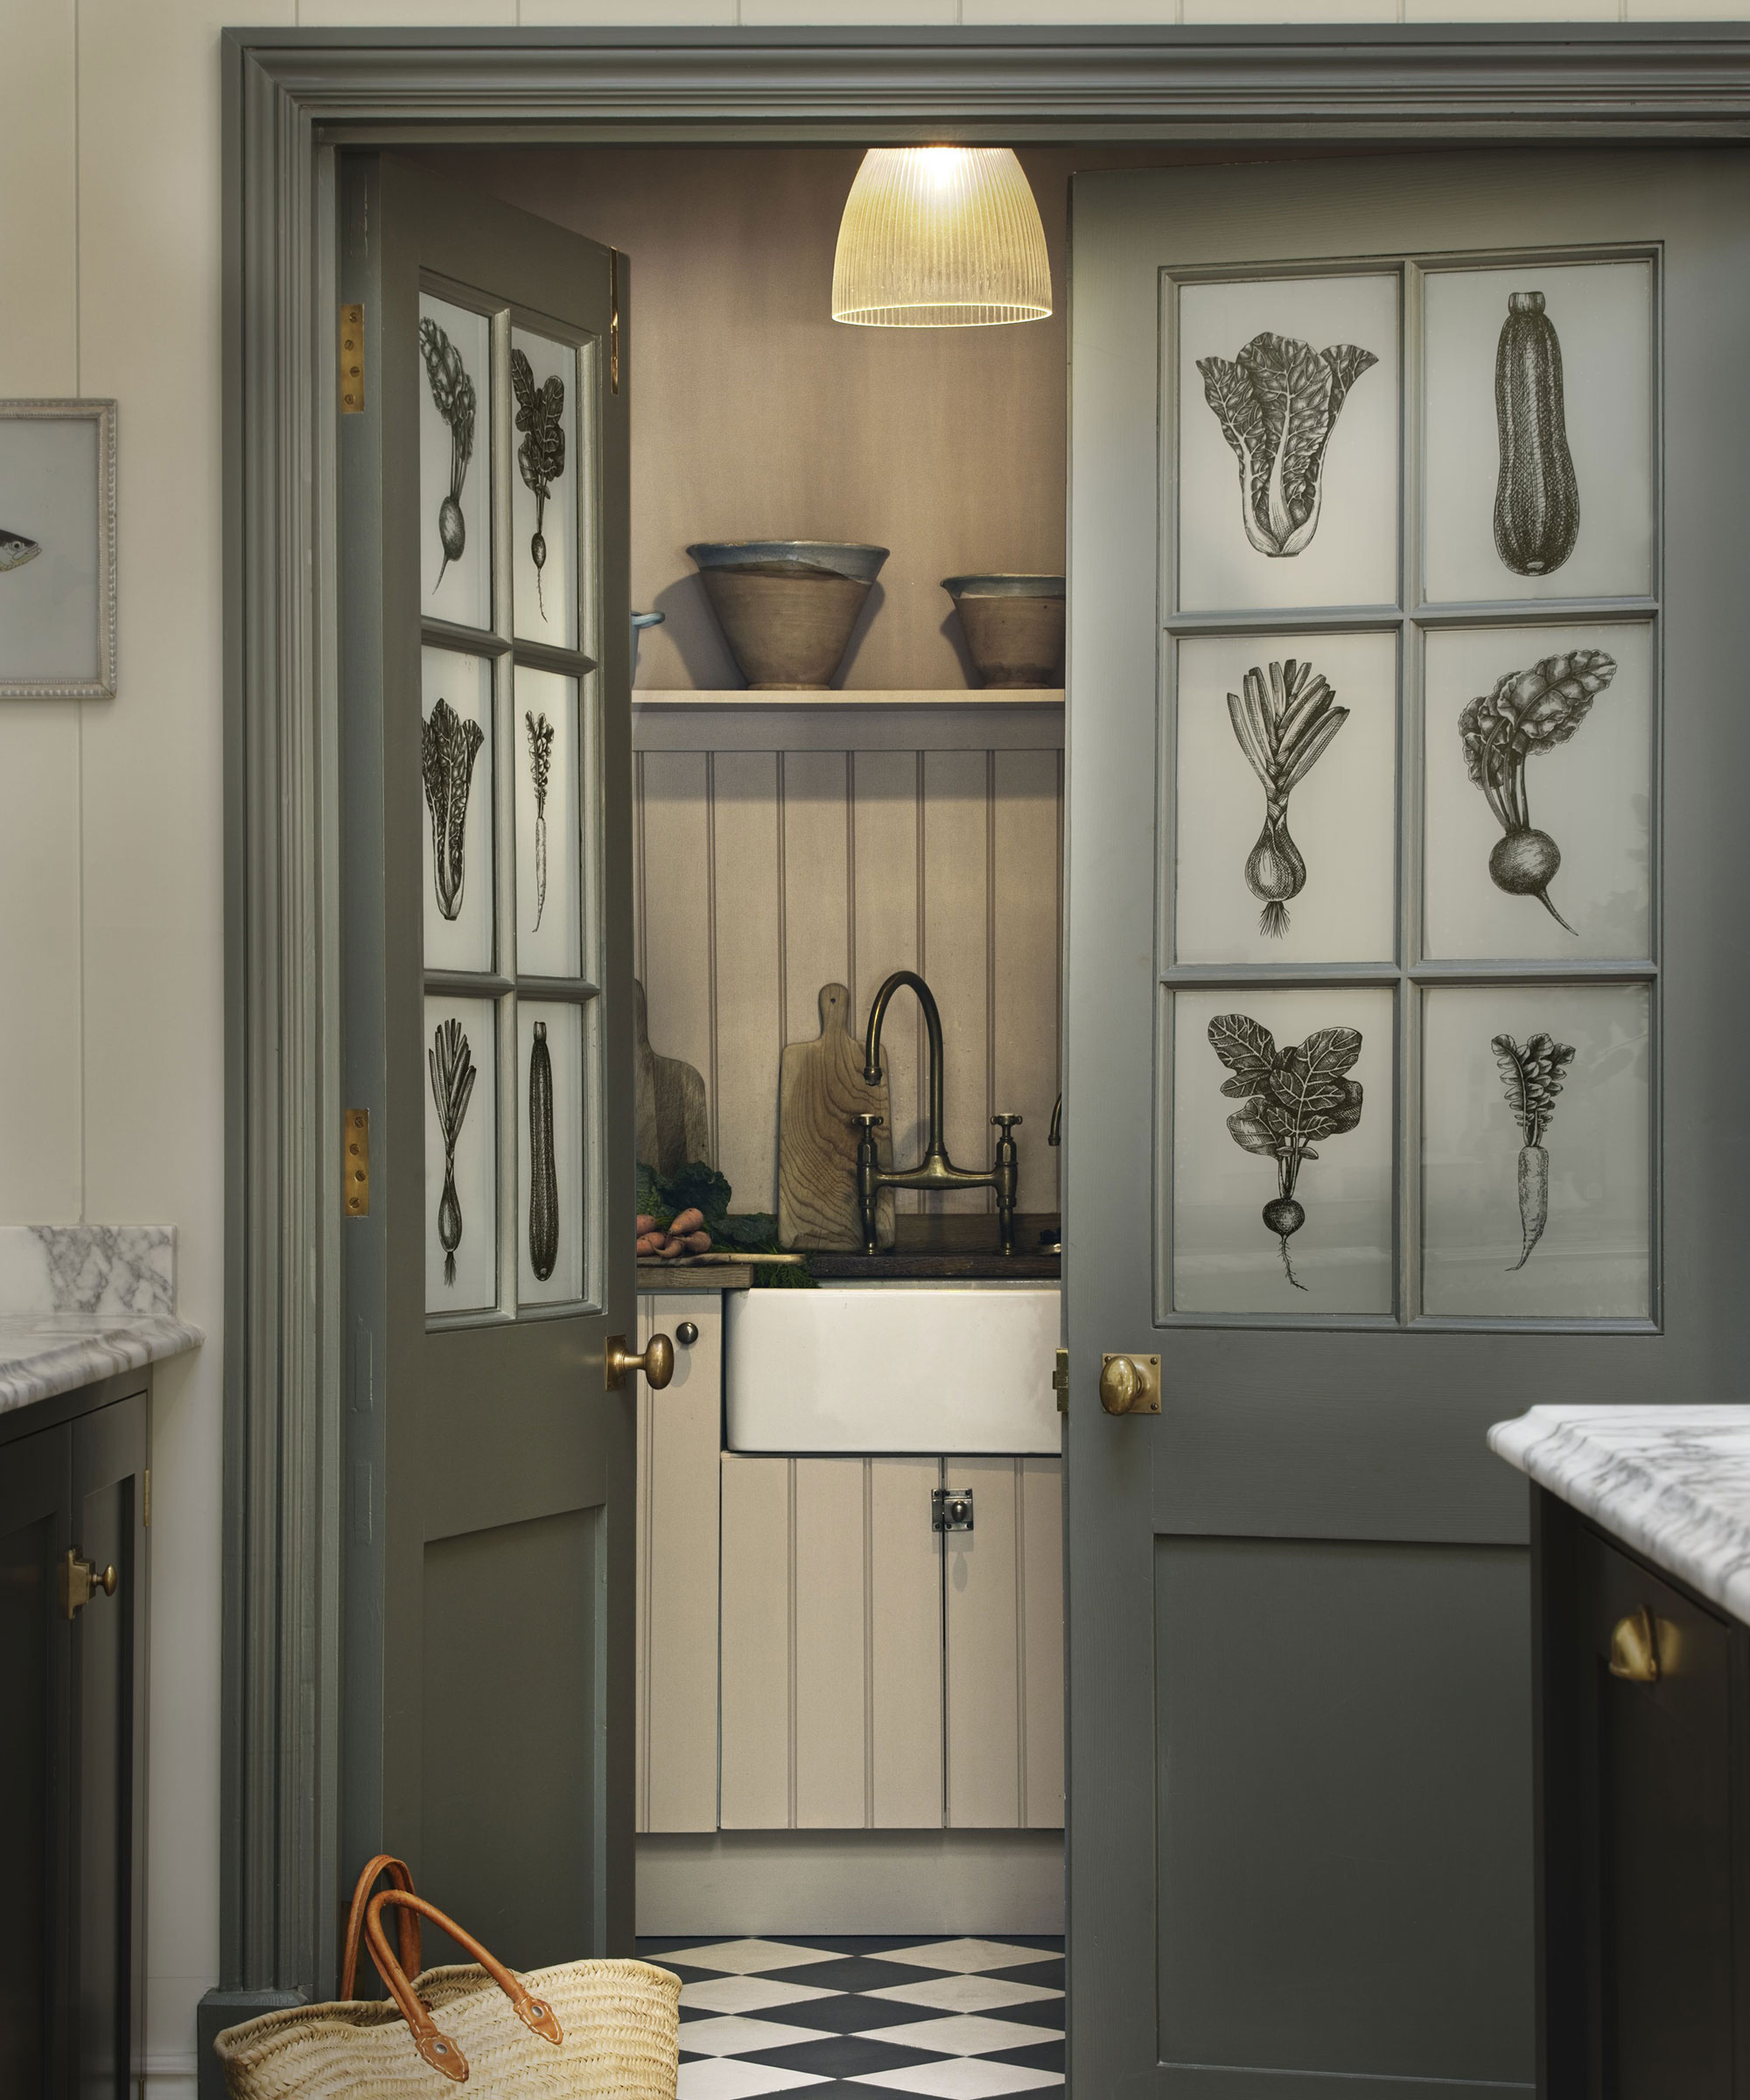
Of course, it's not just display cabinets and cupboards that can benefit from the addition of window film, the doors to your utility room or pantry could be made to look super chic with this vegetable design, from £15.63, Purlfrost.
Or you could try using window film on your glass-fronted kitchen or bathroom cabinets too.
There are endless possibilities when using window film and with it's low cost and easy application, it's a hack that we'll be continuing to experiment with in our homes.