
If you’re interested in controlling apps using nothing but a prompt box with no need to learn how to code, Claude Connectors could be the solution you’re after.
Claude Connectors can best be described as plugins that link your Claude account to a bunch of different external apps and sites like Trivago, Asana, Canva and Notion. Once the link has been set up, you can describe what actions you want to be taken using a simple prompt and Claude will handle the rest.
The setup process is very straightforward and is suitable for beginners. The only caveat is that at the time of writing, Claude Connectors is a feature limited to paid Claude accounts.
If you’re already on one of the paid plans, the process takes only a few minutes and involves just a few clicks. No coding experience is required.
Ready to improve your productivity? Here’s exactly what you need to do to use Claude Connectors.
1. Sign in to Claude
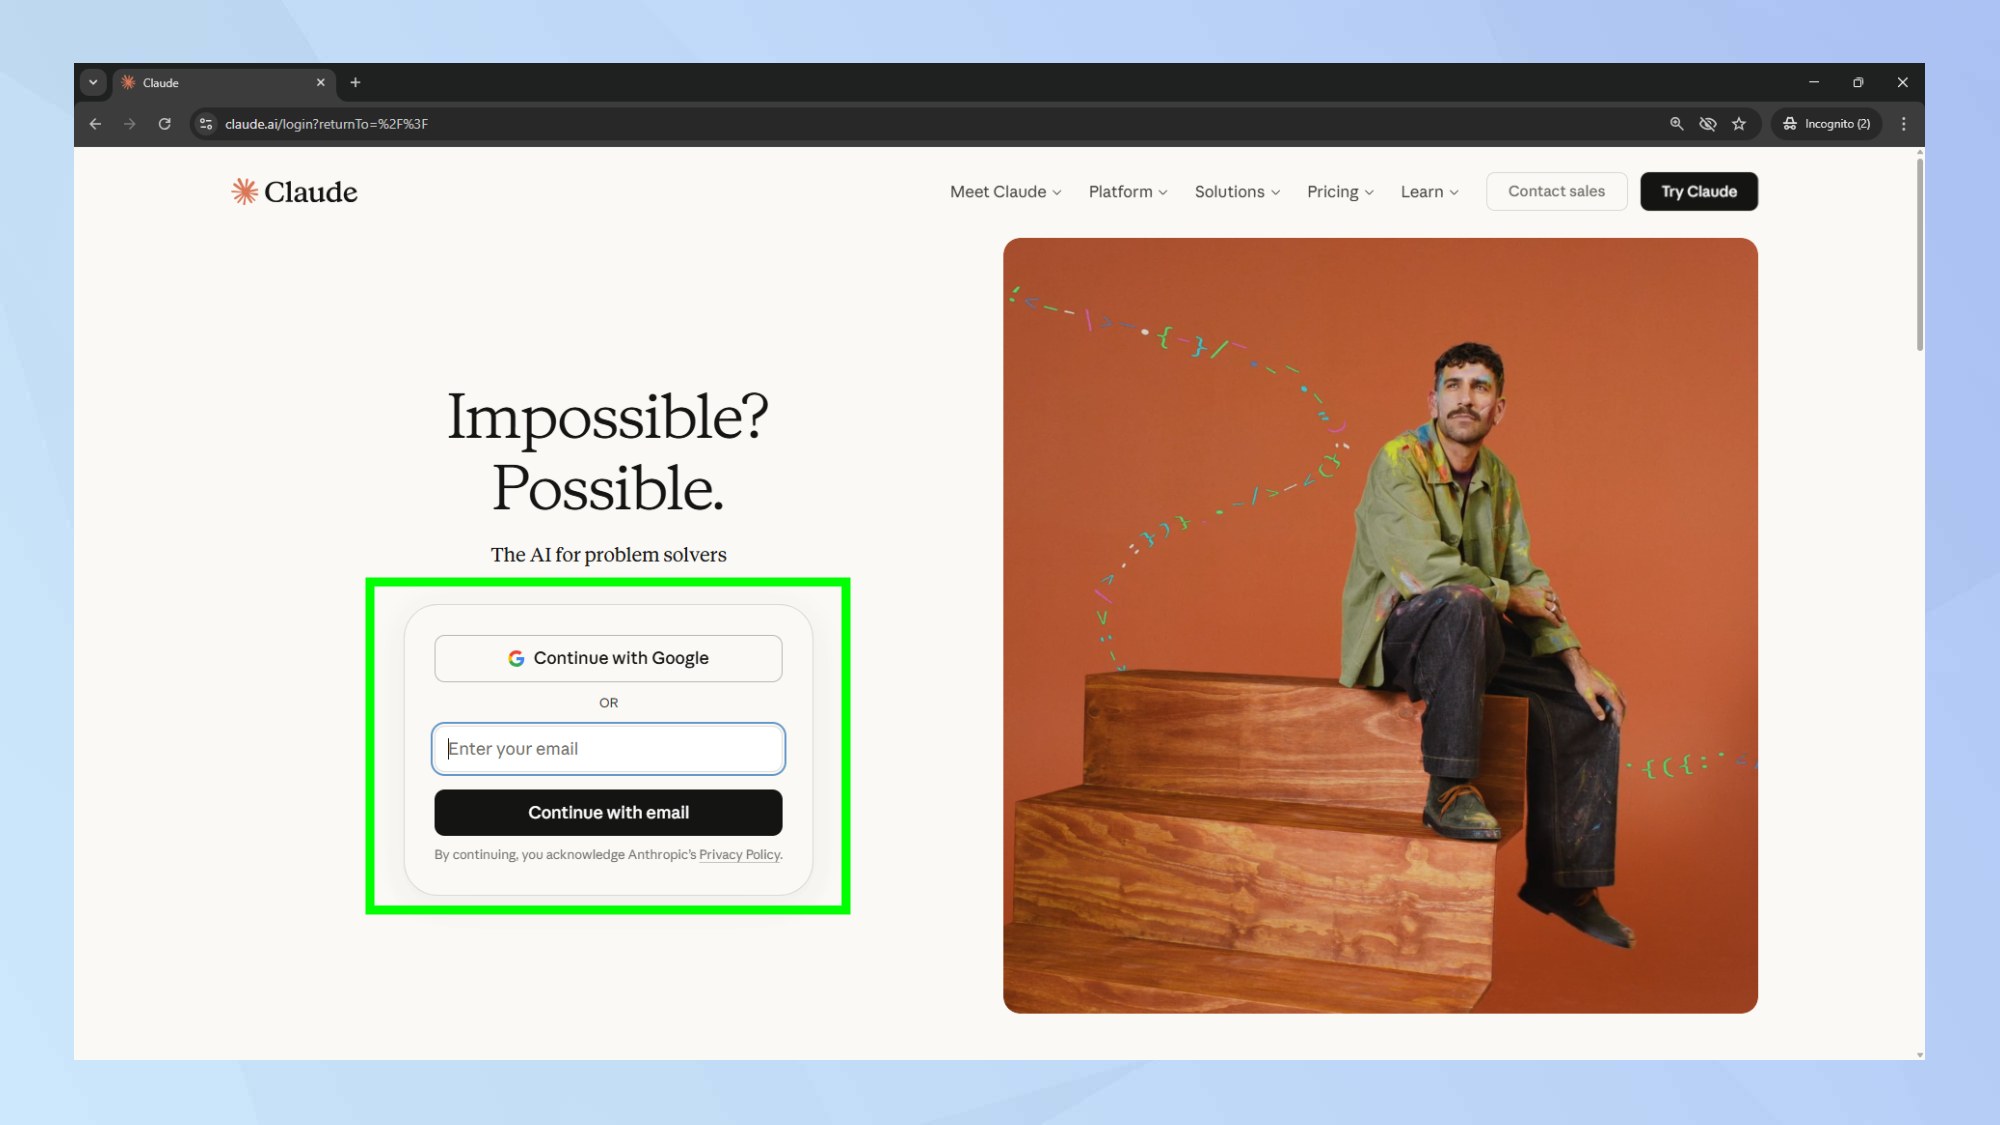
Unlike some other AI assistants, you’ll have to create an account and sign in to use Claude in general. The same goes for using connectors with Claude. Visit Claude’s homepage here and enter your email or use your existing Google account.
Keep in mind that to use Claude Connectors, you’ll need to upgrade to a paid plan.
2. Add your first Connector
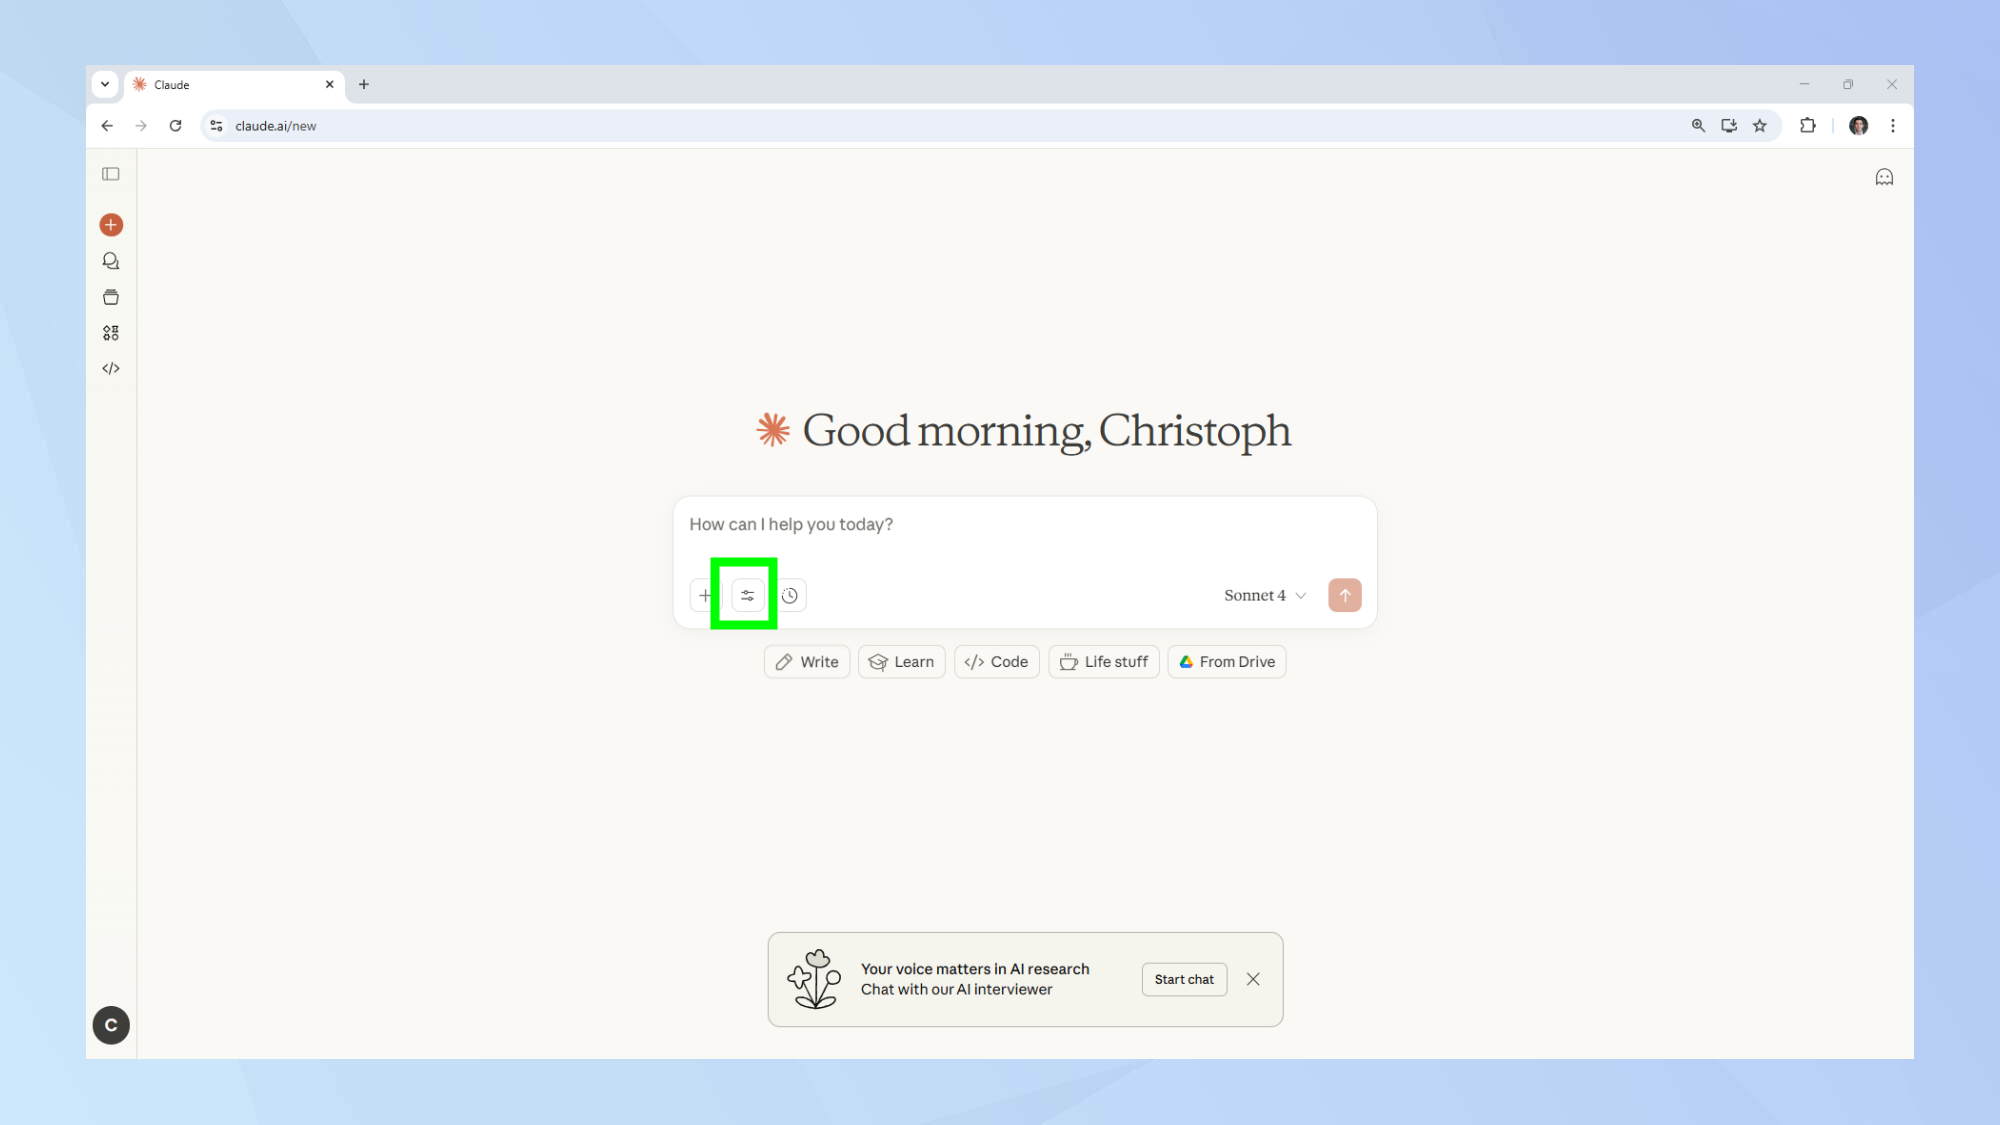
To start adding Connectors, click on the search and tools button. This opens a drop-down menu.
3. Add Connectors
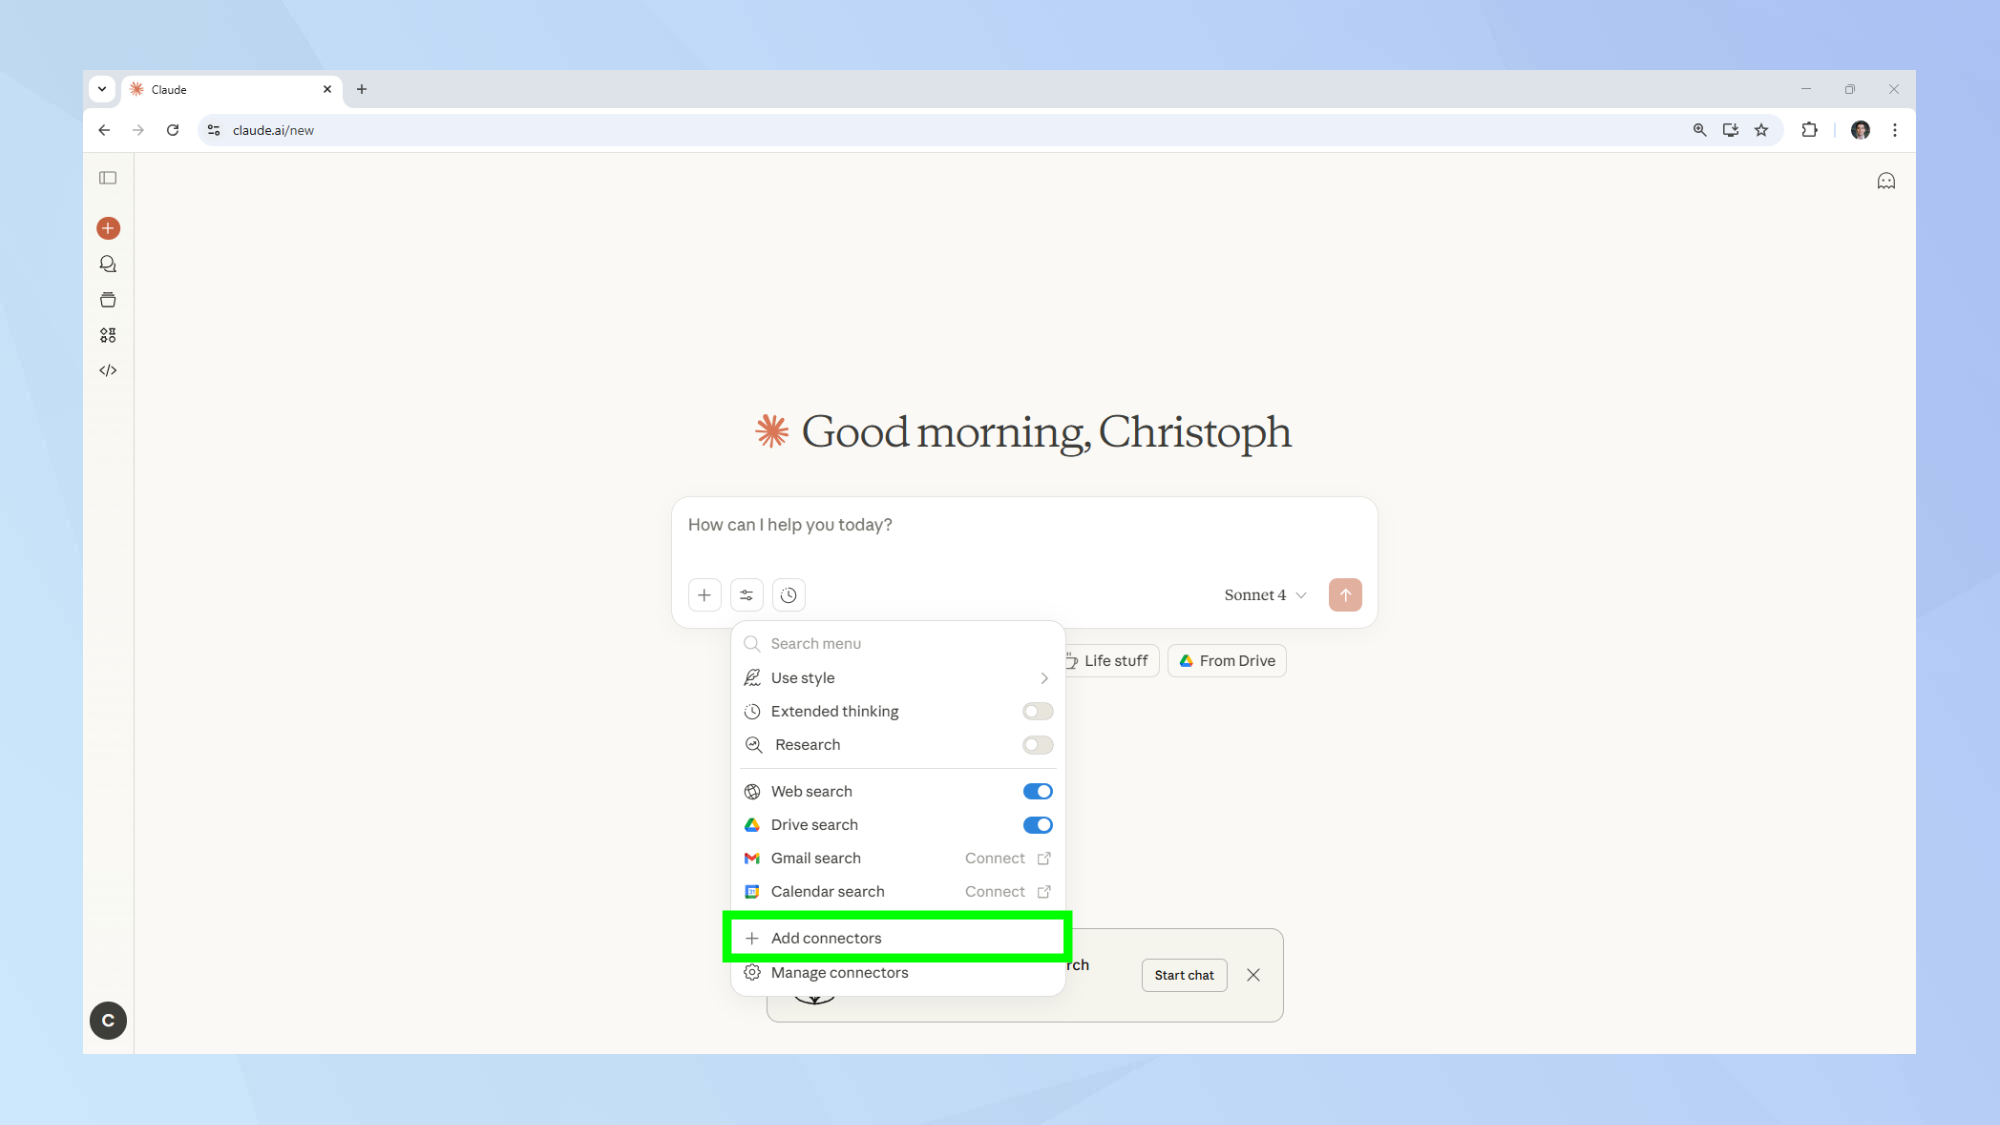
From the drop-down menu, select add Connectors.
4. Browse Connectors
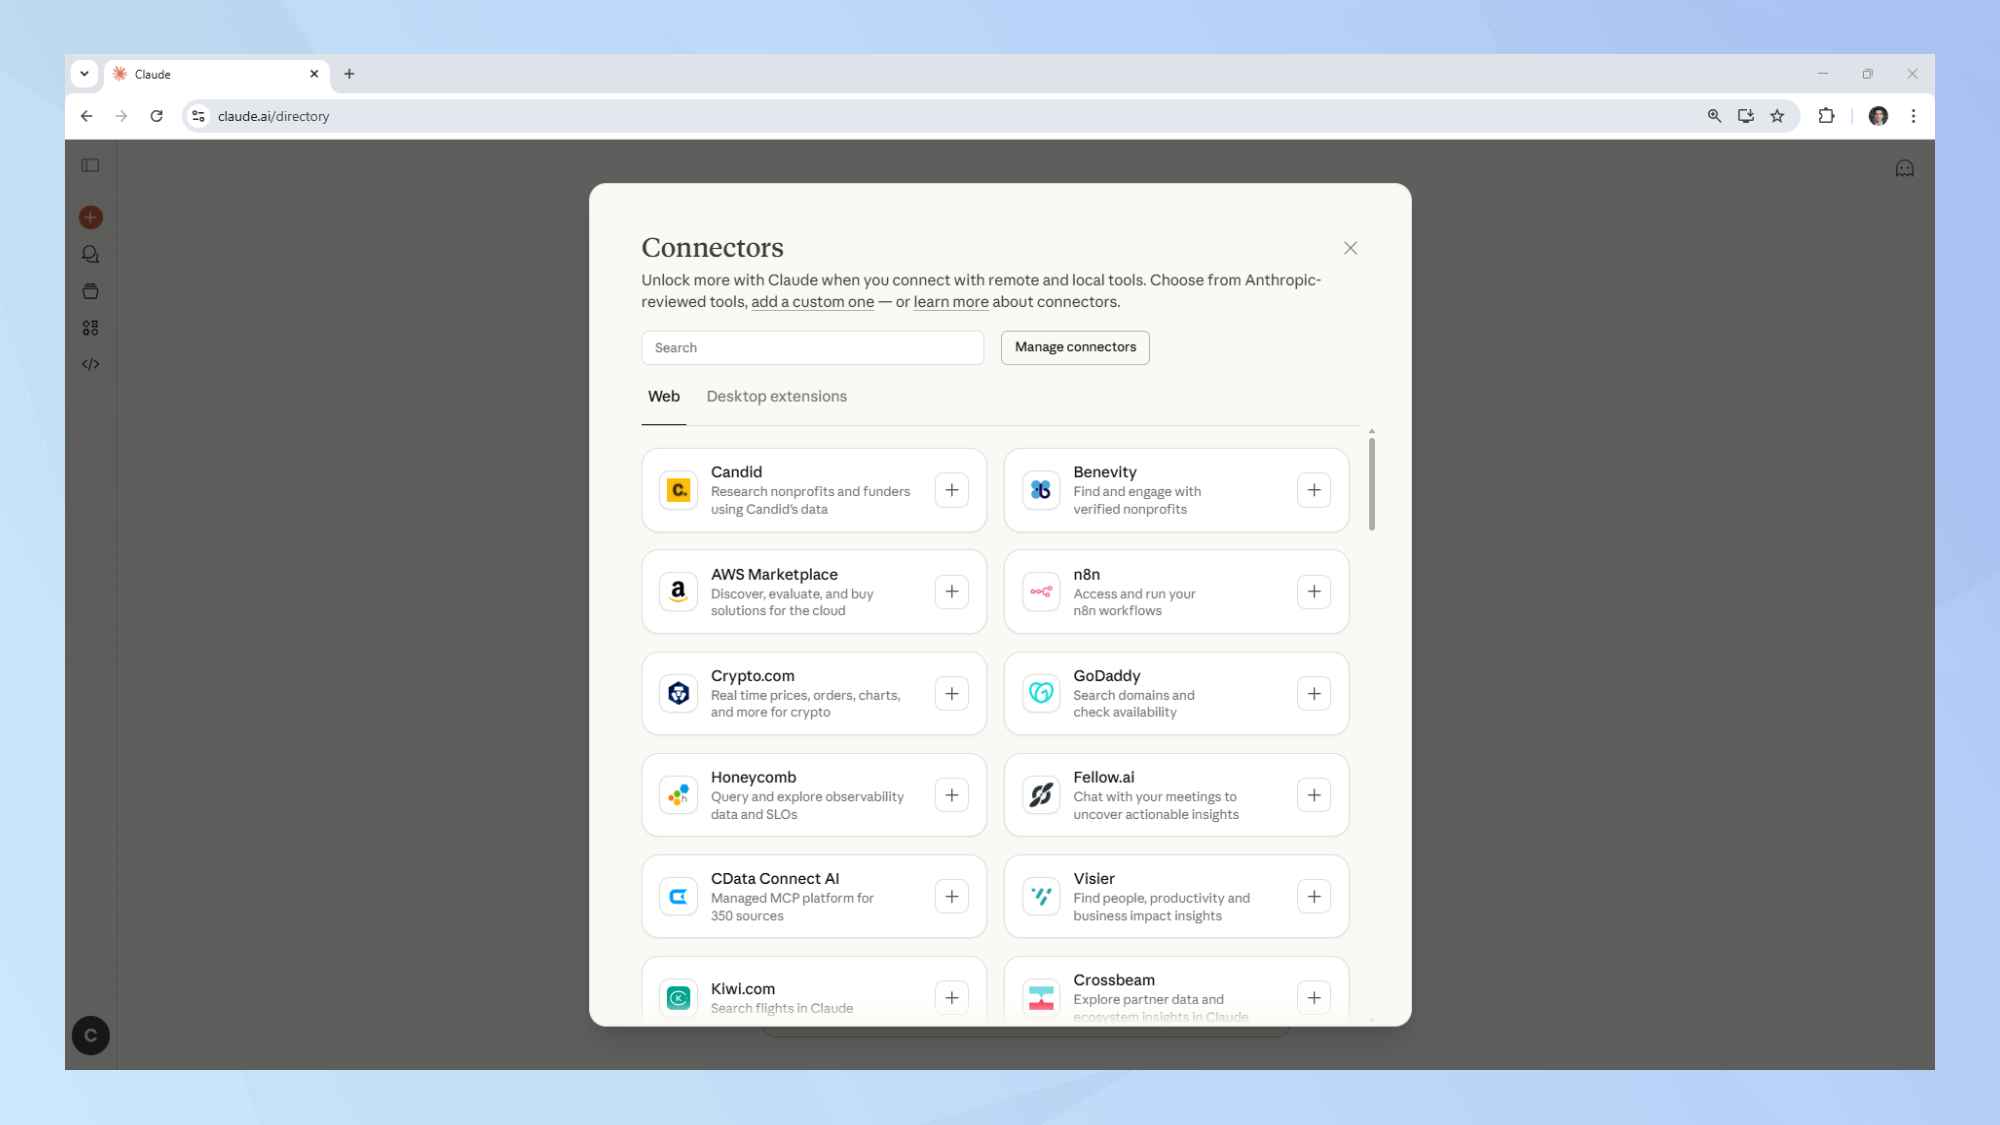
Now comes the exciting part. Scroll through the list of Connectors available and find the one that suits your needs. Their abilities vary depending on what the Connector was built for.
If you’re looking to organize your life, try the one from Notion. Or perhaps if you’re looking to change jobs, Indeed’s Connector could prove to be helpful.
5. Enable a Connector
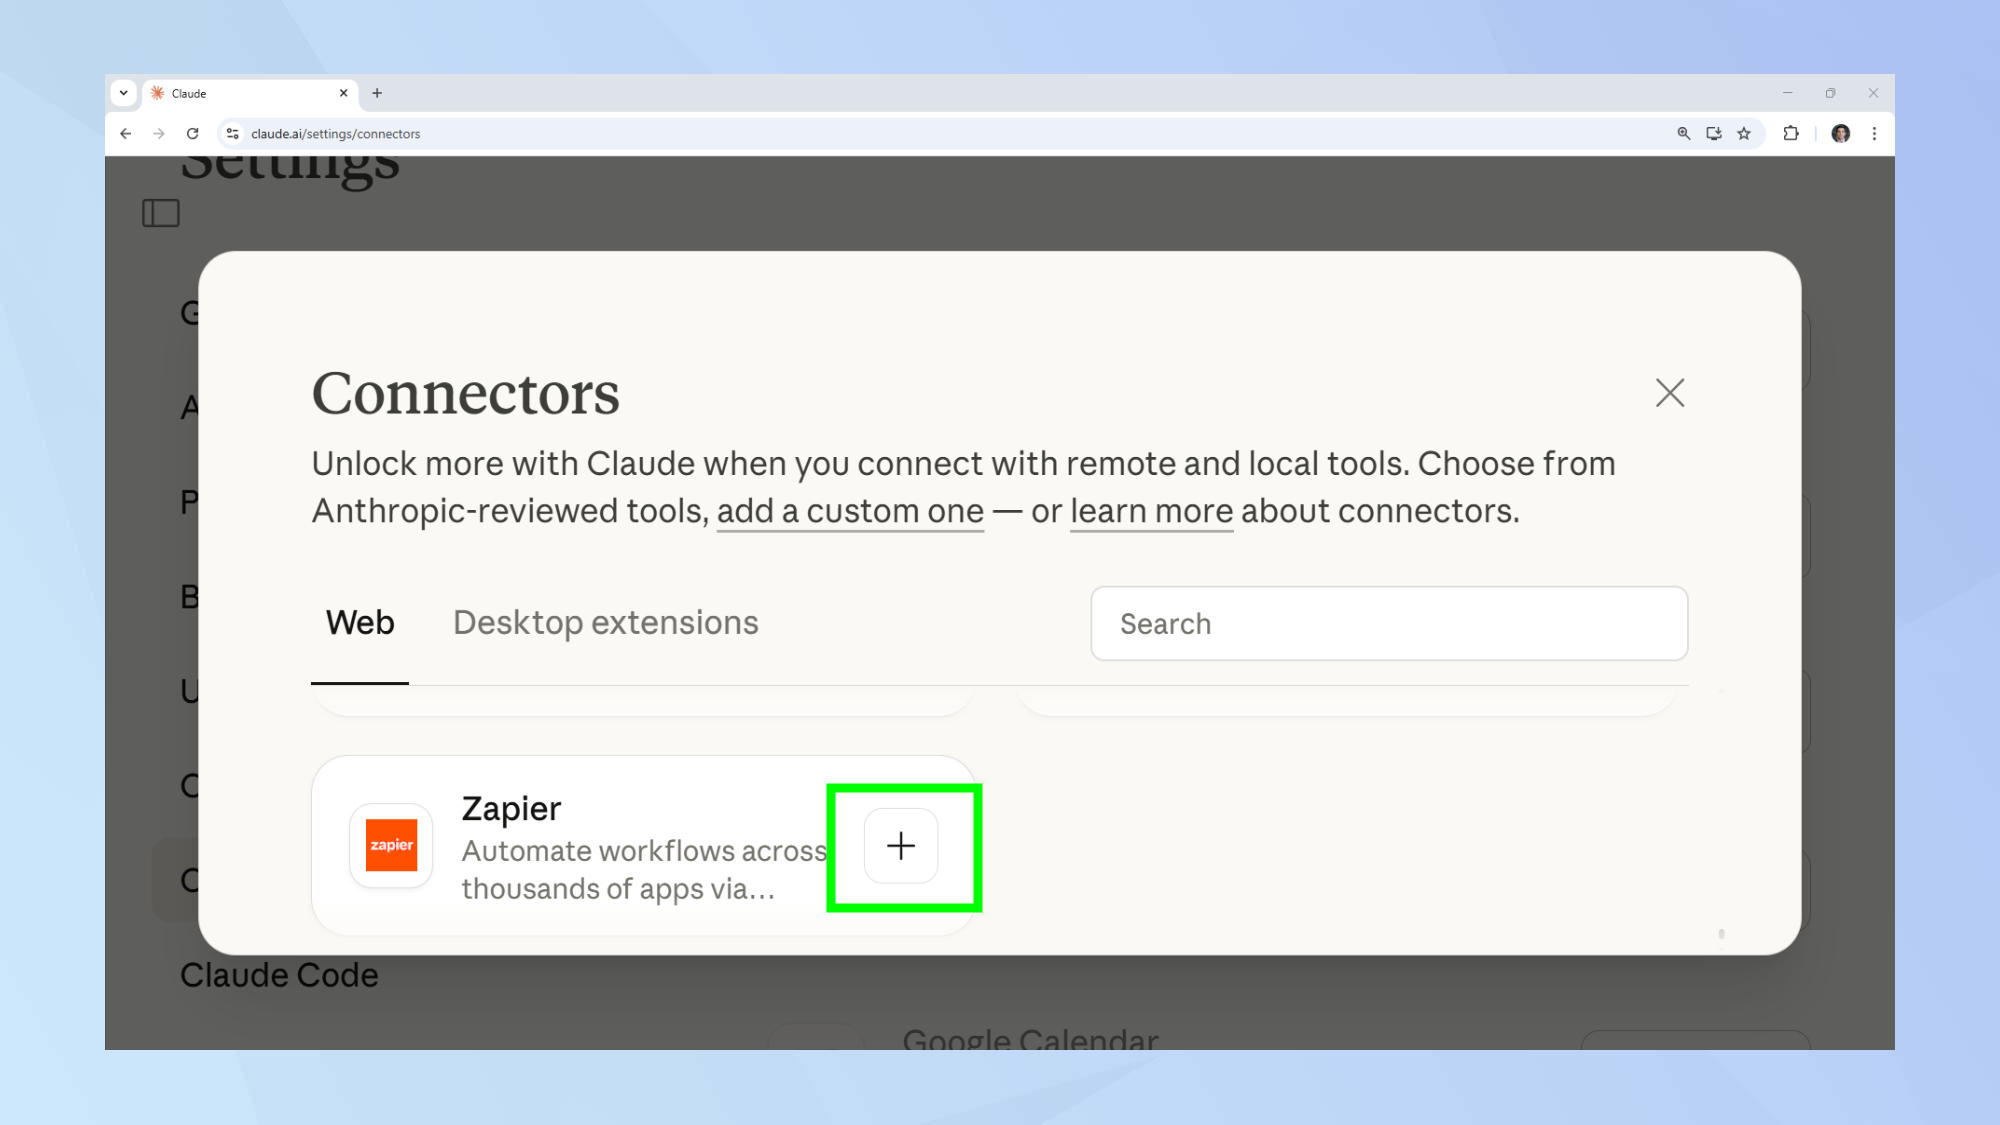
Once you’ve decided which Connector you want to enable, click on the plus sign linked to it.
6. Set up your Connector

The precise setup for your Connector varies depending on the one you select, but the general principle behind the process remains the same.
You’ll first have to approve any access permissions required. Go through the fine print and click approve if you’d like to proceed.
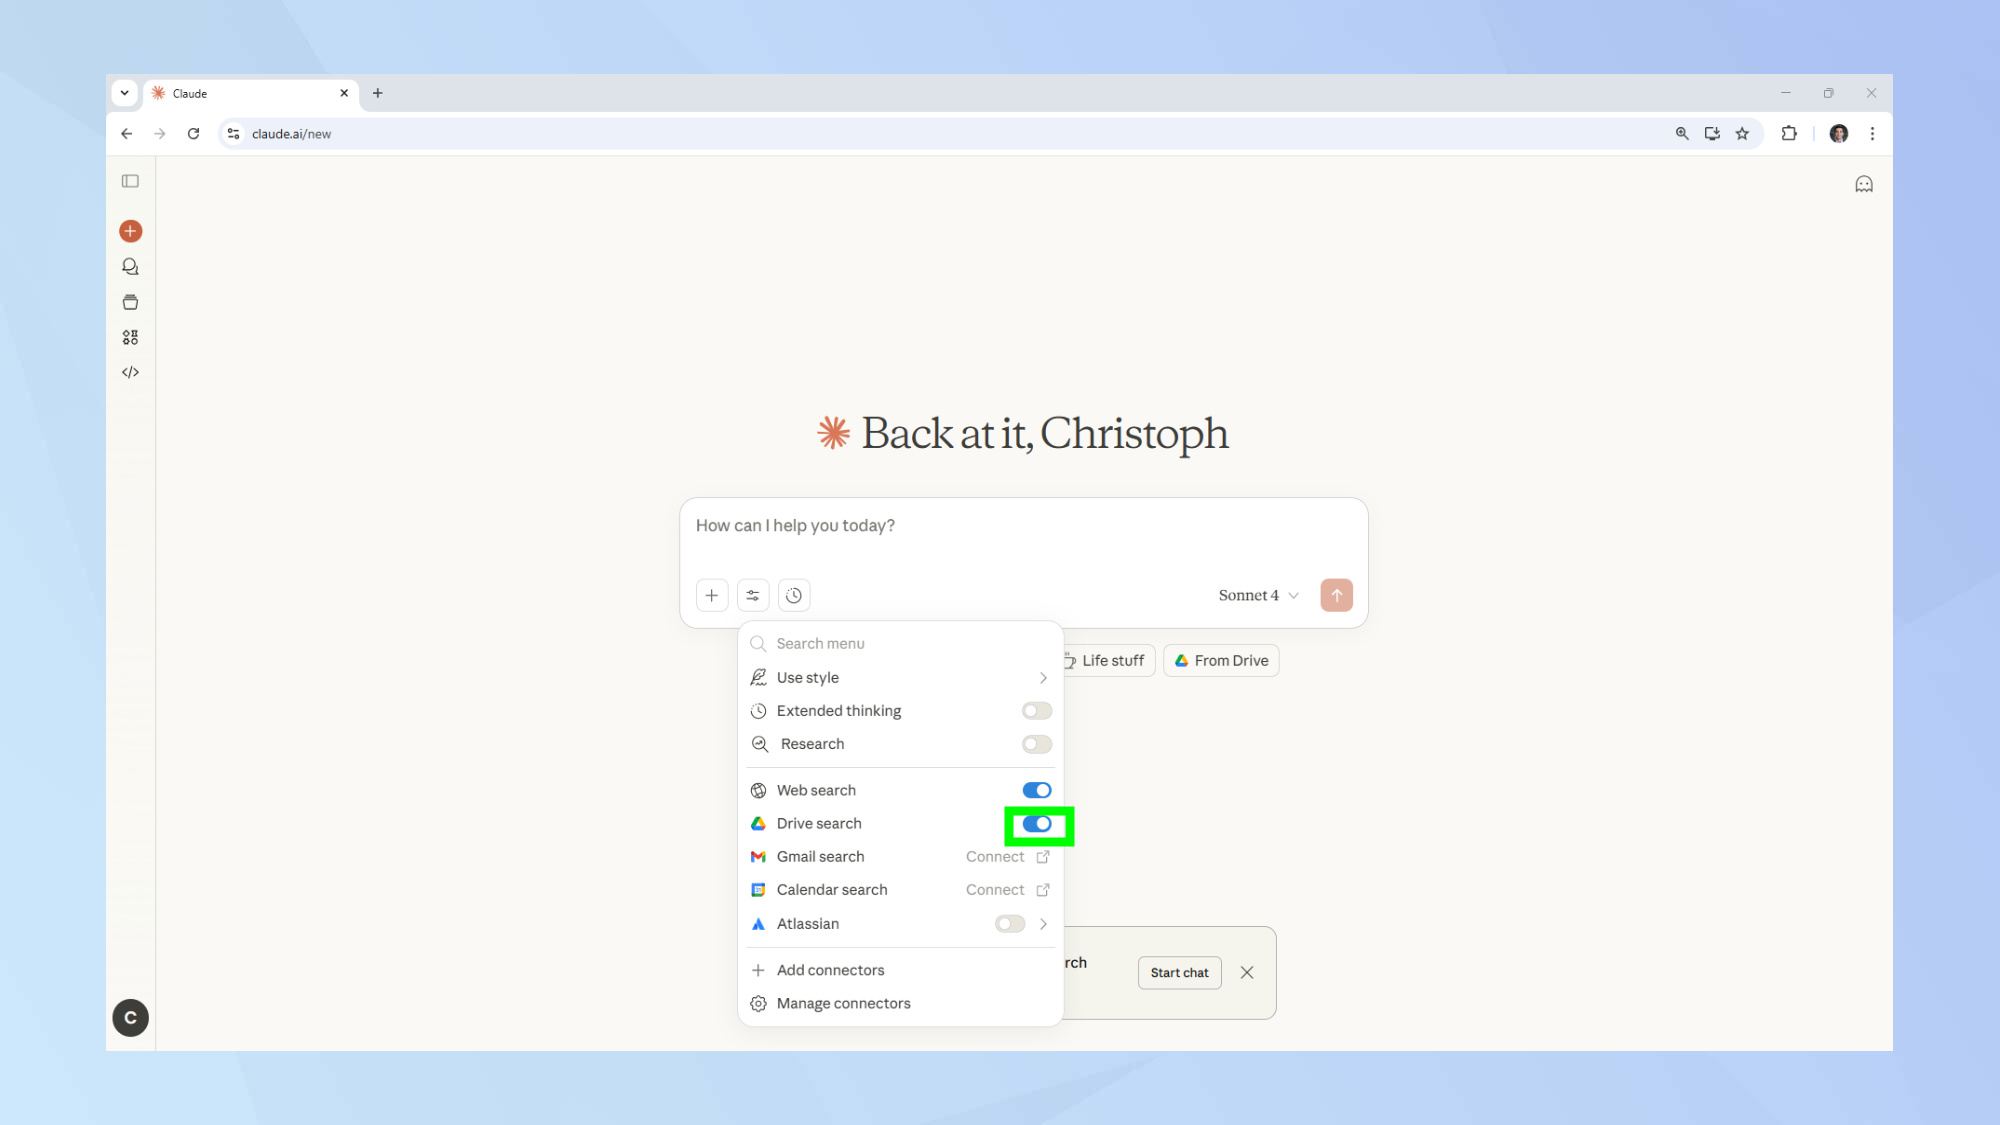
7. Turn on your Connector
For this example, I’ve enabled the Connector by Atlassian, specifically for it to be able to access my account on Confluence, a document management platform.
Find the Connector you want to turn on from the search and tools drop-down menu. Then enable it using the on-off toggle.
8. Using your Connector
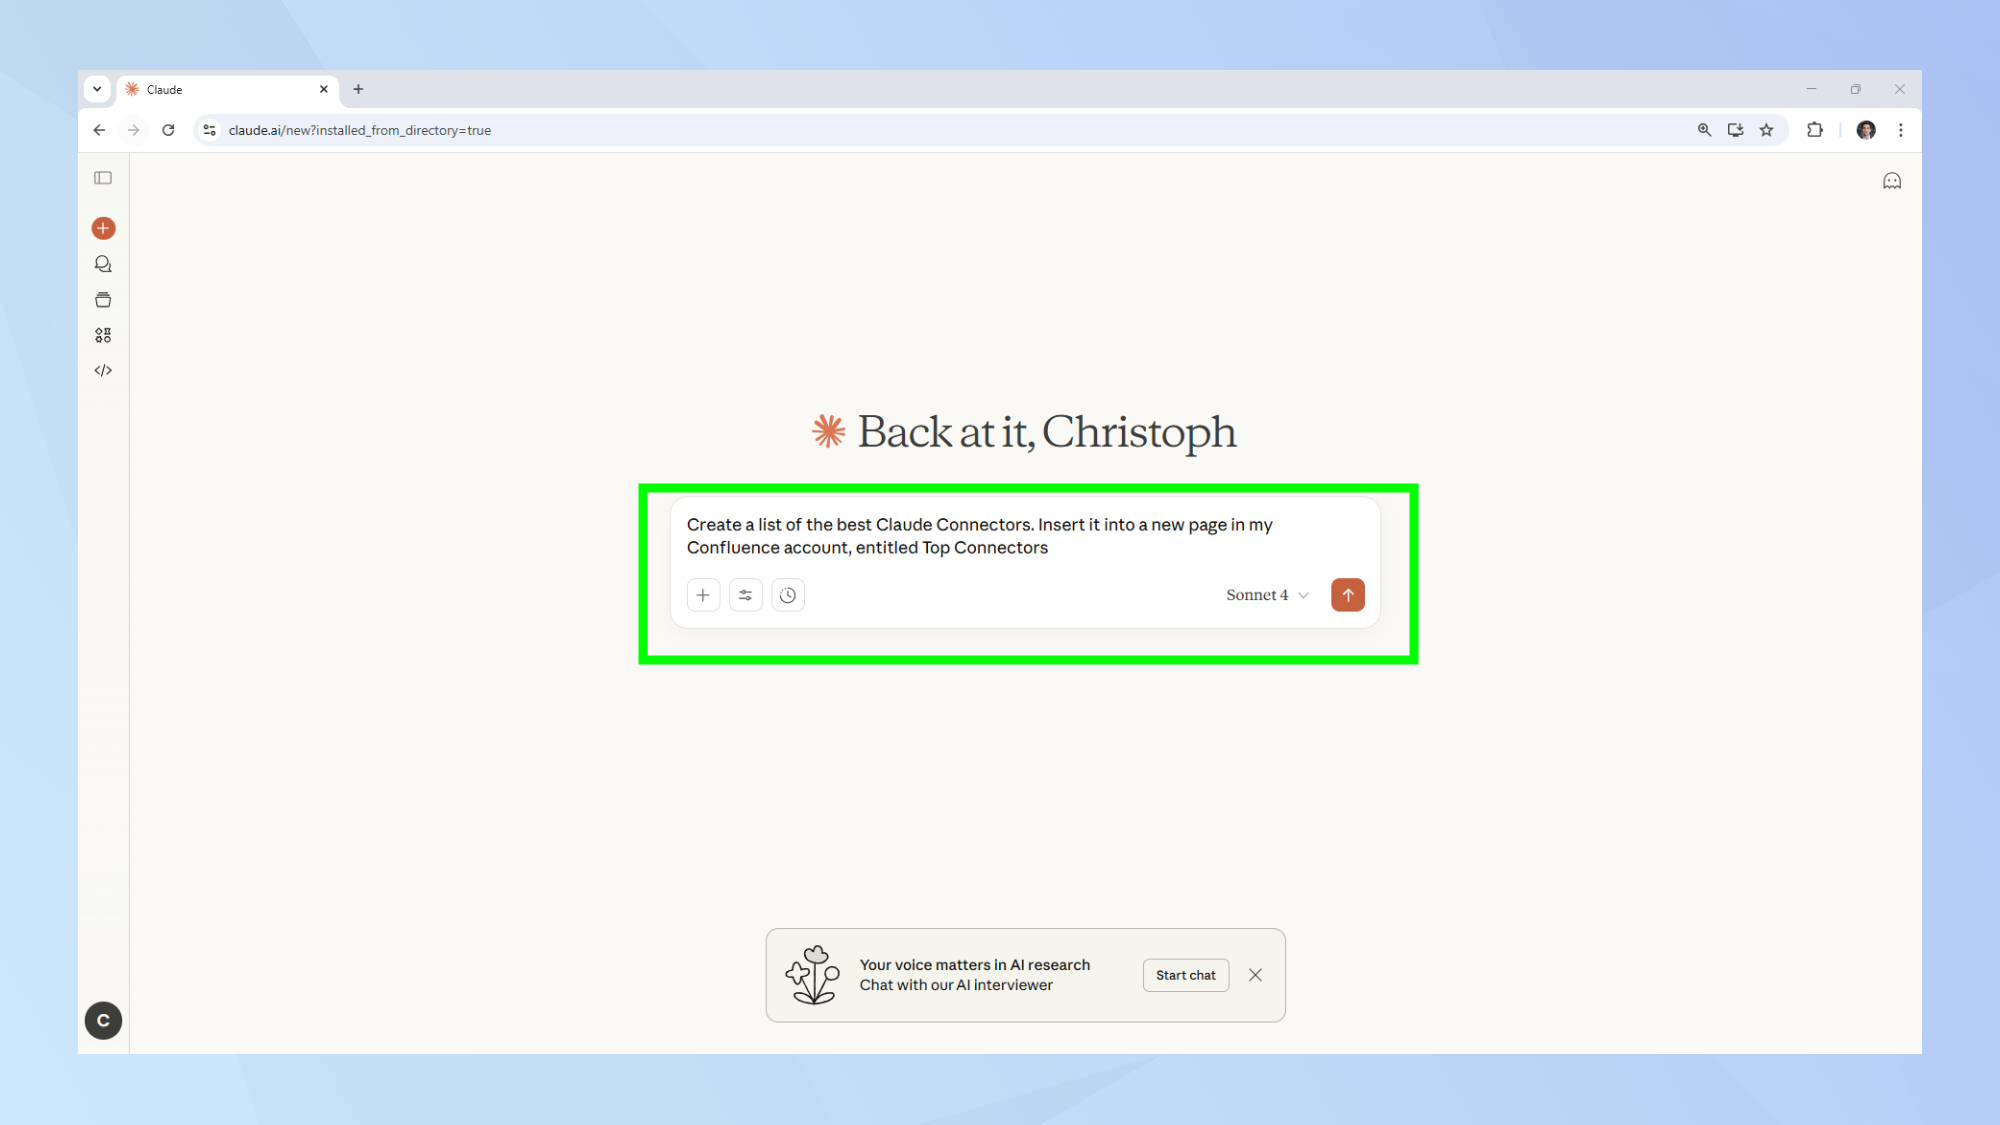
To actually use your Connector you’ll use your prompt box just as you’ve always been using it. With your Connector enabled, simply describe the tasks you want to be carried out.
For this example, I asked Claude to list its top Connectors on a new page in my Confluence account.
9. View the results
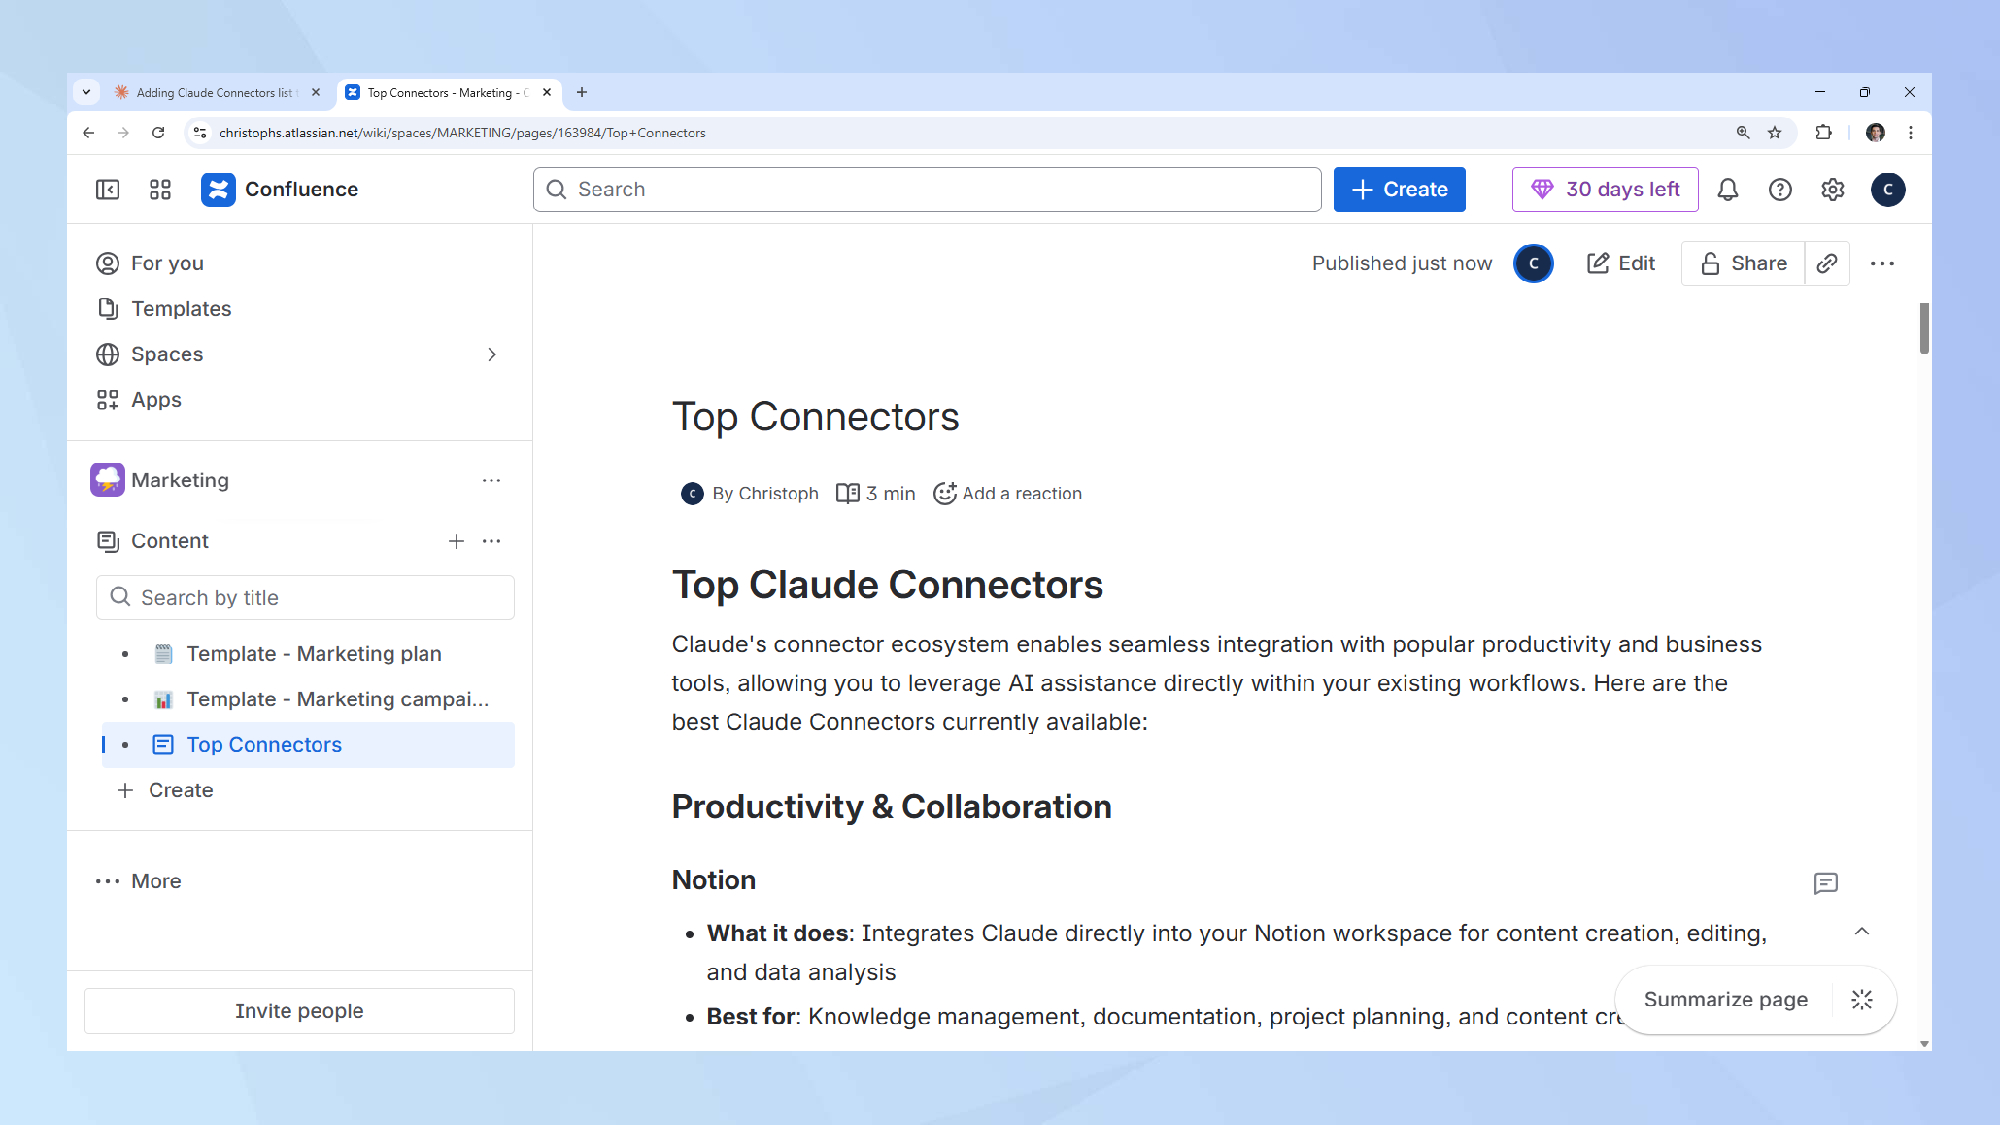
The end result will vary depending on what Connector you’ve enabled and what you instructed it to do. However, after you’ve typed in your prompt, you’re then able to explore the finished product.
If you were following along the previous steps, you should end up with a page in your Confluence account that was created and written entirely by Claude.

Follow Tom's Guide on Google News and add us as a preferred source to get our up-to-date news, analysis, and reviews in your feeds. Make sure to click the Follow button!