We've officially unlocked Joy as a friend in Disney Dreamlight Valley. Now, it's time to chat with Sadness and help her recover Riley's piano memories. It turns out Embarrassment took control of the situation briefly, causing Riley to embarrass herself in front of her friends.
This situation leads us into the Get Up and Glow quest, where we, as the protagonist, are now in charge of figuring out how to recover Riley's memories. Let's dive right into it.
Table of contents
Starting the Get Up and Glow quest
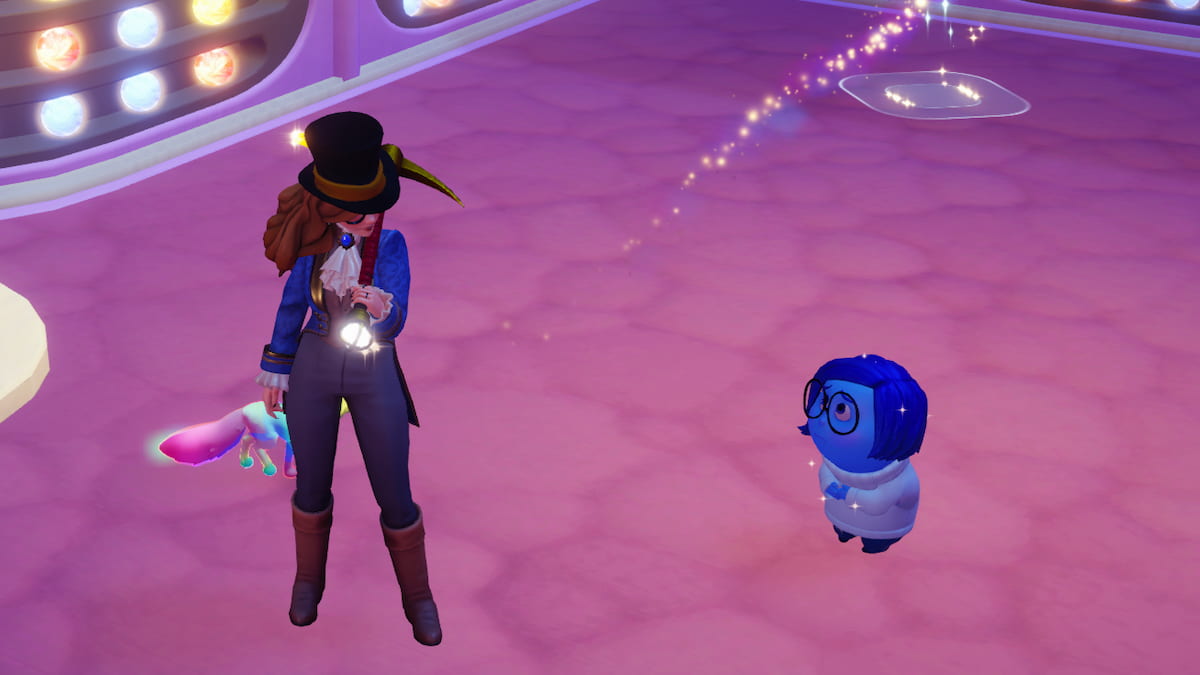
You'll begin the Get Up and Glow quest immediately after concluding Joy's Dream On mission. Following her introduction and subsequent light stick crafting task, you'll end the quest, leading you directly into Get Up and Glow. Initially, we deliver the glow stick to Sadness, which turns into a dilemma involving Riley's piano performance.
Pop concert memory locations in Disney Dreamlight Valley
After Sadness explains the situation to us, it's time to search for some pop concert memories to turn this situation around. Here's a complete list of every memory location within the long-term memory area.
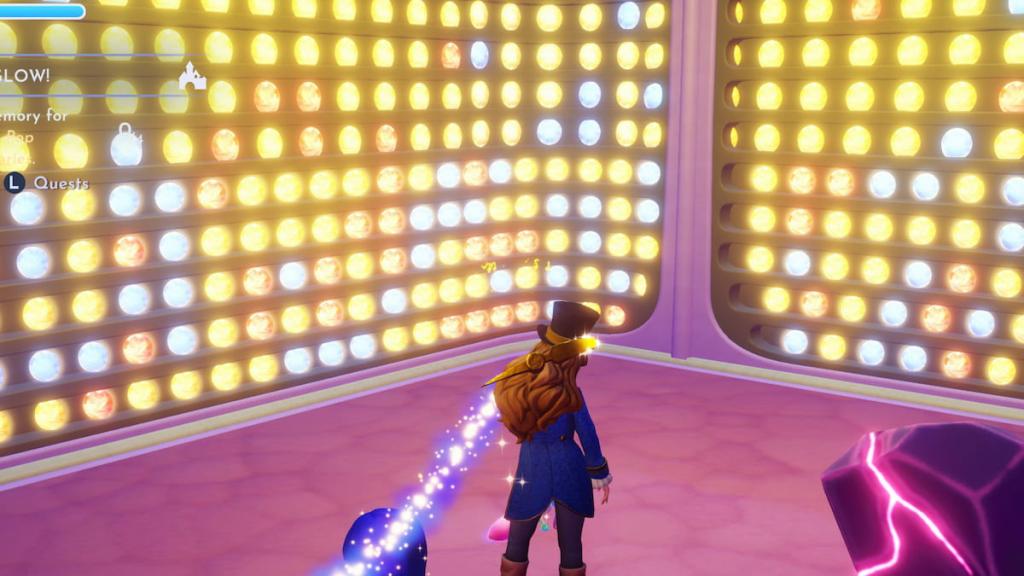
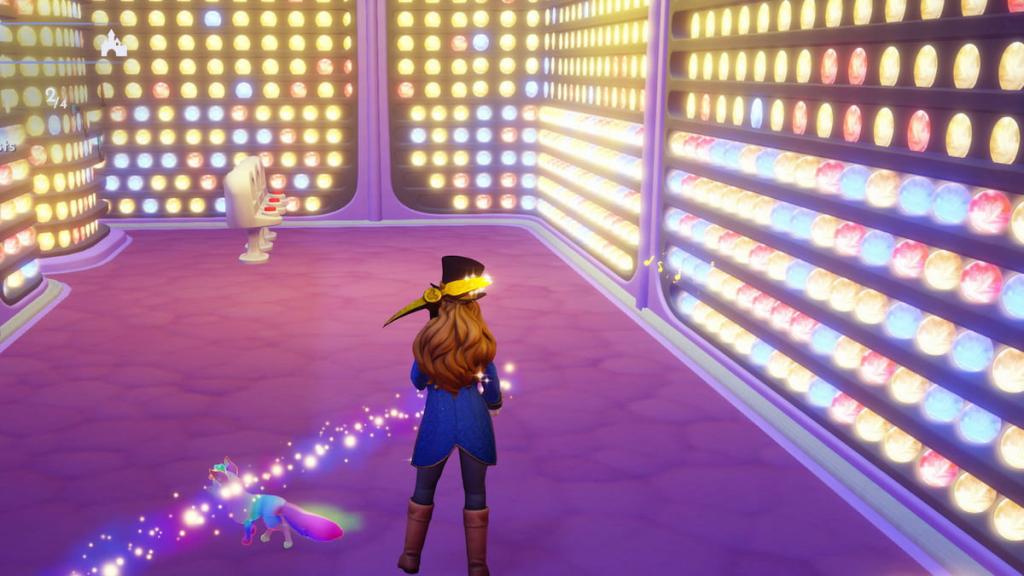
You'll find the first pop concert musical memory immediately after leaving the first room of the long-term memory area. After clearing away the rocks and running forward, go straight down the path until you find your first orb wall puzzle. Press the two triple switch buttons to lower the wall, leading you directly to the first orb.
Along the way, break the rocks inside this room. They'll give you a lost control switch, which you'll need for the next pop concert memory.
You'll find the second memory after leaving the previous one. As you step out, turn right until you find another orb wall. This time, there's a missing button for you to search for. Fortunately, we found this button during the previous task, allowing us to insert it here without any issues. Once you do, press all three buttons once before entering the room and collecting your second pop concert memory.
The third memory is very close to this one. As you exit the room, run straight forward toward another orb puzzle. Before reaching its consoles, though, turn right to find your third memory.
The final orb is close by. While the nearby orb wall puzzle is necessary for a future quest task, you won't find the memory behind it. Instead, turn around and turn right before making another immediate right. You'll find the memory's music notes next to two boulders.

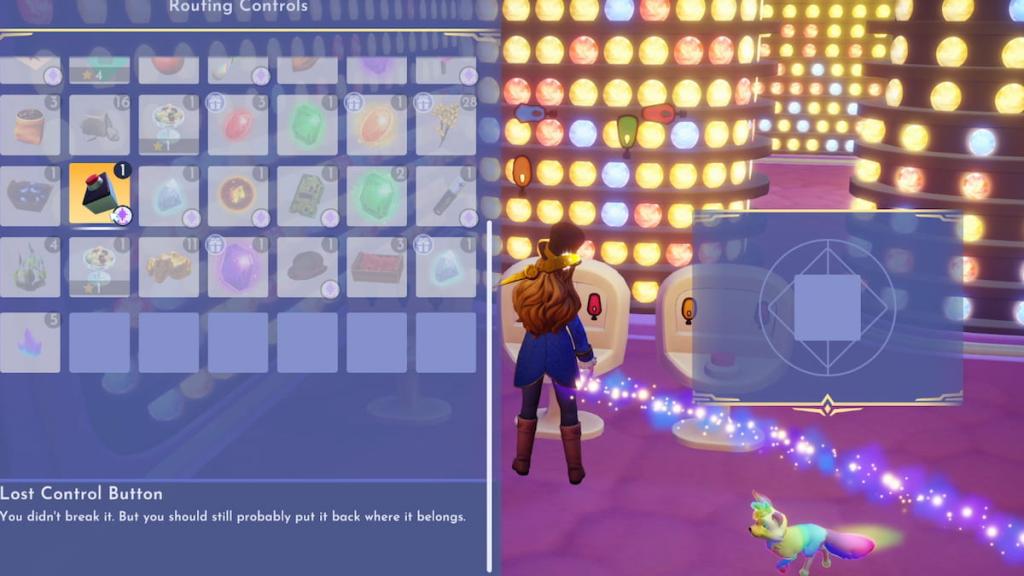
Before returning to Sadness, we can solve that orb puzzle from earlier to help us finish this quest quicker. As you approach it, you'll quickly notice one of its consoles has no indicators to show which colored pieces it controls. By interacting with it once, we'll learn that it controls the blue and orange ones. Interact with this and the blue-red-green console to lower the wall, revealing a bright bulb lamp and a green chest containing some furniture.
With all four piano memories on hand, return to Sadness before sending them through the recall tube. We're now ready to help Riley with her piano memories once more.
Decorating Dream Productions
We're back in Dream Productions to help Riley create some new memories. Our new goal is to decorate the area with pop concert furniture, much like we did during our last visit here. Move the two light beams, the DJ table, the two speakers, and the red cannon to the stage before talking to Sadness.

Next, we need to dress up like a pop star. Using Sadness's Bold filter in the Wardrobe menu, equip any colorful clothes that fit the theme before talking to her again. If you don't have enough for the quest, you may need to buy more from Scrooge before continuing.
After dressing up for the show and giving Sadness the glow stick from the previous quest, head up to the stage and start singing before checking in with Sadness. You can now head back to Dreamlight Valley, where you'll officially welcome Sadness as a permanent village.
The post Get Up and Glow quest walkthrough in Disney Dreamlight Valley appeared first on Destructoid.