Whether you're taking on a whole house renovation, adding an extension, or simply sprucing up the space you have, they'll be some tasks you'll gladly leave to a professional, and others that you may be willing to try out yourself.
Patching up holes or cracks in plaster is one of those jobs that can often fall into a DIYers remit.
But while it might seem like an incredible simple task, not knowing how to do it properly could leave you with a recurring problem rather than a permanent solution. Serial renovator and fellow homes journalist Laura Crombie shared how she learned this lesson the hard way and what she does now to resolve wall cracks quickly and effectively.
'How I discovered how to correctly fill cracks in walls'
'My husband and I have been renovating our four-bed property in Worcestershire for the last five years and we've done the majority of it ourselves to help stretch our budget as far as it can go.
'While we've taught ourselves loads of skills from YouTube videos, there's plenty that we've learned through trial and error. And one of those main lessons is around how to deal with hairline cracks in the wall.
'Initially, it seemed really simple and straightforward. We'd just fill the cracks with Polyfilla, leave it to dry, sand it down then paint over it. But then frustratingly, we'd see them come back again. It was so disappointing, especially in a room we thought we'd finished.
My advice to anyone tackling a similar task in their home is to not cut corners
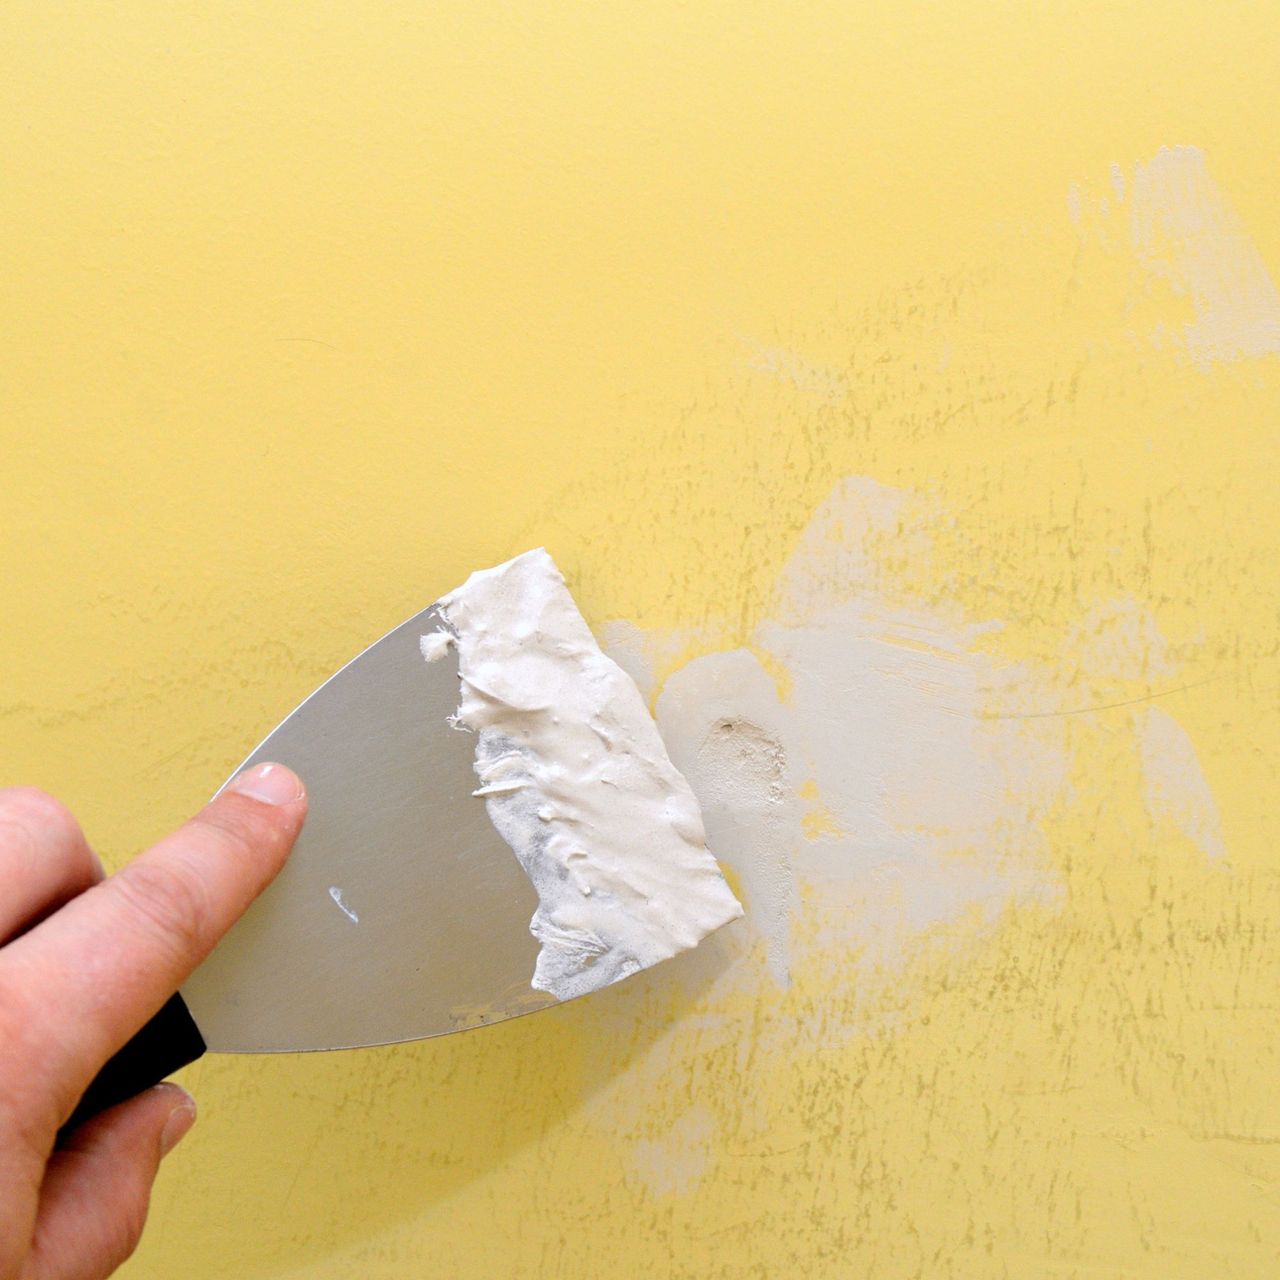
'After a bit more research and advice from friends, we now know you get a better result if you scrape any loose debris out of the crack, and in fact make it a little bit bigger, before filling it. By making the crack bigger and making sure it's clear of any debris, you give the filler a much better surface to stick to, which makes it more effective. This step was a little bit messy, so make sure you have a vacuum handy, especially if, like us, you're trying to do this with two small kids running around.

'Since we've tried this new method though, the cracks haven't come back. Result! My advice to anyone tackling a similar task in their home is to not cut corners. We learned the hard way, but are so relieved we've nailed it now.'
We've used the same method to fill any holes in the wall too.
Having the right tools and materials for the job is vital too.
You can use the corner of the filling knife to widen the crack before you use the flat of it to add the filler.
Ready-made filler is handy if you want to tackle cracks quickly, but if you have more to fill, then there is a bigger size available too.
You'll want your filler to sit slightly proud of the wall when you apply it, then once dry, use these sanding sheets to level it out.
Remember, before you tackle something like this, you should check whether the cracks in your walls are something to worry about (like signs of subsidence) or whether they are largely cosmetic.
If the crack is indicative of something more serious, it's best to resolve the issue with a professional to prevent it from getting worse, rather than filling it on a surface level and hoping for the best.


