Soon after joining Guitarist, I was assigned to interview Joe Bonamassa and he began telling me about an amazing guitarist called Chris Buck.
Rather than let Joe carry on, I felt obliged to tell him that Chris and I were so well acquainted, I was even friends with his dad, Dory, who had been talking about giving Chris a special guitar. Dory and I eventually settled on a plan to refinish and upgrade his Epiphone Flying V.
If you ever feel the need for an armour-plated vehicle, just send your regular car to Epiphone for a respray… Epiphone guitars have a two-layer finish, with glossy colour coats sprayed over a transparent base coat. You can get them off, but different techniques are required to do so.
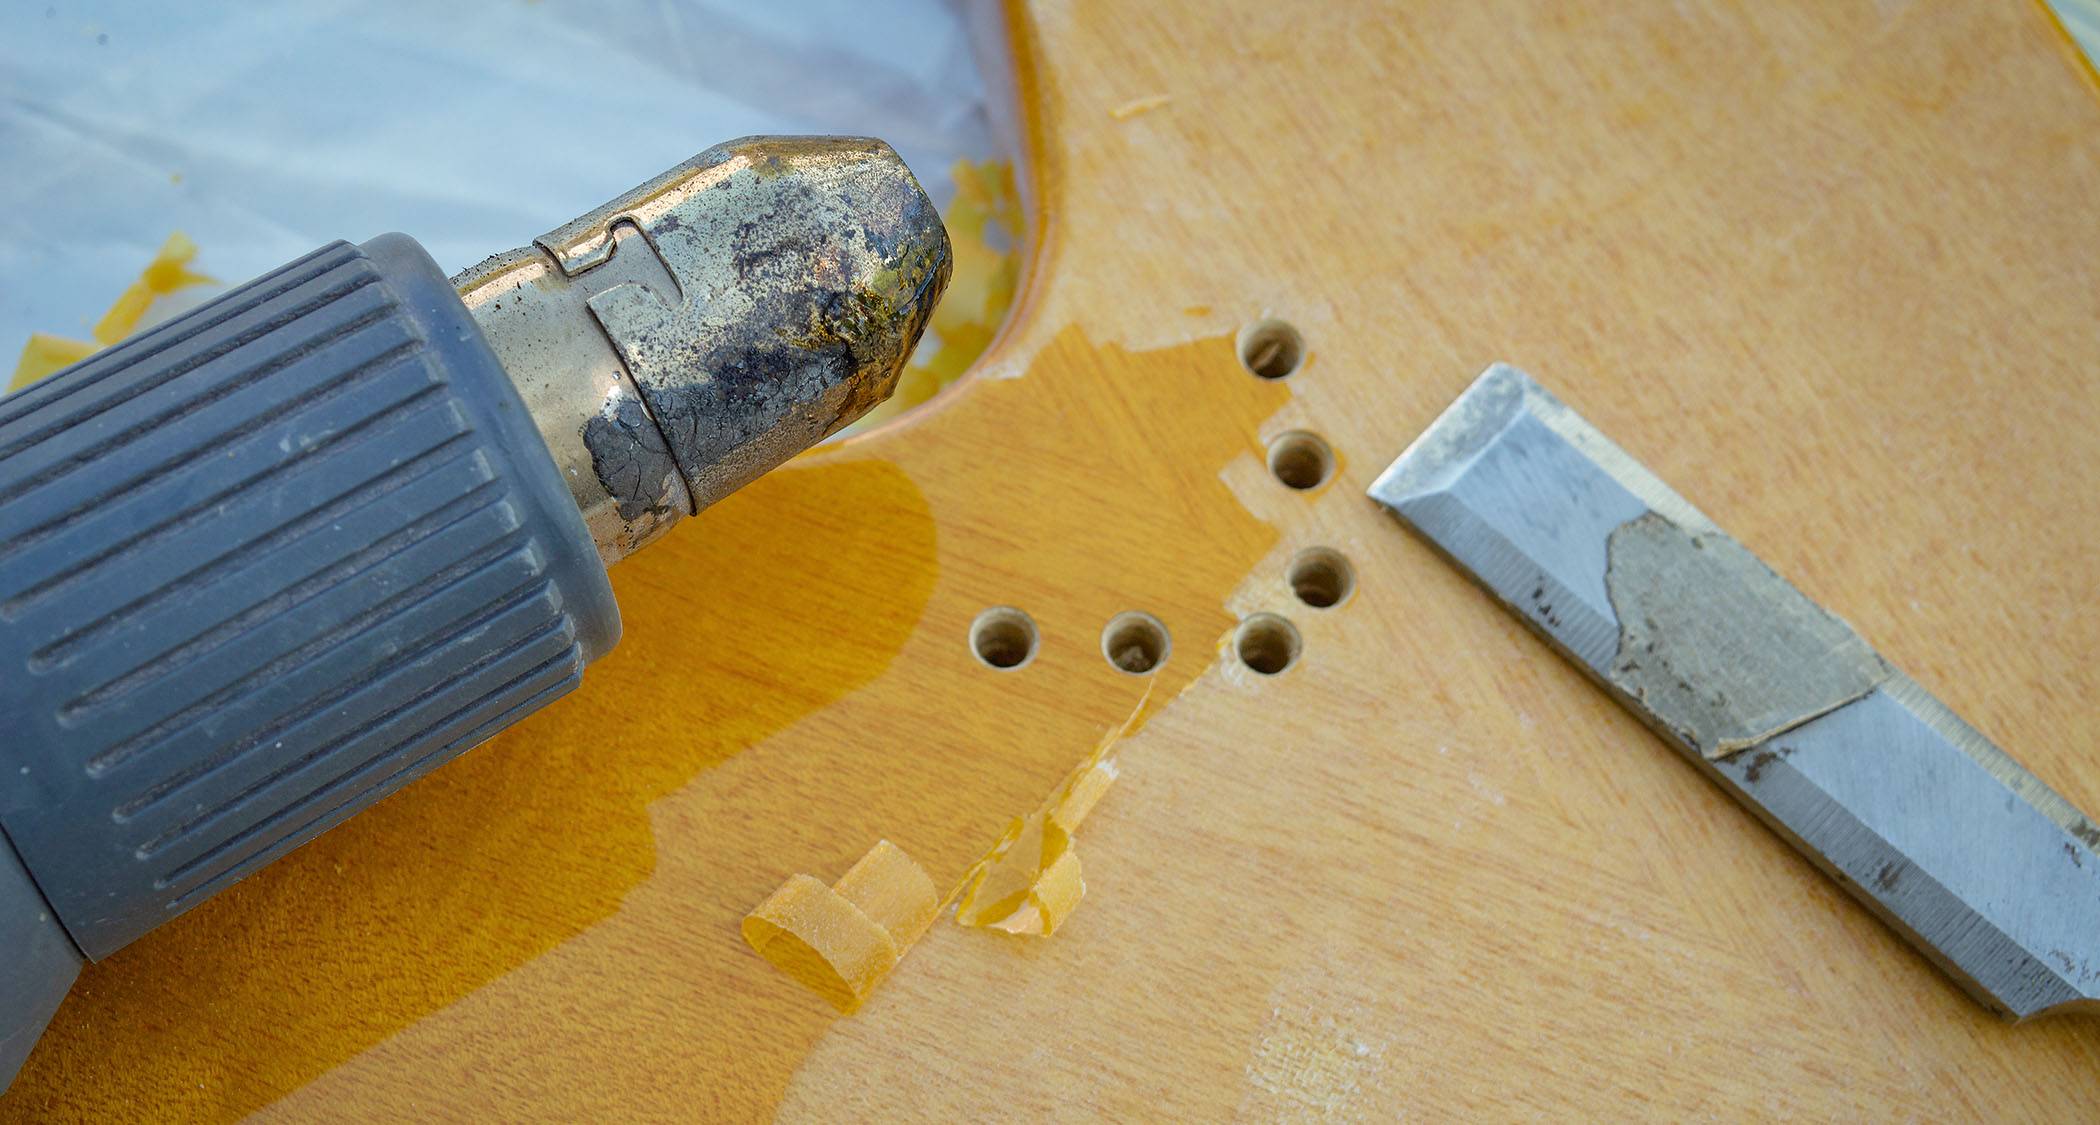
The topcoats come off easily enough if you use a hot air gun set to its higher temperature. The trick is to leave the base coat intact and not to try to get straight down to the wood. Too much heat will cause the base coat to blister and burn, which can char the timber. A lower heat setting softens the base coat and causes it to turn powdery as it’s scraped off.
Unfortunately, the korina wood tends to stick to the finish and chunks can come off as you’re scraping. What’s more, Epiphone Flying V bodies are veneered front and back, and heat can cause the glue to let go. If you encounter bubbled-up veneer, this can be fixed back down by heating the area with a clothes iron and then clamping it with a flat block.
When it comes to necks, I prefer to use a scraper because I worry that excessive heat will bend or twist them. The upshot is that stripping an Epiphone is not for the fainthearted. While a regular Gibson finish can usually be peeled off in about 20 minutes, stripping an Epiphone can take days.
Body Modifications
The brief with this guitar was to make it as ’50s-correct as possible, so modifications were required. Knowing that I’d be replacing the tailpiece and pickup rings, I plugged all the screw holes with dowels and sanded them flush.
The treble-side bridge post was set directly into the wood, but Epiphone used a post bushing on the bass side. Again, I glued in dowels so I’d have the option of using different-diameter bridge posts and maybe relocating them if needed.
Epiphone’s stock string ferrules are lipped and sit flush with the body, but ’50s Flying Vs ferrules were narrower and recessed. I filed the lips off the ferrules, but I needed to ensure that string tension wouldn’t pull them through the body.
To achieve this, I glued dowels into the string holes, leaving enough room for the ferrules to be glued in afterwards. I then drilled new string holes through the body, taking care not to widen the holes in the ferrules.
The factory-fitted Grover tuners made this featherweight guitar somewhat neck heavy, so a set of vintage-style Kluson tuners was the preferred option. I also wanted to mount a 1950s-style truss rod cover, but because Epiphone’s truss rod access groove extends all the way back to the nut, there’s nothing for the truss rod screw to bite into.
The solution I came up with was to veneer the headstock and double up the thickness in the area adjacent to the nut. Before gluing the veneer, I plugged the tuner bushing holes and sanded them flush. I used maple veneer here, rather than holly, because it’s easier to source.
Once I’d tidied up the edges, I opened up the truss rod access and drilled new bushing holes. Lastly, I drilled out the tiny white side dots to replace them with larger celluloid dots and then masked off the fretboard and nut.
Vintage Flying Vs always look as if the finish has sunk into the grain, and the wood looks so natural that I’m not convinced Gibson used grain filler. After staining the maple neck to try to make its tone a little better with the korina body, I sprayed the husk with Fiddes cellulose sanding sealer followed by high-build cellulose base coat. I also sprayed the front of the headstock black.
After levelling the basecoats I used StewMac’s Vintage Amber and Medium Brown ColorTone Stains to tint Nitorlack Golden Age gloss lacquer and then applied several coats. I sanded these coats smooth and then melted out the scratches with a couple of flash coats.
Flash coats are mostly thinners that are mixed with N-butyl retarder and a tiny dash of lacquer, and they flow out to leave a high‑gloss surface that’s almost ready to buff. After sanding with 1,200- and 2,000‑grit wet and dry, the finish polished up nicely.
Fixtures & Fittings
Epiphone’s ’50s-style Flying V is a perfectly decent electric guitar that manages to emulate the spirit of the real thing without being completely vintage accurate. Gibson’s ’58 reissues cost several thousand pounds (the Custom Shop 1958 Korina Flying V Reissue was £9,699 at the time of writing), so upgrading an Epiphone or ‘golden era’ Japanese reissue is an affordable option.
There’s also a lot of enthusiasm for Precision Guitar Kits’ V-Type kits, and the availability of high-quality ’50s-spec parts indicates that some Flying V fans choose this route.
A ’50s-correct brass tailpiece was needed to replace the Epiphone version, which is incorrectly shaped, secured by screws (rather than pin nails) and made from gold-plated steel. I ordered one from Crazy Parts, which offers a comprehensive range of ’50s Flying V accessories.
Replica pickguards and jack plates are available in white and black, but I decided to retain the original because it can be made to line up fairly well.
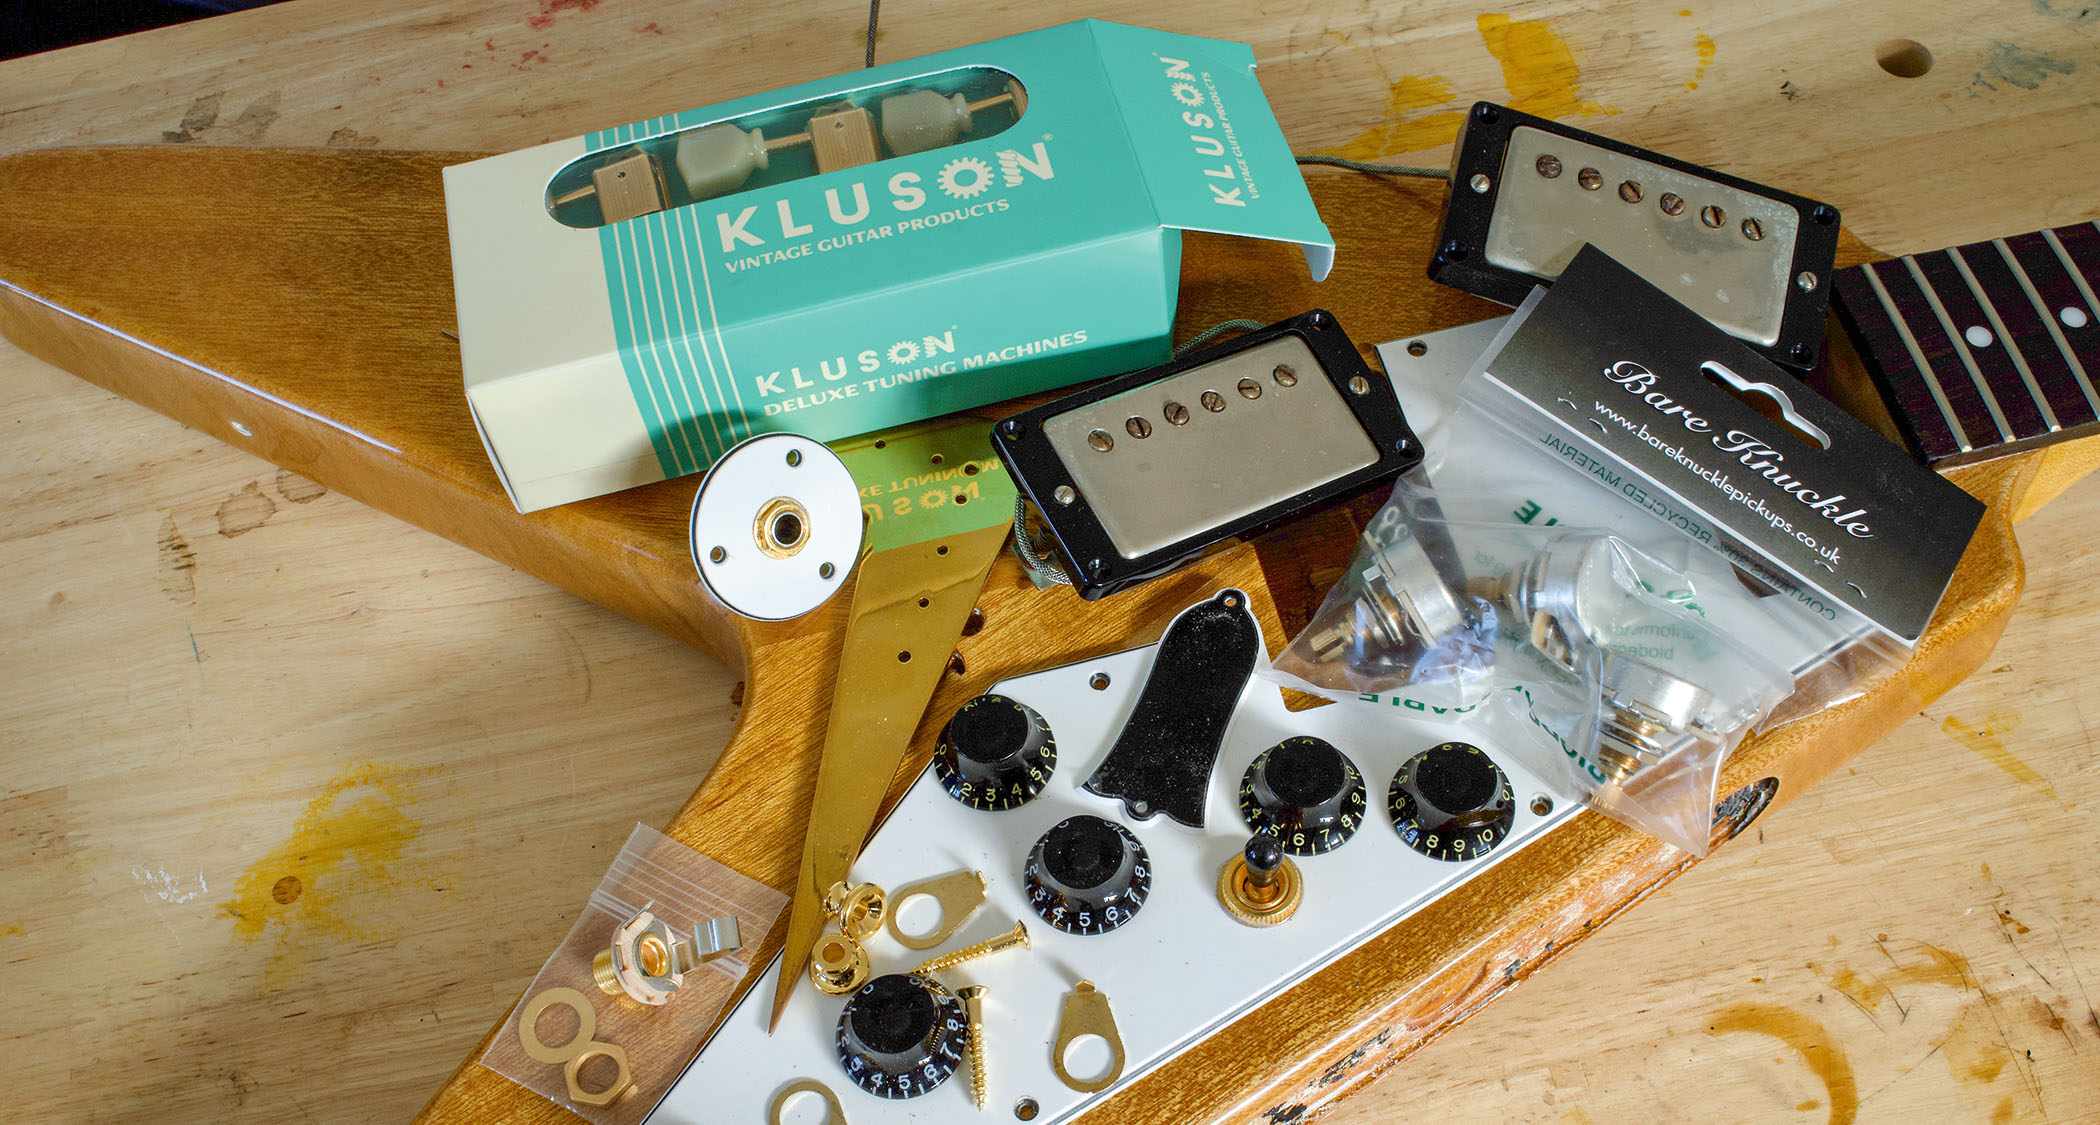
The parts list also included knobs, gold pointers, M69-spec pickup rings, a truss rod cover, Kluson single ring tuners, a gold jack socket and gold strap buttons. These are all generic and came from Allparts UK, except for the tuners, which were sourced from Music Store.
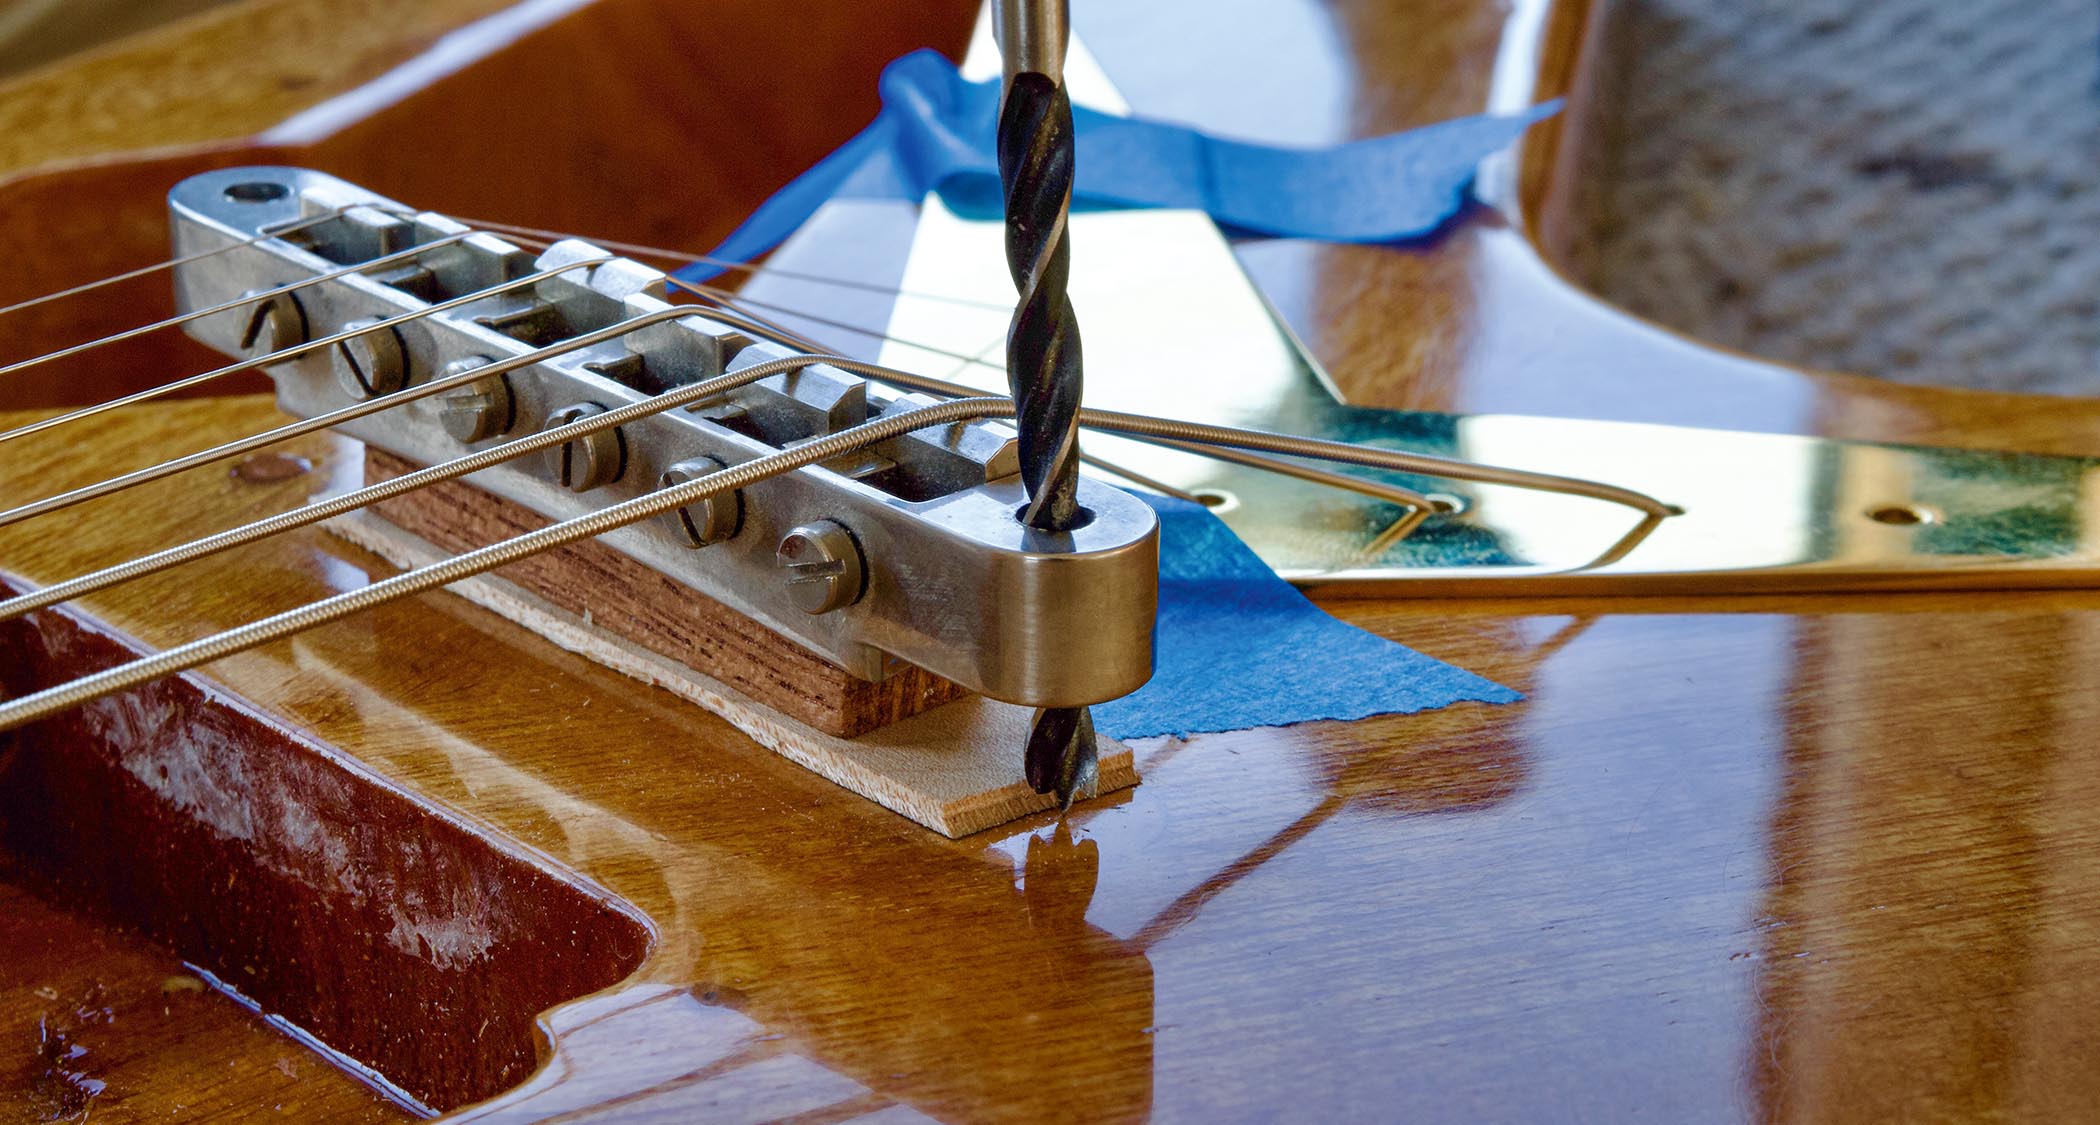
Chris supplied a used Gibson ABR-1 bridge, so I decided to string up the guitar and locate the bridge. Before that, I needed to install the tuners. The post holes were a tad narrow, so I used a reamer to widen the diameter for the bushings. With a steel ruler lining up the tuners, I marked the screw locations, drilled pilot holes and mounted them onto the headstock.
This is when I encountered the only complication of this project. Crazy Parts’ tailpiece is vintage-correct, but Epiphone’s string hole locations aren’t, and the tailpiece’s string holes didn’t line up.
In the end I had to widen the holes in the body, knowing they would be hidden, and slightly increase the diameter of the tailpiece string holes. With tape holding the tailpiece in position, I was finally able to see daylight through the holes.
With an ABR-1 bridge shimmed on a couple of pieces of wood, I could string up the guitar and verify that it would intonate with posts installed in the original locations. After drilling fresh post holes, I inserted the posts, mounted the bridge and gave the guitar a final play test.
I put lots of tiny dents and chips into the lacquer by dropping handfuls of screws onto the guitar, then I add several larger dents using a nail punch and the rounded side of a small hammer
I have previously described my process for distressing the finish prior to inducing lacquer checking on my 1957 Strat restoration. In short, I put lots of tiny dents and chips into the lacquer by dropping handfuls of screws onto the guitar, then I add several larger dents using a nail punch and the rounded side of a small hammer.
The difference this time was that I wanted the checking lines to form sideways across the body, rather than lengthways along it. The easiest way to achieve this was to put the guitar into a deep freeze – so long as you have one big enough.
Nitorlack Golden Age is formulated for easy checking and it didn’t disappoint. After three overnight sessions in the freezer, the checking ended up looking exactly as I’d hoped.
Relic ’N’ Roll

The pickguard and jack plate looked too shiny and white, so I used 0000-grade wire wool and 4,000-grit micromesh to dull the surface. I followed up with Angelus Medium Brown leather dye diluted with isopropyl alcohol to get more of a ‘parchment’ white colour. I then applied Morell’s dark brown grain filler to dirty up the bevelled edges.
After dulling down with more wire wool, the knobs, truss rod cover and pickup rings went into a bag with some screws and I gave it a good shake to scratch them up.
Wiping the leather dye onto the outer surfaces gave the knobs an amber look and gave the rings and cover an interesting patina. I used a file to induce some ‘strategic’ damage to the rings and applied more grain filler ‘dirt’ to the truss rod cover’s white edging.
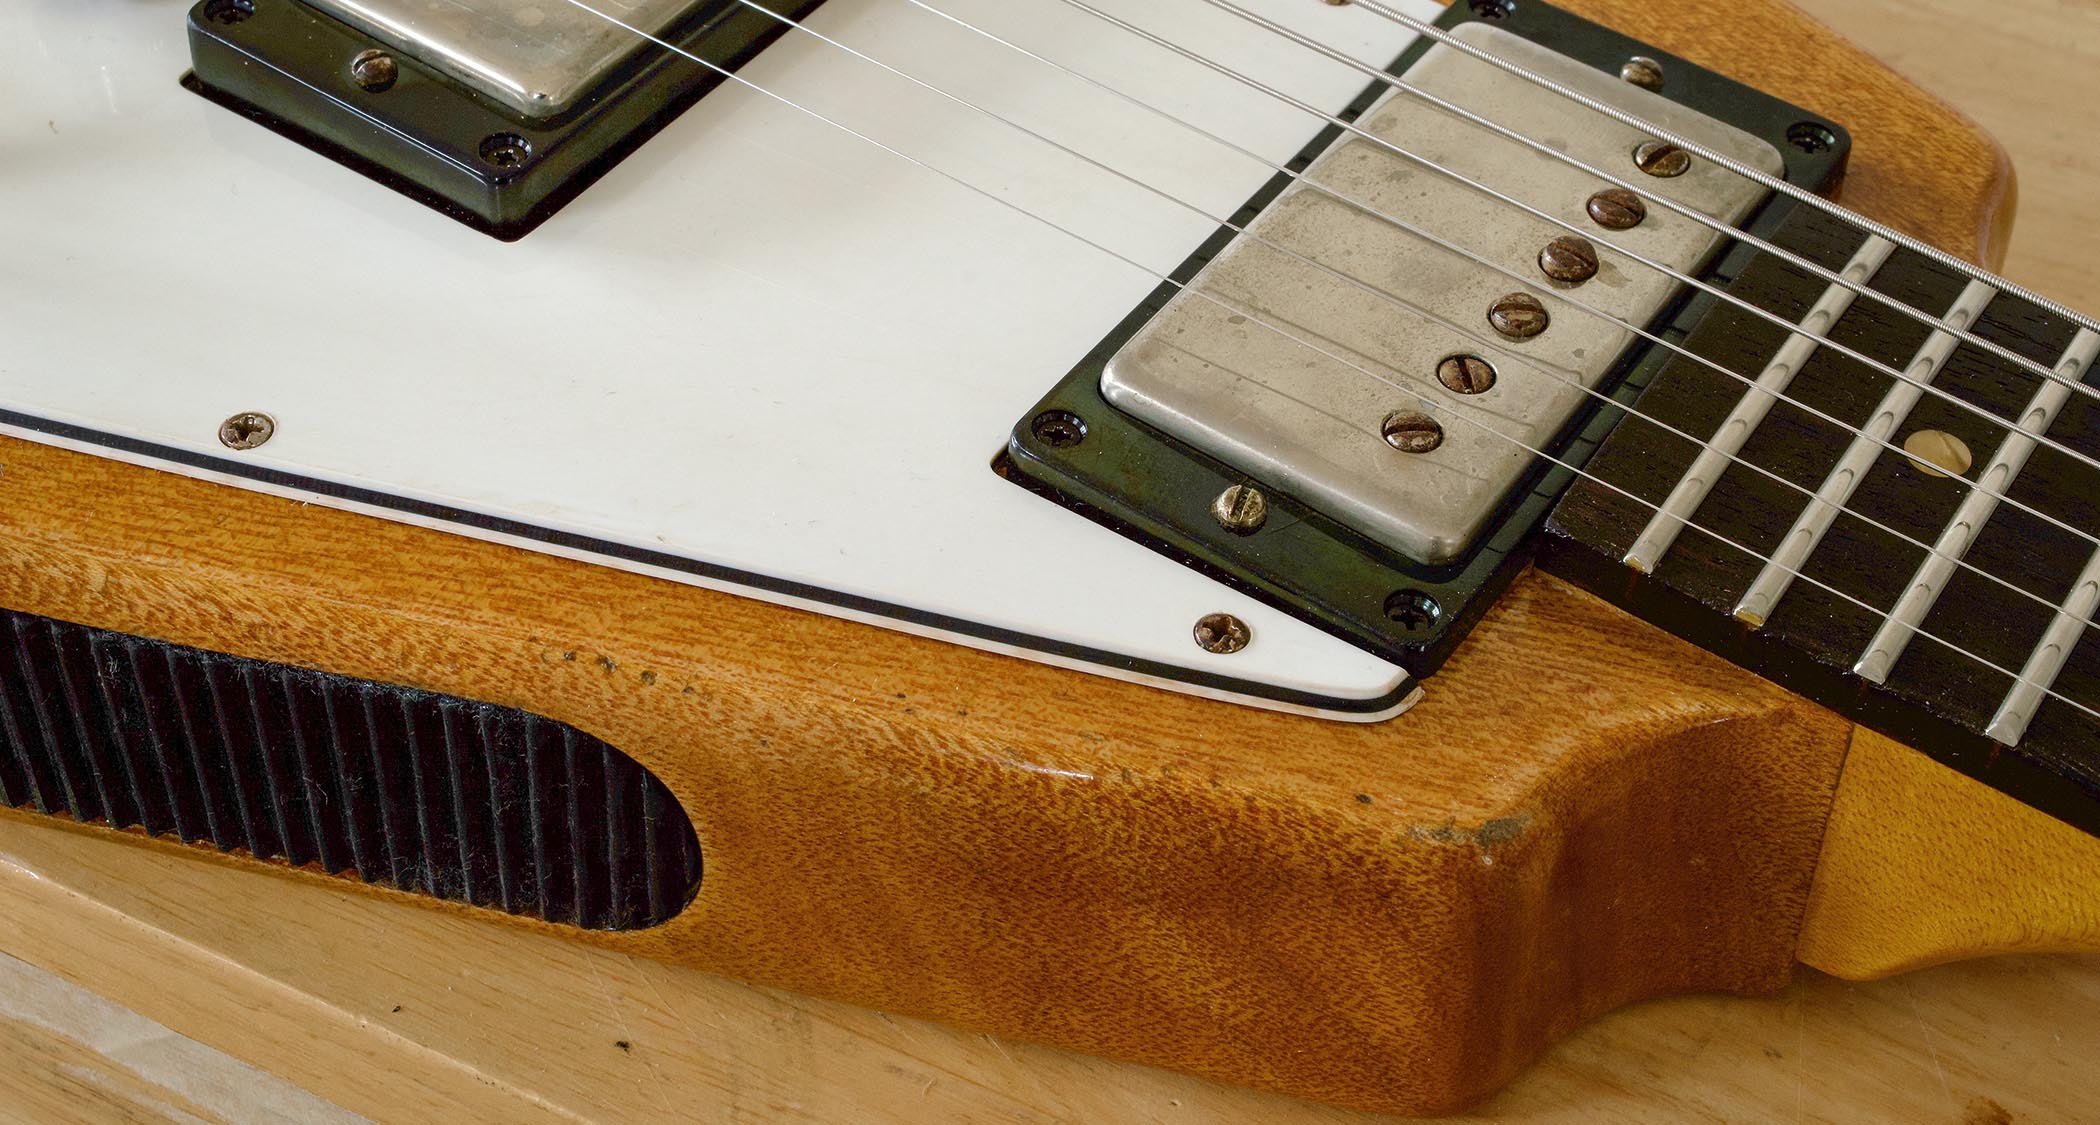
Most well-played vintage Flying Vs retain little or no gold plating on the pickup covers or the bridge
Most well-played vintage Flying Vs retain little or no gold plating on the pickup covers or the bridge. The tuners generally show more of their original colour, and there may be traces of gold surviving on the pointers, switch and output jack. But the parts we had all looked way too gold. Dulling the gold – or even removing it completely – can be done by rubbing it with a wad of Brasso.
The pointers and jack were quite well plated and needed some effort, but the gold came off the tuner parts and switch with worrying ease. The plastic tuner buttons responded well to the wire wool, leather dye and grain filler treatment.
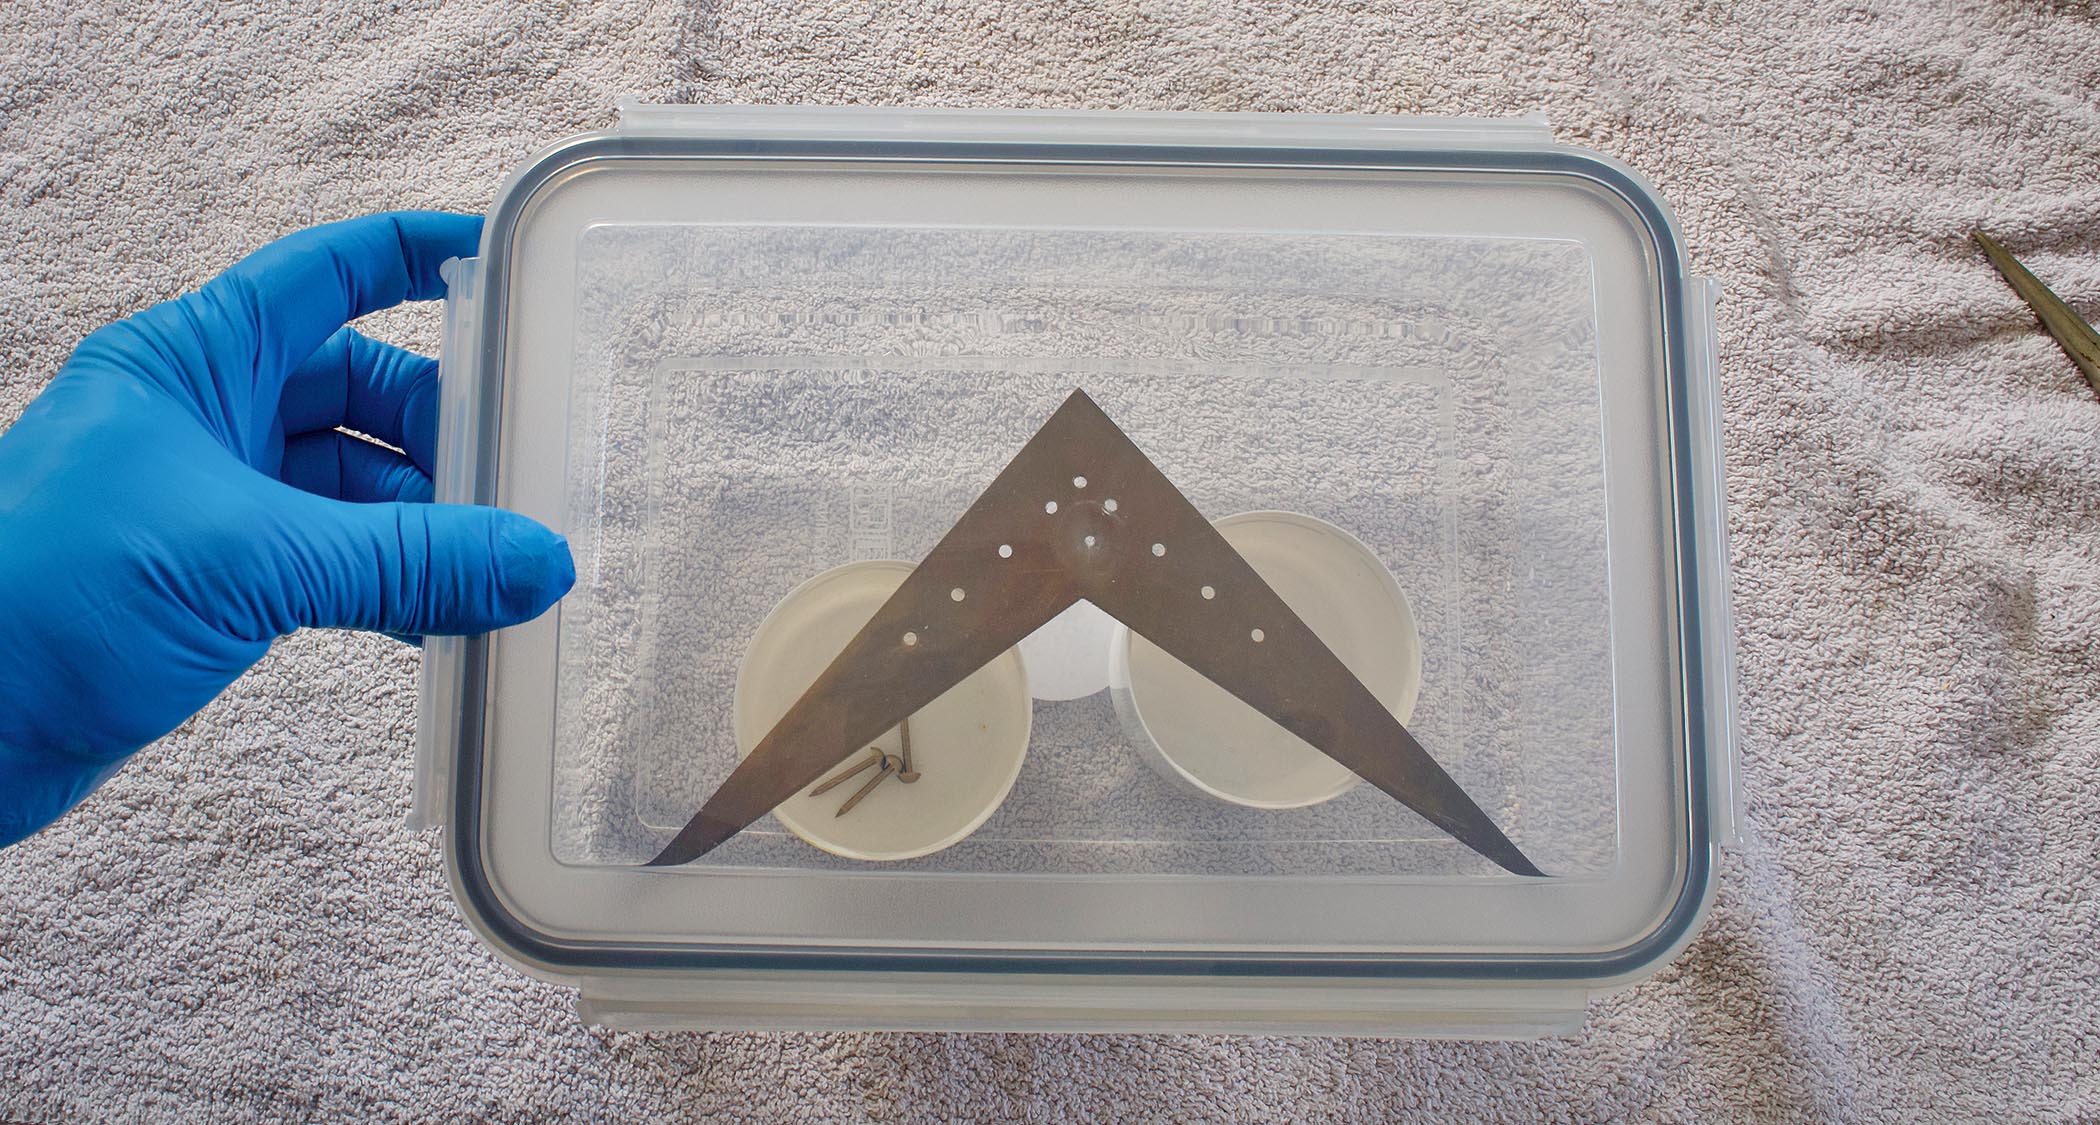
I gave the tailpiece a thorough wipe down with acetone to remove any greasy fingerprints before placing it into a sealed container with ammonia. It’s an old antique restoration technique that produces rapid results, but it’s important to always work outdoors and wear gloves, a respirator and eye protection because ammonia is dangerous.
Electronics
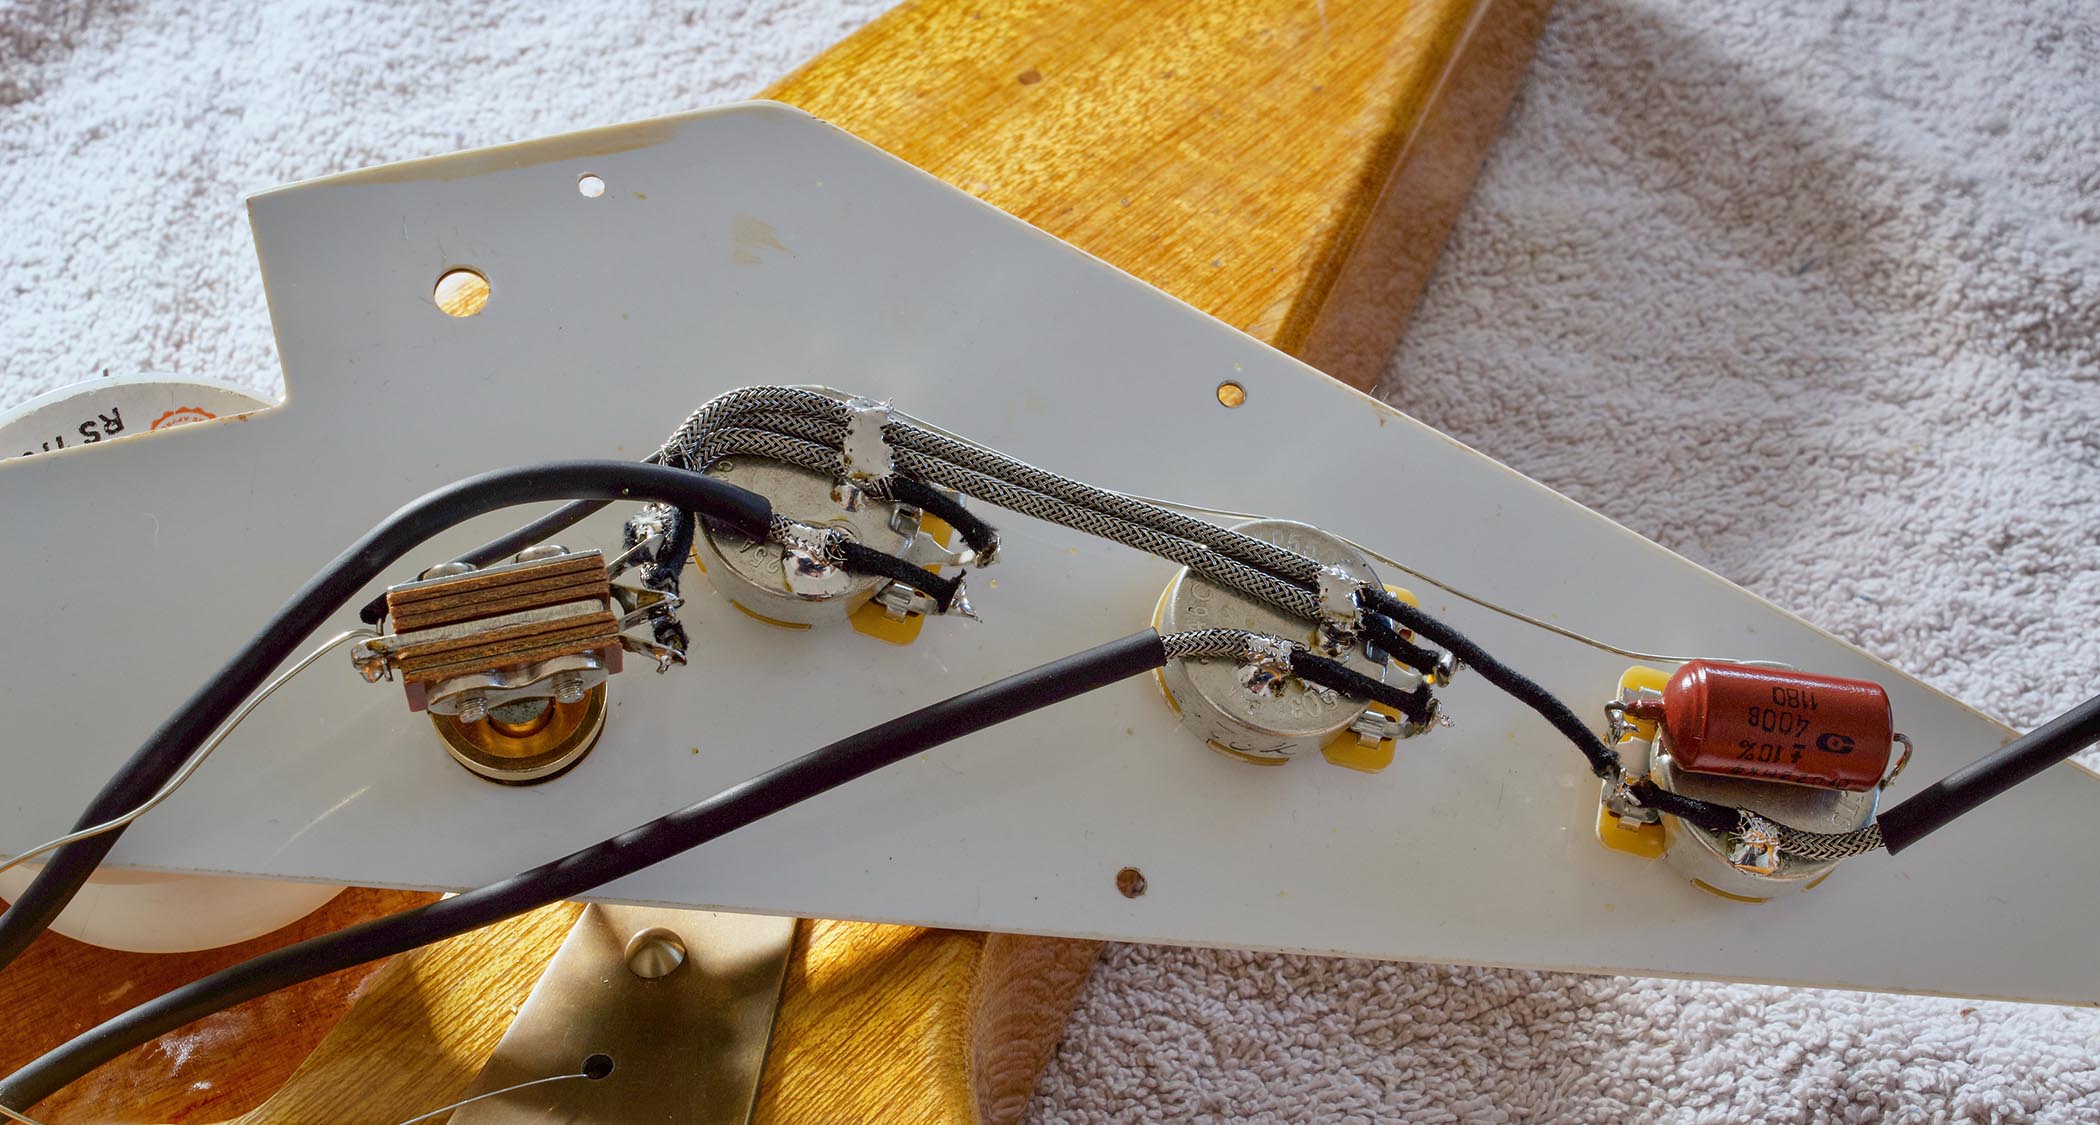
While I decided to recycle the original switch, everything else in terms of electronics was upgraded. I’m partial to Bare Knuckle’s 550k CTS potentiometers and find the 10 per cent taper responds similarly to vintage pots.
The higher value also corresponds with vintage 500k pots, which tend to measure way above 500k – and sometimes even closer to 600k. To mount the pots, I had to widen the pickguard holes with a 9.5mm drill bit.
There are plenty of excellent Patent Applied For humbucker replicas on the market to choose from, but for this project I decided to make a set using vintage-correct parts and magnet wire.
I used a brick red Soviet-era paper-in-oil capacitor for tone control, and all the connections were made with vintage-style braided wire. Lastly, there’s the all-important ground wire that goes under the tailpiece and through a hole into the control cavity.
After drilling pilot holes for the tailpiece nails, I fixed it onto the body but left the nails slightly proud for wiggle room. With the pickups in position, I soldered them to the volume pots and strung up the guitar so I could optimise the pickup placement and screw down the rings.
After adjusting the tailpiece and pickguard to optimise the alignment, I used masking tape to hold the pickguard in position and tapped the tailpiece nails all the way in. Once the pickguard was screwed down and the jack socket soldered on, I was finally able to tune up and hear the guitar for the first time.
V For Victory
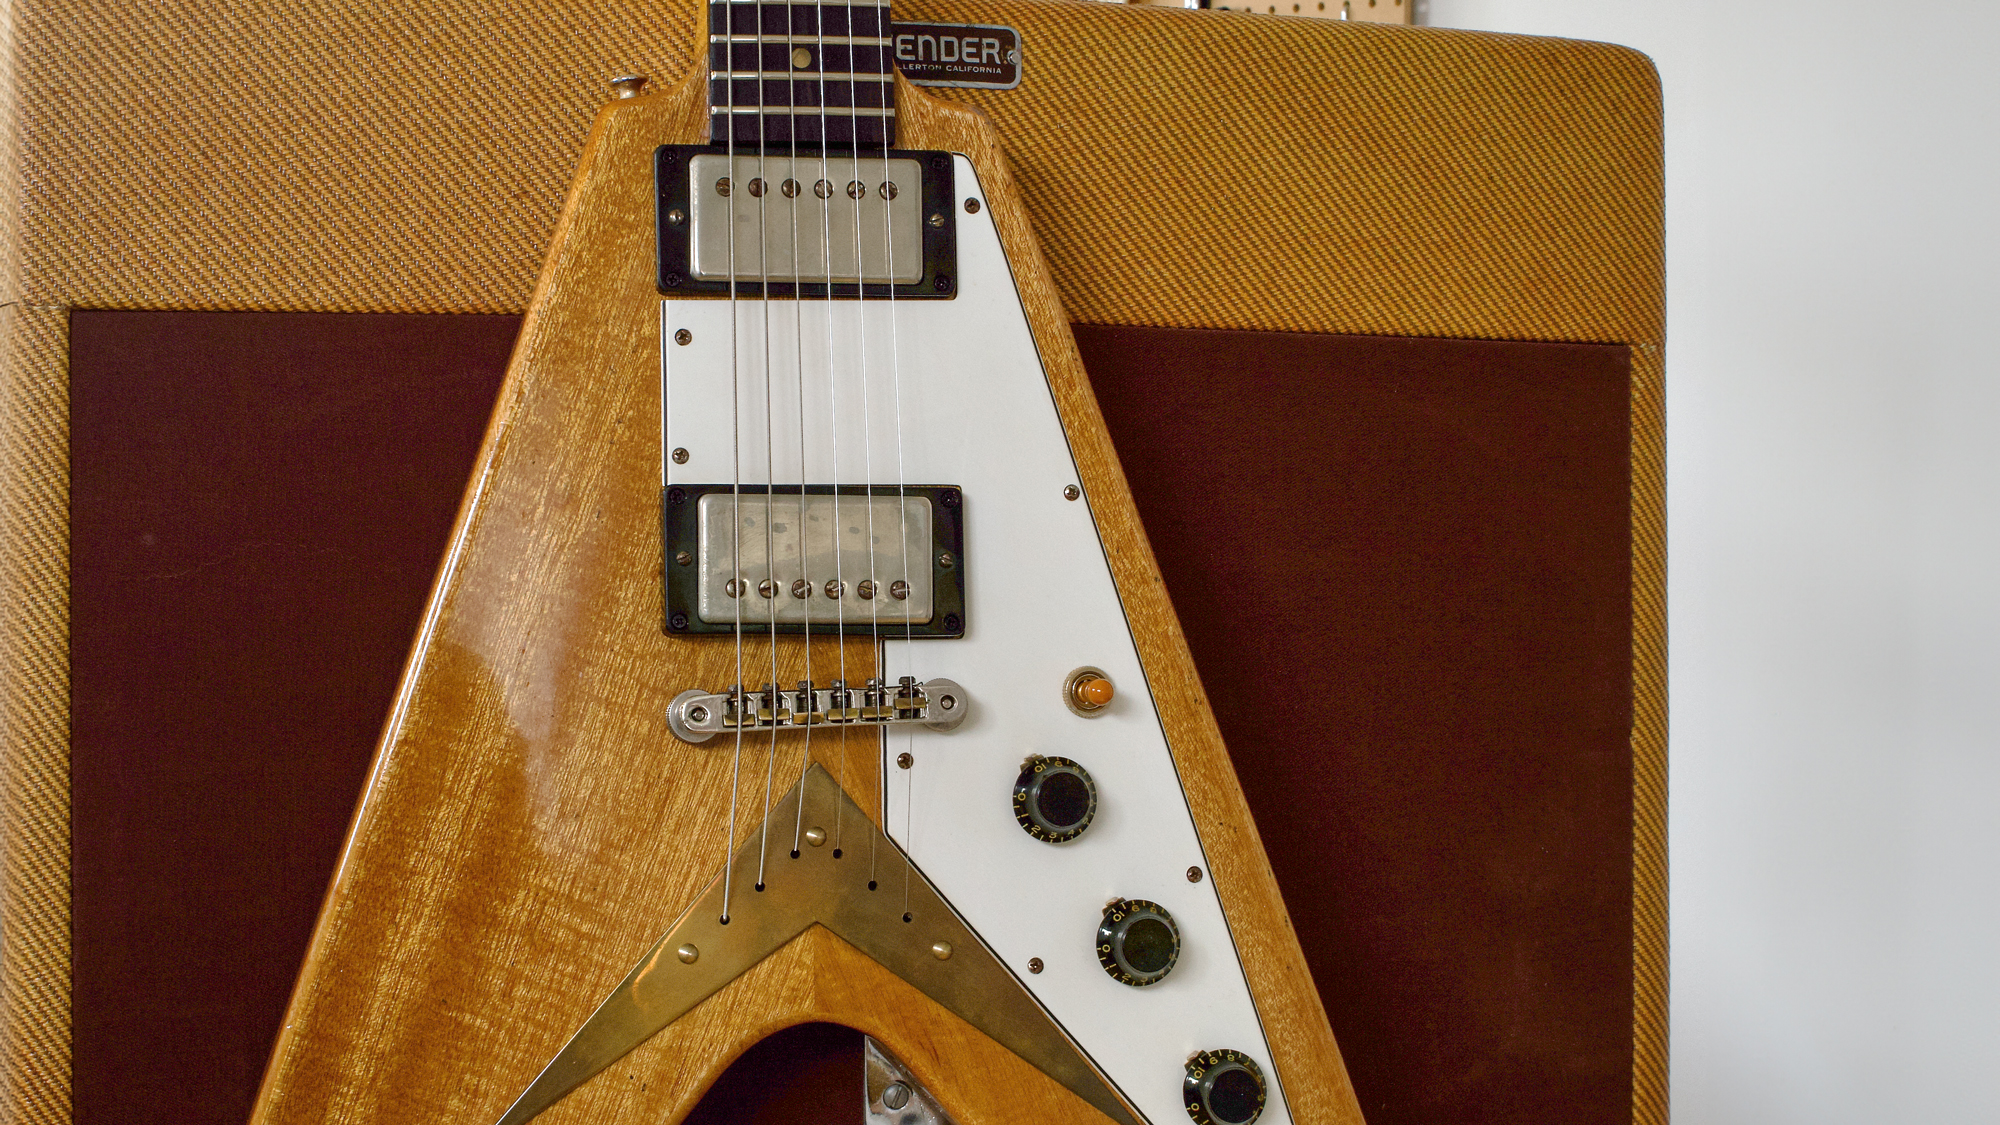
I haven’t spent sufficient time with ’50s Flying Vs to become accustomed to their tone, but comparing Chris’s model with some decent online demos, this example has some of the same characteristics.
To my ears, they seem very clear, dynamic and expressive. Their woody tone almost slots in somewhere between an SG and an ES-335, with a splash of Strat-y twang.
When I’m aware of the history of guitars I’m working on, I often find myself thinking about the people who once owned them. Sadly, Dory Buck died in 2023, before I was able to finish his Flying V, but I hope he would have liked the way it turned out.
- This article first appeared in Guitarist. Subscribe and save.
- Watch more on Huw Price’s YouTube channel – Tone Twins TV.