You've finally gotten the third Crystal Key from Tigger, so it's time to tackle the next big Wishblossom Ranch challenge in Disney Dreamlight Valley. The Crystal Cavern: Pixie Acres challenges you to tackle another series of complex puzzles.
Exploring the Crystal Caverns isn't easy, as they're quite mazelike and easy to get lost in while you're also trying to work through an array of puzzles. It's easy to get stumped by this mission, so here’s how to complete Crystal Cavern: Pixie Acres in Disney Dreamlight Valley.
Table of contents
- How to complete Crystal Cavern: Pixie Acres in Disney Dreamlight Valley
- Bring the Crystal Key to Tinker Bell
- Find a way to open the door
- Remove the Decay crystals to allow the Wishblossom to bloom
- Use Khan in the green area
- Use Maximus in the blue area
- Use your custom horse in the pink area
- Talk to the Wishblossom in the third Crystal Cavern
- Break the Decay crystals around the Wishblossom Mountains
How to complete Crystal Cavern: Pixie Acres in Disney Dreamlight Valley

To complete the Crystal Cavern: Pixie Acres quest, you need to navigate through the third trial, which is packed with puzzles, and free the final horse, Pegasus. It's a pretty complex mission to work through, so here's a full breakdown of everything you need to get done.
Bring the Crystal Key to Tinker Bell
First up, it's time to return to the Wishblossom Heart once again so you can give the third Crystal Key to Tinker Bell. It's been a bit since the Crystal Caverns: Glamour Gulch quest and the Crystal Cavern: Wishing Alps quest, so if you've forgotten how to get there, just head through the stone archway between the bridge leading into Wishblossom Ranch and the bridge leading into Wishing Way.
Once you're inside, chat with Tinker Bell to give the Crystal Key. Follow her around to the backside of the massive Wishblossom and talk with her again to open the last Crystal Cavern. Once you're inside, call upon Khan to break the barrier and proceed forward.
Find a way to open the door

On the other side of the barrier is your first puzzle, as the door is blocked. Make an immediate right and walk over to the barrier inside the room. Have Khan break down the barrier, then switch to one of your own custom horses.
Walk around to the back of the massive stone. Now that you've broken the barrier, you can push the stone forward onto the pressure plate. Once it's in place, go stand on the other pressure plate near where you entered this room to unlock the door. Head through the door and deeper into the cave.
Remove the Decay crystals to allow the Wishblossom to bloom
There's another giant Wishblossom that needs saving, so it's time for you to break some more Decay crystals. Just like there were in the other Crystal Caverns, there are three to find here. To break them, you'll need to:
- Use Khan in the green area to break the barricade and take the elevator.
- Use Maximus in the blue area to find the elevator's lever.
- Use your custom horse in the pink area to push the block onto the pressure plate.
Use Khan in the green area

Make an immediate right from where you stood talking to the Wishblossom to enter the green area. Equip Khan as your mount, break the first barricade, jump over the obstacles, and break the second barricade to enter the main room. Then, turn right and break another barricade, jump over another obstacle, and walk down to the end of the path.
Here, you'll find a lever you can flip, which raises the elevator out of the way to reveal a platform you can walk on. Return to the middle of the room to cross over the platform. On the other side, you'll find the first red crystal to break.
Use Maximus in the blue area
Switch your mount to Maximus and walk around to the blue area behind the massive Wishblossom. Leap over the first gap, then interact with the red puff of smoke by the elevator to activate the trail. Follow the red smoke deeper into the blue area to find the missing lever.

Then, bring the lever back to the elevator and interact with it to slot it back into place. Flip the lever to move the elevator over to a new area. Follow the path forward to find and destroy the second red crystal.
Use your custom horse in the pink area
Head around to the left side of the Wishblossom to access the pink area. Switch your mount to one of your custom horses before heading in, as you'll need them for this section. Once you're inside, make a right and loop around the cave to get behind the massive stone.
Then, walk toward it while riding a custom horse to push it forward. Keep pushing until it lands on the pressure plate. Walk over and stand on the other pressure plate next to it to open the door. Go through the door to find the third and final red crystal you can destroy.

Talk to the Wishblossom in the third Crystal Cavern
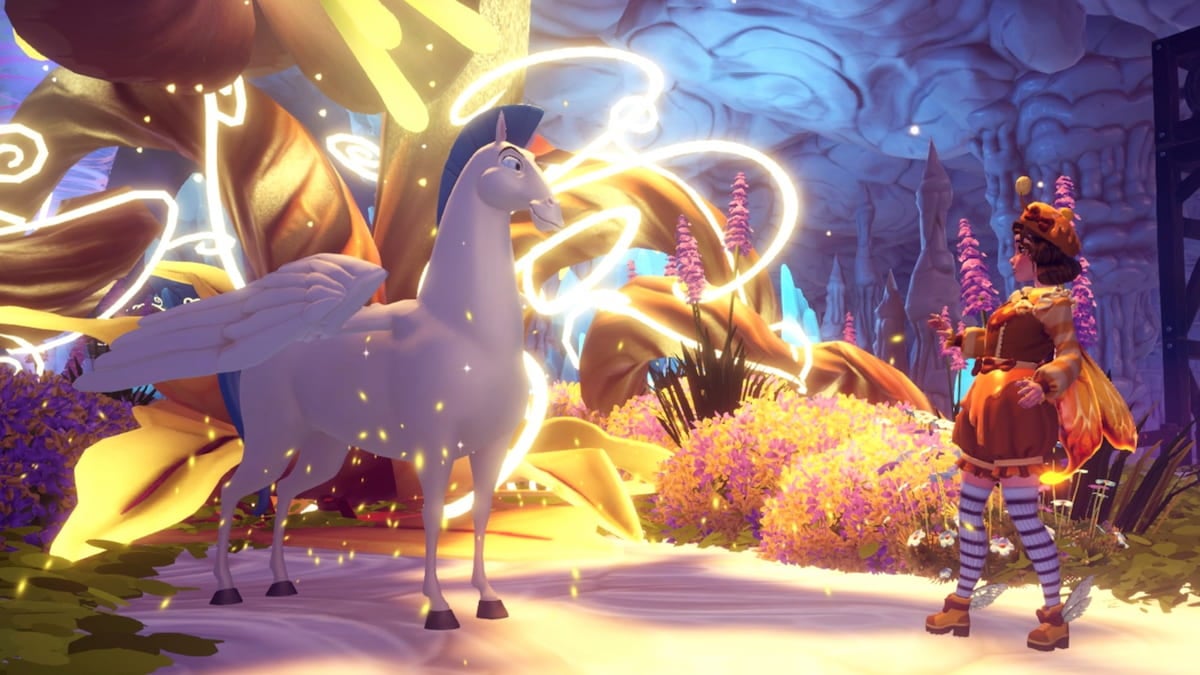
With the third Decay crystal now broken, head back to the massive Dream Wishblossom in the middle of the cave to discuss your progress. A short cutscene will play, and Pegasus from Hercules will spawn next to the Wishblossom.
You now have your final Disney horse, so mount Pegasus and head over to the nearby wind tunnel to fly out of the cave. Talk to Snow White back in the Wishblossom Heart about what you've accomplished and what comes next.
Break the Decay crystals around the Wishblossom Mountains
Unfortunately, the Decay got worse while you were trying to stop it. The Decay crystals spread throughout the entire Wishblossom Ranch world, so you need to find and break 18 crystals in Wishings Alps, 18 in Glamour Gulch, and 18 more in Pixie Acres. There are between three and six crystals in each biome in all of these areas.

Return to Tinker Bell in the Wishblossom Heart once you're done and chat with her about your progress. She thinks she might have a solution to the issue, but needs some time to think, so for now, the Crystal Cavern: Pixie Acres quest is complete. Next up is The Decay quest.
The post Crystal Cavern: Pixie Acres quest walkthrough in Disney Dreamlight Valley appeared first on Destructoid.