This afternoon, I attended my very first Spring Crafting Event online with Cricut's experts, and was shown a quick and easy way to make beautiful flower arrangements using just coloured card and a Cricut Joy Xtra - one of the best Cricut machines for crafting beginners.
Cricut kindly sent me all of the tools and materials I needed ahead of the session, and as someone new to the crafting community (outside of 3D printing), it was great to have the opportunity to follow along step by step, and ask questions directly to Kate Smith, a Cricut expert and ambassador.
This tutorial was not only super fun, but easy enough that anyone with a Cricut machine can do it with no prior knowledge or experience needed. Most of the crafters on the Zoom call had just switched on their Cricut machines for the very first time. I'm going to show you step by step how I created these beautiful Spring flowers thanks to the hands-on demo from Cricut.
Take a look at the company's brand new Cricut Maker 4 and Explore 4 smart cutting machines if you're hoping to start more advanced projects (my review of the Maker 4 is in progress), or see our picks of the best laser cutters and engravers for some other crafty options.
You may also went to check the best laptops for Cricut Design Space.

You will need:
- A Cricut machine
- A device with access to Cricut Design Space (phone, tablet, or laptop)
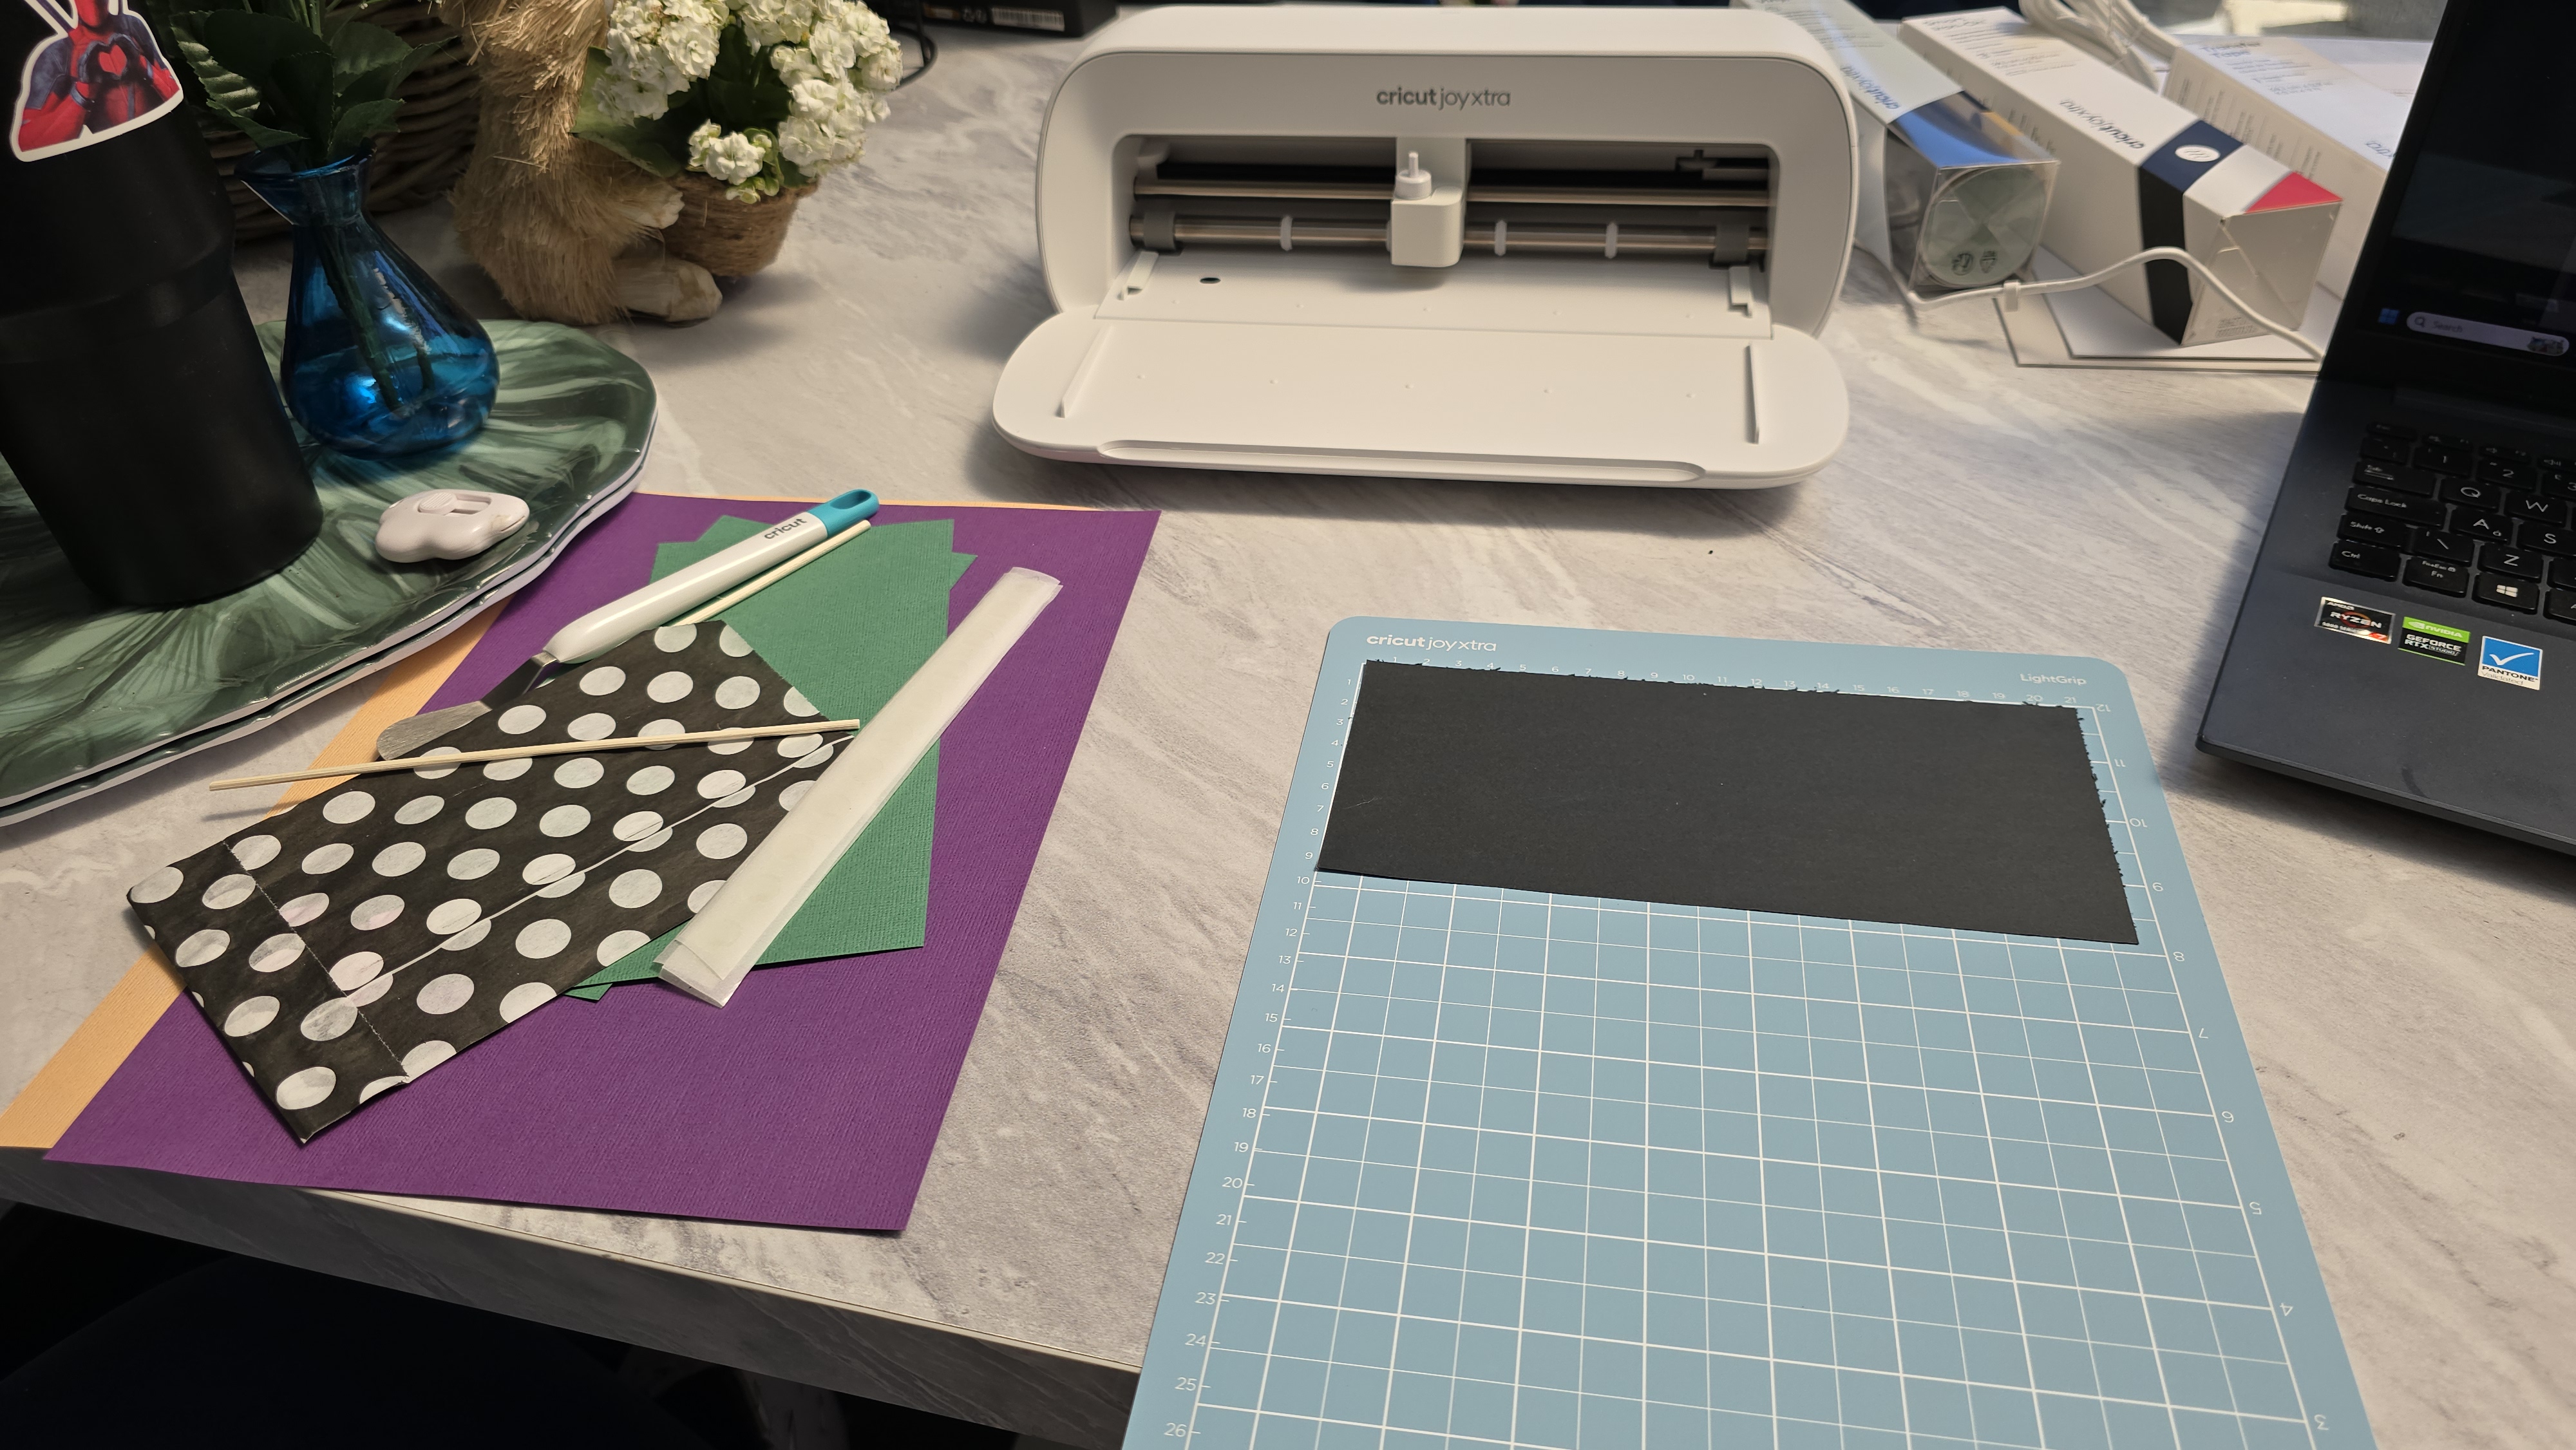
- A light grip mat
- A spatula (for curling petals)
- Card material in multiple colours
- Glue adhesive dots (or a glue gun)
- A wooden stick stem for assembly
Once you've gathered your materials, switch on your Cricut machine, boot up Cricut Design Space on your phone, tablet, or laptop and then you're ready to get making.
Prep the canvas
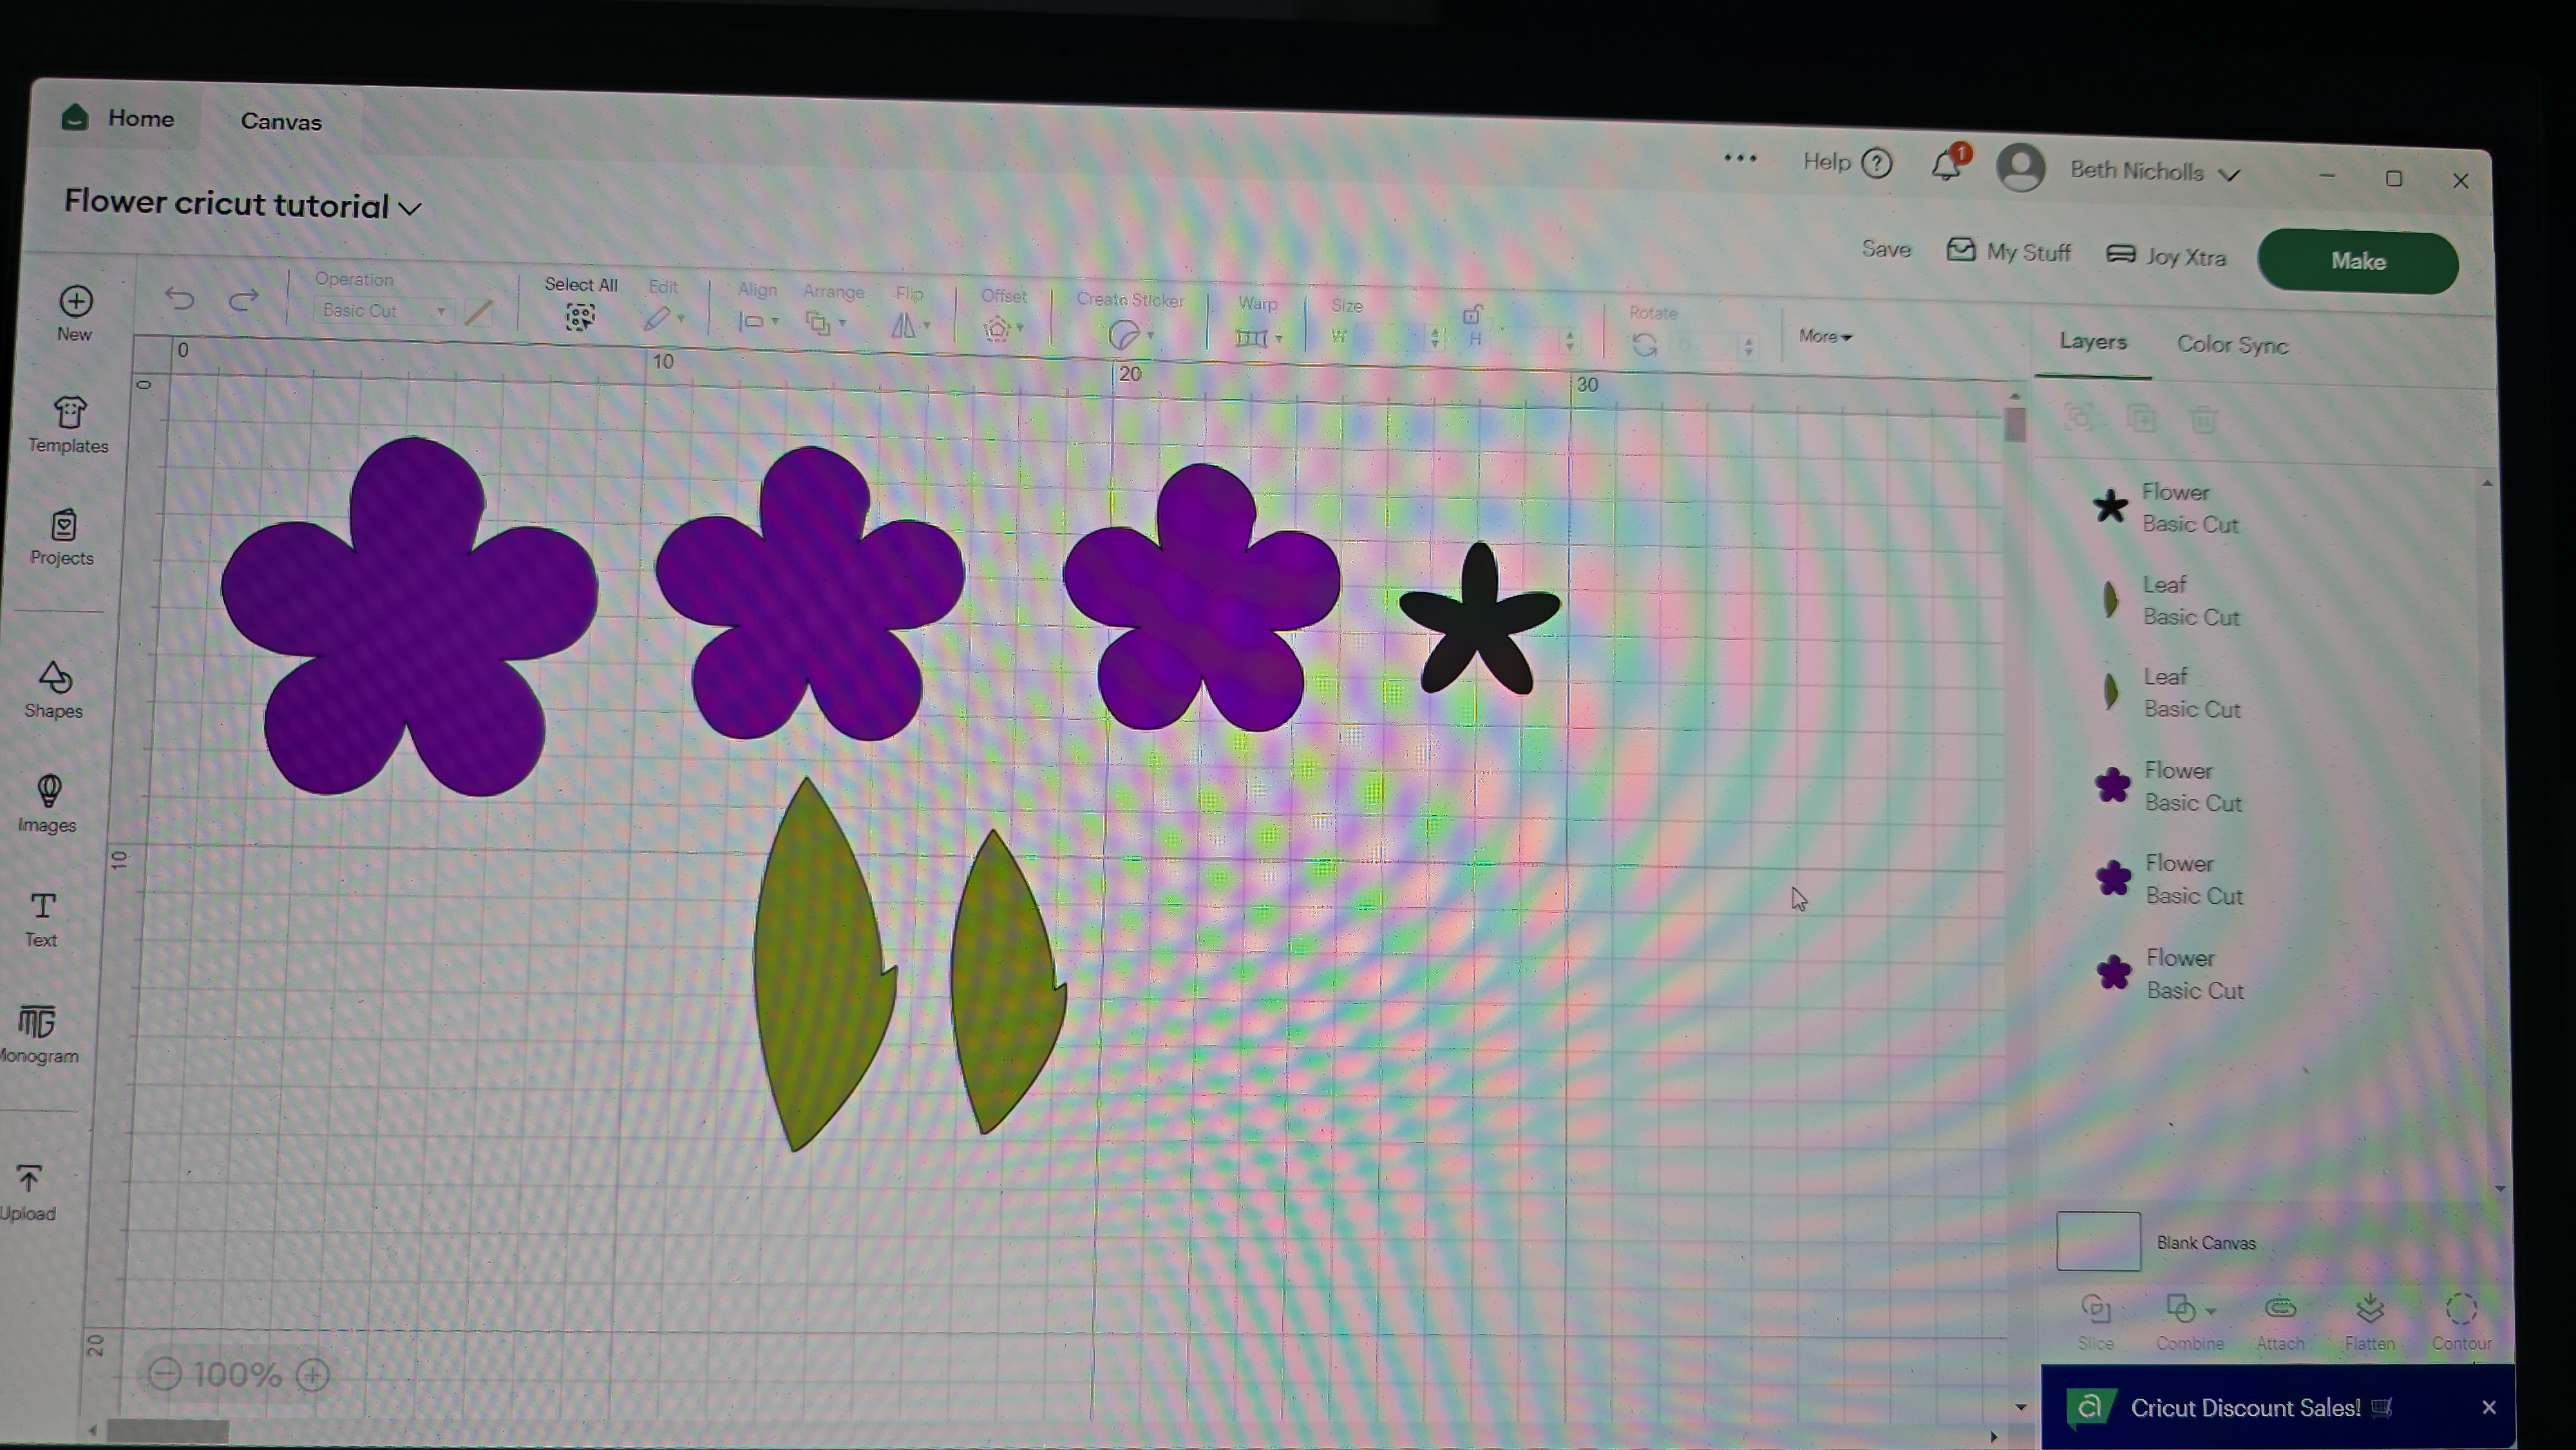
Once you're logged in to Cricut Design Space (the online website, app, or desktop-based platform used for connecting to Cricut machines), head to your canvas, and you're going to want to add in any image you like of a flower of your choice. You can filter the options and select 'free' if you're not a Cricut Access member.
Next, duplicate this flower and make it a slightly smaller size, and repeat this step again so that you have three flowers in total. During the Zoom tutorial, we used a 7cm flower, a 6.5cm flower, and a 6cm flower. Make sure these flowers are all the same colour on the canvas (unless you want to cut different colours of card).
For the middle part of the flower, you'll want to choose a slightly different flower design, one that's maybe a bit thinner. Add this to your canvas, and size it appropriately to fit in the middle of your smallest flower. Change the colour of this to be different from the first set of flowers.
Lastly, you'll need some leaves. Pick your favourite design from the image options available on Cricut Design Space (or upload your own) and add this to your canvas. Feel free to get creative here with different sizes for a natural leafy look, and change the colour so its different from your flowers and inner flower designs.
Now that you've got all of your images ready, go to 'Make' - select your load style, which unless you're using Cricut smart material should be 'On Mat' - confirm - choose your material type, we opted for the Medium Card stock, 80lb, 216 gsm, and you're ready to go.
Load your material for cutting
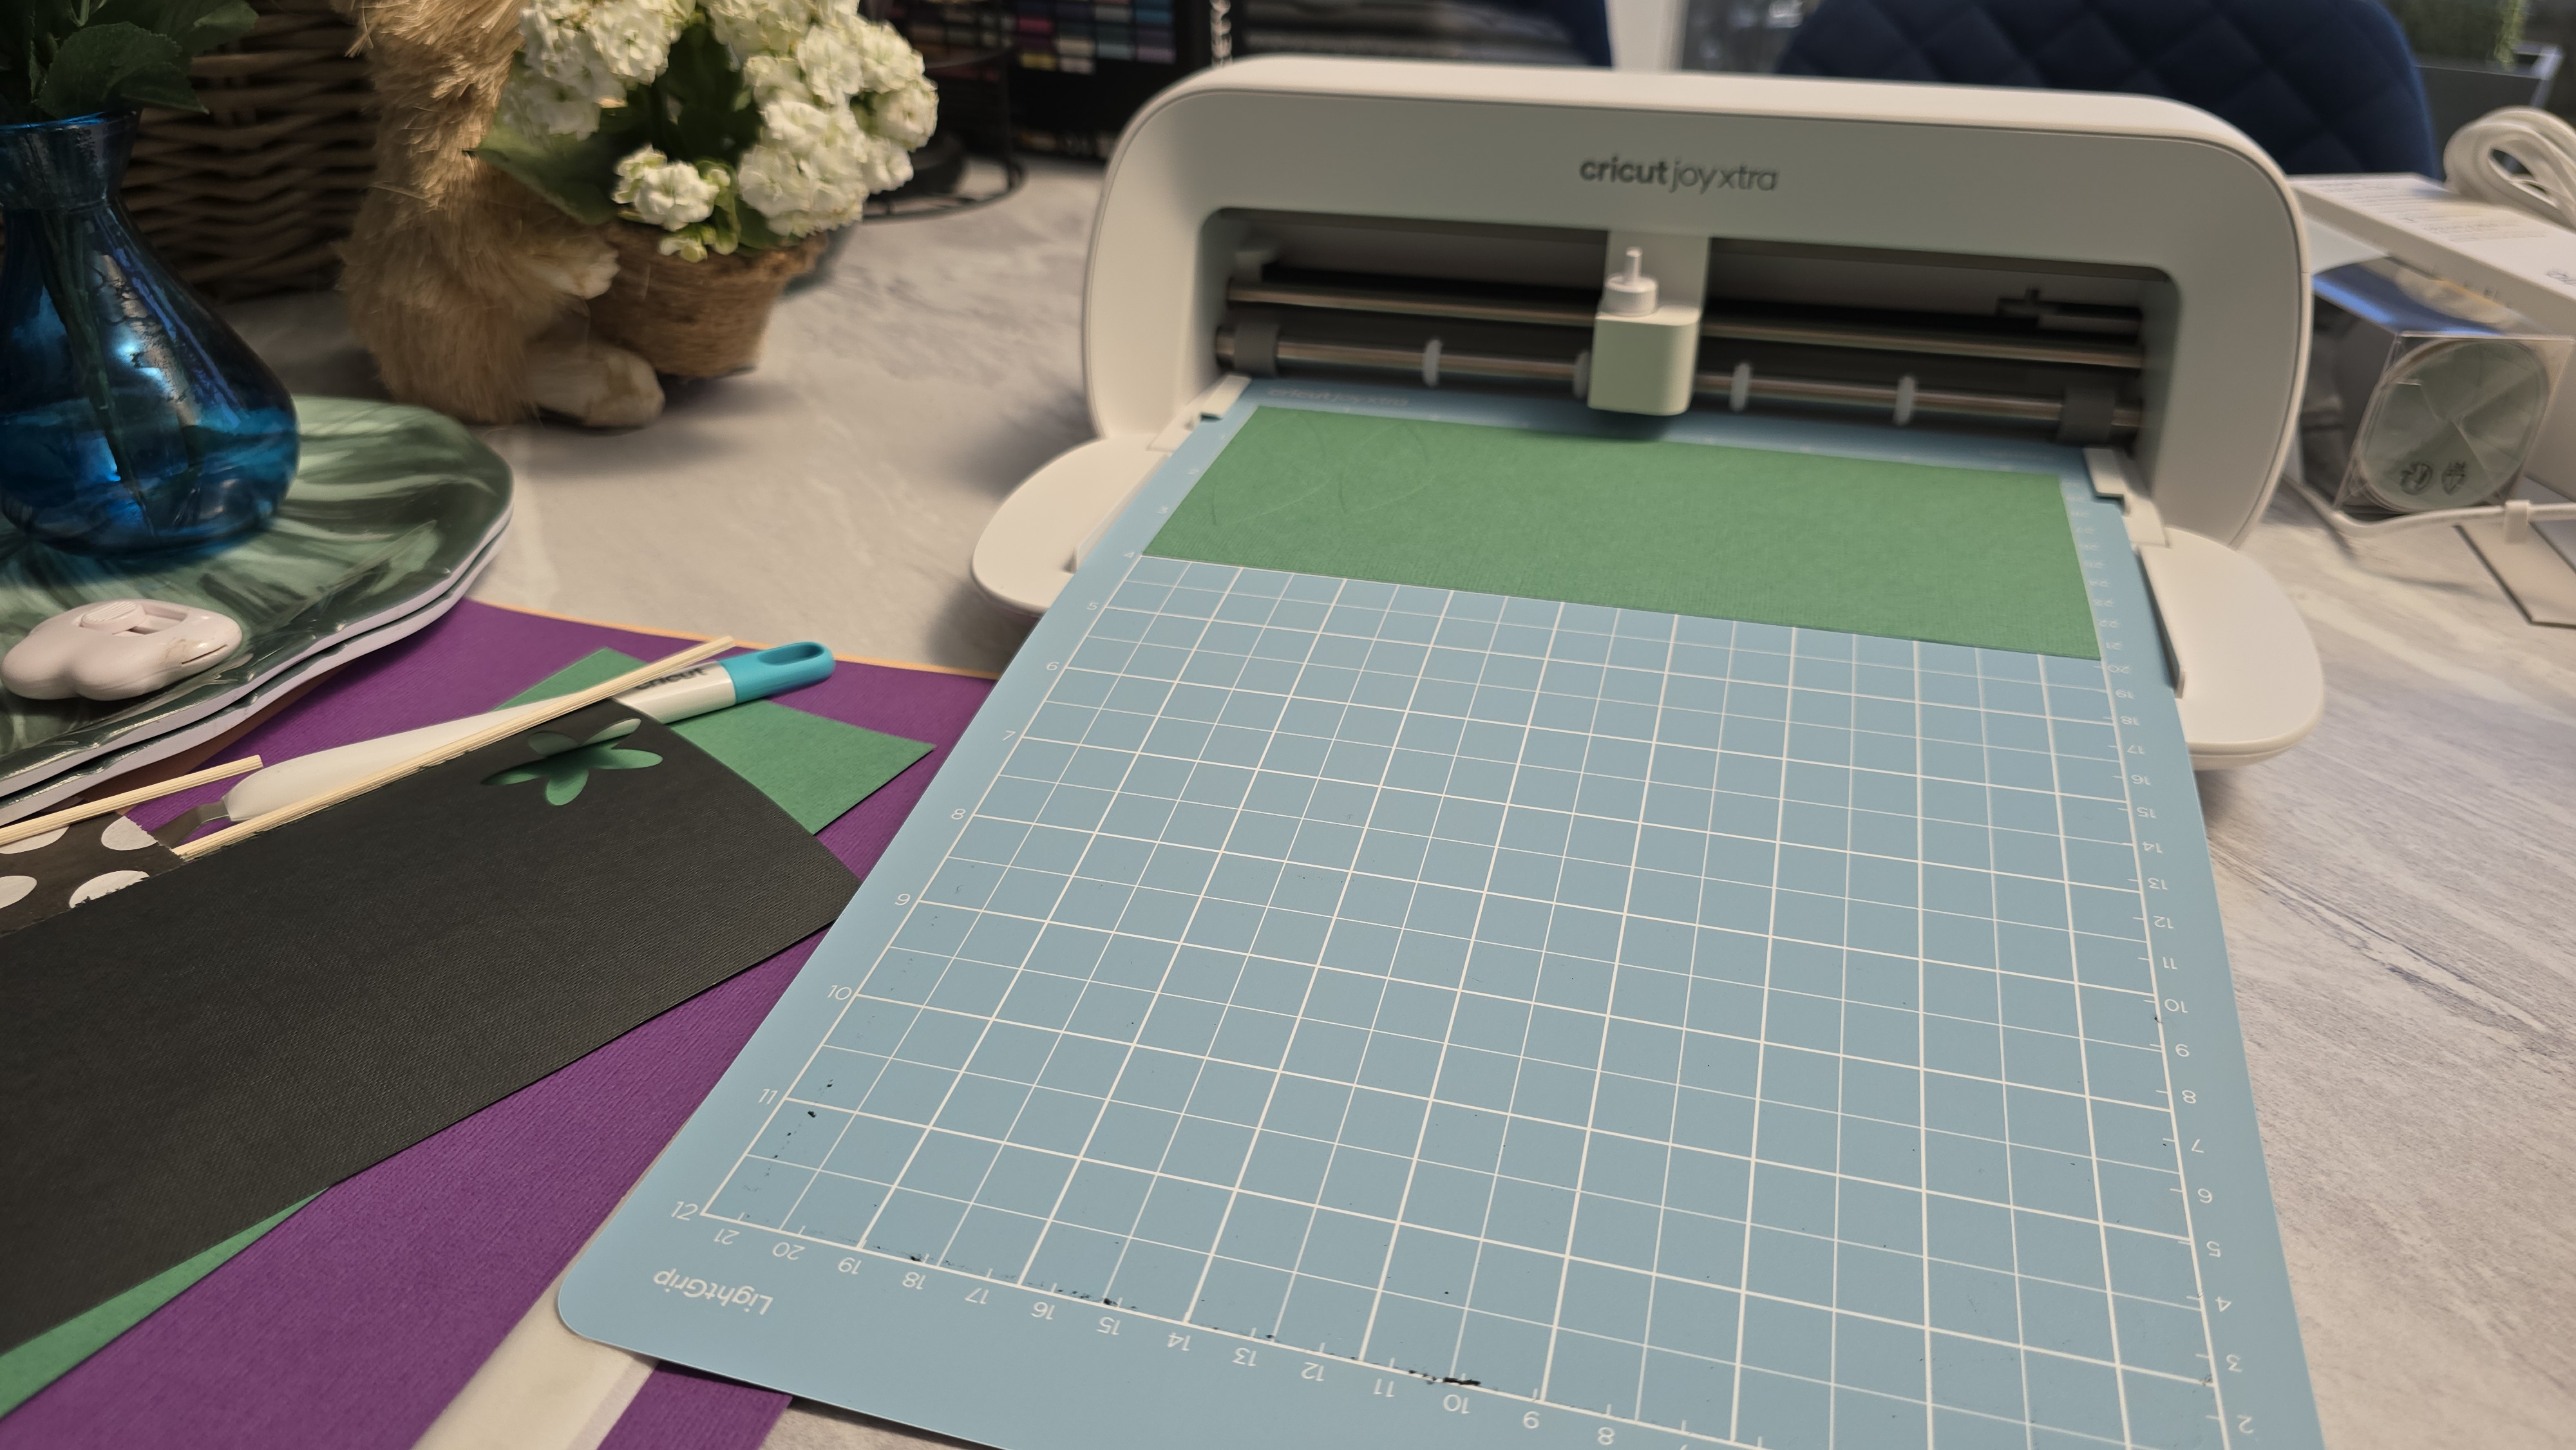
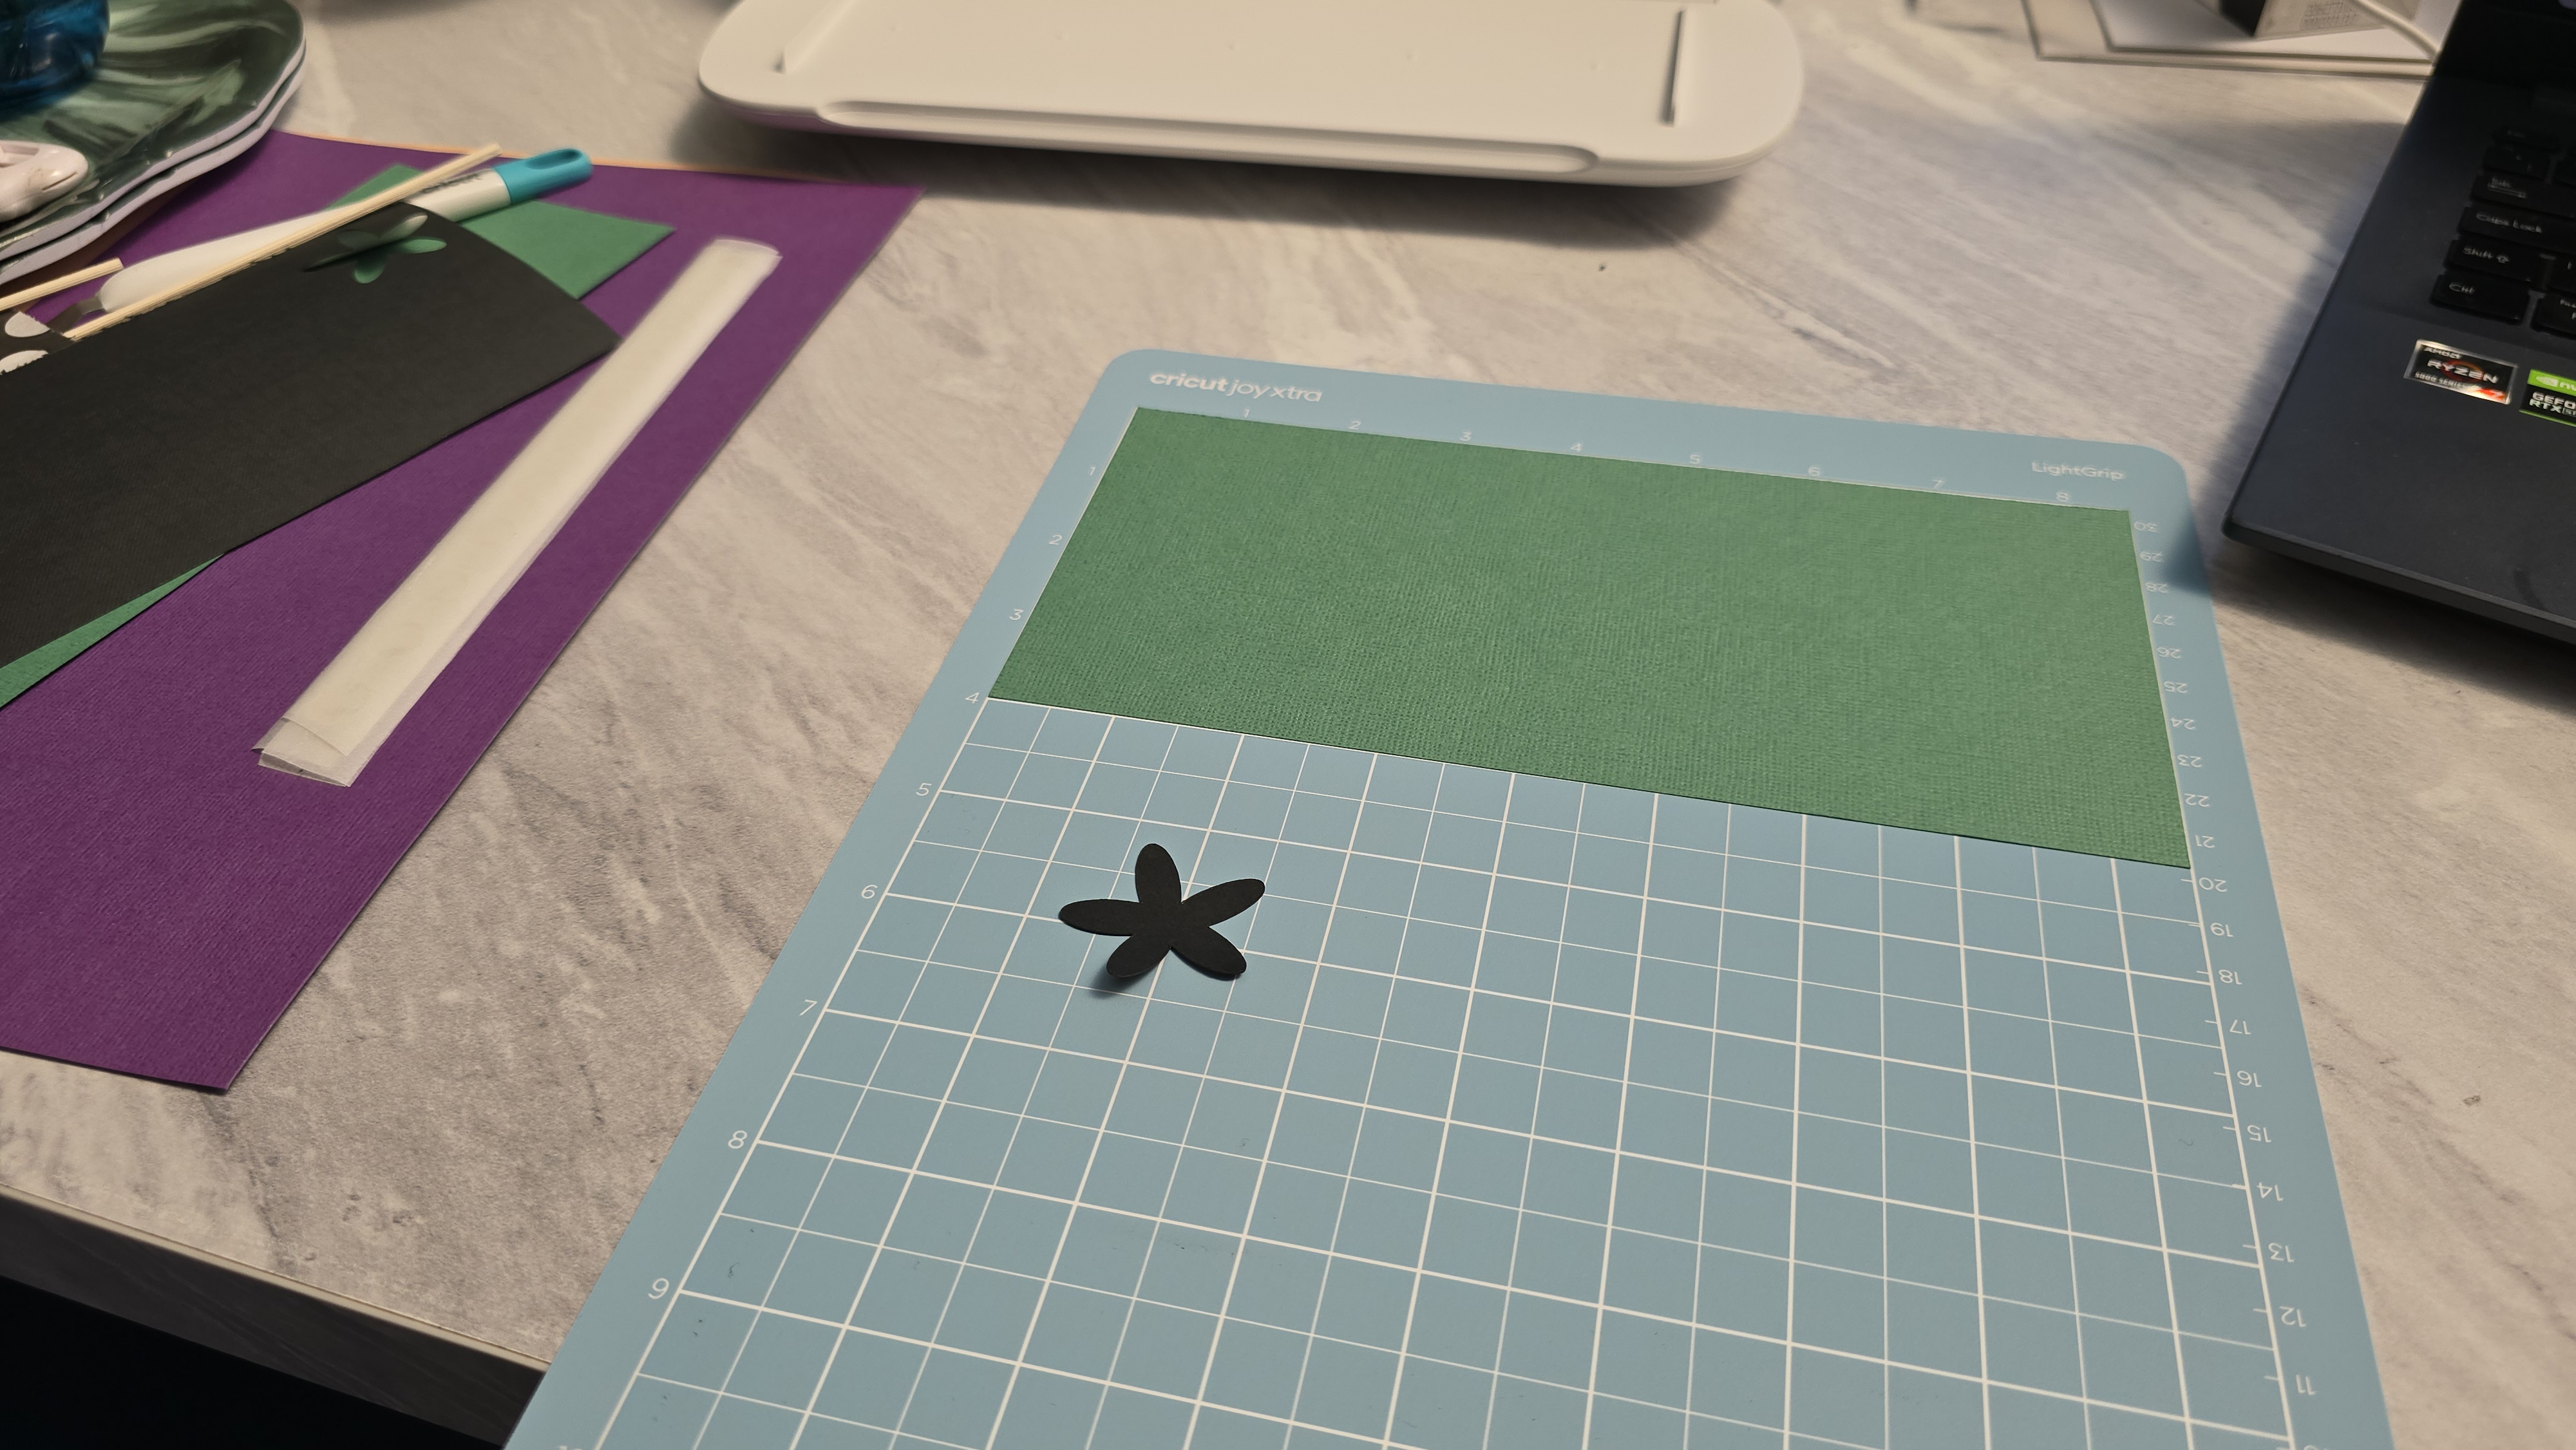

Probably the most fun and easiest part after tinkering with Cricut Design Space is getting to load your materials and watch the machine work its magic. You'll need to secure your card of choice to your adhesive grip mat, and this should hold your material securely in place during the process.
When you're ready, gently feed this into your Cricut machine, it should consume it pretty quickly to assess alignment, and once this is done just hit 'Go" on Cricut Design Space if you have a Joy Xtra machine, or you can press the physical buttons on your machine for models like the Explore and Maker series.
Your Cricut machine should now be slicing away, and once it's done, simply unload the card, and prep a different colour card to print the next flower design. Easy, right?
Assemble the petals

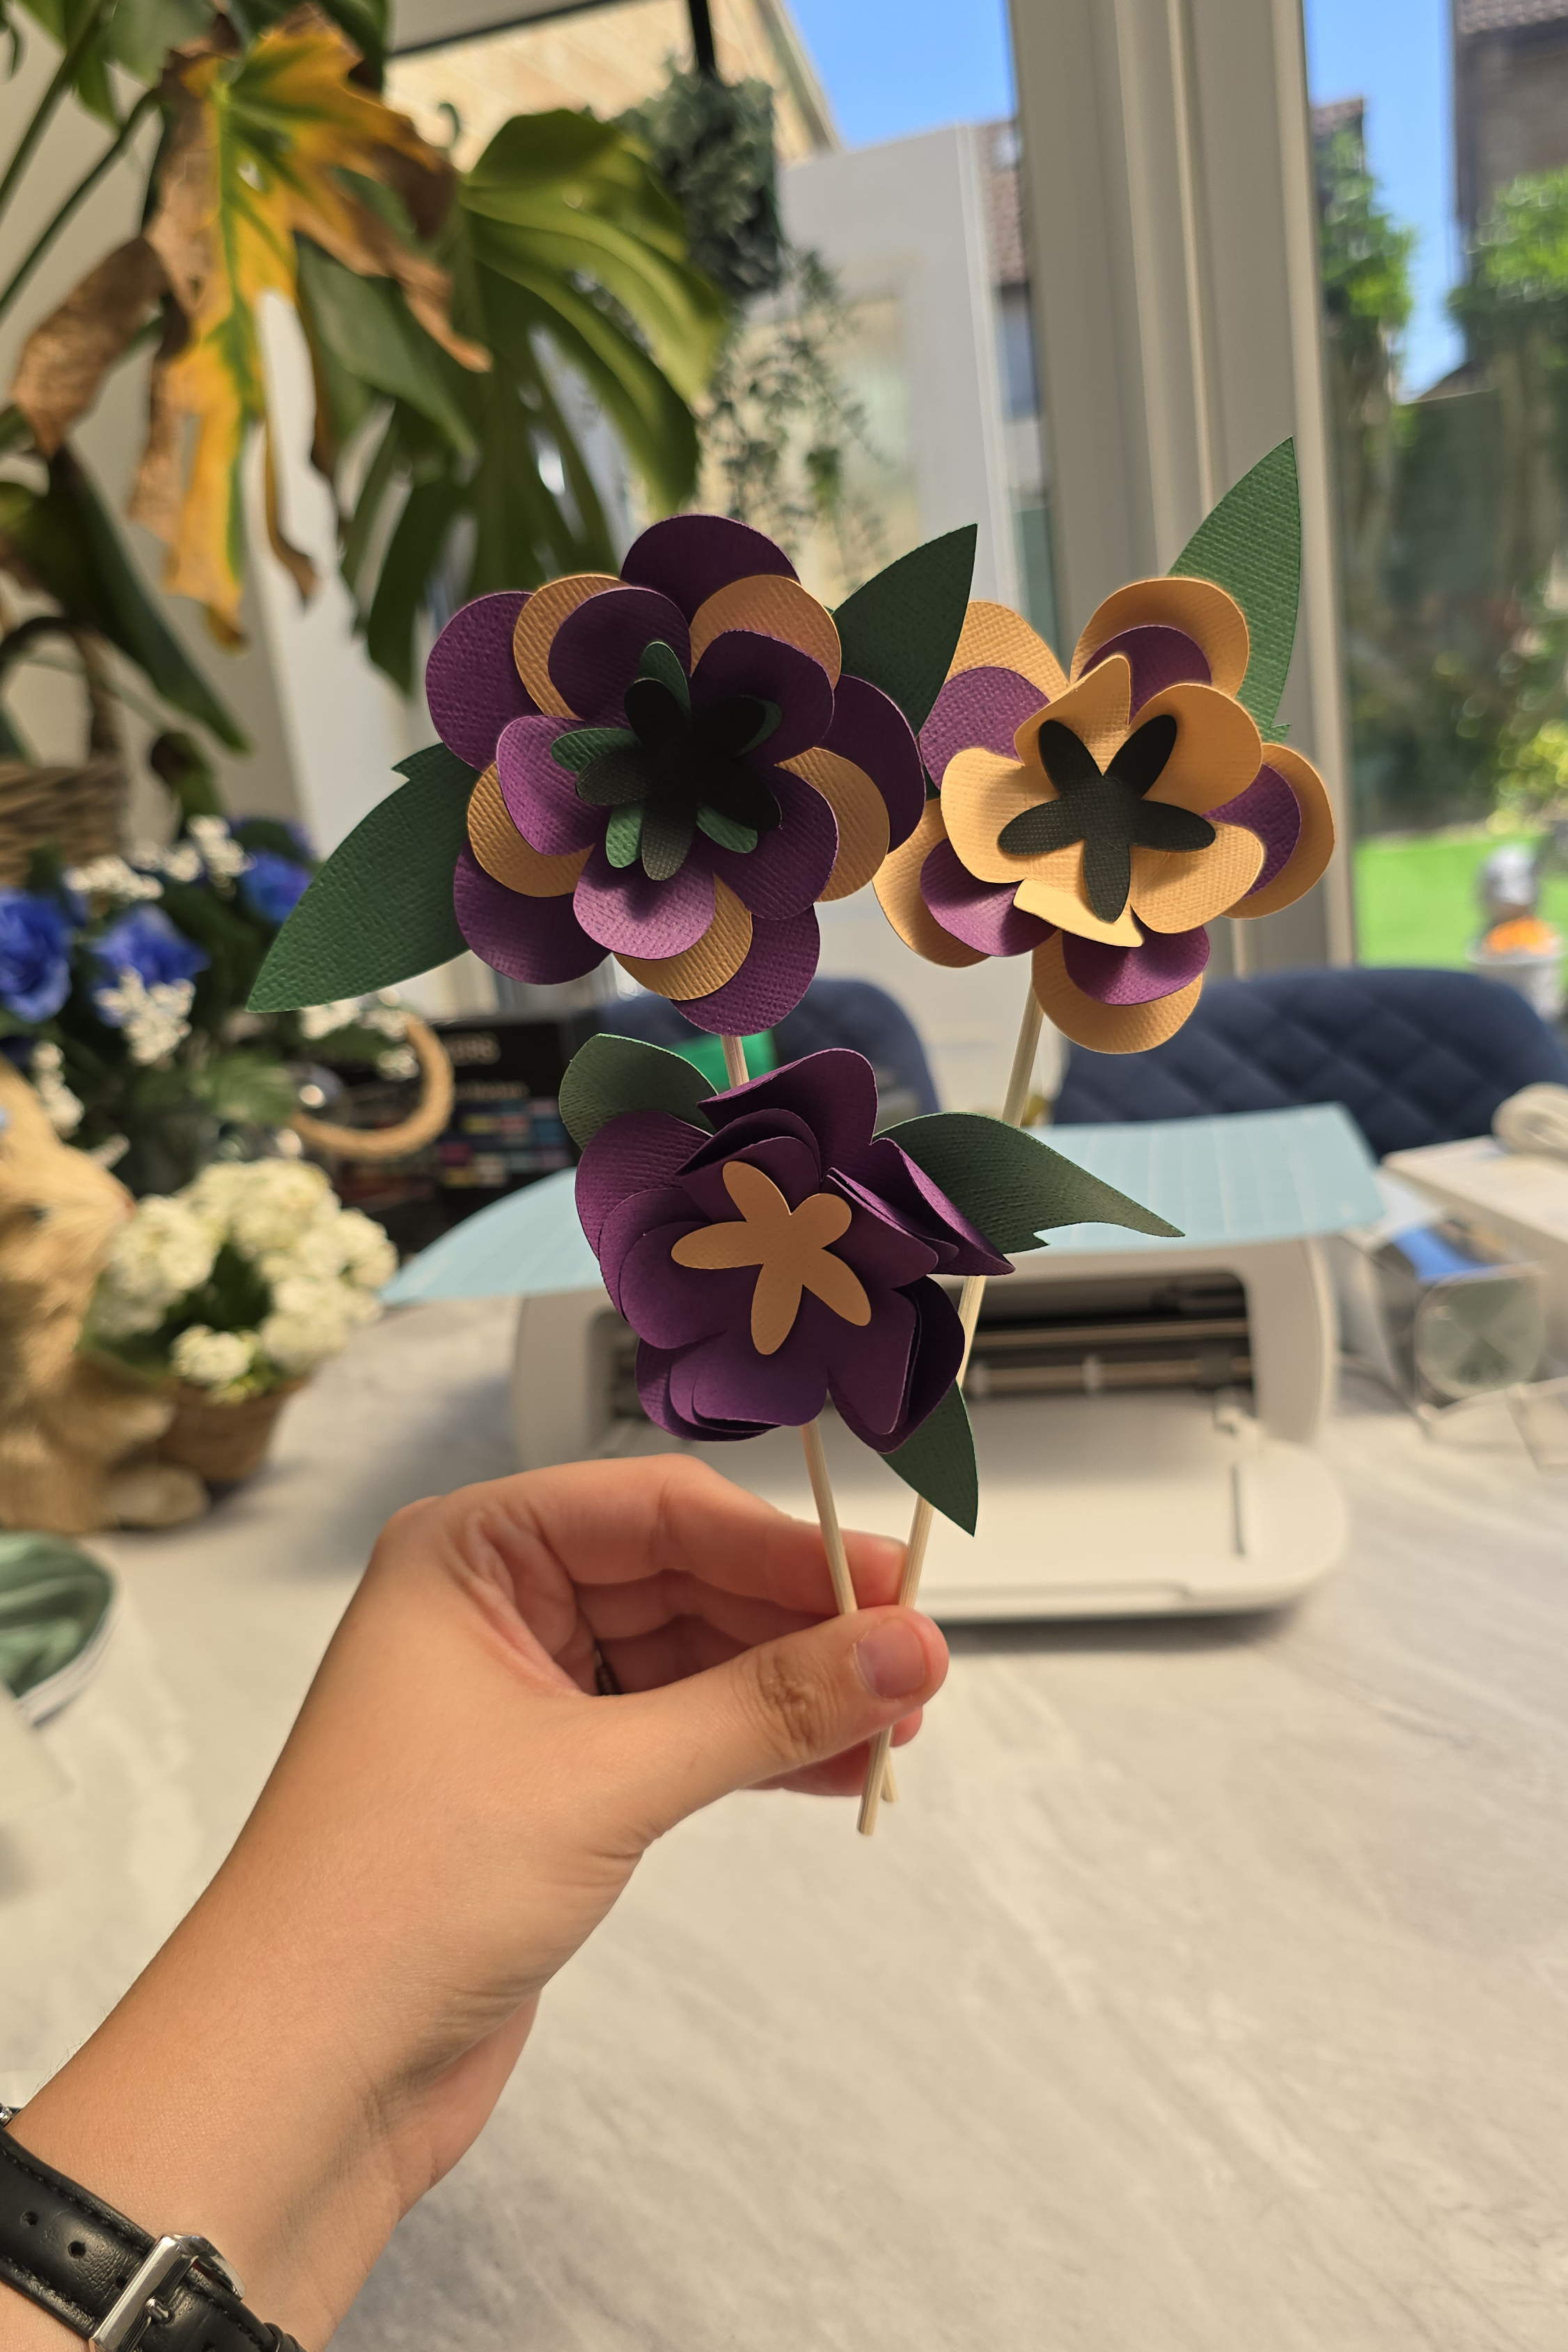
If you've followed along correctly, you should have 3 flowers, an inner flower part, as well as some leaves all cut out with your Cricut machine.
The next step is optional, but I think it really adds to the final result. kate showed us how to use Cricut's spatula tool to curl the card petals upwards into a smooth curve. This works similarly in the way that you might use scissors to curl ribbon when wrapping a gift, and you basically need to just curve the tool against the edge of the petal, and repeat all the way around.
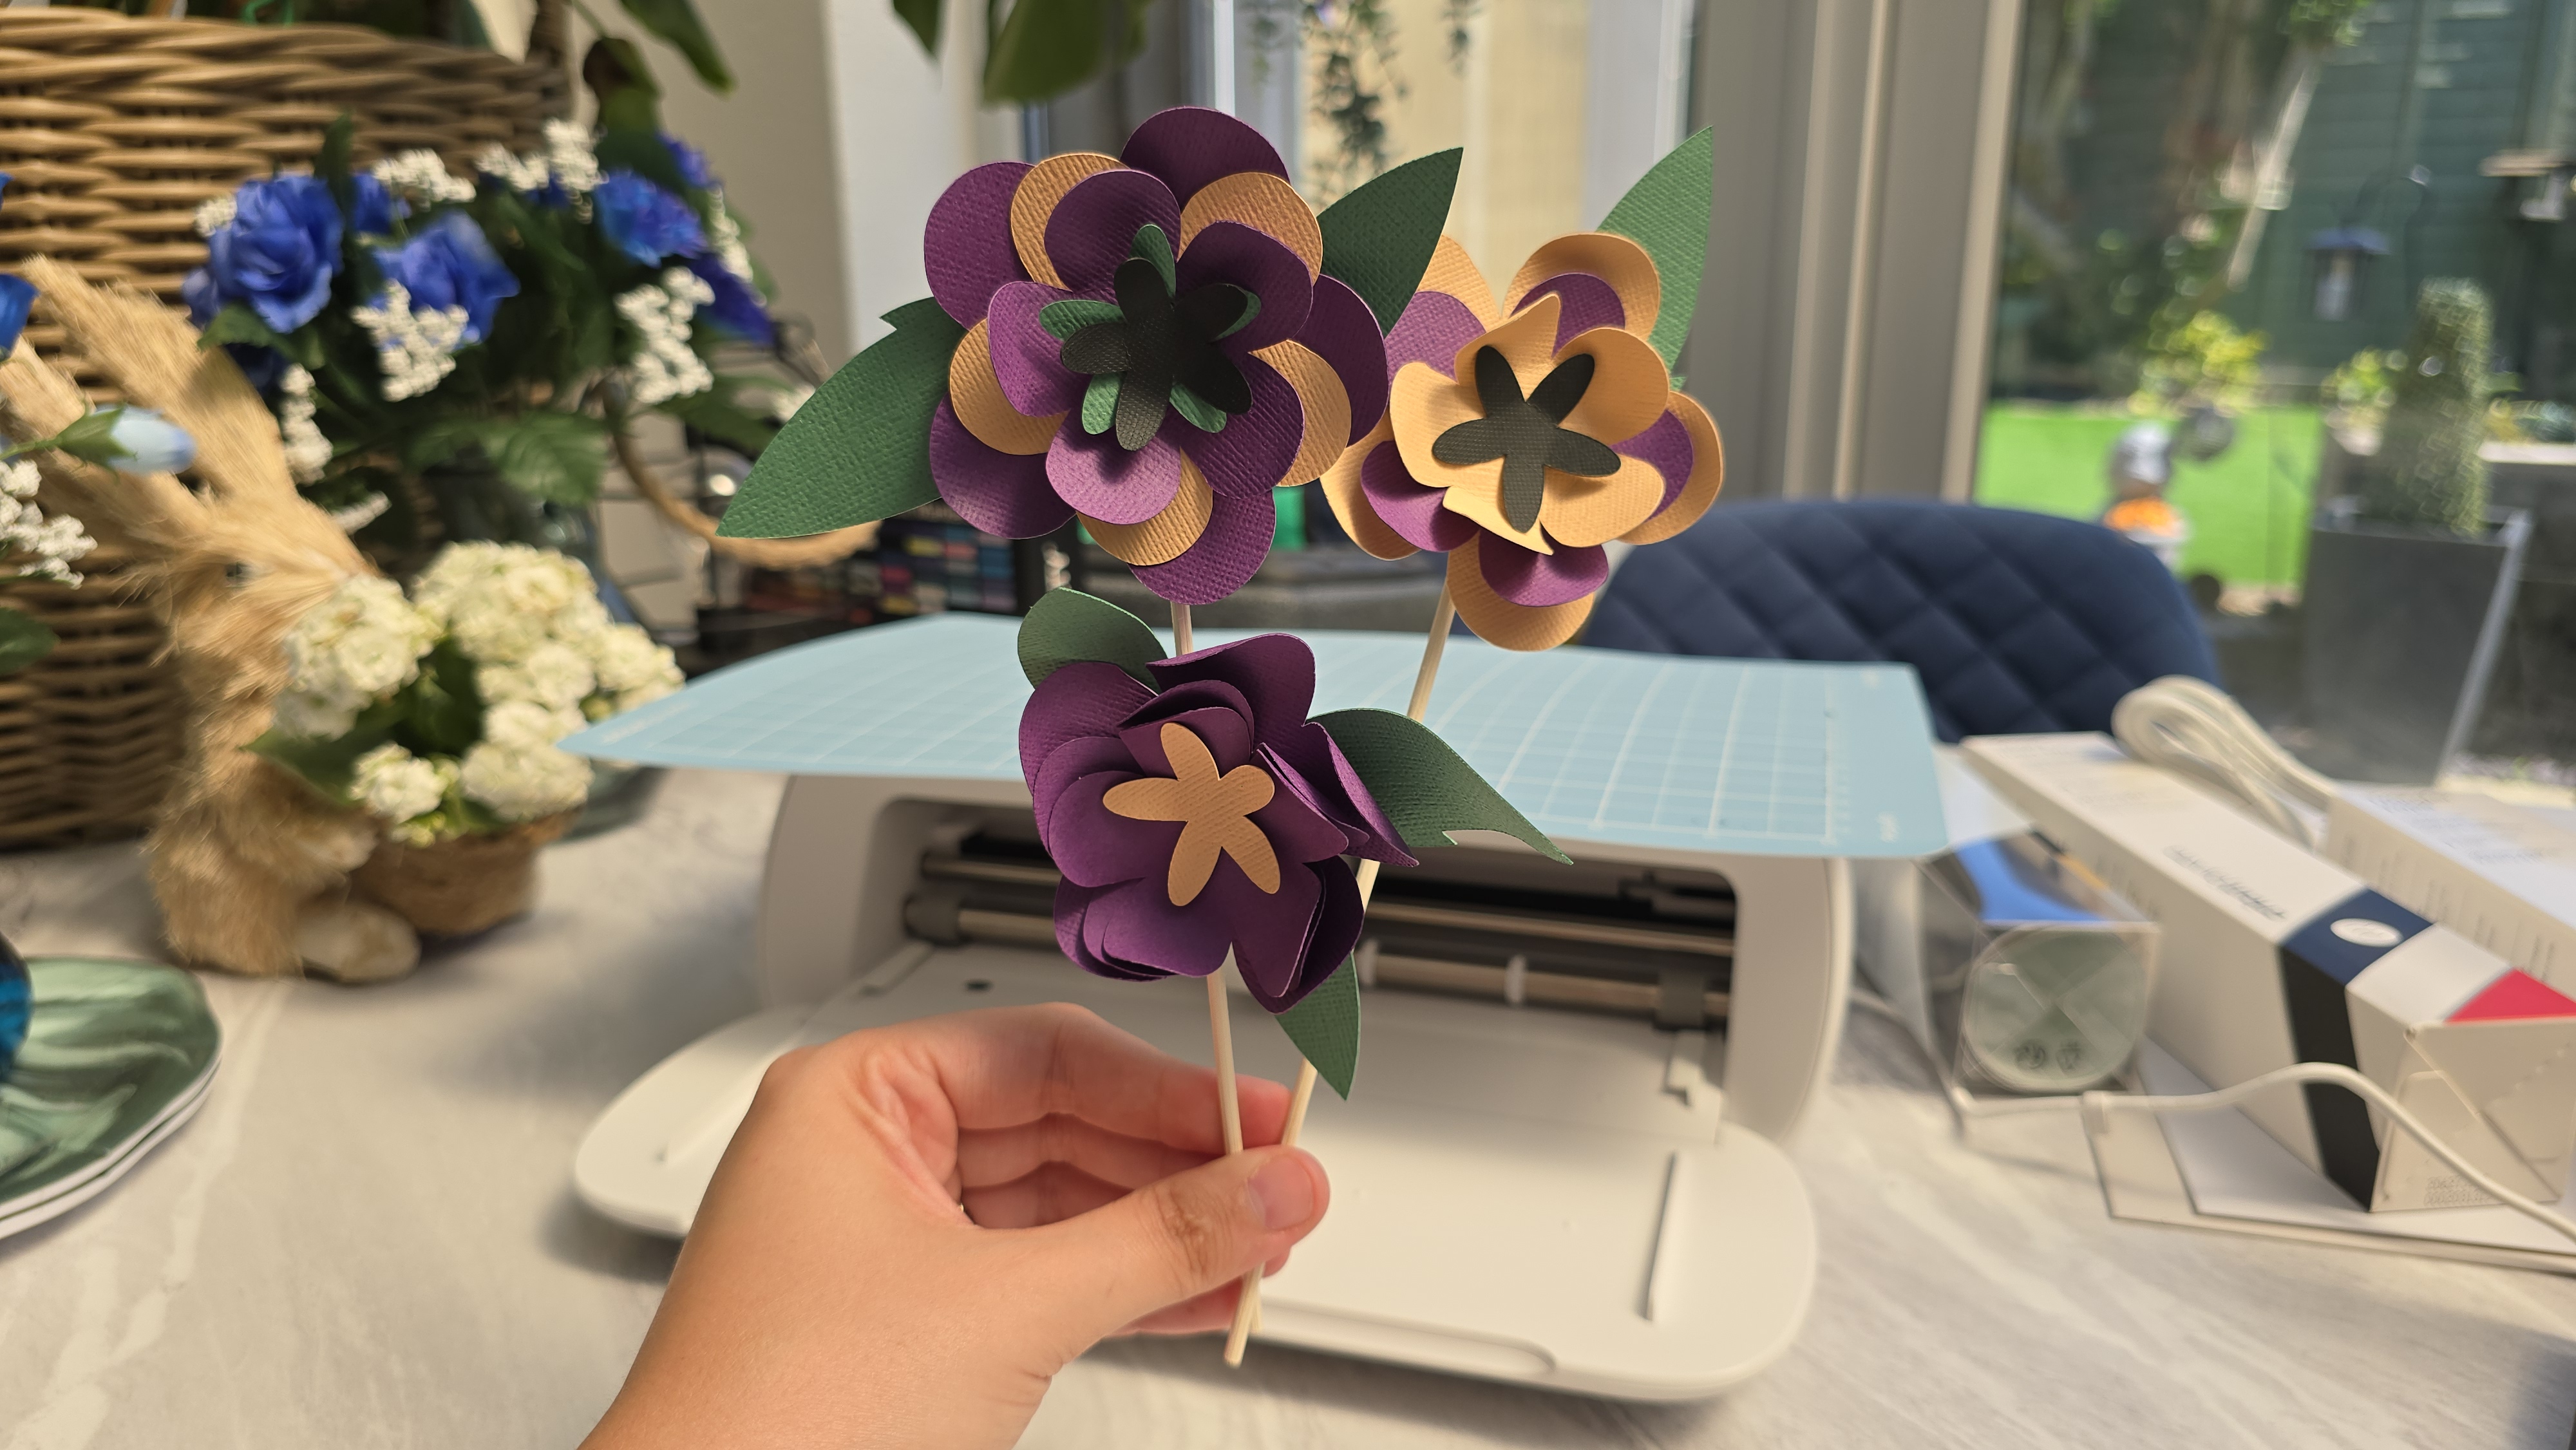
Once you've curled your card, you can use glue dots or any kind of adhesive that you have lying around to assemble all of your parts together. I started with the larger flower, the inner flower, the smallest flower, the inner flower, and then finally the leaves attached at the back. Your flower should now be assembled and is technically ready to be attached to a card or flat project.
Cricut's tutorial provided us with some wooden sticks to use as stems in this case, which simply attach on the back of the flower head using adhesive, and make it look like a basic flower stem.
Grab a vase
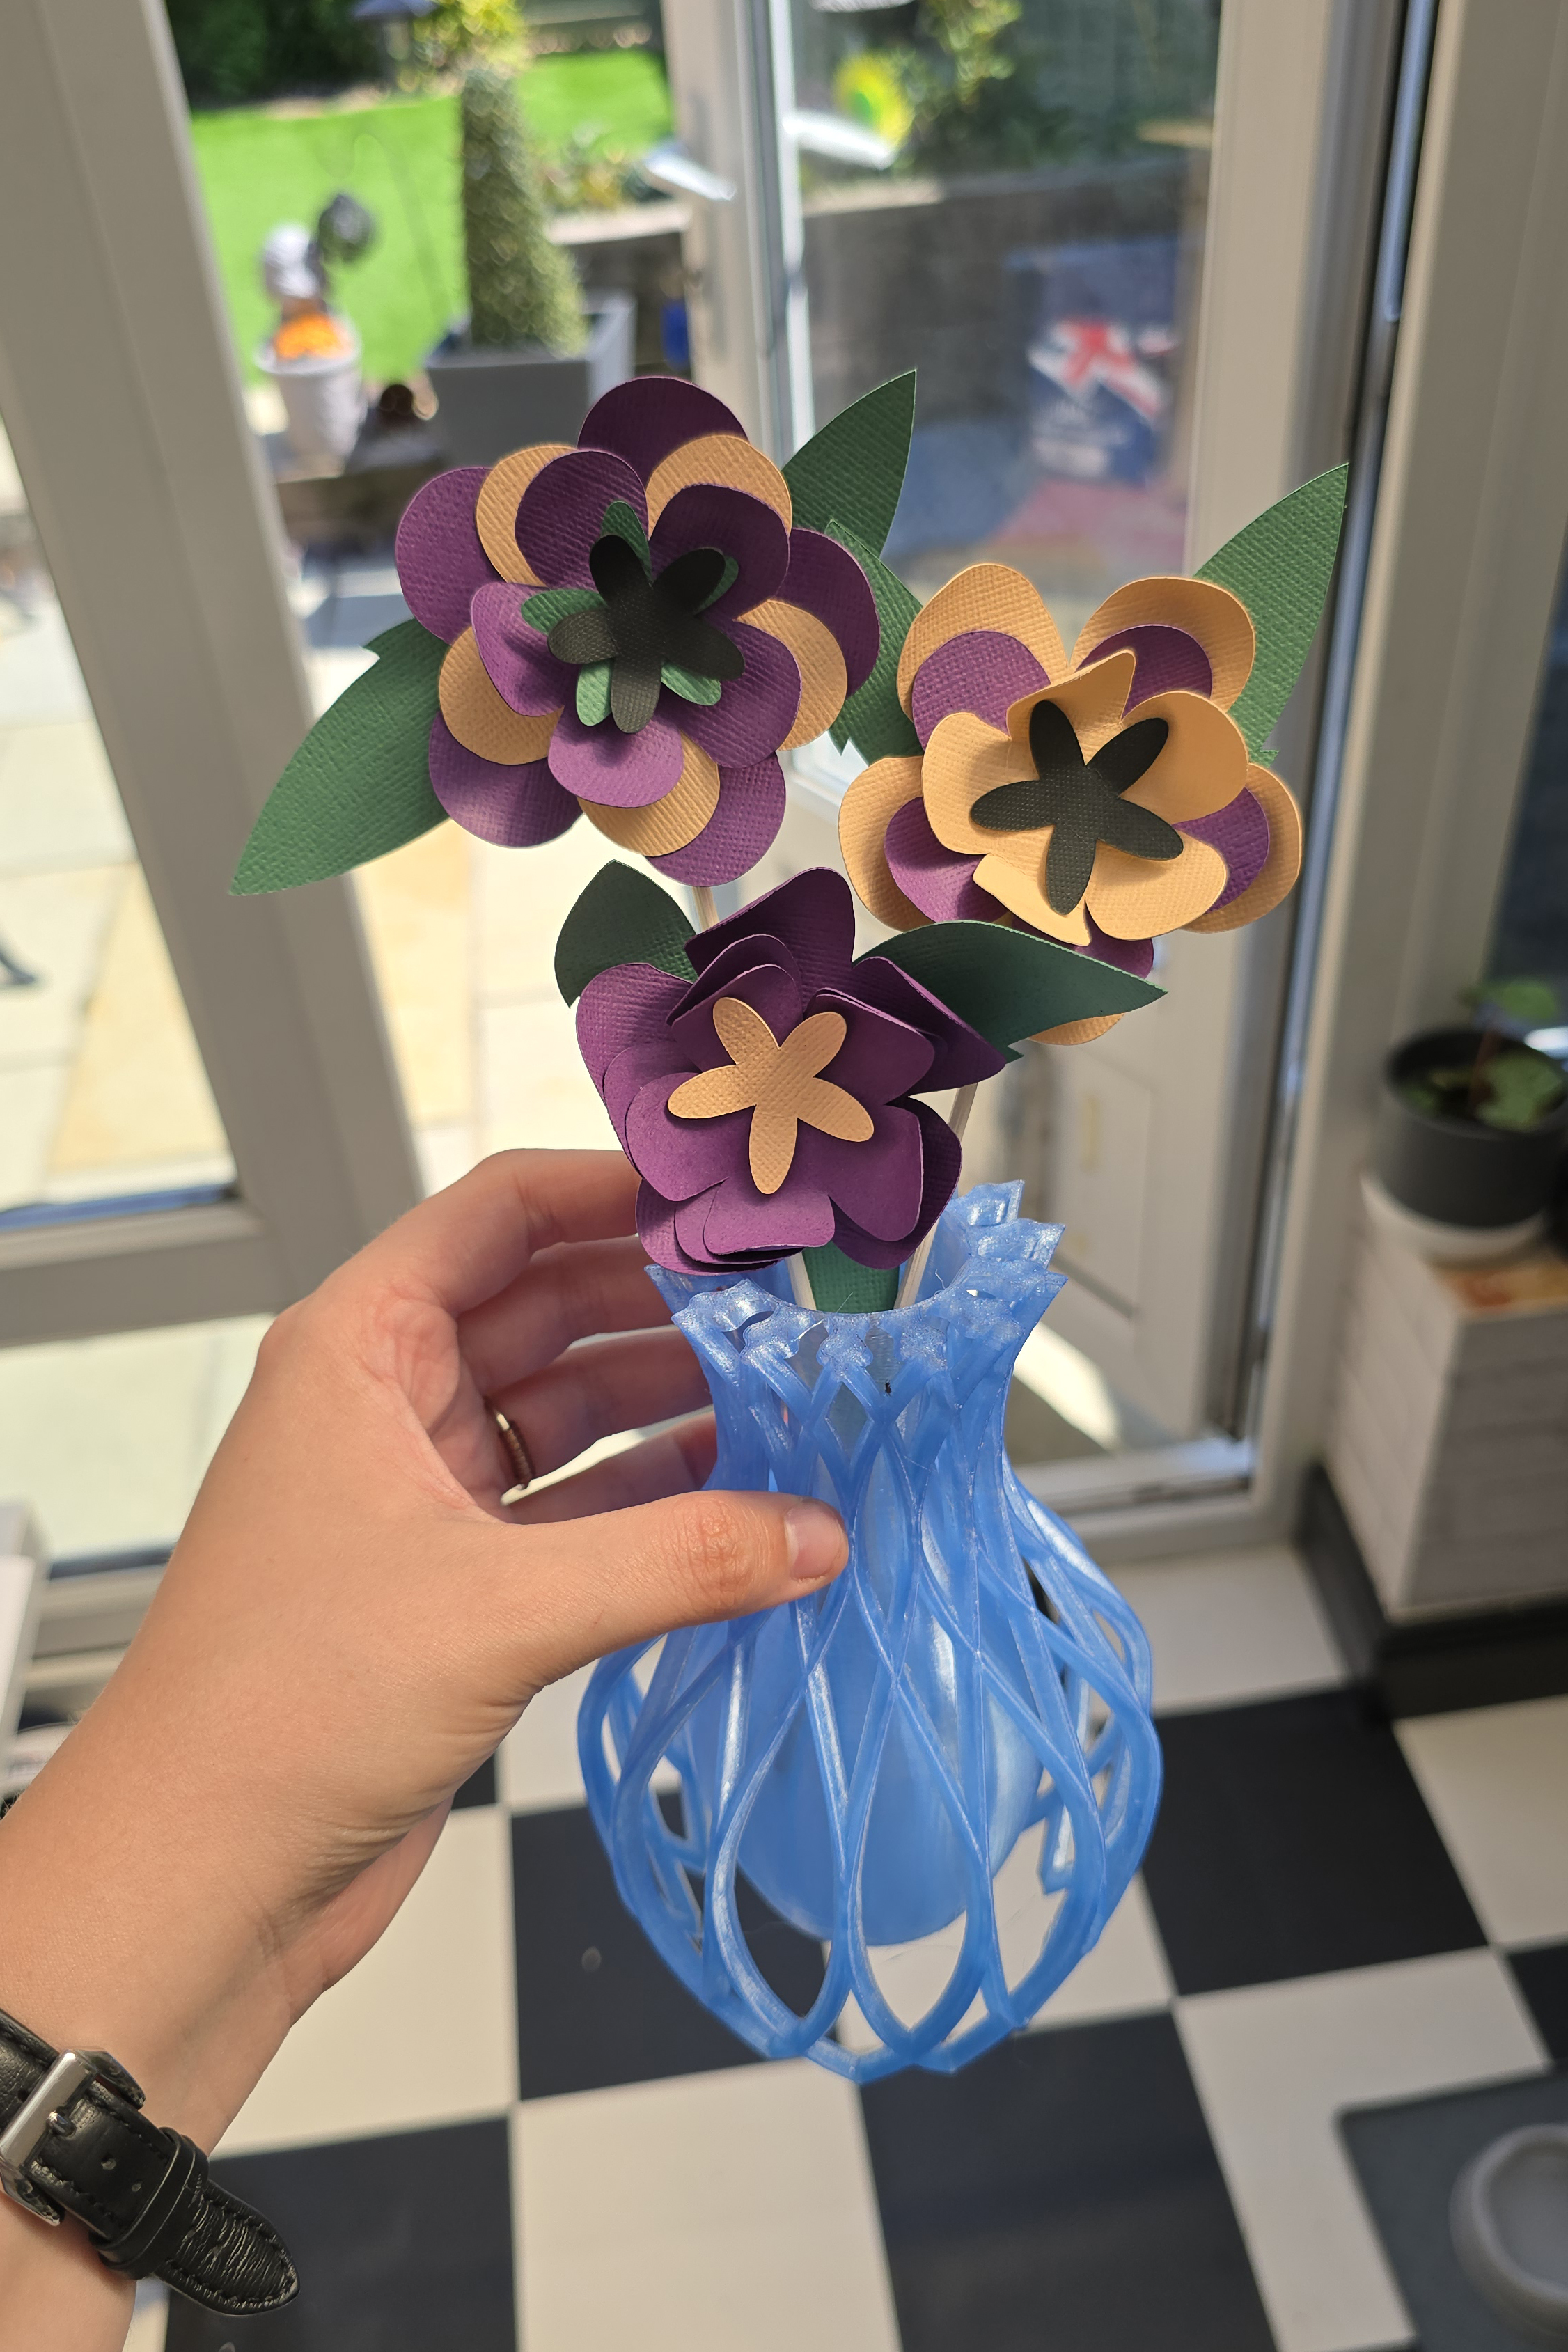
Now that you've put your flowers together, it's time to combine them into an arrangement or bouquet using a vase of your choosing.
I opted for a 3D printed vase I created using my Bambu Lab X1 Carbon printer and translucent PETG filament (design by Slava Jim, via Makerworld). You could even design and make a vase yourself out of cardboard to complement your new Spring floral arrangement.
Viola! You should now have some pretty flowers, as well as a sense of accomplishment in your newfound crafting abilities. If you have any questions or managed to successfully follow this tutorial then please leave me a comment down below.
Don't have a Cricut machine? Take a look at the deals I've gathered below for the best current prices in your region. Can't decide which one to buy? See our handy Cricut Explore 3 vs Cricut Maker 3 guide.