Doom: The Dark Ages Revelations DLC is now out, and this guide will help you to clear all the stages. To gain access, you’ll need to either buy the DLC separately, or have the Premium Edition/Upgrade. Then, you can begin the DLC’s campaign (it’s better if you have already completed the base campaign).
Disclaimer: This is a work in progress. I will be updating the guide as I go through the different chapters myself and complete them.
Table of contents
-
Doom: The Dark Ages Revelations walkthrough
- Chapter 1: Proving Grounds
- Chapter 2: Purgatory
- Chapter 3: Hell’s Core
- Chapter 4: Hell’s Core
Doom: The Dark Ages Revelations walkthrough
For this walkthrough, I have opted for Nightmare difficulty. You can raise it up/bring it down based on your preference. I have also focused on completing the campaign rather than hunt for all the collectibles.

The action begins at the Proving Grounds, where you witness an injured Slayer. There’s a bit of change from how the old system used to work. For starters, the map no longer shows all the items before you have discovered them.

Chapter 1: Proving Grounds
Your first task is to obtain the Oracle. To obtain it, you’ll have to survive the first onslaught that features plenty of enemies. Concentrate on the minions first before focusing on the bigger foes. Don’t forget to use the new weapon that comes with the DLC.

Once done, a cutscene will play out where you’ll end up receiving the Oracle. This is followed by a second cutscene where you’ll be introduced to Khan Maykr. Here, you meet Marok, who actually doesn’t trust you with the power. He believes the power should be in Sentinel hands instead. The cutscene ends with the Slayer taking the portal and traveling to the next location.

Next, make your way to the council chamber. Eliminate every enemy you encounter. You can always use the map to know the direction you need to travel towards. When you’re near the door, you’ll find that it’s locked (easy to recognize due to the symbol on it).
You’ll also find the Khan Maykr Secret near the same location. It’s on the main path, so there’s no way for you to miss it.

First, aim towards the green skull and press the RMB to throw your shield. As it remains lodged, press R to travel upwards. Then shield charge the skull to change its direction. Repeat the same process with the shield, and you’ll discover a new path.

Drop, and follow the path that has a series of armor recharges. It will lead you to the lever that unlocks the door. There will be a fair few enemies along the way, but nothing that’s too challenging.
Follow the marker, and you’ll come across another field filled with monsters. Clear them all, then head to the top, using your shield to traverse the gaps. You’ll then come across a door that requires you to find a Blue Skull. Go by the door following the marker, and you’ll find your Blue Skull.
A note of caution: there will be several strong enemies waiting for you across the path. The doorways will also get locked, and they open only when you have dispatched a certain number of enemies.

Next, unlock the door and stand on the platform. It will take you to the next level, where you’ll come across another door that requires the blue skull. As soon as you get close to the door, it will spawn a host of enemies upon you. The doorway will also remain locked until you have cleared all the enemies.
First, there will be the usual enemies, with some of them being super squishy. However, there’s the Buzzsaw that attacks you at speed. Aim for its wheel to take it down. This is then followed by the Acolyte. The Acolyte can draw multiple copies of itself. When it does so, you’ll want to eliminate the illusions as quickly as possible.

This will then allow you to target the main Acolyte and damage it as its shield gets disengaged. You should also aim and throw your shield as much as possible to stop it from teleporting across space.

Finally, you’ll encounter the Vagary. The best option is to keep your distance, as its bullets travel slowly. You can keep hitting it from a distance without taking damage. Be careful of the minions that will also be dropping around you, since they can also kill you.
Head inside, and you’ll find a few locked doors. Turn right and look up. Then throw the shield, and it will embed in the machine. This allows you to go through one of the doors that was locked earlier.

Shield Charge through the blocked door and get on top of the boxes to find a second set of machinery.

Repeat the process of throwing your shield at it to reach the marker. Clear all the enemies, and the marker will then update. There will be a few hard enemies to take down, but nothing out of the ordinary.

When you stand where the marker is located, you’ll trigger the first boss battle. The Agaddon Brute Champion is a hard enemy to take down, so use a gun that has a good firing rate. You’ll need to do enough damage to fill the purple bar. This will then allow you to stun and kill it. Be careful of the Pinky Rider that tries to help him in the fight.
Continue along the marker, and you’ll reach the end of the first chapter. Here, you’ll meet the Henchman. You’ll quickly find out that he is more than a match for you, but you manage to land in Purgatory. Your shield is broken, but you have a new toy to play with as the Slayer.
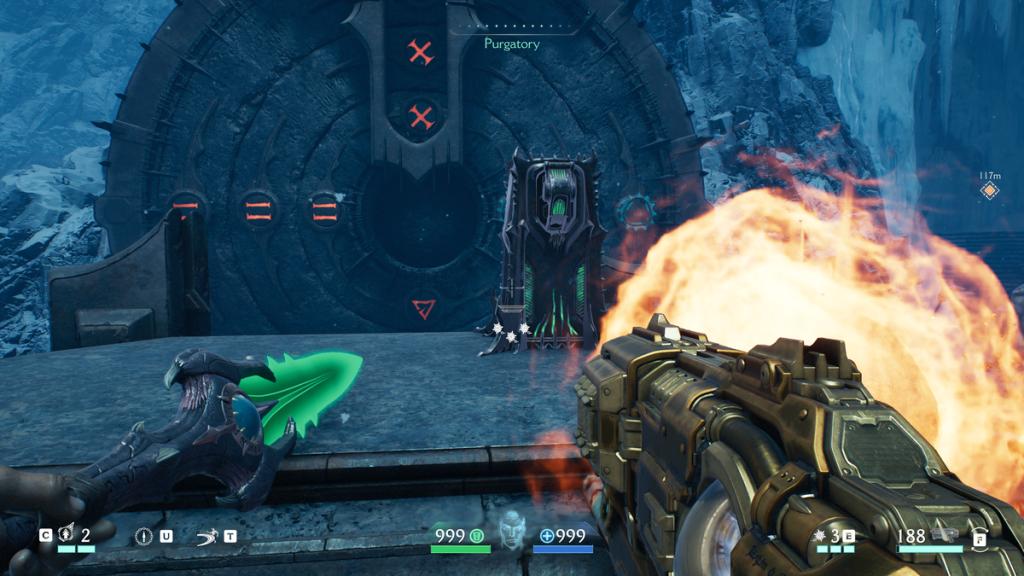
Chapter 2: Purgatory
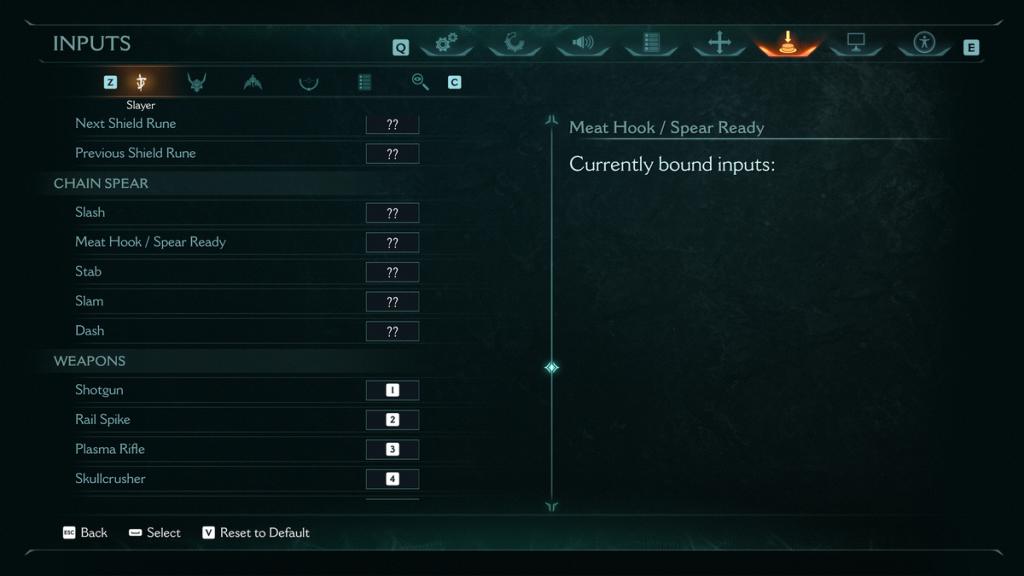
Unfortunately, you’ll encounter a bug here due to no default controls on the Chain Spear. You can resolve the problem from the settings. Continue along the main path, and clear the enemies. The path itself will act as a broad tutorial for the Chain Spear.
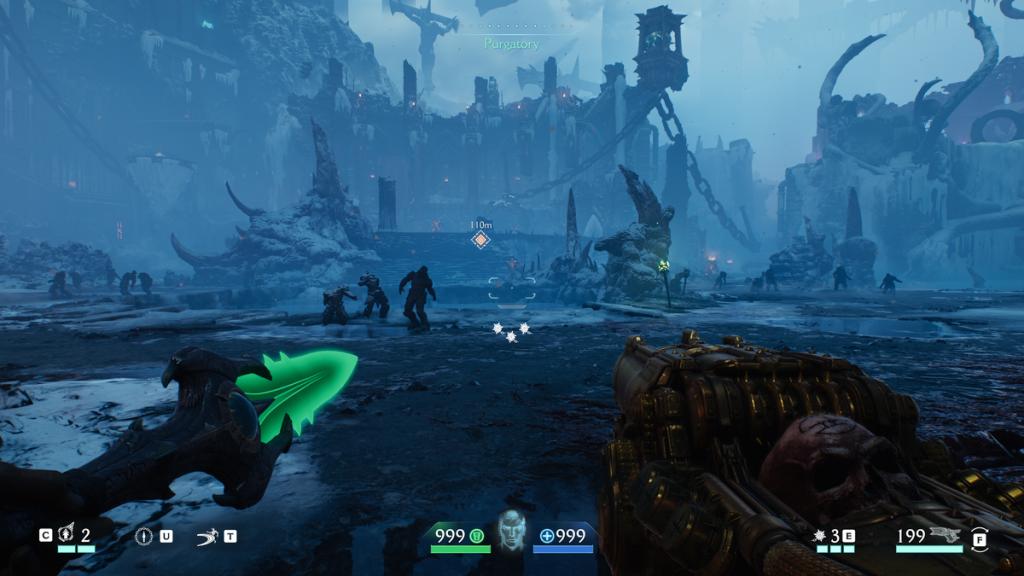
Next, you’ll come across a massive open area filled with enemies. Kill all of them and then interact with the machinery in the middle. This will generate a new marker on the map.
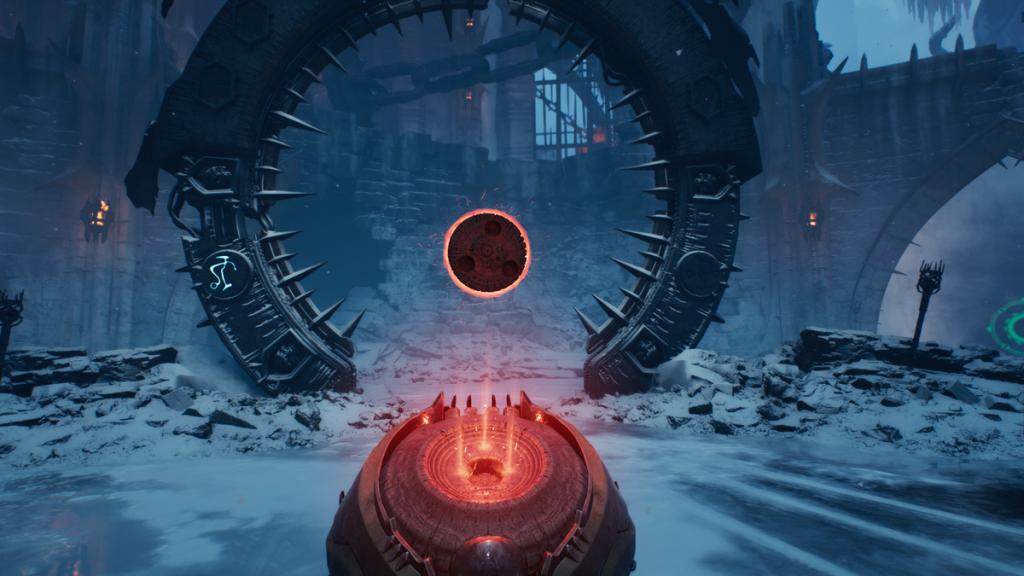
Follow the marker, and proceed to find a lever that opens a path through the ice. Go inside, clear all the enemies, and you’ll reach Hell’s Core. This also marks the end of Chapter 2.
Chapter 3: Hell’s Core
Continue following the marker, and use your spear to jump across the platform to reach the interiors of Hell’s Core. Kill the enemies that spawn, and you’ll come across a locked door.

Use the nearby Hell Battery and place it on the highlighted location to unlock the locked door. Continue along the main path, and you’ll officially begin Chapter 3.

Keep following the markers, and you’ll eventually reach a location where all the doors will be locked. To unlock, you’ll have to face some stiff challenges. There’s no boss battles, but plenty of Pinky Riders and a Buzzsaw will spawn.
Once done, an Archvile will spawn on you. This is a very dangerous enemy, and you’ll want to keep your range. However, use your Spear whenever you can to close the gap and prevent it from zip-zapping across the battlefield. The Archvile can also spawn shadow versions of other minions, creating big problems for you.

Kill the Archvile, and use the blue-colored portals on the ground to jump to the higher level. Follow the marker, and you’ll eventually reach the end of the third chapter.
Chapter 4: Hell’s Core
Our adventure continues deep into Hell’s Core, and there’s a fair number of puzzles to complete. When you head inside the tower, you’ll find the Hollow Shrine. You can use the Shrine to get upgrades. To do so, you’ll need to find two Relics.

The first one is right in front of the Shrine. Jump down and you’ll find it. To find the second one, take the right exit, and go left. Go past the metal cages and you’ll have found your second relic. Get an upgrade from the Shrine and continue on the way.

Use your spear to travel upwards. You’ll also need to use the Sprint and Dash abilities at certain times. You’ll first find a gate locked due to the absence of a Blue Skull and an elevator platform nearby. Use it to go down, and use the chain to pull a spiral machine that allows you to travel to the next part.

Activate the machine once again and jump down on the nearby platform. Parkour across and then kill all the enemies you find. Activate the flamethrower and change its location to create path.

In the next segment, you’ll find a mini-boss. Kill the minions until it loses its shield.

You can then take it down, but the path in front of you will be frozen. You’ll find a machine nearby that activates one of those flamethrowers. Use it to change the direction of the flamethrower, and then use your chain to melt down the ice.

Head inside and jump down to find the Blue Skull. Use the skull to open the locked door to your left.

You’ll soon come across a point where you’ll find one Hell Battery but empty slots. Place it on the right slot and then go left.

Kill all the enemies, and jump upwards to reach a lever. Activate it to disable a series of pipes that spew hot fire. Travel down and follow the marker to proceed to the next area. If the doors are locked, kill all the nearby enemies to activate it.

Proceed to the part of the map, and you’ll find a locked switch. Kill every enemy that spawns to activate it, which will open the nearby door. Continue along the marker, and you’ll complete the fourth chapter.

Stay tuned for updates!
The post Complete Doom: The Dark Ages Revelations walkthrough appeared first on Destructoid.