OpenAI has introduced an image library to ChatGPT, addressing a pain point many users have experienced when creating AI-generated images. Previously, finding images you'd created meant scrolling through conversation history or downloading each image immediately.
The new library creates a centralized space where all images generated with the ChatGPT 4o model are automatically stored and displayed chronologically. While this might seem like a simple addition, this is particularly useful or those who use image generation regularly.
Let's explore what this new feature offers, where to find it, and how to make the most of your growing collection of AI-generated imagery.
Where to find ChatGPT's image library
1. Log in
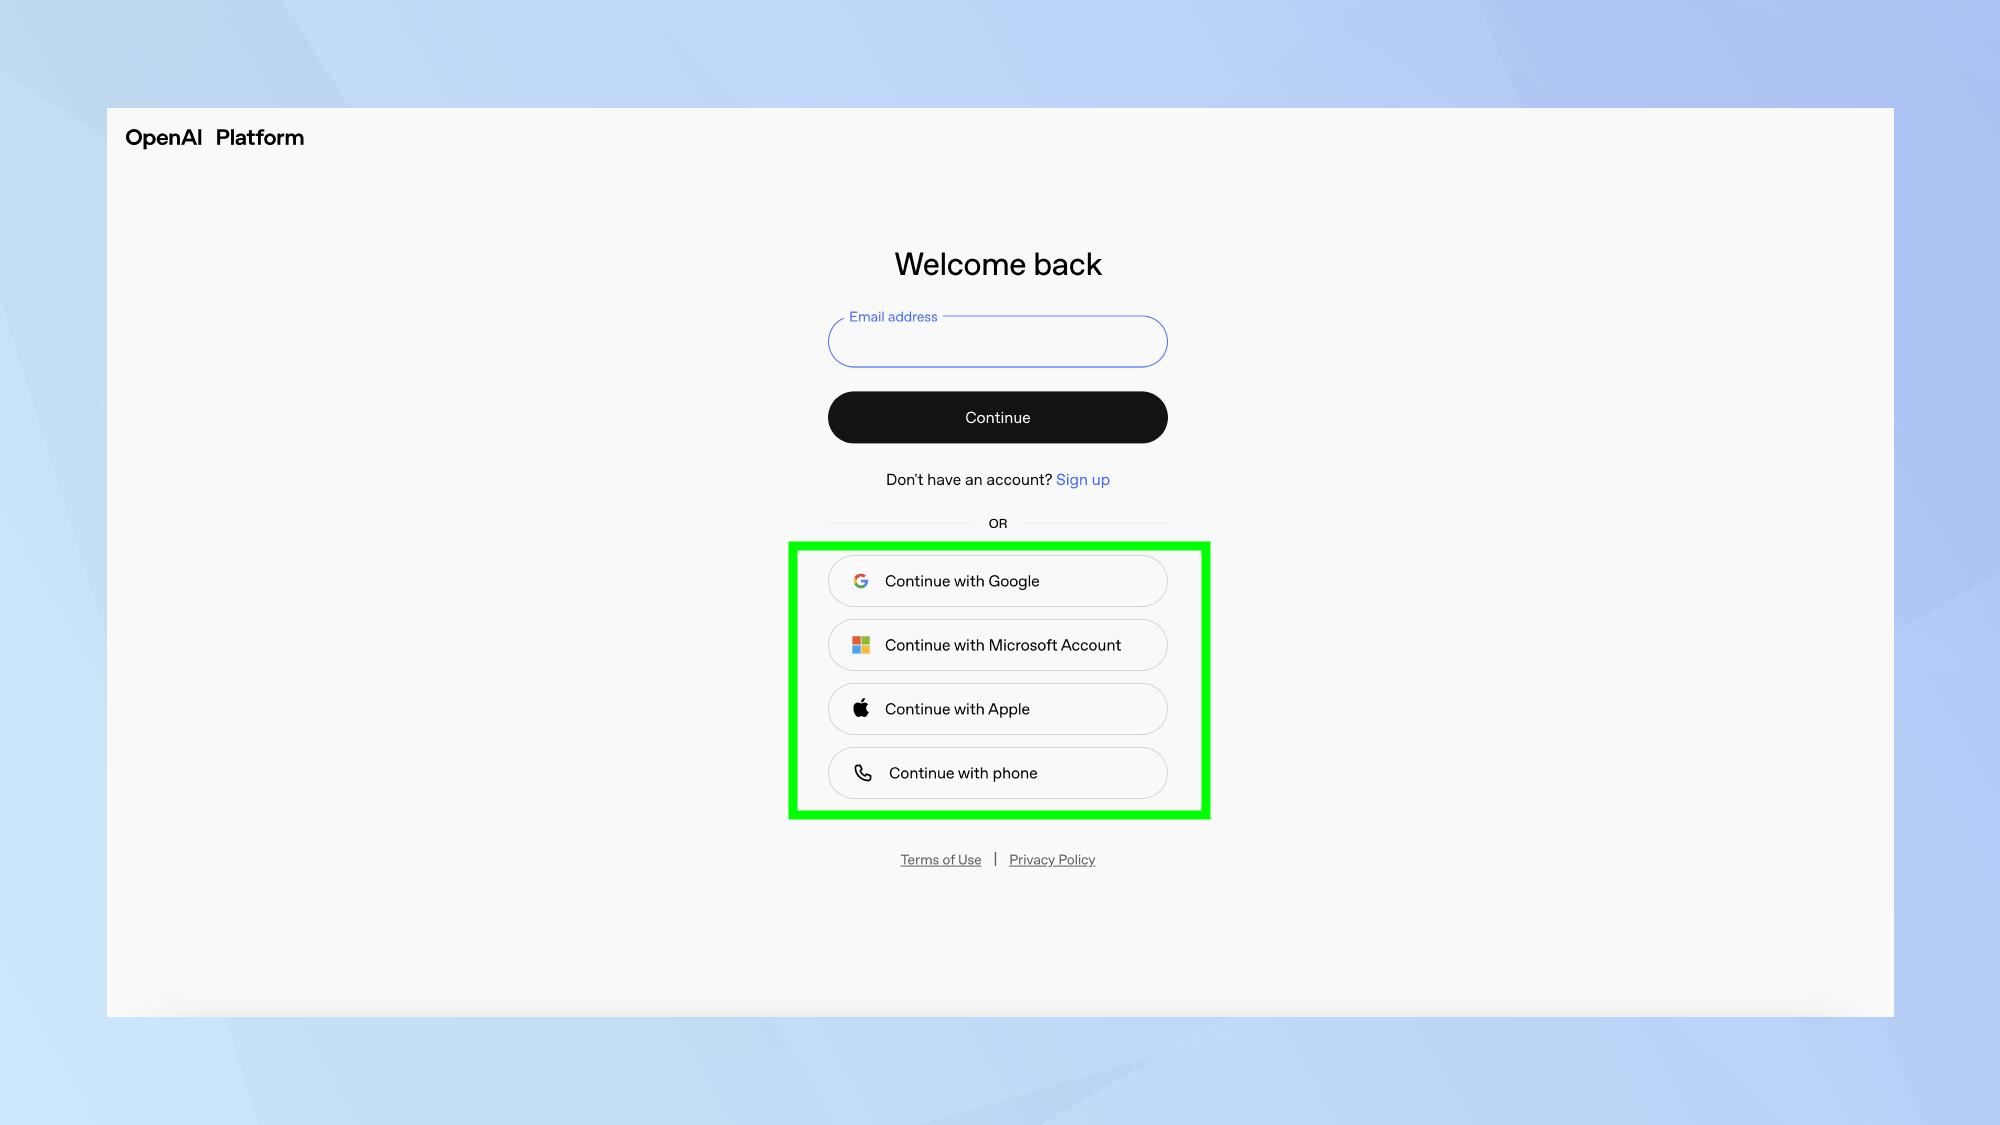
Finding the new Image Library is straightforward. First, log in in to your ChatGPT account.
2. Locate Library
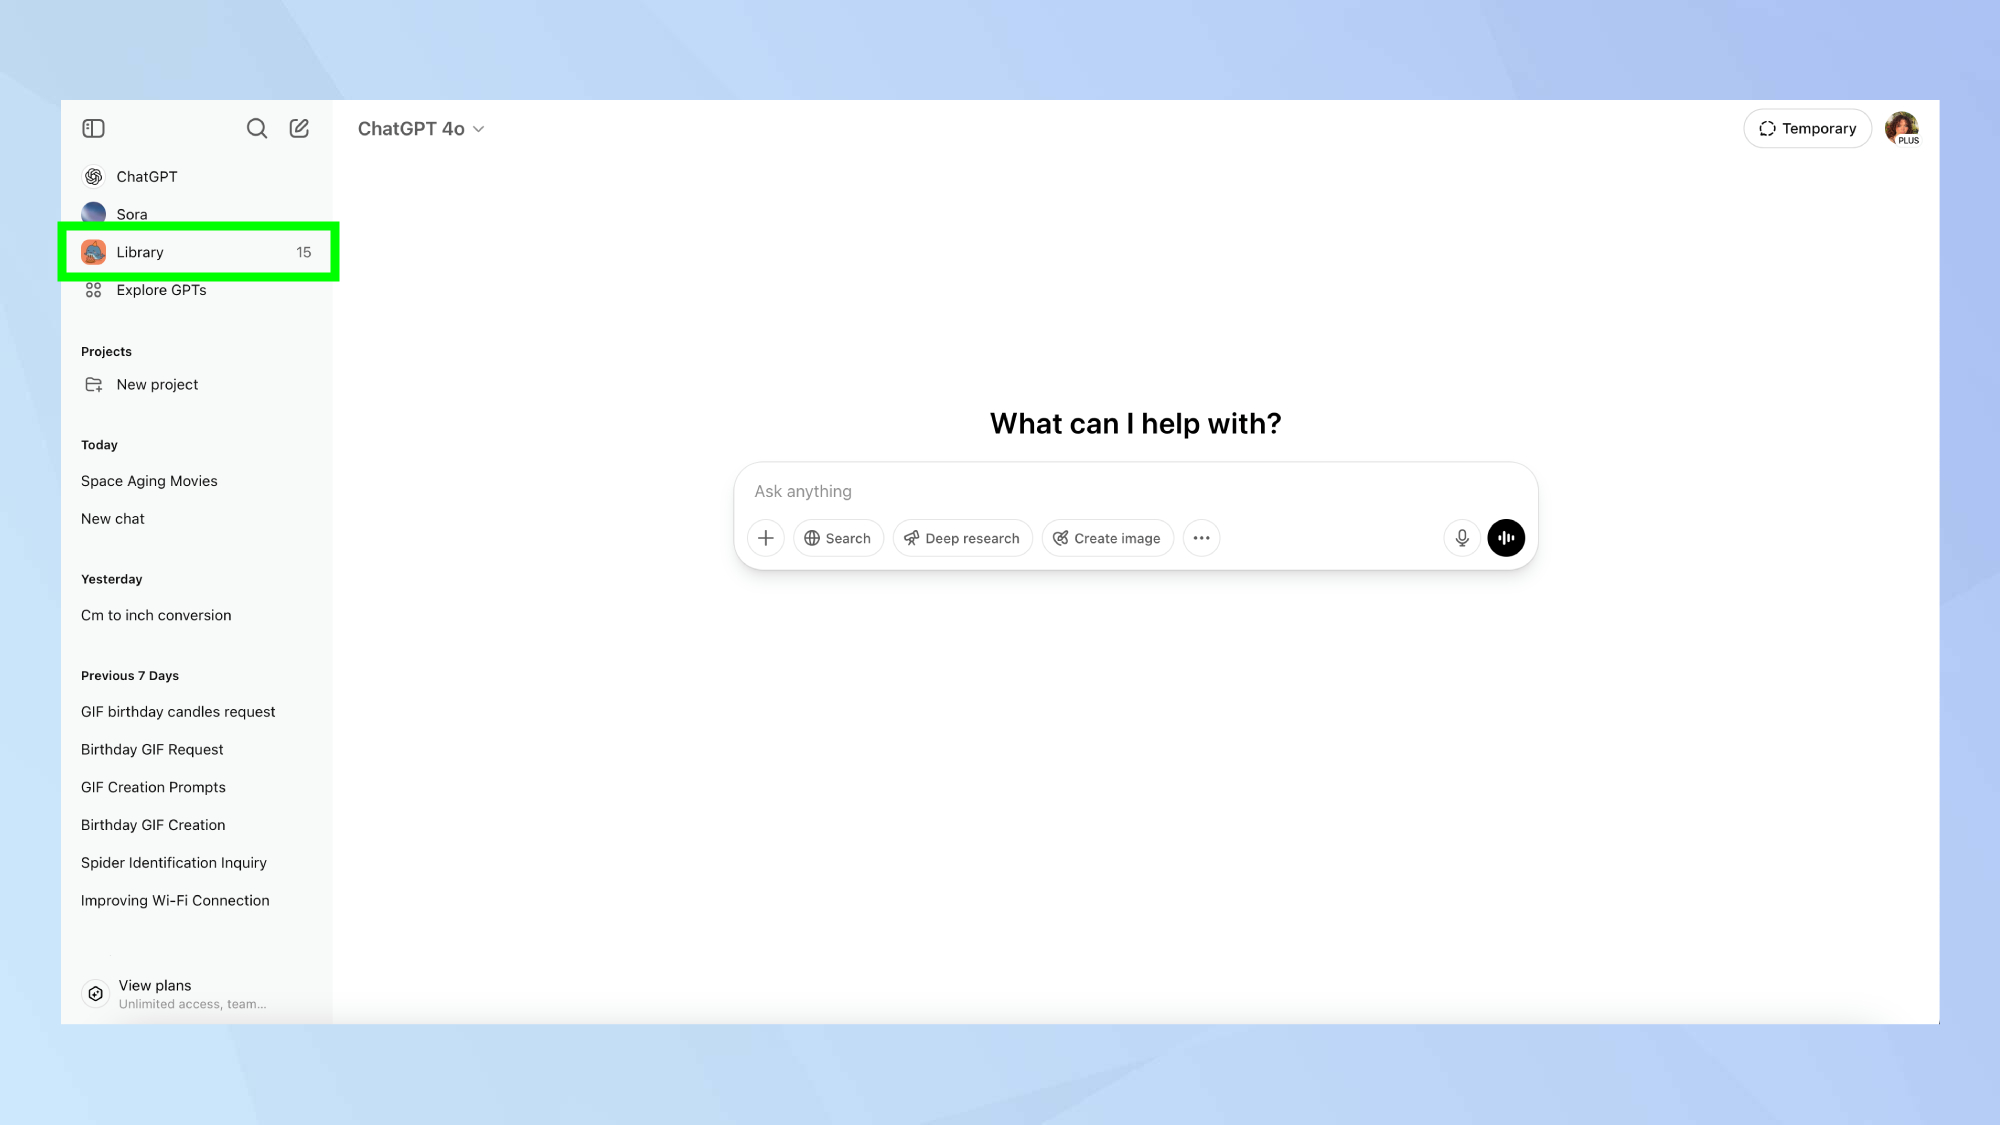
Now you're logged in, look at the left-hand navigation sidebar.
You'll find Library listed beneath above Explore GPTs, with a number displayed alongside it showing your total image count so far.
3. Explore your library
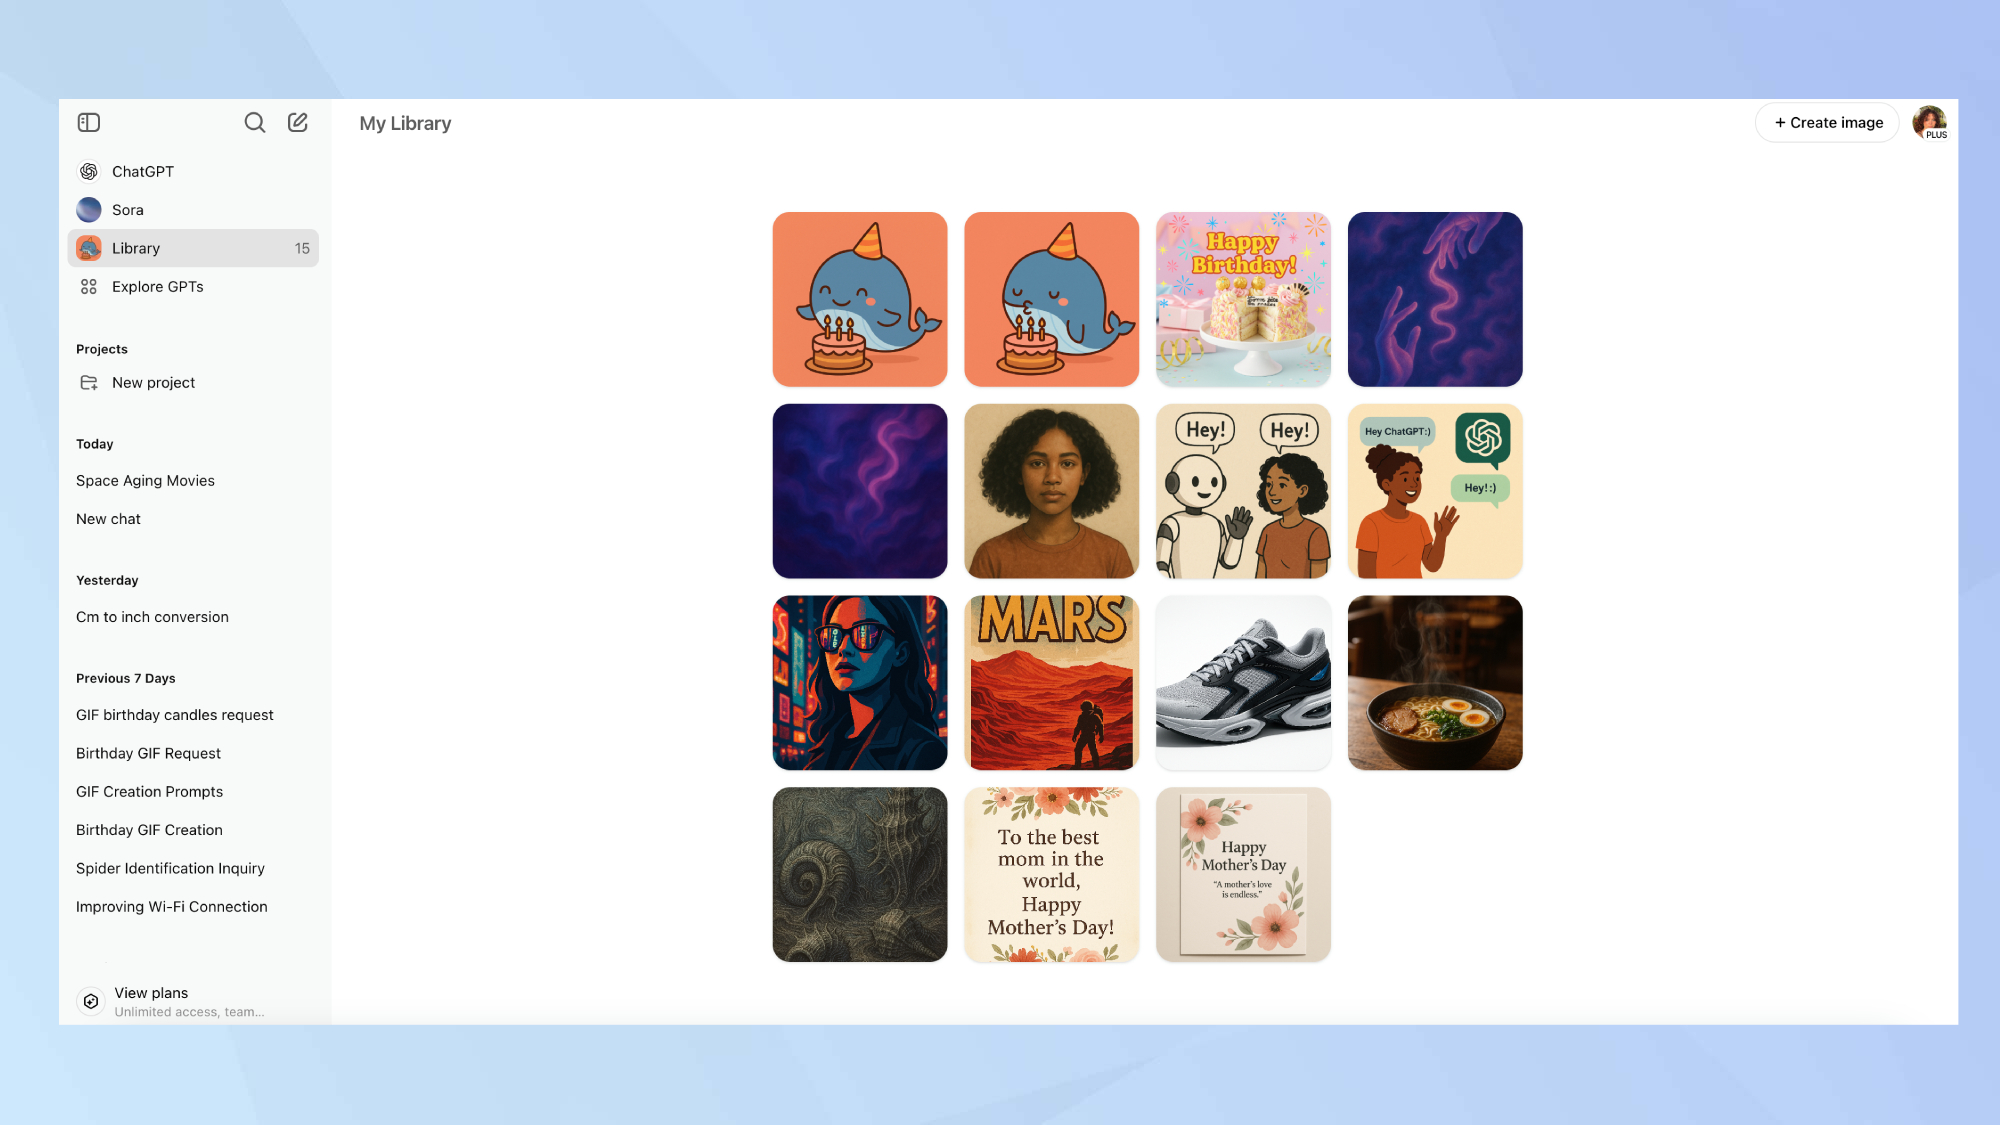
Upon opening the library, you'll see all your images arranged in reverse chronological order, with the most recent creations appearing first.
This makes it easy to quickly locate your latest work without scrolling through conversation history.
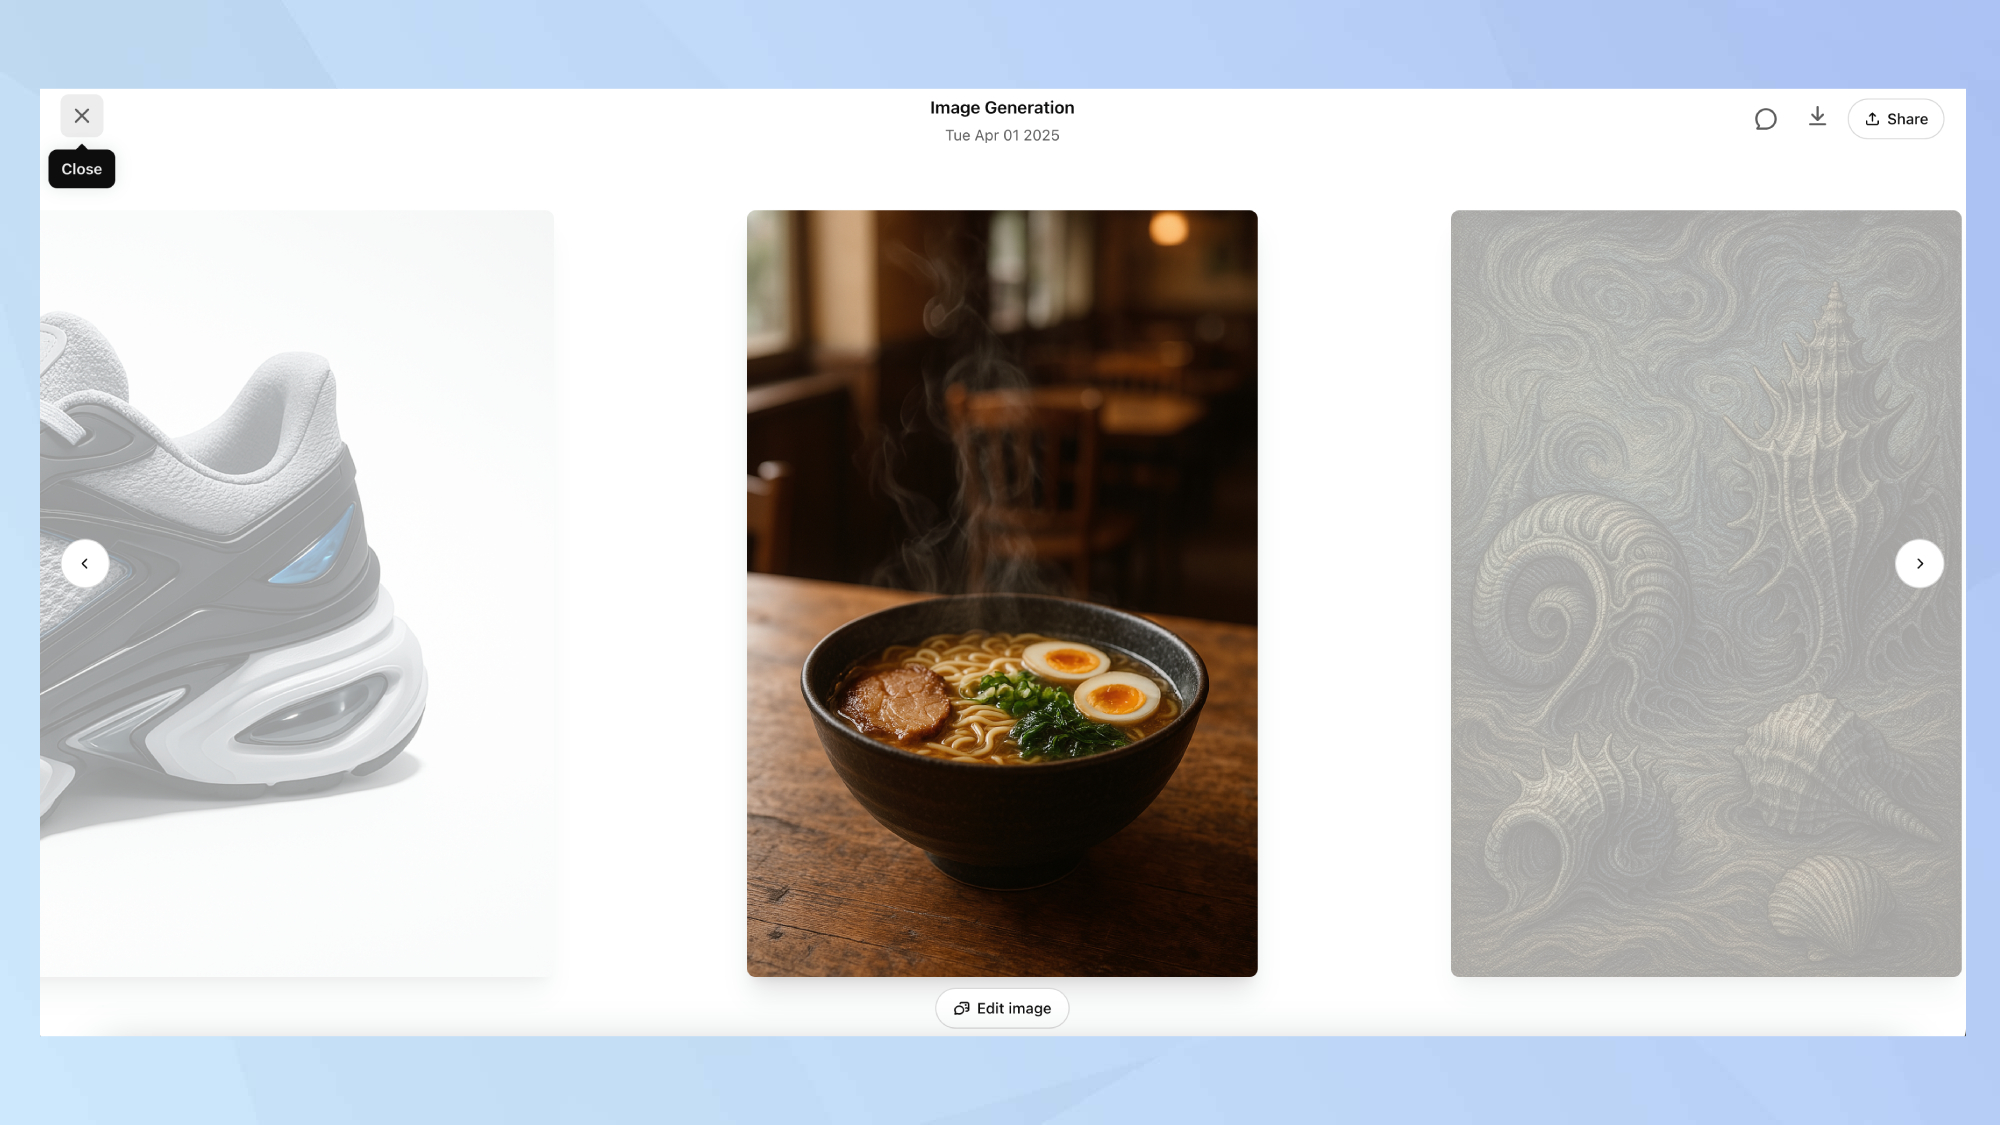
4. Try carousel view
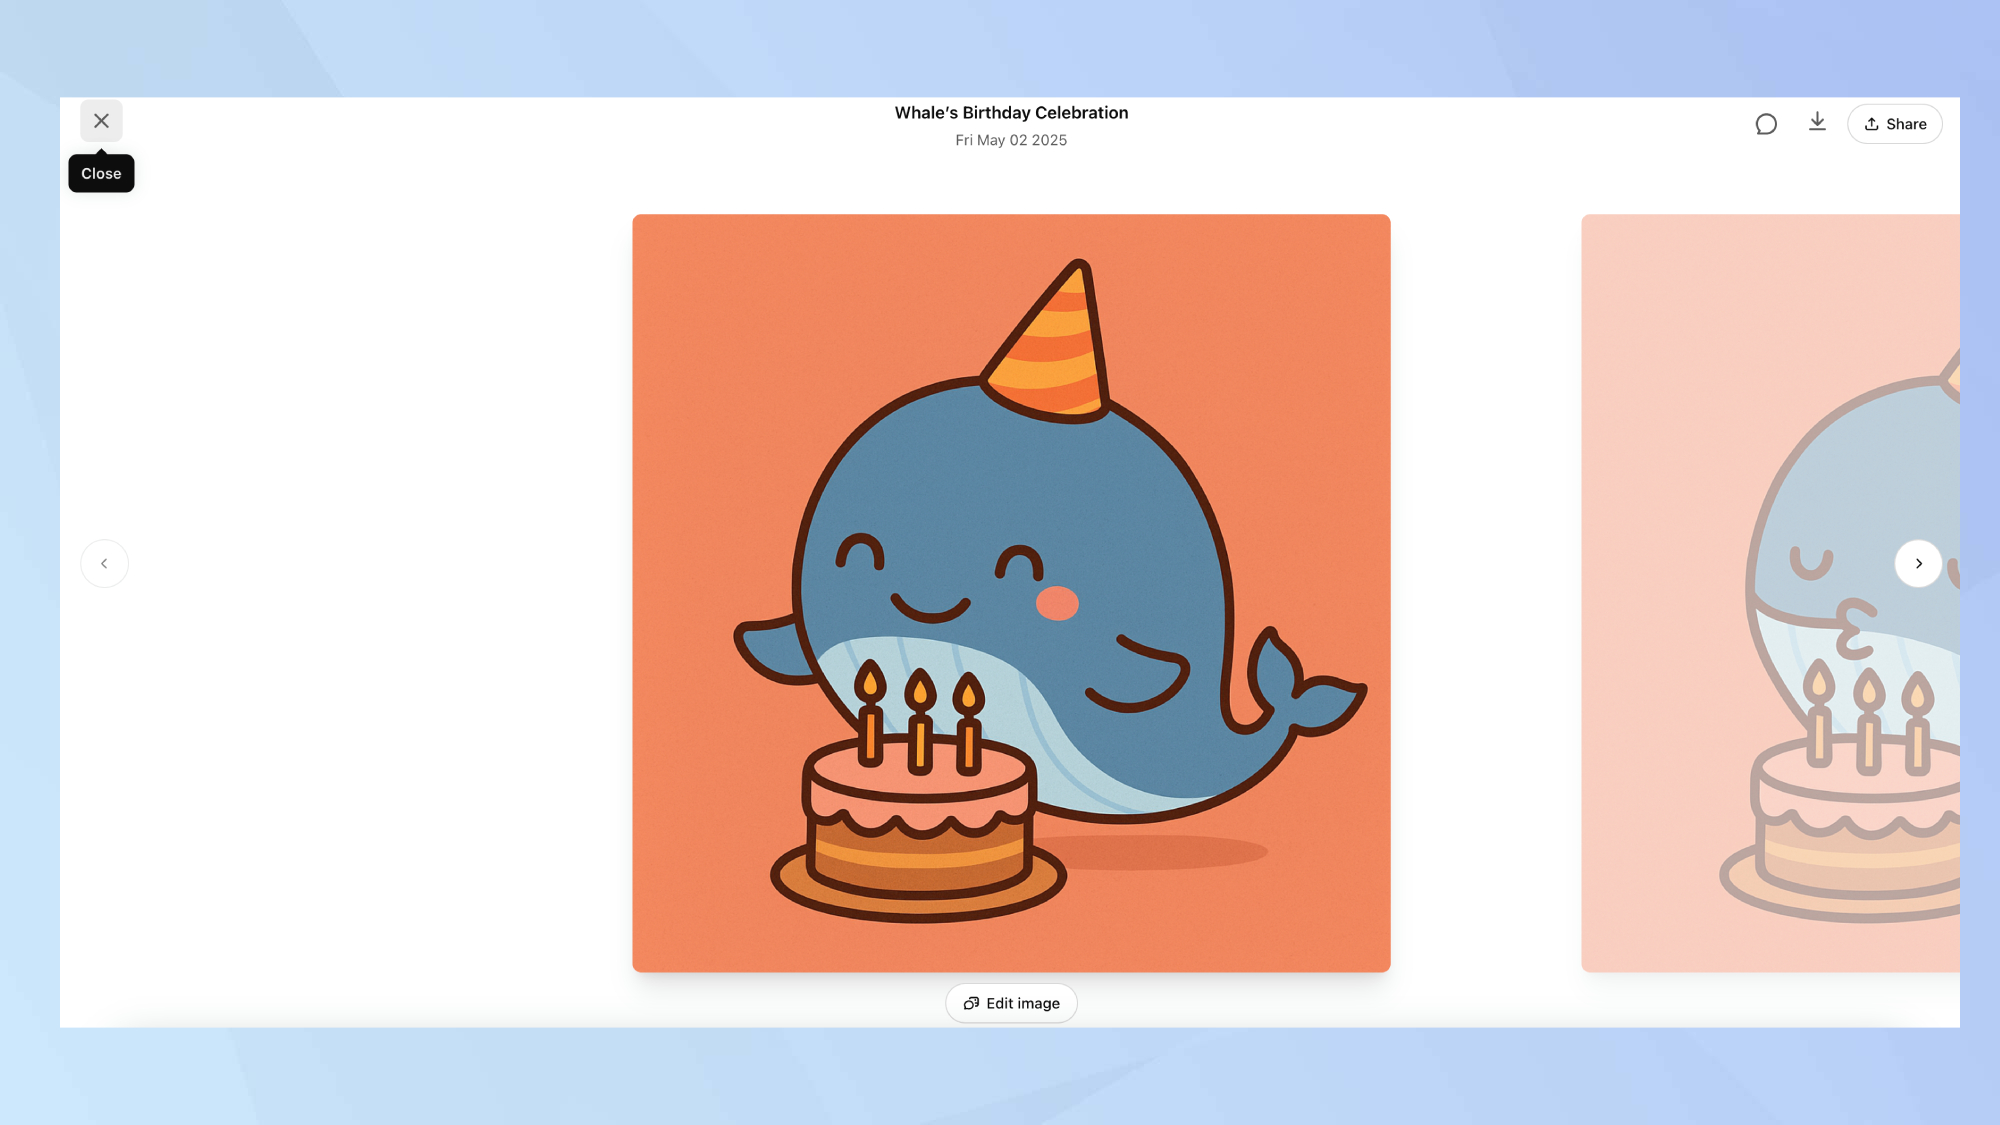
For a better view, you can click on any image to open an enlarged version.
Once in this view, arrow buttons will appear, allowing you to browse through your entire collection in a carousel-style interface without returning to the grid view.
What features does the image library offer?
1. Automatic image titles
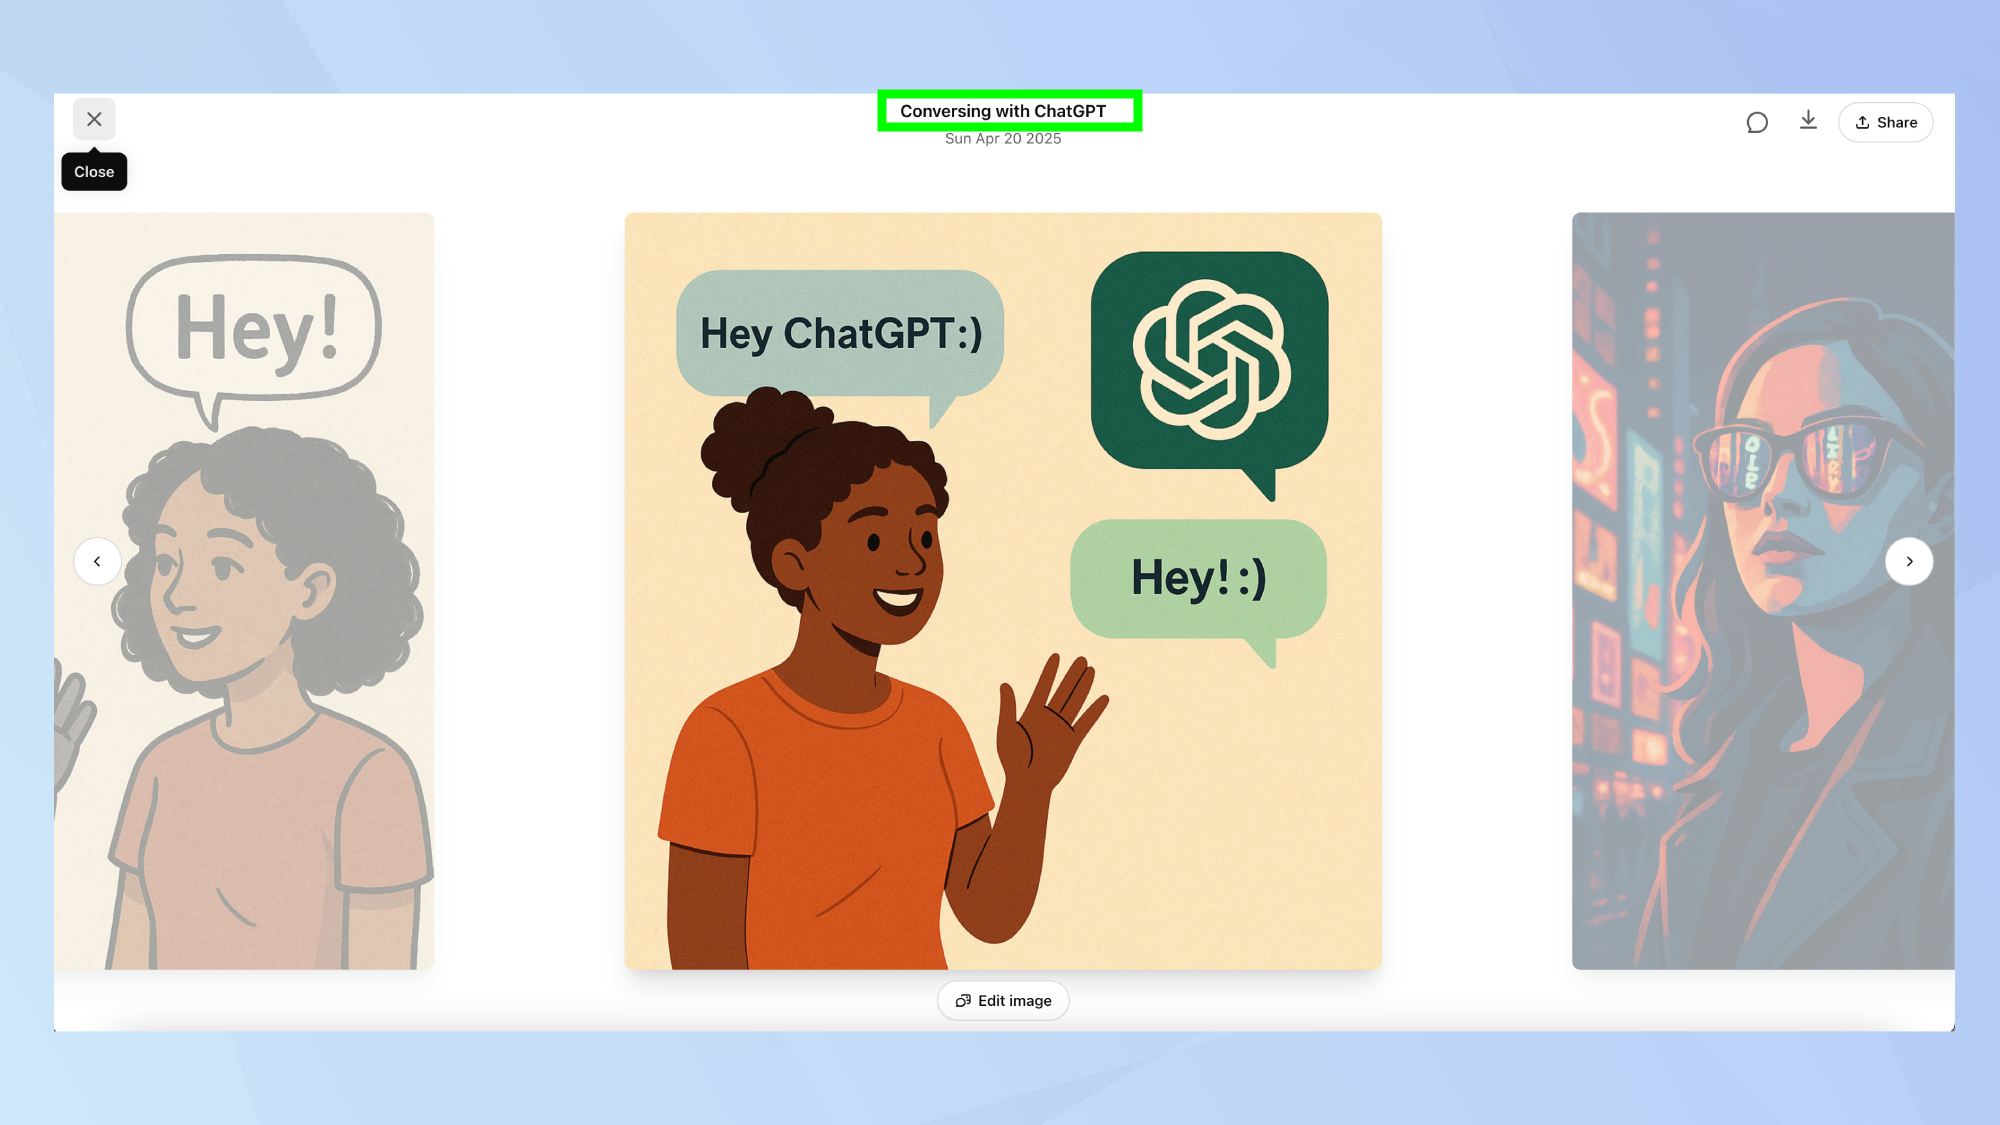
Each image in your library receives an automatically generated title from ChatGPT. Interestingly, these titles don't simply repeat your original prompts but instead describe what's actually in the image.
This AI interpretation adds an extra layer of organization to your collection, making specific images easier to identify at a glance.
2. Edit functionality
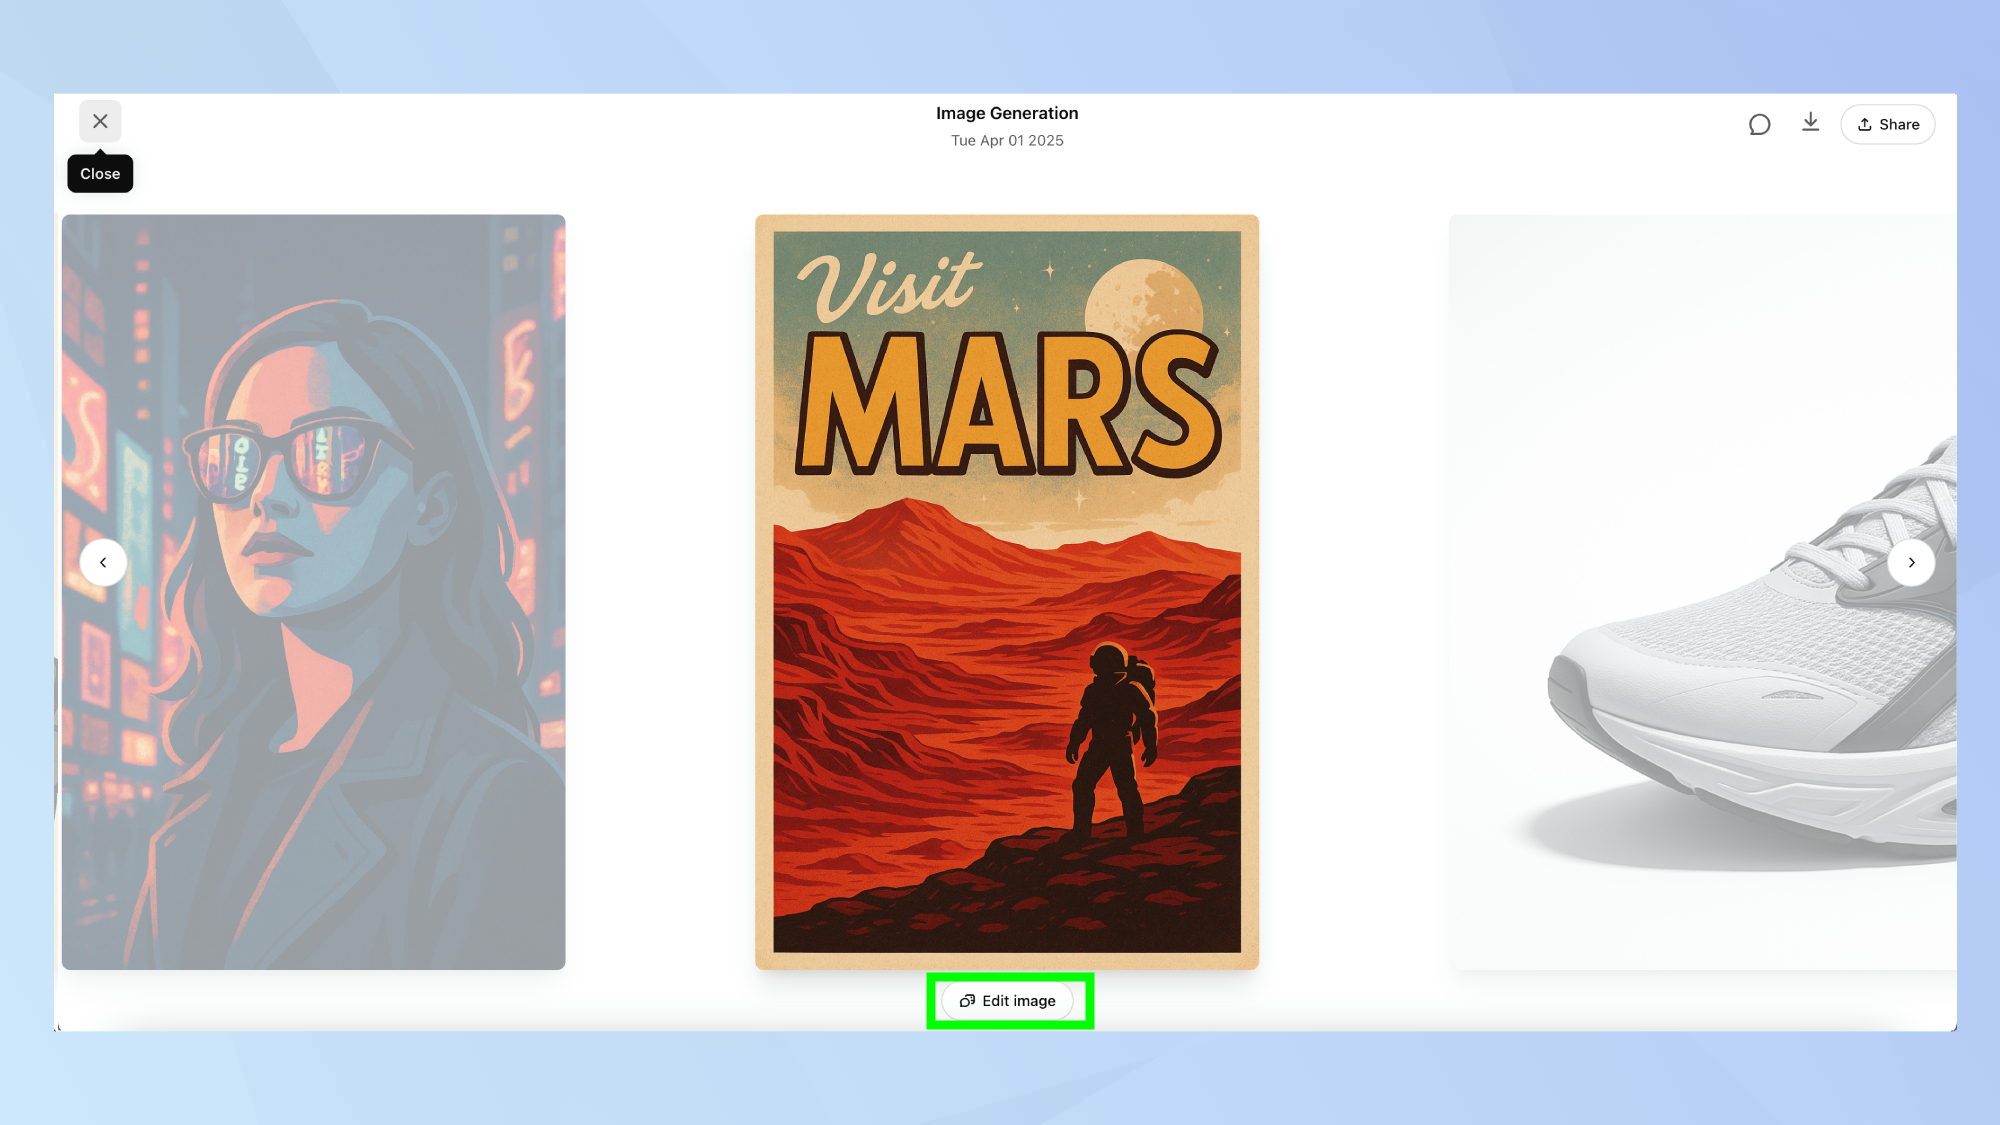
Each image includes an Edit image button that lets you make additional adjustments to existing creations. This feature is particularly valuable when you've created something close to your vision but want to refine specific elements without starting over completely.
The edit function reopens your image in the generation interface, allowing you to add new prompt instructions to guide further modifications.
4. Create an image
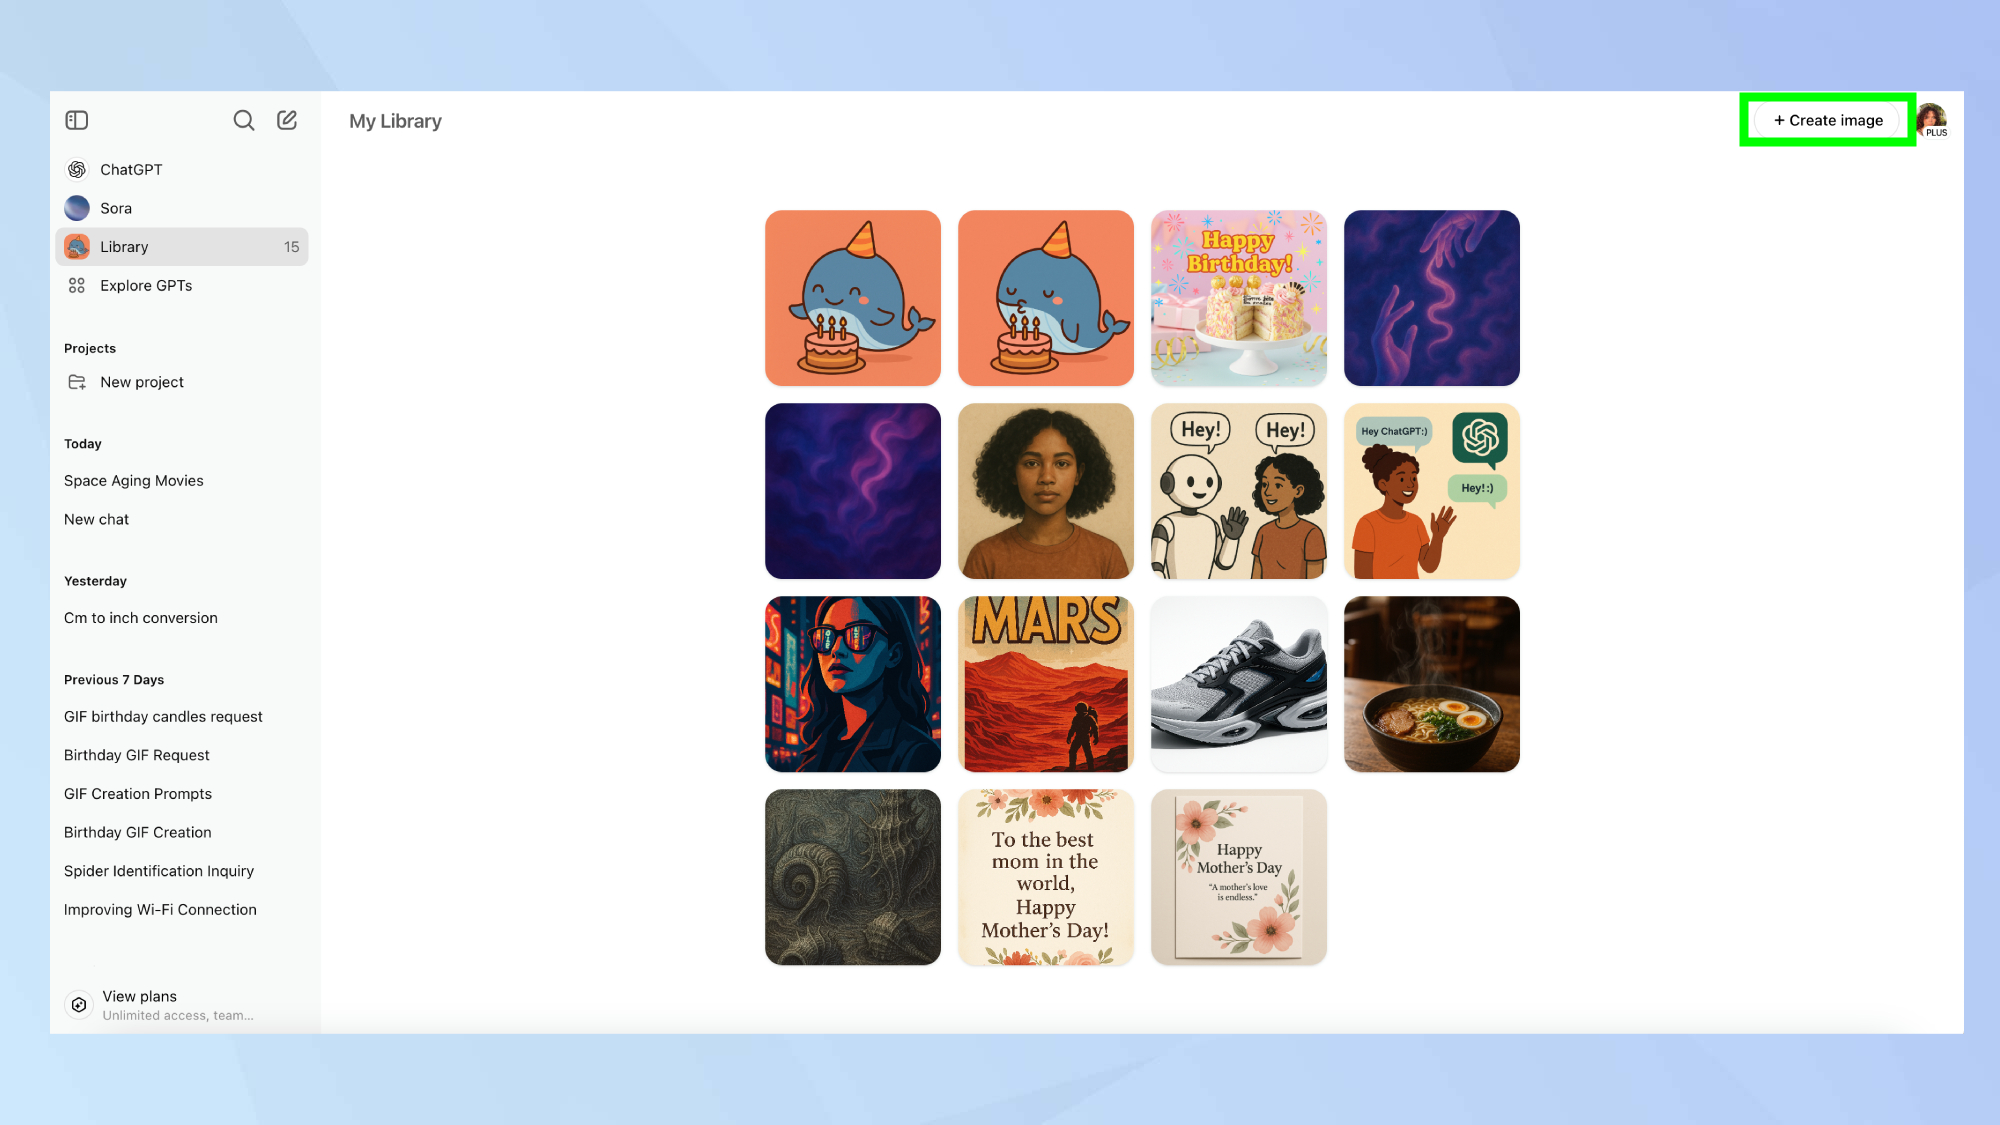
You can generate an image directly in the Image Library, by clicking Create Image in the top right of the screen. This will bring you back the main prompting interface.
4. Image management limitations
While the library significantly improves image organization, there are some limitations to be aware of. There is no direct link back to the original conversation where the image was created, which makes it harder to track the prompting process that led to successful generations.
The library also lacks a dedicated delete button within its interface. To remove an image from your library, you must delete the entire conversation it came from.
Now that you've learned how to navigate and use ChatGPT's image library, here's a few more AI-related tutorials you may find useful.
Check out I use ChatGPT every day to boost my productivity — and these 5 prompts always deliver and how to make GIFs using ChatGPT. And you can keep your data private by stoping ChatGPT from training with it.