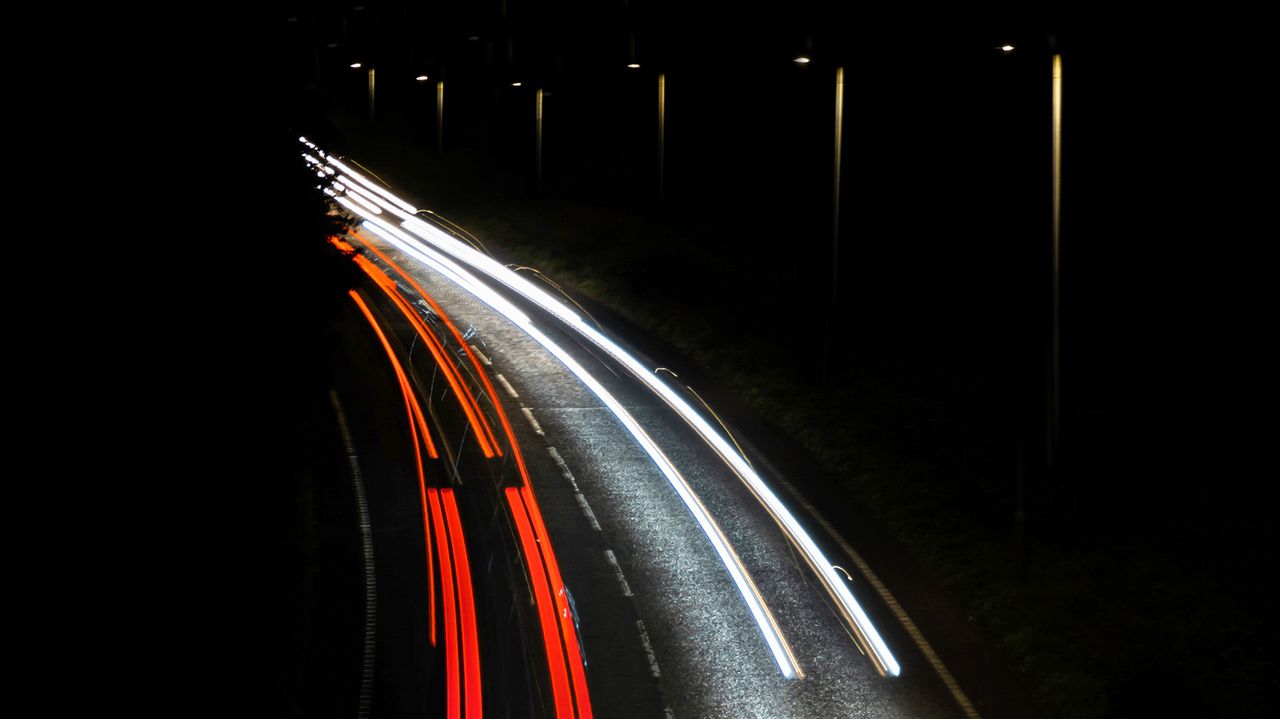
Light trails can look magical and, depending on your technique, they can add an artistic and abstract look to your photographs. Creating these mesmerizing images in low light conditions requires the use of slow shutter speeds; with these long exposures, even the smallest light sources can become a prominent element in your frame.
You often encounter slow shutter speeds in genres like astrophotography. Here, long-exposure photographs taken in complete darkness enable the tiniest stars to be visible.
The technique is one way to amplify the brightness of an object, but this approach can also yield a soft, artistic portrayal of any moving objects in the frame, such as clouds or water. This is a common approach in many photography genres, including landscape and seascape.
Combine both techniques in one frame – by shooting moving objects and their lights with a long shutter speed – and you create some outstanding effects. And by experimenting with different exposure times you can control the light trails.
To do so, all you need is a tripod, ideal exposure settings, and a willingness to explore the varying intensities that can be attained based on the scene and object.
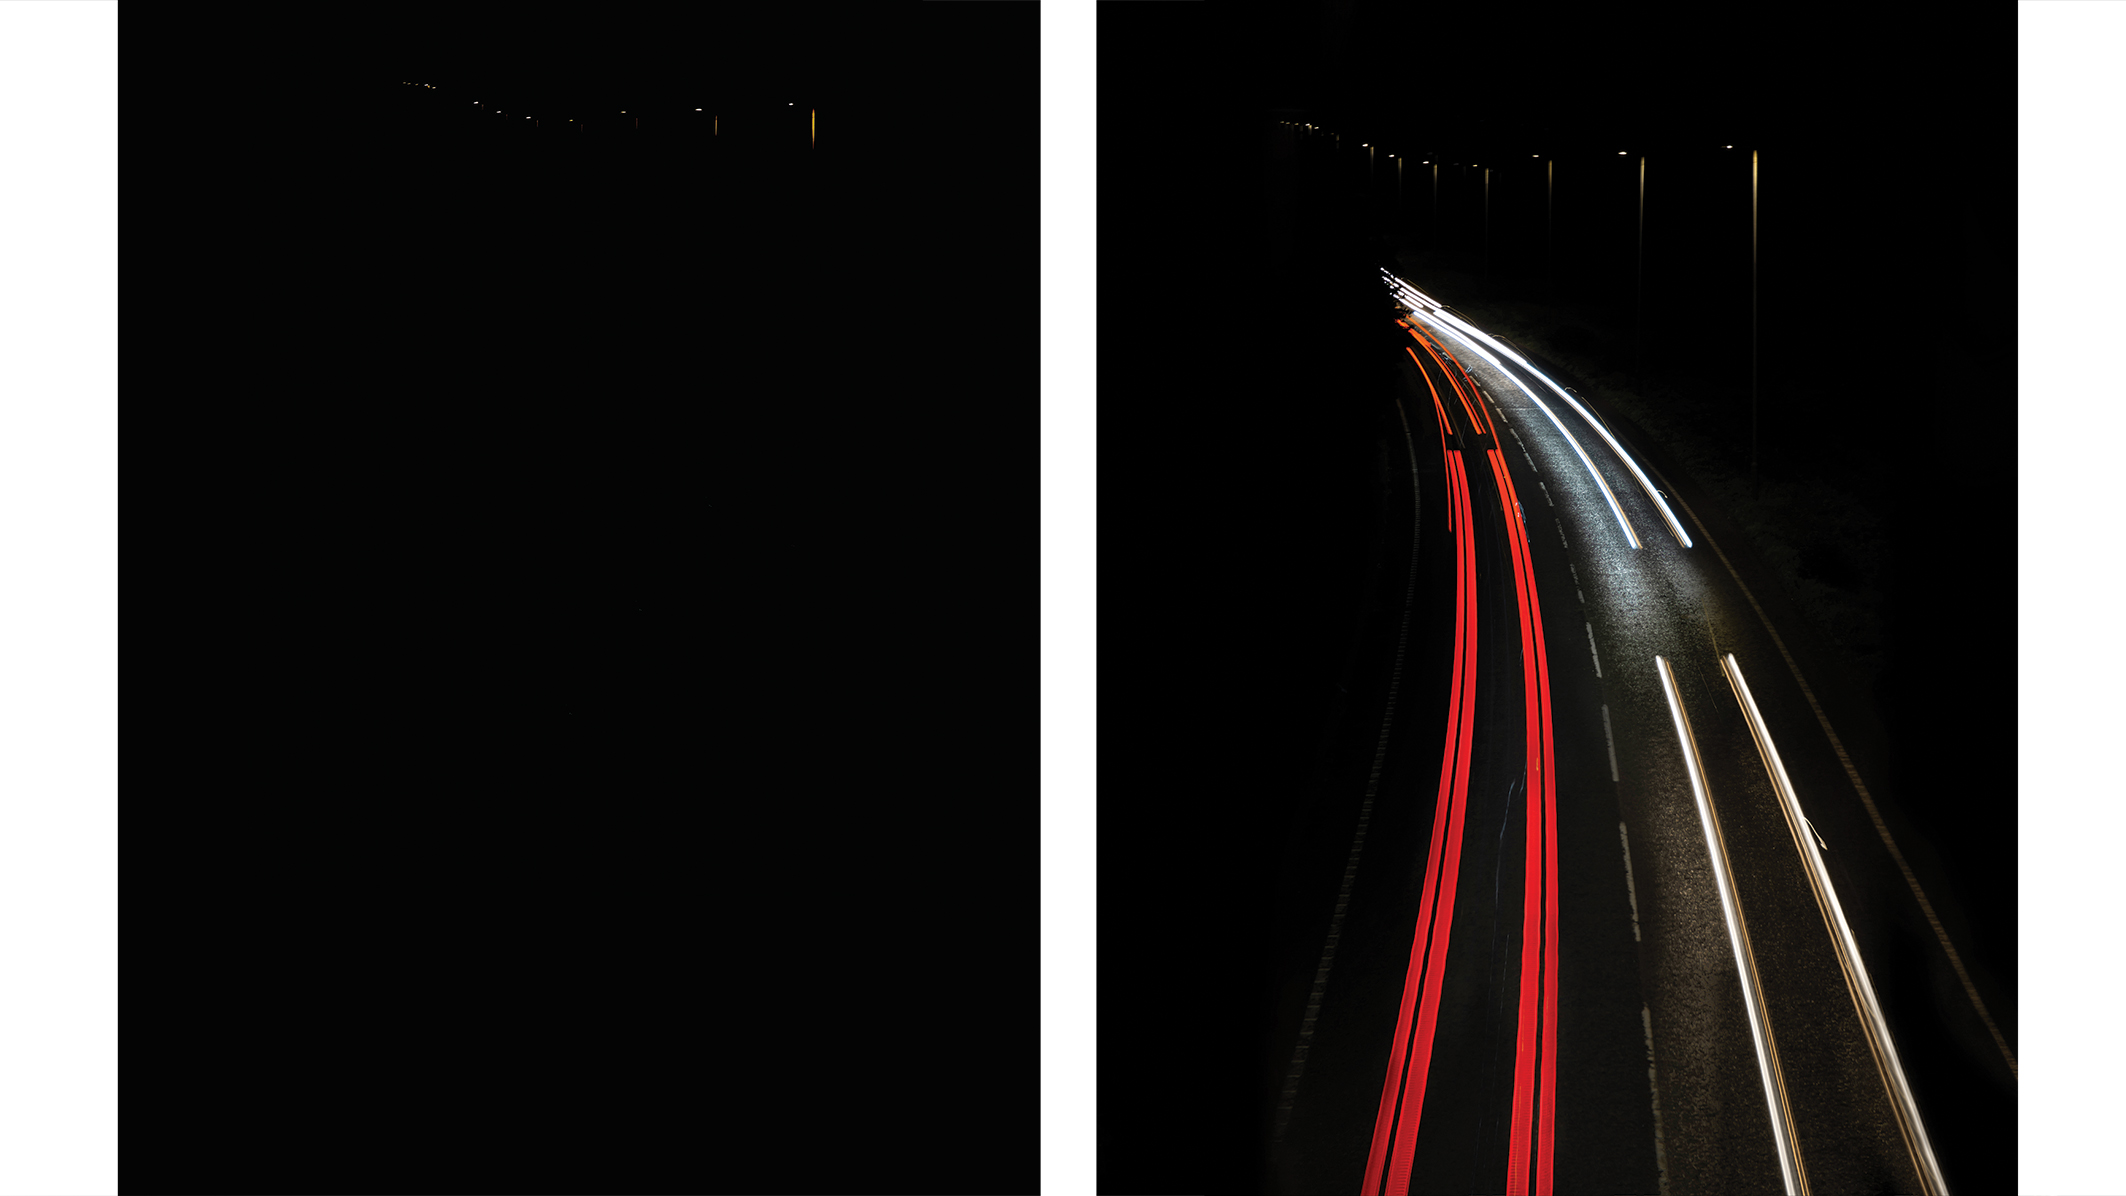
And here's a pro tip: To enhance the light trails, consider merging multiple frames into a single image during post-processing. Doing this will intensify the outcome and enable you to customize the trails according to your preferences.
Before and after
Shooting steps
1. Secure the camera
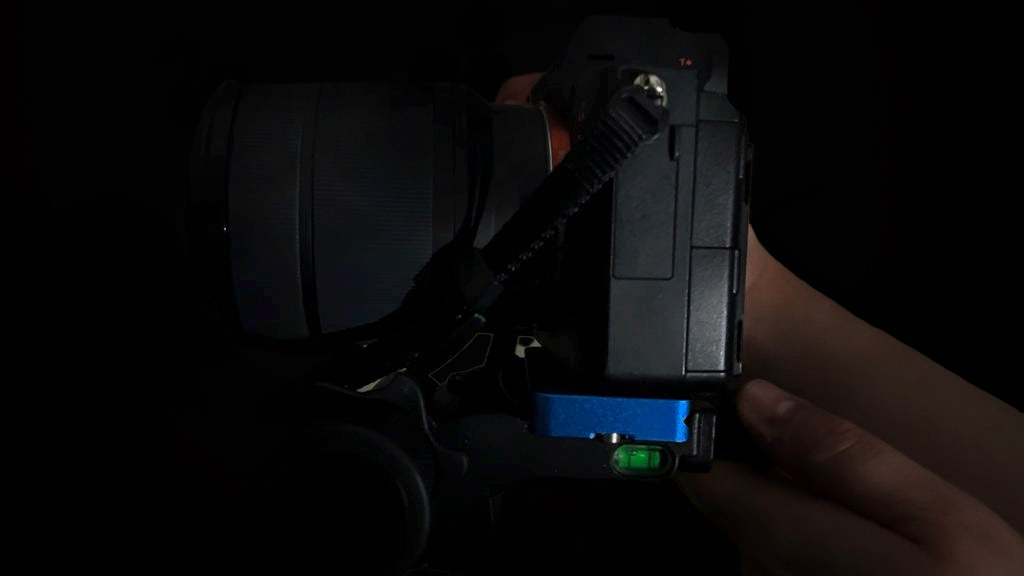
To successfully implement this technique, it is crucial to prevent any camera shake. Otherwise, the outcome will be unclear and lacking in sharpness. To achieve this, set up your tripod and mount your camera securely on it.
2. Shoot RAW
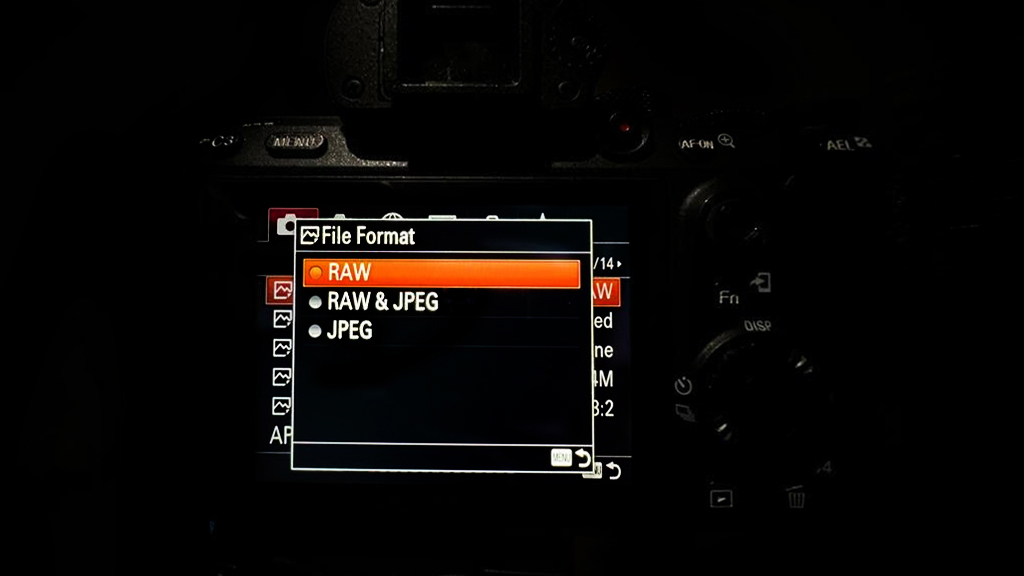
The RAW format records more colour information in the highlights – especially useful when shooting in low light. This will give us a greater range of options for editing dark elements in post-processing. Go to the menu and select RAW as your file type.
3. Choose shutter speed
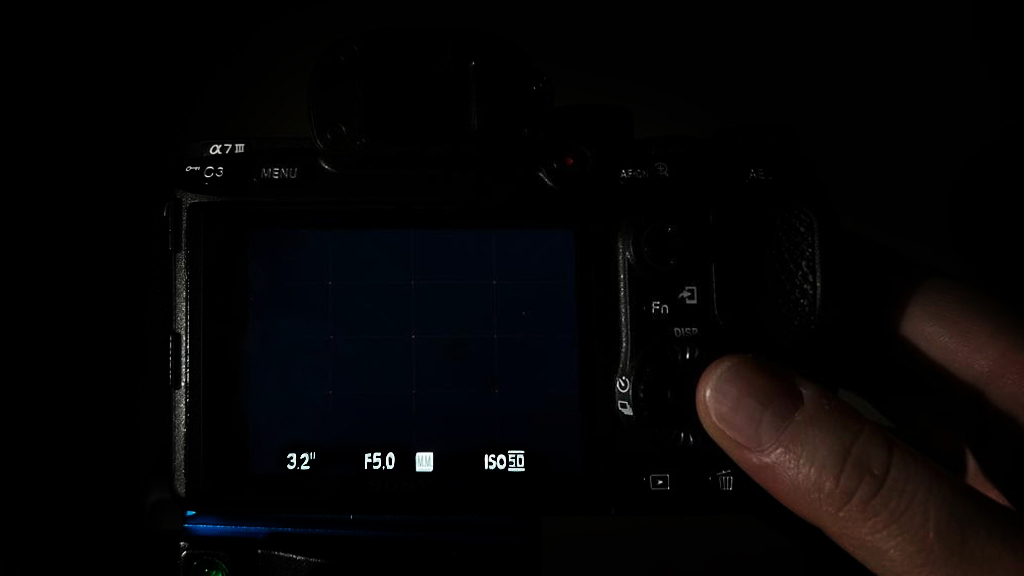
For full control over the camera's settings, switch to manual mode. The ideal exposure time varies depending on the subject, but three seconds is a good starting point. Activate the image stabilisation on both the camera and lens.
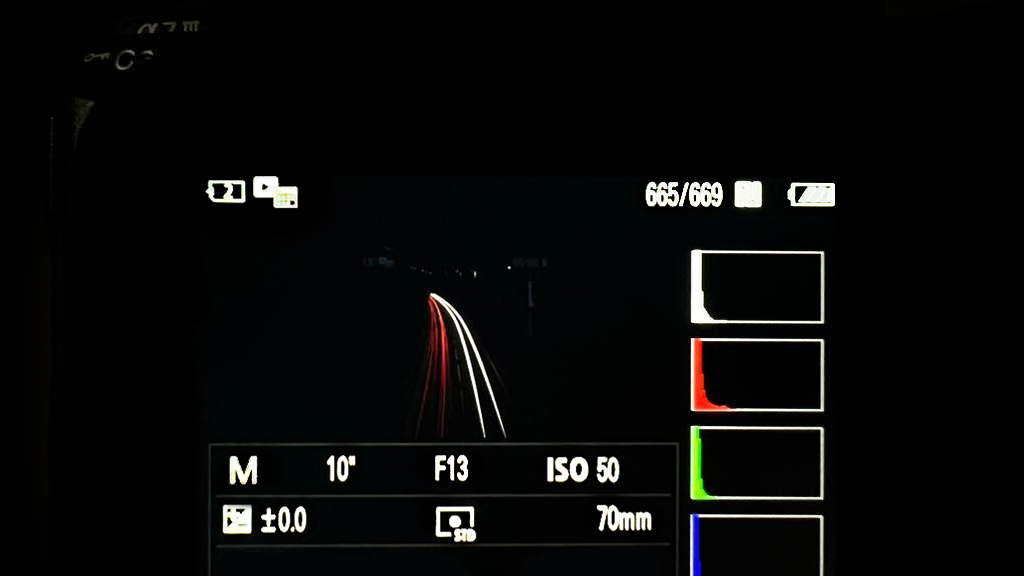
4. Expose for contrast
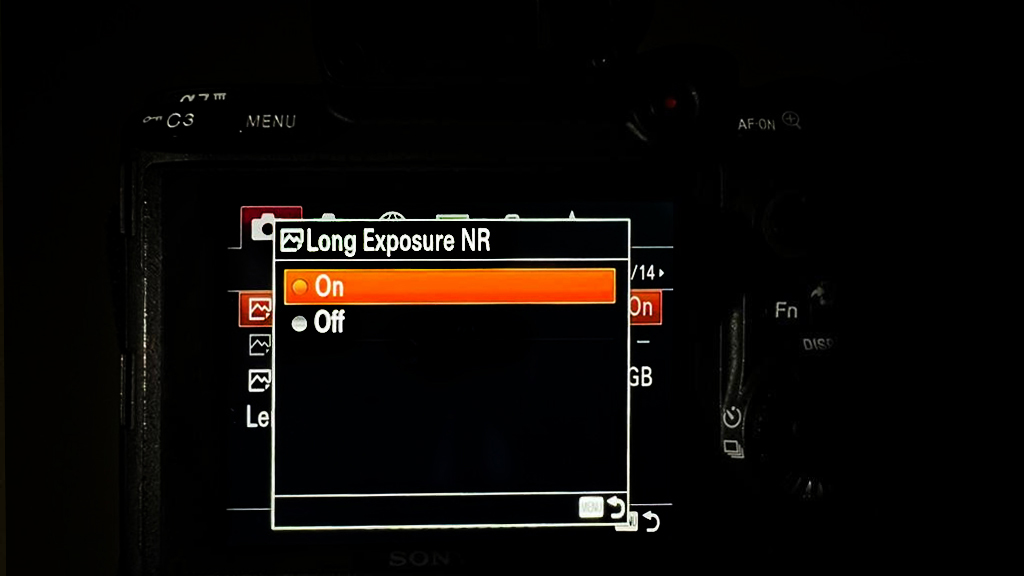
To make light trails stand out, we need high levels of contrast. Choose an open aperture (small f-stop) but avoid extremely long exposures. To prevent image noise, keep the ISO settings low and activate the camera's noise reduction feature.
5. Select self-timer

Small movements caused by pressing the shutter will ruin the effect. A remote shutter release is helpful, but it's not absolutely necessary. Check the camera menu for self-timer options. This way, you don't need to invest in extra equipment.
6. Refine exposure time
The effect depends on the subject, lighting, direction and speed of movement, so it is advisable to adjust the shutter speed occasionally. Experiment with short and long settings, to see the differences in the intensity of the light trails.
You might also like...
Take a look at the best tripods for photography, along with the best low light cameras.