Not sure which Cards are best in Bridger Western? If you’ve ever watched a Western movie, you know that card games are an inseparable part of the atmosphere - be it bridge, poker, or something else. They bring high stakes, tense stare-downs, and boiling conflicts - everything you want from a Wild West experience. Thematically, they fit perfectly into this open-world Roblox action RPG. This Bridger Western Card Tier List will help you choose the right ones for your build.
Bridger Western Cards Tier List
⇓ BEST CARDS ⇓

Show Me A Good Time

Quick Draw

Free Runner

Time Heals All Wound

Too Tired to Fall
⇓ VERY GOOD CARDS ⇓

Tonicmaster

STURDY

Desperado

Demolitions Expert

Boy With Fists

Lung Shot

Archer's Child

Veteran

High Noon

Poltergeist
⇓ DECENT CARDS ⇓

A True Cowboy

Belmont Family Crest

FAUX High Noon

Evil Eye

Cant Lay Off Tonic

Seasoned Hunter

Silver Wireset

Twenty Meter Radius

Small Cuts

Total Checkmate

Winged Man

Sneaky Lowlife
⇓ MID CARDS ⇓

Silver Prodigy

EXECUTIONER

Snake Eater

Secret Technique

Danger Sense

Coin Roller

Flesh Automaton
Cards are a separate character-power system built around mostly passive effects and buffs. The game currently allows a maximum of 3 Cards equipped at once. These Cards are not random tiny stat bumps glued on top of the game. They are closer to a mini-build system: you get limited slots, selective choice, and effects that often lean into specific weapons, mobility patterns, PvP matchups, or utility tools.
Because you only get three, the real game here is not “take strong cards,” but “stack effects that push your chosen loadout into a sharper identity.” With all that taken into consideration, here's our evaluation of every card in the game currently.
RELATED: Ultimate Bridger Western Tier List
Best Cards in Bridger Western Ranked
| Card | Passive | Pros & Cons |
|---|---|---|
| Card 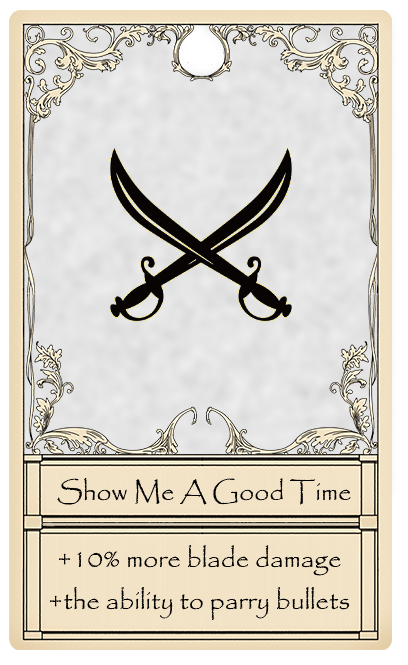 Show Me A Good Time | Passive Gain 10% more blade damage. Gain the ability to parry bullets. | Pros & Cons
|
|
Card
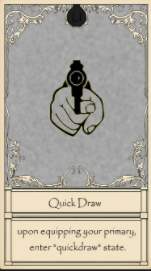 Quick Draw
|
Passive
Upon equipping your primary weapon, you enter Quickdraw state. |
Pros & Cons
|
|
Card
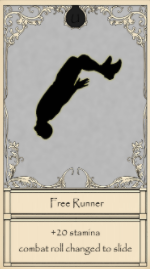 Free Runner
|
Passive
Gain +20 stamina.
Your combat roll becomes a slide.
|
Pros & Cons
|
|
Card
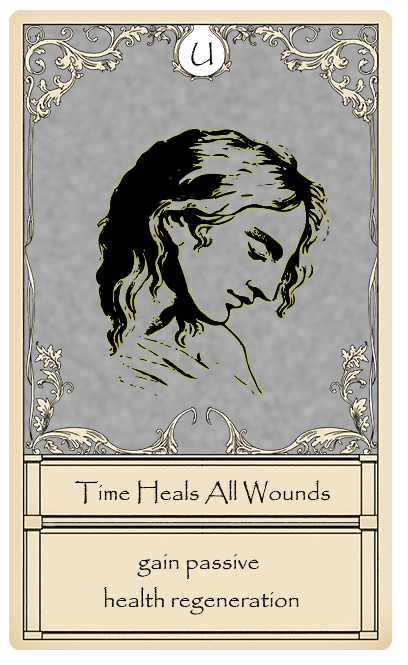 Time Heals All Wounds
|
Passive
Gain passive health regeneration. |
Pros & Cons
|
|
Card
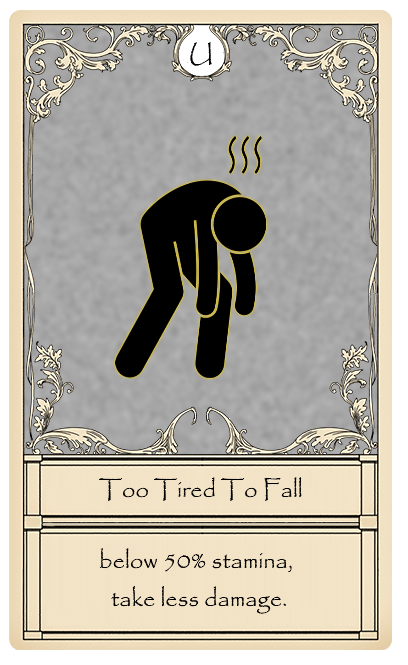 Too Tired to Fall
|
Passive
When below 50% stamina, you take less damage. |
Pros & Cons
|
|
Card
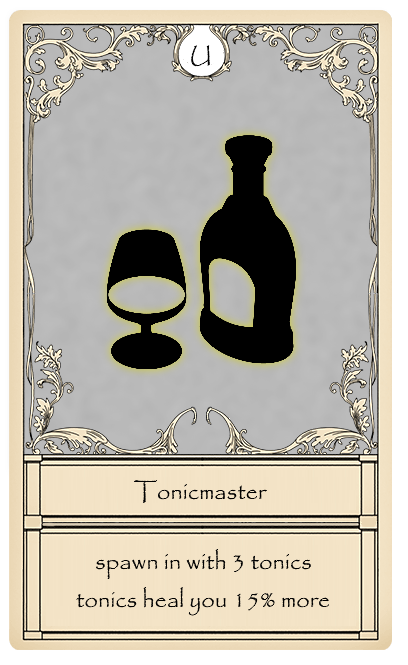 Tonicmaster
|
Passive
You spawn with 3 tonics.
Tonics heal you 15% more.
|
Pros & Cons
|
|
Card
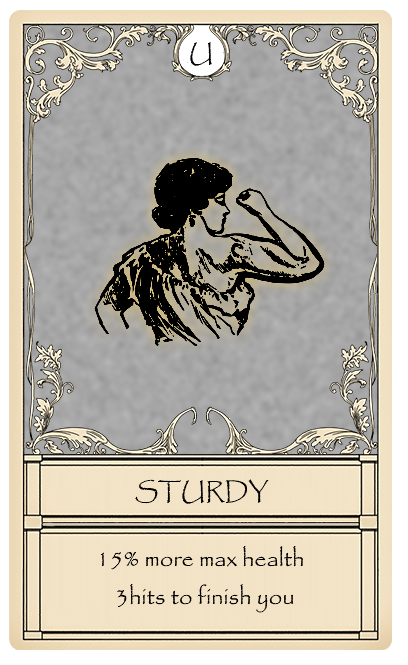 STURDY
|
Passive
Increases your maximum health. |
Pros & Cons
|
|
Card
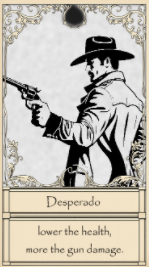 Desperado
|
Passive
The lower your health, the more gun damage you deal. |
Pros & Cons
|
|
Card
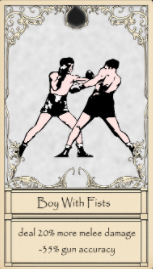 Boy With Fists
|
Passive
Deal 20% more melee damage.
Suffer -35% gun accuracy.
|
Pros & Cons
|
|
Card
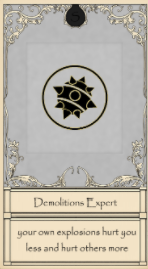 Demolitions Expert
|
Passive
Your own explosions deal less damage to you.
Your explosions deal more damage to others.
|
Pros & Cons
|
|
Card
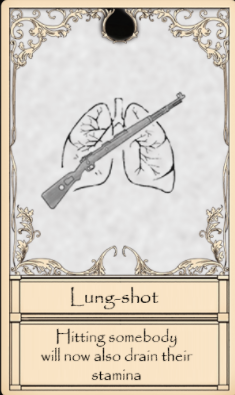 Lung-shot
|
Passive
Hitting someone also drains their stamina. |
Pros & Cons
|
|
Card
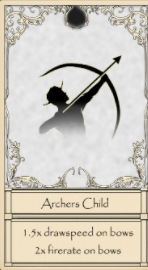 Archer's Child
|
Passive
Increases bow draw speed by 1.5x.
Increases bow fire rate by 2x.
|
Pros & Cons
|
|
Card
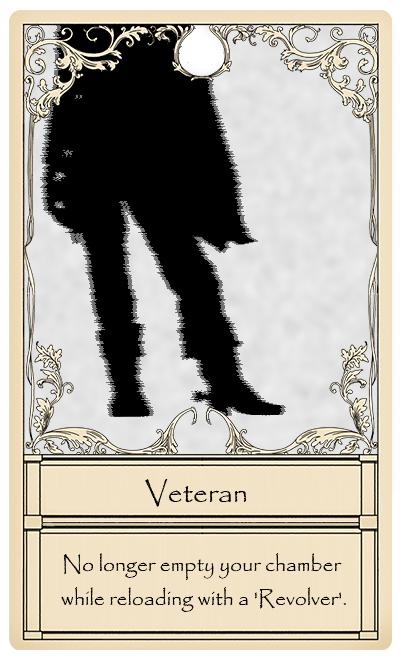 Veteran
|
Passive
When reloading a Revolver, you no longer empty your chamber. |
Pros & Cons
|
|
Card
 High Noon
|
Passive
Lose 10 max HP.
At noon, your bullets auto-aim for 5 seconds.
|
Pros & Cons
|
|
Card
 Poltergeist
|
Passive
You become almost invisible and intangible during combat roll.
Combat roll costs 80% more stamina.
|
Pros & Cons
|
|
Card
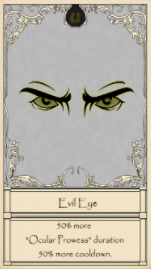 Evil Eye
|
Passive
Increases Ocular Prowess duration by 50%.
Increases Ocular Prowess cooldown by 50%.
|
Pros & Cons
|
|
Card
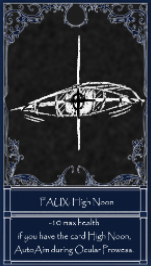 FAUX: High Noon
|
Passive
Lose 10 max HP.
If you also have High Noon, gain Auto Aim during Ocular Prowess.
|
Pros & Cons
|
|
Card
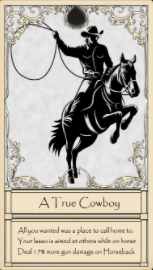 A True Cowboy
|
Passive
While on horseback, your lasso aims at other players.
Deal 17.5 more gun damage while on horseback.
|
Pros & Cons
|
|
Card
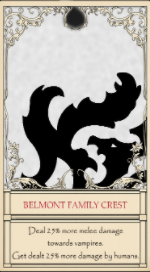 Belmont Family Crest
|
Passive
Deal 25% more melee damage to Vampires.
Comes with a human-related damage limitation.
|
Pros & Cons
|
|
Card
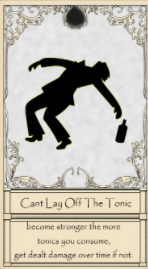 Can't Lay Off the Tonic
|
Passive
You become stronger the more tonic you consume.
If you do not keep consuming tonic, you take damage over time.
|
Pros & Cons
|
|
Card
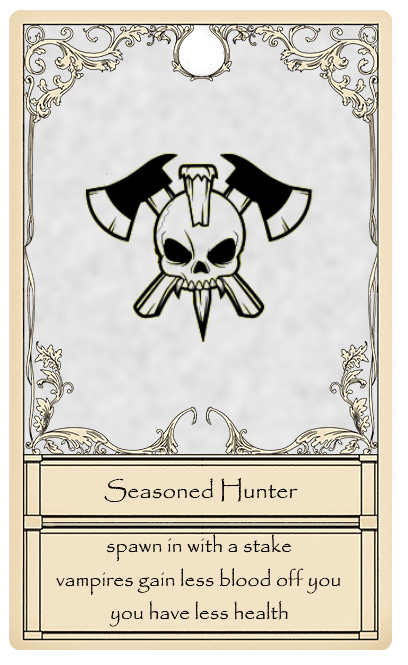 Seasoned Hunter
|
Passive
You spawn with a stake.
Vampires gain less blood from you.
You have less health.
|
Pros & Cons
|
|
Card
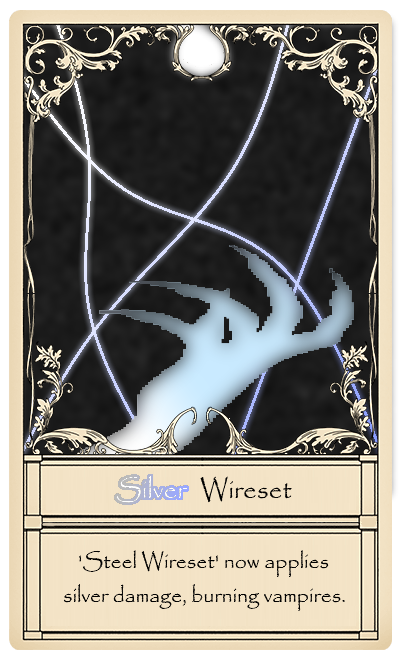 Silver Wireset
|
Passive
Steel Wireset now deals silver damage, burning Vampires. |
Pros & Cons
|
|
Card
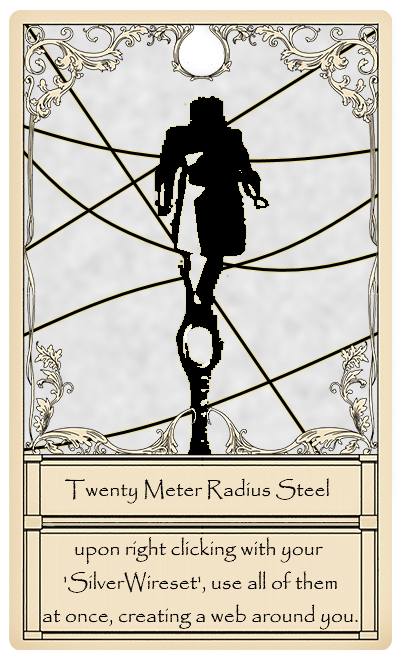 Twenty Meter Radius Steel
|
Passive
With Silver Wireset, right-clicking uses them all at once to create a web around you. |
Pros & Cons
|
|
Card
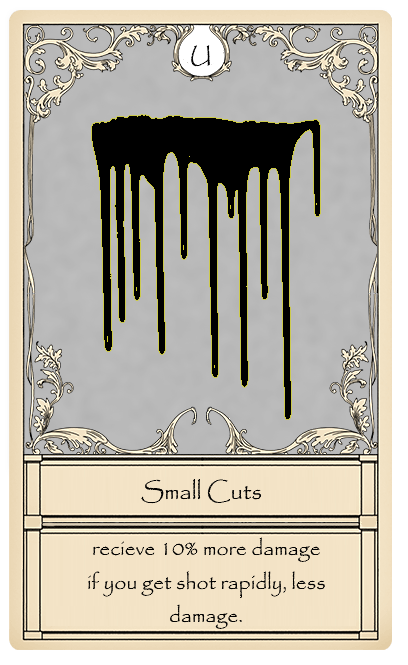 Small Cuts
|
Passive
Weakens damage taken from rapid repeated gunfire. |
Pros & Cons
|
|
Card
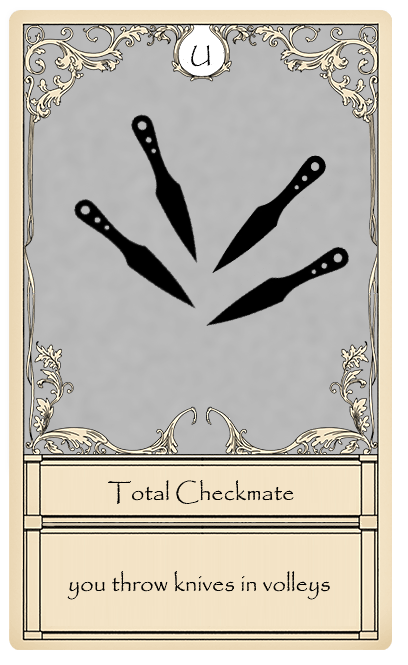 Total Checkmate
|
Passive
You throw knives in volleys. |
Pros & Cons
|
|
Card
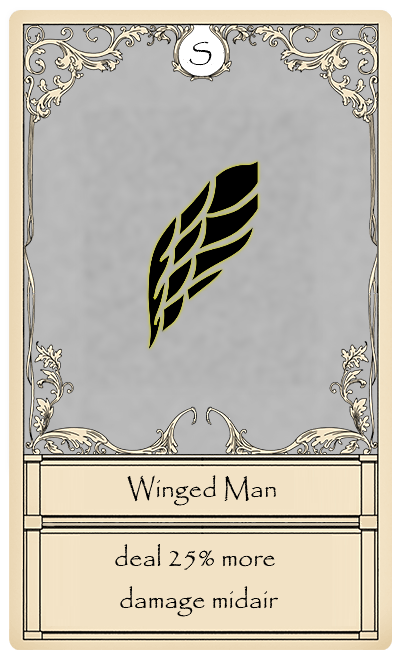 Winged Man
|
Passive
Deal 25% more damage while midair. |
Pros & Cons
|
|
Card
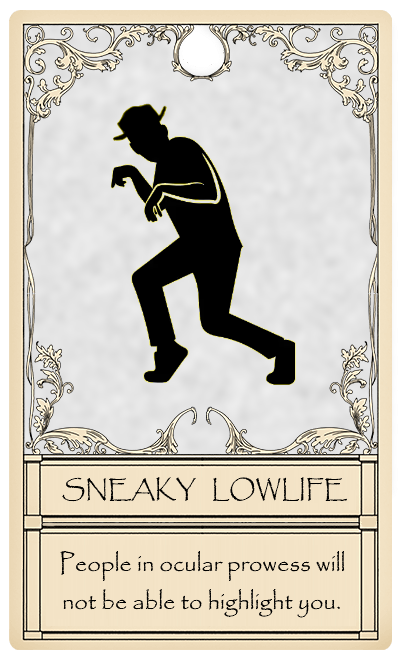 Sneaky Lowlife
|
Passive
Players using Ocular Prowess cannot highlight you. |
Pros & Cons
|
|
Card
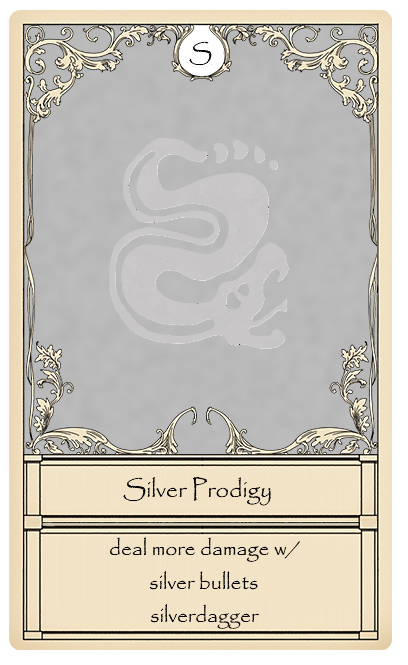 Silver Prodigy
|
Passive
Deal more damage with Silver Bullets. |
Pros & Cons
|
|
Card
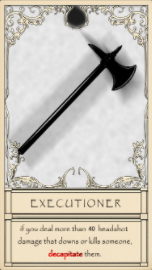 EXECUTIONER
|
Passive
If you deal more than 40 headshot damage and that hit downs or kills, you decapitate them. |
Pros & Cons
|
|
Card
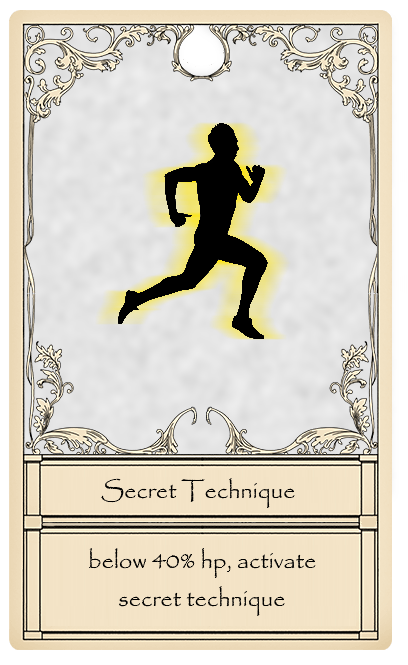 Secret Technique
|
Passive
When below 40% HP, you activate Secret Technique. |
Pros & Cons
|
|
Card
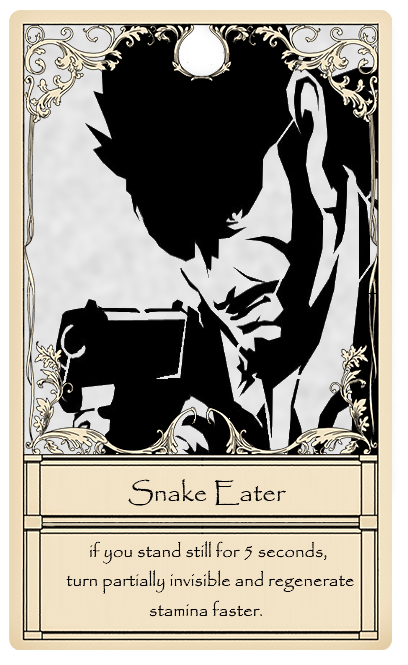 Snake Eater
|
Passive
Grants a stealth-oriented effect tied to staying still, plus stamina recovery value. |
Pros & Cons
|
|
Card
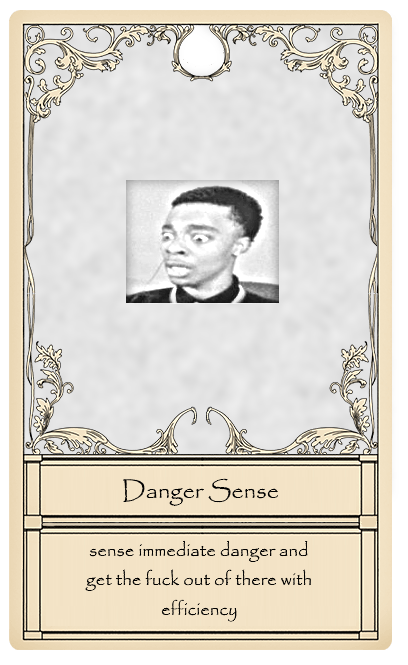 Danger Sense
|
Passive
Provides a danger-sense style awareness effect. |
Pros & Cons
|
|
Card
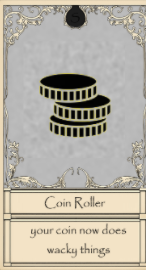 Coin Roller
|
Passive
Changes how your coin behaves. |
Pros & Cons
|
|
Card
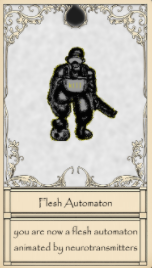 Flesh Automaton
|
Passive
Provides a flesh-automaton style passive effect. |
Pros & Cons
|
RELATED: Bridger Western Stand Tier List
How to Get Cards in Bridger Western
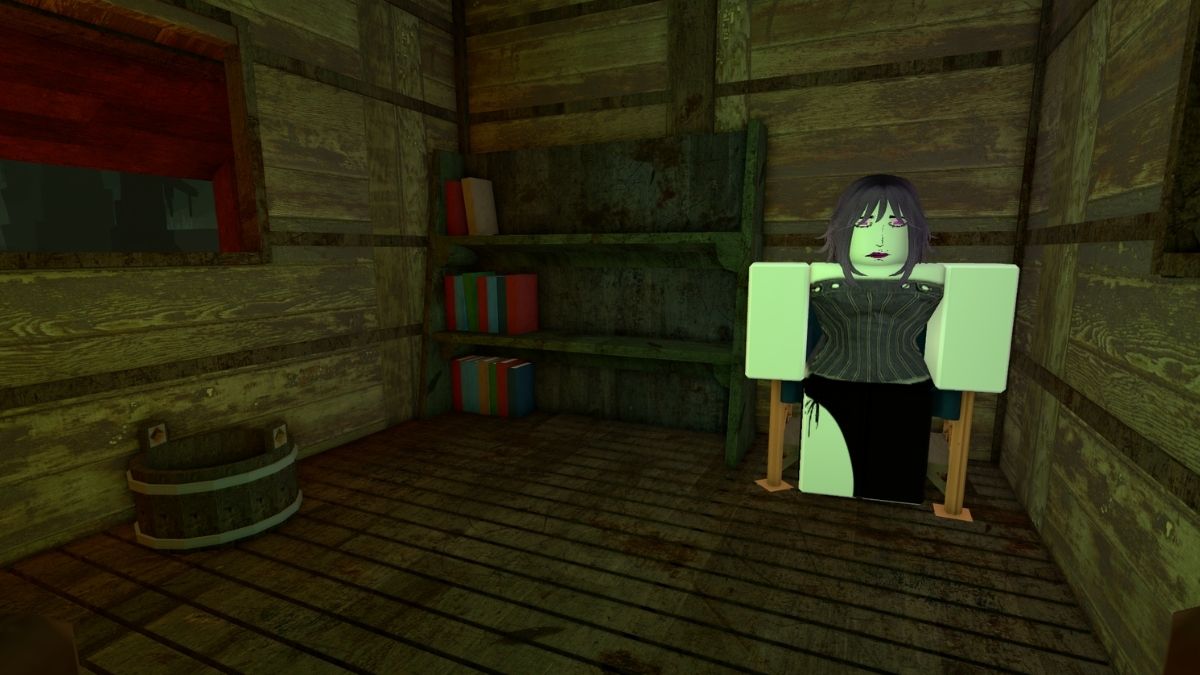
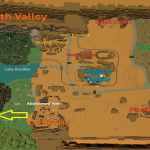
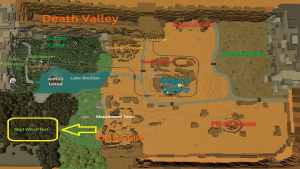
In order to roll cards in Bridger Western, you will need to visit the Swamp area. Specifically, the Mud Witch’s Hut. The Mud Witch is one of the most important NPC vendors in the game, as that's where you'll find many important items, including cards. You obtain them from the Mud Witch in the Swamp by paying 150 Moola for a fortune reading. This is what you need to do, step-by-step:
- Head to the Swamp (the lower left corner of the map).
- Find the Mud Witch’s Hut.
- Pay her 150 Moola for a fortune reading.
- She will show you three cards, all facing down.
- You can turn one for free and place it in any slot you want, if you want.
- If you don't like the card, you can pay 50 Moola to flip an extra hidden card, and another 50 to flip the third one.

NOTE: You can equip a maximum of three cards at once, and you cannot store extra cards. If you want to equip a new card, you’ll need to replace one of the three already equipped cards.
RELATED: Bridger Western Weapons Tier List
Bridger Western Cards Tier List FAQs
The best universal Cards are Time Heals All Wounds, STURDY, Free Runner, and Too Tired to Fall. These are strong because they improve health, sustain, stamina, or movement without locking you into a specific weapon type. If you want safe, consistent value, these are some of the best picks.
The best Cards for gun builds are usually Quick Draw, Veteran, High Noon, and A True Cowboy. They improve weapon readiness, revolver handling, burst potential, or mounted gunplay. Which one is best depends on whether you play standard firearms, revolvers, or horseback builds.
Show Me A Good Time is one of the best melee and blade Cards because it boosts blade damage and lets you parry bullets. Other strong options include Boy With Fists, Free Runner, and Too Tired to Fall. These Cards help melee builds hit harder, close the distance, and survive longer in close-range fights.
The best Card for bow builds is Archer’s Child. The boost to draw speed and fire rate makes bows much faster and more practical in actual combat. You can pair it with general-use Cards like Free Runner or Time Heals All Wounds for a more rounded setup.
The best anti-vampire Cards include Belmont Family Crest, Seasoned Hunter, Silver Prodigy, and Silver Wireset. These improve silver damage, anti-vampire pressure, or control tools. They are especially useful if you expect vampire-heavy servers or want a more specialized matchup setup.
Free Runner is one of the best utility Cards in the game because it gives extra stamina and replaces your combat roll with a slide. A True Cowboy, Poltergeist, and Tonicmaster are also strong utility picks depending on your build. These Cards are valuable because they improve mobility, survivability, or overall consistency.
One of the best combos is High Noon with FAUX: High Noon, since it makes Ocular Prowess much more dangerous. Another strong combo is Silver Wireset with Twenty Meter Radius Steel, which upgrades Steel Wireset into a stronger anti-vampire trap setup. In general, the best combos come from stacking Cards that support the same mechanic.
RELATED: Bridger Western Fishing Guide – How To Fish, Drops & Cooking
Still here? Thanks for reading to the end! Hopefully, now you know everything there is to know about the best cards in Roblox Bridger Western, thanks to our Card Tier List. While you’re here, don’t forget to check out our dedicated Roblox section for more news, guides, walkthroughs, tier lists, and everything else you could possibly think of Roblox-related.