Black Ops Royale is here in Warzone, and deciding where to drop is crucial to deciding the fate of your match, as Avalon is packed with spots that reward drops, clean fights, and quick rotations.
Whether you want instant fights or prefer reliable ground loot more before jumping into combat, here’s a breakdown of the best landing spots for loot, hot drops, and safe starts, so you always know where to point your wingsuit in Avalon.
Table of contents
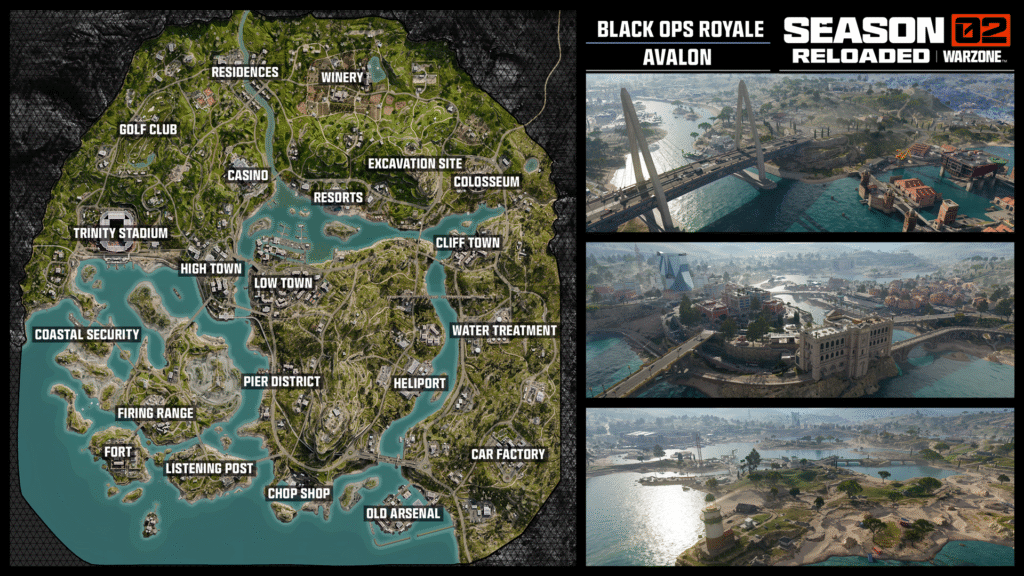
Full Black Ops Royale map and how it works
Black Ops Royale has removed loadouts, Buy Stations, and Gulag, so your landing spot and early looting matter more than ever, as it takes a more traditional approach.
You wingsuit into Avalon with a pistol and basic gear, then everything else, including weapon rarity, perks, streaks, redeploy tools, comes from ground loot.
No loadouts means ground loot and Attachment Kits are your main essentials. Bounties, Strongboxes, and Relays also give directed ways to stack loot and intel instead of passive looting.
Redeploy Tokens and Towers are your safety net, so landing near reliable Activities often beats pure loot density.
Best hot drops on Avalon
These are the places you hit when you want instant action with good loot:
Trinity Stadium
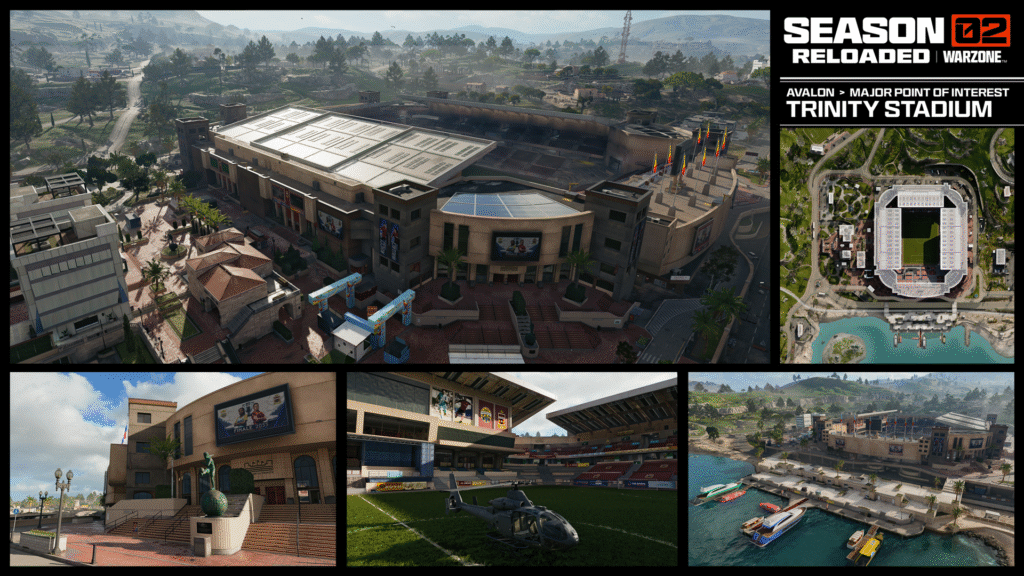
Trinity Stadium is one of Avalon’s main POIs, located on the northwestern side of the map, and a classic hot-drop spot thanks to its interior lanes, upper decks, and proximity to other stacked locations like Marine Villas and Coastal Security.
It has dense loot with multiple vertical layers, and is ideal for skilled squads who want instant gunfights. You can land on the upper levels for early fights, clear the squads floor by floor, then rotate toward Golf Club or Coastal Security, depending on circles.
Low Town
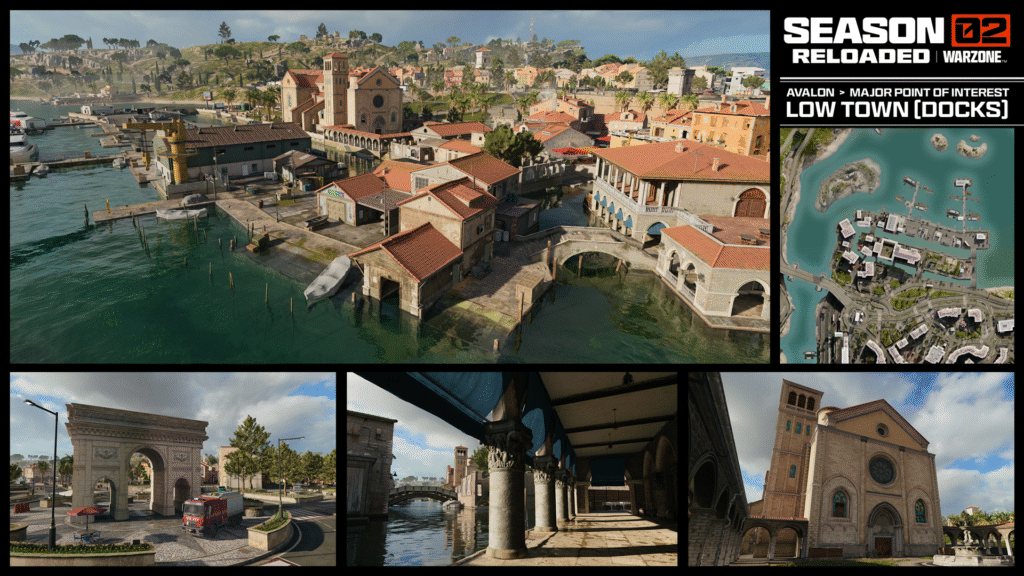
Low Town is built around its Marina and racetrack layout and is one of central Avalon’s main contested drop spots. It offers tight urban fights, rooftop chases, and rapid access to boats for aquatic rotations.
This spot has got lots of angles and direct access to the center island. The central location pulls squads from all directions, so third parties are constant here. The early plan here is to hit rooftops first using Ascenders and Ziplines, grab ranged rifles plus SMGs, then play around the central square and Marina for crossfires.
Colosseum
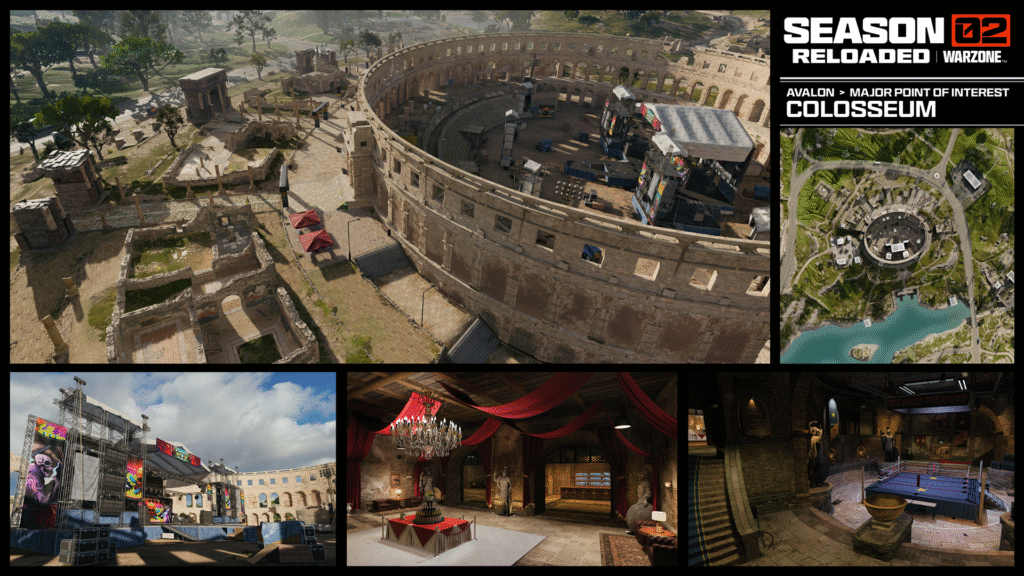
Colosseum, sitting in the northeast corner of Avalon, is a natural crowd magnet thanks to its gladiatorial arena layout and strong loot pools.
It has a mix of long and close-range fights, with flanking tunnels, and high-tier loot scattered across the stands and interior. You’ll seldom get a quiet drop here, so expect multiple squads, especially on hot plane paths.
Land high on the outer structures, secure long-range options, then head into the inner bowl once you’ve tagged enemy teams and forced them into bad positions.
Resorts
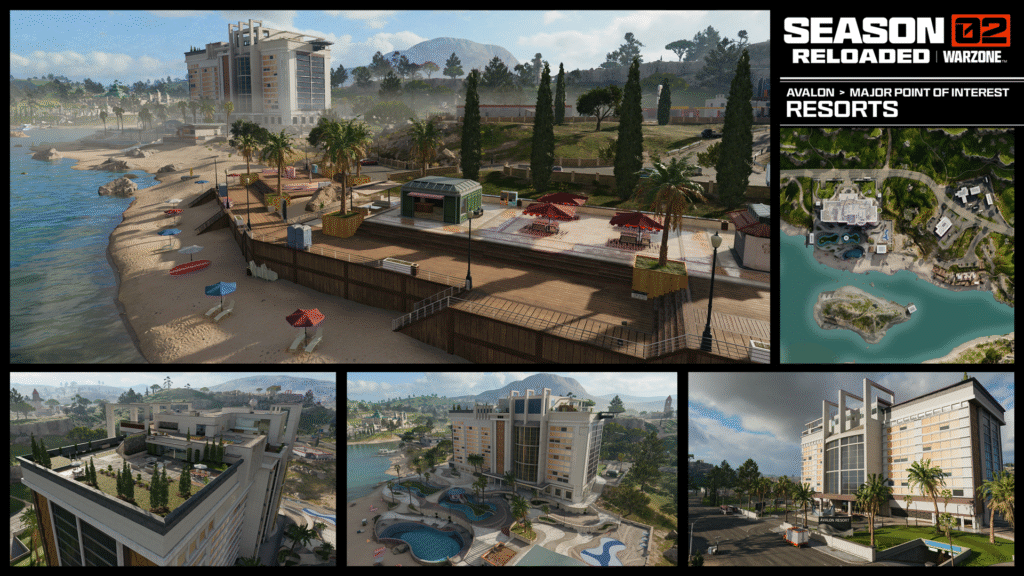
Resorts offers stacked buildings and rooftop routes on the northern side. Its multi-story buildings with solid interior loot, plus direct access to the Winery and the Excavation Site, make it an ideal hotspot, offering close-quarter brawls and stairwell holds, with the option to jump between rooftops using wingsuits and movement tools.
Best high-loot but safer drops
These POIs give strong loot and safer positioning at the same time.
Marine Villas
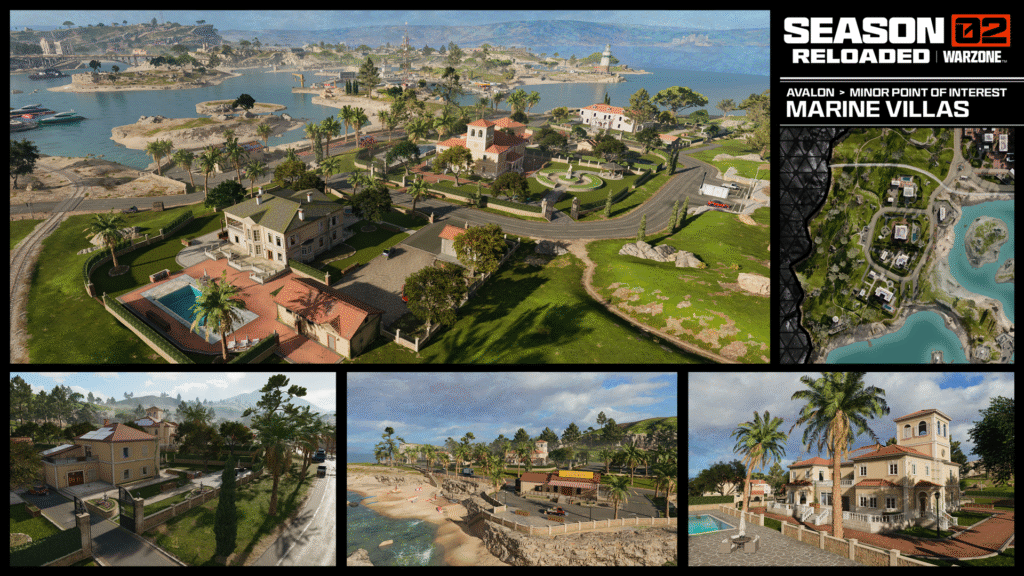
Marine Villas sits on Avalon’s western edge between Trinity Stadium and Coastal Security, with four main villas and multiple smaller buildings.
Every building has good loot with plenty of cover, and is naturally safer because it hugs the map edge. Ideal for squads who want controllable fights and structured rotations into more chaotic POIs.
Lavender Ruins
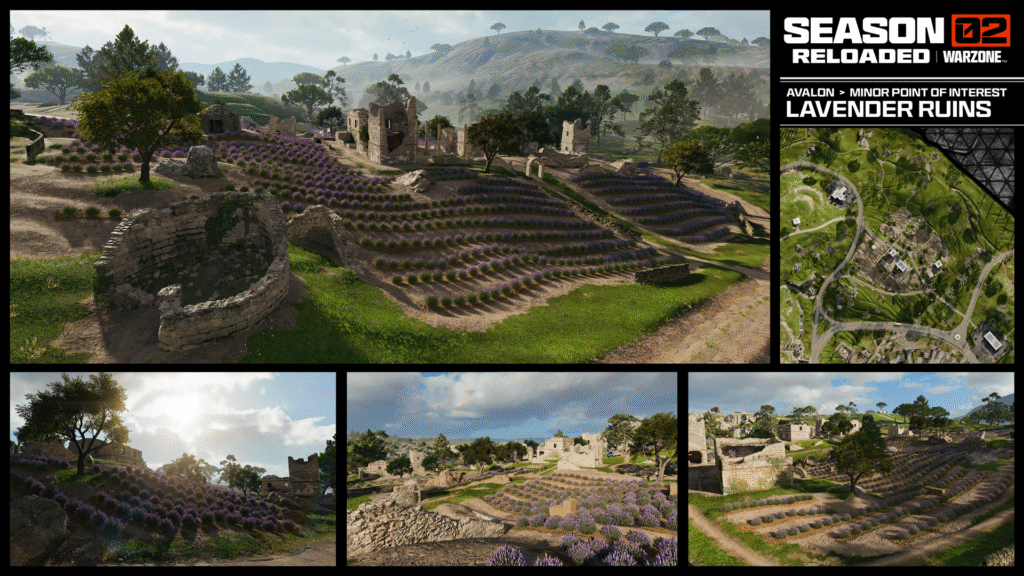
Lavender Ruins sits near heavily contested areas like the Colosseum and Winery, but offers a quieter and more methodical start.
It’s solid for early-game weapons and ammo with decent cover among ruins and structures. The spot lets you gear up before deciding whether to engage in third-party fights at the Colosseum or shift toward the Winery.
Ruins Overlook
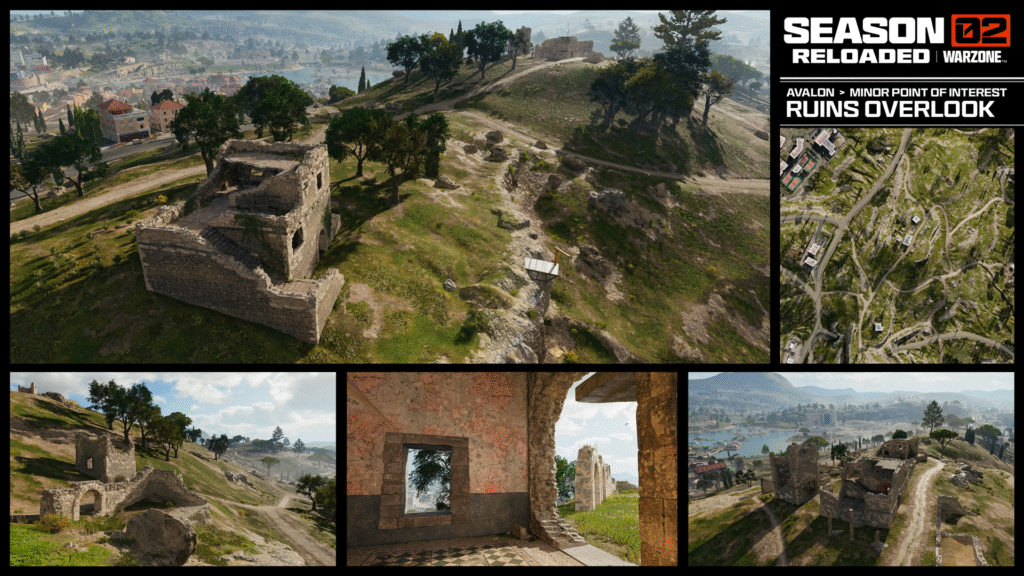
Ruins Overlook sits at a similar elevation to the Communication Tower and offers one of the strongest visual control positions over a large part of Avalon.
It has height advantages for scouting, sniping, and planning rotations, with a smaller loot footprint but reliable enough for a squad that lands uncontested.
Drop there and gear up quickly, then use the vantage to decide whether to drop down on nearby squads or rotate early toward the next circle edge. Ruins Overlook works best for teams that value information and positioning over early kill counts.
Police Station
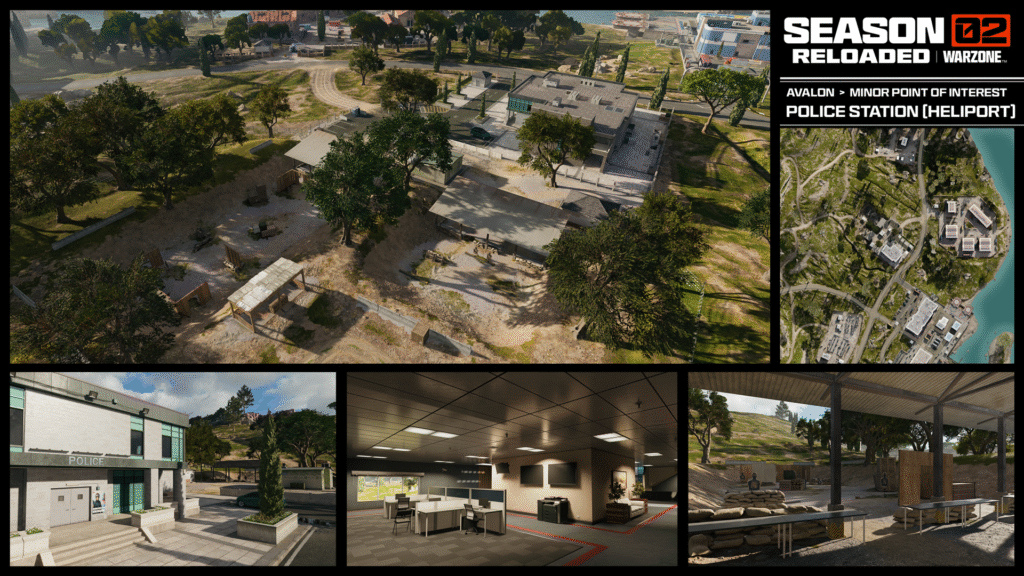
Police Station sits against a mountain, giving you natural cover on one side and a fortified building to work with on the other.
It’s got good loot density, a defensible main building, and strong ambush angles on squads rotating down from the cliffside. The mountain helps block some angles, making it easier to understand where pushes will come from.
Edge drops and rotation-friendly POIs
Some spots shine not because they’re the busiest, but because they give you clean rotation paths, map control, and flexibility.
Coastal Security
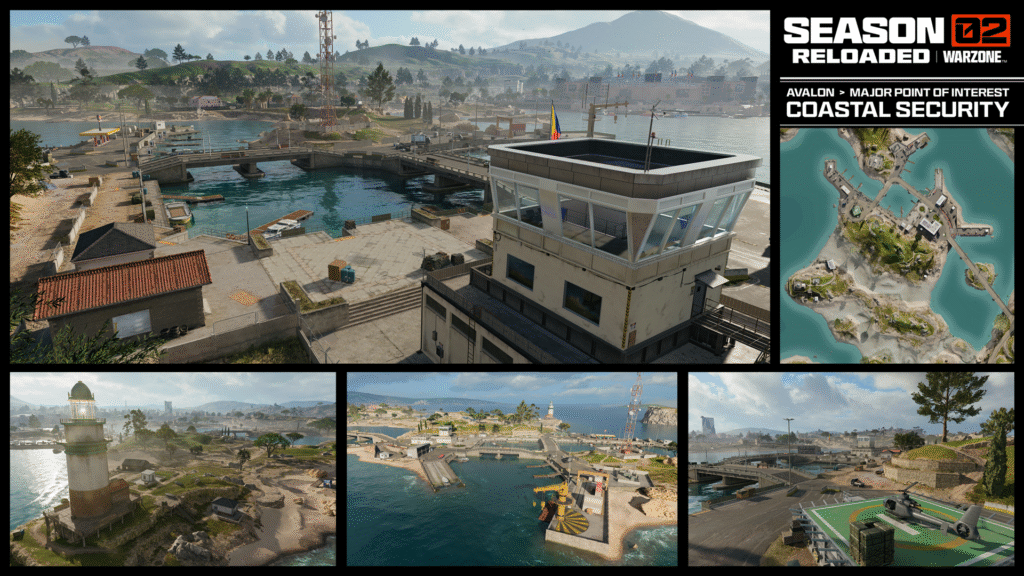
Coastal Security, on Avalon’s coast near Trinity Stadium and Marine Villas, balances accessible loot with strong rotation bridges across the river.
It’s good for early weapons, straightforward building layouts, and water or road access for vehicles and rotations. Squads that like mid-tempo games can come here to stay engaged, but there won’t be nonstop gunfights.
Pier District and Heliport
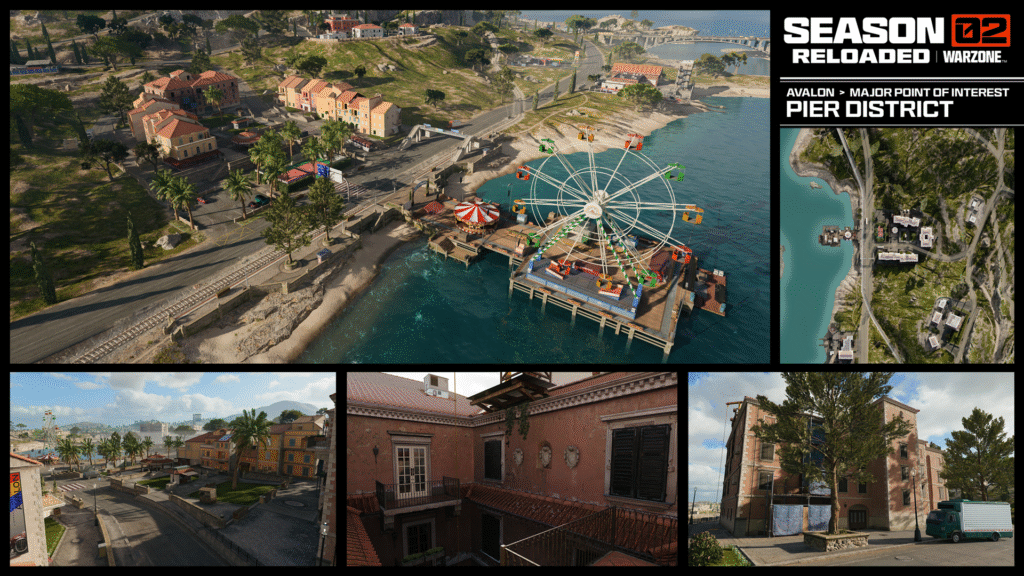
The Pier District and nearby Heliport in South Central Avalon blend loot, verticality, and fast mobility.
They have a solid mix of indoor and outdoor loot, plus good cover around docks and structures. Boats and potential helicopter spawns give you rapid repositioning around the map.
Loot the Pier first, secure a vehicle or air asset from Heliport, then rotate toward Low Town or further inland, depending on the first Collapse.
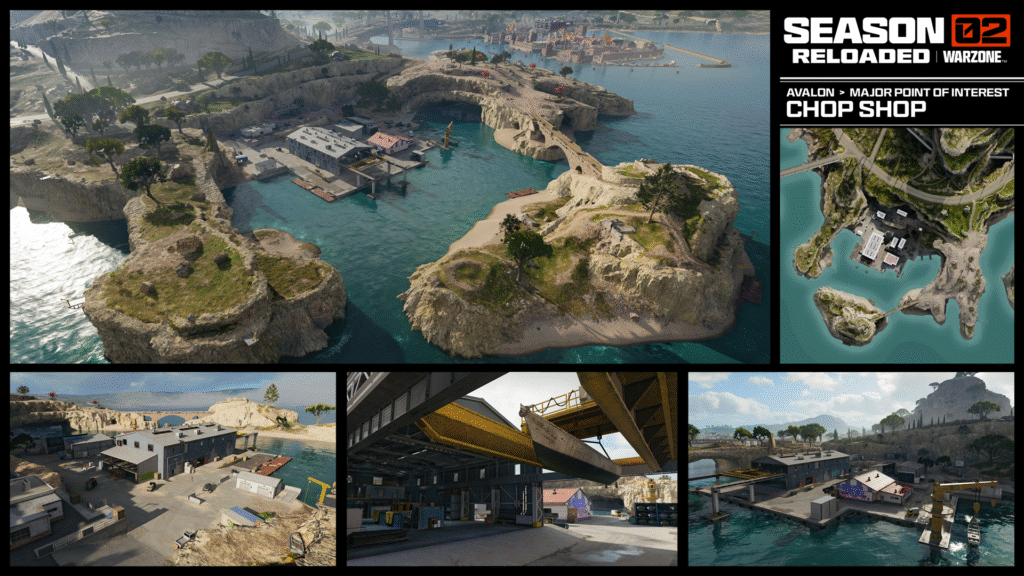
Car Factory and Chop Shop
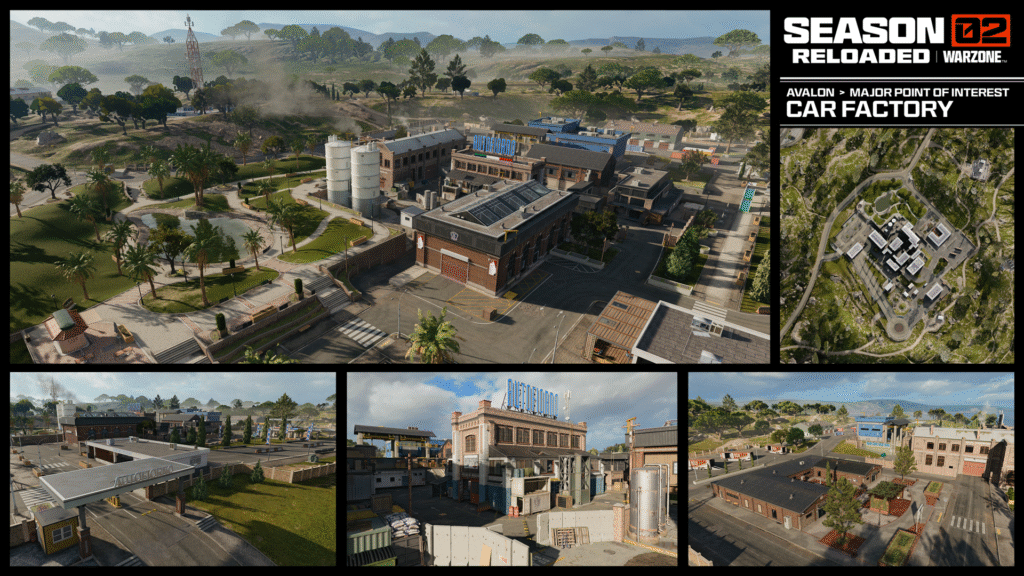
On the industrial side, Car Factory and Chop Shop offer solid loot and plenty of hard cover, especially for squads that like playing around vehicles.
They work because of spread-out buildings, lots of lines of sight, and natural cover from structures and wrecks. They’re great for tactical players who prefer clearing sectors instead of diving into a single building.
Land at the more isolated building cluster, work inward, then rotate toward higher-value POIs once your squad is fully equipped.
Landing tips for Avalon
Regardless of where you drop, a few habits will consistently boost your Black Ops Royale results on Avalon.
Commit early by pinging your landing well before the ramp drops so everyone angles correctly with their wingsuit. Land on guns, not chests, so prioritize visible ground weapons over racing another squad to a single supply box.
If your drop has easy access to bounties, Strongboxes, or Relays, use them early to stabilize your economy and respawn safety. Rotate with intent and don’t just chase shots. Move toward power positions, such as forts, rooftops, and ridges that will still be useful two circles from now.
As Avalon develops and the meta shifts, keep experimenting with new landing combos until you find a pattern that matches your squad’s strengths.