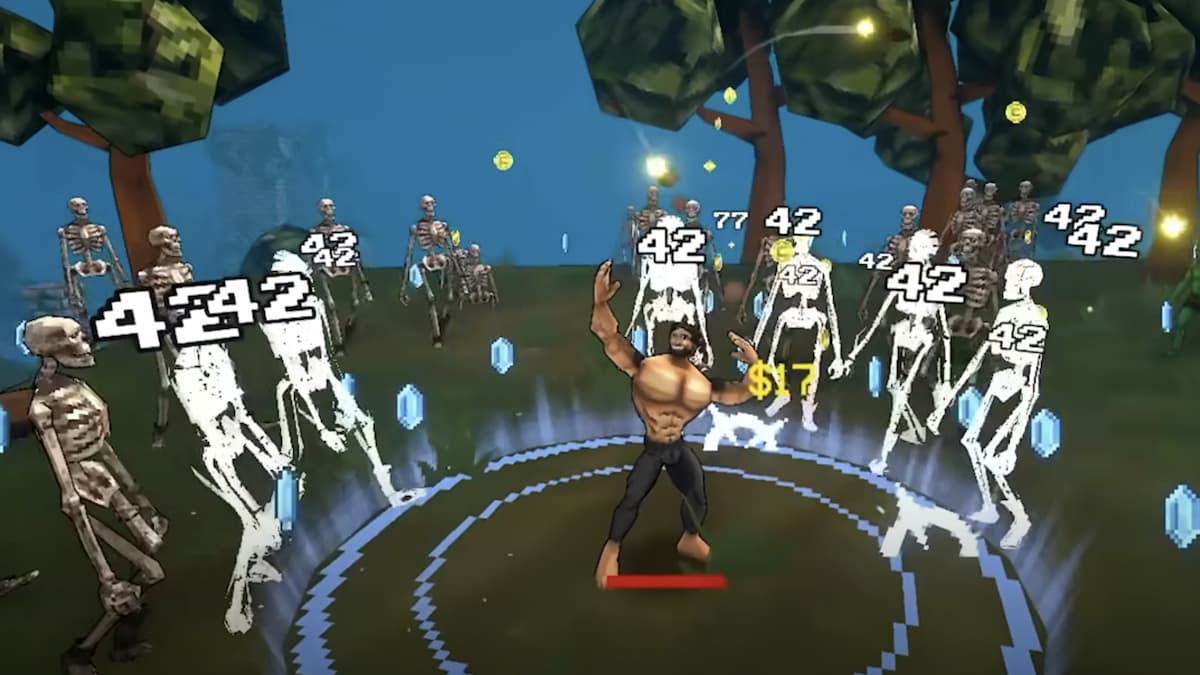
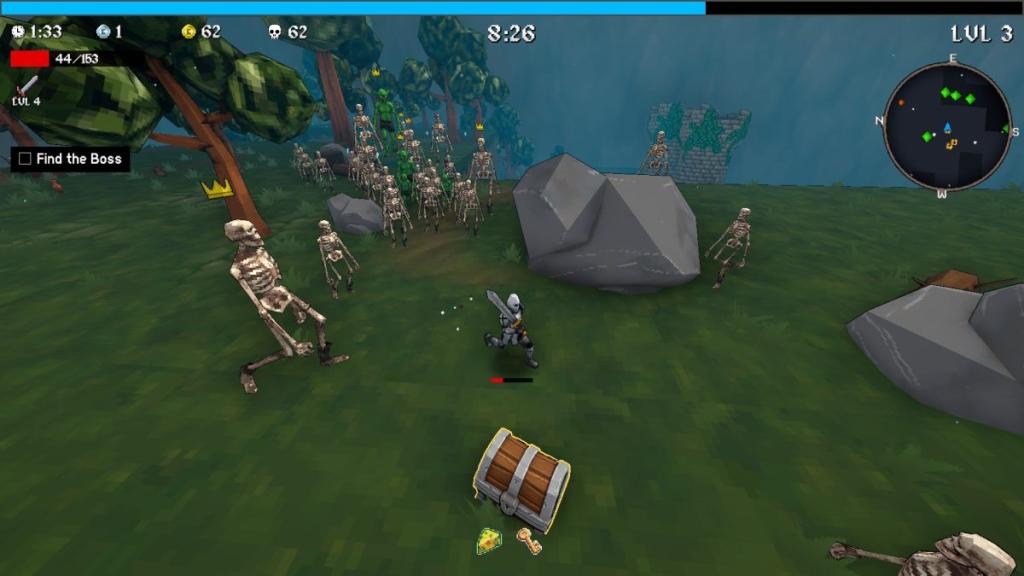
The Vampire Survivors and Risk of Rain hybrid Megabonk has a ton of characters and items you can use and find to survive the never-ending onslaught. But much like those two games, things have a tendency to get OP really fast.
Coming by most super-powerful items in the game is quite easy, much easier than in, say, Risk of Rain 2, where RNG can really break a run before it's even started. In Megabonk, on the other hand, I've crafted five quick and easy-to-get builds that should get you through most of the game, if it doesn't crash from all the effects covering your entire screen.
Table of contents
The best Megabonk builds
SWORD (Sir Oofie)
This is by far the simplest of all the builds on this list, but is nevertheless powerful enough to clear any given zone under the right circumstances. Keep in mind, things will depend a bit on RNG, but attaining these items should secure your run's prospects super early.
| Type | Best Choices | Good Choices |
|---|---|---|
| Weapons | Sword (primary) Aegis Chunkers Aura |
Aegis Lightning Staff Bone |
| Tomes | Size Quantity Agility Attack Speed |
Projectile Speed XP Luck |
| Items | Demonic Soul Power Gloves Mirror Beefy Ring |
Gym Sauce Clover |
This build, as the name implies, heavily relies on your Sword, which is why we've chosen Sir Oofie for it. He starts with the Sword and can start leveling it immediately. Focus on gaining more and more projectiles for the sword (and the other weapons), while increasing the knockback, size, and damage it does. After several upgrades, you should have so many sword swipes covering such a large area that standing and doing nothing will become a viable strategy.
If you wish to achieve the latter as fast as possible, try to find the Idle Juice, which can double your damage so long as you're standing still. Shield Tome can also come in handy instead of Quantity or Size Tomes (or alongside them, if you have extra Tome space), enabling you to just stand and watch everything around you die. Even if they do get close, they'll be reflected by Aegis, Chunkers, and Mirror, making you nigh-immortal.
Bullet Hell (CL4NK)
This build prioritizes projectile quantity and bounces, with a single shot cleaving through several enemies with ease. It does require a lot of damage, meaning you'll have to pursue charge-up shrines and pray you get damage boosts. Even if you don't get too many damage upgrades, the sheer number of bullets will make quick work of most enemy groups, but you could face trouble against single targets like bosses.
| Type | Best Choices | Good Choices |
|---|---|---|
| Weapons | Revolver (primary) Bone Bananarang Bow |
Aura Lightning Staff |
| Tomes | Quantity Projectile Speed Damage |
Size XP Luck |
| Items | Battery Gym Sauce Demonic Soul beer |
Backpack Tactical Glasses Boss Buster |
With this build, the majority of the screen will be covered in projectiles of all kinds, turning your game into pure chaos. Most enemies should die instantly, and with so many projectiles running around, piercing and bouncing and hitting multiple enemies at once, you should have very few opponents walking toward you at any given time.
The items I've recommended all increase your damage, which should be a number one priority aside from attack speed and projectile count, as it'll help you with boss fights where single enemies can have millions of HP. Crit chance and critical damage increases also help a ton, so you should pay attention to grabbing those if possible.
One Lucky Fox (Fox)

This build is highly unconventional, as it relies on the innate ability of Fox. He gains Luck with each level, which can be further increased via passive upgrades. This build, therefore, is based on Luck and only on Luck, and can be significantly altered with RNG.
| Type | Best Choices | Good Choices |
|---|---|---|
| Weapons | Fire Staff (primary) Lightning Staff Aura Frostwalker |
Bone Chunkers Bananarang |
| Tomes | Projectile Speed Quantity Luck Size |
Damage XP Cooldown |
| Items | Giant Fork Overpowered Lamp Clover |
Bing Bonk Gym Saunce Forbidden Juice |
The items you will need are the Clover and Luck Tome. The latter can be a bit harder to come by, as it's based on... luck and drop rates. Anyhow, prioritize leveling up as much as possible at first, only boosting Fox's starting weapon and maybe adding the Lightning Staff as well. Those two should serve you well, while I do recommend getting Crit Chance if you happen to see it.
Once you've leveled up a lot, you can start visiting Shrines and Vendors, where the increased Luck stat will substantially improve. Every chest should have a hugely improved chance to drop something super powerful. Giant Fork is one example, giving Critical Strikes a chance to Critically Strike and become Megacrits (good if you went down that route). Overpowered Lamp is another, making on-hit effects proc twice. Big Bonk gives a chance for a x20 multiplier on attacks, and so on.
While these items can drop on their own, Fox has the greatest odds of getting them in the game, gaining Luck passively as well as through charge-up Shrines and items. With these rare items, you'll have literally no way of losing, especially if you get multiple and have a lot of attack speed and projectiles to roll them constantly.
Ultimate AFK bonking (Megachad/Sir Oofie)

The essence of any good roguelite is getting so strong that you don't have to do anything and still win. While some builds above will help you achieve that, we can make it even more busted, to the point of allowing you to clear the AFK Challenge in the game.
| Type | Best Choices | Good Choices |
|---|---|---|
| Weapons | Sword (primary)/Aura (primary) Aegis Bone |
Lightning Staff Axe |
| Tomes | Size Quantity Agility Attack Speed |
Cooldown Projectile Speed |
| Items | Gym Sauce Campfire Idle Juice Demonic Soul |
Power Gloves Thunder Mitts Beer |
With these four weapons, buffed by a Quantity Tome, you'll have so many projectiles around you it's not even funny. Nothing will be able to even come close to you, let alone do damage, and you should be able to wreck just about any enemy in no time. The second Tome (or third, if you've got space) will buff your size further, making the projectiles cover an incredible area, further keeping enemies away. Battery can substitute the Cooldown Tome, but only go for it if nothing else drops.
Alternatively, you can opt for the Damage Tome to ensure enemies die quickly enough, though the sheer number of projectiles will make short work of most.
On the other hand, items like Idle Juice are tailor-made for an AFK run and, combined with Demonic Soul, can amplify your damage by 200 percent total, which is a stacking bonus only growing in power as your weapons are leveled up.
Can't touch this (Calcium)

But how about a build that's so fast it makes you functionally invulnerable? And what's more, how about a character whose damage output scales with speed? Yeah, this build is an amazing one, and I can't think of anything more fun or easier than it.
| Type | Best Choices | Good Choices |
|---|---|---|
| Weapons | Bone Bananarang Flamewalker Frostwalkjer |
Lightning Staff Fire staff Revolver |
| Tomes | Size Quantity Agility Projectile Speed |
XP Luck |
| Items | Coward's Cloak Turbo Socks Phantom Shroud Slippery Ring |
Turbo Skates Forbidden Juice |
Calcium is a speed demon in Megabonk, with his passive ability literally called Speed Demon. It grants him bonus movement speed so long as he doesn't take damage, and if he does, it's reduced by half. Additionally, the passive scales Calcium's damage with movement speed, meaning the faster you go, the stronger you get. This is why you'd want all the movement speed buffs possible, no matter what they are, as well as tons of evasion, given that taking damage slows you down significantly.
Bone and Bananarang will ensure you dish out tons of damage, but be mindful of their projectile speeds. If you have two Tome slots, I suggest taking Quantity alongside Agility, but if you can fit three in, I advise taking the Projectile Speed Tome as well.
At any rate, this build will make you zoom across the stage like there's no tomorrow, dishing out some incredible damage along the way. Buffing your jumps with items can also be beneficial but deadly, given that your speed will cause some pretty unbelievable acrobatics.
Character Builds
On top of the above highlights, we also have some character-specific builds you can check out here!
- Fox Build
- Sir Oofie Build
- Calcium Build
- Megachad Build
- Ogre Build
- CL4NK Build
- Athena Build
- Robinette Build
- Monke Build
- Tony McZoom Build
- Bush Build
- Birdo Build
- Noelle Build
- Amog Build
- Spaceman Build
- Bandit Build
- Ninja Build
- Vlad Build
- Sir Chadwell Build
- Dicehead Build
Like our content? Set Destructoid as a Preferred Source on Google in just one step to ensure you see us more frequently in your Google searches!
The post Best builds in Megabonk appeared first on Destructoid.