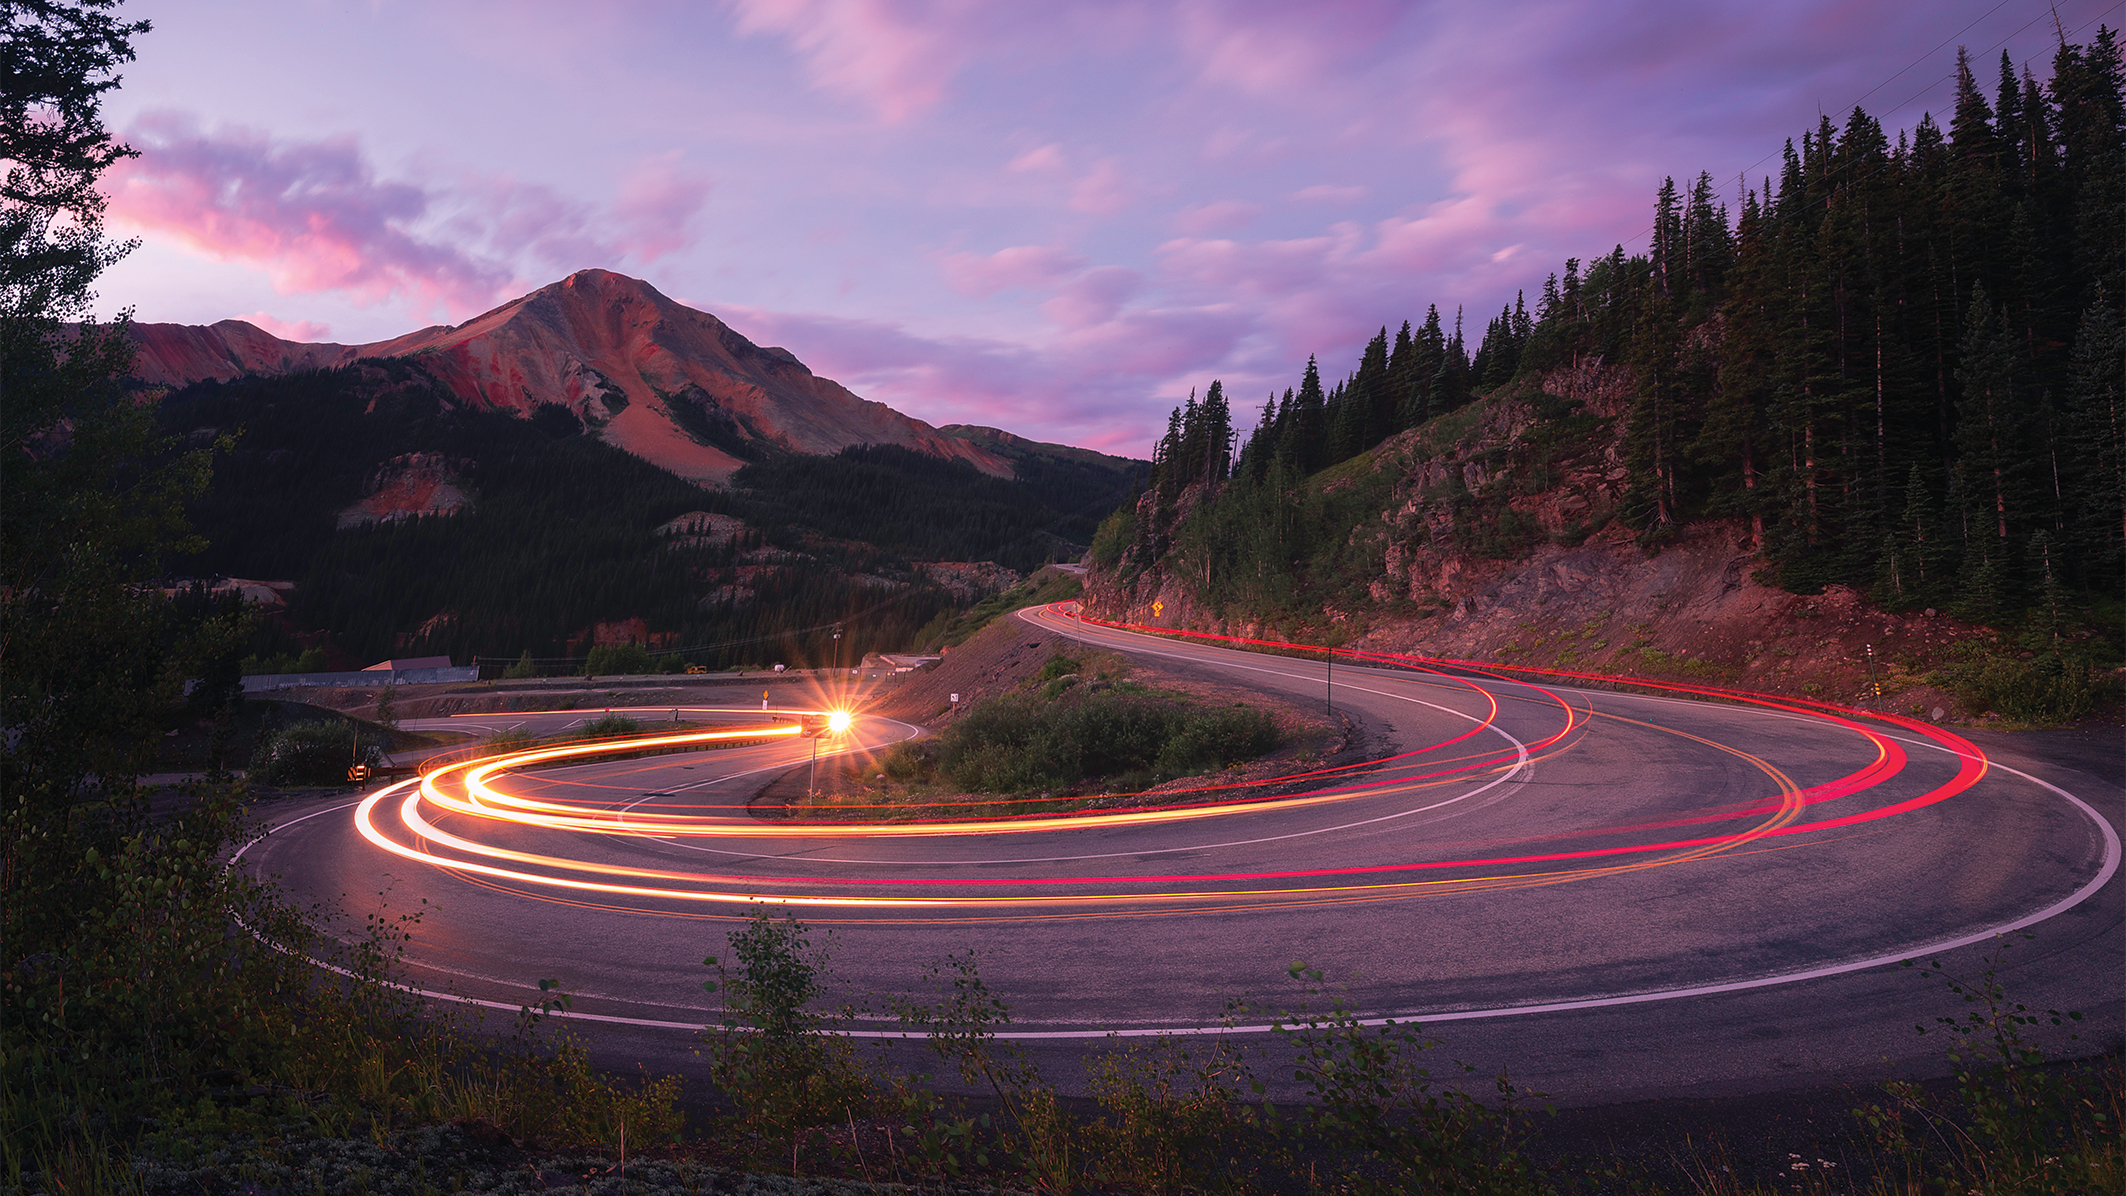
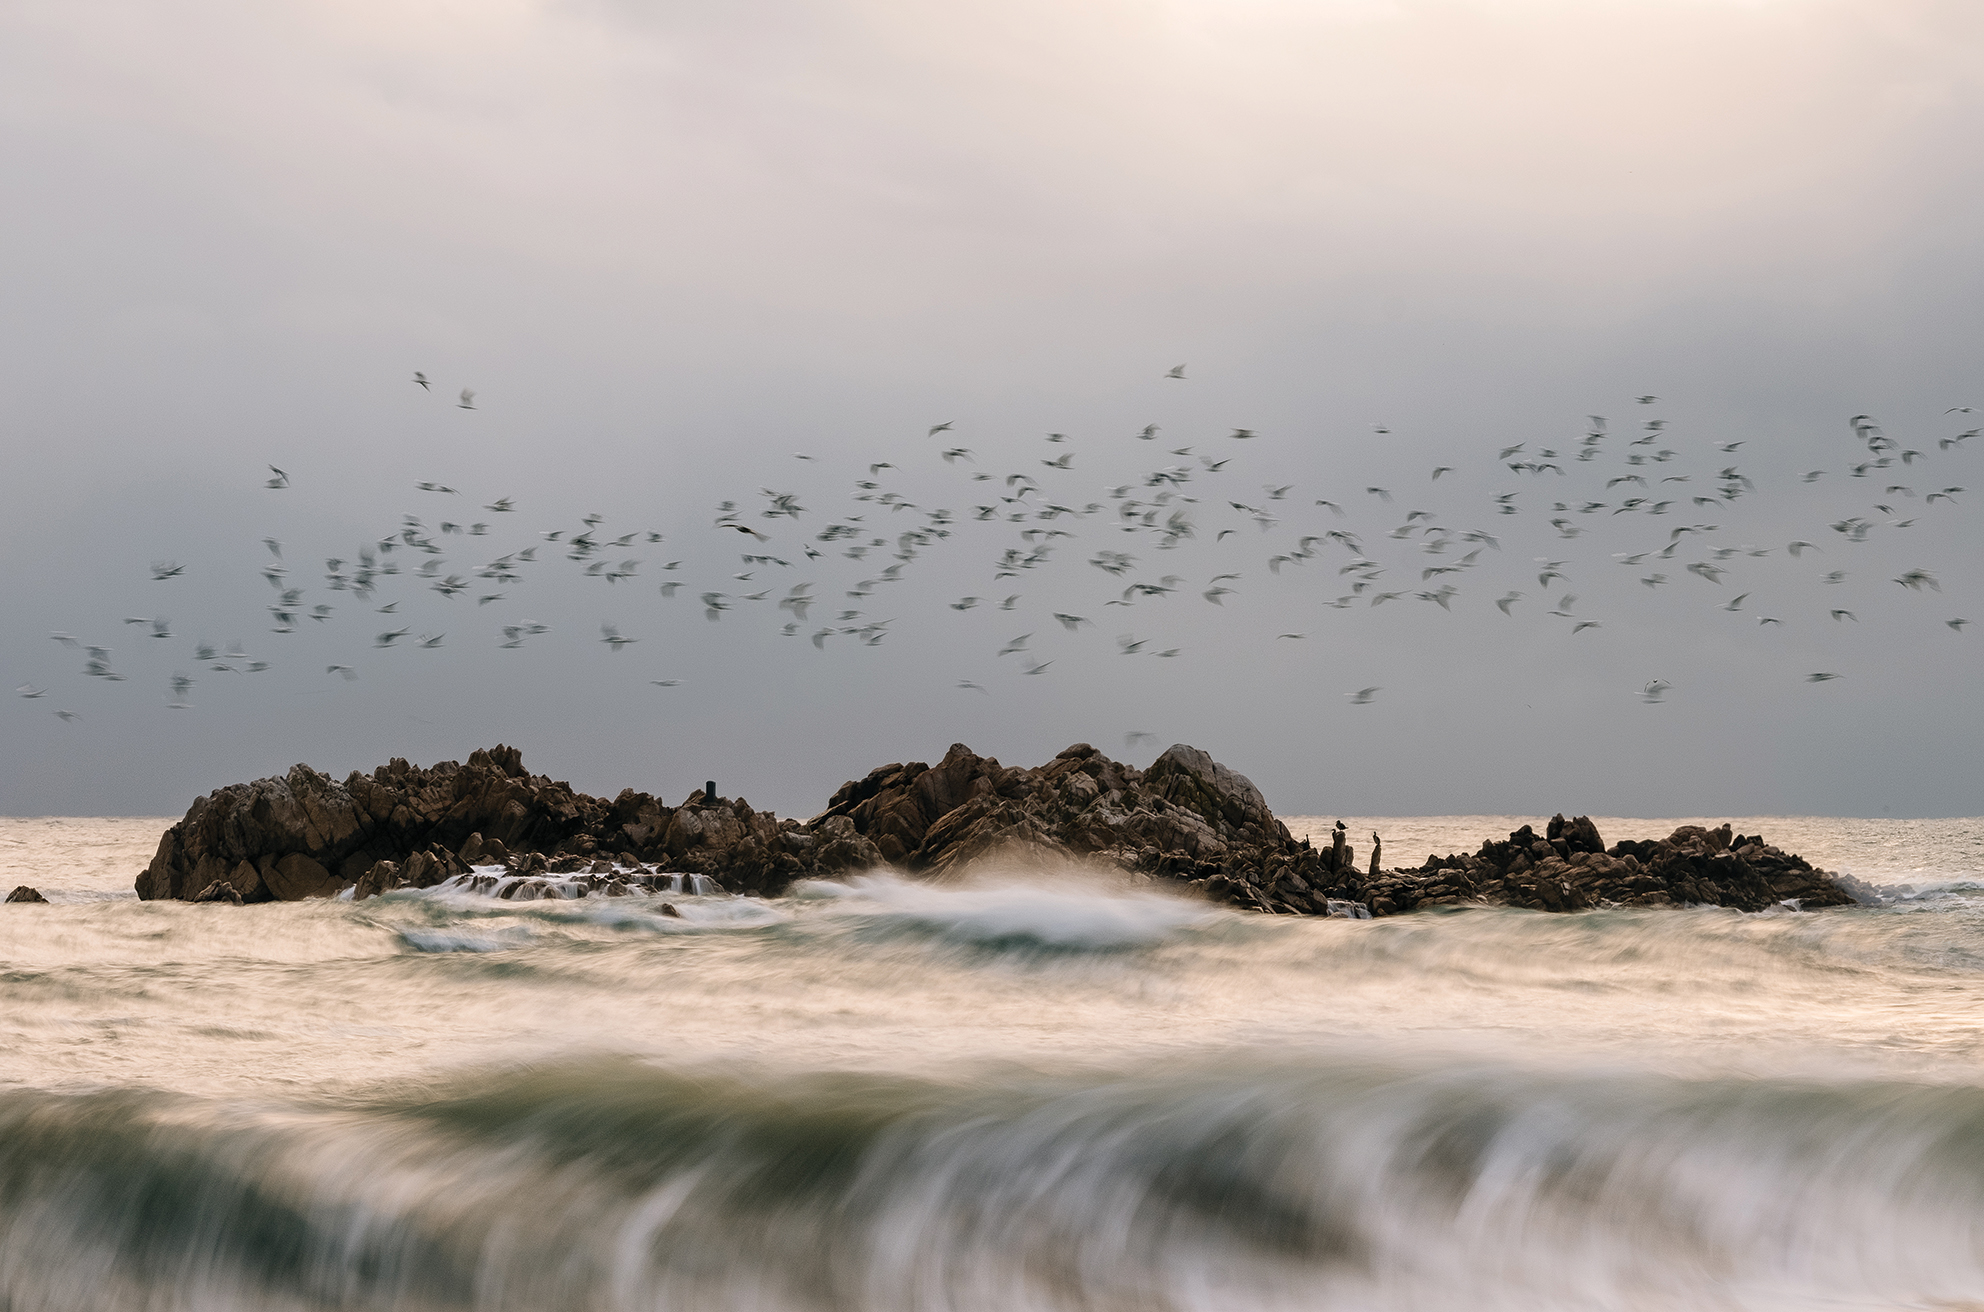
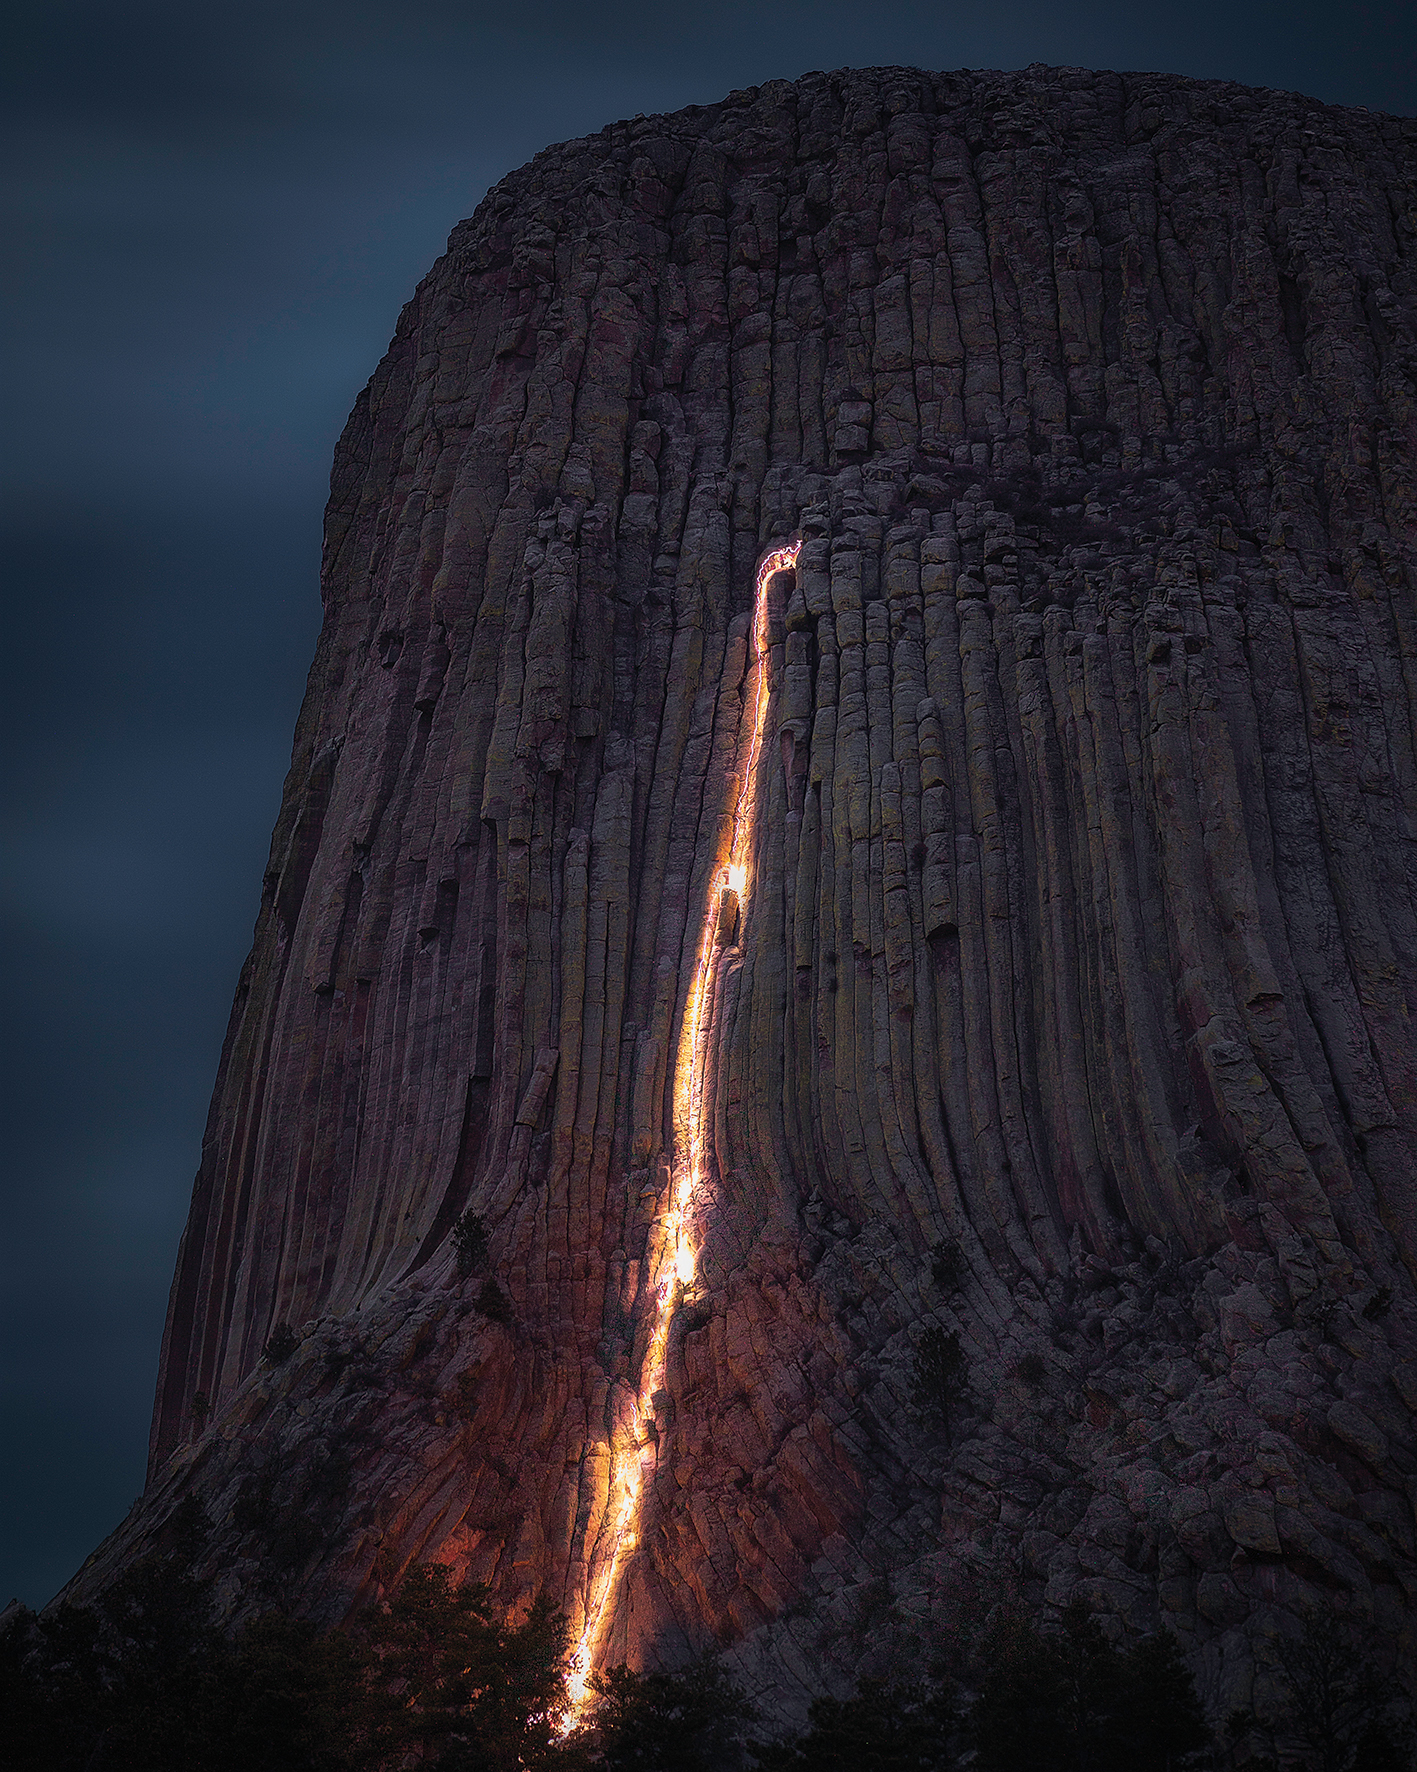
One of the greatest magic tricks in photography is long exposure photography, producing images that freeze a moment yet still capture movement and dynamism.
However, even the best mirrorless camera technology cannot produce these images alone; the photographer must have the right knowledge, equipment and, hopefully, a trick or two up their sleeves.
You can see any number of long exposure shots of familiar subjects on social media, and it can be difficult to think outside the box. So, I'll show you how to detach yourself from familiar situations and take a unique approach that will enable your shots to stand out from the crowd.
Get ready
Prepare for long exposure
To maximize the quality of your long-exposure images, it is essential to know how to use your equipment like a pro. Modern camera technology is highly capable, but don’t rely on it alone – a camera is only the base, and there are many other things to consider.
In this genre of photography, it can be disappointing to wait 30 seconds or more only to realize that you have set the technical parameters incorrectly. Exposure time, aperture, sharpness, image noise and composition are the key factors that will determine the quality of a long exposure shot. Slow shutter speeds are mainly used for outdoor shots, but be aware of the challenges as you cannot control the environment.
Pack your kit

Wide-angle lens
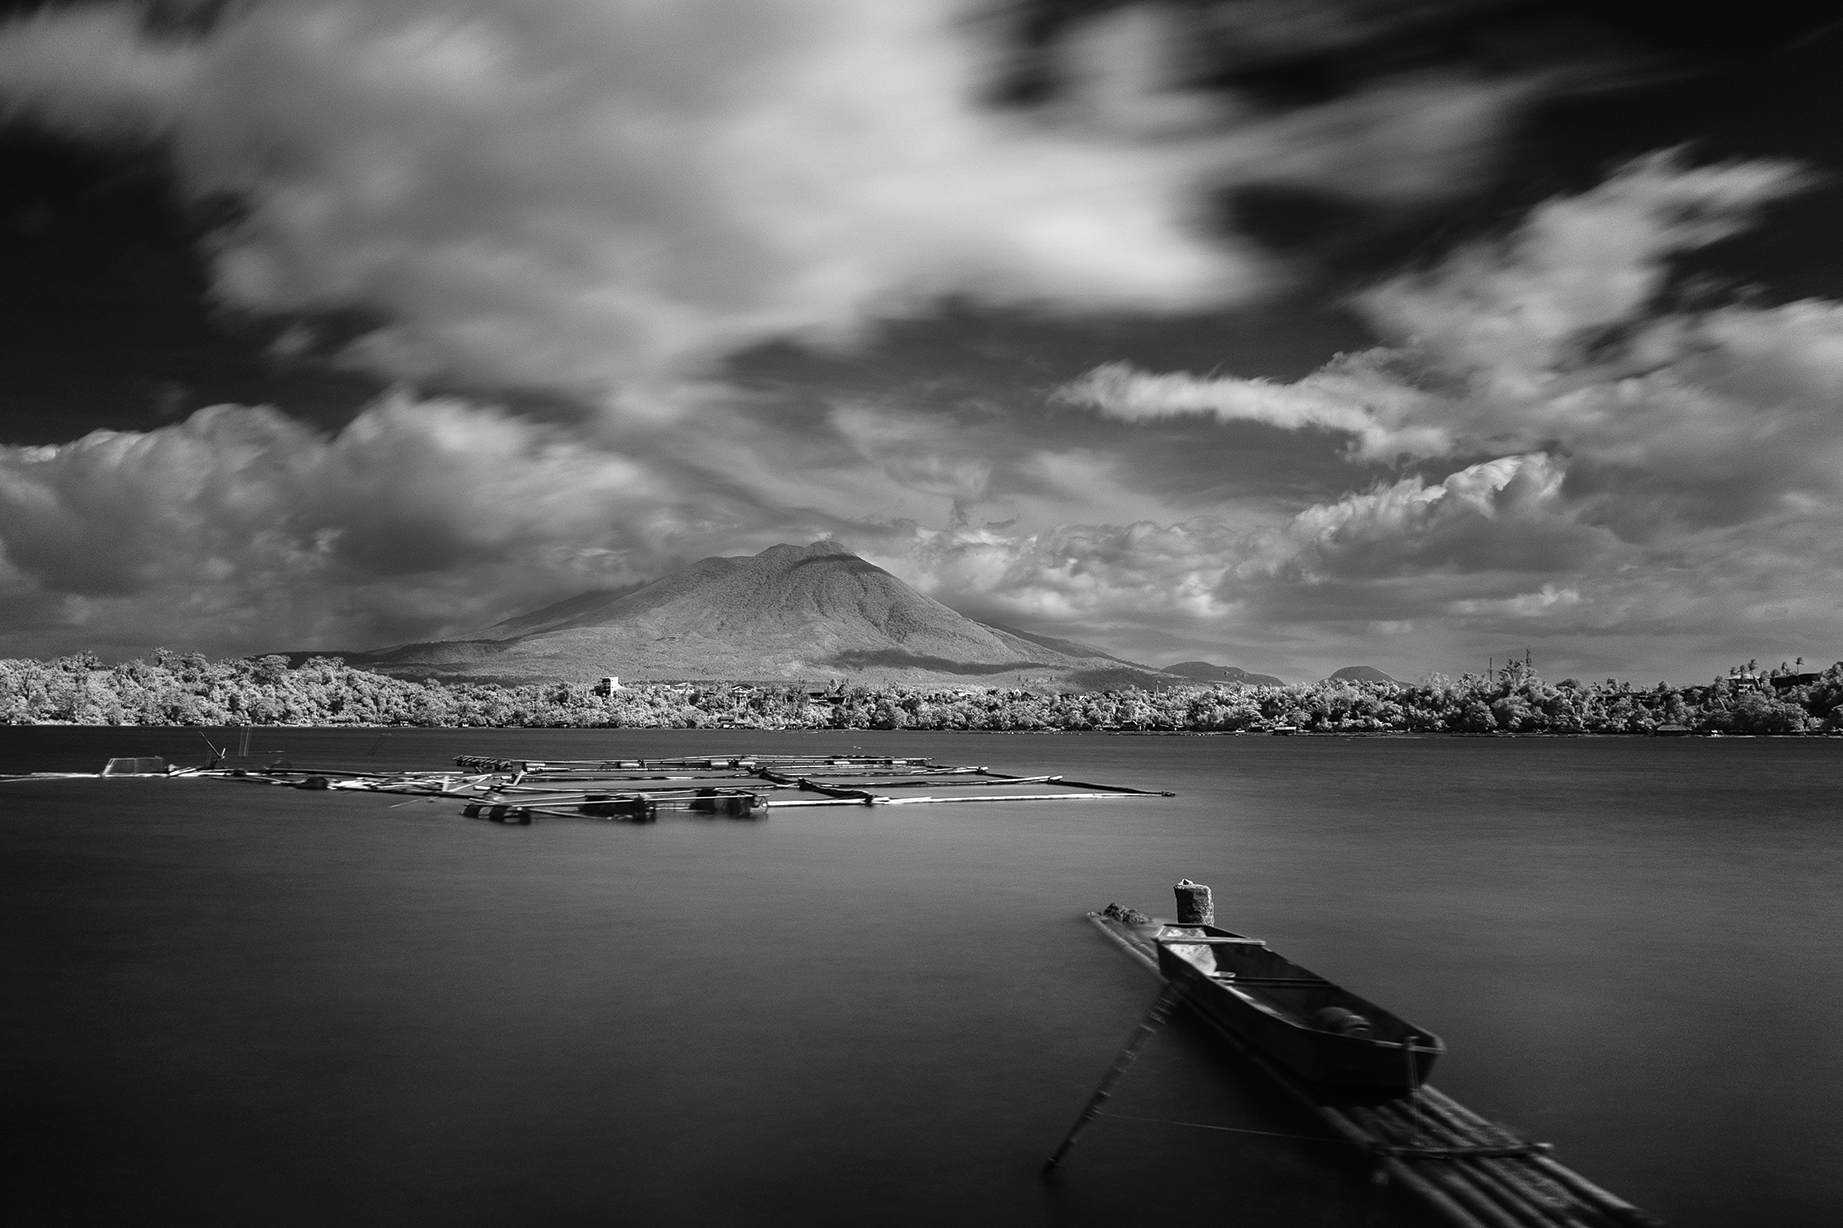
Working with a wide-angle lens possessing a focal length of 35mm or wider is ideal for long-exposure landscape shots, as a greater expanse of the scene can be captured and more elements included in the composition.
Heavy-duty tripod
A carbon fiber tripod will prevent camera shake. You may also need to carry an extra weight, such as a sandbag, in your kitbag to ensure that the tripod remains stable even in strong winds.
Remote release
Avoid jeopardizing the exposure with even slight movements of the camera. Use a remote control cable, shoot wirelessly via an app, or use the self-timer function of the camera.
When using exposure times of 30 seconds or longer, do not leave the viewfinder of your DSLR open. Otherwise, even small light sources outside the composition will create unwanted effects. Most cameras already come with a viewfinder cover, or have an option to automatically close it. If not, use any other material to prevent extraneous light from entering.
Neutral Density Filter
Use ND filters with up to ten stops to take control of the lighting conditions. This enables you to increase the shutter speed even in bright light, without the risk of overexposure.
Polarizing Filter
If shooting directly against the sun, using polarizing filters will remove unwanted glare. The filter’s tint will improve the overall appearance of your subject in terms of contrast and saturation.
Black card
If your scene contains elements of different brightness, card can be used to cover certain parts of the lens while the photo is exposed.
Filter holder systems
Consider the types of filter holder systems
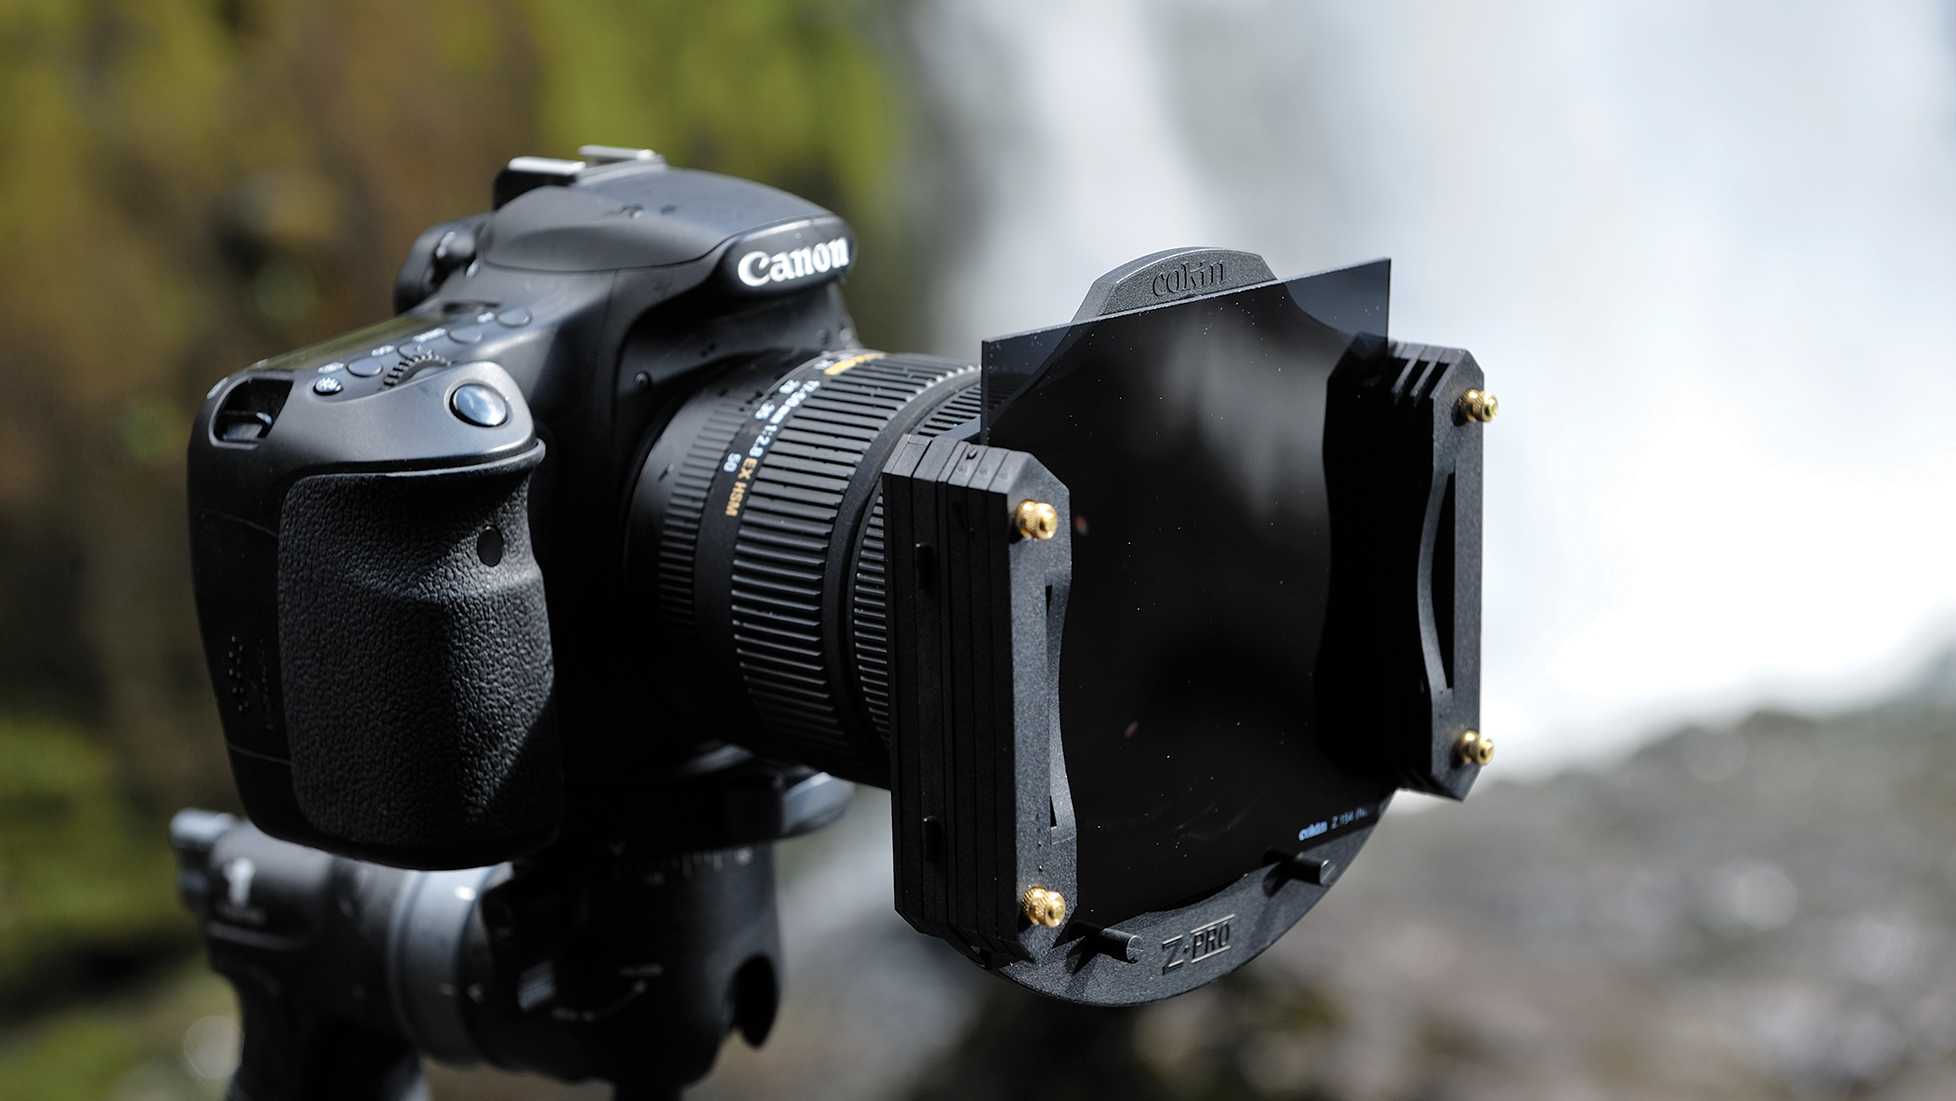
When integrating filters into your workflow, it is advisable to invest in square filter holders right from the start. They are more expensive, but offer better value for money and more advantages. Especially if you are working with different lenses, square filters are versatile and easy to mount without the risk of accidentally shifting the focus.
To avoid vignette effects, pay attention to your filter slots and remove any that aren’t necessary. If working with wider lenses and smaller filters, do not use step-down rings as these also lead to hard vignetting.
Control exposure
How to control exposure settings
One of the major challenges that low-light photography presents is how to calculate the correct exposure time. There are plenty of apps and websites that can automatically calculate the time based on your aperture, ISO and any filters.
Spot metering or experimentation are other options, but finding the appropriate exposure settings can take a while – especially when you try out exposures over minutes, and therefore have to wait a long time until the shot is recorded!
The ND filter offers the possibility to extend the shutter speed and improve images in situations where only two stops more will make the difference. ND filters usually come with an exposure table that facilitates easy adjustment of exposure settings.
A simple way to save time is to work backwards, using shorter exposures and higher ISO settings first. After a few test shots, you may be able to determine the optimal settings – and now the ISO value can be minimized in a few steps. Decrease the ISO setting by a stop and simply double the exposure time; do this until the value is 500 or less.
By setting a minimum ISO value and a medium aperture of f/8, you enable a longer exposure time and create a decent depth of field. The shutter speed can vary greatly but, in general, you can say that at least five seconds is required in most situations. When it comes to capturing slow-moving clouds or car trails, that could be as much as 120 seconds.
Use noise reduction
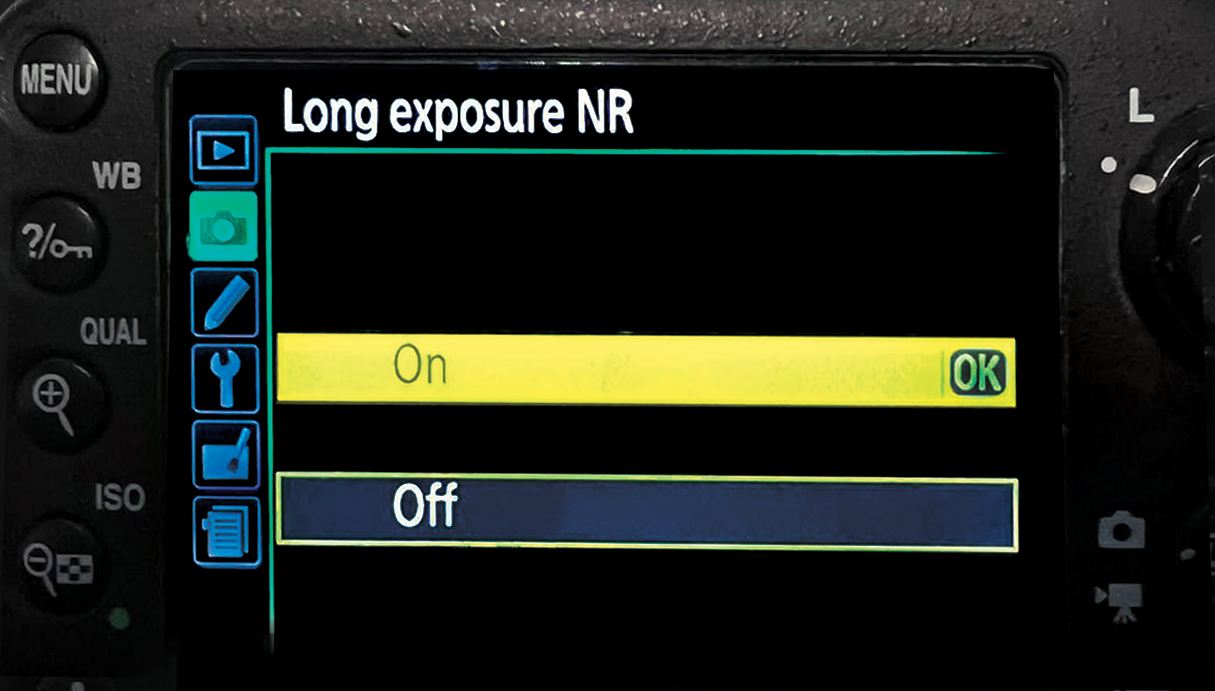
Many cameras have a noise reduction feature for capturing long exposures in low light, where unwanted hot pixels are automatically removed from the final image. The camera automatically records another photo after the exposure, and will therefore need twice the exposure time.
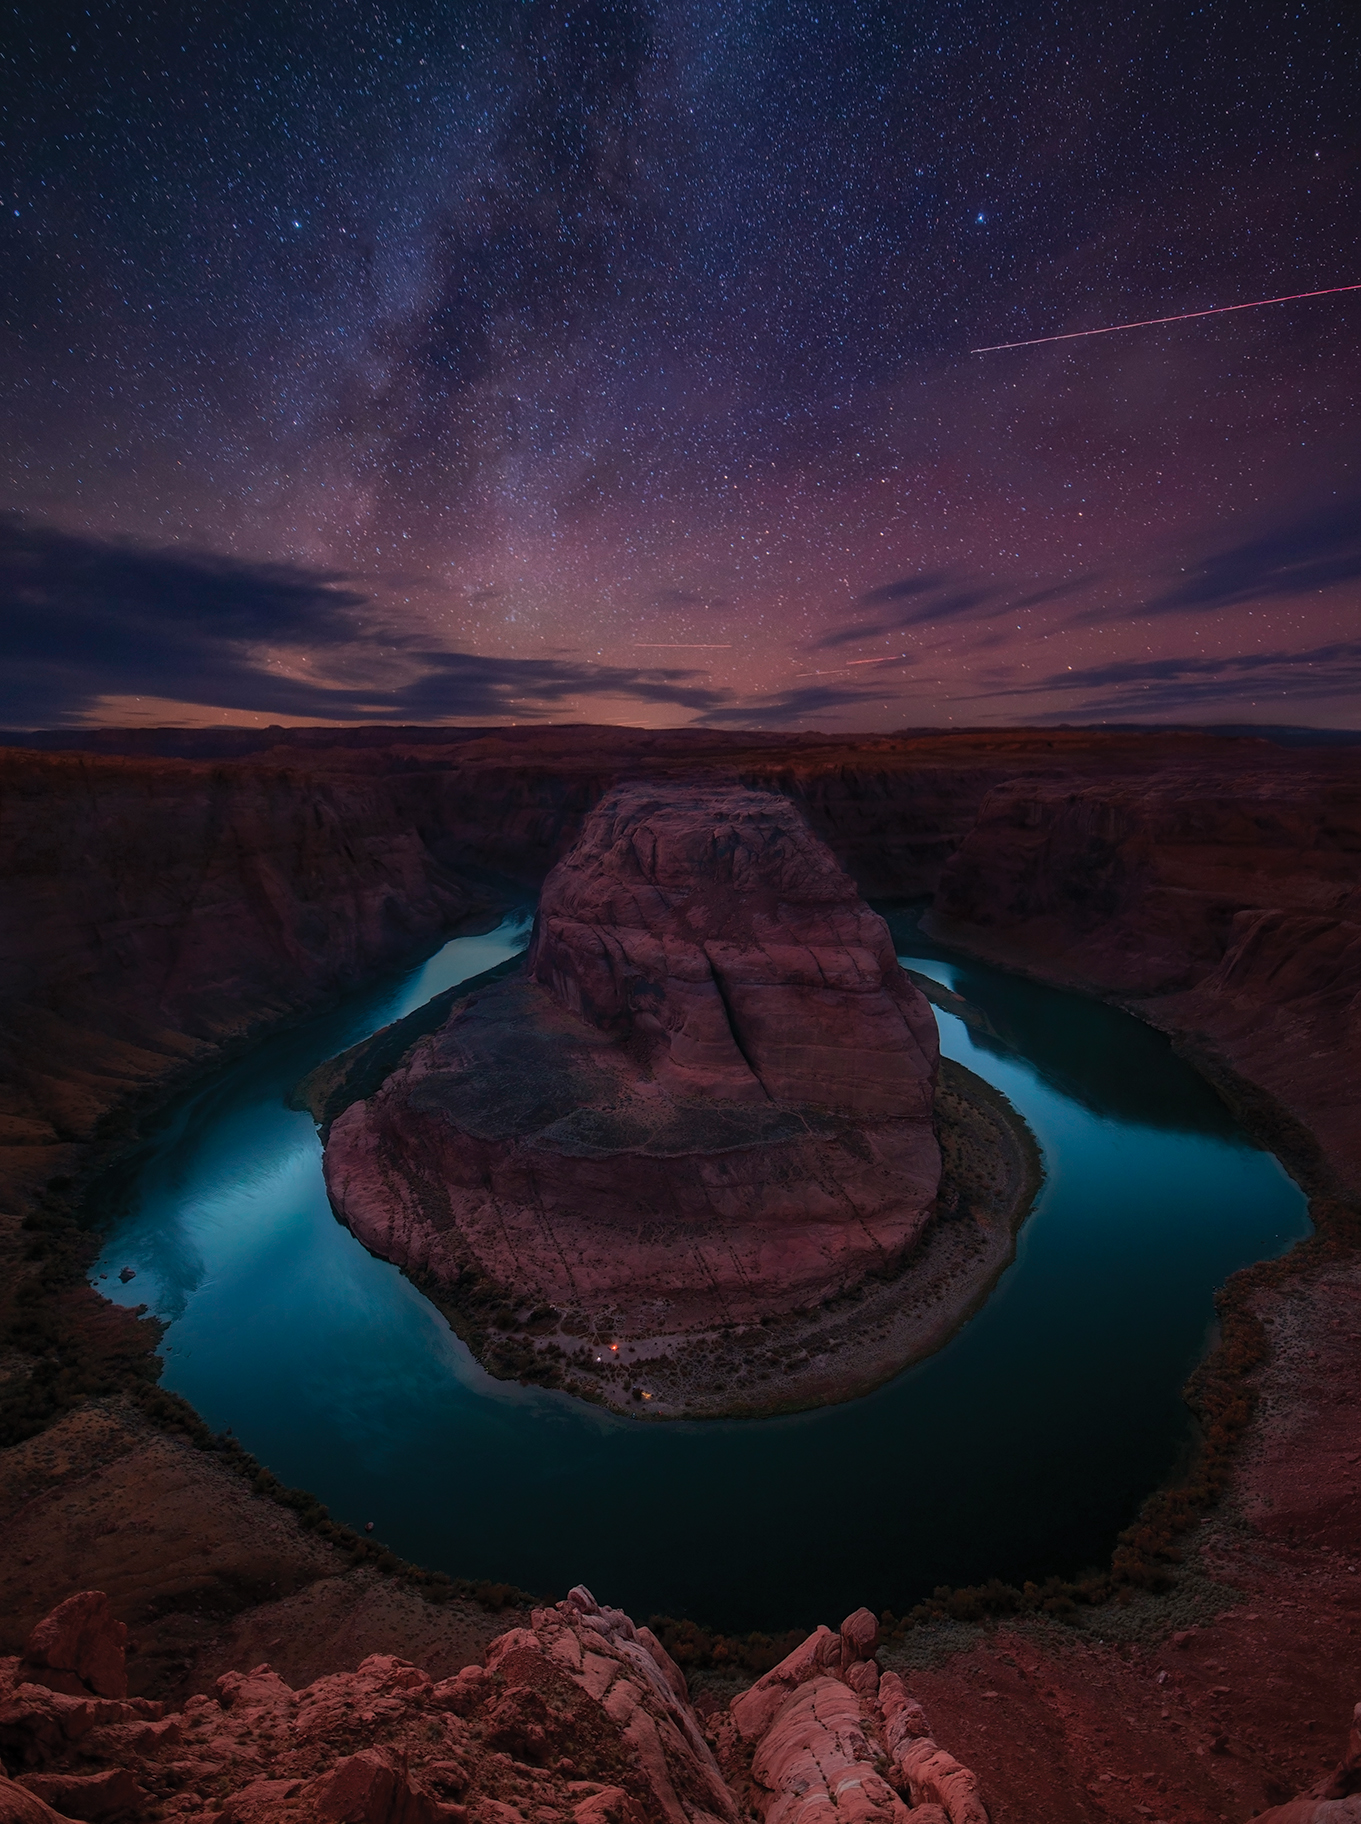
Select Bulb and Time mode
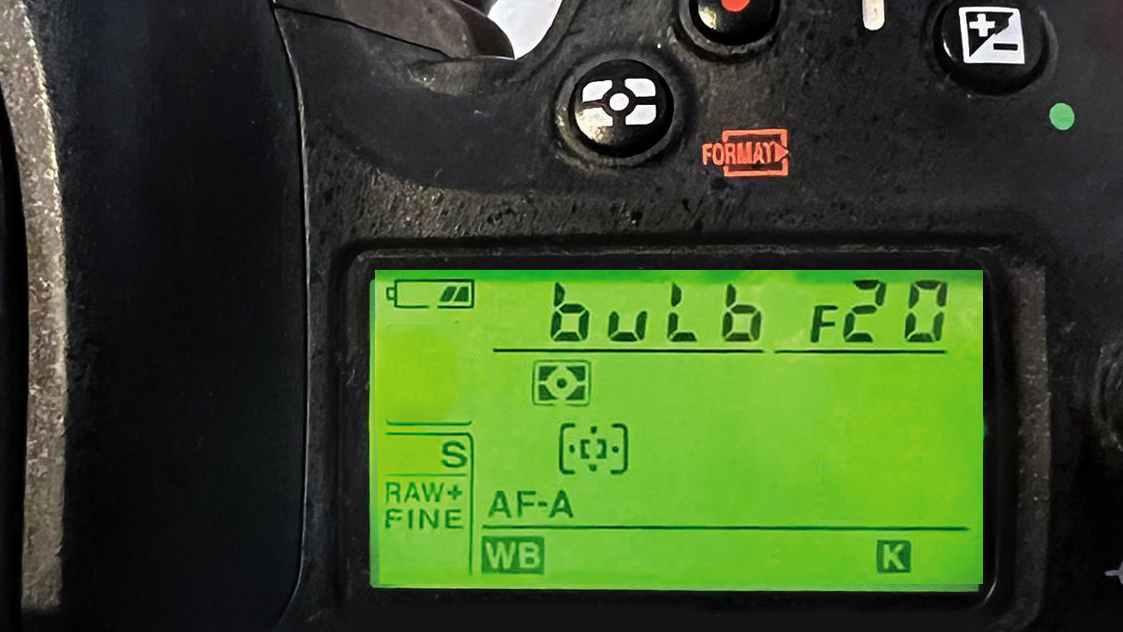
Depending on your visual objectives, light sources and the time of day, you may want to extend the shutter speed beyond 30 seconds. To do this, switch to Bulb mode to take control of the time that the shutter stays open. Remember to work with a remote shutter release or via an app, as it is almost impossible to hold the shutter button down for that length of time without causing movement.
Many high-end cameras have a Time mode, which offers a clear advantage over Bulb. Here you simply press the shutter button or remote release once and, when you want to finish the exposure, press it again.
Check results
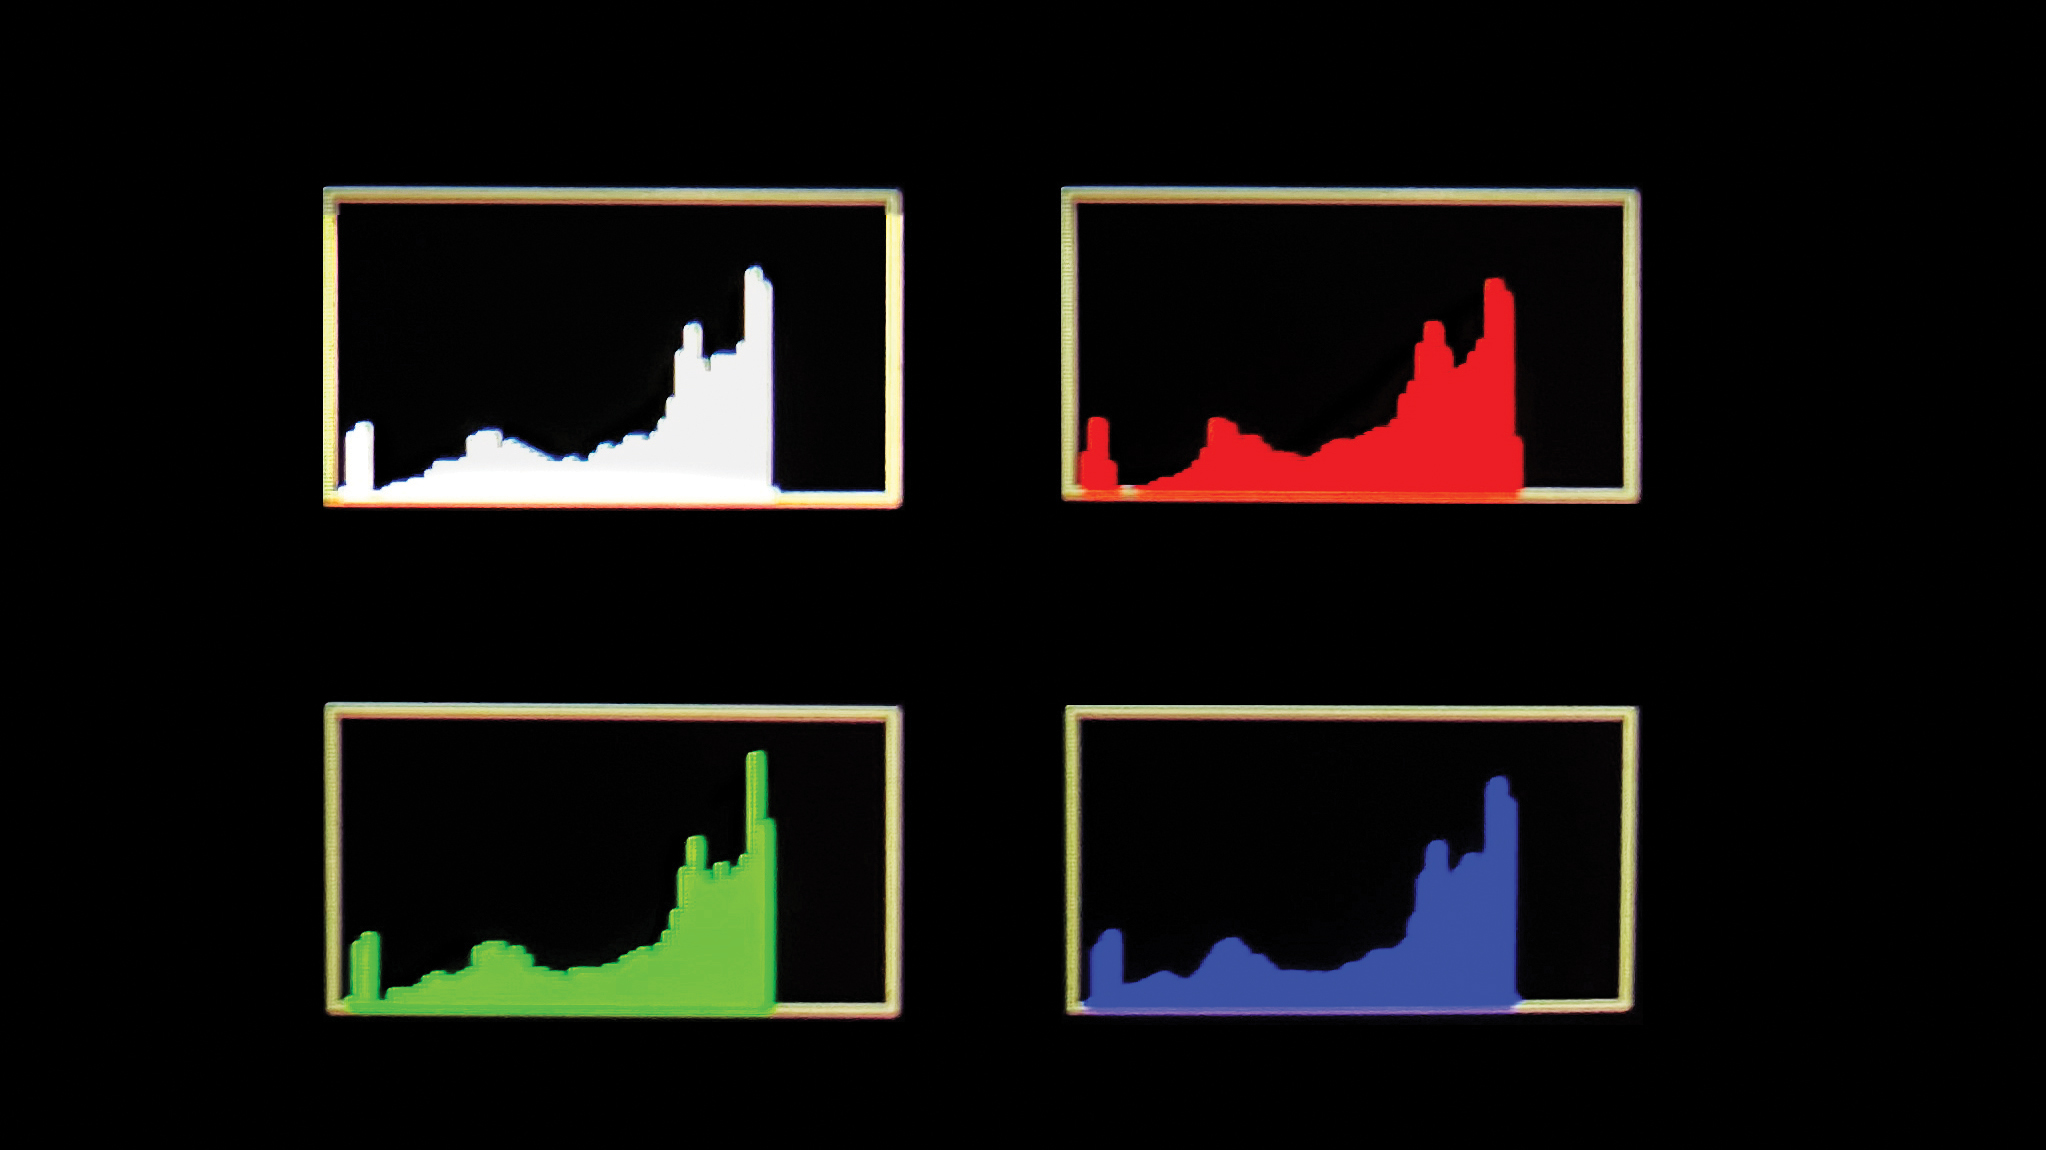
Remember that the LCD screen can be misleading about the brightness of the results, especially if you are shooting in low light conditions. To make sure that exposures are correct, analyze the histogram.
An ideal graph will show a fairly even distribution of tones; if the histogram shows much closer values on either the left or right side, some parts of the image may be severely overexposed or underexposed. That means the exposure time wasn’t ideal for the subject and should be adjusted.
You may be interested in the best cameras for landscape photography, along with the best lenses for landscapes.