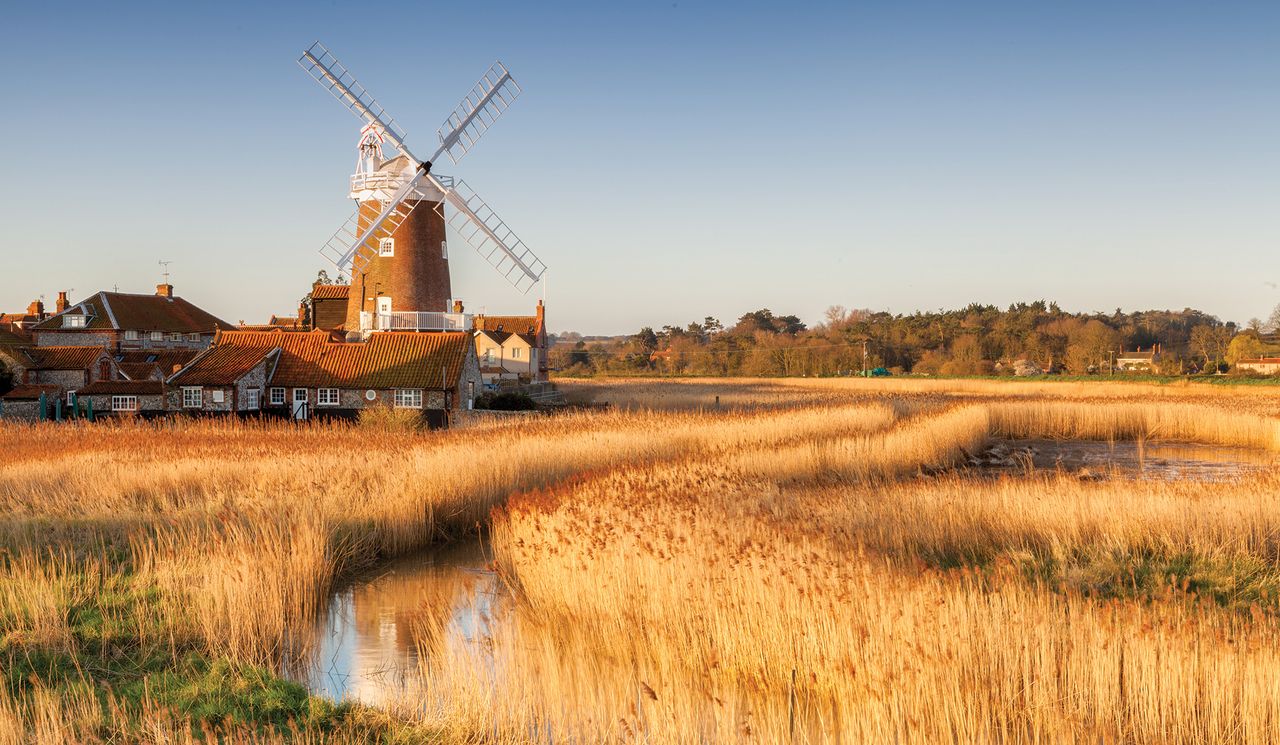
An aftermarket tripod head might not seem like a pressing investment if you’re just getting into landscape photography or are still happily using the one that came with your tripod, but I think it’s something you should at least consider. Beyond a capable camera and a decent wide-angle lens, a tripod is third in the pecking order when it comes to essential landscape photography kit.
If you’ve read through my landscape photography tips, you’ll know that there are many instances where using a tripod is essential when capturing the great outdoors, including long exposures, focus stacking, and exposure bracketing. And while plenty of photographers will invest in a quality tripod, many will pick up a kit with a standard head and never consider the wealth of additional options that are available to them. So, read on to learn about the different types of tripod heads available to you and their pros and cons, so you can find out the right head for your landscape photography.
Different types of tripod head
1. Ball head
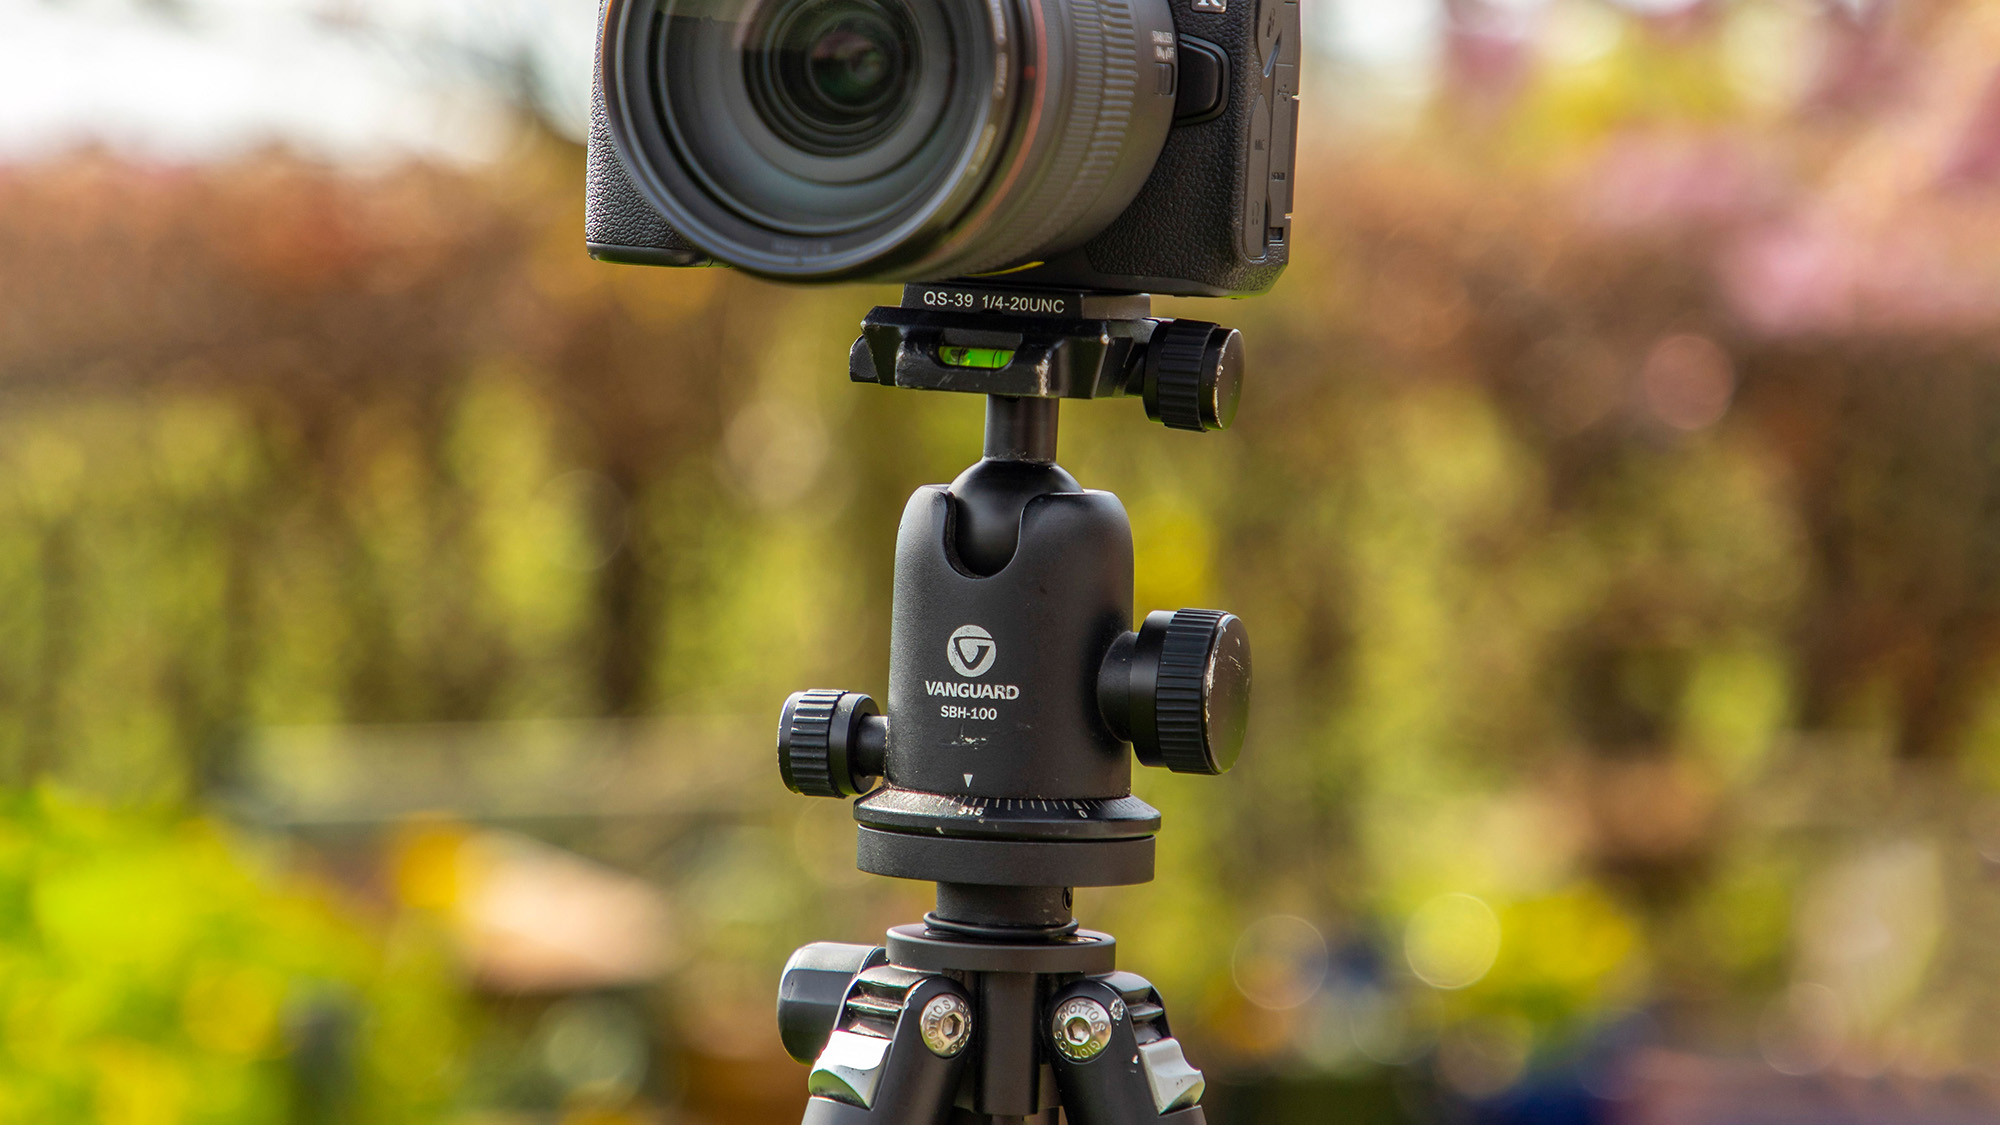
Ball heads are the most common type of tripod head and usually the most affordable. They’re commonly found in tripod kits and vary greatly in quality. However, that’s not to suggest ball heads are somehow inferior. They’re typically smaller and lighter than other tripod heads, while the ball joint gives you control of all axes – unlocked via a single knob. This makes ball heads extremely quick to set up and simple to use. Some ball heads like the Manfrotto XPRO Ball Head with Top Lock feature friction controls for more precise adjustments and locking systems.
The tradeoff when it comes to ball heads is precision. Since the ball joint moves freely in any direction, it can be hard to adjust a single axis without inadvertently changing the other, which can make precise refinements challenging. Ball heads also tend to creep when tightened; how pronounced this is will depend on the quality of the head and how top-heavy your setup is. As such, I tend to avoid ball heads when using longer lenses.
2. Pan and tilt head (two-way head)
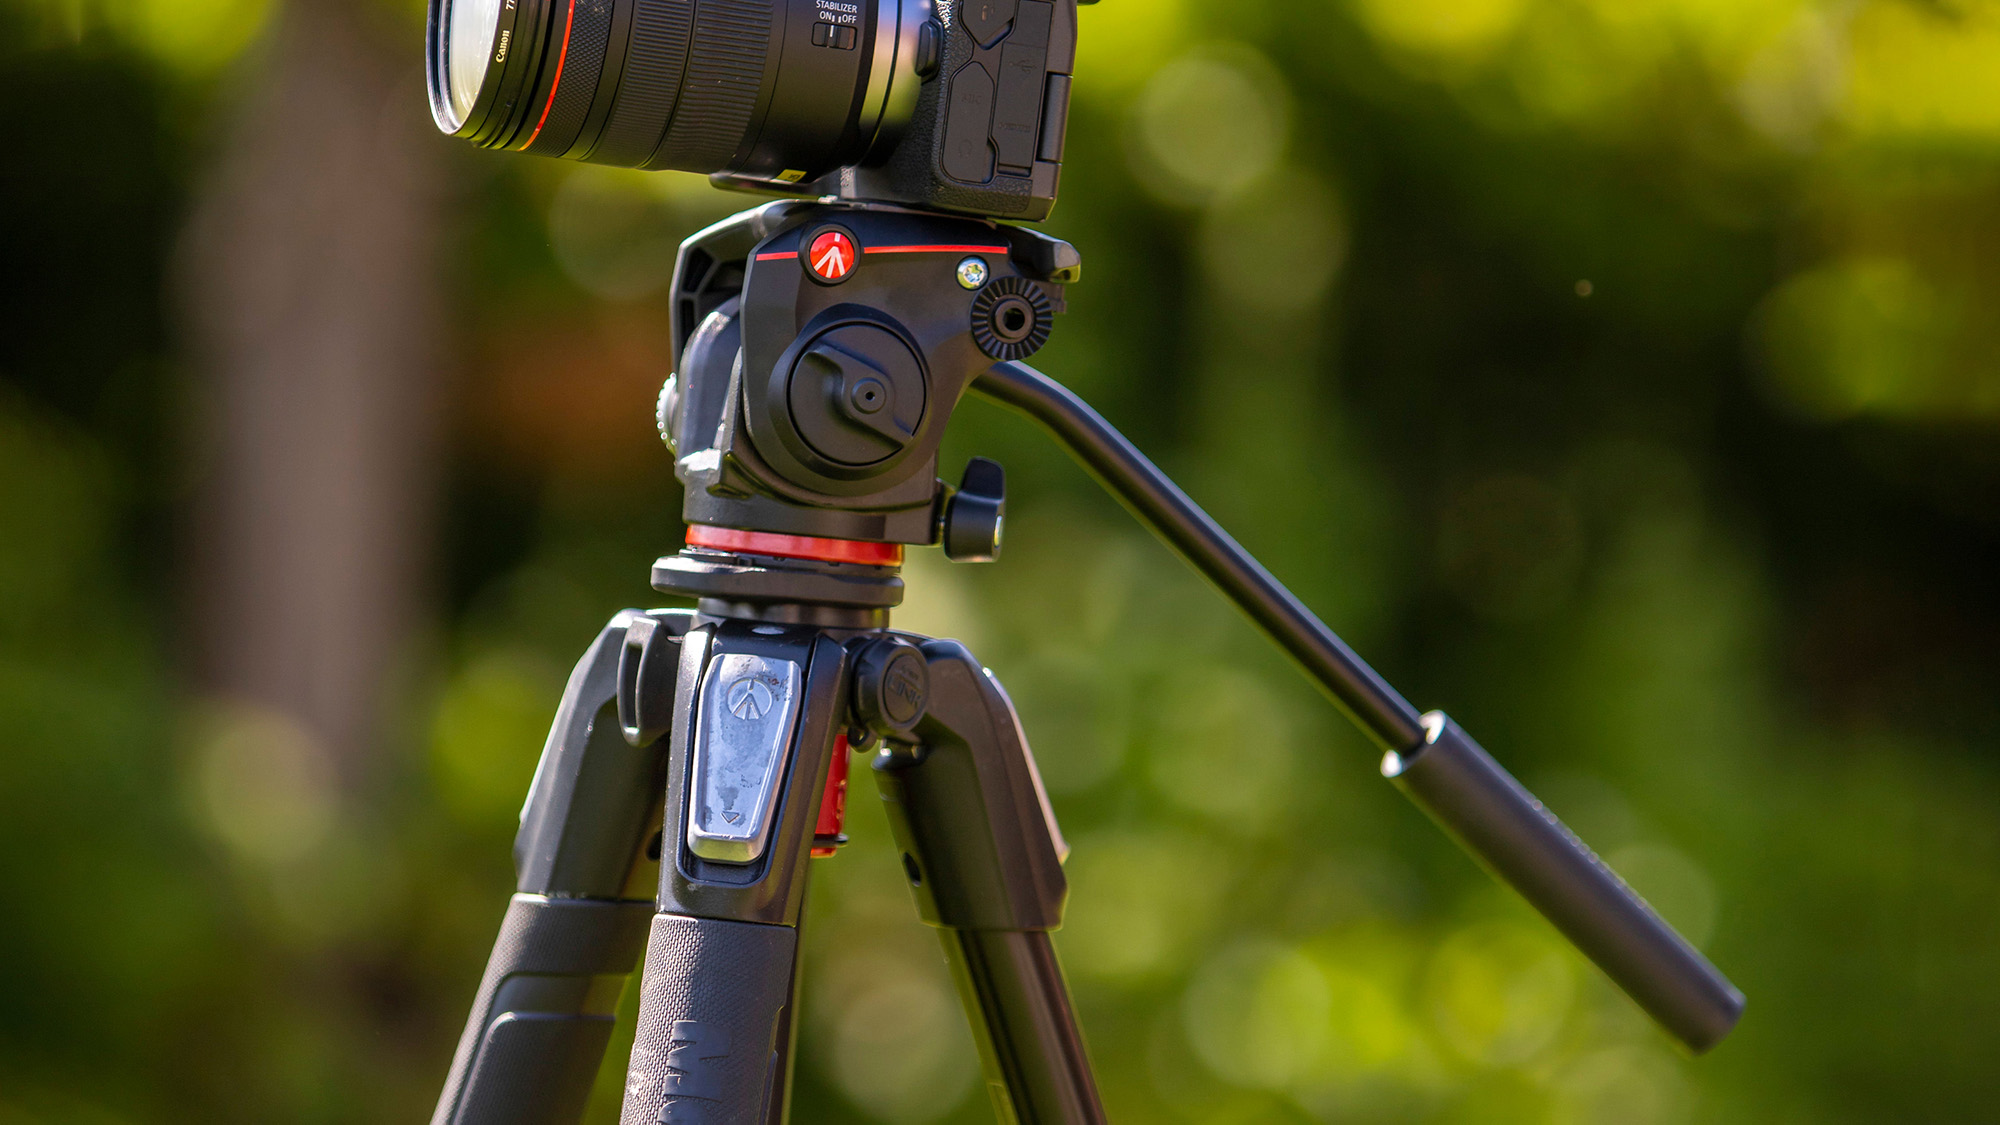
A two-way pan and tilt tripod head does exactly what it says on the tin: it allows you to pan and tilt on a fixed plane, making it a great choice for panoramas and panning when shooting video. If you’re likely to use yours for the latter, do make sure you invest in a pan and tilt head that’s also a fluid head for smooth video-friendly panning.
Pan and tilt heads can be quite bulky, especially if they have a long panning arm. It’s also worth checking whether or not the head includes a levelling base; otherwise, you'll have to ensure that the tripod itself is perfectly level, since you can’t adjust the head to compensate, like you would a ballhead. Thankfully, you can pick up levelling bases separately, so if you invest in a pan and tilt head like the 3 Legged Thing AirHed Trinity, you can quickly and easily make sure it’s level.
3. Pan and tilt head (three-way head)

The three-way pan and tilt head operates very similarly to the two-way variety, but it chucks a third axis into the mix, so you can pan, tilt forwards and backwards, and also tilt from side to side. Controlling all three axes independently provides you with the greatest level of control, but the tradeoff is that three-way heads do tend to be chunky. I personally use a Manfrotto X-Pro 3-Way Head, which I find ideal for stills but isn’t suitable for video.
Three-way fluid heads do exist, but they tend not to include the longer panning arms that lend themselves so well to smooth panning. As you’d expect, pinpoint refinements do come at a cost, and some photographers may find three-way heads a little too fiddly for their liking.
Some three-way heads are also geared tripod heads. Rather than loosen and move the desired axis by hand, the axes are controlled by gear mechanisms. This allows the axis to move as you turn the mechanism, resulting in the highest level of precision possible, at the cost of speed.
4. Panoramic head

As the name suggests, panoramic tripod heads are used for pinpoint precision when capturing panoramas. They range from simple levelling bases, like the 3 Legged Thing LevelHead, which sit beneath your choice of tripod head to help ensure you’re working on an even keel, to more advanced designs with features such as sliders to help mitigate parallax and click-stop intervals to help maximize resolution and minimize overlap.
Panoramic heads are specialist pieces of equipment. They tend to be larger and heavier, and their designs can prove overcomplicated for photographers who require a more versatile setup or simply don’t require maximum resolution and pinpoint accuracy from their panoramas. For the average landscape photographer who captures the odd panorama, a levelling head attachment will do the trick. I’d only recommend a specialist head if you’re serious about capturing the very best panoramic photographs possible.
So which is the right tripod head for you?
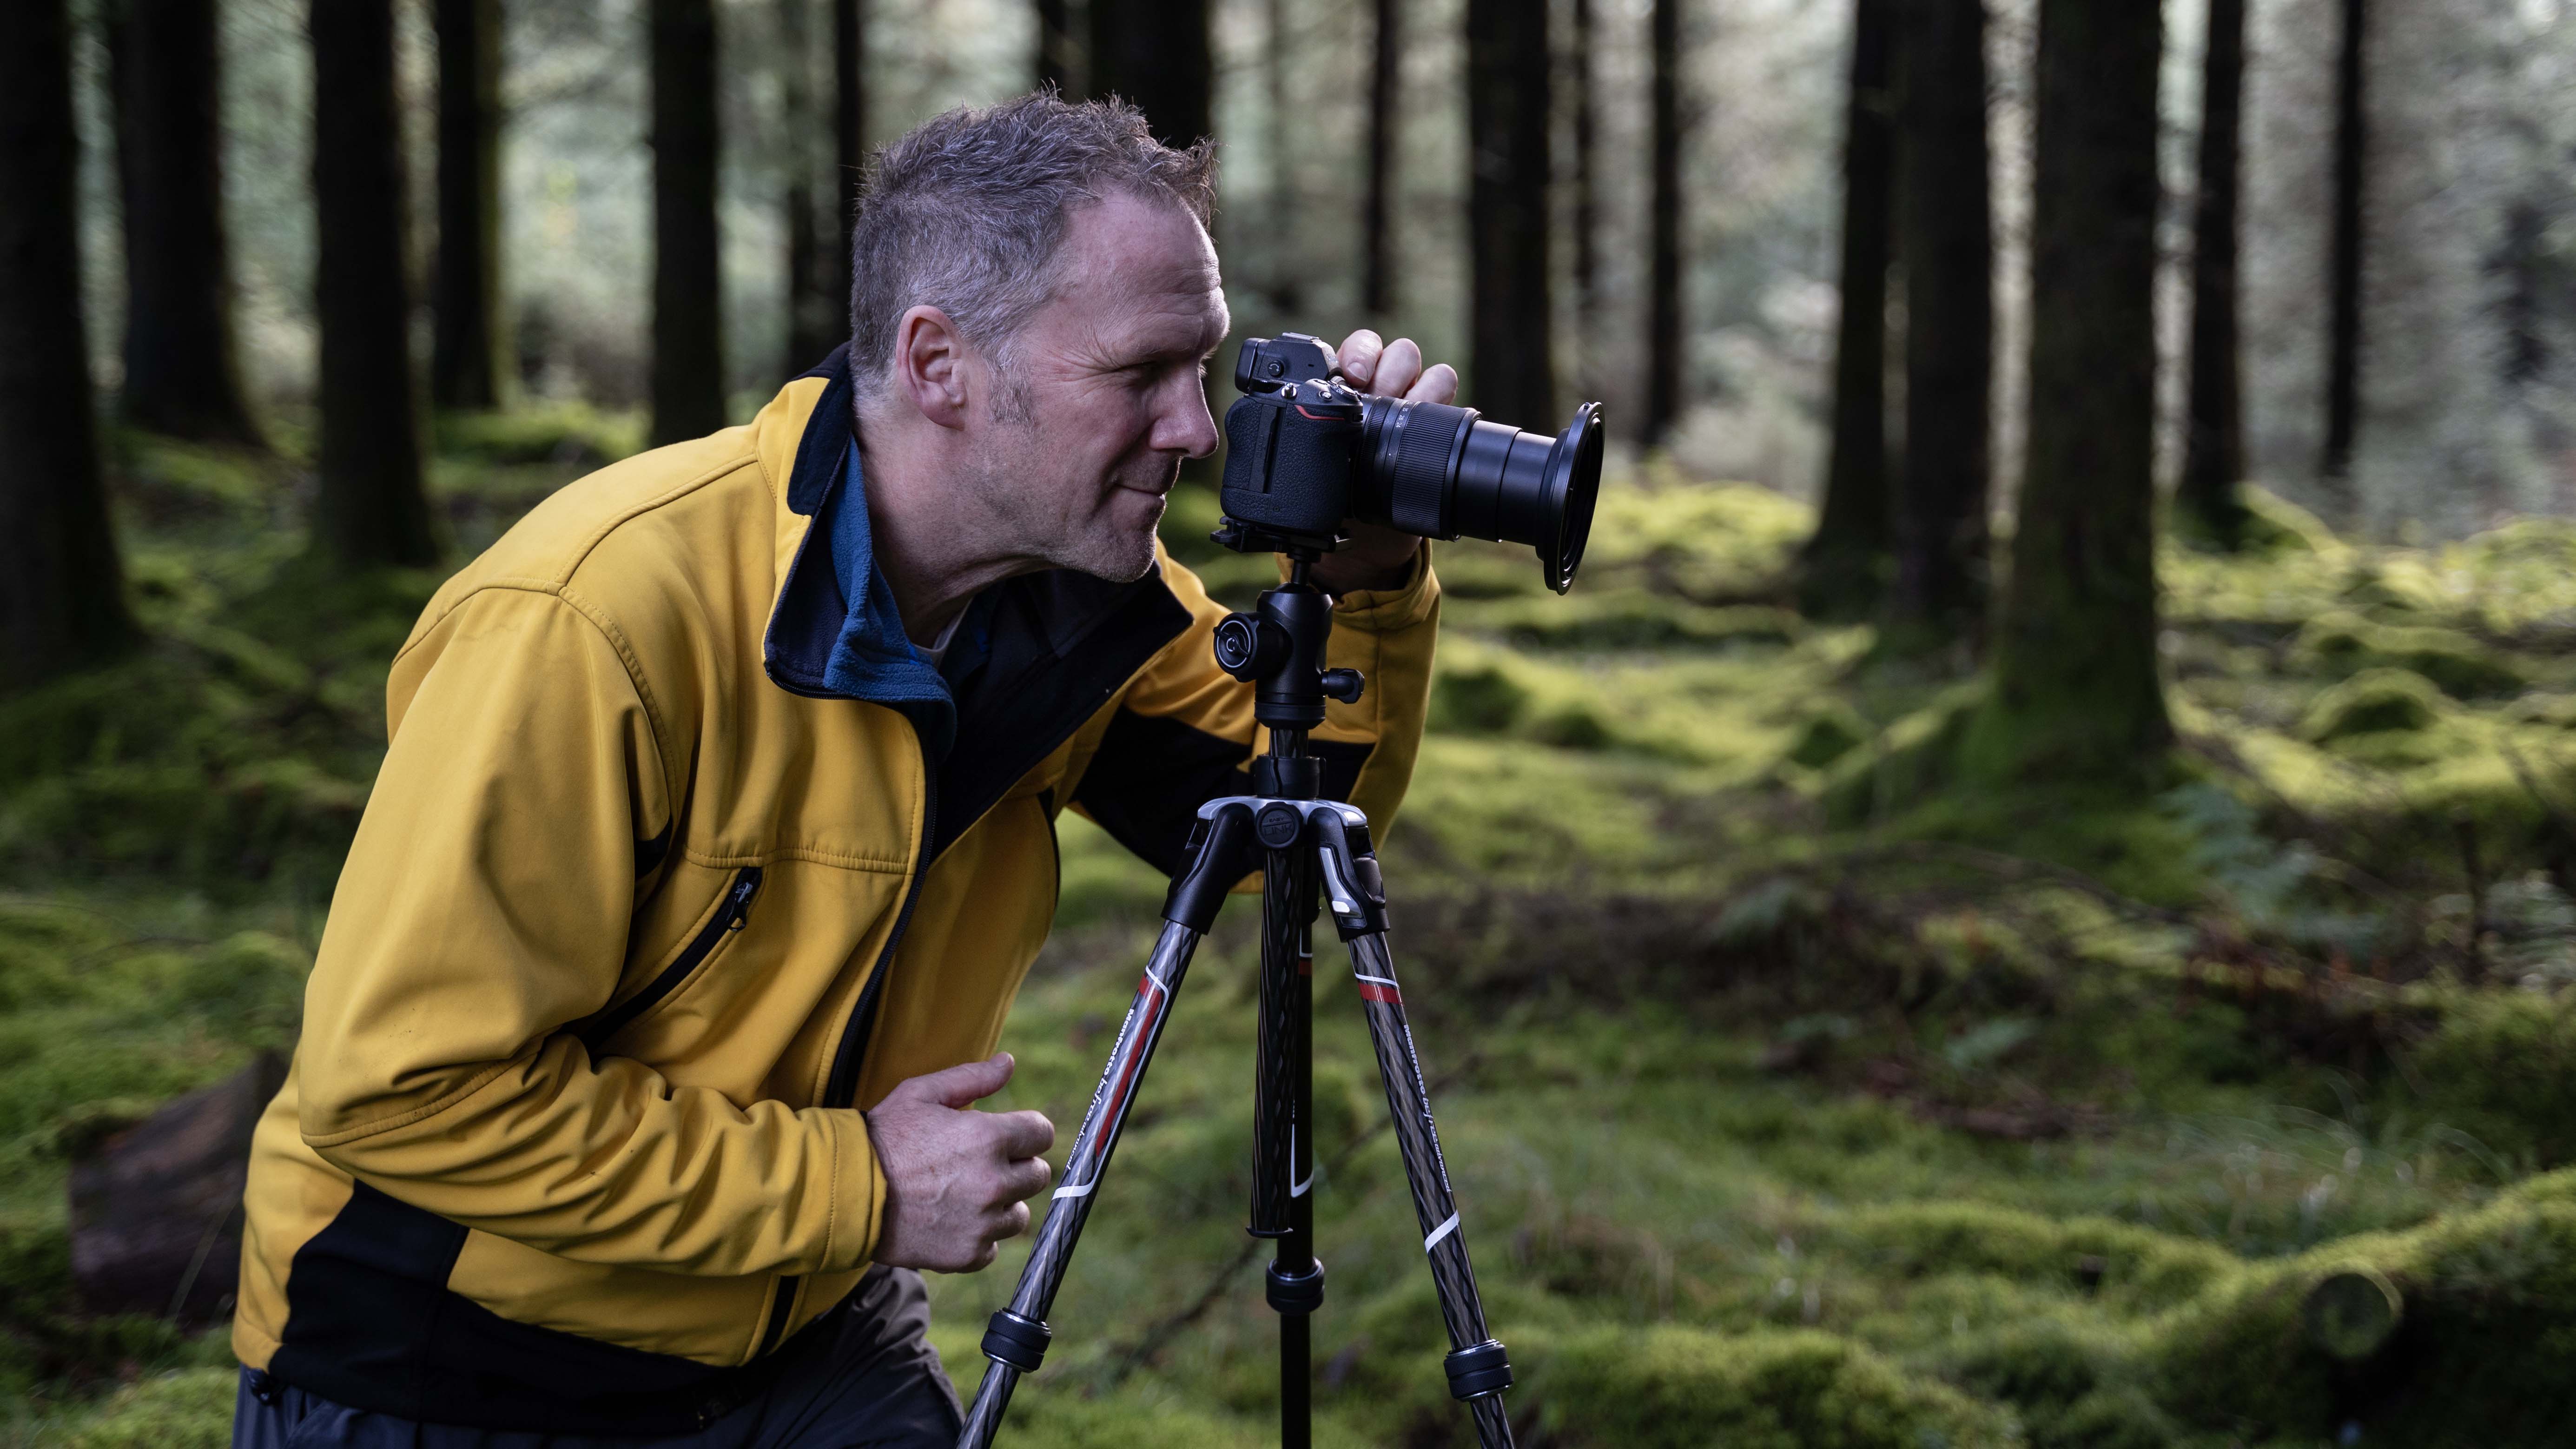
If you’re a hyper mobile photographer who’s looking for the lightest setup possible, then the good-old ball head won’t be cumbersome and will allow you to get set up the fastest. If you’re a run-and-gun content creator, you won’t want to be carrying multiple tripod heads, so I’d suggest picking up a two-way pan and tilt fluid head. Just make sure it has a built-in levelling base or pick one up if it doesn’t.
For those looking for the most solid, stable and precise tripod head for landscape photography, then I wholeheartedly recommend a standard or geared three-way head. I can only recommend dedicated panoramic heads for those who want to specialise in panoramas; everyone else will do just fine by picking up a levelling base or manually ensuring their tripod is level to begin with.
Now, this isn’t an exhaustive list of tripod heads. Gimbal heads are a wildlife photography staple and pistol-grip tripod heads are favoured by some. But the vast majority of landscape photographers won’t go far wrong with one of my picks.
My pro tips for using a tripod for landscapes
1. Maintenance
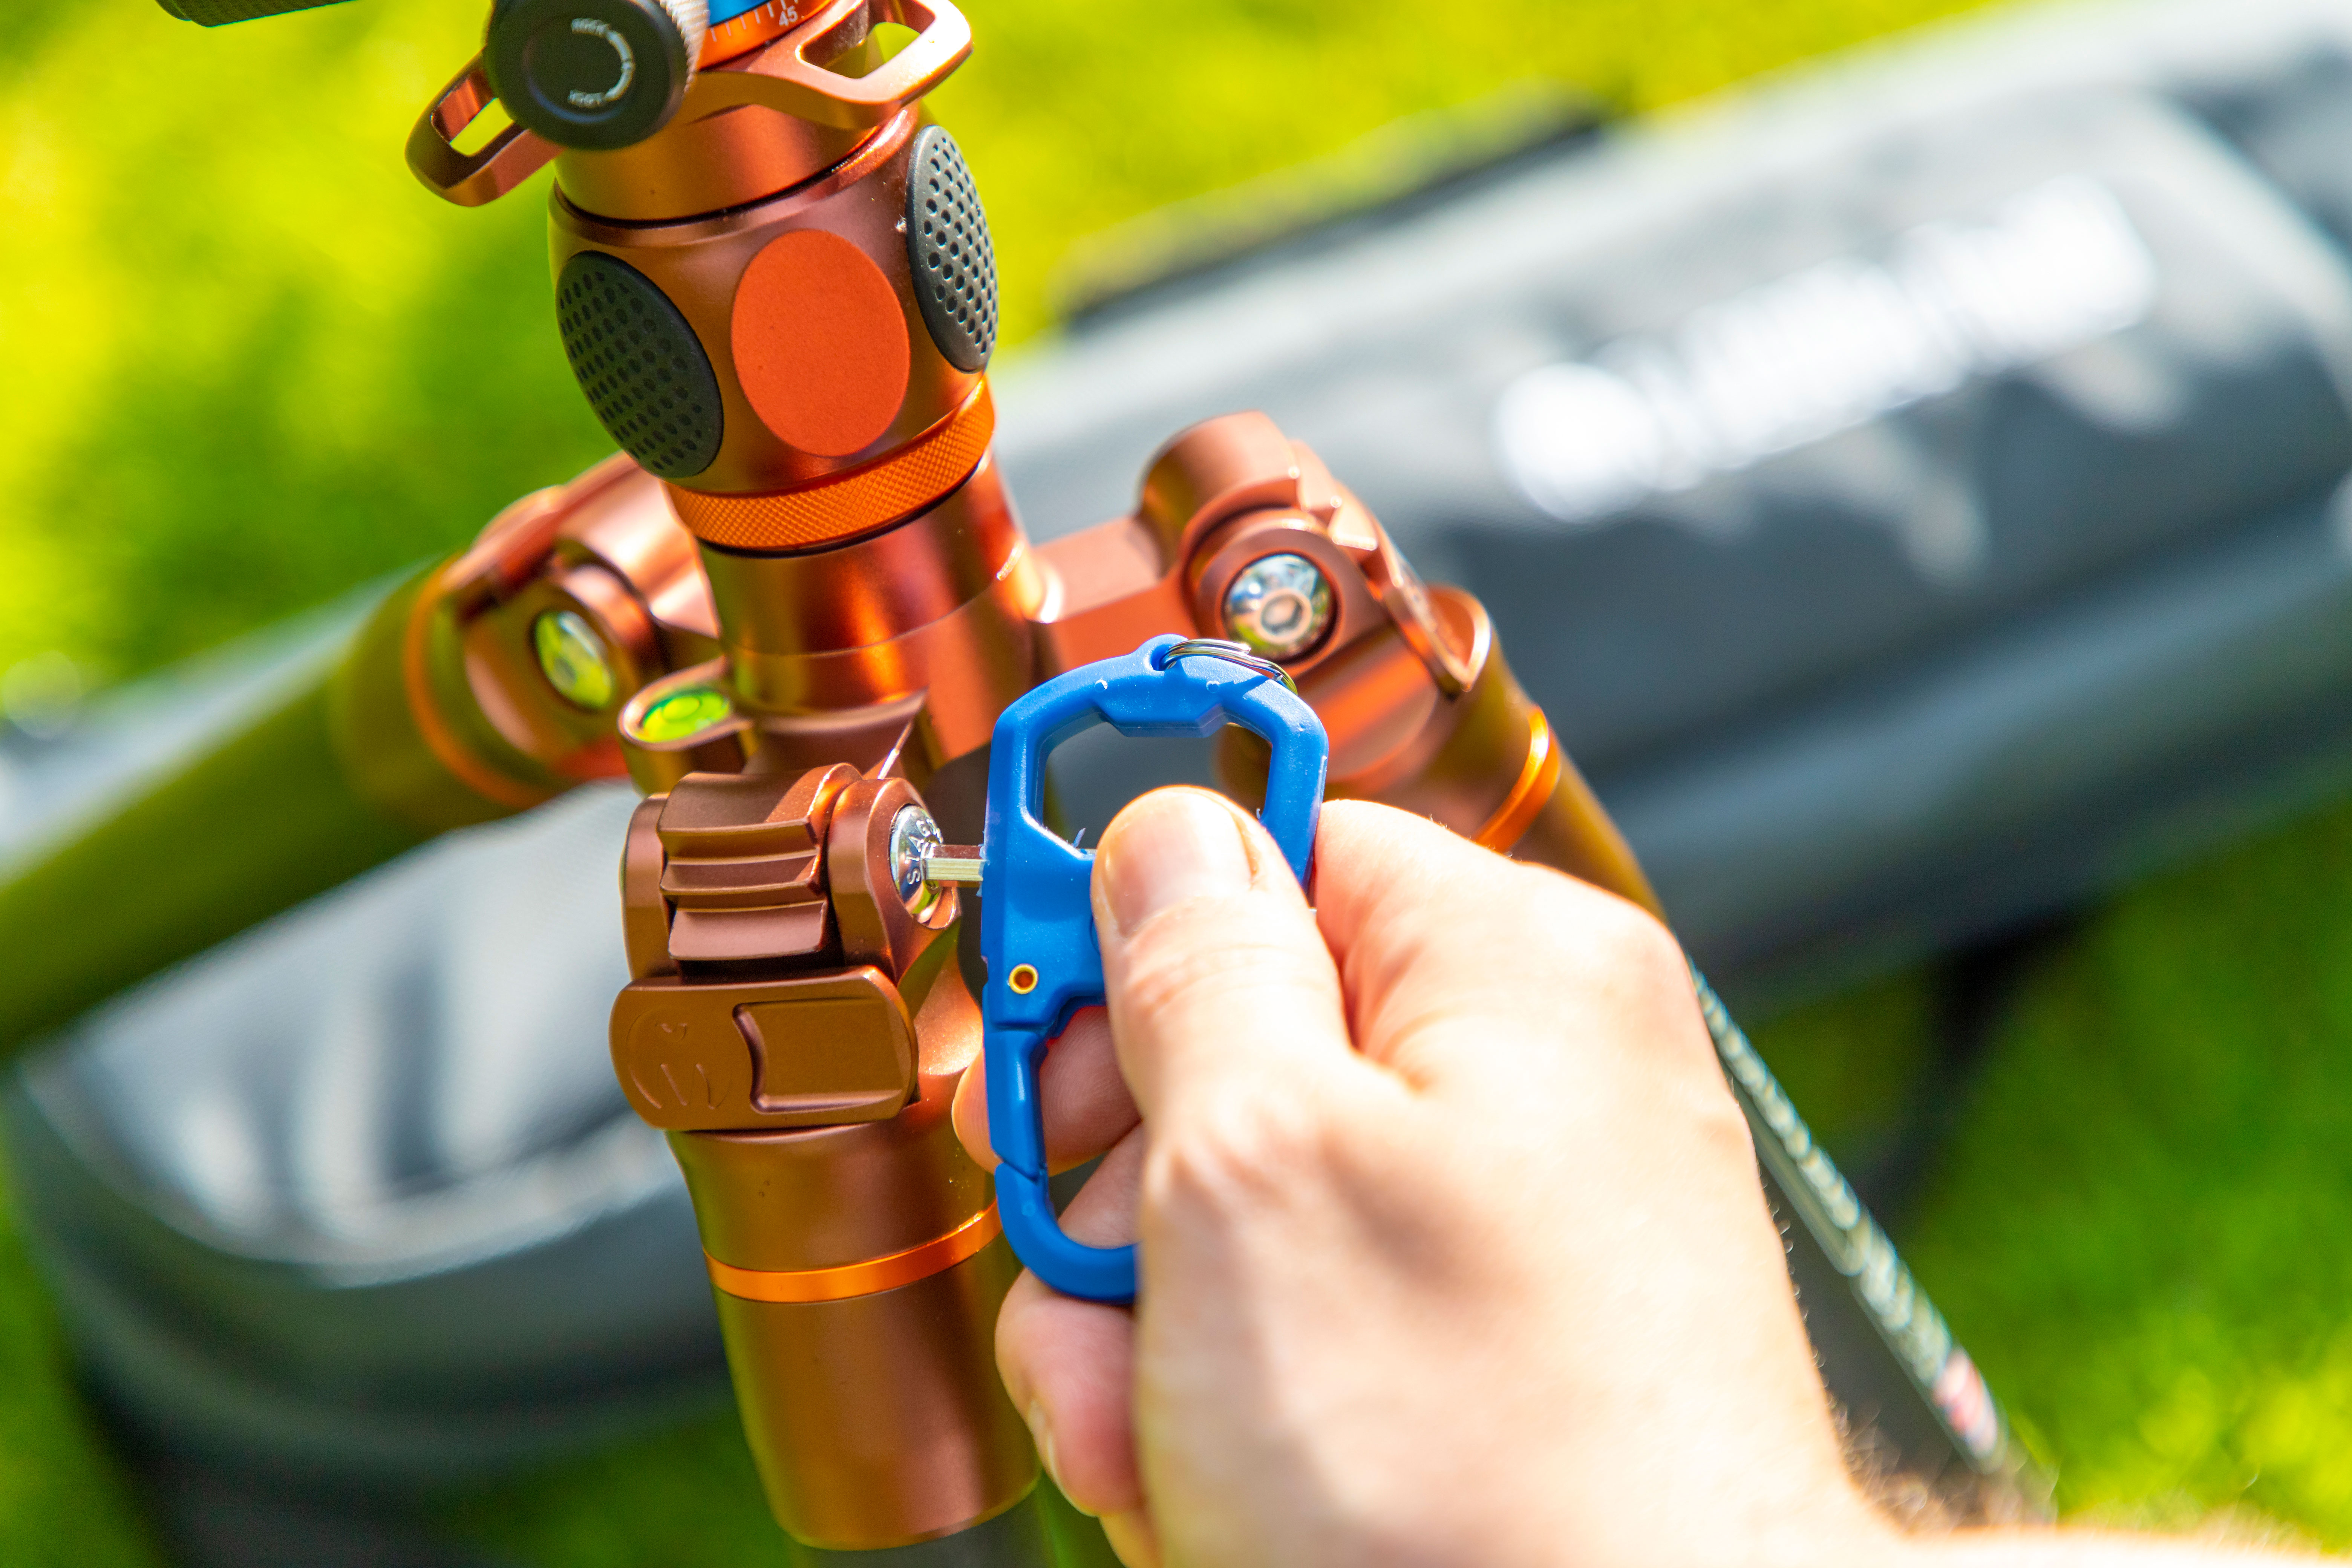
Your tripod is likely to have come with a hex key or tool that you can use to tighten any parts that come loose over time. This helps keep everything tight and sturdy and stops any slippage occurring during long exposures that would result in camera shake. While leg locks will often come loose, twistable leg locks don’t have this problem.
2. Use paper plates to stop your tripod from sinking
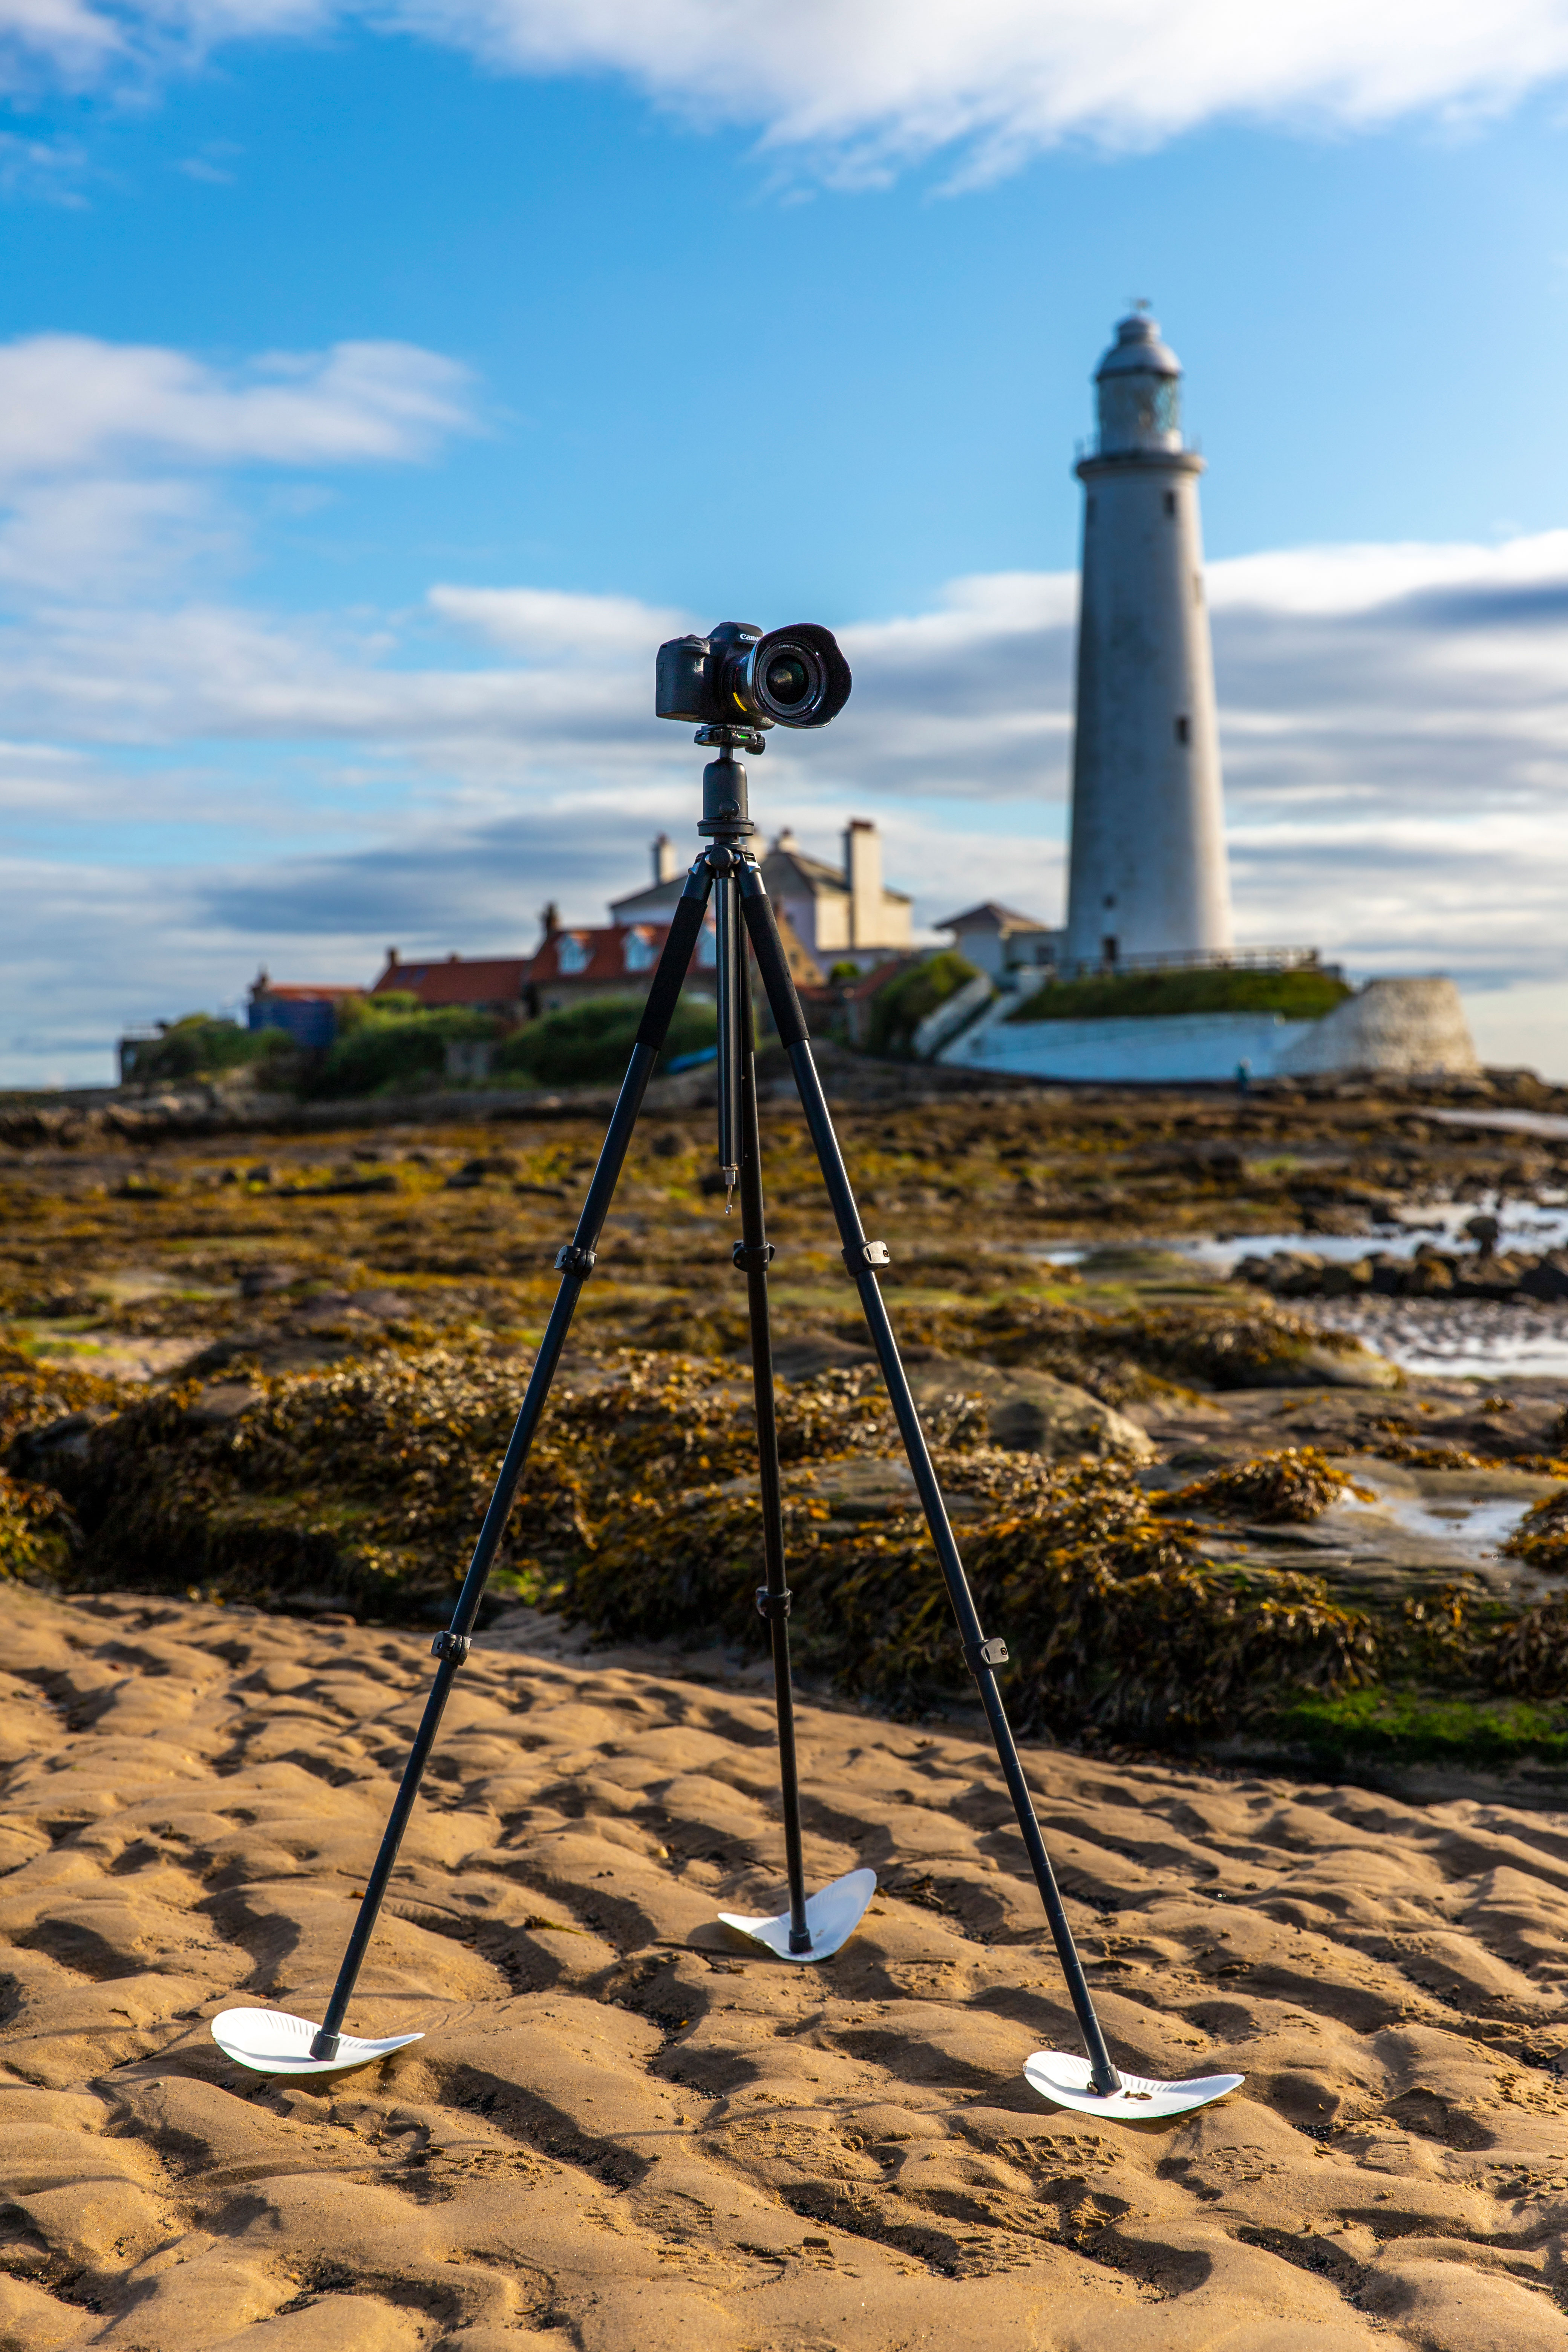
When shooting on the coast, you might find your tripod feet sinking into the sandy shores. Even a slight movement can be enough to cause camera shake to appear in your photos, especially long exposures. Bringing paper plates and placing one under each foot will spread the weight out and stop your tripod from sinking.
3. Rinse off salt water

It’s a good idea to keep your tripod clean and well-maintained to keep it in tip-top condition. Salt water can cause corrosion over time and put a tripod out of commission altogether. While this isn't so much of an issue with freshwater, it’s still worth rinsing off your tripod with tap water when you get home and drying it off with a cloth. Just make sure it's completely dry before you collapse it down again to prevent trapped water. Ideally, I always look up what the tripod manufacturer recommends as far as cleaning to make sure I'm following the best procedure.
4. Choose your mounting plate wisely
When searching for tripod heads, do pay attention to the mounting plate. This is the bit that connects to your camera and then attaches to the tripod. Most tripod manufacturers will have their own proprietary mounting plate, but will also offer Arca-Swiss compatible variants. The Arca-Swiss design is a patented quick-release clamp and is personally my favorite type of mounting plate out there. It works a bit like a vice, so you simply need to loosen or tighten the clamp to remove or attach the plate connected to the camera.
That said, you do sometimes have to compromise if you want a particular head. Personally, I like to use Arca-Swiss-compatible ball heads because the quick-release design fits the set-up-and-go ethos of a ball head tripod head perfectly. If I’m using a three-way head, for example, which is inherently slower to set up, I don’t mind using a proprietary mounting plate. Arca-Swiss-type heads tend to be compatible with most L-brackets, too.
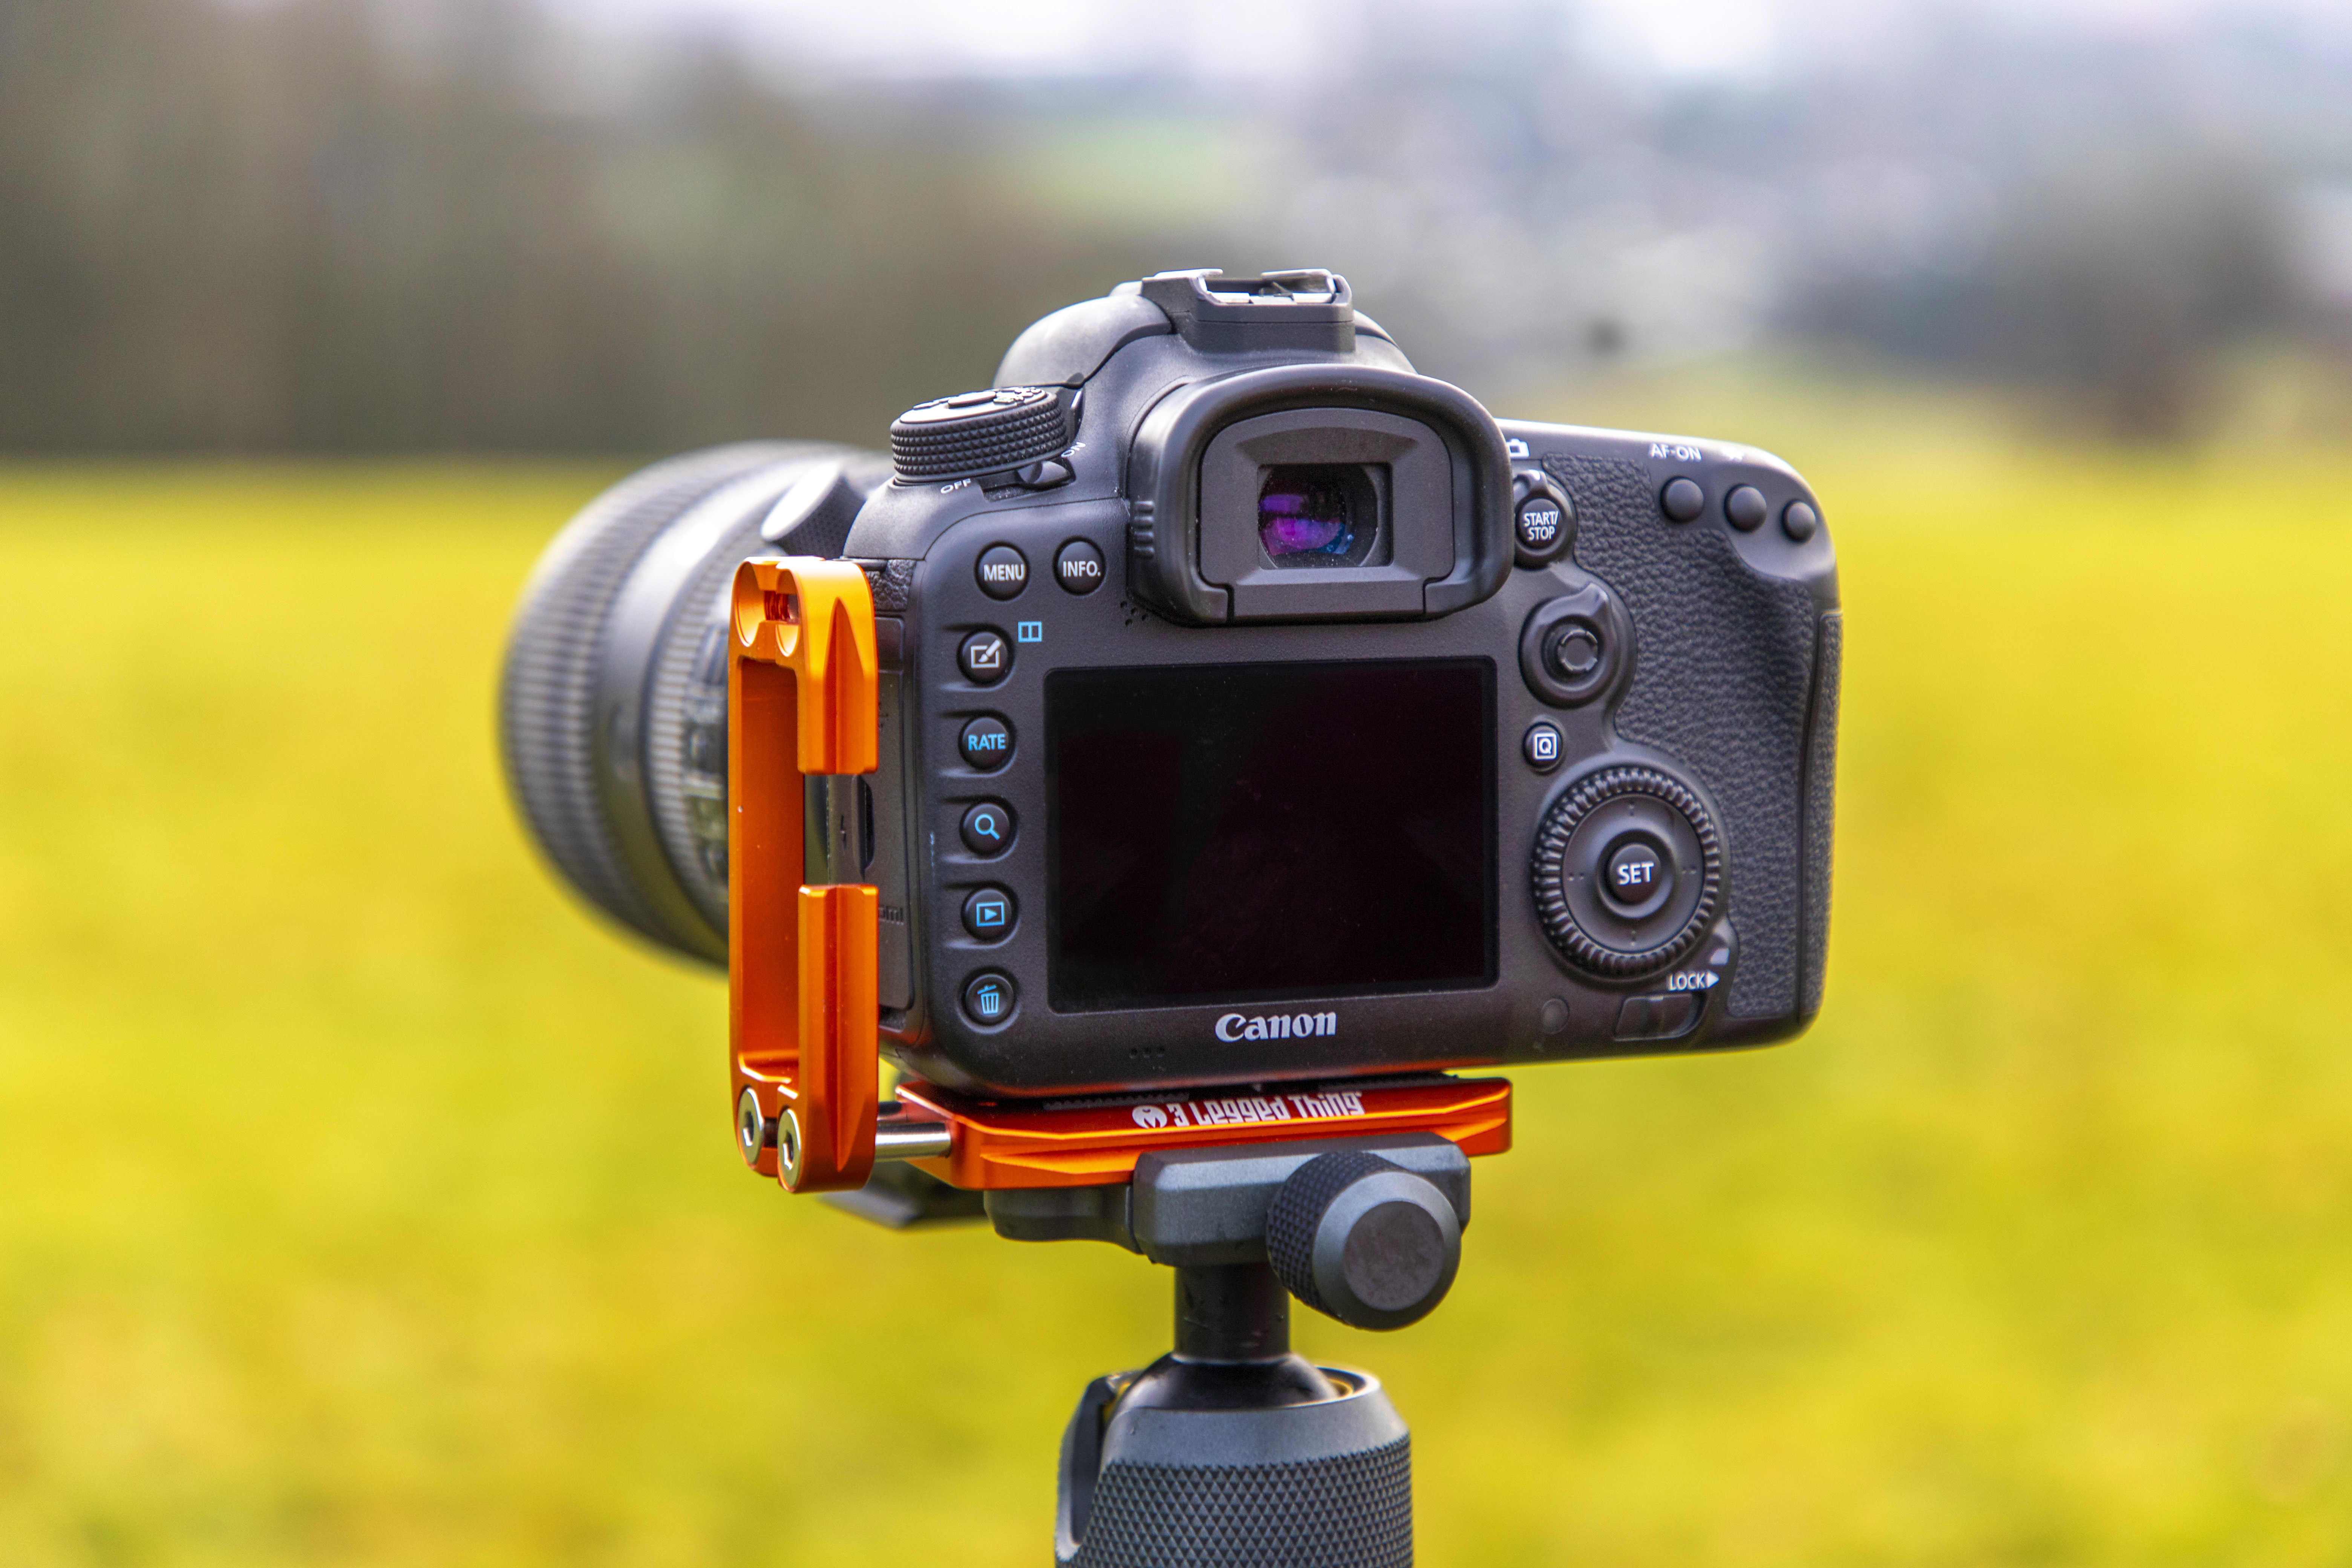
5. Use an L-bracket for balance
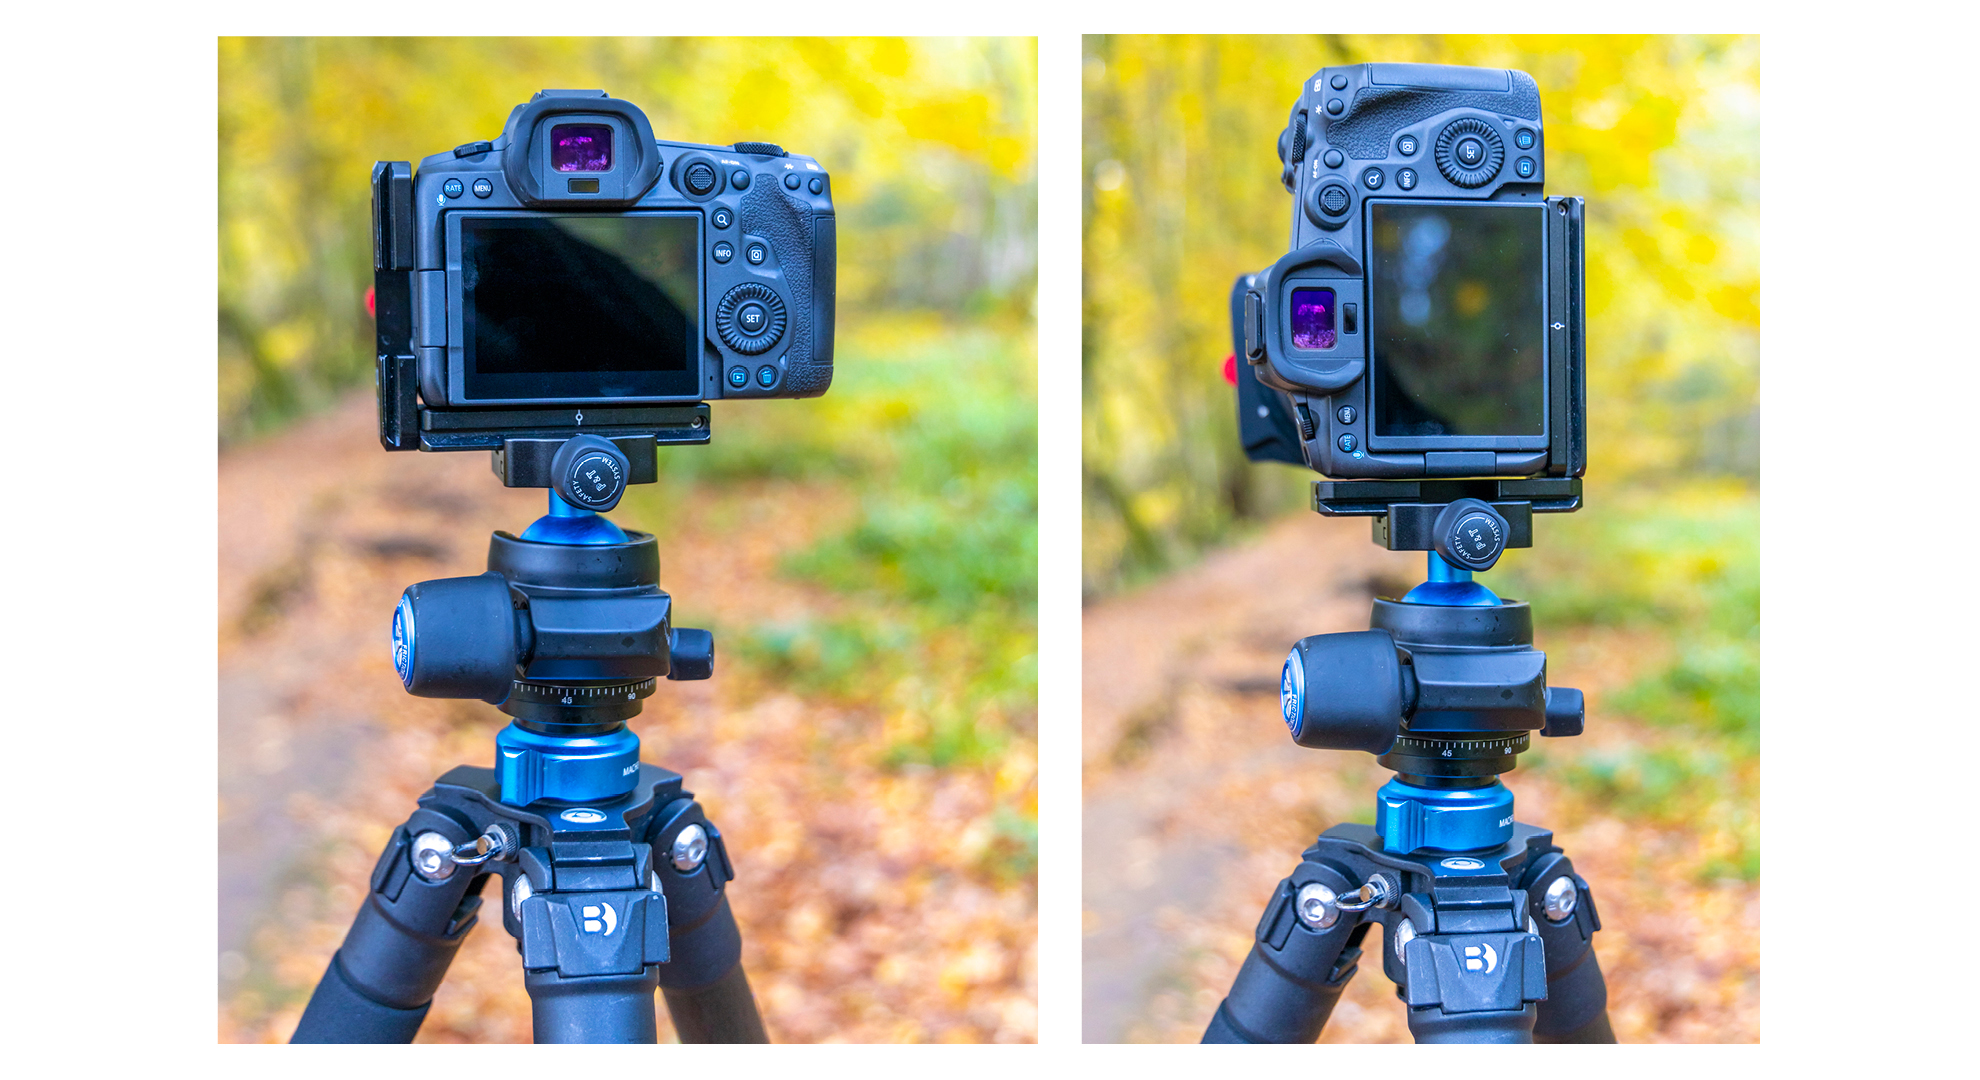
An L-bracket is a right-angle-shaped device that conforms to the base and one side of your camera. Attachments on each axis allow you to quickly pivot from landscape to portrait orientation without pushing the tripod head to one side and affecting its center of balance. L-brackets usually have Arca-Swiss-type mounts, so do check our tripod head’s compatibility. 3 Legged Thing is known for making a wide variety of L-brackets, including universal devices like the 3 Legged Thing QR11 as well as bespoke L-brackets for specific cameras or systems, such as the 3 Legged Thing Zelda QD.
You might also like...
In the market for an affordable tripod? Check out the best budget tripods. Whether you’re getting to grips with a tripod for the first time or are a seasoned pro, here are 11 tripod mistakes you could be making. And on the subject of mistakes, here are 9 common landscape photography mistakes to boot!