
Welcome to the Game 3 brings back old favorites and new faces to fear, but you can blame your competitors for playing dirty. It’s time to turn the tide on them by sending hackers and killers their way.
Here’s everything you need to know about Welcome to the Game 3‘s persistent killers.
Table of contents
-
WTTG3 killer guide: Mechanics and counters
- Bomb Maker
- Breather
- Cletus
- Kidnapper
- Lucas
- Noir
- Tanner
- Tucker
WTTG3 killer guide: Mechanics and counters
Be sure to turn off the computer every time you’re planning to go outside or know a killer is nearby (e.g., knowing one is queued when you reset to the last checkpoint).
You should prep in the first hour as killers start hunting from 9:30pm on normal mode. Do this by mining on VirtMesh so that you can buy items on DarkDrop to help set up surveillance. Complete requests on A.C.R.S to gain Rep and money by gathering and selling videos off the dark web, and blocking hack attempts. Use ShadowFetch to convert URLs into MP4s. Ping users on the channel before it resets after every half hour. This’ll save their request, which you can always return to should you find the video they need.
Here are all threats in Welcome to the Game 3.
Bomb Maker
- Threat level : Low
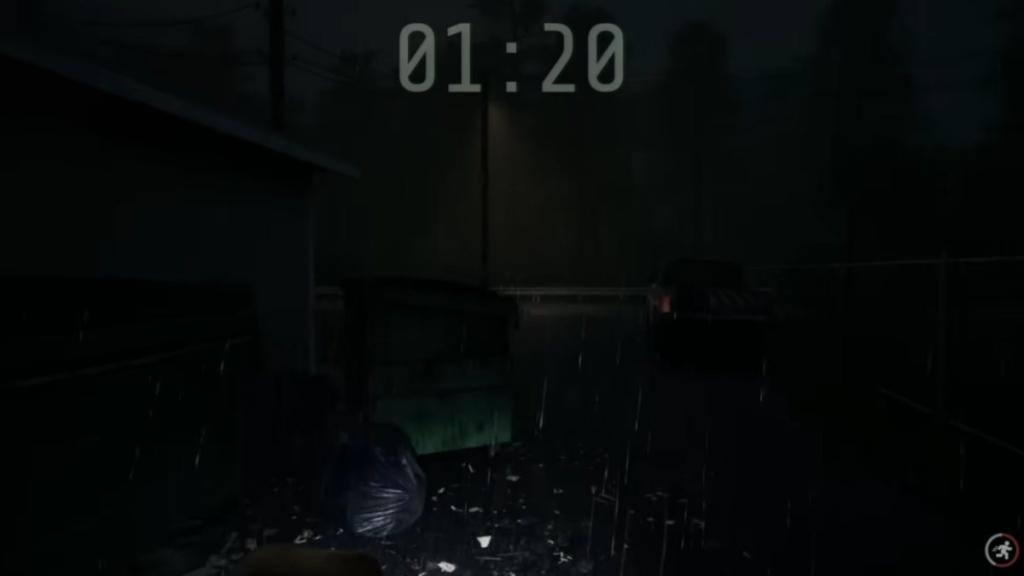
Much like Welcome to the Game 2‘s Dollmaker, the Bomb Maker can only activate if you visit his website. This isn’t guaranteed to spawn in every save, but if you do happen to click on it, the world’s most dramatic timer will appear. You must check CryptChat when it does, as the Bomb Maker has messaged you personally, offering the disarm code. You then have 90 seconds to find and defuse the bomb. Failure means game over.
You can avoid this altogether by never clicking on the Bombmaker website.
Breather
- Threat level : Low
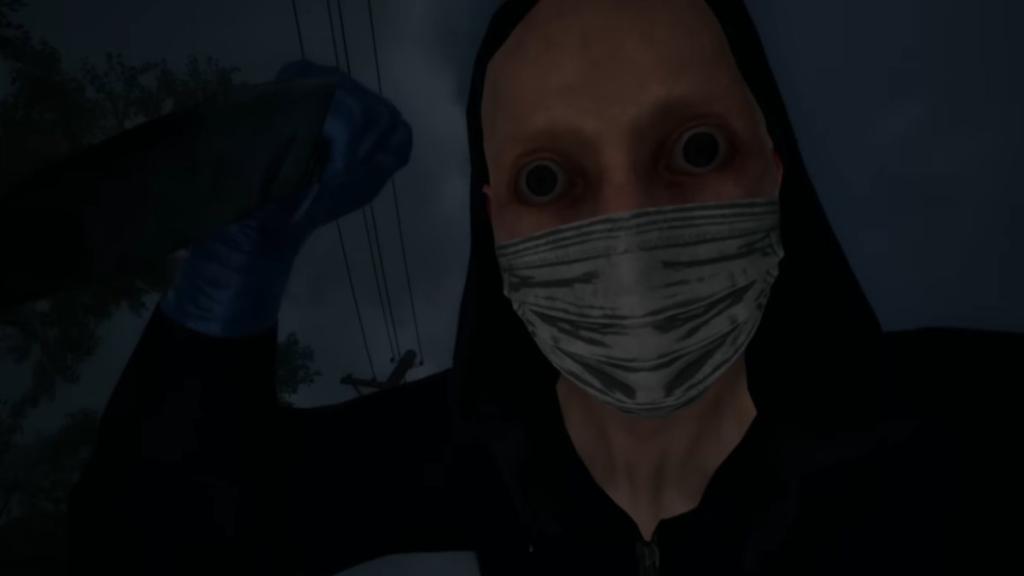
Seen in all previous Welcome to the Games and Dead Signal, the Breather loves to stalk Amazon Prime drones.
The Breather only activates when you are picking up from the dead drop location, underneath the lit bridge on the far left-hand side (outside the motel). Breather immediately kills you if you stray too far off the path. There is a scripted moment upon picking up the DarkDrop packages that the Breather spawns in and chases you. Make sure your stamina is full before you pick up any items from the drop-off point. When chased, run back to the motel. Stepping into the parking lot causes the Breather to give up.
Cletus
- Threat level : Low-medium
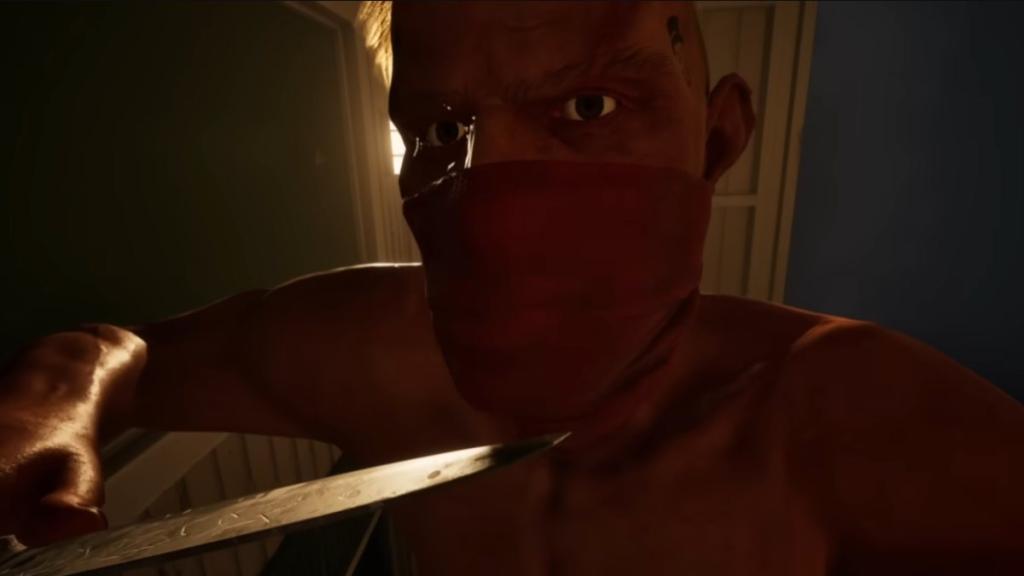
Cletus has perhaps the most interesting game mechanic out of all WTTG killers. He will only kill you if you don’t have his supply on-hand. HE requires meth to leave you alone. Pick up product in motel rooms and around the parking lot at the start of every run. When your supply runs out, find and contact dealers on A.C.R.S, click on their username to check their Rep level, and PING to contact them. From here, you will get their Dealer ID, which can be inserted into DAREdash. This number does not carry over saves. Buying crystal from their stock works the same as purchasing an item off DarkDrop.
Make sure you always have one baggie in your inventory and try not to carry more than one at the same time, as Cletus will take everything in your supply. He needs his fix and doesn’t care it costs you more money to replace what he stole. Now that you have what he needs, Cletus won’t kill you but will move you into a motel room if he catches you outside.
Kidnapper
- Threat level : Low
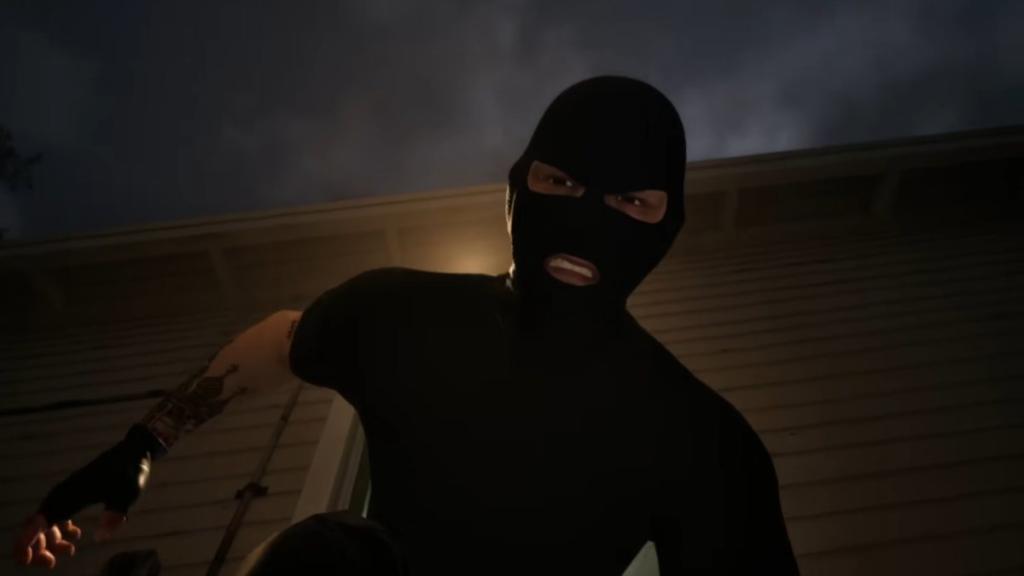
The Kidnapper has the simplest mechanic in the game, but becomes a nuisance when the power or internet goes out. He waits in the motel’s parking lot in a white van. Make sure you never set foot outside (via front or back door) when the white van is there. If you do, you will be abducted immediately. Instead, wait inside until the coast is clear.The longer you take waiting for the van to disappear, the more likely Noir will appear if multiple lights are switched off to counter Lucas.
Lucas
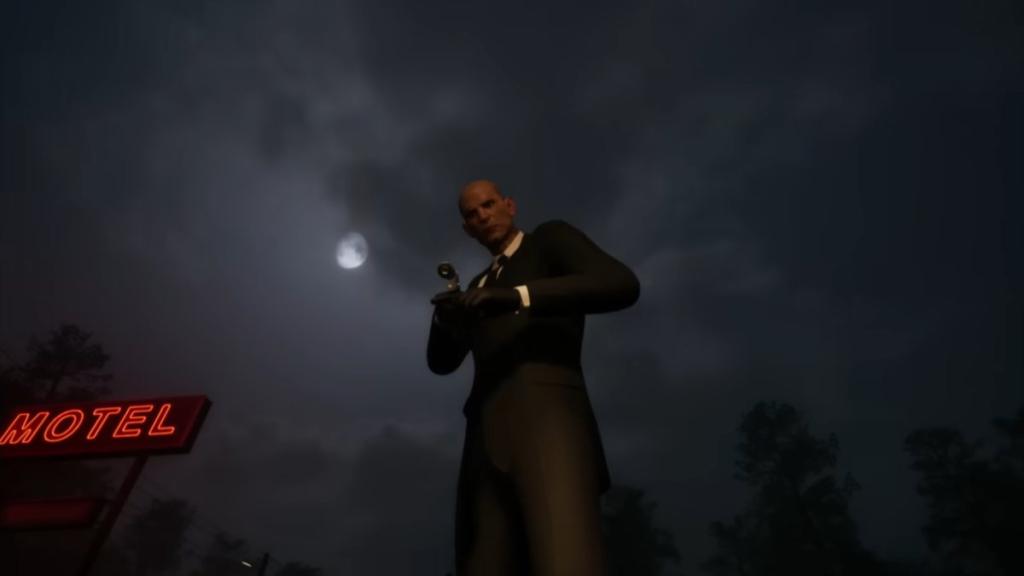
- Threat level : High
Lucas remains (as expected with Reflect Studios) the most consistent threat in Welcome to the Game. Featured in every title since his first appearance in WTTG2, Lucas is the hitman of your nightmares.
The way Lucas works is by assassinating Simon (you) via the back doors of the main building. Though he can attack you outside, his main method of getting to you is by entering through the back (this includes the Electrical Room door, which you can unlock). Make sure you have all back doors locked from the moment your run starts and only unlock if you have to fix the internet or restore power.
There is a subtle sound cue of him unlocking the back door. When this happens, you have a small window to get to one of two hiding spots on either side of the computer terminal. These are the lockers to the far right or the laundry basket on the far left.
Once you hide, a minigame plays out where you must hold and release the spacebar to keep the ring between the two moving dotted rings (or within the band). The gauge won’t deplete until Lucas leaves. You will know you’re safe when the hiding minigame ends. You should turn off two to three lights at the start of every run and switch off the computer when you hear Lucas coming (otherwise he will steal DOS coins).
Motion sensors are a must. They beep and flash red on the computer taskbar when triggered. Buy and position two of these on the backside of the main building (ALLEY), far from the outer doors so that you have enough time to turn off lights and hide.
Noir
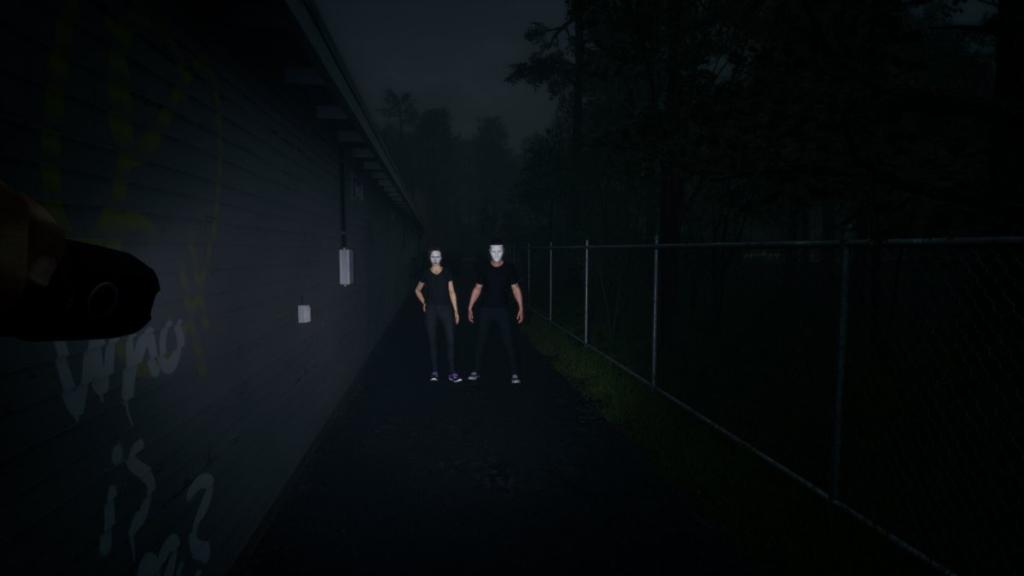
- Threat level : Low-medium
The recurring Reflect Studios killers and common nuisances of Dead Signal, the duo of Noir returns. Keeping the lights off increases the odds of these killers spawning. This makes fixing a power cut extremely dangerous.
All you have to do when Noir appears out back is notice who is standing where. If the man is on the left, shine a light and look away for five seconds. It’s increased to 10 seconds if the woman is positioned to the left. Check that they’re gone before you walk away.
Other times, one of them might visit and stand directly in front of you when at the computer. Simply look away for a few seconds and wait for them to whisper, indicating they’re leaving.
Tanner

- Threat level : High
Ah, the heartthrob of the franchise. Transferred from Scrutinized, Tanner is more desperate than ever. There are multiple ways he can attack—be it inside a motel room or by leaping across the counter in the main building.
There’s a panic button to the right of the computer which temporarily disables the automatic doors ahead of you. When timed properly, Tanner will approach and potentially crash into the glass. Either way, he missed this chance to inject you with a lethal dose.
Do not rely on the panic button; overusing it will cause network issues, forcing you to go out back and fix them. You could install cameras to spot Tanner (though they take a while to open) or buy motion sensors and place them on the thin pillars at the edge of the motel parking lot (near the road). Click on the sensor icon on the taskbar to see where motion has been captured, then press the panic button if there’s movement on the FRONT_OUTER_LOT.
As with the main doors, you should lock the motel doors behind you when you enter rooms. Use the peephole to see if Tanner is nearby. Seeing him confirms that he is on cooldown hereafter and rewards you with a little breather to then turn your attention to other killers.
Tucker
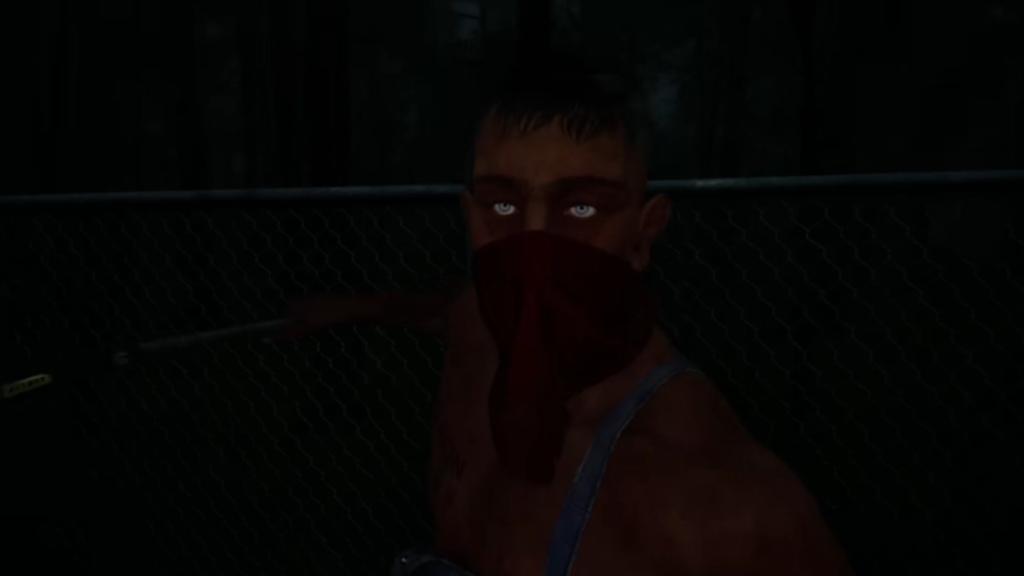
- Threat level : Medium
Finally, there’s Tucker. This killer loves to attack when you’re out back fixing the internet router. Listen to leaves rustling to tell you he’s nearby. This will almost always happen when you’re locked mid-animation, unplugging the router. Stand still and wait. Listen for a second rustle to tell you he’s walked away.
It’s a different story if you hear music playing on a speaker outside. When this happens, run into the parking lot and look for an Ace of Spaces playing card on one of the motel doors. Enter the one with it and lock the door behind you. Wait until you hear a triumphant tune play, which means Tucker has left the scene.
The post All Welcome to the Game 3 killers and how to deal with them appeared first on Destructoid.