Disclaimer from our expert: This is a general outline of movements for shoulder discomfort. For any specific prescriptions or advice, please seek help from a practitioner in person.
Fun fact: the shoulder is the most mobile joint in the body, which is ironic because it doesn’t feel like that for many of us. There can, of course, be many reasons for shoulder stiffness and immobility, but I was surprised to find what’s at the root of the many cases seen by Dr Dan Ginader, a qualified physical therapist for the Mims Method in Manhattan.
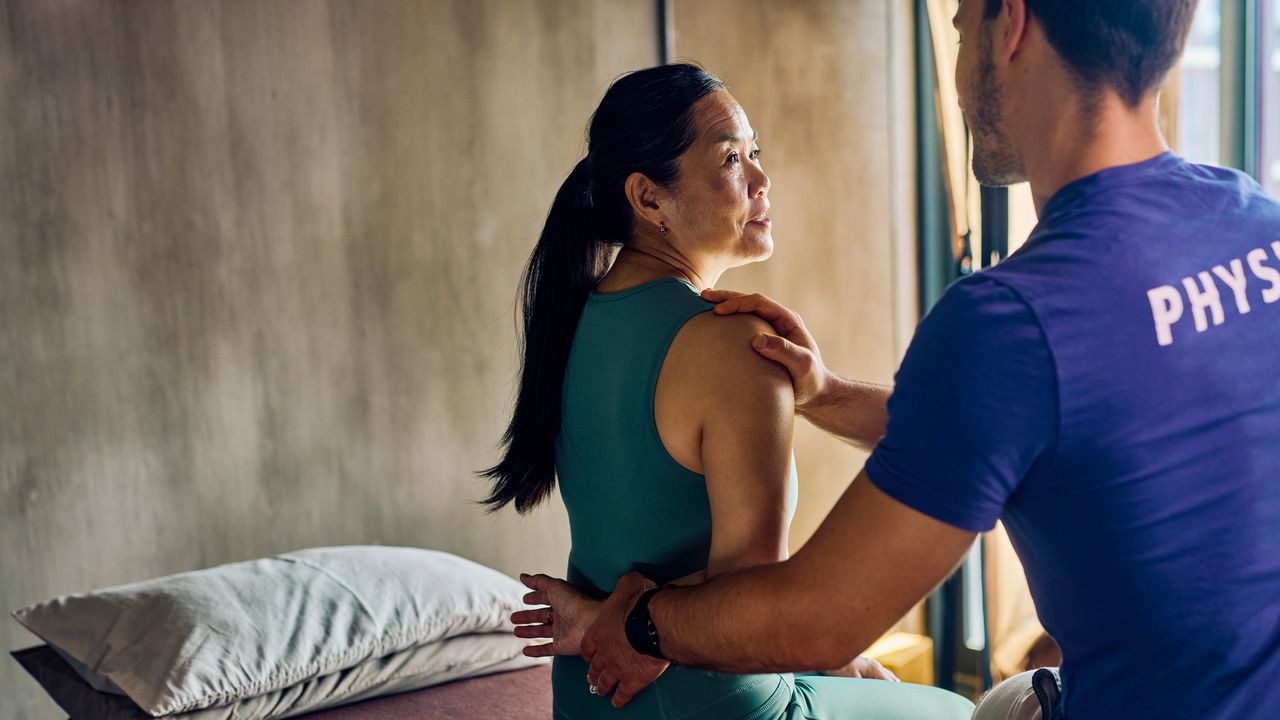
“The first thing I will look at is the strength of the rotator cuff,” Ginader tells Fit&Well. “When most people feel like they don’t have shoulder mobility, the thing they are usually missing is rotator cuff stability.”
“The rotator cuff is a group of four muscles in the shoulder, two of which lie on the back, lower portion of the shoulder blade,” says Ginader. “They are called the infraspinatus and teres minor, and when there is an issue with shoulder strength and mobility, these are two of the most common culprits.
“If you can’t efficiently use your rotator cuff, moving the shoulder overhead, out to the side, and behind the back can all feel difficult.
“When that is the case, I will normally suggest that people do these four things [below], three or four times per week, for three weeks to see how the shoulder responds.”
Ginader himself has been doing these exercises for years, and says that these four movements will improve strength, control and mobility.
“By the end of the circuit, the goal is that the shoulder muscles feel fatigued, but the shoulder feels easier to use,” he says.
You will need a lacrosse ball and a resistance band to do the workout. Ginader recommends the EliteFTS Pro Resistance Band, seen in the photos below.
1. Rolling out with a lacrosse ball

Time: 3-5min each side
- Place a lacrosse ball against a wall and lean your shoulder blade into the ball.
- Staying below the spine of the scapula (a horizontal protusion along the top of your shoulder blade), move around your shoulder blade using gentle pressure to find sore or tight spots that you can gently massage by moving your body,
- Make sure to keep your shoulder relaxed and only do this for between three and five minutes each side.
- When you’re done, you should feel some relief in your shoulder. If you feel bruised or sore, then you likely pressed too hard or rolled for too long.
2. Resisted shoulder external rotation
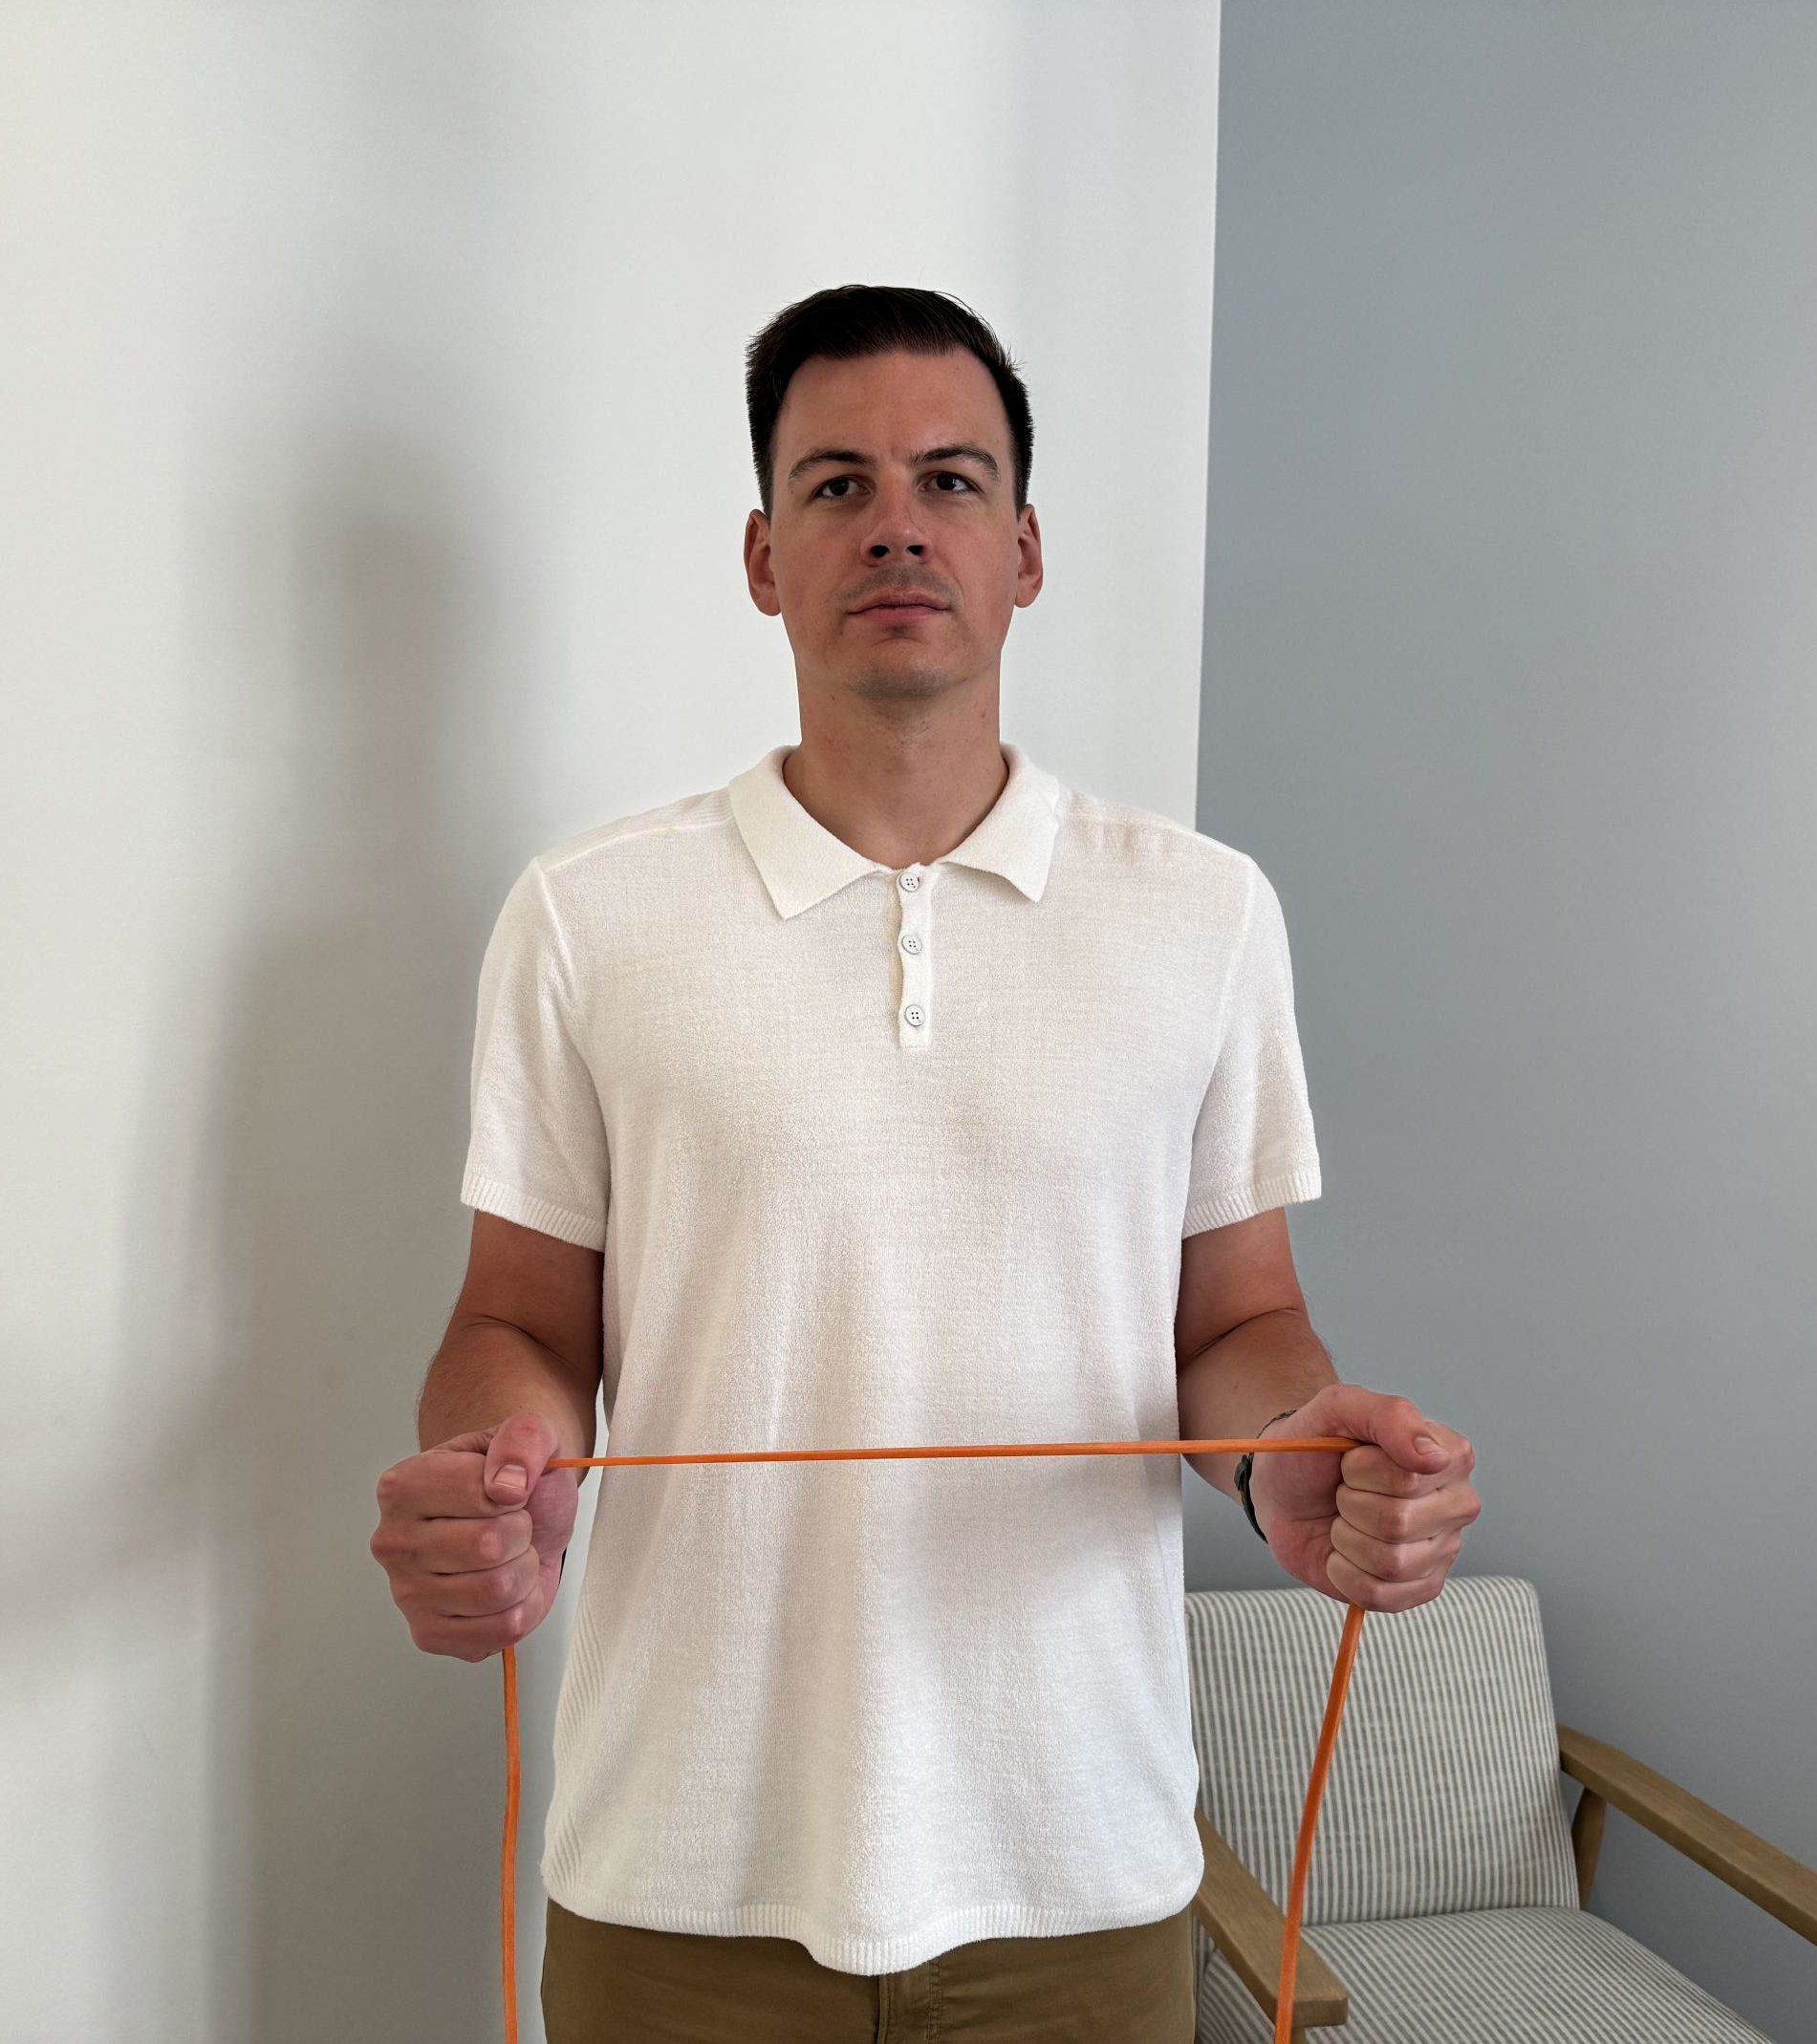
Sets: 3 Reps: 10
- Stand with your upper arms pinned to your torso, elbows bent at 90° and lower arms pointing forward, holding a resistance band in both hands with your palms facing. There should be some tension in the band.
- Move your shoulders down and back, and imagine that your elbows are being attracted to the floor via a strong magnet.
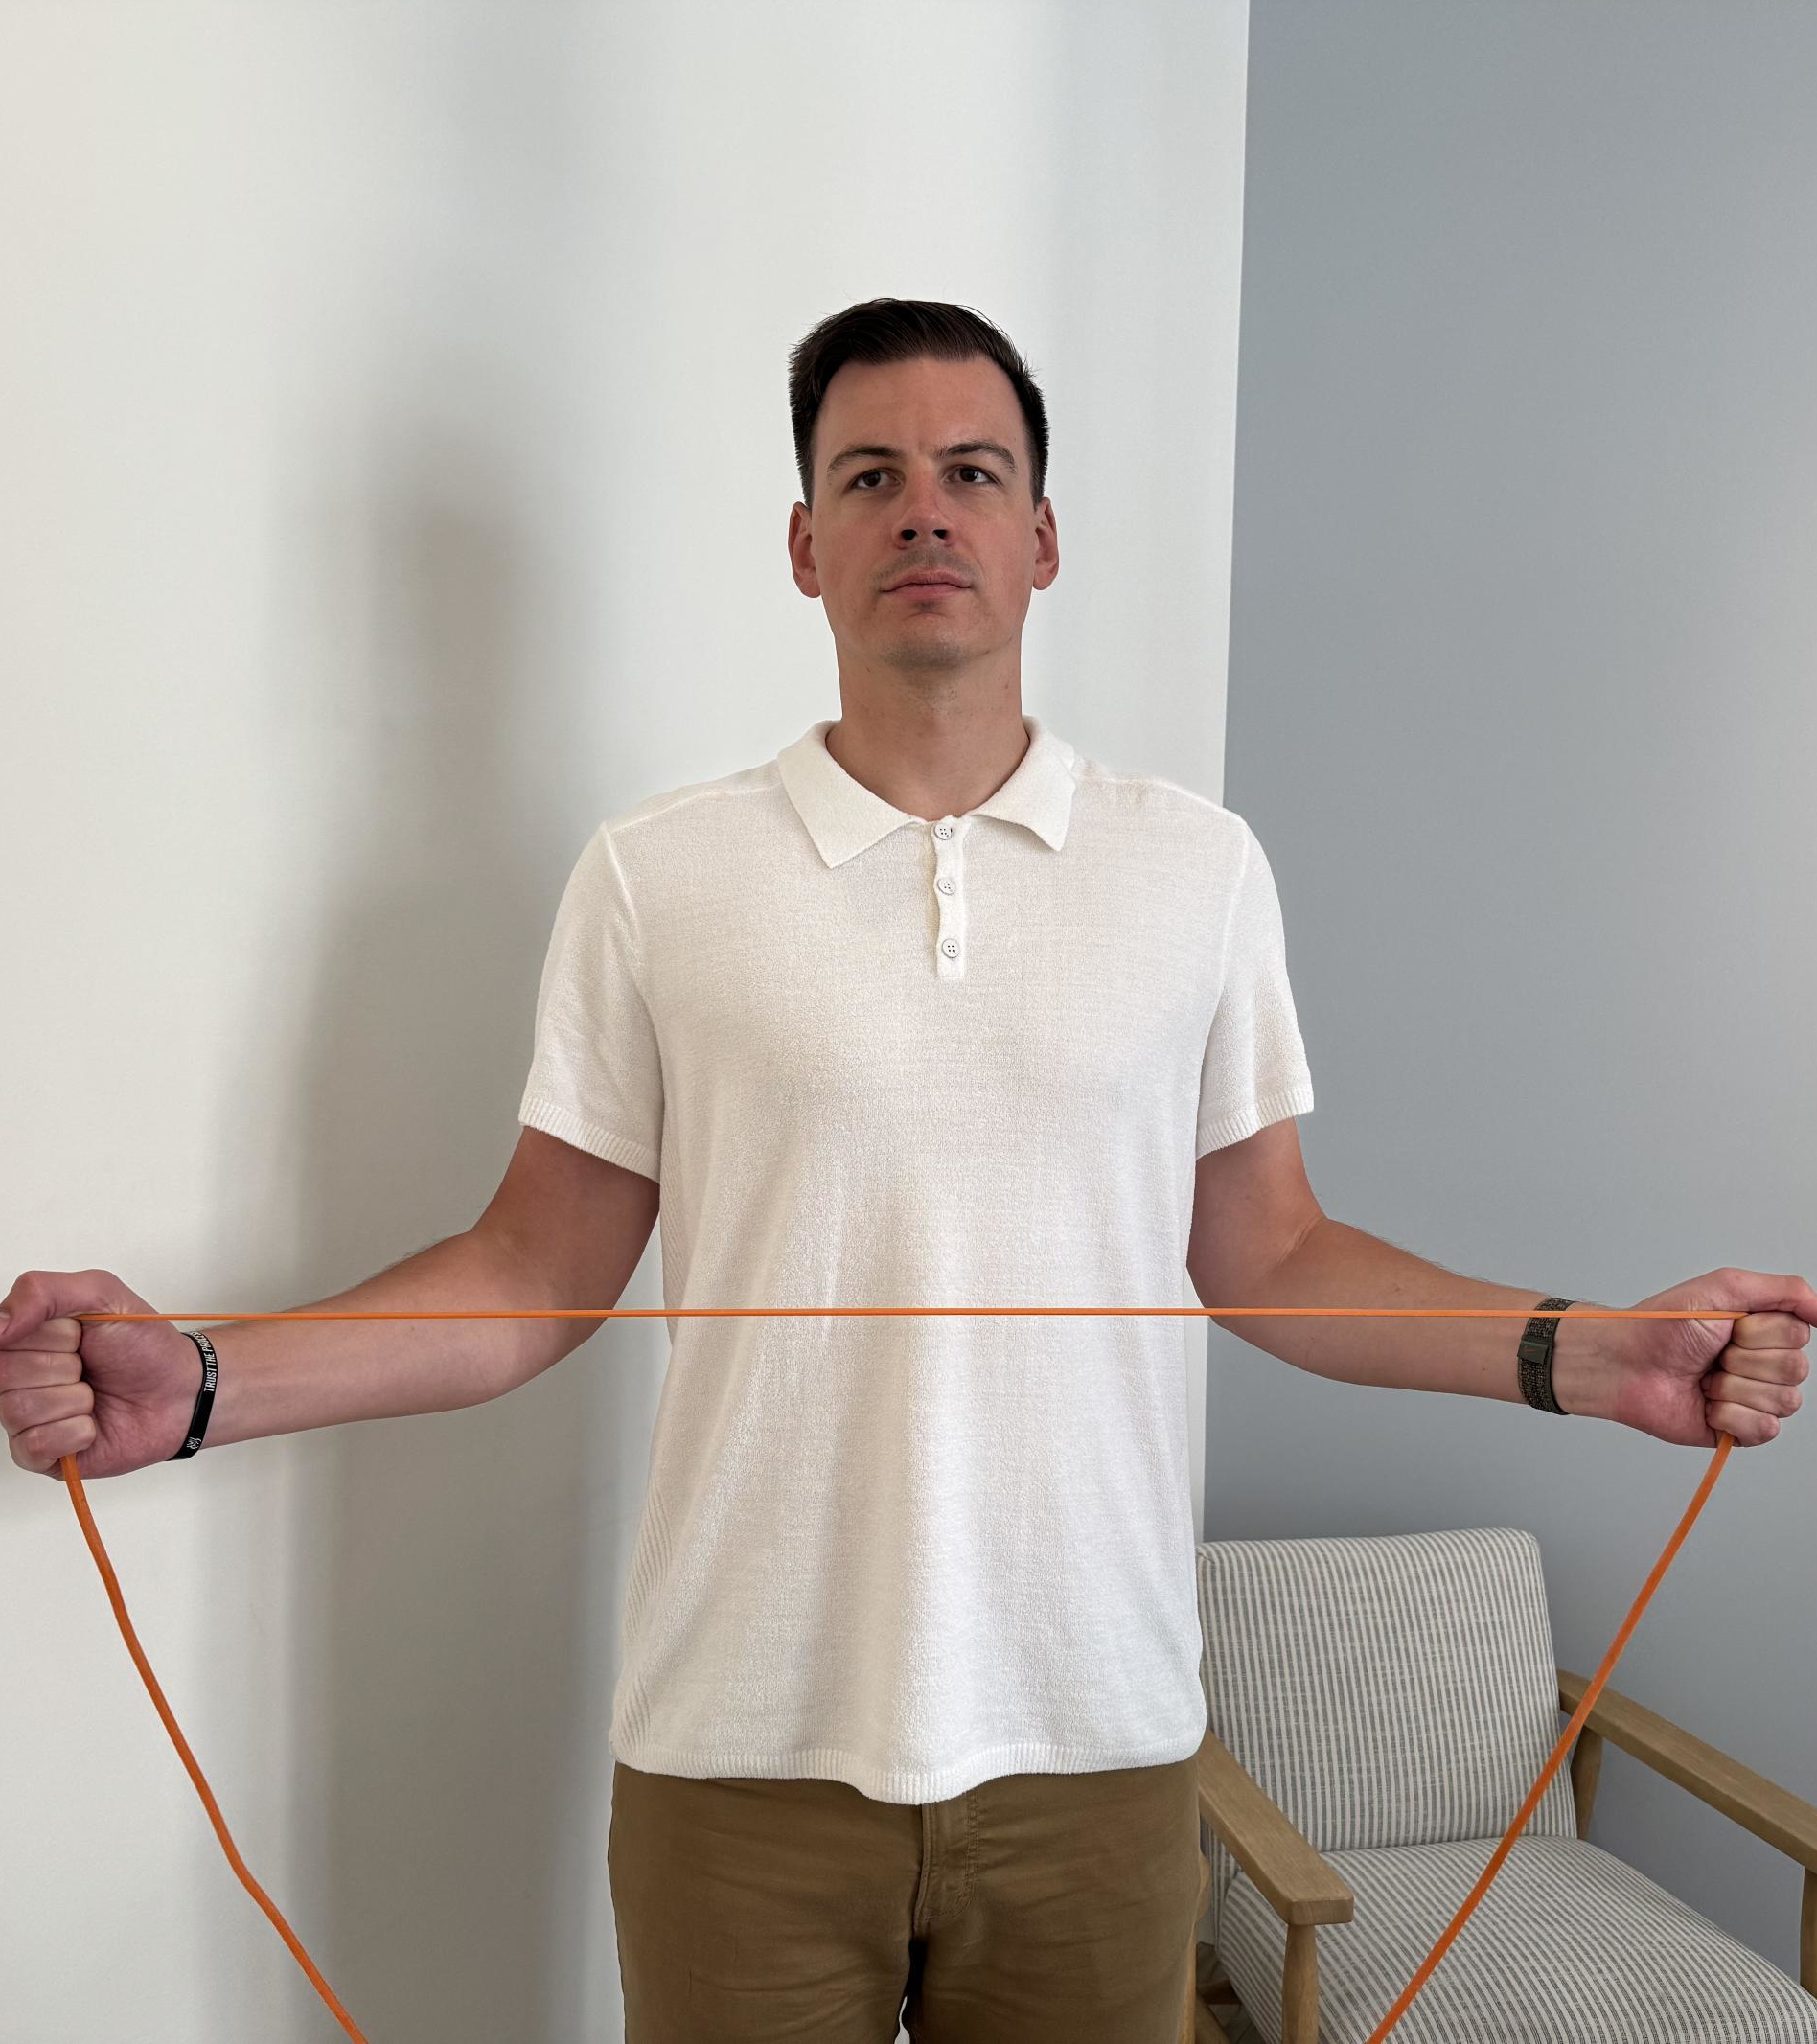
- Keep your elbows pressed against your torso, slowly move your hands out to the sides, increasing the resistance of the band.
- Slowly and with control, move your hands back to the start position.
3. Resisted raise
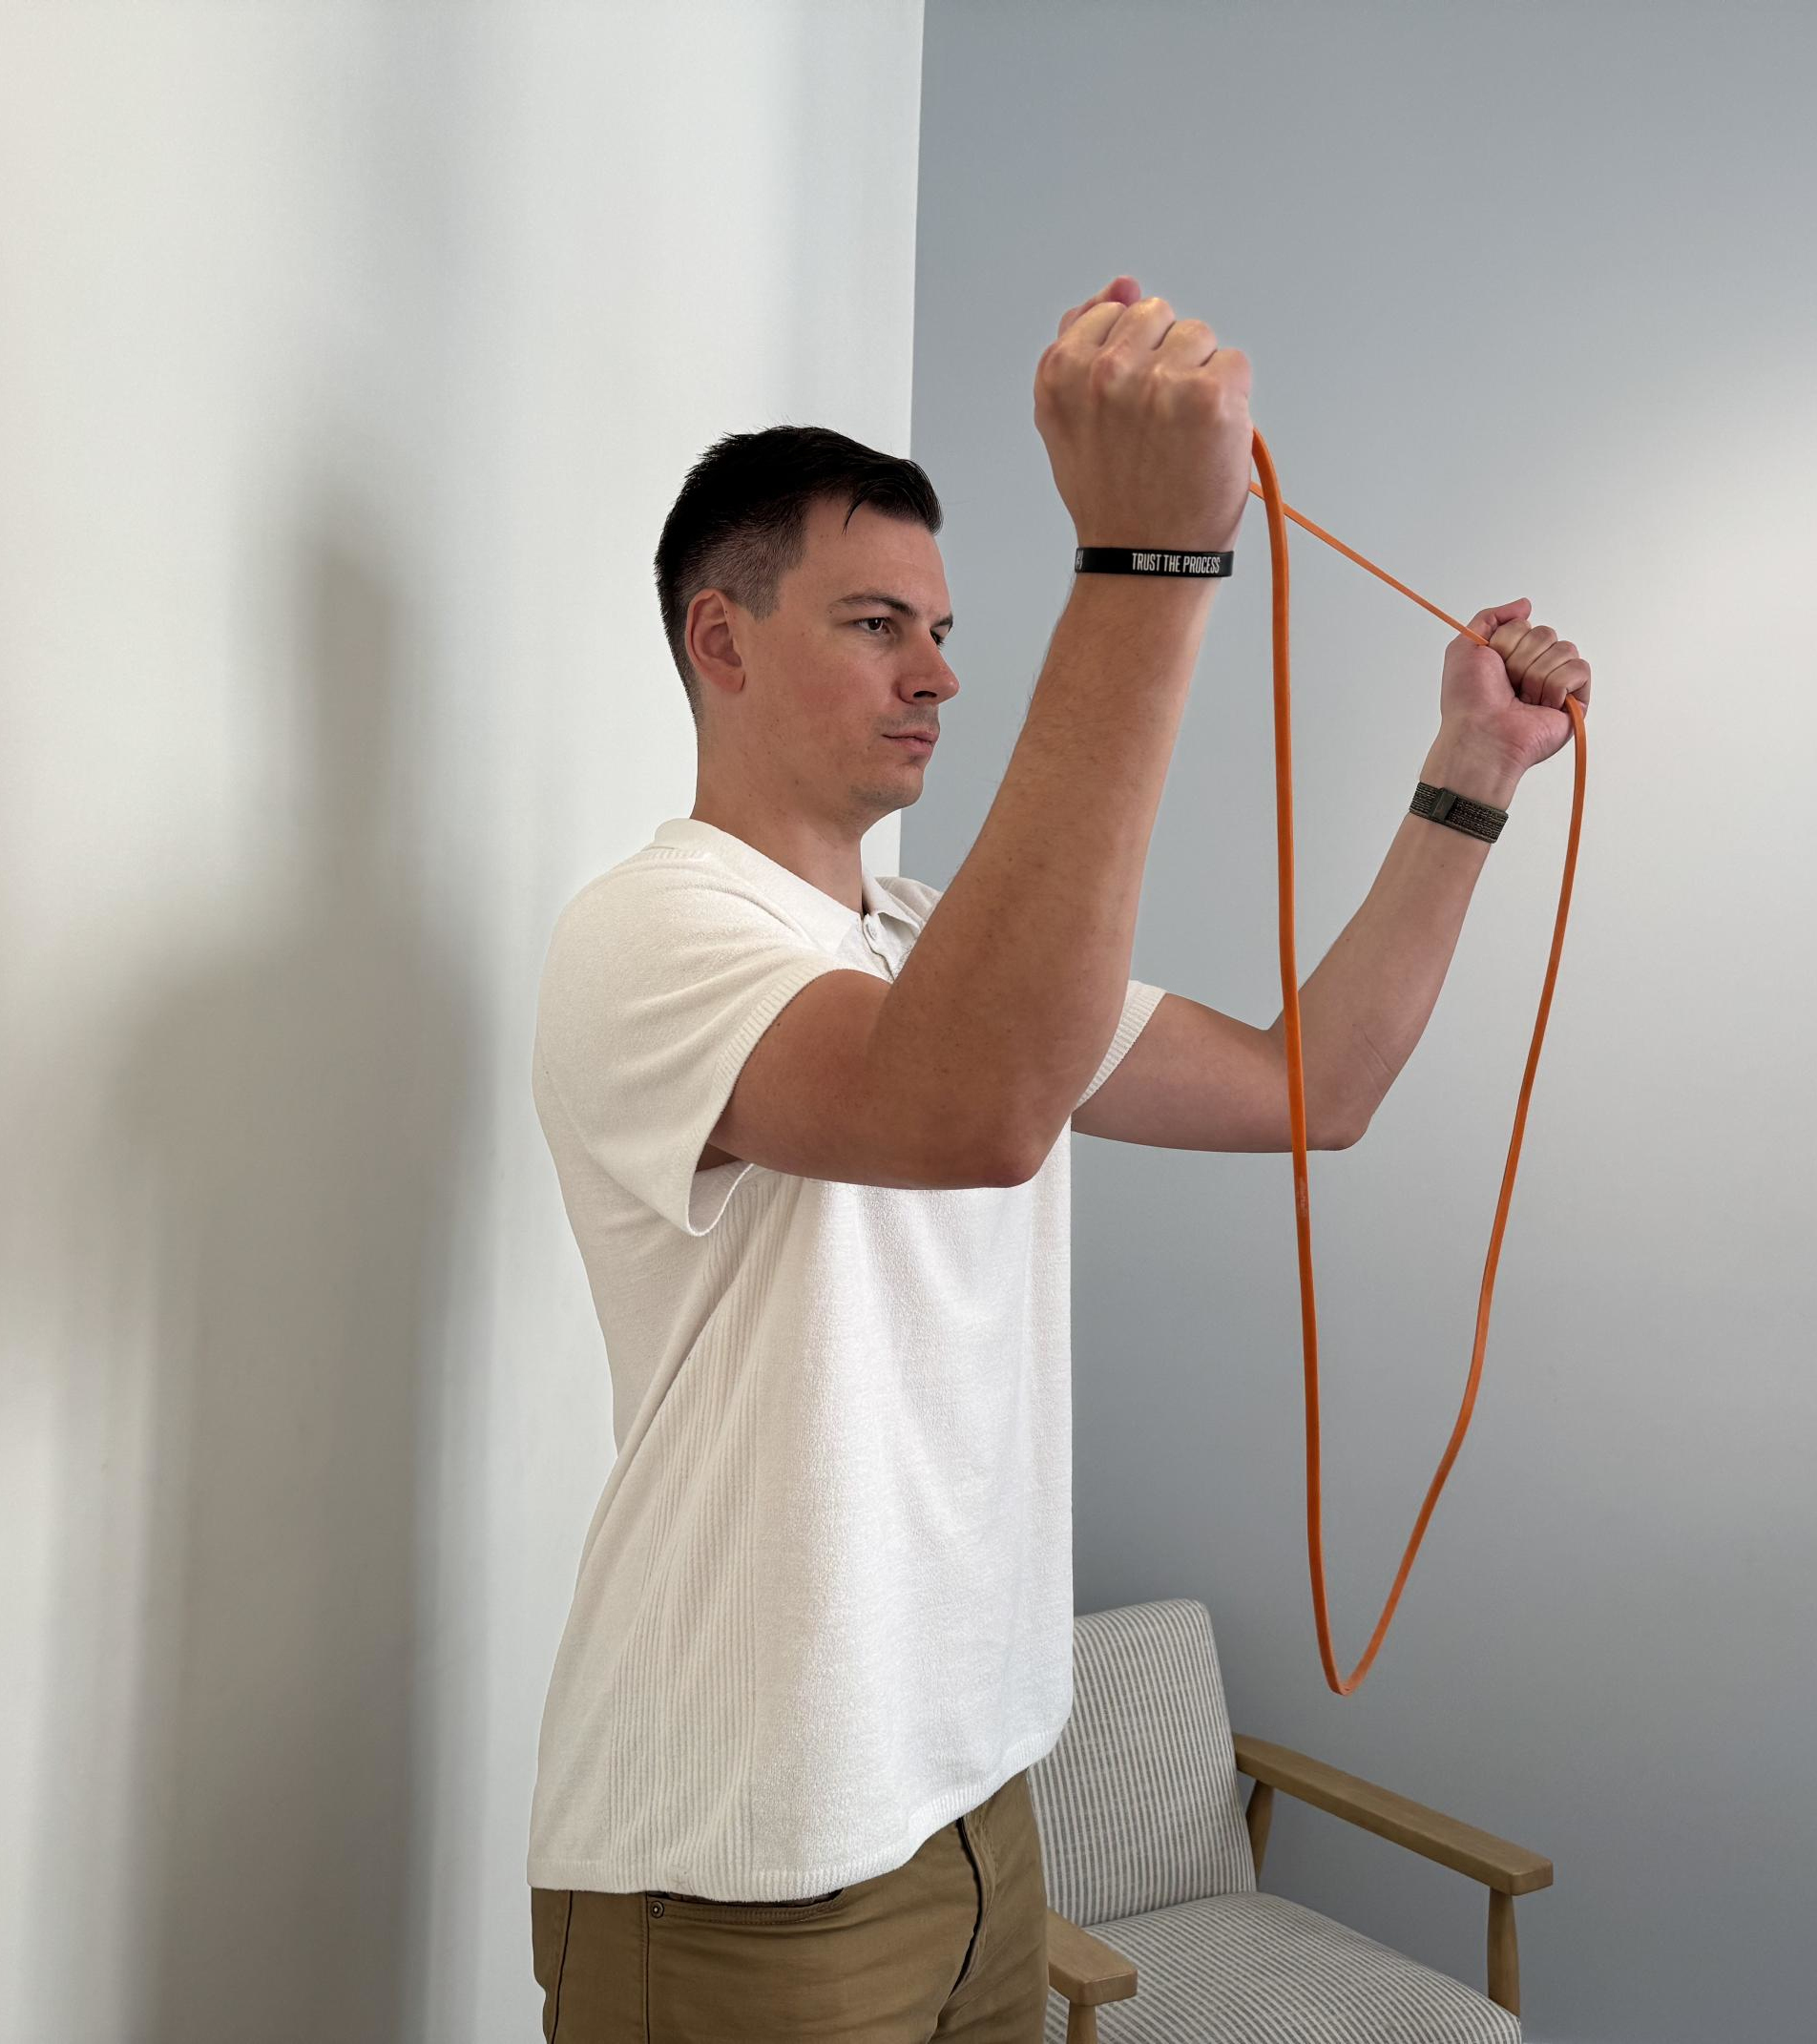
Sets: 3 Reps: 6
- Stand straight with your upper arms pinned to your torso, elbows bent at 90°, lower arms pointing forward, holding a resistance band in both hands with your palms facing and hands slightly wider than shoulder-width apart. There should be some tension in the band.
- Keeping your elbows bent at 90° throughout, raise the band to forehead height without allowing your shoulder to rise or your elbows to flare. You should feel an immediate burn in the shoulders if you’re doing it right.
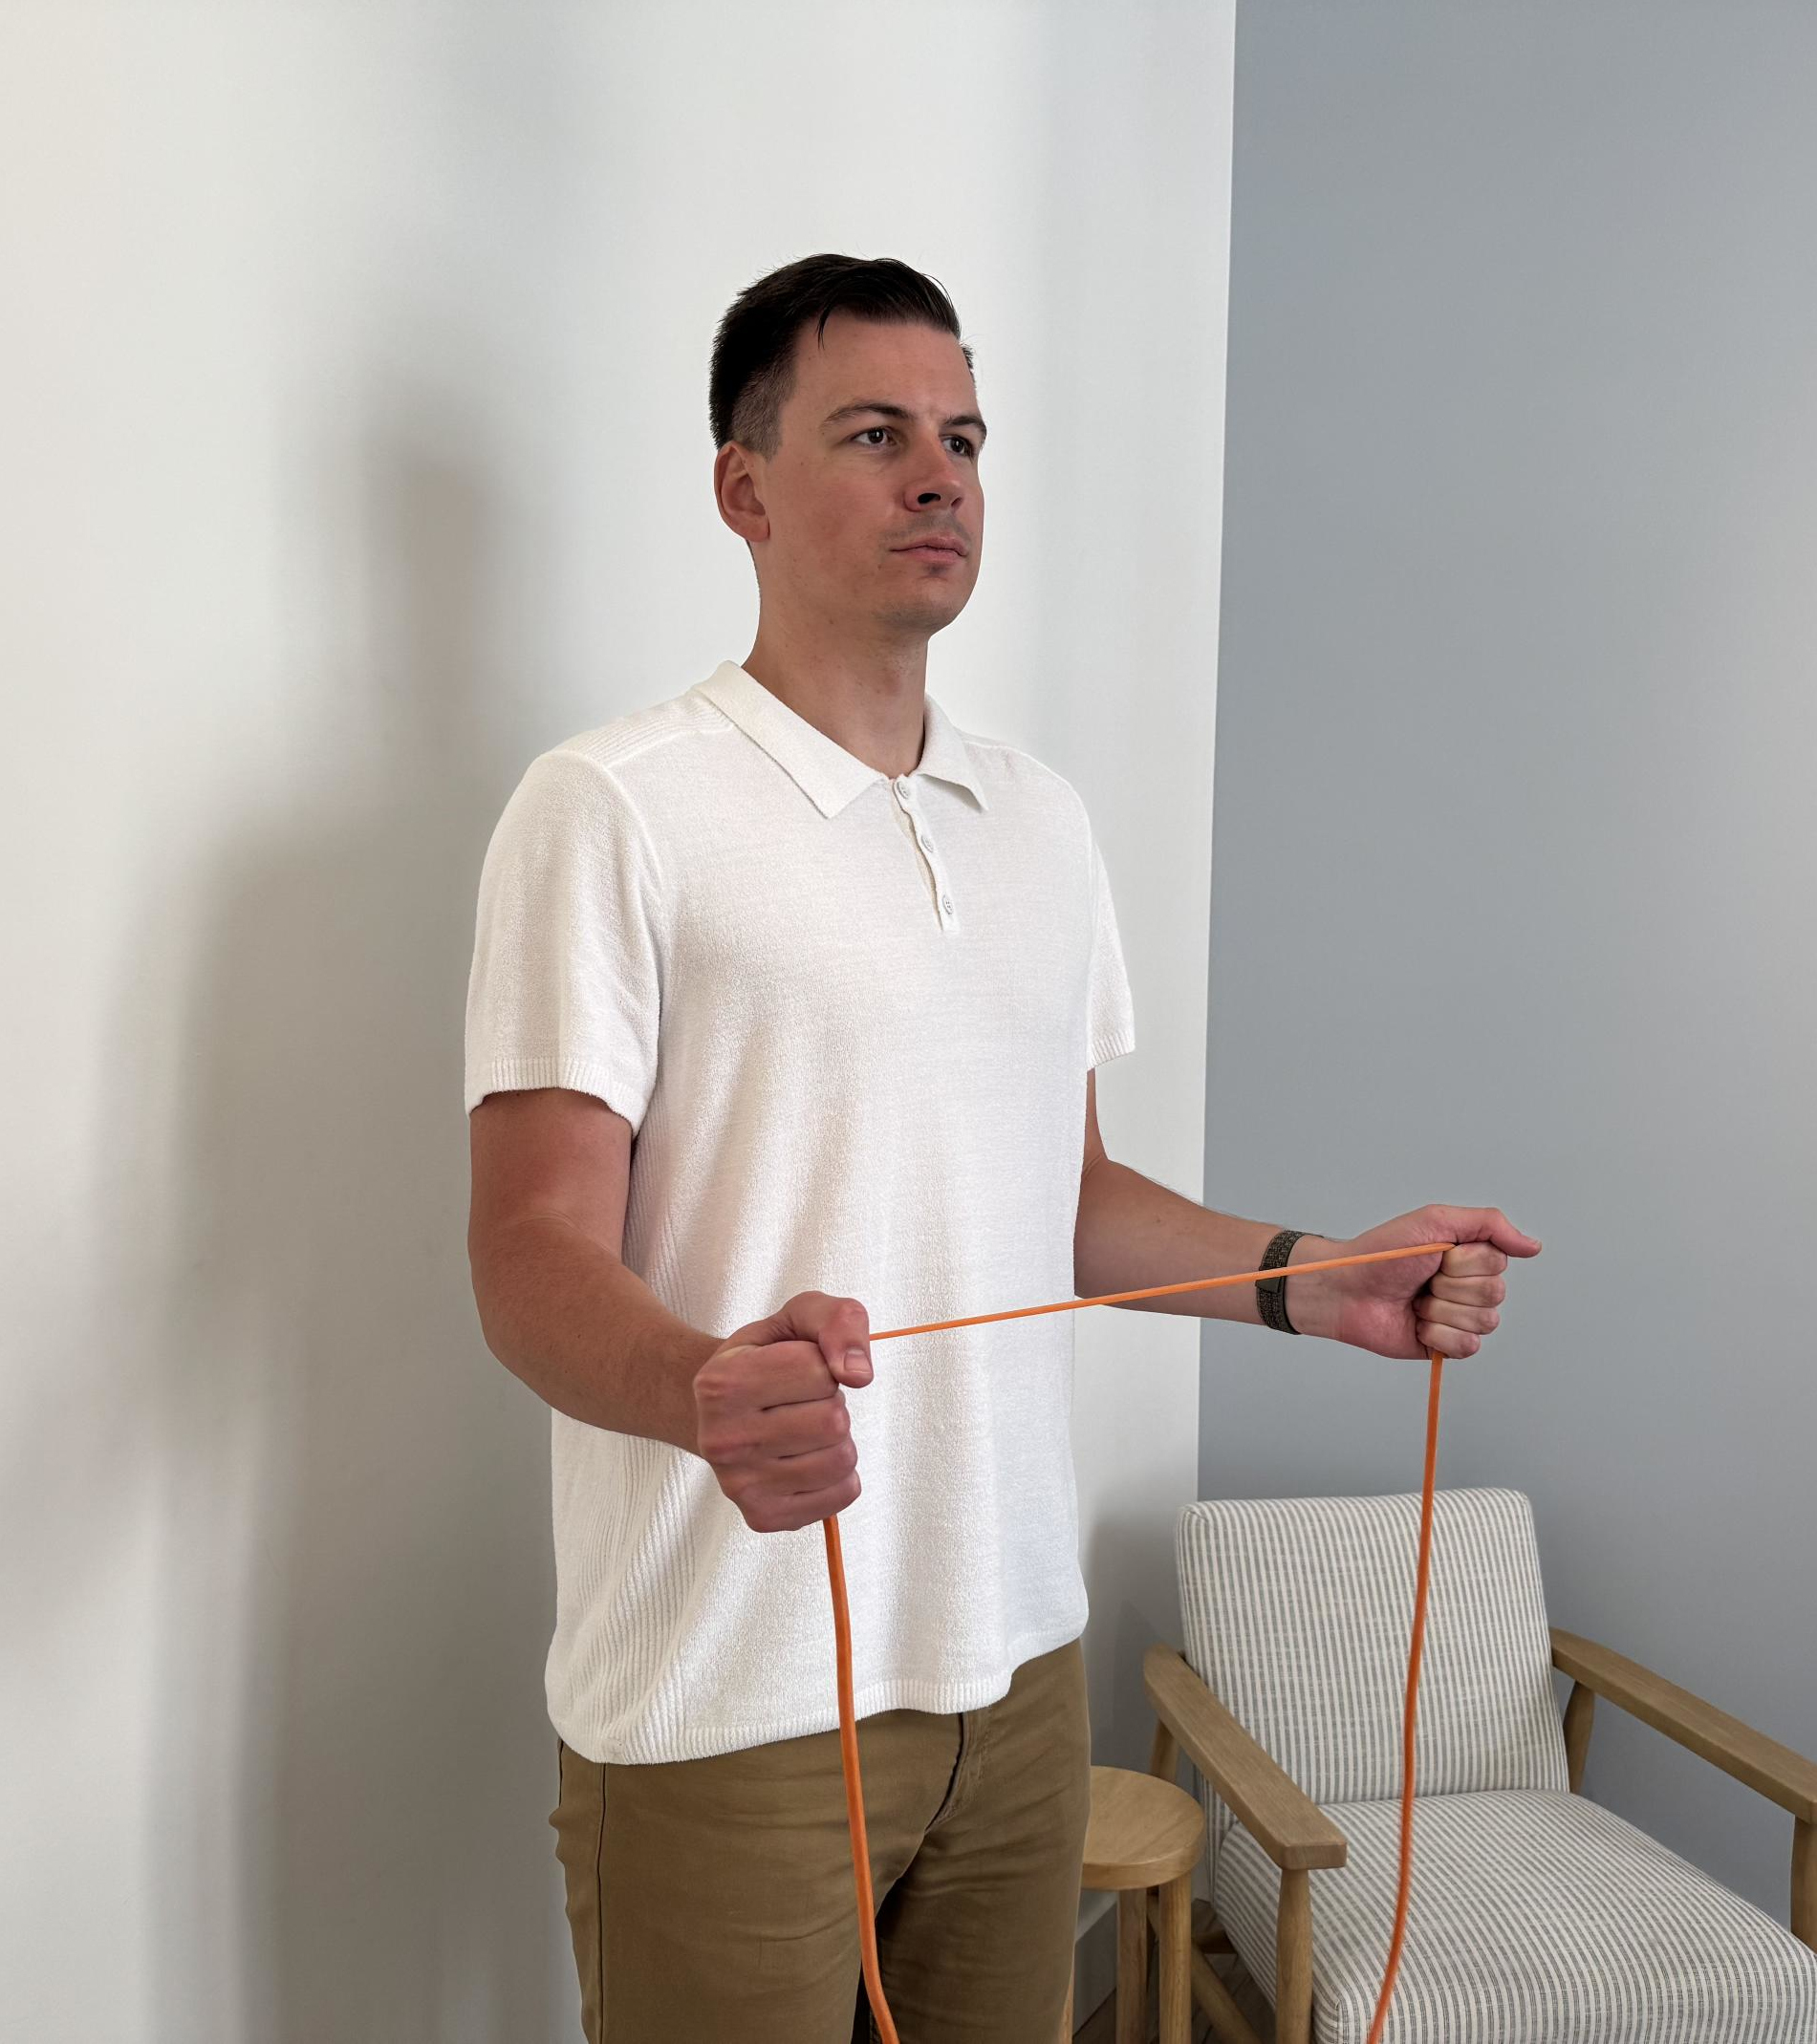
4. Resisted D2 flexion
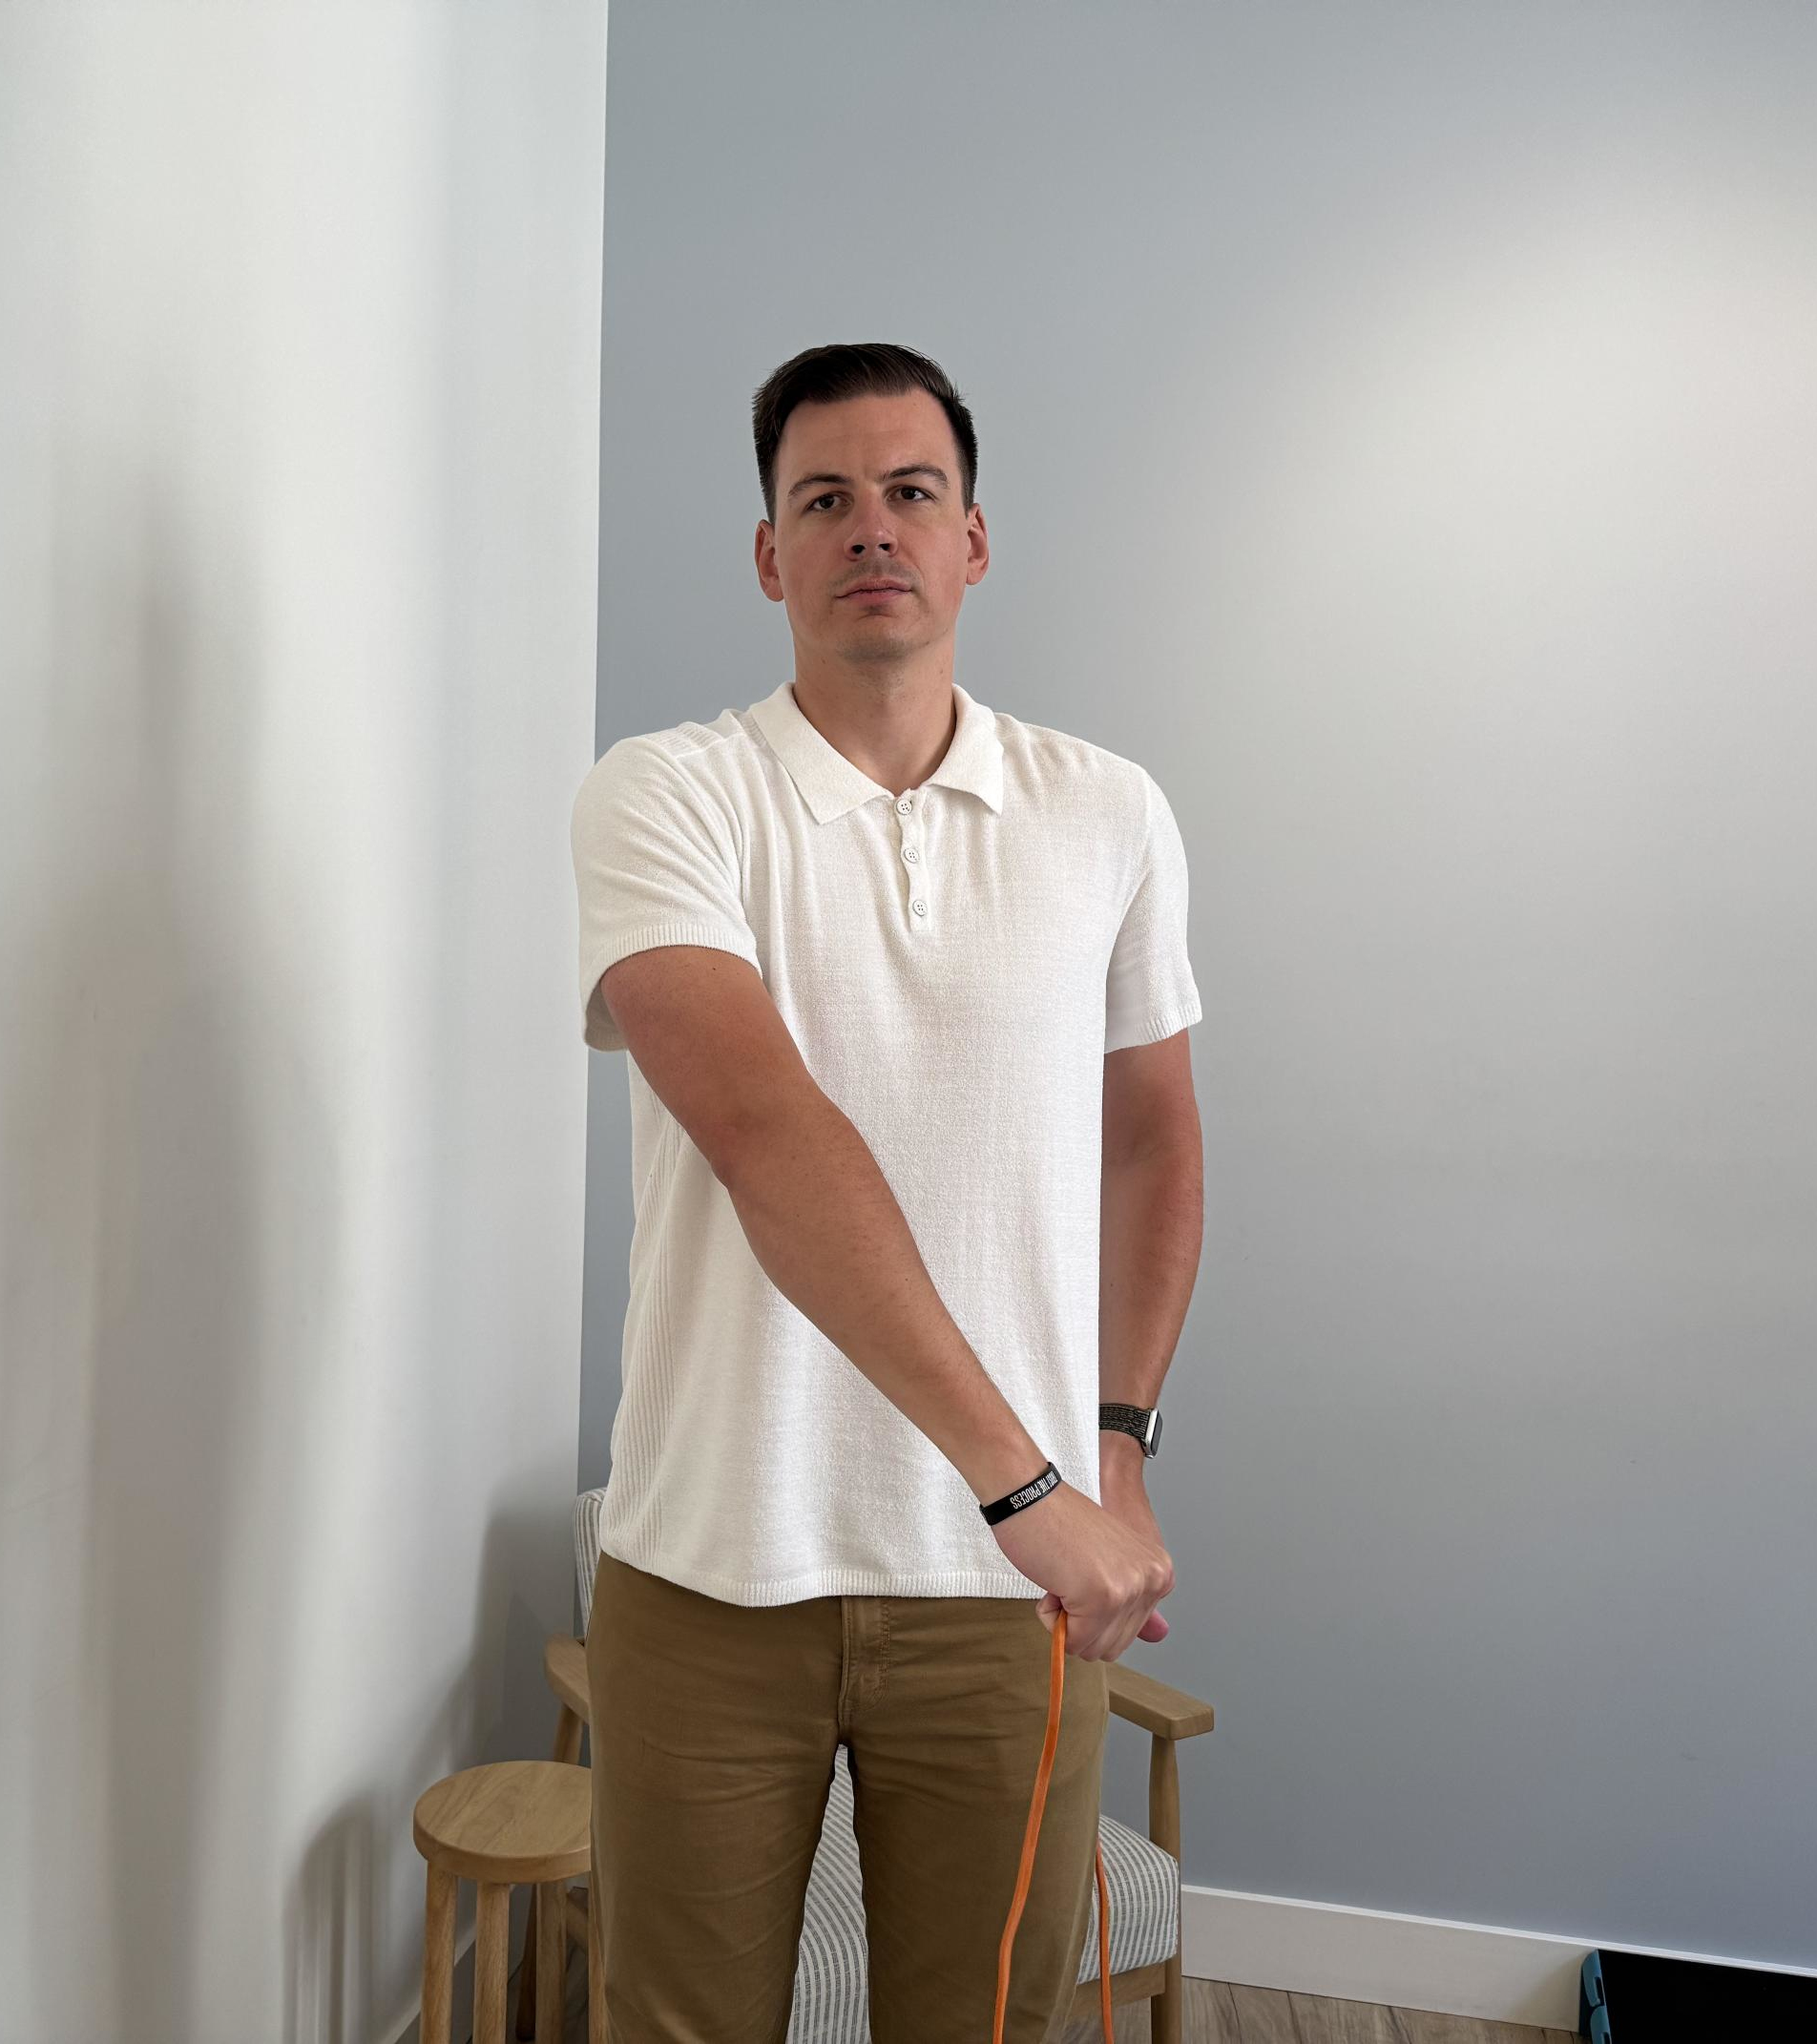
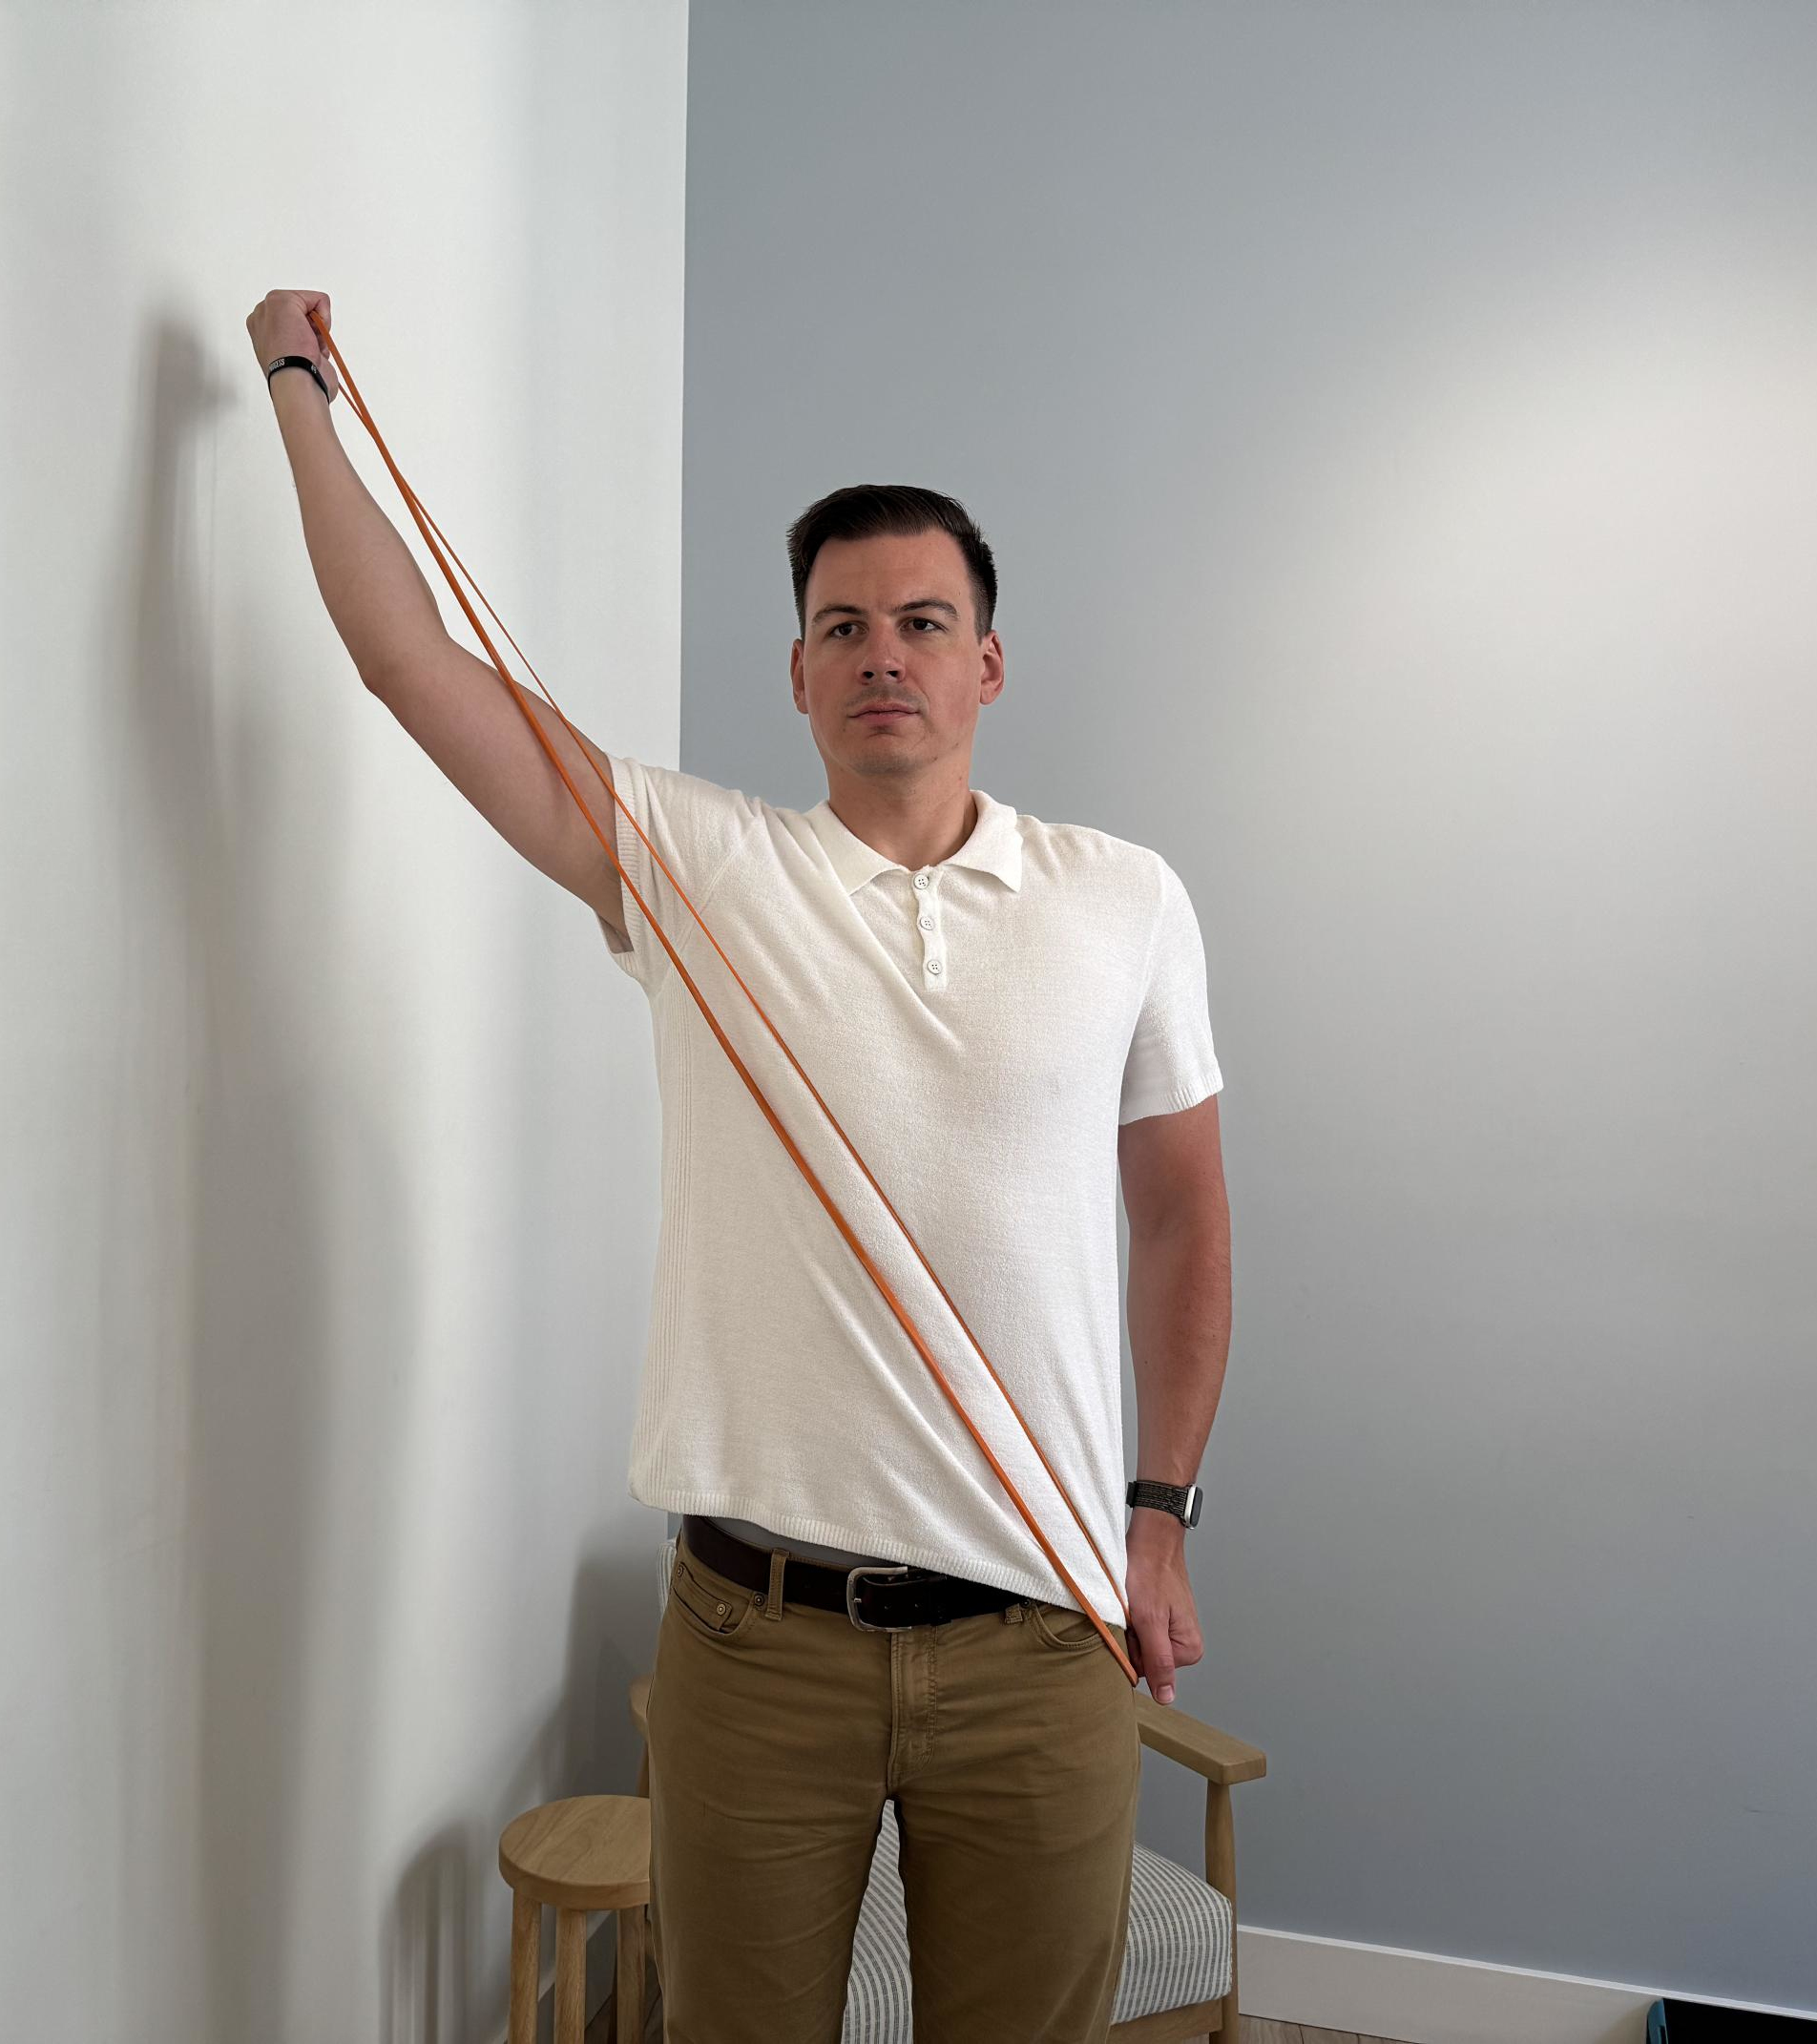
Sets: 3 Reps: 6 each side
- Hold the band in both hands by your left hip, with your left hand anchored on your left hip.
- Keeping your elbow fairly straight, raise your right hand across your body and beyond your right shoulder, slowly rotating your hand so that at the top of the movement, your thumb is pointing behind you.
- Do not allow your shoulder to rise while doing this movement. It is helpful to think about keeping your shoulder blade as low as you can the entire time.
- Do all your reps on one side then swap sides.


.jpeg?w=600)