Nothing quite beats juicing your fruit and veg at home to guarantee an ultra-unprocessed glass of fresh juice, whether you’re juicing to increase your intake of the good stuff or incorporating a juicing regime into your diet.
Once you start making your own juice with one of the best juicers it will be tricky to go back to buying off-the-shelf juices. For me, it’s a bit like baking. When you bake cakes, anything out of a packet just can't measure up anymore. And even though I have a sweet tooth, I can happily refuse a plastic-wrapped muffin. Homemade definitely has the edge on being fresh and flavorsome.
So, we’ve got 7 top tips to help you get the most out of your juicer, so you can enjoy the best tasting juice at home.
1. Know your juicer’s limits — it’s not a blender!
A juicer works differently from a blender, and it helps to understand what each appliance can do. This will ensure you don’t expect your juicer to tackle tasks best left to a blender and won’t be disappointed.
KitchenAid says the difference is how they process fruit and veg. Juicers separate the pulp (fibre), skin and seeds from fruits and vegetables, leaving behind a thin liquid. Blenders process the whole product, producing thicker drinks, such as smoothies.
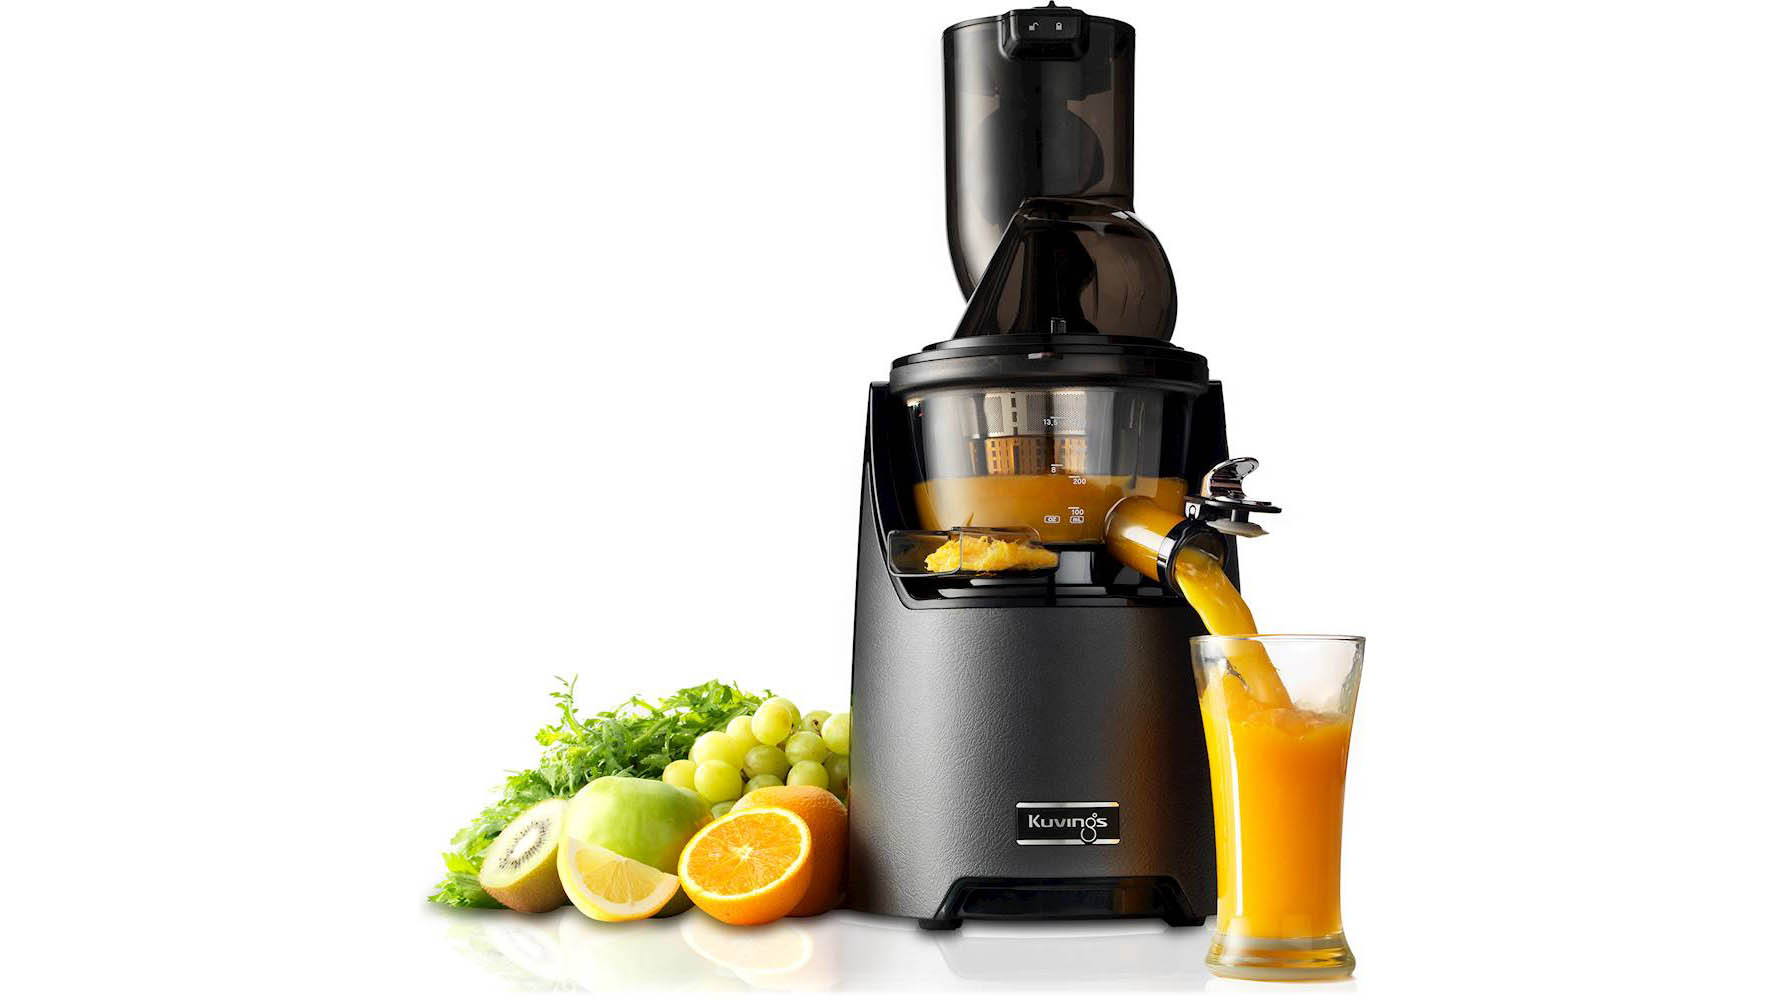
Juicers squeeze and extract the juice from the fruits and vegetables, which is passed through a sieve, leaving behind the pulp, skin and seeds in a separate chamber. You can choose between two types of juicers: a masticating and centrifugal juicer.
A masticating juicer is often known as a slow juicer or cold-press juicer. It crushes the fruit and vegetables before pressing down on the produce to extract the juice. A centrifugal juicer — the word “centrifugal” takes me back to my chemistry lessons — uses a blade that spins to shred the fruit and veg into a pulp. Using centrifugal force, the juice is pressed through a surrounding mesh screen and separated from the pulp. It’s quicker to use than a masticating juicer and is often cheaper.
2. Take it easy to start
It’s easy to get carried away with any new appliance and be keen to try out all the new bells and whistles at the start, but as I advised in 5 things to know before buying a bread maker, it’s best to take it easy and begin with the basics.
Read through the manual, work out how the juicer operates and how you need to prep the produce, and then start with a simple juice. Once you’ve given your juicer a run through, you can expand your repertoire and mix it up. You may also find that your stomach needs time to get used to the high level of nutrients — trying five new juicers in a day may have your stomach doing somersaults.
One option is to dilute the juice with 1 part water to 1 part juice. You can then increase the juice ratio gradually until your system gets accustomed to 100% juice.
3. Be prepared
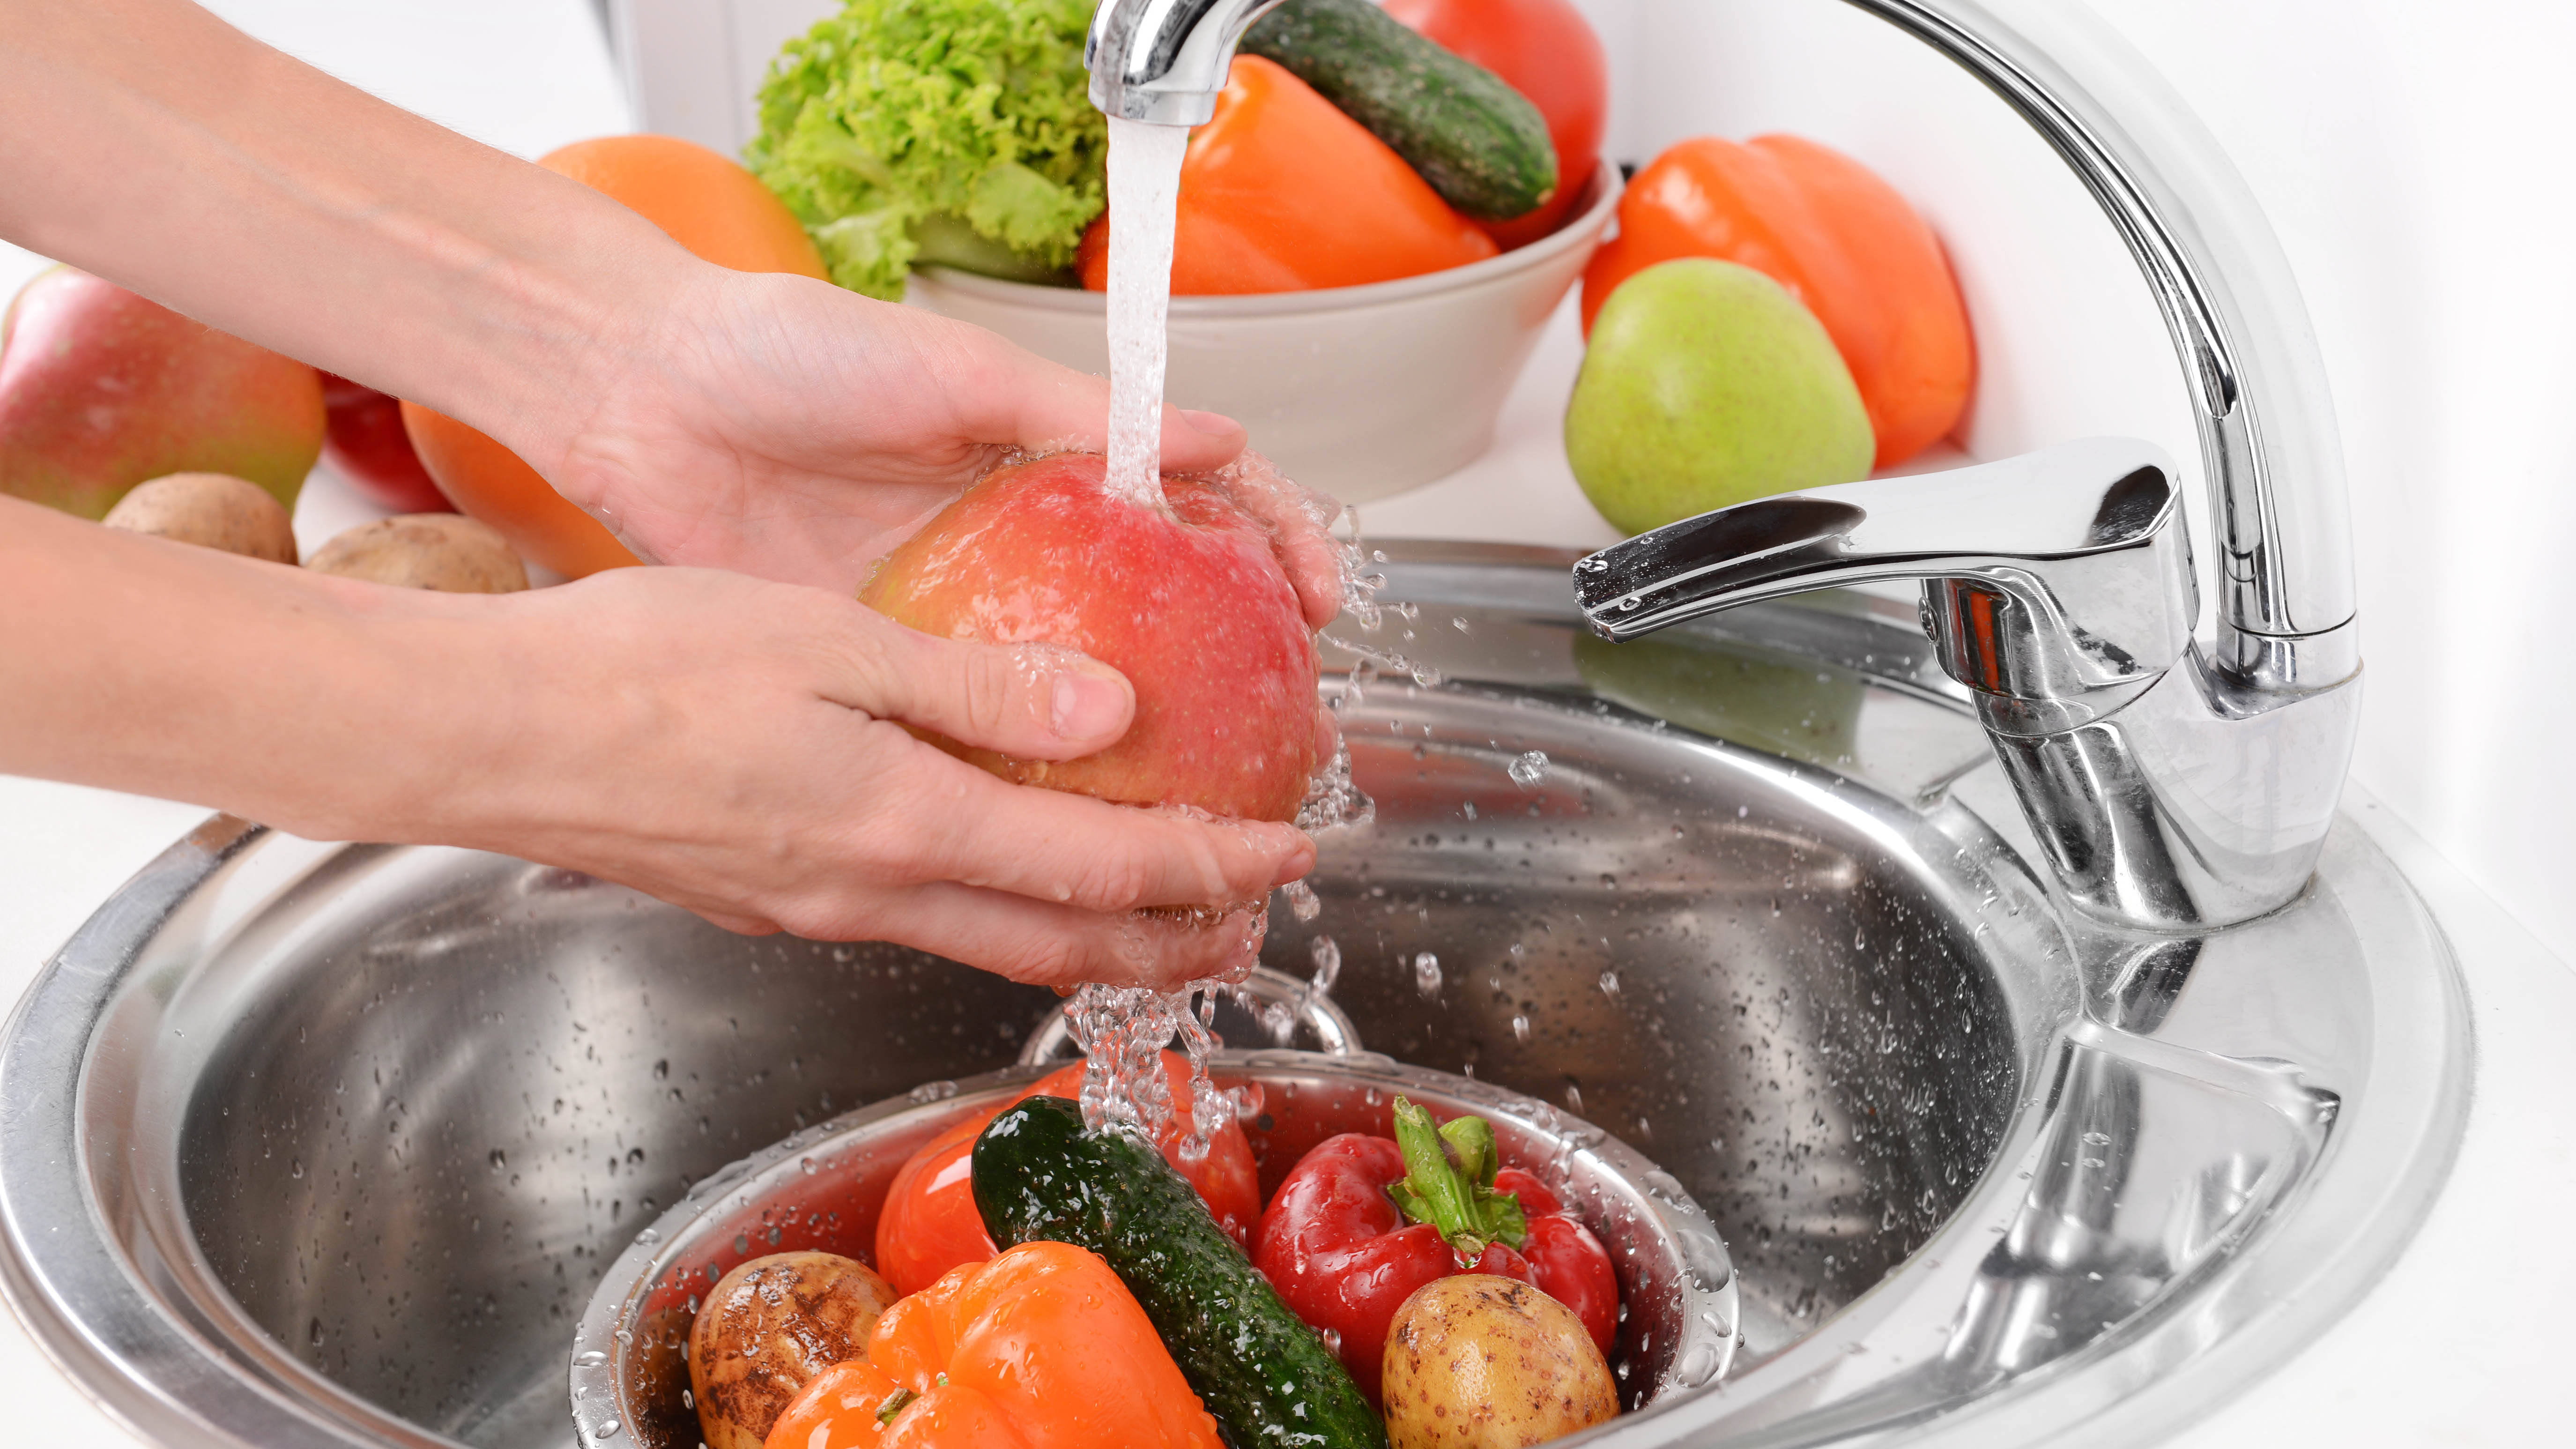
I don’t know about you, but I often underestimate how long ingredients take to prepare before I start cooking or baking. With juice, you’ll likely want to enjoy a fresh glass in the morning when time is precious. Getting your produce organised is one way to help speed up the process to ensure you can get into a good regime that you can stick to.
Thoroughly wash your fruit and veggies as soon as you unpack your shopping bag, then place them in a designated area of your fridge. This way, you won’t get muddled up with produce you’ve bought for meals and can grab what you need.
Produce that will need cutting can be prepared in advance, so cut up items like carrots and pineapple and store them in airtight containers or sealed food bags.
To peel or not to peel?
It makes the prep process easier by keeping on the peel, however, there are some fruits where it’s best removed. So for citrus fruits, kiwi, melons and any waxed product it’s best to get peeling.
4. Choose your fruit and veg carefully
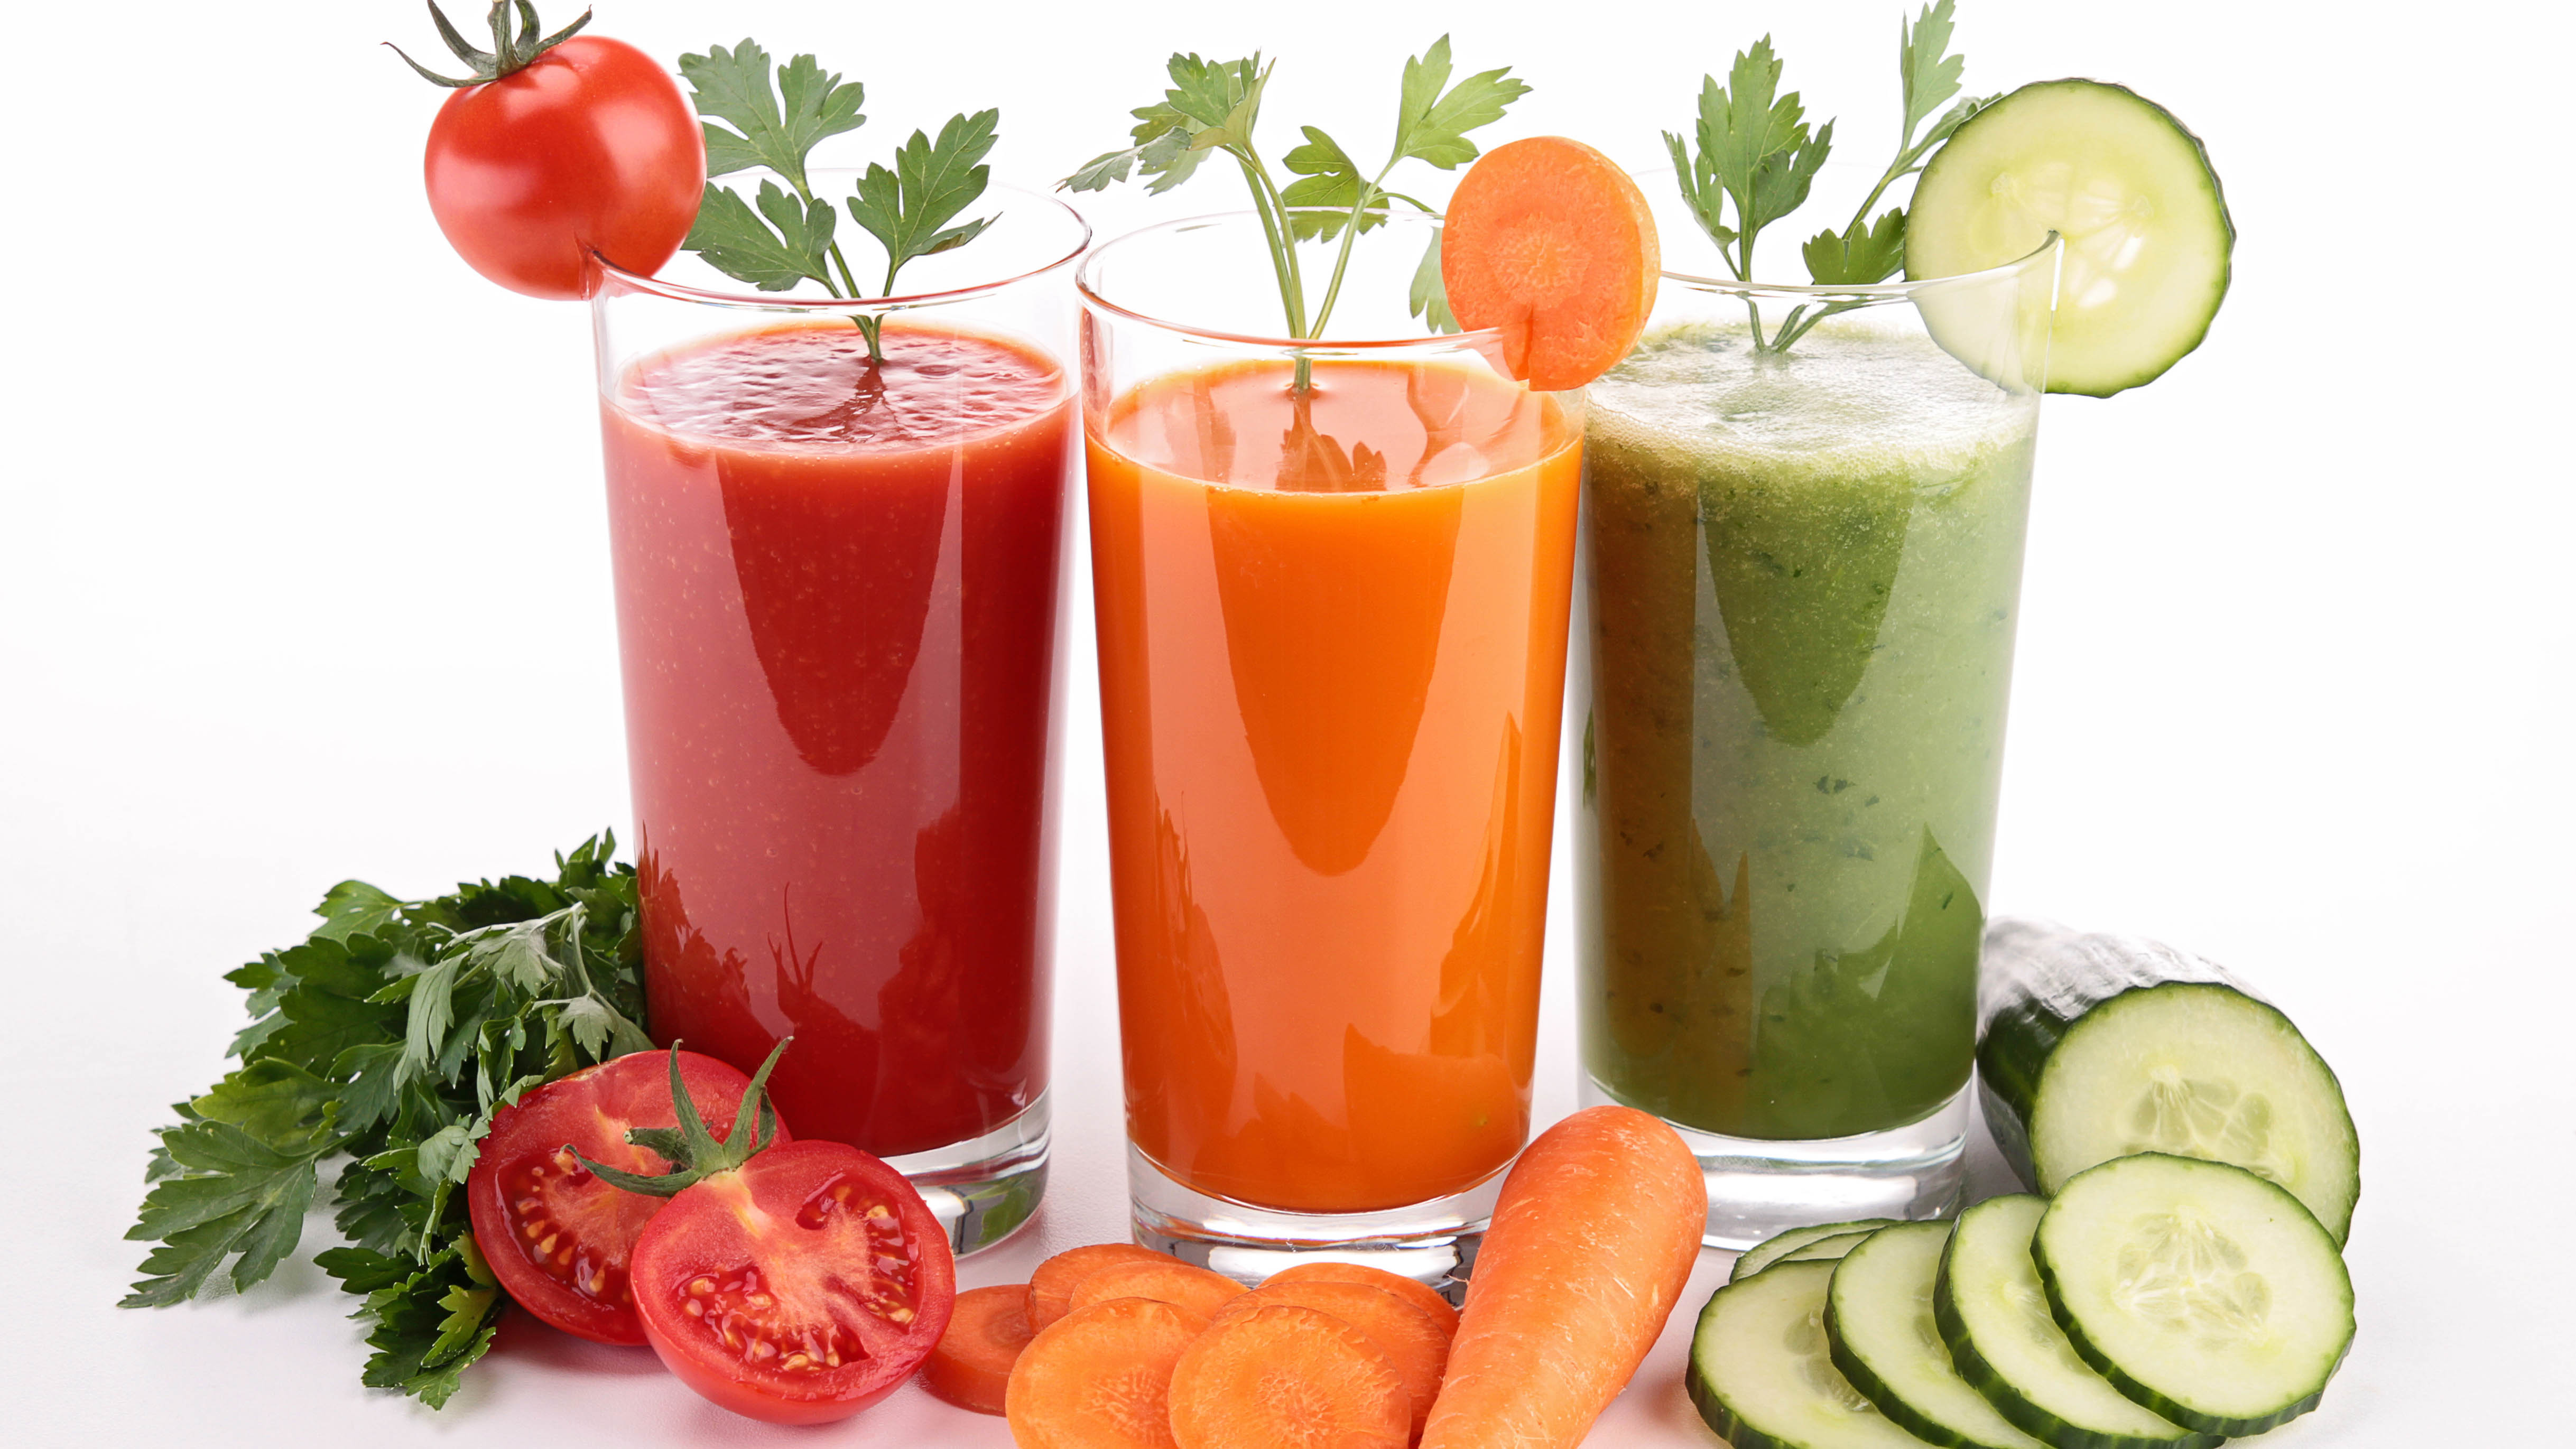
Fruit and vegetables can be split into flavor categories that are either earthy, sweet, sour, spicy or floral. We’ve put together suggestions on which fruit and vegetables fit within each flavour profile based on advice from Breville.
Earthy
Try leafy greens, beets and carrots
Pair with apples, celery, cucumber and spinach
Spice up with ginger, turmeric and black pepper
Sweet
Try strawberries, blueberries, mangoes, pineapples and melons
Pair with carrots, cucumber and kale
Sour
Try lemons, limes, cranberries, green apples, grapefruit
Pair with peaches, mango, melon and spinach
Spicy
Try chilli peppers, cayenne paper or ginger
Pair with carrots, beets or a green base
Floral
Try carrots, pineapples, lemons, cucumber, nectarines and apples
Pair with mint leaves
You'll soon work out your own favorite flavor pairings and get accustomed to which fruit and vegetables work best together.
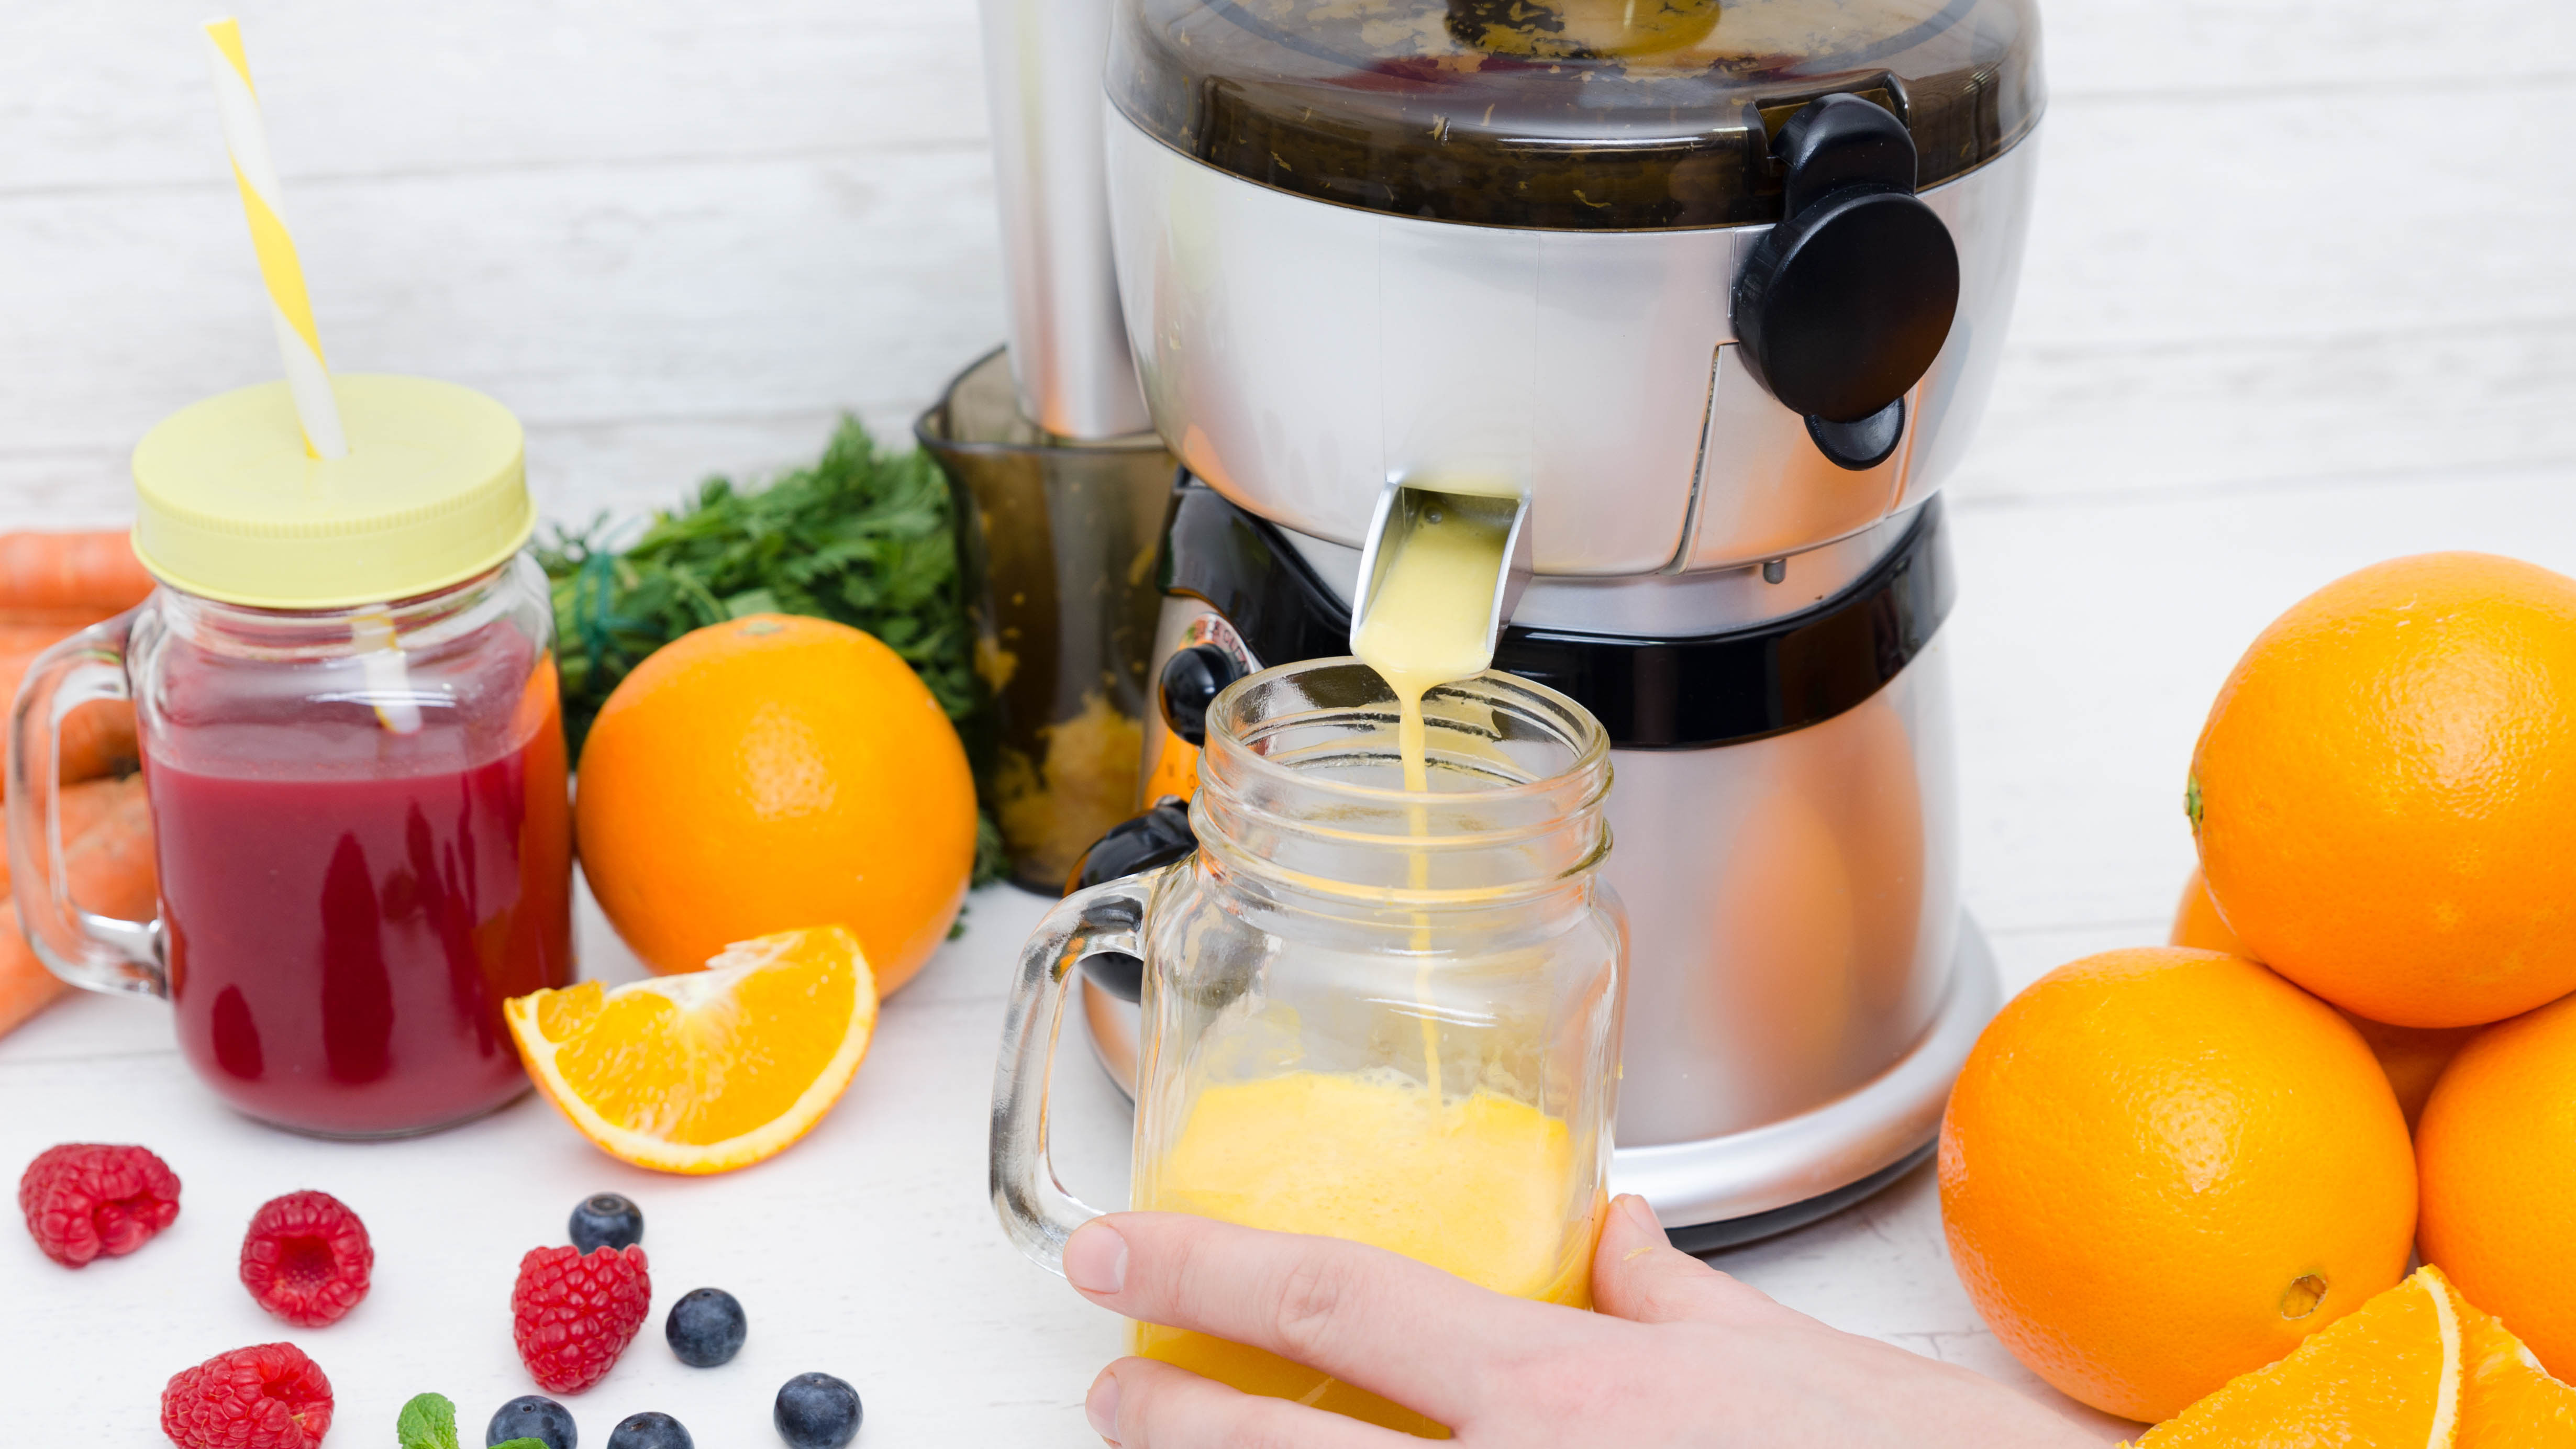
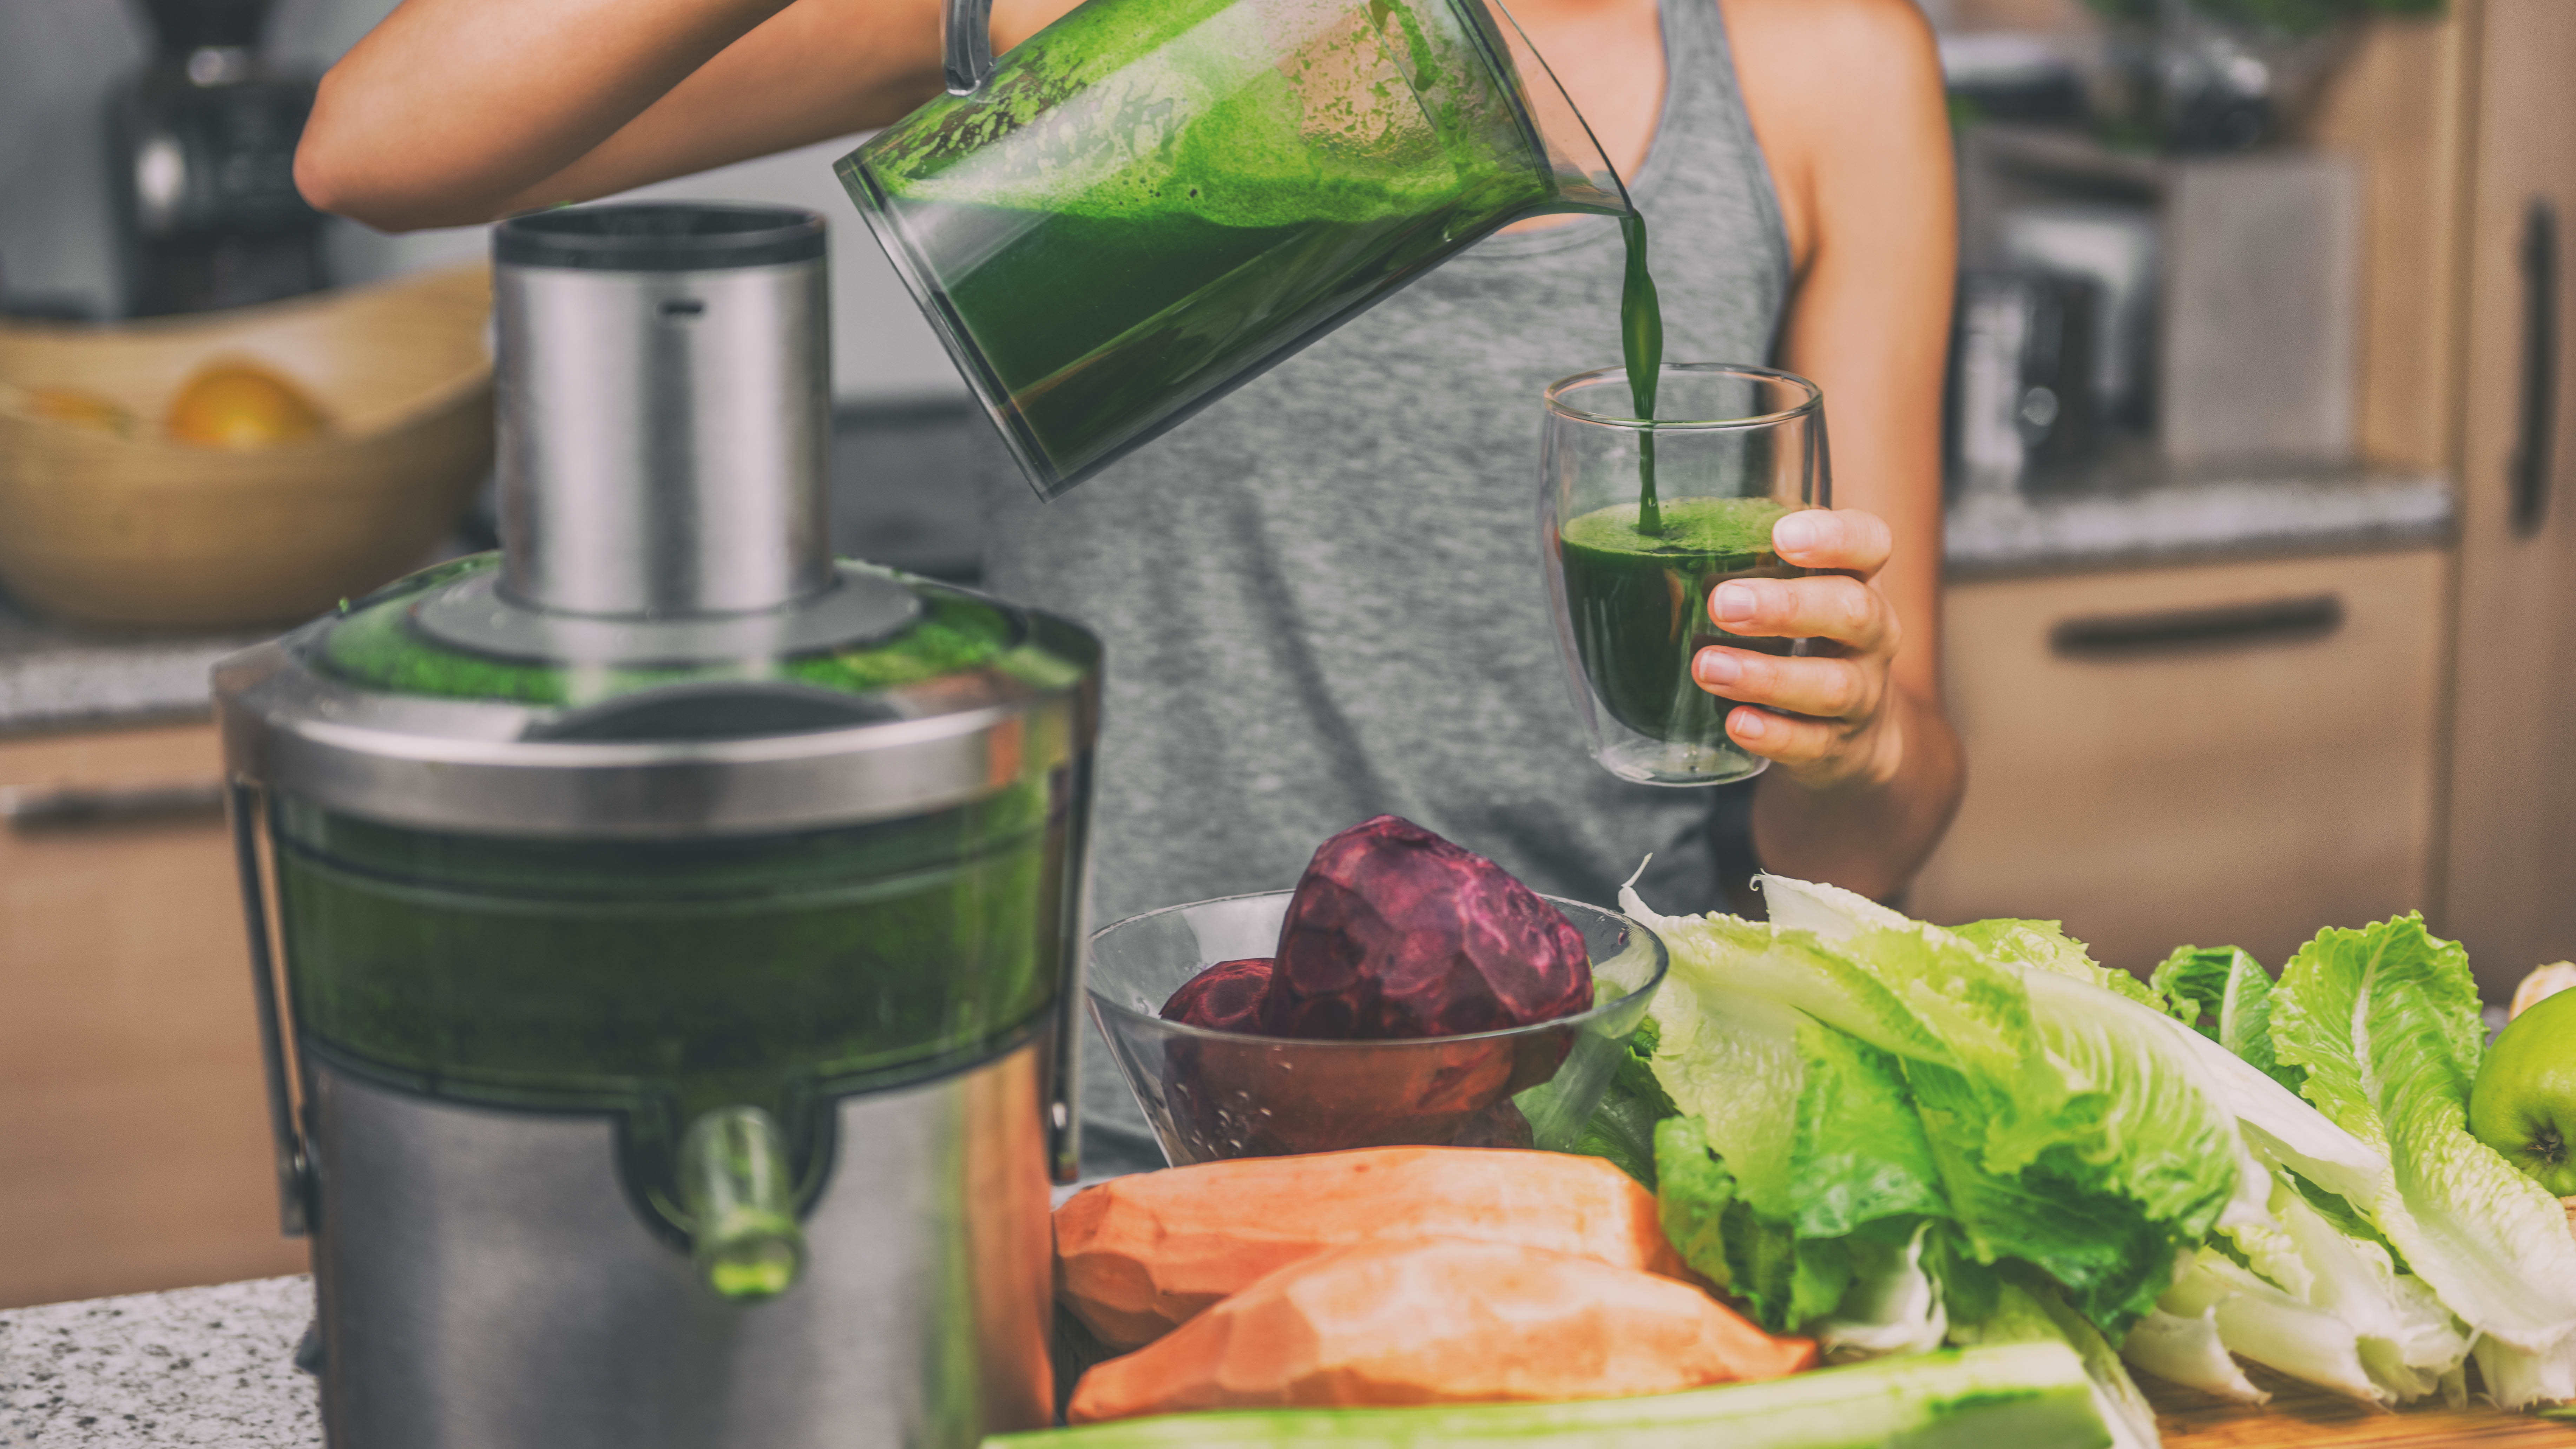
5. Using your juicer

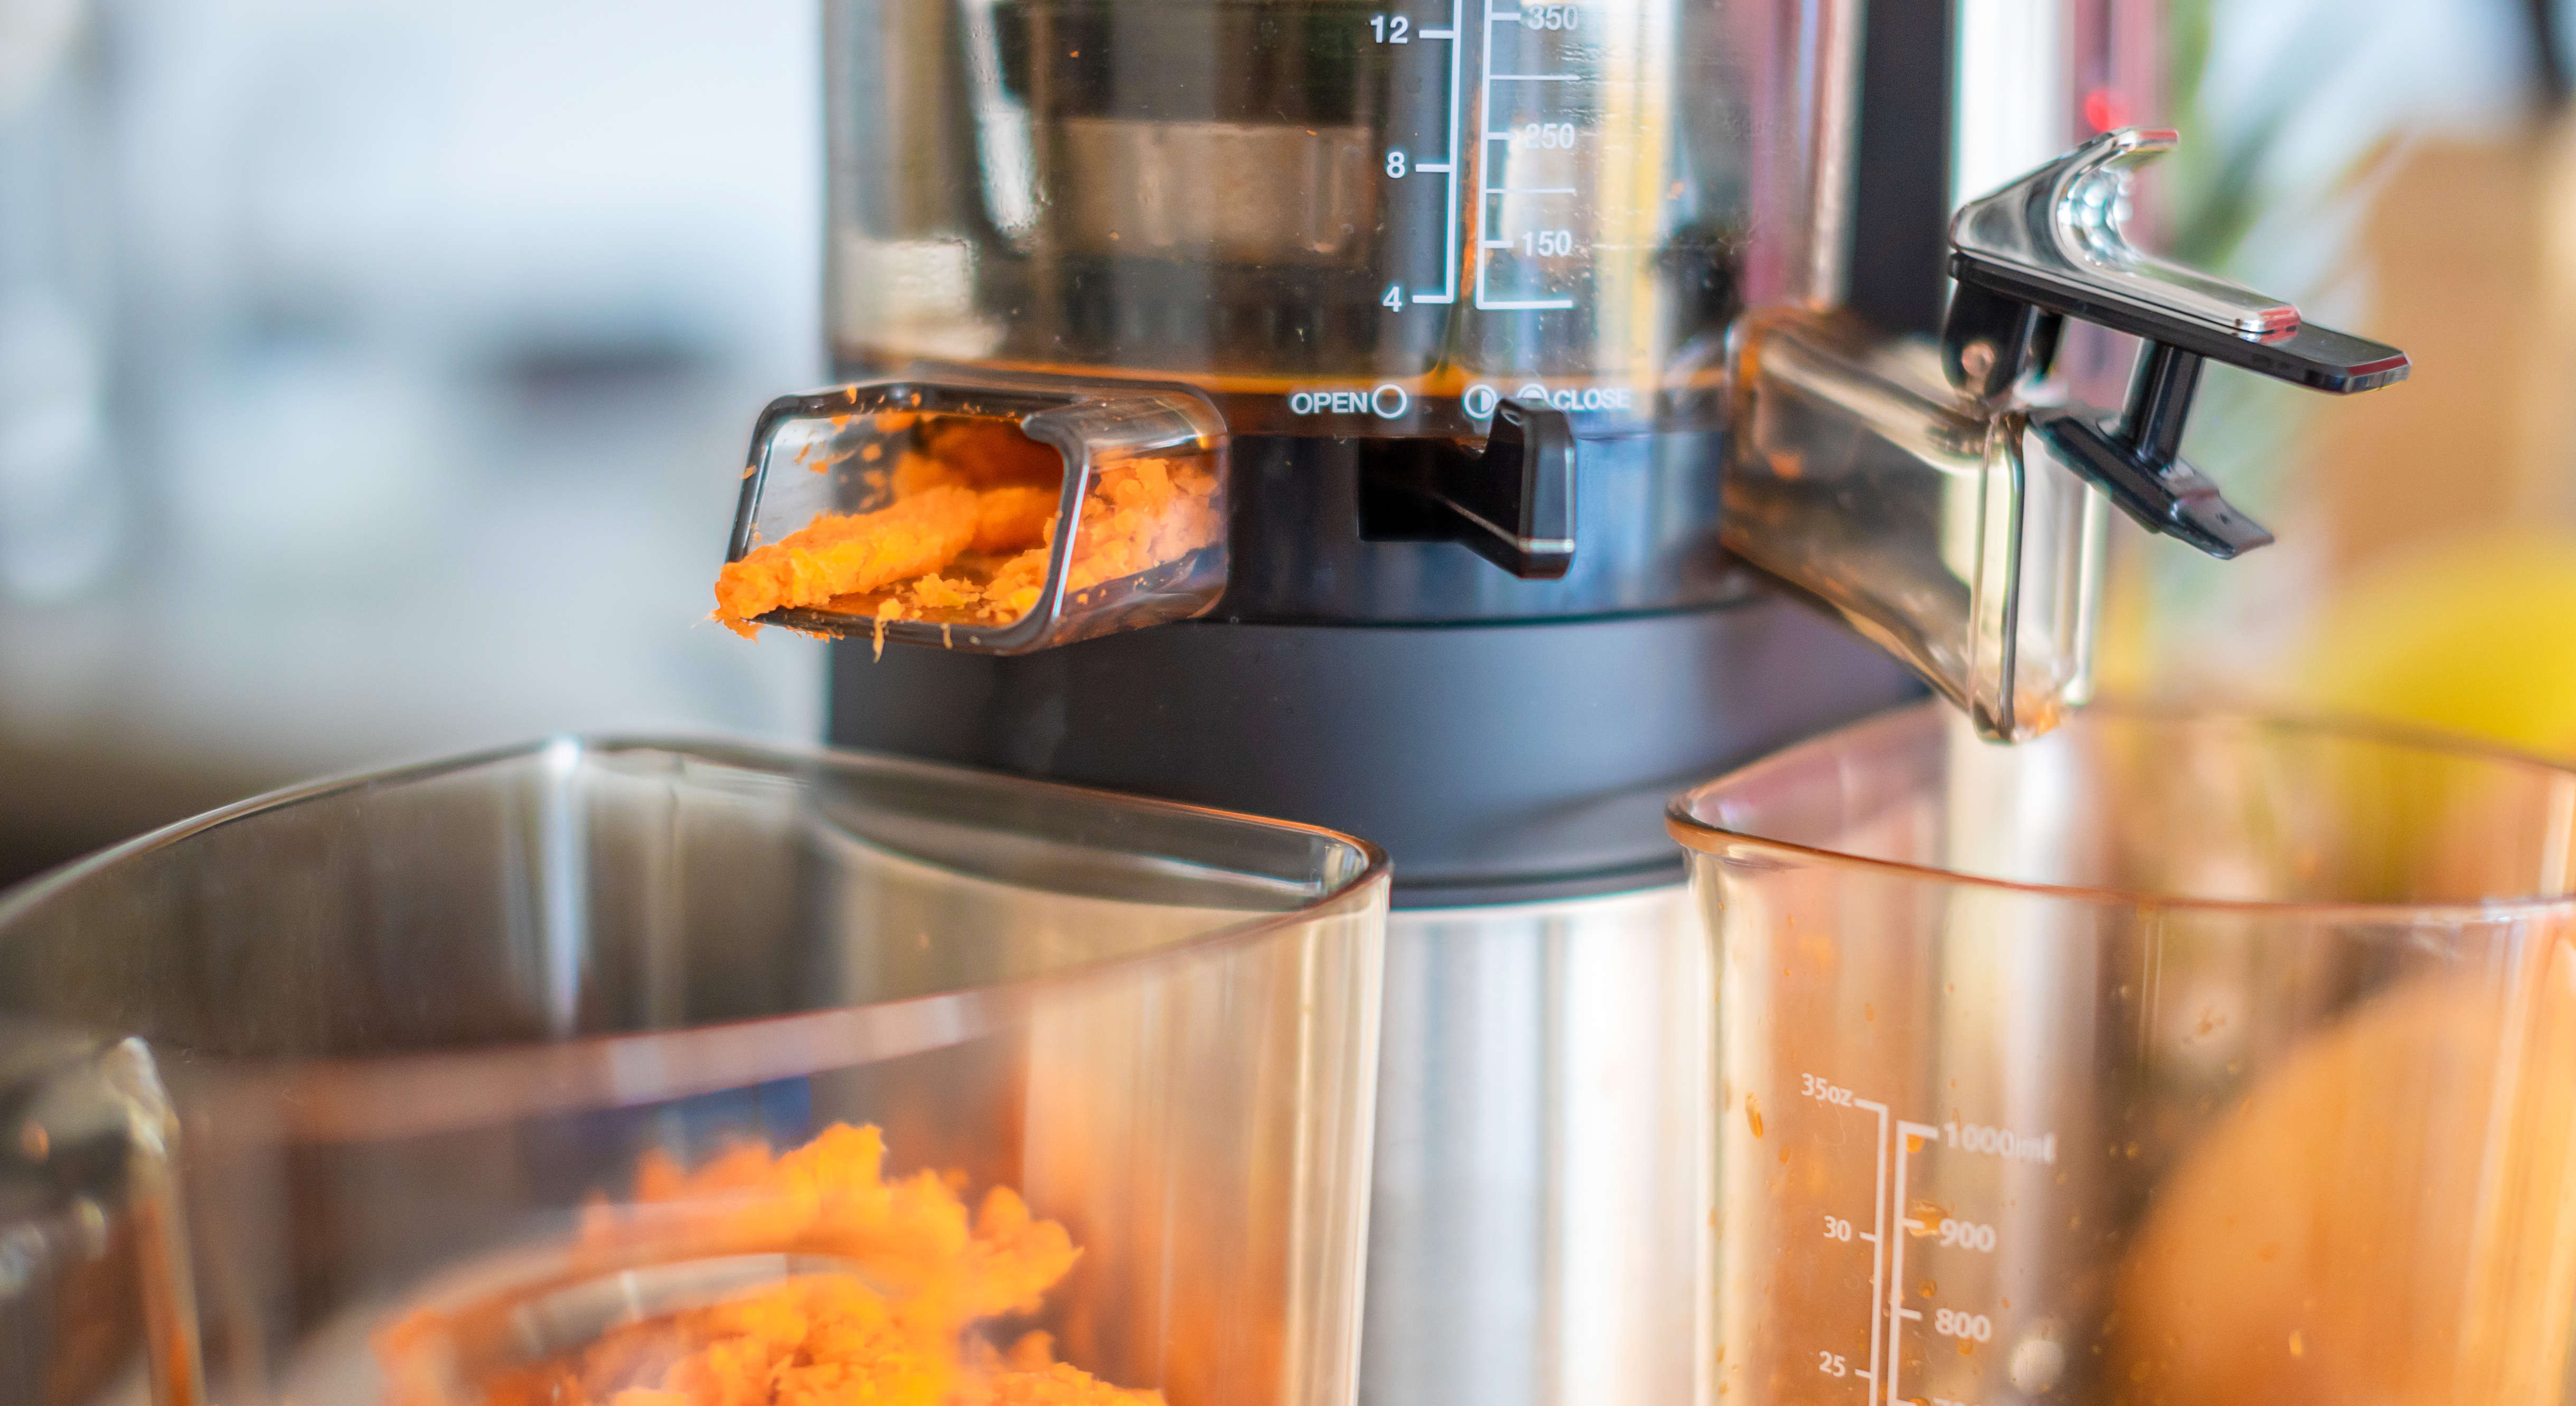
Gather your clean produce and cut up any fruit and vegetables that are too large to go through the feed chute. Don’t forget to place a container under the exit chute to catch the juice. Then, taking the softest produce first, put it through the chute and turn the juicer to its slowest speed. You can then add your other produce, upping the speed as the fruit and vegetables become denser.
Denser items may also need an extra helping hand to pass through the juicer. Take hold of the accompanying pusher and press the produce, careful not to push too hard. Don’t be tempted to improvise with any other implement than the pusher that came with your appliance.
The juice can be enjoyed immediately, stored in a sealed container for three days, or frozen for 12 to 16 months.
6. Save the pulp
Unlike a blender that uses all the produce (see above), a juicer will discard the pulp, seeds and skin of the fruit and veg. However, the nutritious pulp can be saved and added to other food and drinks, although it can also be used to enrich your compost bin.
Besides adding it to ice cube trays to be frozen and saved for later, Pulp & Press recommends adding apple and carrot pulp to the sweet dough when making bread. Other suggestions include mixing it with cream cheese, adding it to soups, sauces, and pancake batter or making fruit tea.
7. Be a cleaning ninja
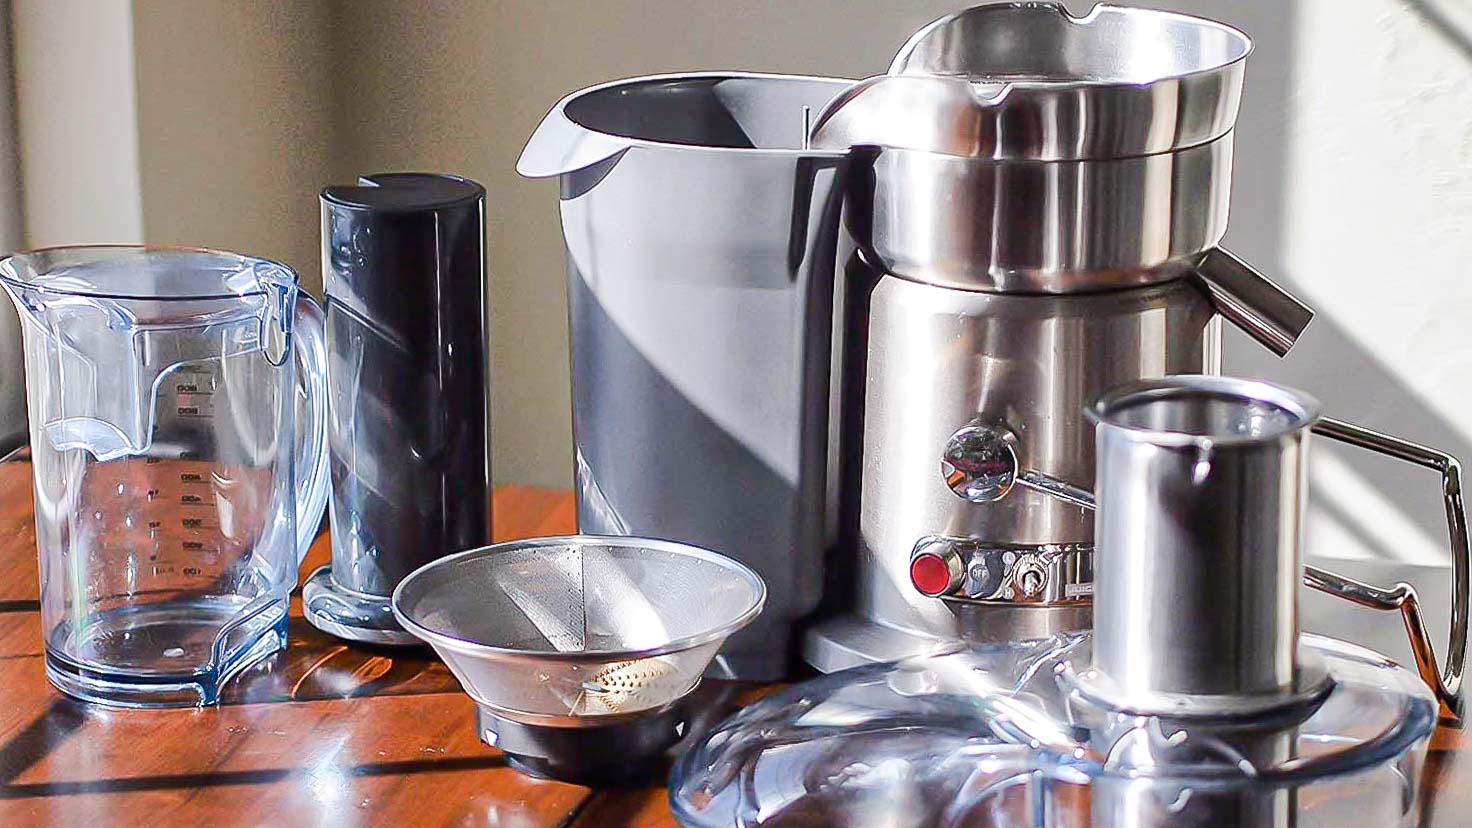
Cleaning a juicer can be tricky as there are lots of removable parts, and it can be tempting to leave it to deal with later. However, it’s worth getting into a routine where you clean it immediately. This will save time in the long run, as dried-on food particles are harder to remove. Here are a few tips on how to clean your juicer.
- Disconnect the juicer and take it apart, placing the juice and pulp containers, the lid, spout, strainer basket and food pusher in the sink.
- Remove as much of the pulp from the pulp container as possible.
- The remaining parts can be placed on the top rack of a dishwasher, although check your manufacturer’s guidelines to see if the parts are dishwasher safe. If washing by hand, rinse the parts under hot water, then leave them to soak in hot water and dish soap for five minutes. Then, clean with a non-abrasive sponge and bottle brush to remove any remaining food particles.
- Clean the juicer's base with a damp sponge and allow it to dry. Do not submerge it in the water as it will damage the motorised parts.
- It can now be reassembled and is ready for next time.