Like many DIY enthusiasts, my passion stems less from practicality and more from sheer stubborn determination. Once I decide I can tackle a project myself, there’s no talking me out of it. It's this mindset that found me on my hands and knees, installing vinyl flooring in my bathroom — a task that seemed simple enough on paper, but came with a few important lessons in hindsight.
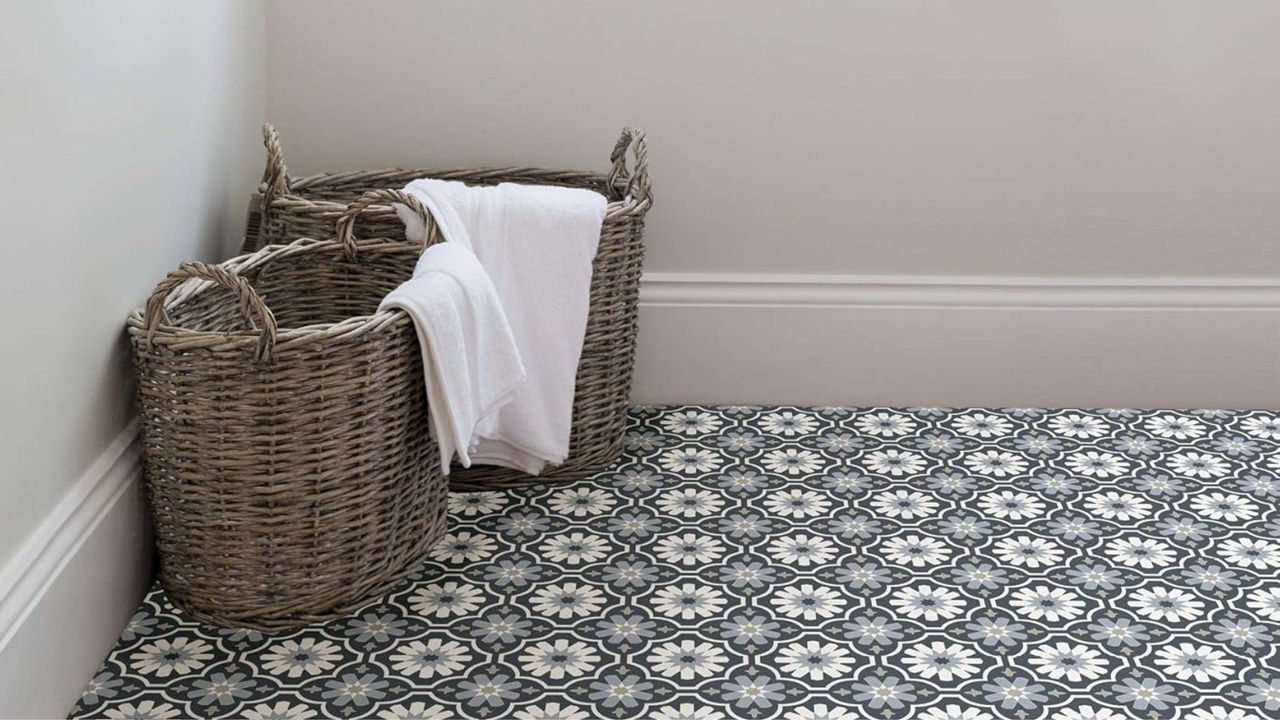
Vinyl felt like an ideal choice for covering up my dated bathroom flooring. Affordable and easy to install, while I'll admit it'll never compete with true luxury materials, modern vinyl, whether sheets or individual tiles, is a far cry from the lino in your granny's kitchen, with textures and patterns that look convincingly premium.
Confident in my plans, I opted for peel-and-stick vinyl tiles — single adhesive-backed pieces that require minimal tools and no glue. I chose a star-motif tile inspired by Spanish encaustic patterns, but there are plenty of options out there, including Luxury Vinyl Tiles (LVTs) that mimic stone and wood. Other vinyl tiles require a special adhesive, but self-adhesive styles keep things straightforward.
But, as I quickly discovered, installing vinyl flooring isn’t quite as foolproof as it appears. In retrospect, there are a host of things I wish I'd known before I began, spanning from surface prep to tile configuration. To help you avoid the same mistakes, here are seven lessons I learned, some specific to peel-and-stick tiles, others useful for any vinyl project.
1. A Clean, Level Floor Makes All the Difference
As with any DIY project, a successful finish starts with good prep. In order for vinyl bathroom flooring ideas to adhere properly, you'll need a clean, dry, level foundation (that goes for non-adhesive, loose lay, and peel-and-stick vinyl).
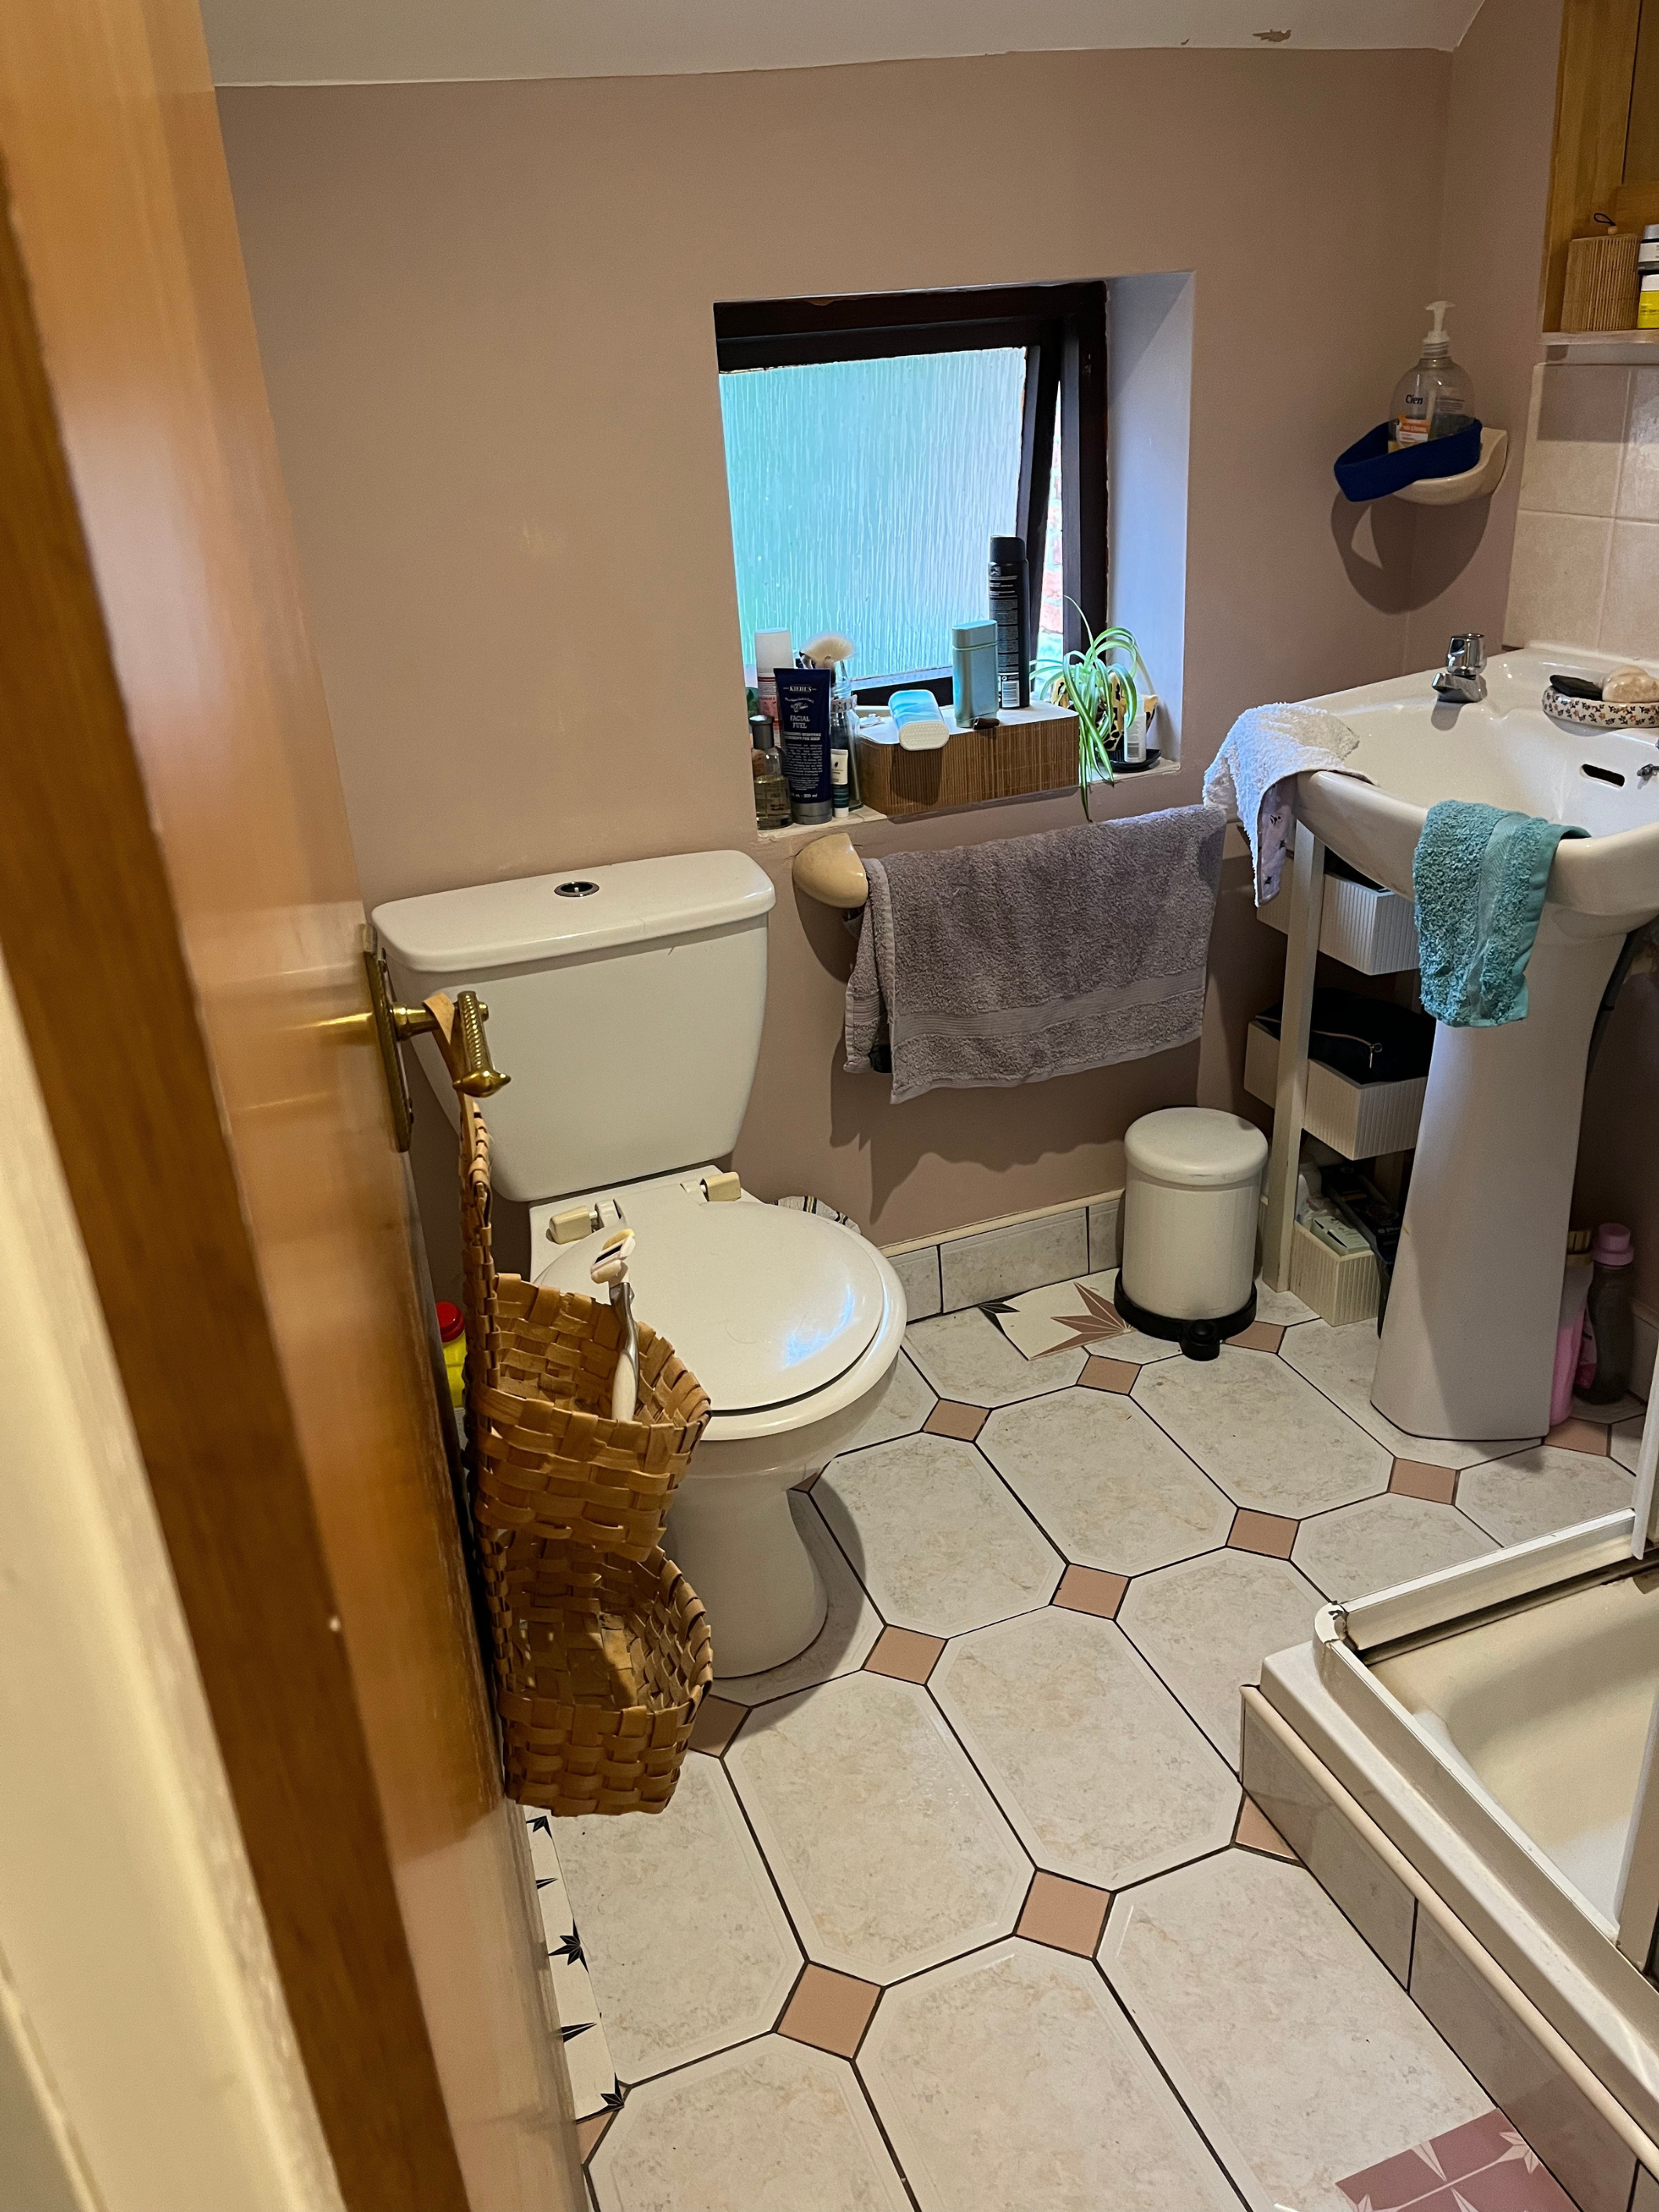
While this wasn't my downfall, failing to properly level the floor definitely was. Since I was installing my PVC tiles over existing ceramic tiles, the grout lines created subtle grooves under my vinyl. Although my tiles have stayed in place for nearly two years, those lines have become noticeable beneath the surface since my vinyl has bedded in and compressed — a reminder that even the smallest imperfections show through vinyl.
Thomas Goodman, property and construction expert at My Job Quote, emphasizes the importance of a clean and even floor for the best results. Take time to research the best way to clean your floor type, and, to avoid impressions over grout lines, Thomas recommends laying a subfloor to ensure the surface below your vinyl is as smooth as possible. "If you’re installing vinyl tiles or planks over floorboards, it’s also best to fix any loose boards first," he says.
2. Mirror Your Templates When Cutting

Maths was never my strong point at school, so I knew that measuring obstacles and trimming tiles would be my biggest challenge. "Unfortunately, bathroom floors rarely form neat squares, so you’ll find you need to cut a lot of your tiles or planks down to fit," says Thomas. Equipped with a ruler, a pencil, and a Stanley blade, I painstakingly measured around my pedestal sink, toilet, and any awkward joinery, then drew my cut-outs on the back of my vinyl tiles.
Easy enough... or so you'd think. What I failed to keep in mind was that in turning my vinyl tile over, my template would now be mirrored. I stupidly wasted two tiles this way, which I then had to reorder in order to finish the job.
To avoid this mistake and ensure better accuracy, consider drawing a template around your obstacles on paper or card, cutting it out, and then tracing it over your vinyl tile (remembering to flip it over if you're tracing onto the back).
It's always safer to cut slightly outside your line initially, and only trim back gradually to find the perfect fit. Failing that, you could use a contour gauge (like this one from Amazon) or a scribing tool (like this, also from Amazon) to navigate tricky bits like pipework and joinery.
3. Watch Out For Repeating Patterns
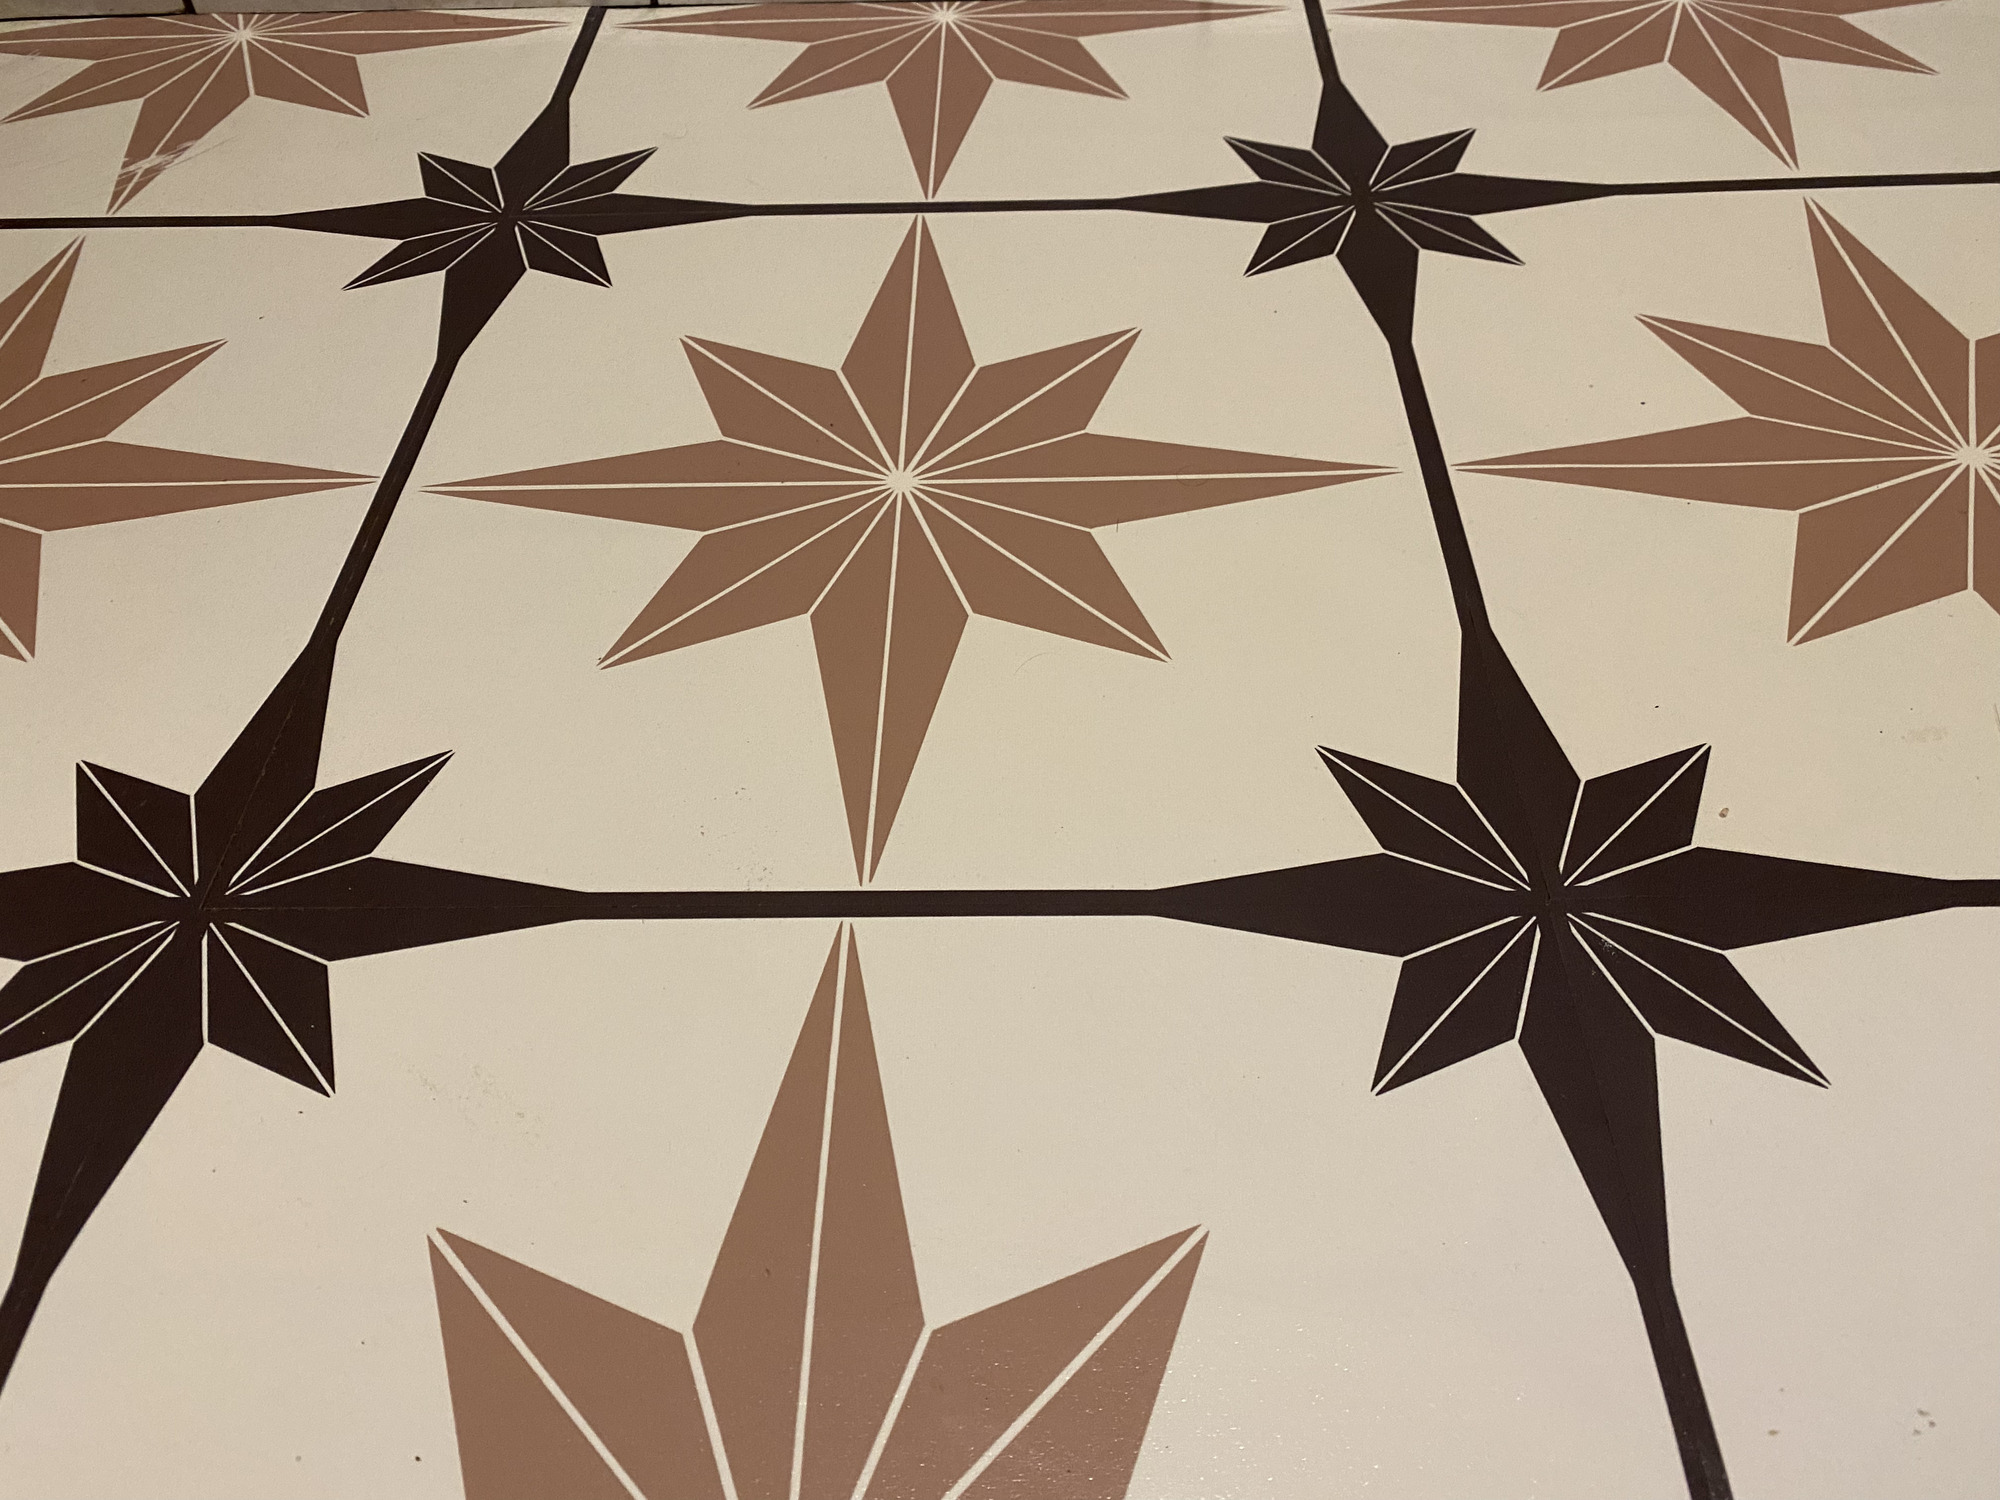
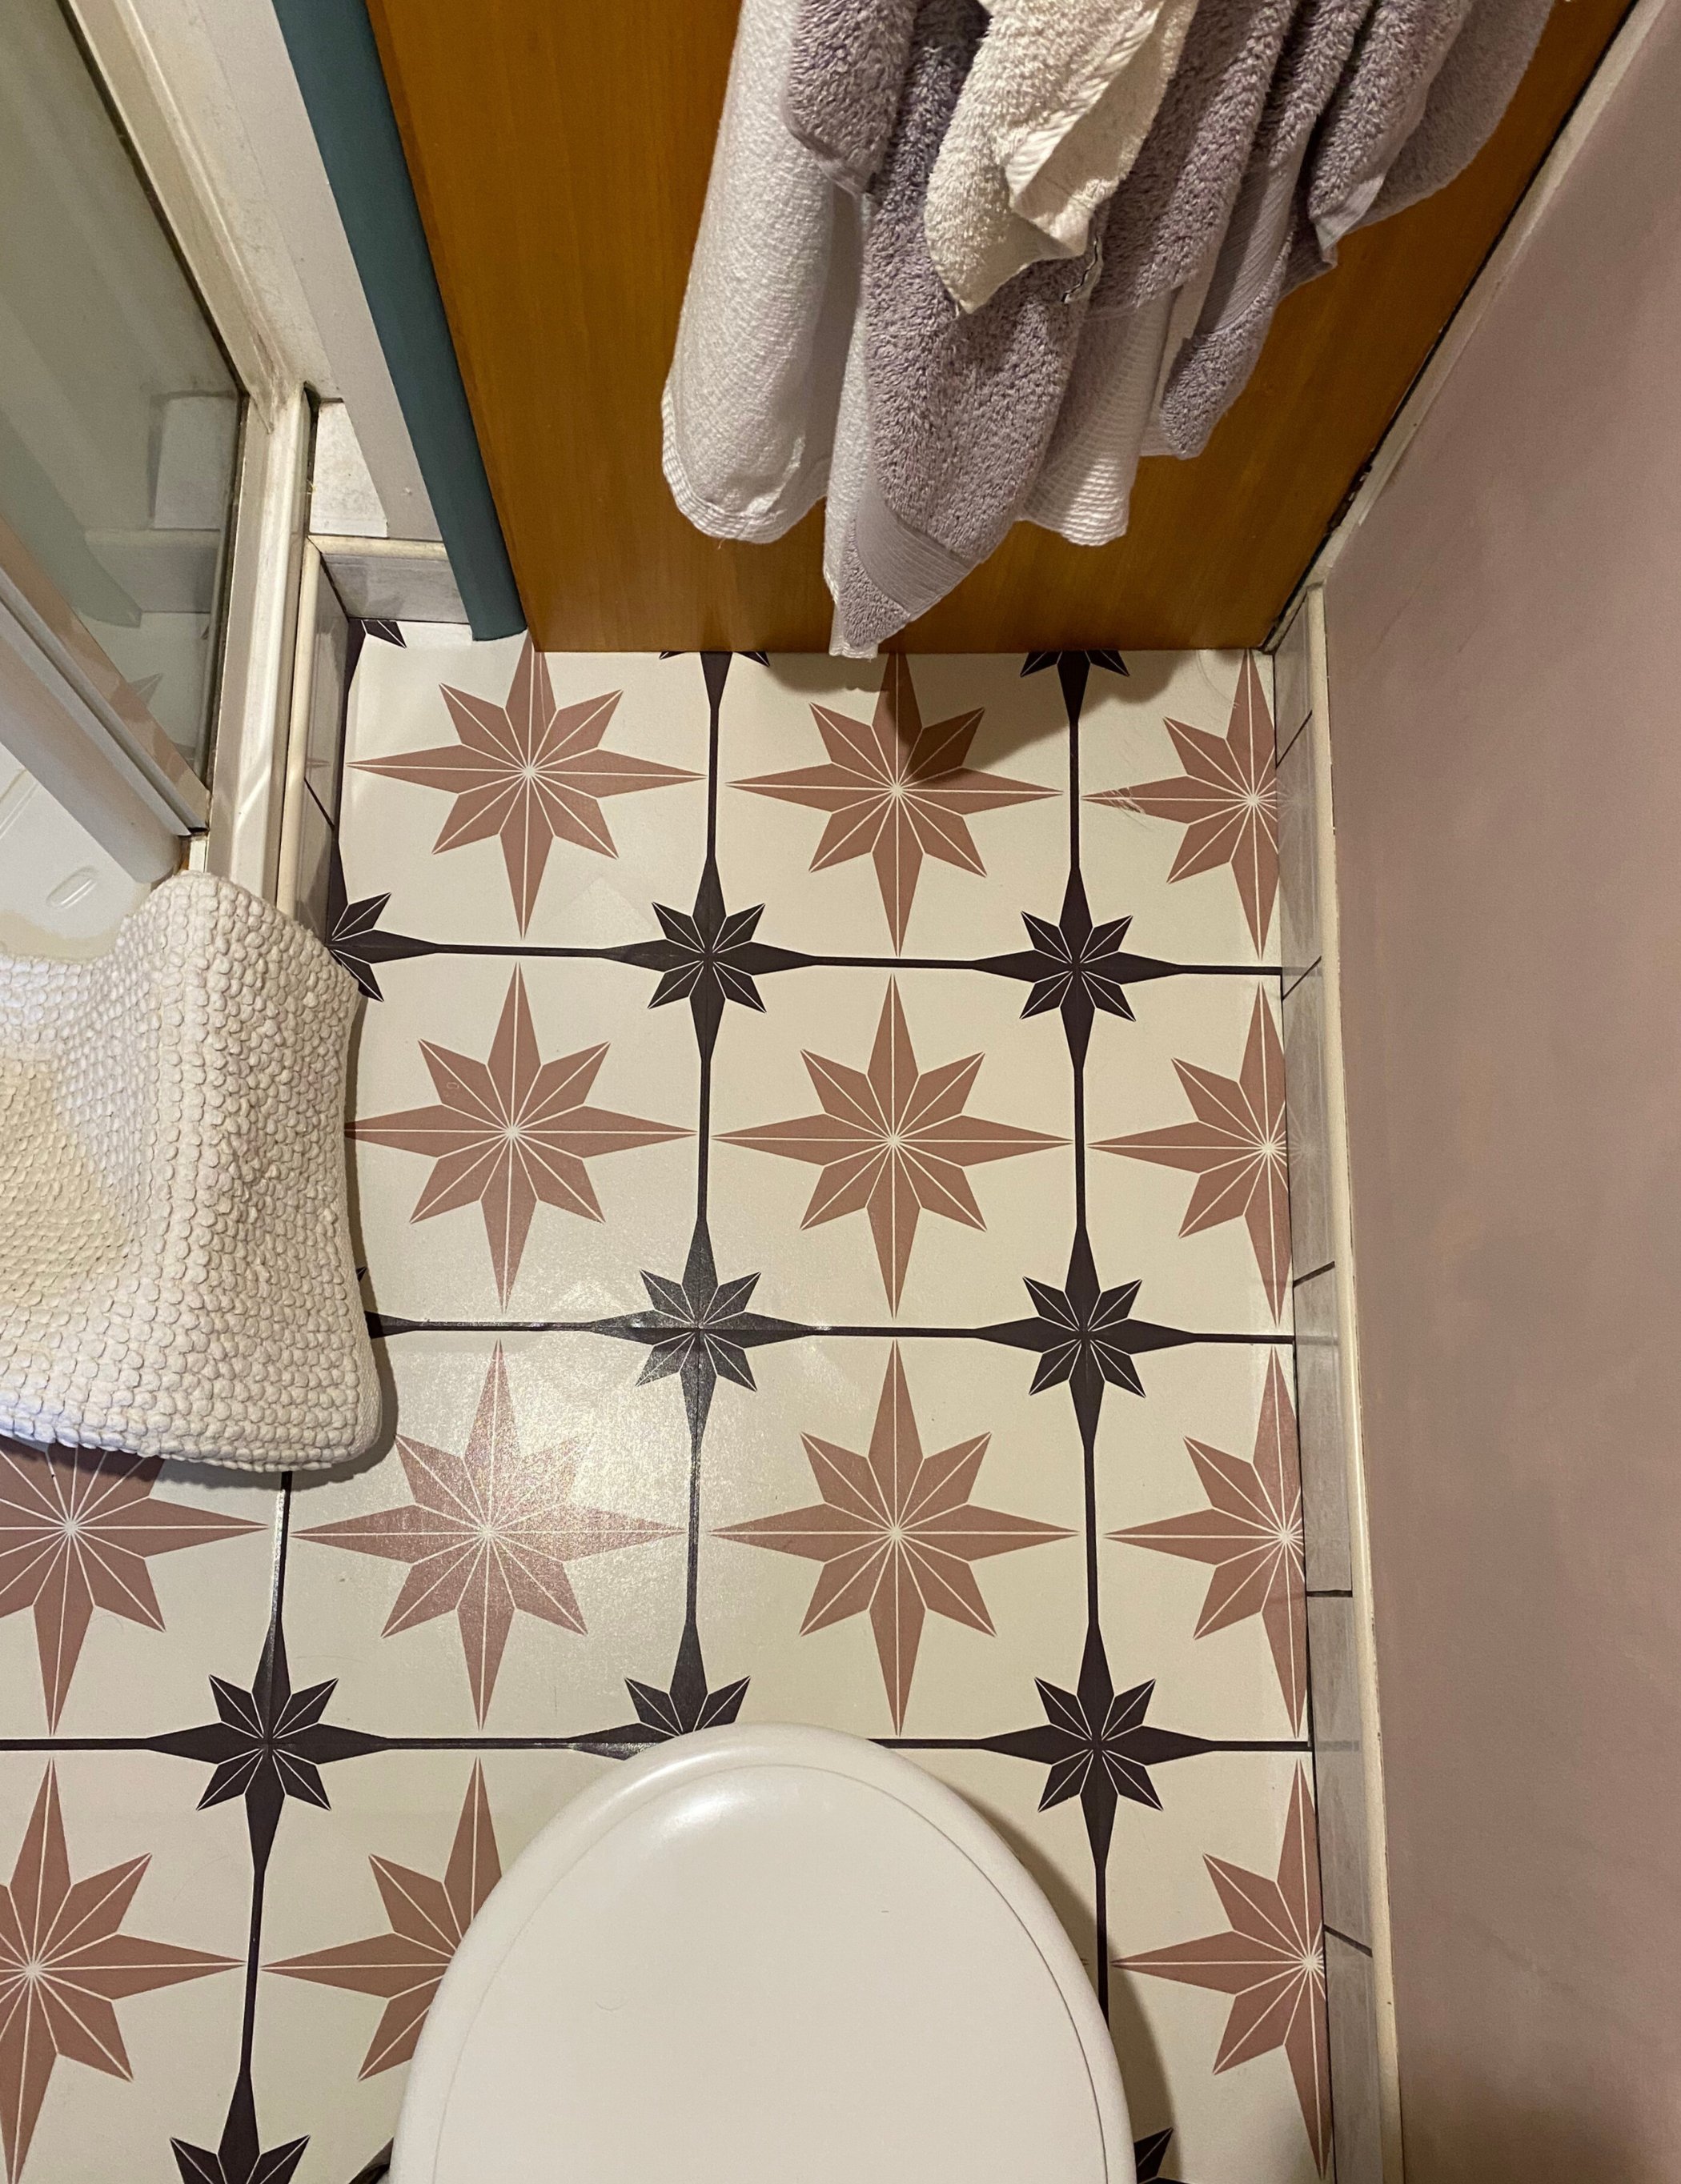
There are a couple of ways that tile or plank patterns can cause problems when laying vinyl. For me, the issue resulted from inconsistencies with the printed pattern on my tiles. Each one featured a single eight-point star. On their own, they looked pretty symmetrical, but when I laid them out, the joins were a little off-center.
Had I spent a little extra money on a better quality vinyl, I'd likely have a clean, crisp pattern. So, a word of warning — order samples and make sure your joints line up if you're laying a pattern.
Similarly, if you're using LVT or planks with a printed stone or wood design, pay close attention to how often those patterns repeat. This is most common with vinyl that's made to mimic wood grain. If you accidentally place identical patterns right next to each other (two planks that feature the same grain and distinctive wood knot, for example), your flooring won't look convincing.
Instead, your space will end up looking patchy and inconsistent. Using different tile shapes to configure your bathroom flooring can also lead to challenges, so ensure you dry-lay them first.
4. Laying Half-Tiles First Helps Avoid Awkward Edges

When it comes to laying down vinyl tiles or planks, instinct will tell you to lay down a complete piece at the very edge of the room. While this can work, it's almost inevitable that you'll need to lay smaller sections when you reach the opposite side of the room. To avoid cutting tiny slivers of tile or plank, which are far more prone to lifting and peeling, consider laying half-tiles at your starting point.
To ensure a layout with minimal small cuts, Thomas recommends planning your flooring out first by dry-laying your tiles or planks.
"Ideally, you want to start in the middle of the floor, as this is the most visible section and therefore the area you want to fill with whole tiles or planks, and work outwards," he says. "If the layout leaves you with too many small slivers, slide your middle tiles or planks slightly to the left or right until you’ve got a pattern that you’re happy with."
5. Use Underlay for a Smoother, More Water-Resistant Finish
If you're choosing between laminate vs vinyl flooring, the beauty of vinyl is that it comes with half the faff of other flooring options. However, that doesn't mean you should forgo underlay.
"Installing a subfloor will ensure your tile and planks can be laid nice and flat, preventing movement and lifting from occurring over time," explains Thomas. "Underlay can help to increase comfort, dull sounds, control moisture, and help to increase the stability of tiles and planks."
As mentioned, failing to use an underlay has led to small impressions where there are grout lines in my subfloor. Although vinyl flooring is typically designed with a built-in cushioned backing, if your subfloor is damp or uneven like mine, a simple foam underlay or insulation board (like these from Amazon) can save you from problems further down the line (and it doesn't cost much, either).
All this aside, Thomas points out that the need for underlay will depend on the type of bathroom tile or vinyl you’re using, so check the manufacturer's instructions first. "Click vinyl flooring usually needs underlay, but make sure it isn’t too thick or too soft, as this can interfere with the planks’ locking system and can increase movement," he says.
"You should also check that the underlay is moisture-resistant," he adds. "Concrete floors are best with an underlay that has a damp-proof membrane, to stop moisture seeping through from underneath."
6. Always Buy Extra — Mistakes and Cuts Add Up

Failing to mirror my tiles when cutting my vinyl cost me two full pieces — and an unexpected delay. This rookie mistake forced me to reorder replacements, which meant living with a half-finished floor for a week, leaving plenty of opportunity for dust, debris, and splashes of water to sneak beneath the freshly laid ones.
Thomas reassures me I'm not alone in this sort of error. "Unless you’ve laid a lot of flooring before, it’s unlikely that you’ll get all of your cuts right the first time," he says, noting that you'll need to allow for wastage when ordering.
"To be on the safe side, it’s best to buy at least 15% more flooring than you’ve calculated for the area," he says. "Unless you’re buying end-of-line or sale items, you should be able to return unopened packs of vinyl flooring, so you shouldn’t have to worry about having piles of leftover tiles."
7. Self Adhesive Tiles Stick Best at Room Temperature
Finally, if you’re using self-adhesive vinyl flooring, you’ll get far better adhesion if you let your tiles or planks reach room temperature before installing. I learned this the hard way: I was laying mine in winter and had stored the box of tiles in the shed.
When I brought them straight into the bathroom to start laying, they simply wouldn’t stick. A quick look at the packaging revealed the problem — they adhere best at warmer temperatures.
To speed up the process, I used a hairdryer to ensure the tiles were tacky on the underside, but had I simply brought my box of tiles in the night before, I could have avoided the issue entirely.
If you want to save yourself from frustration and speed up the installation process, store your vinyl somewhere warm and dry, with an ambient indoor temperature. You should also make sure your bathroom is warm enough while fitting your vinyl (the same goes for vinyl kitchen flooring ideas, too).
Quantity: 10 tiles
I love the simplicity of a black and white floor tile. This printed vinyl tile makes it even easier to get the look in your bathroom without the need for tricky tile spacers and messy grouting.
Quantity: 30 tiles
The terrazzo trend shows no sign of waning, and I love how the clean, contemporary touch it adds to a bathroom. This vinyl at B&Q is so convincing, and it comes with half the hassle.
Quantity: 6 tiles
If you want to turn your bathroom into a warm Mediterranean spa, this stone-effect tile is perfect for the job. The soft blush tone is reminiscent of a warm terracotta or limestone, complete with a natural-looking patina.
While plenty of lessons were learned in the process, my vinyl flooring remains of the most inexpensive bathroom upgrades I've undertaken — and it still looks brilliant despite my mishaps.
If you plan to lay vinyl flooring anywhere in your own home, take heed of these warnings for a smooth, durable, professional-looking finish. With due care and attention, this affordable renter-friendly flooring option can totally transform your space.