
Many of us have experienced the small frustrations of Zoom meetings — searching for the unmute button when called upon, dealing with poor video quality, or struggling to share the right document during a presentation.
Zoom, and other virtual video calling platforms like it, has become an integral part of our professional lives, yet many of us are still using only the basic functions we learned when we first started. Whether you're hosting team check-ins, client presentations, or joining weekly department meetings, these features are essential.
I've collected seven of the most useful Zoom features that anyone can implement. These aren't complicated technical hacks, they're straightforward tips designed to solve the most common video calling problems we all face from time to time.
Let's dive in and make your next Zoom meeting runs more smoothly.
1. Use keyboard shortcuts to quickly access features

You can save valuable time during meetings by using keyboard shortcuts instead of clicking through menus.
Incorporating just a few of these commands will make your meetings more efficient and help you navigate Zoom easier during important conversations. Here are some of the most useful shortcuts for both Windows and Mac users:
- Mute/unmute microphone: Alt+A (Windows) or Command+Shift+A (Mac)
- Start/stop video: Alt+V (Windows) or Command+Shift+V (Mac)
- Open/close chat panel: Alt+H (Windows) or Command+Shift+H (Mac)
- Start/stop screen sharing: Alt+S (Windows) or Command+Shift+S (Mac)
- Raise/lower hand: Alt+Y (Windows) or Option+Y (Mac)
- View participants list: Alt+U (Windows) or Command+U (Mac)
- End or leave meeting: Alt+Q (Windows) or Command+W (Mac)
To view all available shortcuts, open the Zoom app, click your profile icon in the top-right corner, select Settings, and choose Keyboard Shortcuts.
2. Enable HD video for sharper image quality

Make yourself look more professional in meetings by enabling Zoom's HD video option. This setting streams your webcam feed in higher resolution, creating a clearer, more detailed image.
To activate HD video, open Zoom and click your profile icon in the top-right corner. Next, select Settings then choose Video from the left sidebar.
In the right panel, below the Camera drop-down menu, toggle on the HD option. Keep in mind that this feature requires a stronger internet connection, so make sure your bandwidth can support it.
3. Share your screen

When you need to present information, demonstrate a product, or collaborate on a document, Zoom's screen sharing feature is invaluable. You can share your entire screen or just a specific application window.
While in a meeting, click Share in Zoom's bottom toolbar. In the window that appears, select your entire screen from the first section or choose a specific application window from the second section.
To include audio with your screen share (useful for videos or presentations with sound), check the Share Sound option on the bottom left. Finally, click the Share button to begin. When you're finished, click Stop Share at the top of your screen.
4. Blur or replace your background
If your home office isn't meeting-ready or you want to maintain privacy, Zoom lets you blur or completely replace your background. This feature is perfect for hiding cluttered spaces or adding a professional touch to your calls.
To change your background, open Zoom and click your profile icon in the top-right corner. Select Settings, then click Background & Effects.
On the right side, you'll see various options in the Virtual Backgrounds section. Click Blur to simply obscure your surroundings, or select one of the preset images to replace your background completely.
To use your own image or video as a background, click the plus sign and upload your file.
5. Create recurring meetings for check-ins

If you host regular team meetings or check-ins, save time by setting up recurring meetings instead of creating new ones each time. This feature provides the same link and meeting ID for all sessions.
To set up a recurring meeting, open Zoom and click Schedule on the main screen. Then enter your meeting details, including the name and when it starts.
Under the Recurrence option, select how often the meeting occurs (daily, weekly, monthly). Complete the remaining settings according to your preferences and click Save.
Now you can use the same meeting link for all sessions, making it easier for participants to join your regular meetings.
6. Enable the Waiting Room feature

For more control over who joins your meetings, enable the Waiting Room feature. This creates a virtual holding area where participants wait until you manually admit them, preventing unauthorized access.
To enable this feature, navigate to My Account and then Settings in the left sidebar. Click the Meeting tab at the top of the right panel, then scroll down and toggle on the Waiting Room option.
With this feature active, you'll need to admit participants individually by clicking Admit when they join, giving you complete control over meeting access.
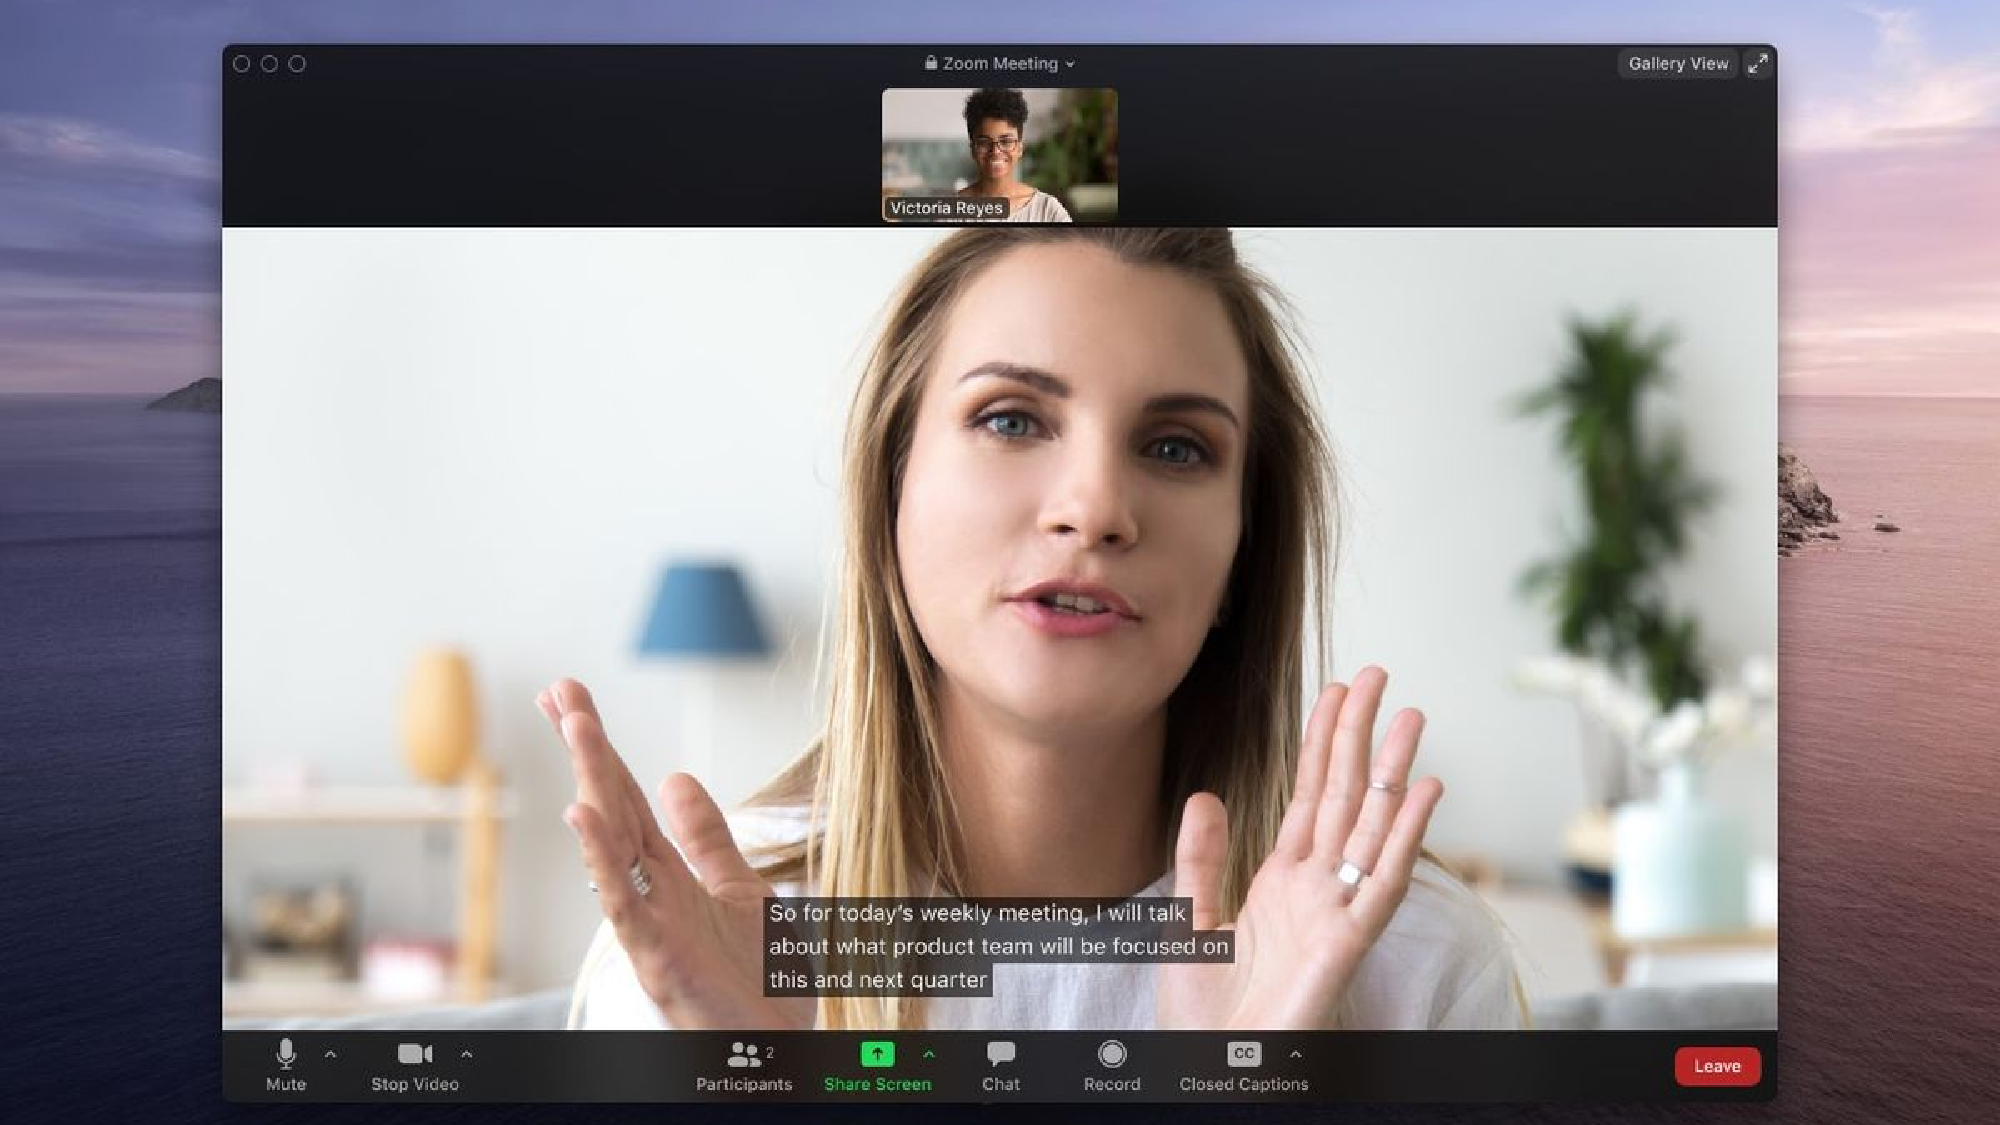
7. Record meetings for later reference

Recording meetings can be useful for team members who couldn't attend, creating training materials, or simply reviewing important discussions later. Zoom makes recording straightforward.
During a meeting, click the Record button in the bottom toolbar. If this option isn't visible, click More and select Record. Zoom will announce that recording has begun, and participants will see a recording indicator.
To stop recording, click the pause or stop button in the toolbar. After ending the meeting, Zoom will automatically convert and save the recording to your computer in a location you've specified in your settings.
Now you've learned how to get the most out of your Zoom meeting, why not check out our other computing articles?
Did you know you can give your Windows 10 PC a second life with these 7 practical uses and if you're looking for game-changing Chromebook features, we've got you covered. And, if you're a Mac user, you might want to know how to schedule it to turn off and on.