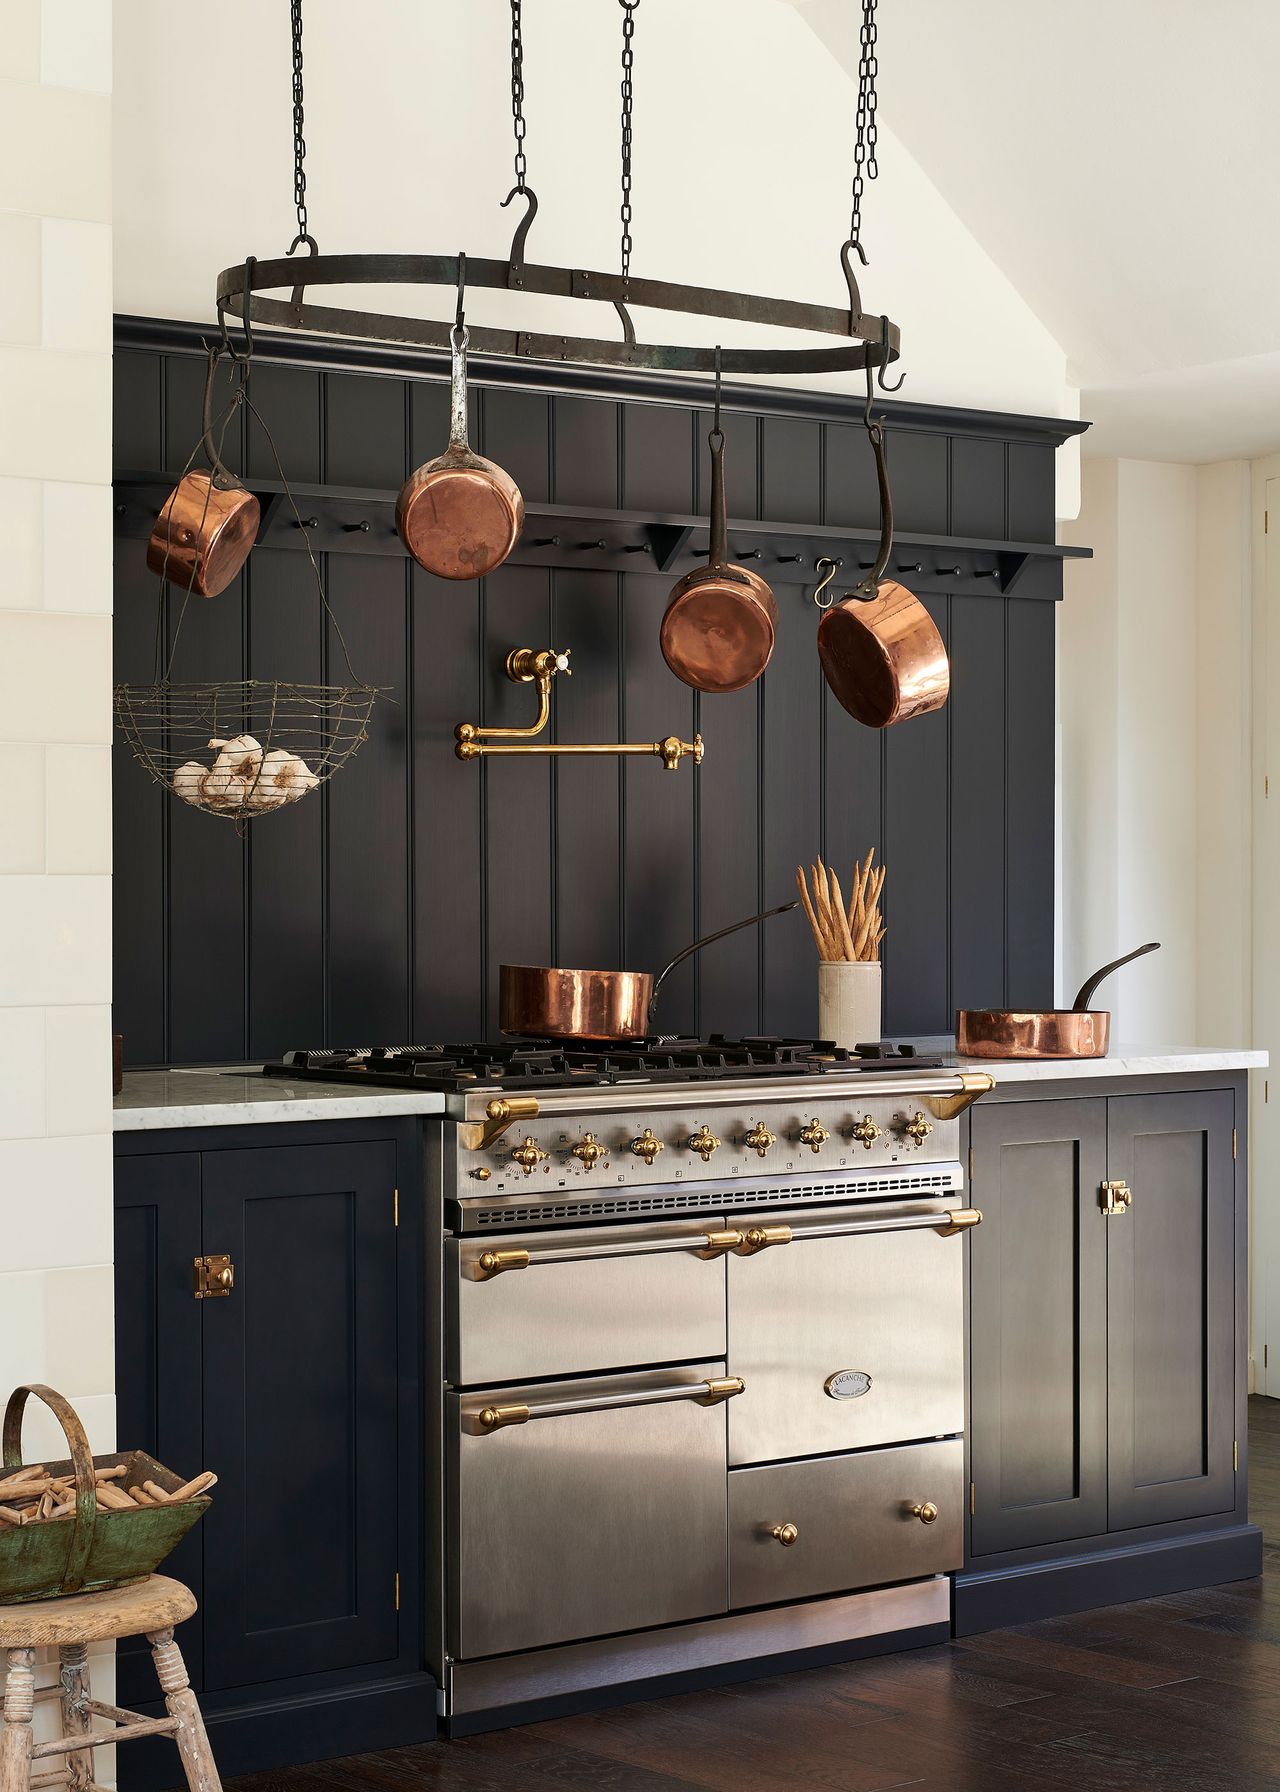
I'm yet to see a room that can't be improved by paneling. Whether it's classic wainscoting, tongue-and-groove, or contemporary slats, all kinds of wall panelling have gained momentum in recent years, retrofitted in homes to add personality and charm to bland, builder-grade spaces. And the best part? It’s an achievable DIY using versatile MDF panels — or so I thought...
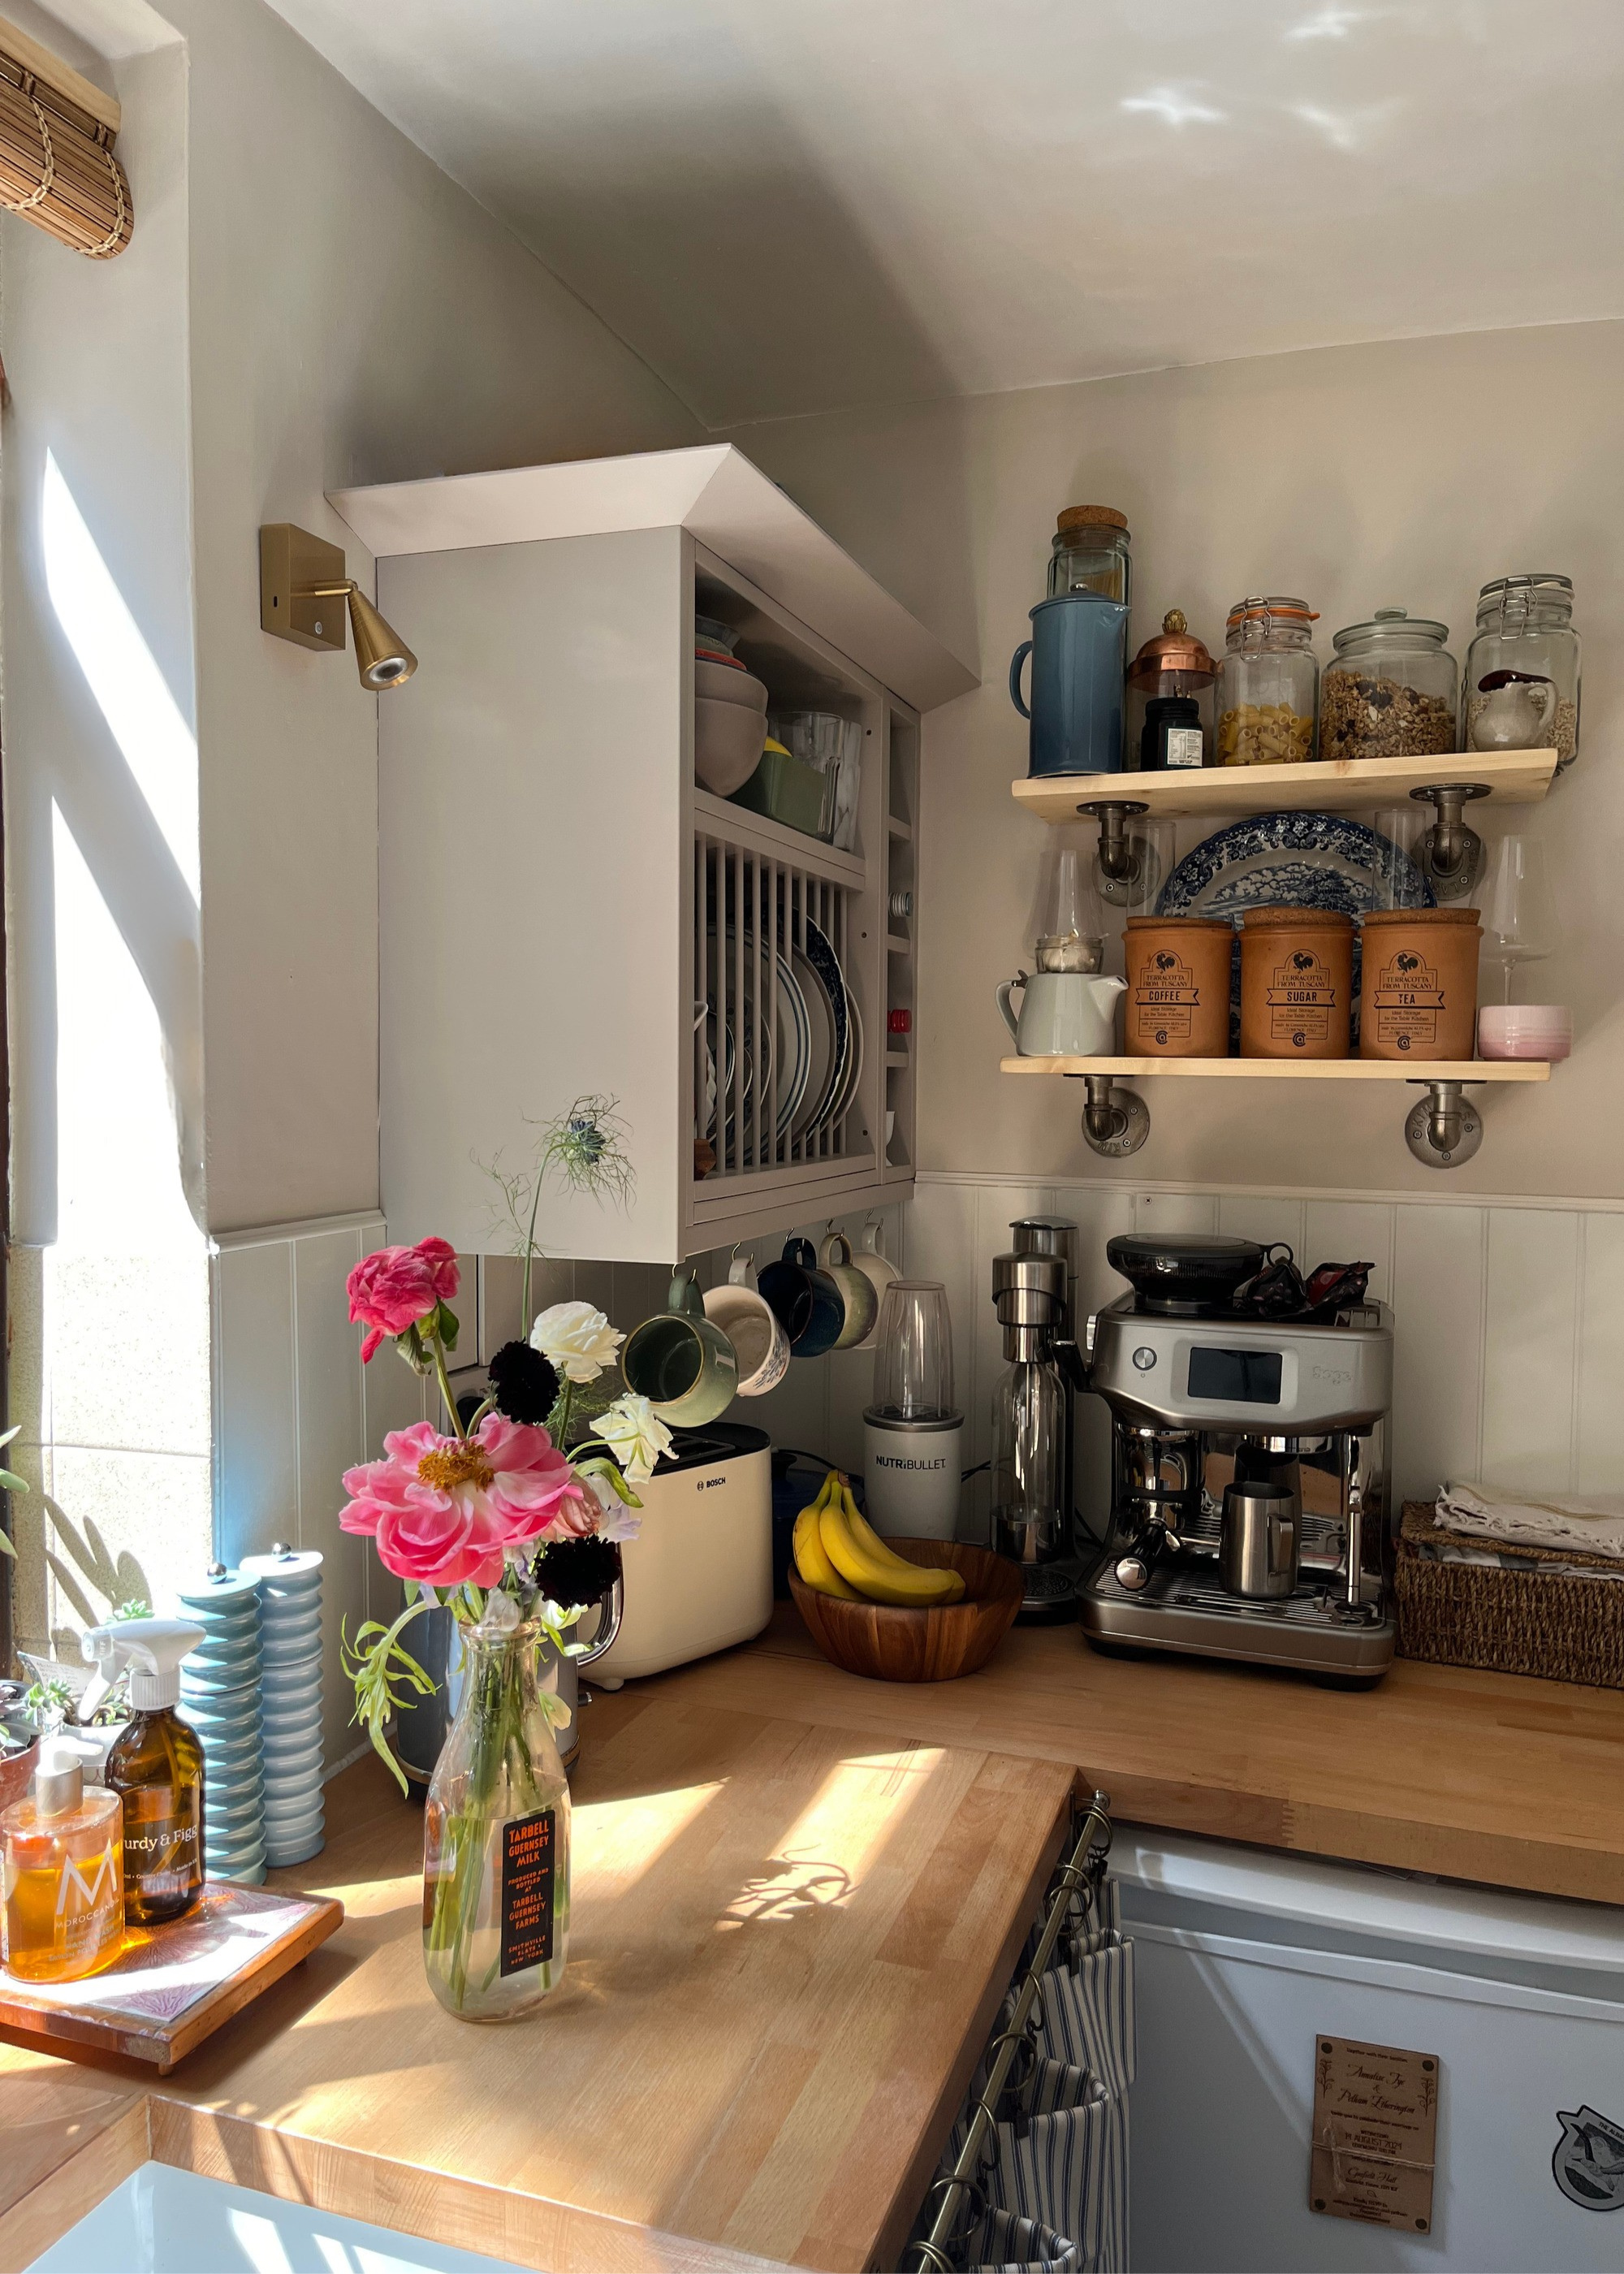
I was under the (perhaps misplaced) impression that MDF paneling was an entry-level project. Unlike paneling with solid wood, you can buy entire sheets that are pre-shaped — all you have to do is cut them to size. Smooth, uniform, and free from knots and grain, it resists warping and swelling and is light enough to be fitted with glue alone. Surely, then, this is an easy kitchen DIY? Confident that it would be the simplest option for a straightforward kitchen update, I set out to add beadboard panels to my backsplash.
What I hadn't realized is that even when using an engineered product like MDF, there are countless ways you can go wrong. From skipping essential prep work to forgetting the finishing touches, there are potential pitfalls from start to finish — most of which I learned the hard way. So, to help you avoid them, here are six things I wish I knew before installing MDF panelling in my kitchen, myself.
1. Prepping Your Walls Properly is Key to Best Results

Whether you're building a house or installing MDF paneling, failing to prepare your foundations can make or break your end result. MDF panels will always adhere best to an even, clean surface, so you'll need to remove any lumps, dust, or peeling paint from your wall that could stop your adhesive from gripping properly.
Unfortunately, I didn't take great pains to smooth out my wall. Before installing my paneling, my kitchen backsplash featured dated tiles. After removing them, patches of mortar remained, as well as a slight ridge where plaster met years of paintwork above. I glazed over the worst-affected areas with a sanding block, but didn’t spend nearly enough time on prep — a mistake that quickly caught up with me.
Before you even think about sawing, cutting, or even measuring, start by giving your wall a light sand, then cleaning with sugar soap or white vinegar and water. Thomas Goodman, property and construction expert at My Job Quote, says it's arguably one of the most important steps. "The smoother the surface, the greater the contact is between the panel and the wall," he explains.
2. Choose Your Fixings Carefully (Not All Glues and Nails are Made Equal)
Inspired by a few DIY videos I'd found online, I was confident my MDF panels would fix to my wall with glue alone. Sadly, with my wall being so uneven, there were patches of my backsplash where this wasn't the case. Fail to find the right glue, and you'll likely encounter the same issue.
You'll need to use a durable, waterproof adhesive that doesn't foam or expand. I used Gorilla Glue's Heavy Duty Grab Adhesive (available on Amazon), but No More Nails from Unibond (also at Amazon) is also lauded among the DIY-savvy as a strong bond glue that doesn't expand or swell.
"It’s best to apply grab adhesive in a zig-zag line to the back of your MDF panels and then press the panels very firmly against the wall," adds Thomas. "This should give you a secure and lasting fix."
Alas, my prior laziness during the prep stage meant my panels kept lifting in certain areas, so I had to resort to plan B — nails. Small, narrow nails (like panel pins or Brad nails) are an excellent way to hold panels in place if your wall is too uneven for glue, but use the wrong type or size and you risk splitting MDF or marring the surface.
"If your MDF is quite thin, it may be wise to drill small pilot holes first," Thomas notes. "For a flawless finish, knock the pins in so the heads are below the panel surface and use a fine wood filler [like this one, from Amazon] over the holes, then give this a light sand to smooth it over and completely hide your fixings."
Because I hadn't anticipated using nails, I improvised with a few screws instead, leaving visible heads that undermine the seamless look I was aiming for.
3. Pick the Right MDF — Moisture-Resistant is a Must for Kitchens
Because it’s made from fine wood fibers, MDF is highly absorbent and soaks up moisture easily. In wet, humid places like the kitchen and bathroom, this can cause swelling and warping.
"Once this happens, the MDF will deteriorate, with fibers crumbling and bubbling, and the MDF will also be more susceptible to mould growth," warns Thomas. "For this reason, if you’re panelling a kitchen or bathroom, you’ll need to use a moisture-resistant MDF that’s suitable for humid environments."
While I did opt for a waterproof MDF for my kitchen backsplash, I didn't spare a thought for the fact that the same rule will apply to any finish you apply on top, and I made the mistake of painting over my panelling with a matte finish.
In the spots closest to my kettle and oven, it's led to a bubbled, textured look. At every stage of your paneling DIY, make sure you're using waterproof materials and components that will withstand daily steam and splashes.
4. Don’t Skip the Primer — MDF is Very Porous
In a similar vein, because of the porous nature of MDF, it will need priming before painting. "This will ensure your paint adheres properly, help to seal the surface, and maximize your panel’s resistance to moisture," Thomas explains.
Some MDF sheets will come pre-primed, but there's no harm in adding your own primer just in case. Even though the MDF I used claimed to be primed, I found that when painting my backsplash, it absorbed the first coat of paint like a sponge. In the end, I had to use three coats of paint for an even finish.
It's common sense, but Thomas also notes that it's far easier to prime the panels before you install them. "This will also mean you can easily prime the cut edges, ensuring your MDF panels are as moisture-resistant as possible," he adds.
5. You Should Always Let MDF Panels Acclimatize Before Installing
Engineered wood (and solid wood, too, for that matter) is very susceptible to changes in the environment. Temperature, humidity, and even light exposure can affect the performance, durability, and finish quality of your MDF paneling.
Most commonly, it expands or contracts due to fluctuations in temperature and humidity, while light can also cause discoloration or warping (especially if your panels are already painted or veneered).
To avoid damage to your panels, it's best to leave them in the room you're working in for at least 48 hours before fitting. This will help them to acclimatize to your room's temperature.
I mistakenly stored mine outside in the shed for a week, where, unsurprisingly, they'd become damp. Ready to fit them with glue in hand, I had to put all my tools away for the rest of the day until my panels had dried enough for the glue to adhere.
6. Plan for Finishing Touches — You’ll Need Trim If You’re Not Going Full Height
Finally, if your panels don’t reach the ceiling or an obvious join like a chair rail, you’ll need trim or moulding to create a clean, professional finish at the top. This is obviously the case for backsplashes, so unless you're fitting pre-cut MDF sheets with built-in trim or you have an existing gallery shelf in your kitchen that you plan to meet, you'll need to plan for these finishing touches.
I'd carelessly not considered trim, and after fitting my panels, I instantly knew something didn't look right. It took an extra day and a journey to the hardware store before I had my finished backsplash.
While not a huge error, it did result in more labor than I'd planned for. In the end, I opted for a beading moulding (also known as ogee) to finish off my beadboard backsplash. Finally, my kitchen remodel was complete.
Featuring a classic vertical groove design, these panel sheets add a traditional touch to any room. They're paintable and moisture-resistant, making them suitable for kitchens, but make sure you prime them beforehand.
Perfect if you prefer the extra detail and elegance of beadboard, these are the exact panels I used in my own kitchen. While they come pre-primed, I still recommend an extra undercoat (and be sure to use a eggshell or stain paint finish on top, unlike me!)
Moulding is simple enough to DIY, even for the initiated, as long as you take heed of my errors. If you're not sold on Tongue and Groove, this kit from Amazon has everything you need to customize your own panelled design using planks of MDF.
I might not be the poster child for how to survive a kitchen remodel, but if my missteps save you from a few headaches, then it was all worth it. With a bit more research, patience, and attention to prep, every one of these mistakes could have been avoided — and I'd be living with a far more polished, professional-looking kitchen backsplash right now.
Even with its imperfections, however, my paneling project taught me more than any tutorial could. If you're setting out on your own attempt, take heed of my warnings but have faith in your abilities — we're all more capable of DIY than we give ourselves credit for.