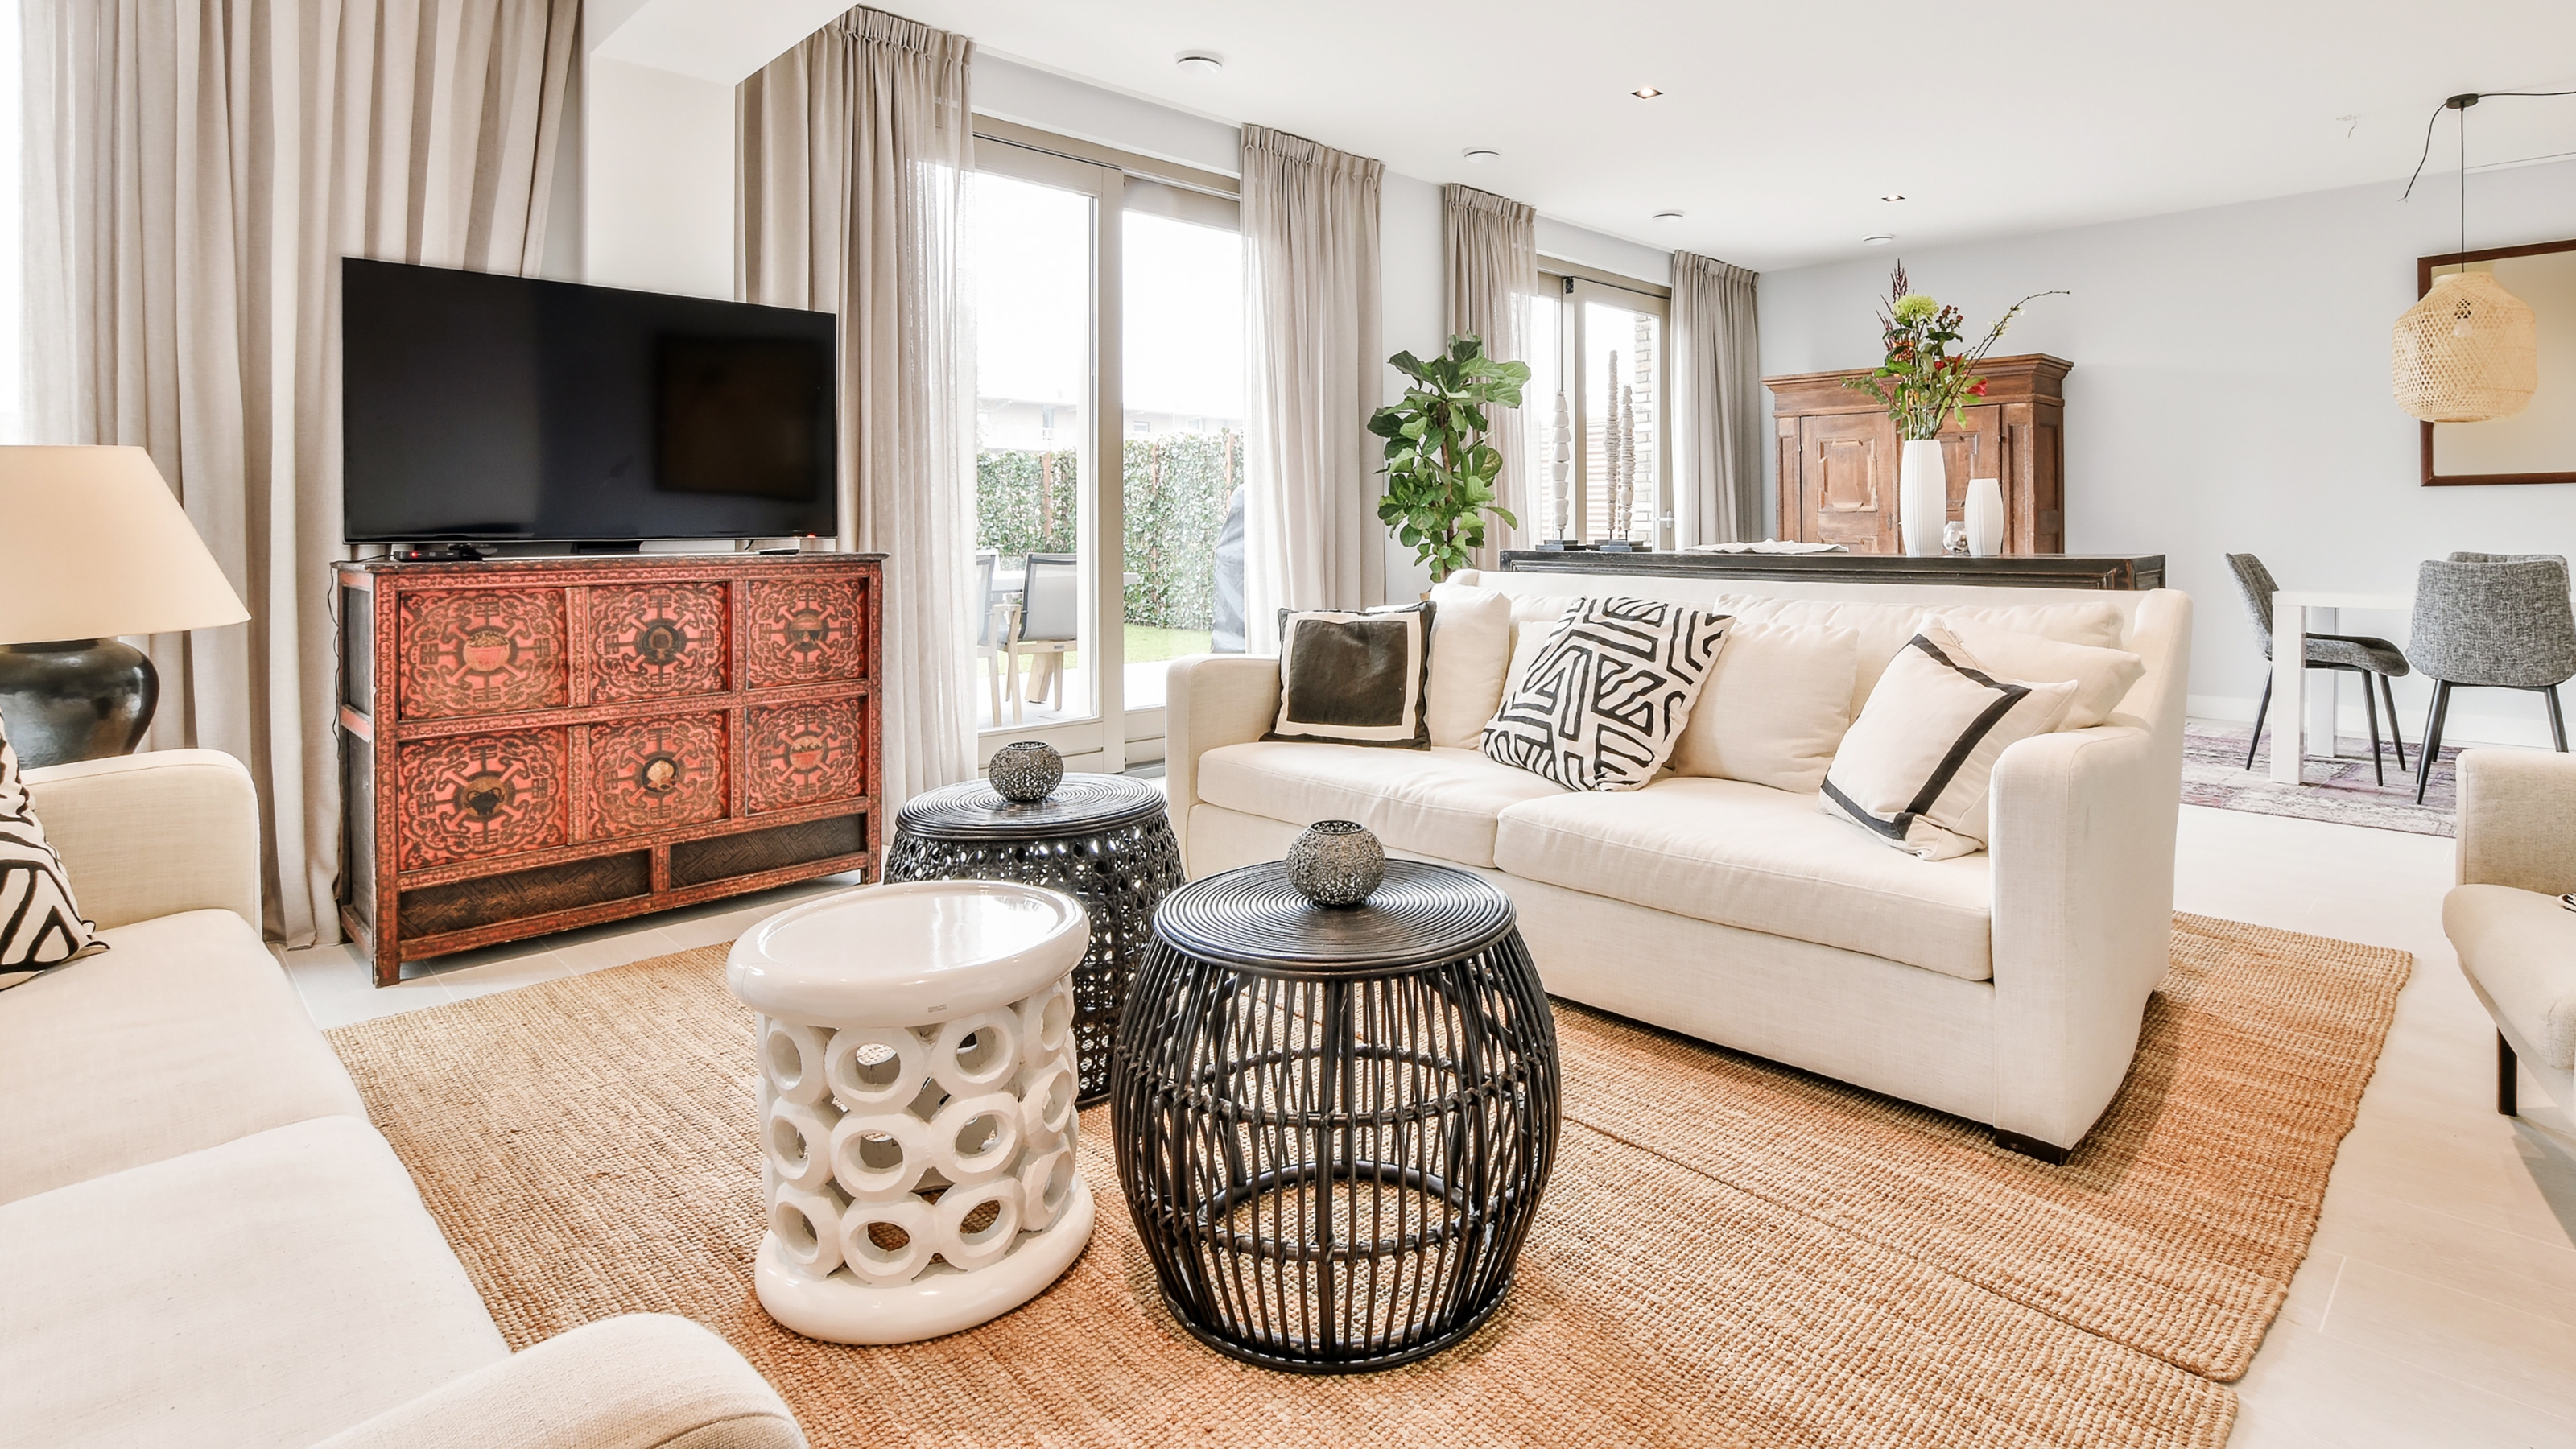
Whether you rent or own, these small living room DIY projects will help make your little house a home, truly reflecting your tastes and personality. Small living room DIY projects deliver a lot of bang for their limited bucks.
With this space often pivotal to hosting (for the social butterflies amongst you), or where you’ll spend a lot of time unwinding, it's a great room to focus your DIY energy with these six brilliant expert ideas.
With your small living room creative juices flowing, transform your lounge into a stylish and functional space.
6 small living room DIY projects
We spoke to Interior Designer, Nicole Cullum, who provided us with six fabulous DIY projects for small living rooms. She covers everything from wallpapering to lighting, so whether you're a seasoned DIYer, or a complete novice, we've got something for everyone's skill level.
1. Picture frame panel molding
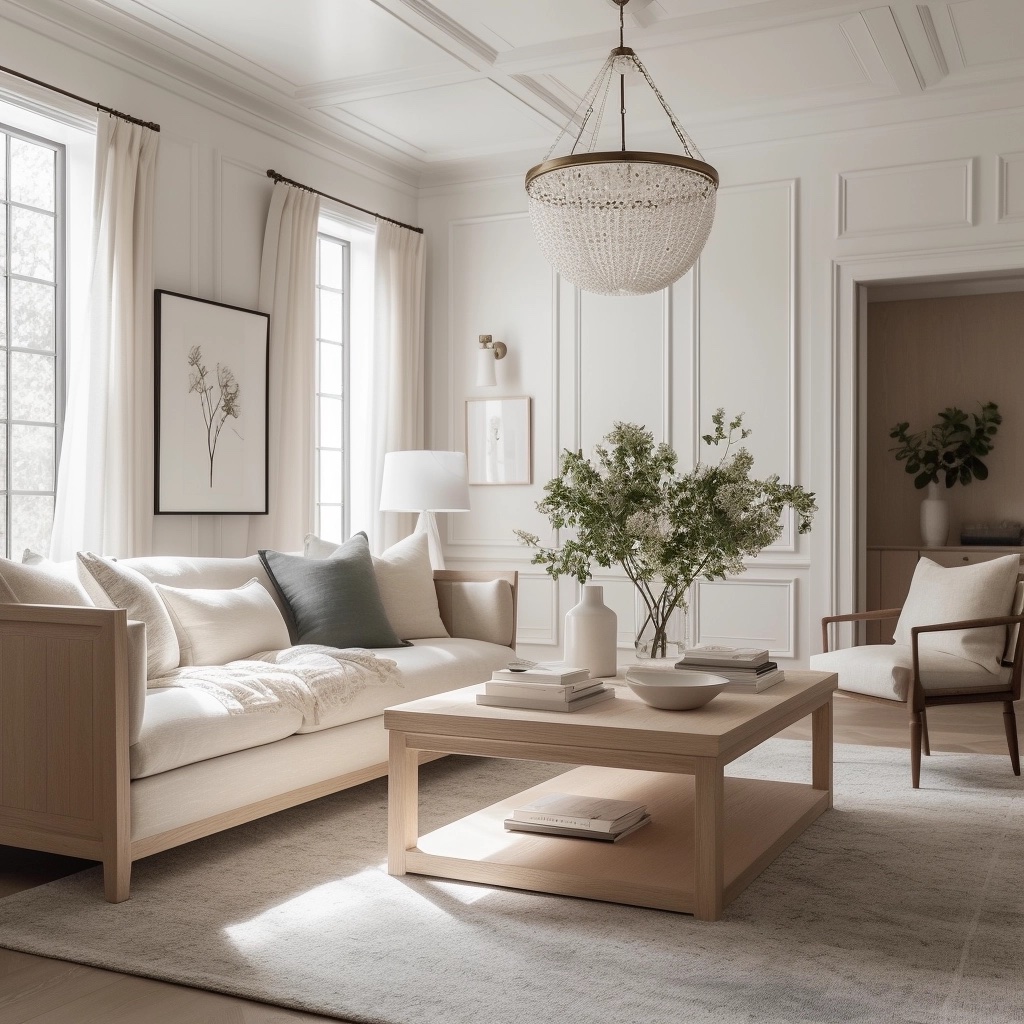
Nicole recommends giving your living room an instant upgrade by adding panel moulding from Home Depot to your walls for an easy, elegant look.
“Panel molding can be easily cut to fit your space, giving it a dimensional, structured look that feels like a sophisticated French chateau without the price tag,” she said.
Below, you’ll find materials and seamless steps Nicole has provided for incorporating panel moulding in these type of small living room DIY projects.
Supplies
- Primed polyurethane panel molding (like this molding from The Home Depot)
- Tape measure (you can get this Stanley tape measure from The Home Depot)
- Nail gun as this nail gun from Amazon
- Hammer such as this fiberglass hammer available on Amazon)
- Nails
- Laser level, like this Bosch mounting device available from The Home Depot
- Painters tape
- Heavy-duty glue
- Caulk gun (you can get a drip-free caulk gun from The Home Depot)
- Sealant
- Paint brush
- Paint color of your choice (Lick's cozy palette is particularly soothing)
Method
Step 1: Measure the length and height of your walls to determine how many panels you can fit on each wall. Leave at least 4-6 inches between each panel so they don’t feel cramped.
Step 2: Sketch your panel design on a piece of paper so you can see the vision. Note your measurements on the length and width of each panel on your drawing. Mark each panel on the wall to double-check your measurements.
Step 3: Head to your local hardware store like Home Depot or Lowes and select a narrow trim with a width between 1-2 inches. We prefer pre-primed trim so your moulding is ready to be painted once installed.
Step 4: Have your hardware store cut your trim to your desired lengths, making sure they miter the corners to fit. If you have a miter saw like this one from Lowes, you can do this part at home.
Step 5: Layout your molding pieces on the floor as they are noted in your sketch, in front of each wall to make sure they fit before attaching them to the wall.
Step 6: Start on your main wall, with the center panel. Mark where your molding starts, and place the laser level along the vertical and horizontal lines to make sure your molding is placed level.
Step 7: Apply construction adhesive to the back of your first molding piece and place it along the laser level. Repeat for all trim pieces.
Step 8: Add trim nails every 12 -24 inches to ensure it's properly secured to the wall. Fill in any holes with caulk, and run the caulk along the inner and outer edges of the trim. Wipe away any excess with a rag or paper towel and allow the caulk to fully dry. Repeat for all trim pieces.
Step 9: Paint your pre-primed molding either the same color as your walls for a seamless look or an accent color to make them stand out.
2. Found object hairpin coffee table
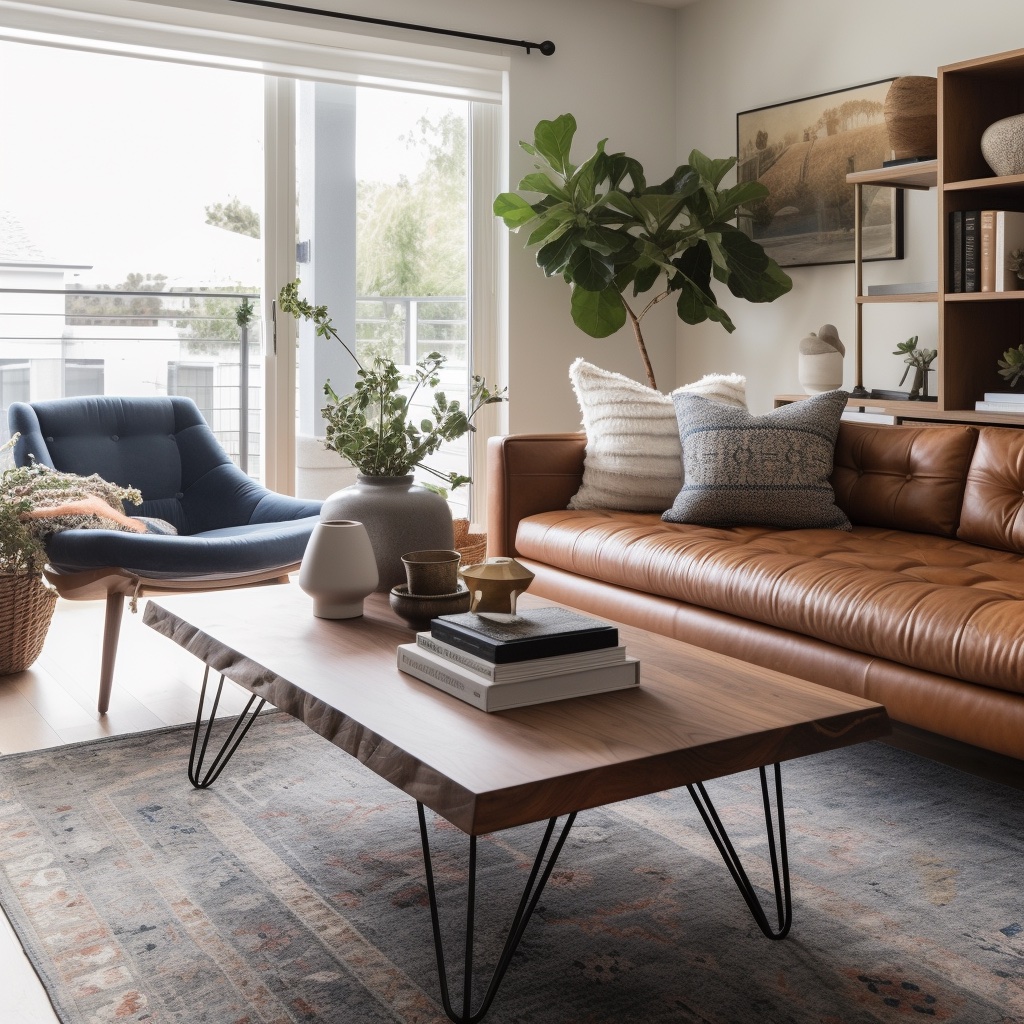
Add a cool mid-century modern vibe to your living room decor by swapping out your coffee table legs with chic and timeless hairpin style table legs.
"I love this project because it’s easy instant gratification, super affordable, and the sky's the limit on creative options," says Nicole.
There are tons of hairpin legs available online in a variety of finishes. Classic black, gold, or brass legs accentuate your existing decor and give your living room an easy upgrade.
You can also recycle natural materials from an old window, wood panel, or even a leftover stone piece from your local hardware store to replace the top of your coffee table, or build a new one with your hairpin leg replacements.
Supplies
- Hairpin legs (we like these brass hairpin legs available on Amazon)
- Coffee table of your choice (try this solid wood table from Wayfair)
- Screws, like this pack of 100 screws from Amazon
Method
Step 1: Select and order your hairpin legs. You can find these available online from many retailers (we like these budget-friendly Bed Bath & Beyond's budget-friendly three-pin set of four hairpin legs) or at a local hardware store.
Step 2: Screw in your hairpin legs with screws, making sure the screws aren’t too long that they will go through the coffee table top.
Note: Make sure your found object coffee table top is structurally sturdy enough to hold some weight. You want an object that you can style and use without risk.
3. Wallpaper bookshelves
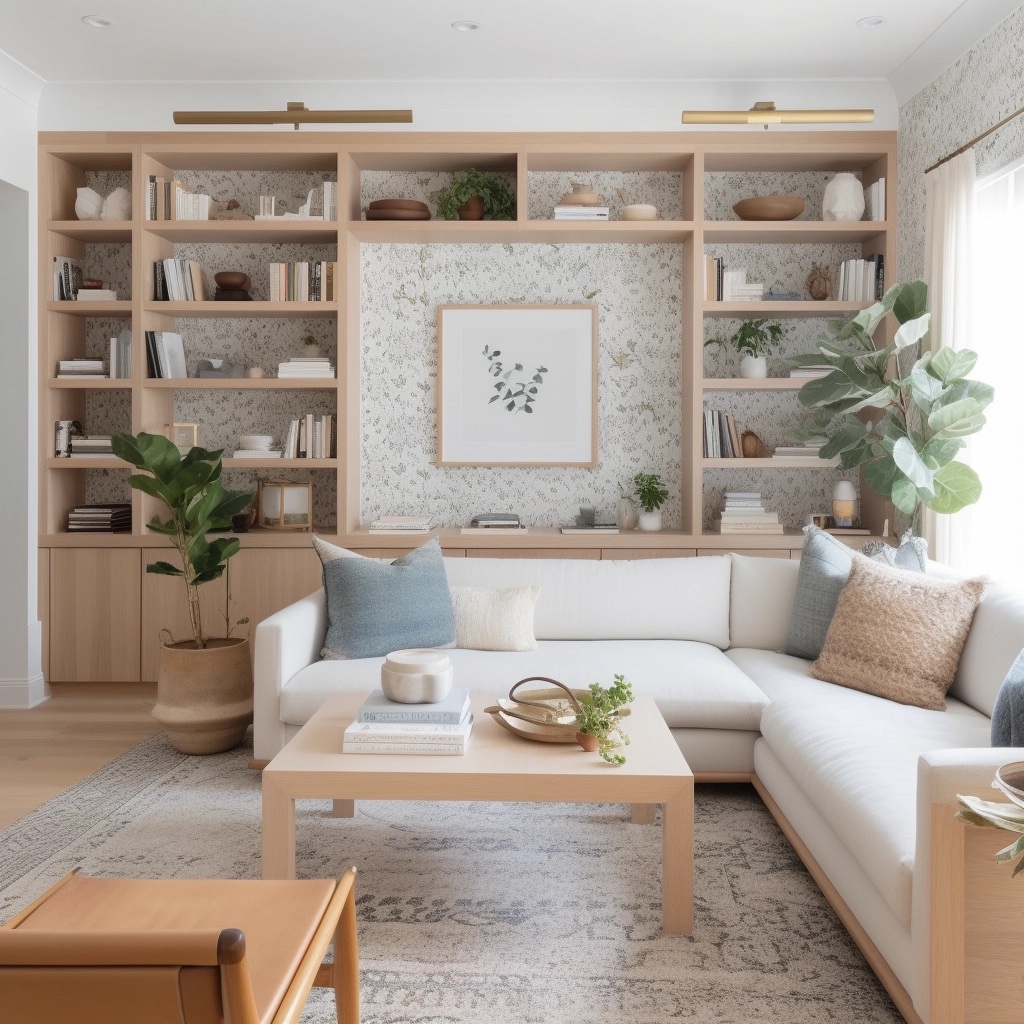
Transform that dusty bookcase into a chic and stylish focal point by adding a fun wallpaper to the backs of your bookshelves.. Nicole says, "This is a simple, easy trick that makes a huge impact on your living room decor without a time-consuming DIY project."
In these sorts of small living room DIY projects, simply select a peel-and-stick wallpaper, cut it to fit each shelf back, peel off the backing from your wallpaper, stick it and enjoy.
Supplies
- Tape measure (you can get this Stanley tape measure from The Home Depot)
- Peel-and-stick-wallpaper (we like this wallpaper from Wayfair)
- Utility knife, like this set from The Home Depot
Method
Step 1: Measure the length and width of the backs of each shelf with measuring tape. Add up the total area (length x width) of the bookcase shelf backs to determine how much wallpaper you need. Add 10% extra to that final number for any waste or pattern matching.
Step 2: Select a peel & stick wallpaper, such as this World Menagerie option from Mayfair. Peel & stick wallpapers are like a giant sticker for home decor. These papers are renter-friendly because they are removable, unlike traditional wallpapers. Each roll comes with a paper backing that you easily peel back to expose the adhesive side of the wallpaper.
Step 3: Place the top right corner of your wallpaper roll on the inside of the top left shelf, with the pattern side facing the back of the shelf, and the plain side facing you. Smooth out the paper so it fits into the interior of the back of the shelf. Mark the edges of the shelf with a pencil along the back of the wallpaper. Repeat for each shelf, making sure to match any pattern repeats across the roll.
Step 4: Cut each piece and note with a number or mark which piece fits on each shelf. Place your wallpaper in the upper left corner with the pattern side facing out towards you. Lightly peel the corner of the wallpaper backing from the wallpaper and place the exposed adhesive part flush to the top left corner of the back of your bookcase. Reach under the paper and continue to peel the backing away, while smoothing the top down with the smoother tool.
Step 5: Once the backing is fully peeled away, use the smoothing tool to remove any air bubbles by starting from the center and slowly smoothing the paper out towards each edge. Repeat for each shelf.
4. Abstract shapes mural

Transform your wall into a work of art with simple shapes in fun colors. Nicole recommends picking three to five complementary colors and painting some simple, abstract shapes as an accent wall behind your sofa.
Supplies
- Paintbrushes
- Drop cloth (you can grab a big canvas drop cloth from The Home Depot)
- Cleaning wipes, like these Scott Shop wipes from The Home Depot
Method
Step 1: Sketch out a general idea of the size and shape of your idea on a piece of paper and mark where the colors will go on each shape to make sure you have a balanced and interesting composition.
Step 2: Get inspired by artist Henri Matisse and his organic shapes. Hop on Pinterest for inspiration on designs, or doodle your own on the wall.
Step 3: Select the color palette for the colors of your shapes. Canva has a color palette generator that can help you create the perfect colors for your wall mural.
Step 4: Go to the hardware store and match your color palette to paint chips and get single quarts of each color made in either a matte or eggshell finish in latex or acrylic indoor paint. Grab a paint brush for each color you’ll be using.
Step 5: Lay your drop cloth down on the floor in front of the wall you’ll be painting. Lightly draw out your design on your wall in pencil so that it matches your inspiration sketch and fill in each shape with your preferred color. Let each layer dry completely before going back for a second layer or adding any details.
5. Plant wall
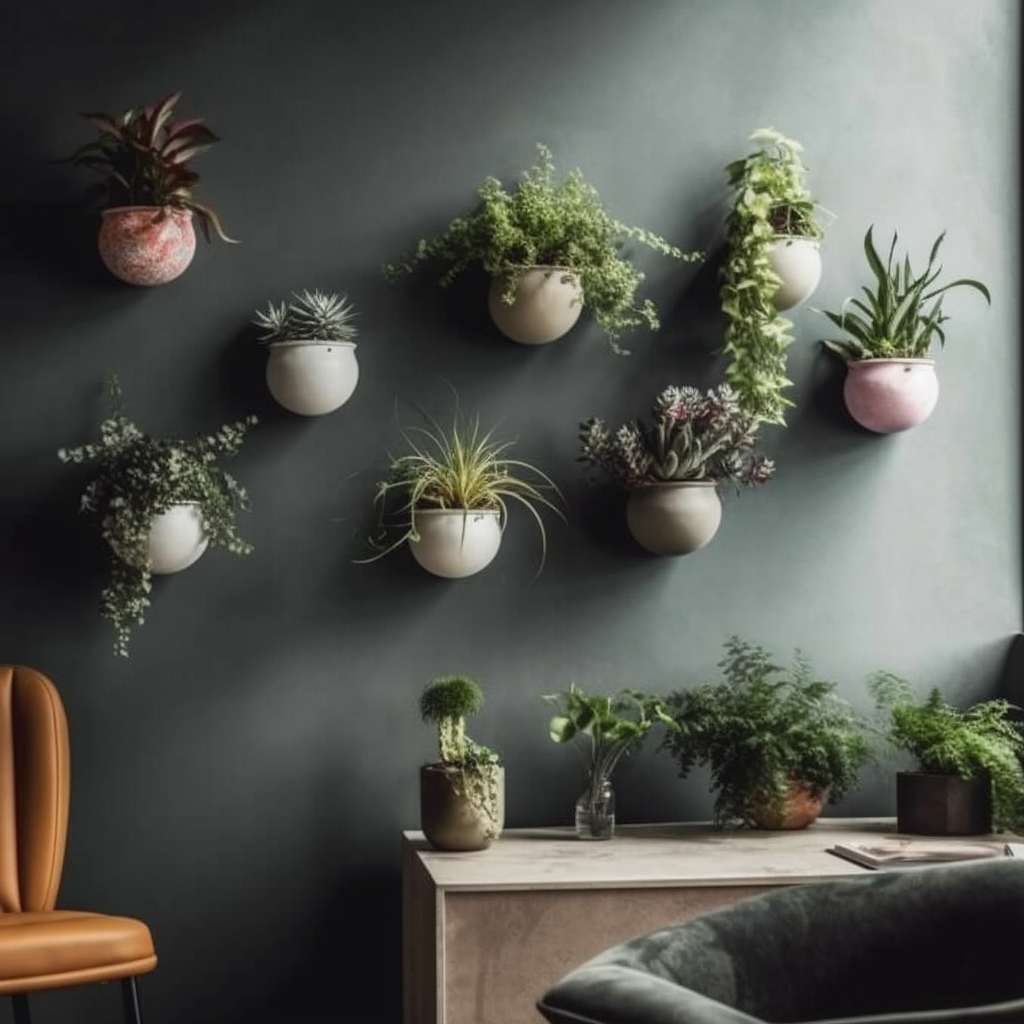
Adding some indoor plants is always a good idea in a small space. "Fresh greenery never goes out of style," says Nicole. "Add garden-inspired drama to your living room with an easy DIY plant wall. "
Grab a set of six to twelve wall-mounted plant hangers and fill an accent wall with your favorite plants. Improve the air quality in your living room while creating a unique and eco-friendly style.
Supplies
- Plant hanger (we like this black metal hanger available on Amazon)
- Drywall anchors (you can grab a pack of screws and anchors from Amazon)
- Plants or faux plants like this faux spiderwort plant from West Elm
- Drill and drill bits
- Decorative rocks
Method
Step 1: Select your wall-mounted plant hangers. West Elm and Amazon have a great selection of indoor wall-mounted planters that make installation quick and easy.
Step 2: Select the plants you’ll be putting in each planter. Knowing where each plant is going will help you determine how far apart each planter needs to be to accommodate the height of the leaves of each plant.
Step 3: Mark where each planter will go on the wall. You can place yours in a classic grid style, checkerboard, a horizontal or vertical line, or do an organic shape for visual interest.
Step 4: Install the planters in your preferred design. Place a handful of rocks at the bottom of each planter to allow air circulation around the roots of your plants. This prevents rot and prolongs the life of your plants.
6. Hand painted lamp shade
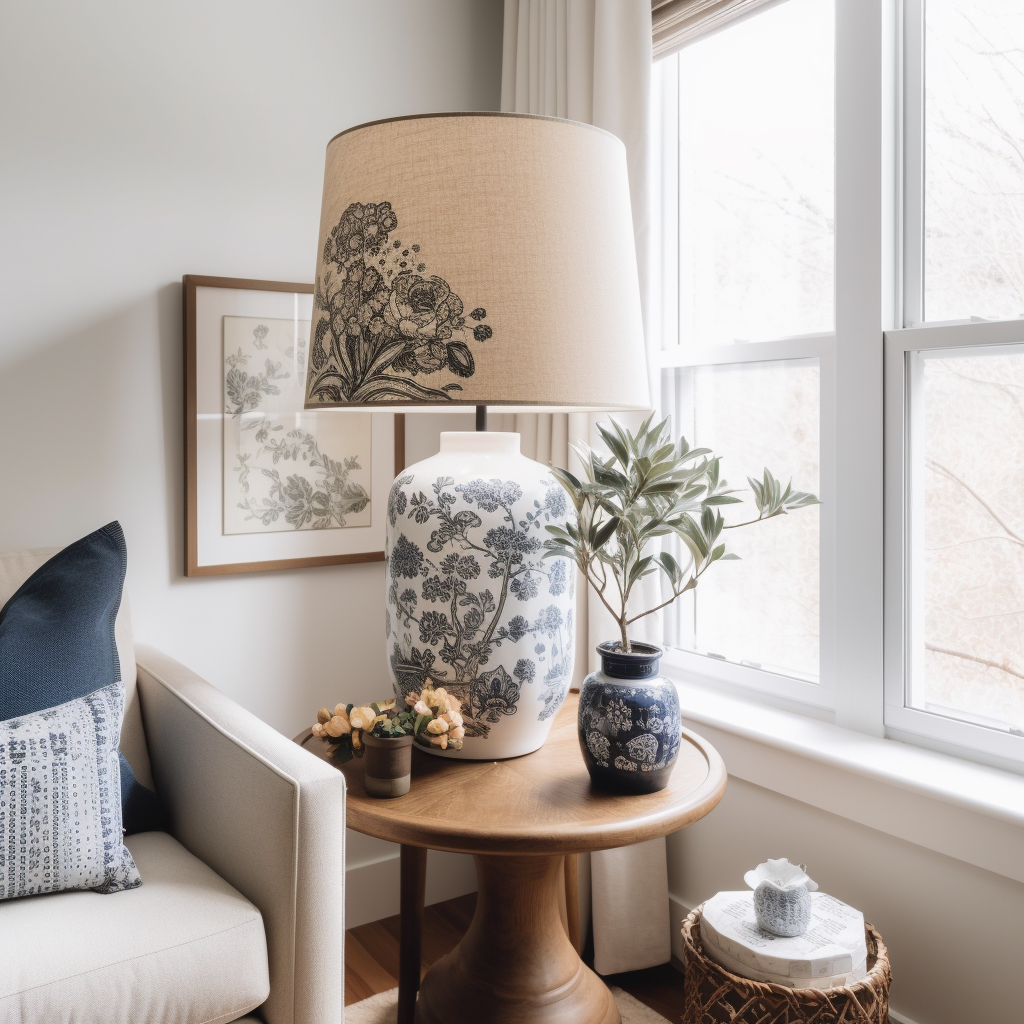
You may not have thought of small living room DIY projects for your lamps before but a custom lampshade will really pop in a small living room. "Banish boring lighting by adding an artistic touch to your lampshade," said Cullum.
"Draw or paint a simple design along the edge of your shade for a one-of-a-kind look."
If you're apprehensive, you can use a budget-friendly option, like one of our favorite Target lamps.
Supplies
- Transfer paper, like this graphite transfer paper available on Amazon
- Acrylic paint (like this paint from Amazon)
- Paintbrushes (you can grab a pack of great paintbrushes from Amazon)
Method
Step 1: Find a design you’d like to add to your lampshade. Your design could be a cute scallop along the bottom edge, a motif from your favorite piece of artwork, or a unique design all your own.
Step 2: Print your design to the size you’d like it to be on your lampshade. Tape the design on the shade where you’d like it to go. Slide the transfer paper under your design so it’s between your printed design and the lampshade with the graphite-coated side facing the shade.
Step 3: Lightly trace your design onto the shade by going over it with a pencil while the transfer paper is underneath. Once you’re finished tracing the design, remove the tracing paper, but don’t un-tape your design yet. Lift your design to make sure it is transferred completely. If you need to go back, you can put the transfer paper back underneath your design without having to try and place your design in its original position.
Step 4: Once your design is fully traced, remove both the transfer paper and the design to reveal the design on the lampshade. Paint or draw your design to complete the look.
FAQs
Will my plants survive in a plant wall?
"This easy DIY project can last for years with proper upkeep," says Nicole.
Make sure the plants you select receive enough natural light on the gallery wall to survive and thrive.
Is peel & stick wallpaper in a small living room removable?
Peel and stick wallpaper can be moved and replaced if you don’t get it right on the first try. Make any markings on the back of the paper, knowing it will be placed with the pattern side up when installing.
These are just a few of the many small living room DIY projects you can use to transform into a stylish and functional space. As all projects do, they'll take some time, however, they are easy to do and won't break the bank.
With a little creativity and effort, you can create a cozy and inviting space that you'll love to spend time in, whether it be with your guests or alone! Use your newfound crafty confidence to DIY a small entryway, or brighten up your kitchen or bathroom with a DIY tile backsplash.