If you’re one of the increasing number of artists working on an iPad, you’ll most likely have tried Procreate. So many people have fallen in love with what it offers, making it one of their primary creative tools. But whether you’re a seasoned pro or a fresh newbie, there’s always something to learn.
Whether you’re looking for workflow improvements or want to learn how to make the most of the app’s broad feature set, our team of Procreate artists is here to share their top tips covering what it brings to the table, beginning with concept designer Nelson Tai.
If you need more or deeper Procreate training, then read our list of Procreate tutorials. Still need convincing that this is the app for you? Then read our guide to the best digital art software for a comparison, and our guide to the best iPad for drawing to gauge which tablet you need.
1. Hook up an external keypad
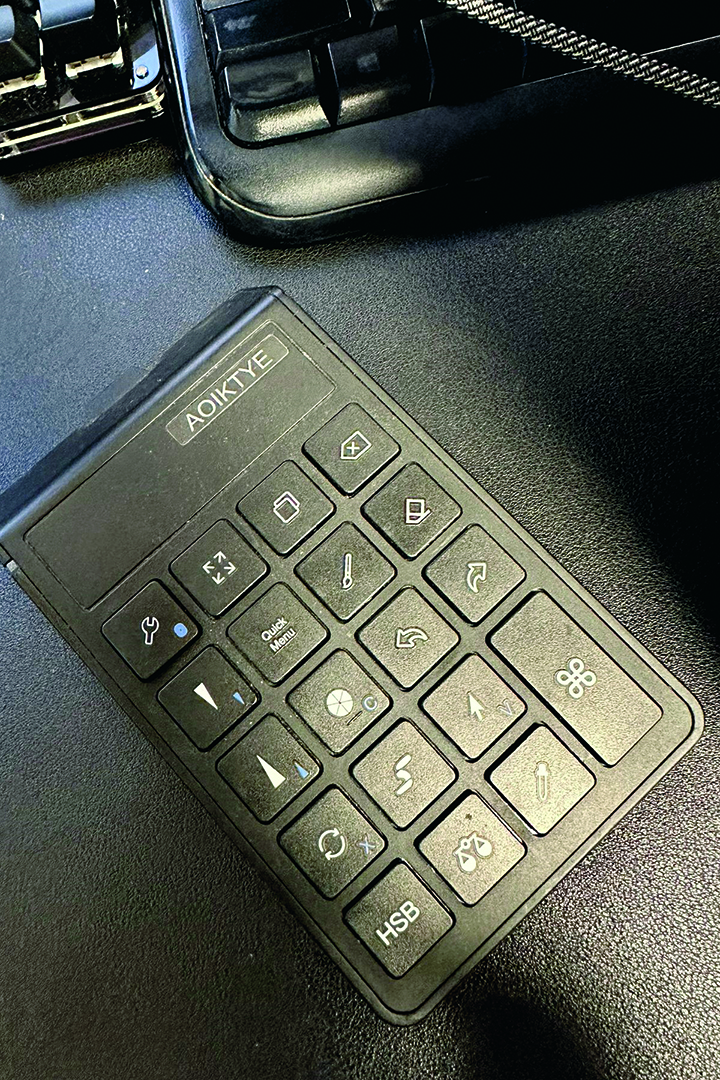
Using these has improved my workflow and efficiency greatly. With it, I can switch tools, undo, and redo all more quickly with key presses. Keypads can easily be found on Amazon with countless iterations offering a wide range of features and price points. (Xencelabs, Huion, and XPPen all have remote keypad controllers; read the best drawing tablets guide for some examples.)
2. Prep 3D references
I often use these for my blocking or reference. It’s important to set up the render size from your 3D software to be the same as your canvas in Procreate. Locking the 3D camera is also important so that any future changes to your 3D scene can be easily re-rendered and replaced in Procreate, and continue to have everything matching up.
3. Make a custom QuickMenu
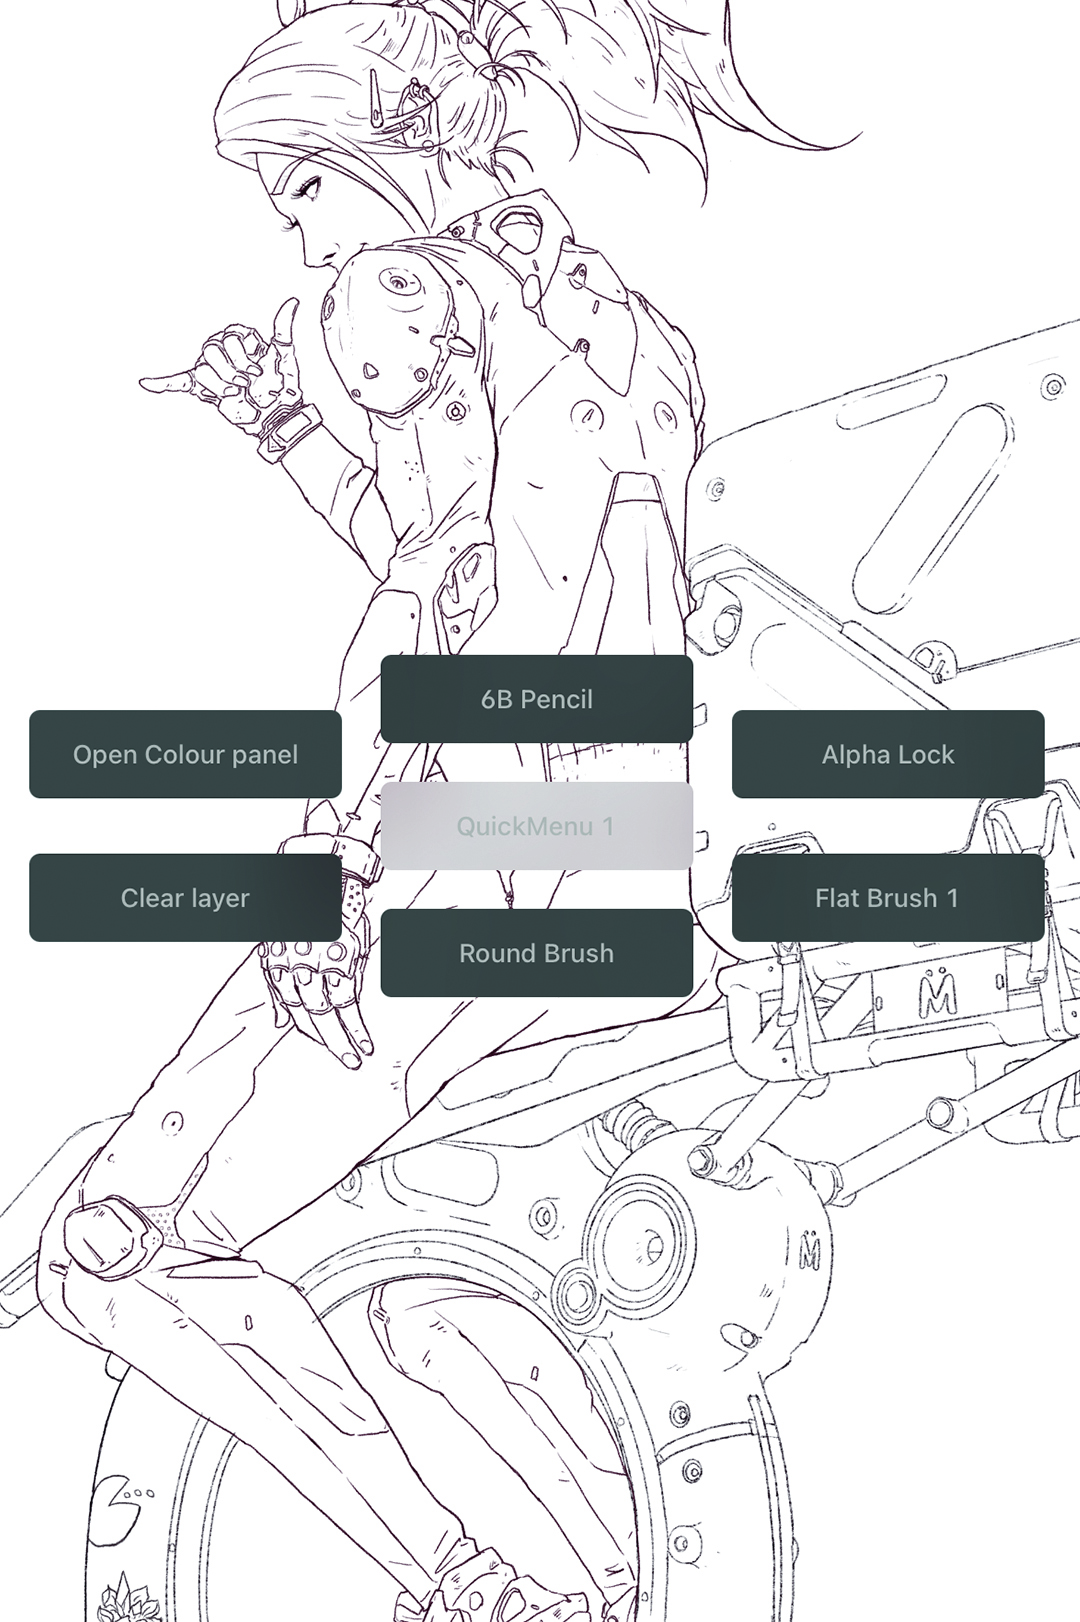
Set up a QuickMenu that best serves your workflow to further improve your efficiency. I have my most-used brushes and functions here, so I don’t need to lift my drawing hand off the canvas to tap into the menus and functions. Having a QuickMenu button ready and waiting on an external keypad is also awesome!
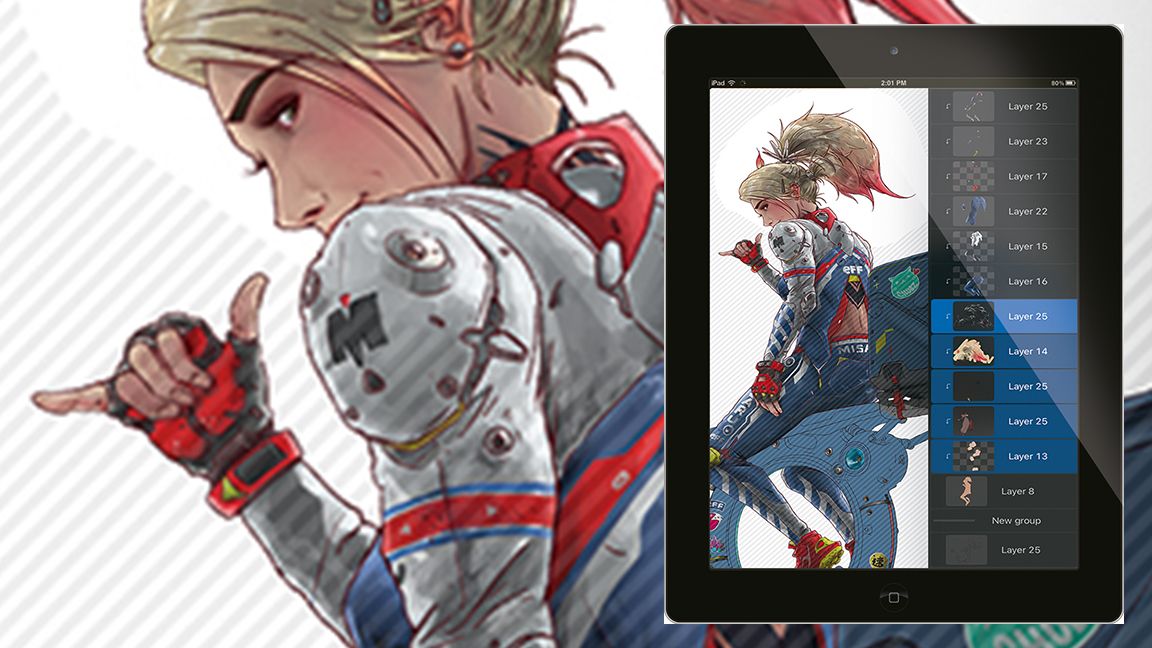
4. Save your favourite Brushes and sizes

Create a new folder in the Brush Library to store the brushes you use most often for quick and easy access. Duplicate and drag brushes into your folder to add them. Tap the Brush Size slider, then the ‘+’ button to save the brush sizes. As well as saving on time, I find this useful to keep my line work consistent. While we’re at it, why not add brushes to your QuickMenu for extra speed?
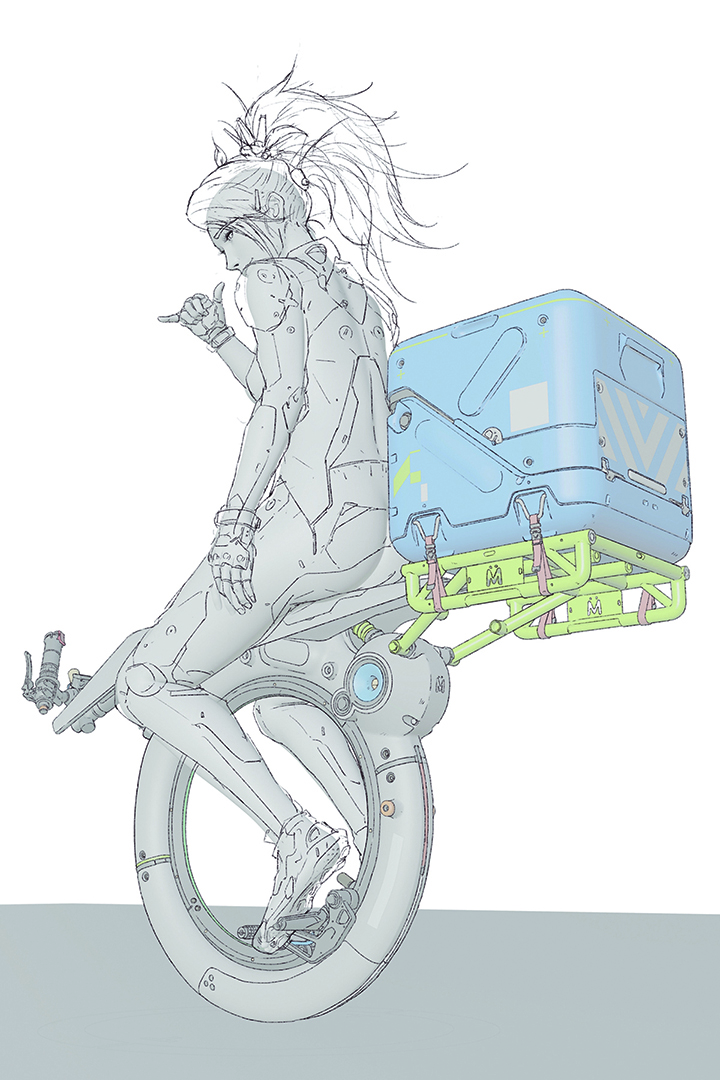
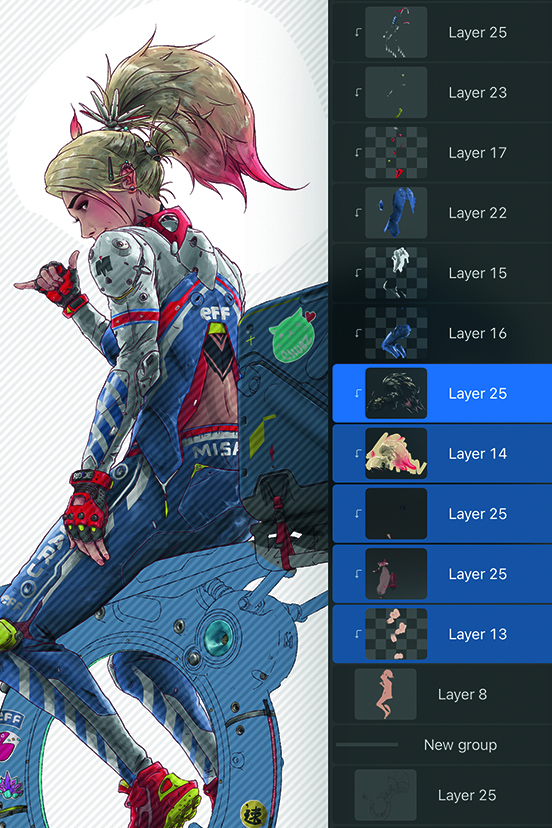
5. Colour with Clipping Masks
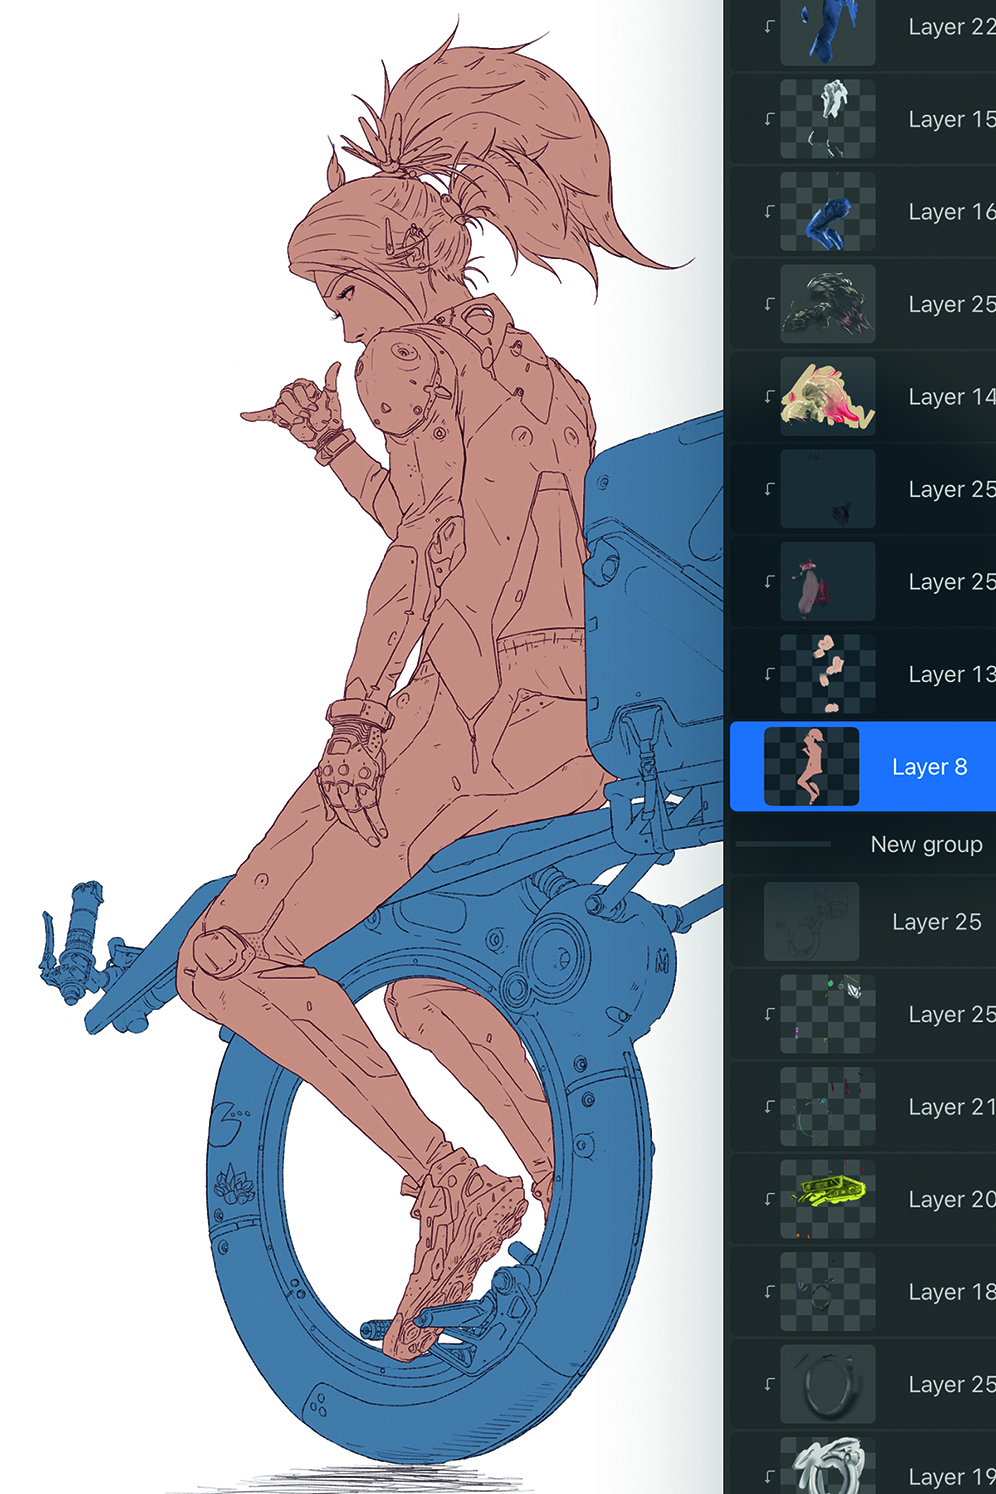
For characters, I usually like to paint out the base silhouette with a skin colour, then add Clipping Mask layers on top to develop. Often, adding this silhouette layer helps check for issues in the proportions or shapes that you don’t easily catch with just line work. The Clipping Mask layers would start with the skin, then another for hair, one or two for clothing, and additional ones for accessories, and so on. Everything gets kept nice and clean within the base layer as Clipping Masks.
6. Alpha LockUsing Alpha Lock
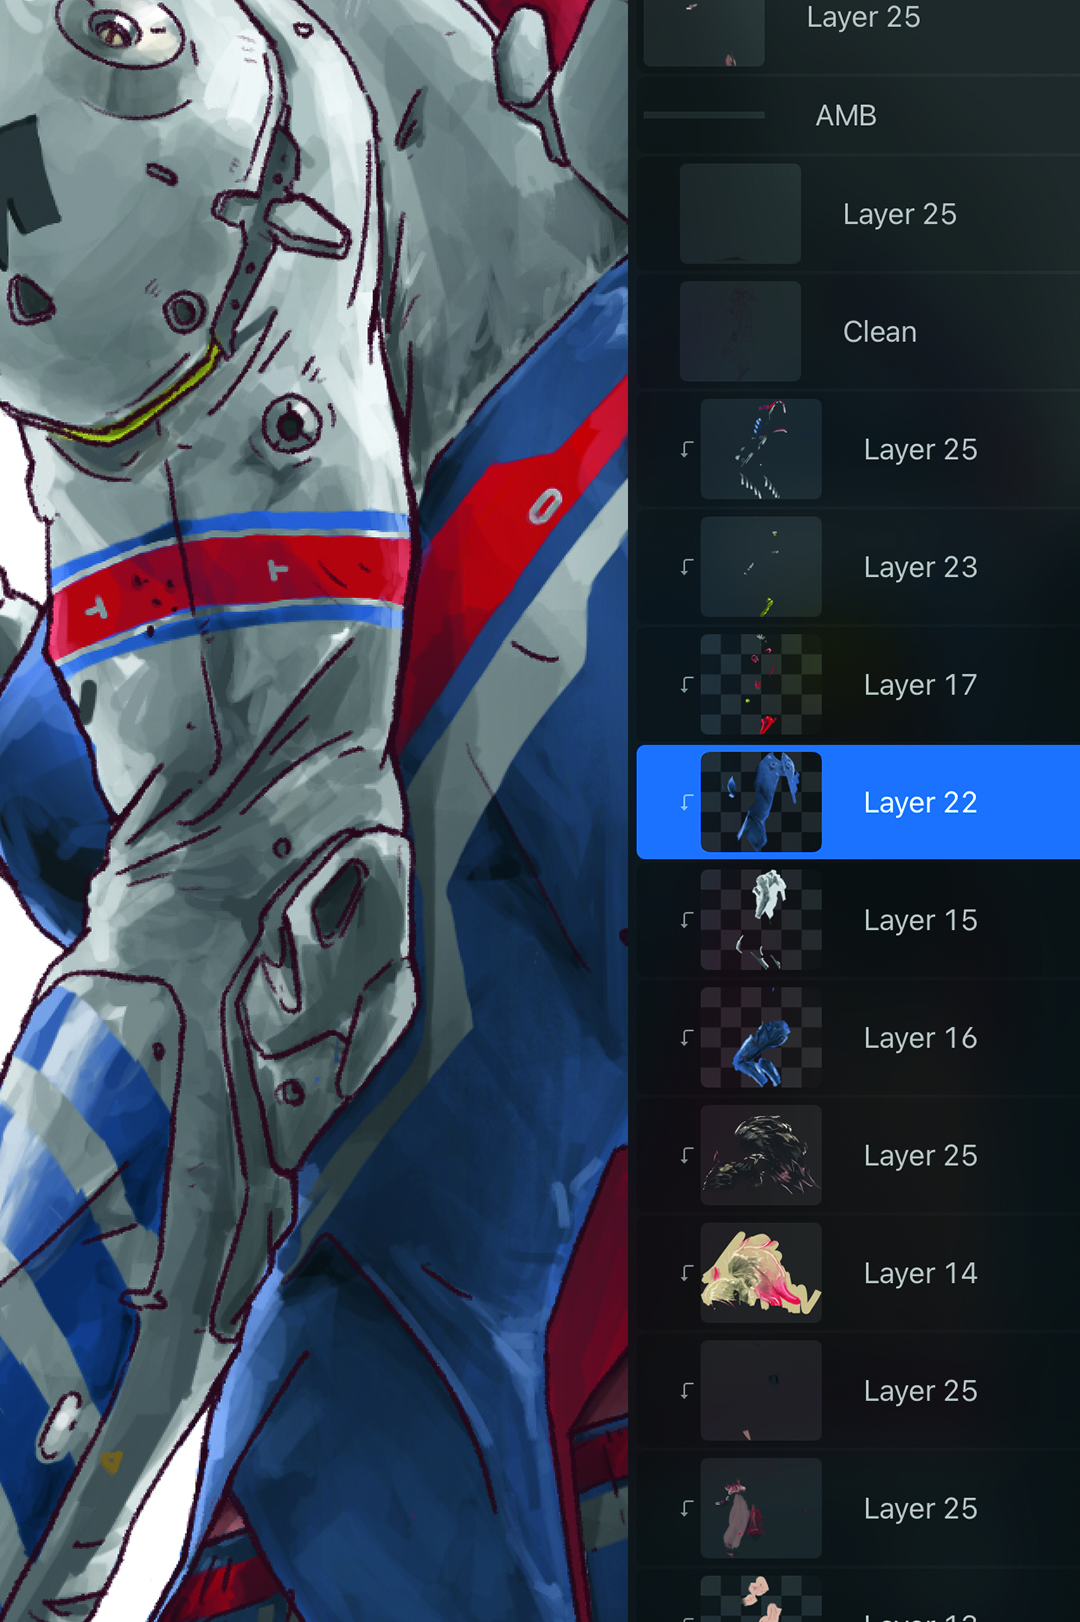
In conjunction with Clipping Masks during the colouring stage is extremely useful to keep things clean and contained. Get this set up in the QuickMenu, or open and select the layer you want to be Alpha Locked, and swipe right with two fingers. A layer that’s actively Alpha Locked will show a chequered background in its layer list thumbnail.
7. Use Multi-layer Transformation
It’s immensely powerful to be able to transform specific areas across multiple layers at once when you need to move and shift things around. Simply swipe right on the layers you want to edit, then use the Lasso tool (or any other selection tool) to select the area you want to transform.
8. Create Shadows using colours
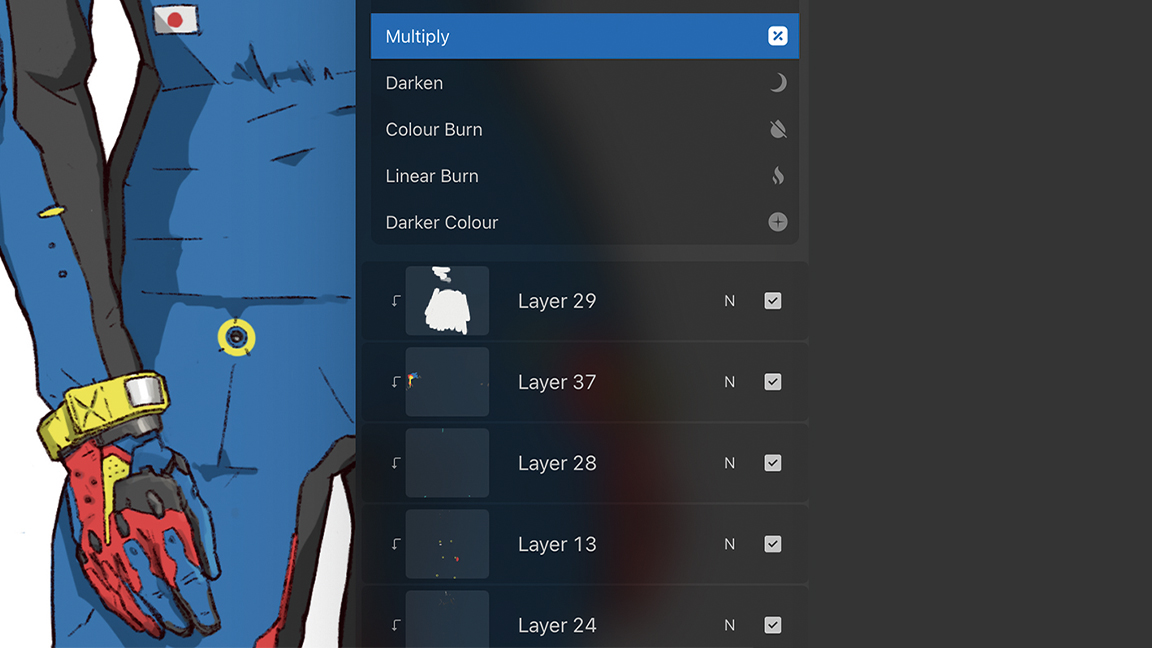
I like to add shadows at the end of my process by creating a layer set to the Multiply Blend Mode and reducing the opacity. I typically use dark blues to paint shadows, but for skin, I may instead use oranges and reds depending on the situation and how it looks visually.
9. Highlights with a little bloom
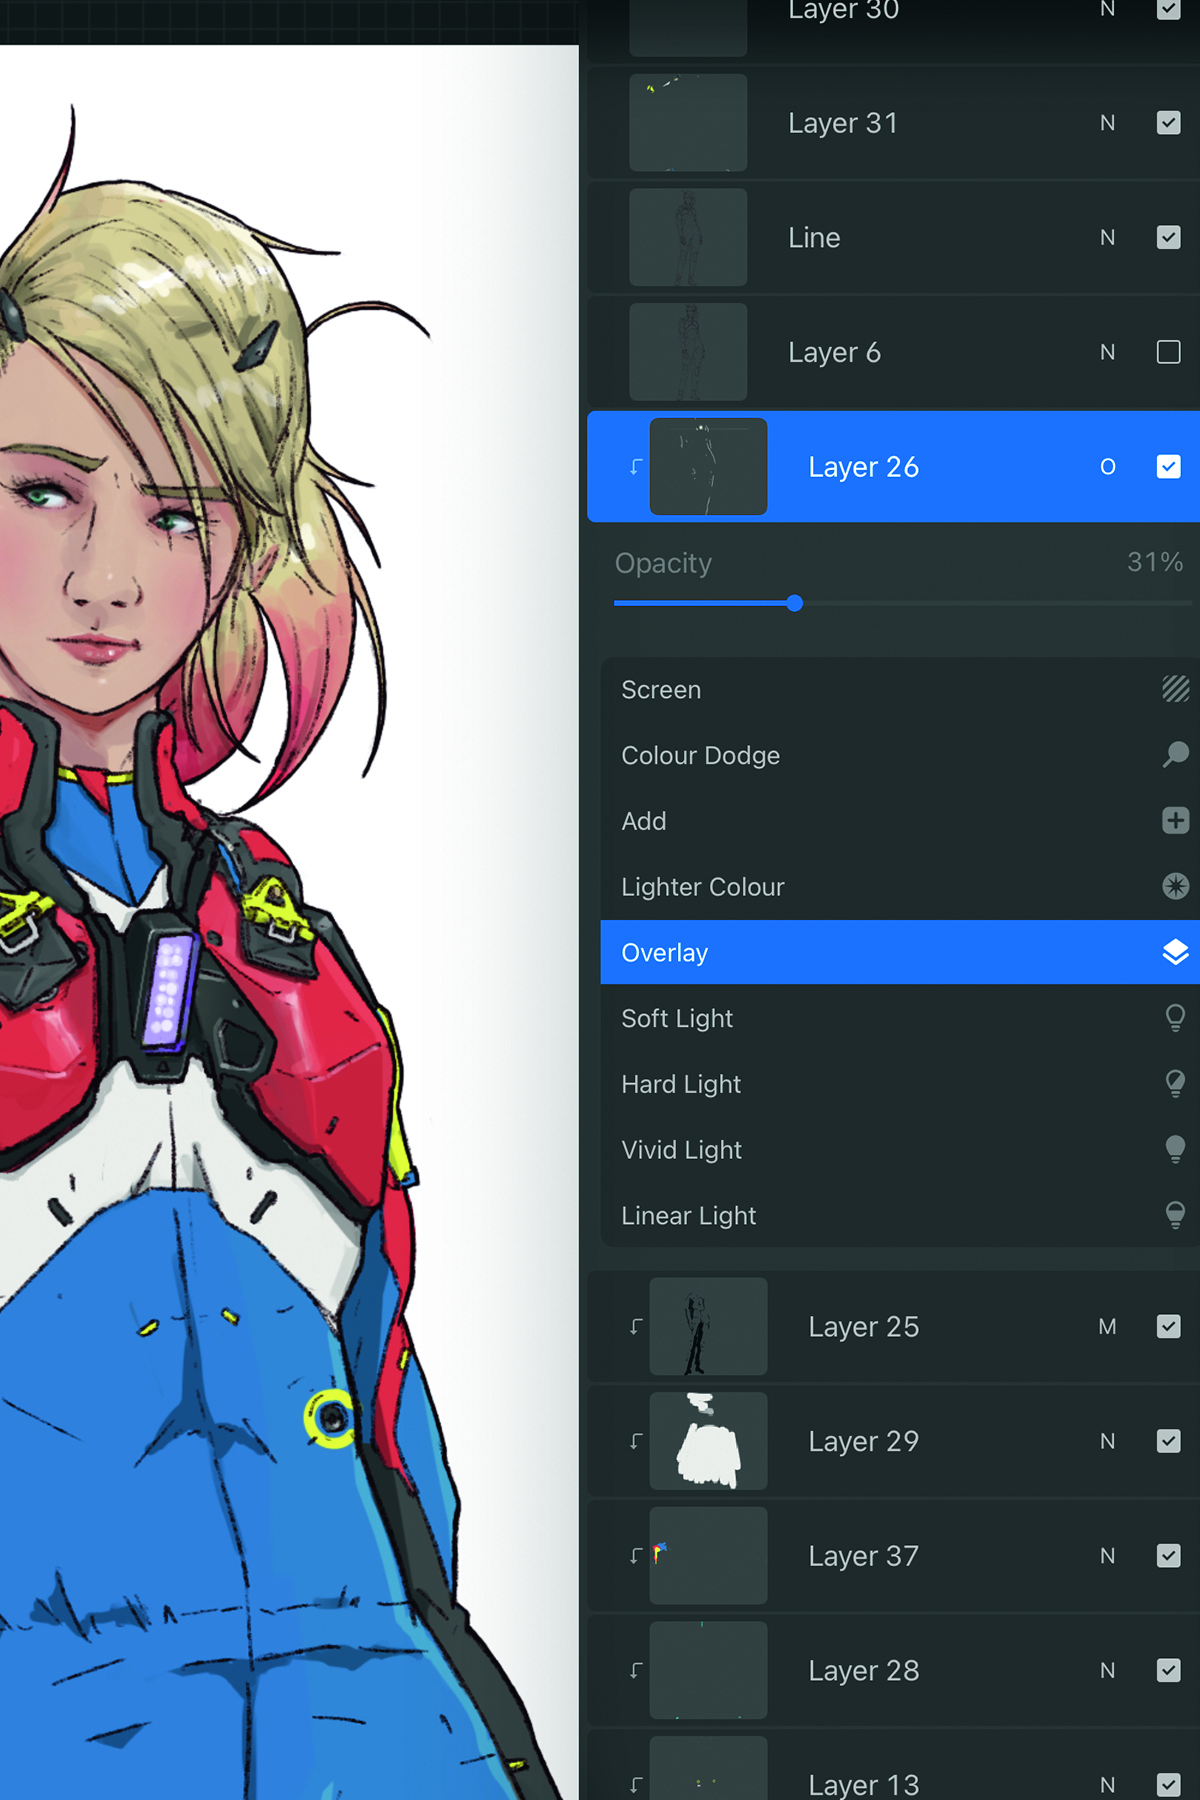
For highlights, meanwhile, I’ll add a layer set to the Overlay Blend Mode with the Opacity reduced to whatever looks best. I predominantly use light yellows to paint highlights, plus a light colour, which depends on the light source’s colour, with a soft brush for any light bloom.
10. Perfect Circles
To easily draw clean circles, keep your pen held when you get back to the start of your shape. At that point, the circle should readjust automatically into a cleaner curve as you hold the pen down. But that’s not all! If you also tap a finger down in addition to the pen, the circle readjusts again to form a perfect circle.