
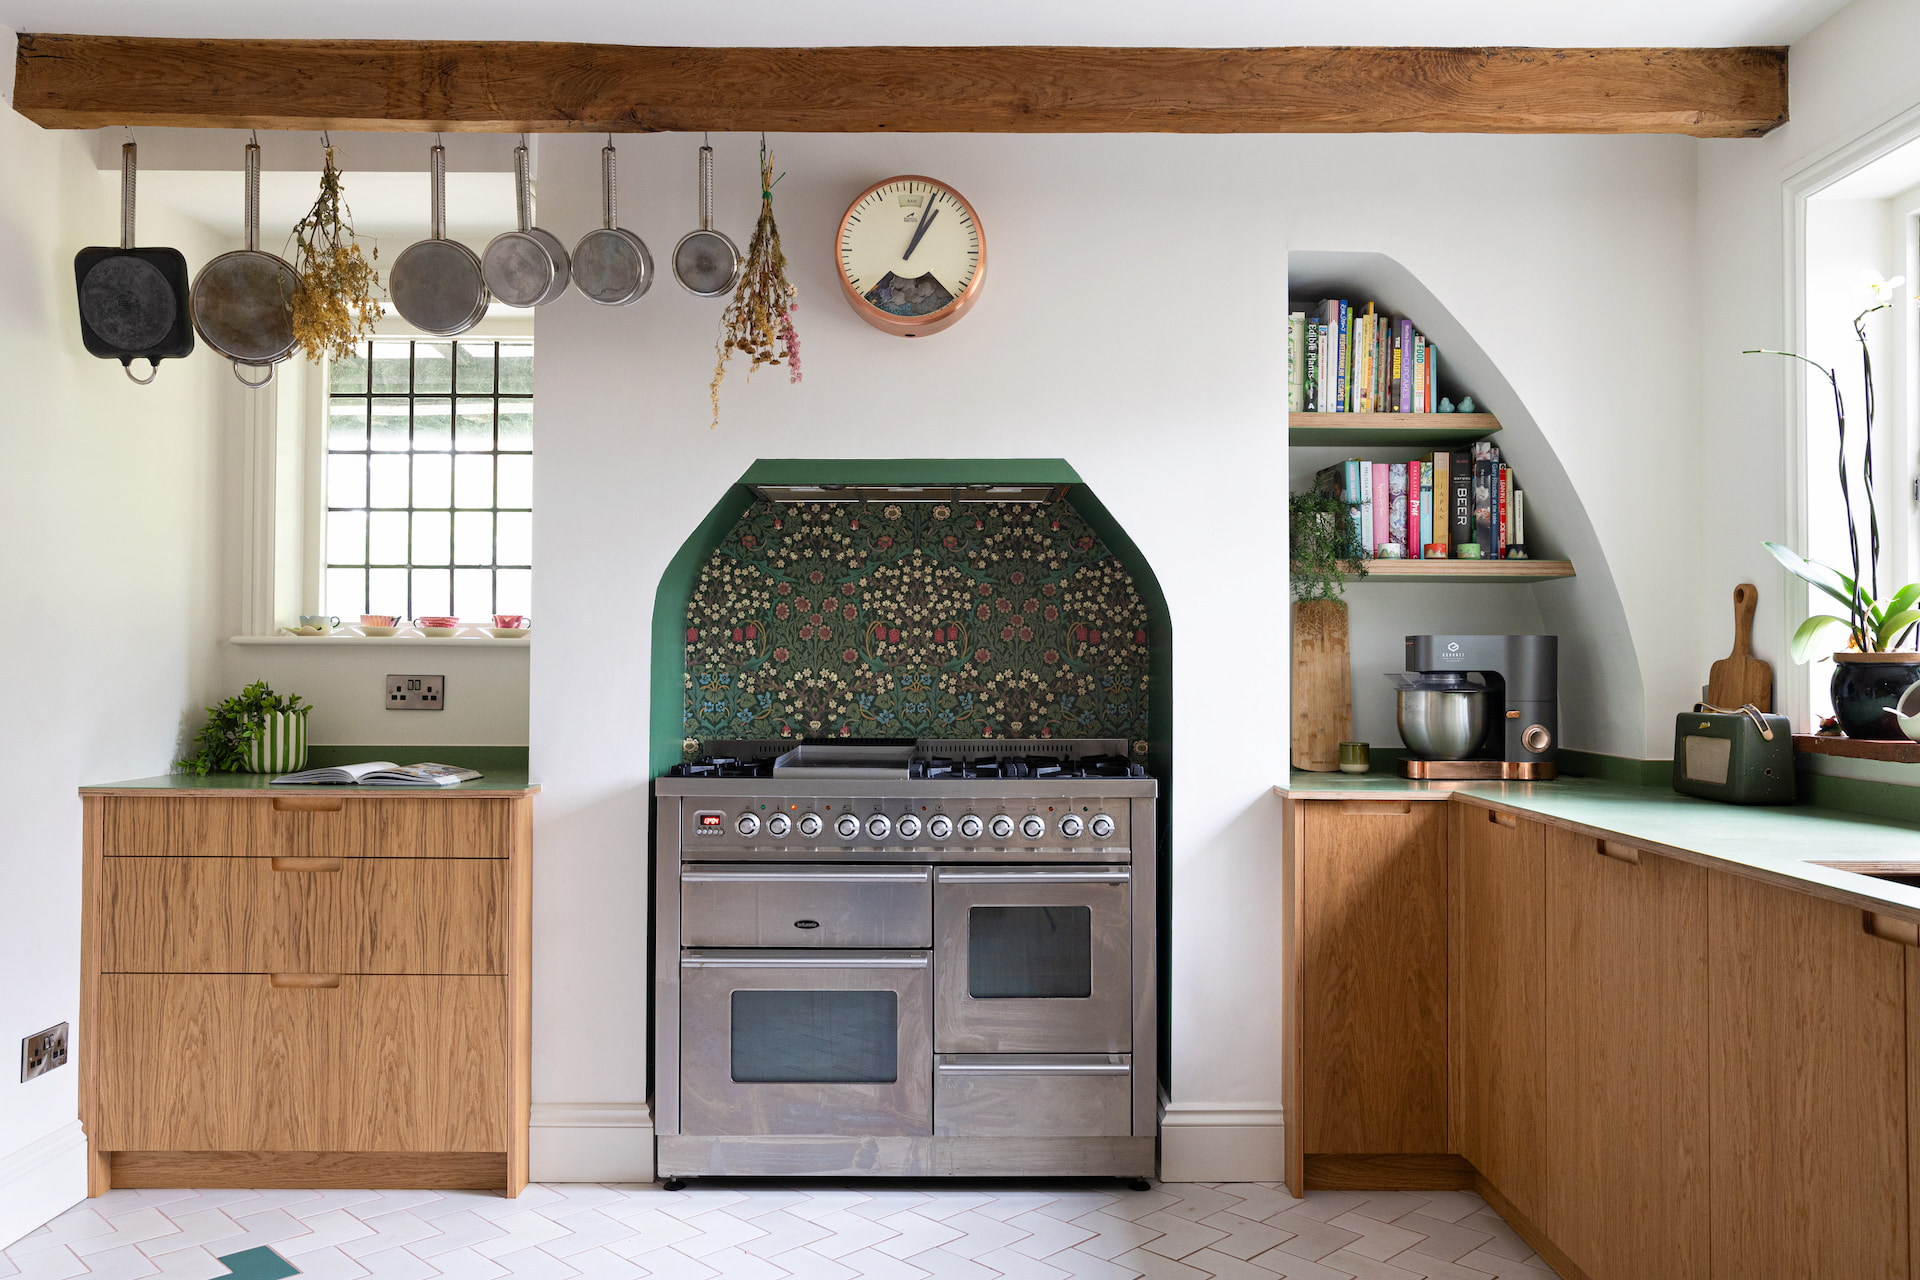
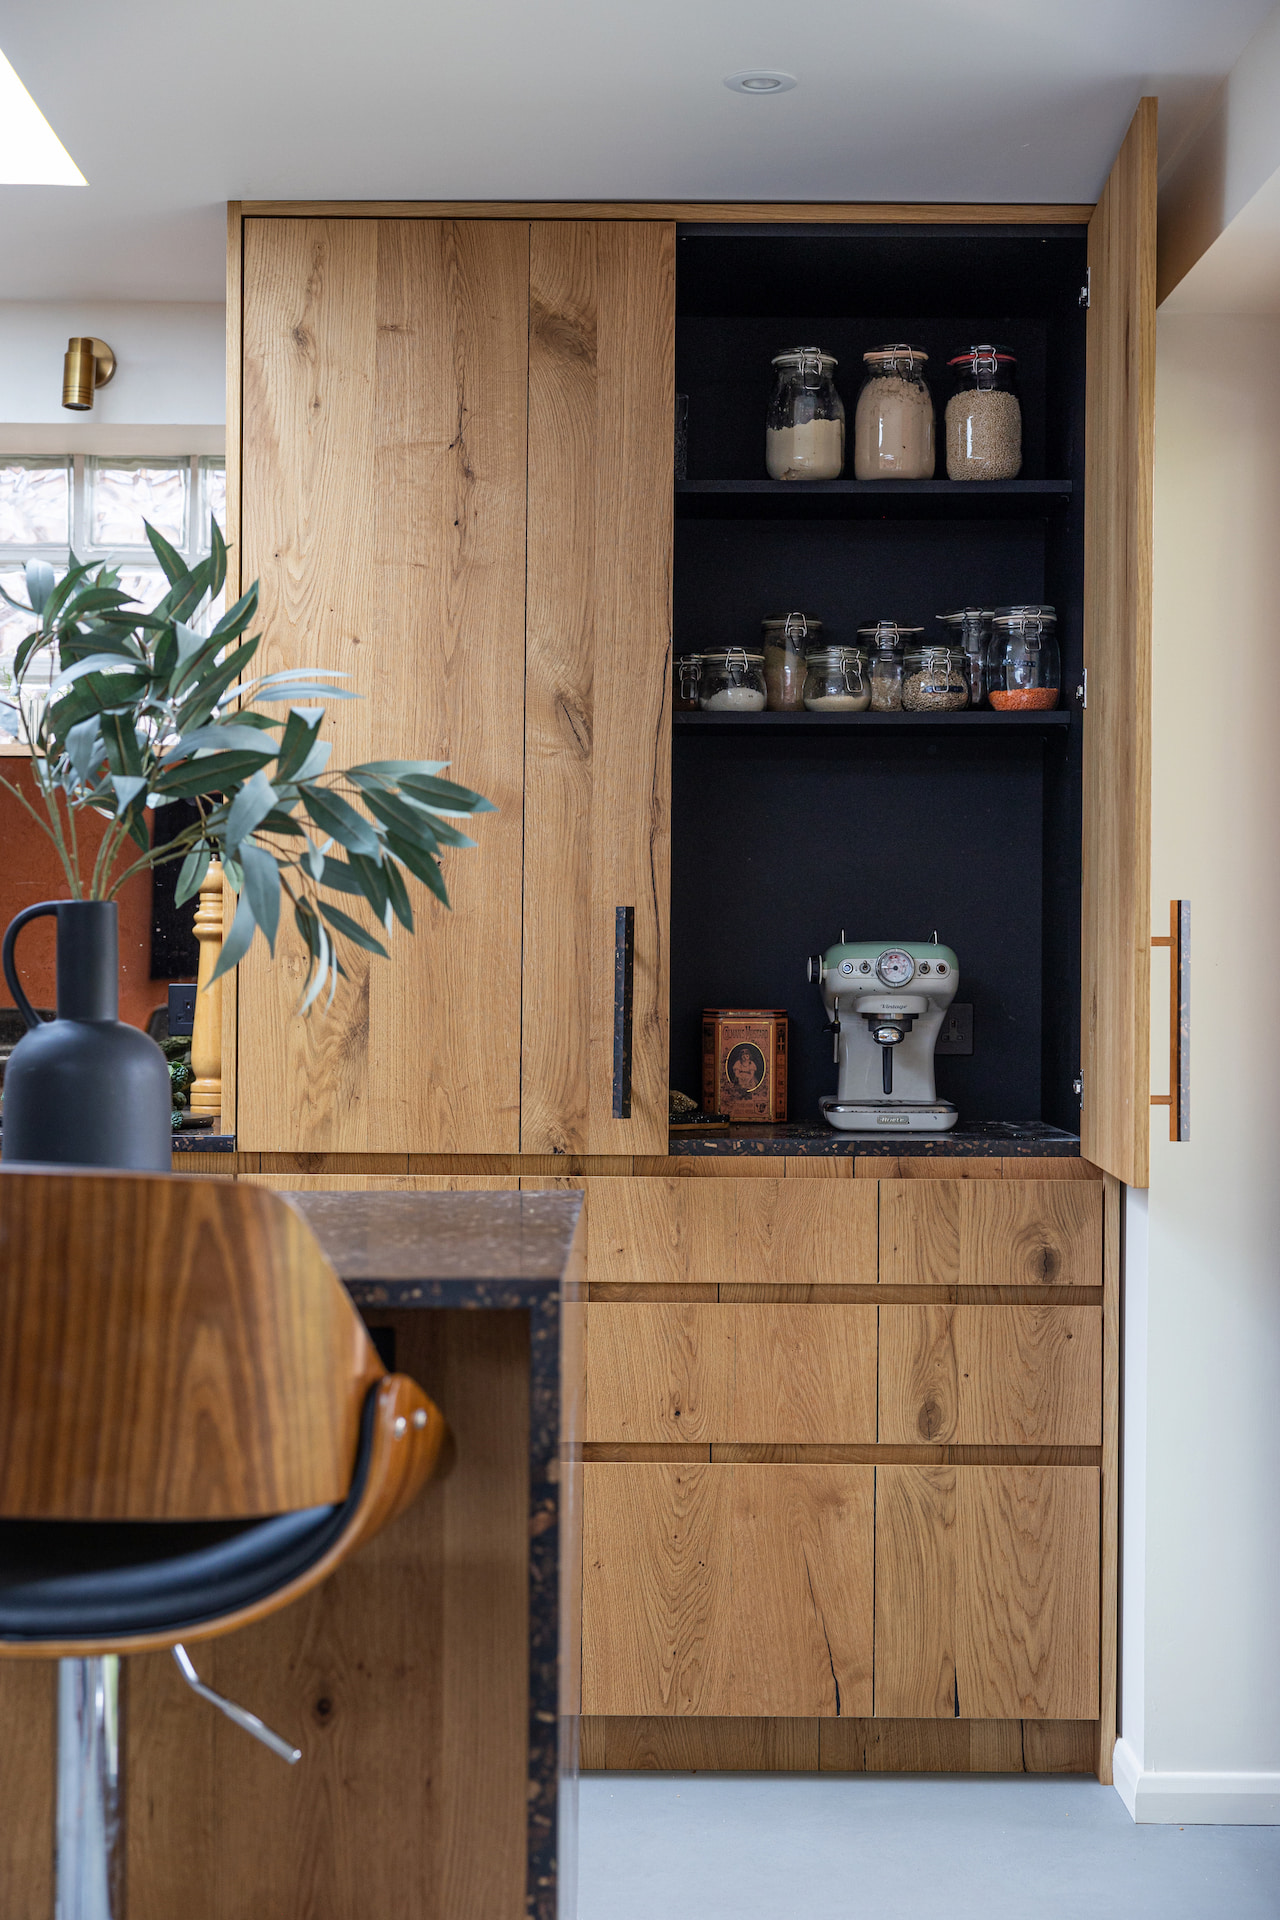
There’s no doubt that wooden cabinetry is having a moment in the spotlight. With the rising popularity of modern rustic interiors and the desire to embrace natural materials in our kitchens, it’s hardly a surprise that more of us are coveting wood kitchen cabinets.
But despite their natural beauty and timeless appeal, these cabinets aren’t exactly the easiest to maintain. Unlike cleaning kitchen cabinets made from laminate, wood requires some special attention – especially if you want your kitchen to shine like new.
Thankfully, it’s easier than you think to restore the natural beauty of your wooden kitchen cabinets.
How to clean wood cabinets
Don’t let the daily challenge of sticky fingers and kitchen splatters ruin the appearance of your cabinets. Follow these five easy steps and golden rules to tackle grime and keep them looking their best.

You will need
- Microfiber cloths or a soft sponge
- Vacuum cleaner
- A soft brush (or an old toothbrush)
- Mild dish soap
- White vinegar
- Murphy Oil Soap (available at Walmart)
Optional
- Rubber gloves
- Spray bottle (for mixing and applying homemade cleaning solutions)
- Plastic scraper or an old credit card (for scraping stubborn grease)
1. Preparation
Start by clearing out all the items from inside your kitchen cabinets. Not only will this make it easier to access every inch of space but it also gives you the opportunity to declutter and organize your cabinets in the process.
Prepare a gentle cleaning solution by combining warm water with a squirt of liquid dish detergent (Dawn is fine) and a splash of white vinegar. This mixture is perfect for breaking down and removing grease from surfaces, but it’s also gentle enough not to damage the wood’s finish.
Next, patch-test the cleaning solution on an inconspicuous area (such as the back of a door). This step is essential because you don’t want to damage the wood as you deep clean.
2. Dusting
Before you go in with a damp cloth, you’ll want to give your cabinets a good dust. I like to use a long-handled duster – like this heavy-duty extendable duster from Target – to reach the highest spots. Likewise, a handheld vacuum with a crevice attachment will help you access corners where crumbs and debris tend to accumulate.
3. Deep Cleaning
Dip a soft, clean microfiber cloth into your solution and wring it out until it's damp but not dripping. Start wiping down the external surfaces of the cabinets, including handles. For areas with thicker grease build-up, let the cleaning solution sit for a minute or two before wiping. If any grease is particularly stubborn, use an old credit card or plastic scraper to loosen it gently.
When you’re happy with the exterior, repeat the process on the interior, paying special attention to the corners and edges. Again, if you encounter any stubborn spots, reapply the cleaning solution and allow it to sit for a few minutes. For particularly grimy areas, you might need to grab a soft nylon brush or an old toothbrush to add some elbow grease. These tools also work well on detailed woodwork where grime can embed itself deeply.
After an initial wipe-down with your cleaning solution, go over everything again with a clean, damp microfiber cloth. Rinse and repeat until the cloth runs clear.
4. Drying
The final step in the deep cleaning is to dry all surfaces thoroughly with a fresh, dry cloth. Try get as much moisture off the cabinets as possible prior to them air drying, as they will help prevent moisture damage and maintain the integrity of the wood’s finish.
5. Polishing
When your cabinets are clean and dry, the final step is to give them that beautiful, protective shine. The secret here is finding a product that polishes and protects.
'Murphy Oil Soap is an excellent choice,' says Delah Gomsai, Managing Director & CEO at MaidForYou. 'The soap component removes hardened grease and stains, while the oil makes the wood finish look close to new with a lustrous finish.'
Apply the solution to a clean, soft microfiber cloth and begin by lightly wiping the cabinet surfaces, always following the grain of the wood to avoid scratches. Focus on one section at a time to ensure even application and coverage.
Once the cabinets are lightly coated with oil soap, take a fresh, dry microfiber cloth and gently buff the surfaces. This removes any excess product and helps to bring out a high shine. When buffing, move your cloth in circular motions and pay special attention to handles and any decorative elements where dust might settle or where fingerprints commonly appear.
After buffing, step back and inspect your handiwork for any missed spots or uneven areas. A light second buff may be needed to even out the finish.
Plastic-free and biodegradable, these bamboo toothbrushes are perfect for scrubbing narrow corners and detailed woodwork.
Cleaning professionals swear by this brilliant wood cleaner. If you're using Murphy Oil Soap concentrate, dilute it with water according to the package instructions. However, you can also buy it in a ready-to-use spray format from Walmart, which can be directly applied.
Another fantastic wood cleaner is this sprayable solution by Method. Its eco-friendly formula smells amazing, and it tackles grime with ease.
5 Golden Rules of Cleaning Wooden Cabinets
1. Always Test Cleaning Products First:
Before you jump on the gun and apply cleaner or polish to your wooden cabinets, perform a patch test in a hidden area of the cabinet to ensure the product is safe for the finish.
2. Follow the Grain
Always work along the grain when cleaning, wiping, or applying any product to your wooden cabinets. This technique prevents scratches and helps the cleaning and polishing agents penetrate more effectively.
3. Use Gentle Cleaning Solutions
Opt for mild, non-abrasive cleaners that are suitable for wood. Harsh chemicals can strip the wood’s natural oils and damage the finish.
4. Dry and Polish Thoroughly
Moisture harms wood and can potentially cause warping, swelling, or staining – none of which are ideal. After cleaning wooden cabinets, thoroughly dry the wood surfaces with a soft, clean microfiber cloth. When polishing, apply polish or oil sparingly and buff it well.
5. Clean Spills Quickly
To keep your cabinets beautiful and shiny for years to come, make a habit of cleaning up spills and stains immediately. Regularly dusting cabinets will also prevent build-up and reduce the need for intensive cleaning.
If you’re already cleaning your cabinets, why not commit some time to cleaning your kitchen drawers, too? Both of these tasks will leave you with a visibly cleaner space and give you the opportunity to organize your kitchen as you go. That’s a win-win.