Rim brakes have declined in their usage in recent times. Pro bikes through to entry-level models come with disc brakes of one sort or another, and commuter bikes too have made the switch too in order to reap the benefits of better braking in the wet, greater reliability, and lower maintenance.
Rim brakes aren’t bad though; this is a hill I’m willing to die on. My relatively new custom light tourer still runs rim brakes, as does my own road bike. With a few tweaks to your setup, along with some basic cleanliness, you too can have rim brakes that feel great to ride, and can still stop you effectively.
1. Clean your rims
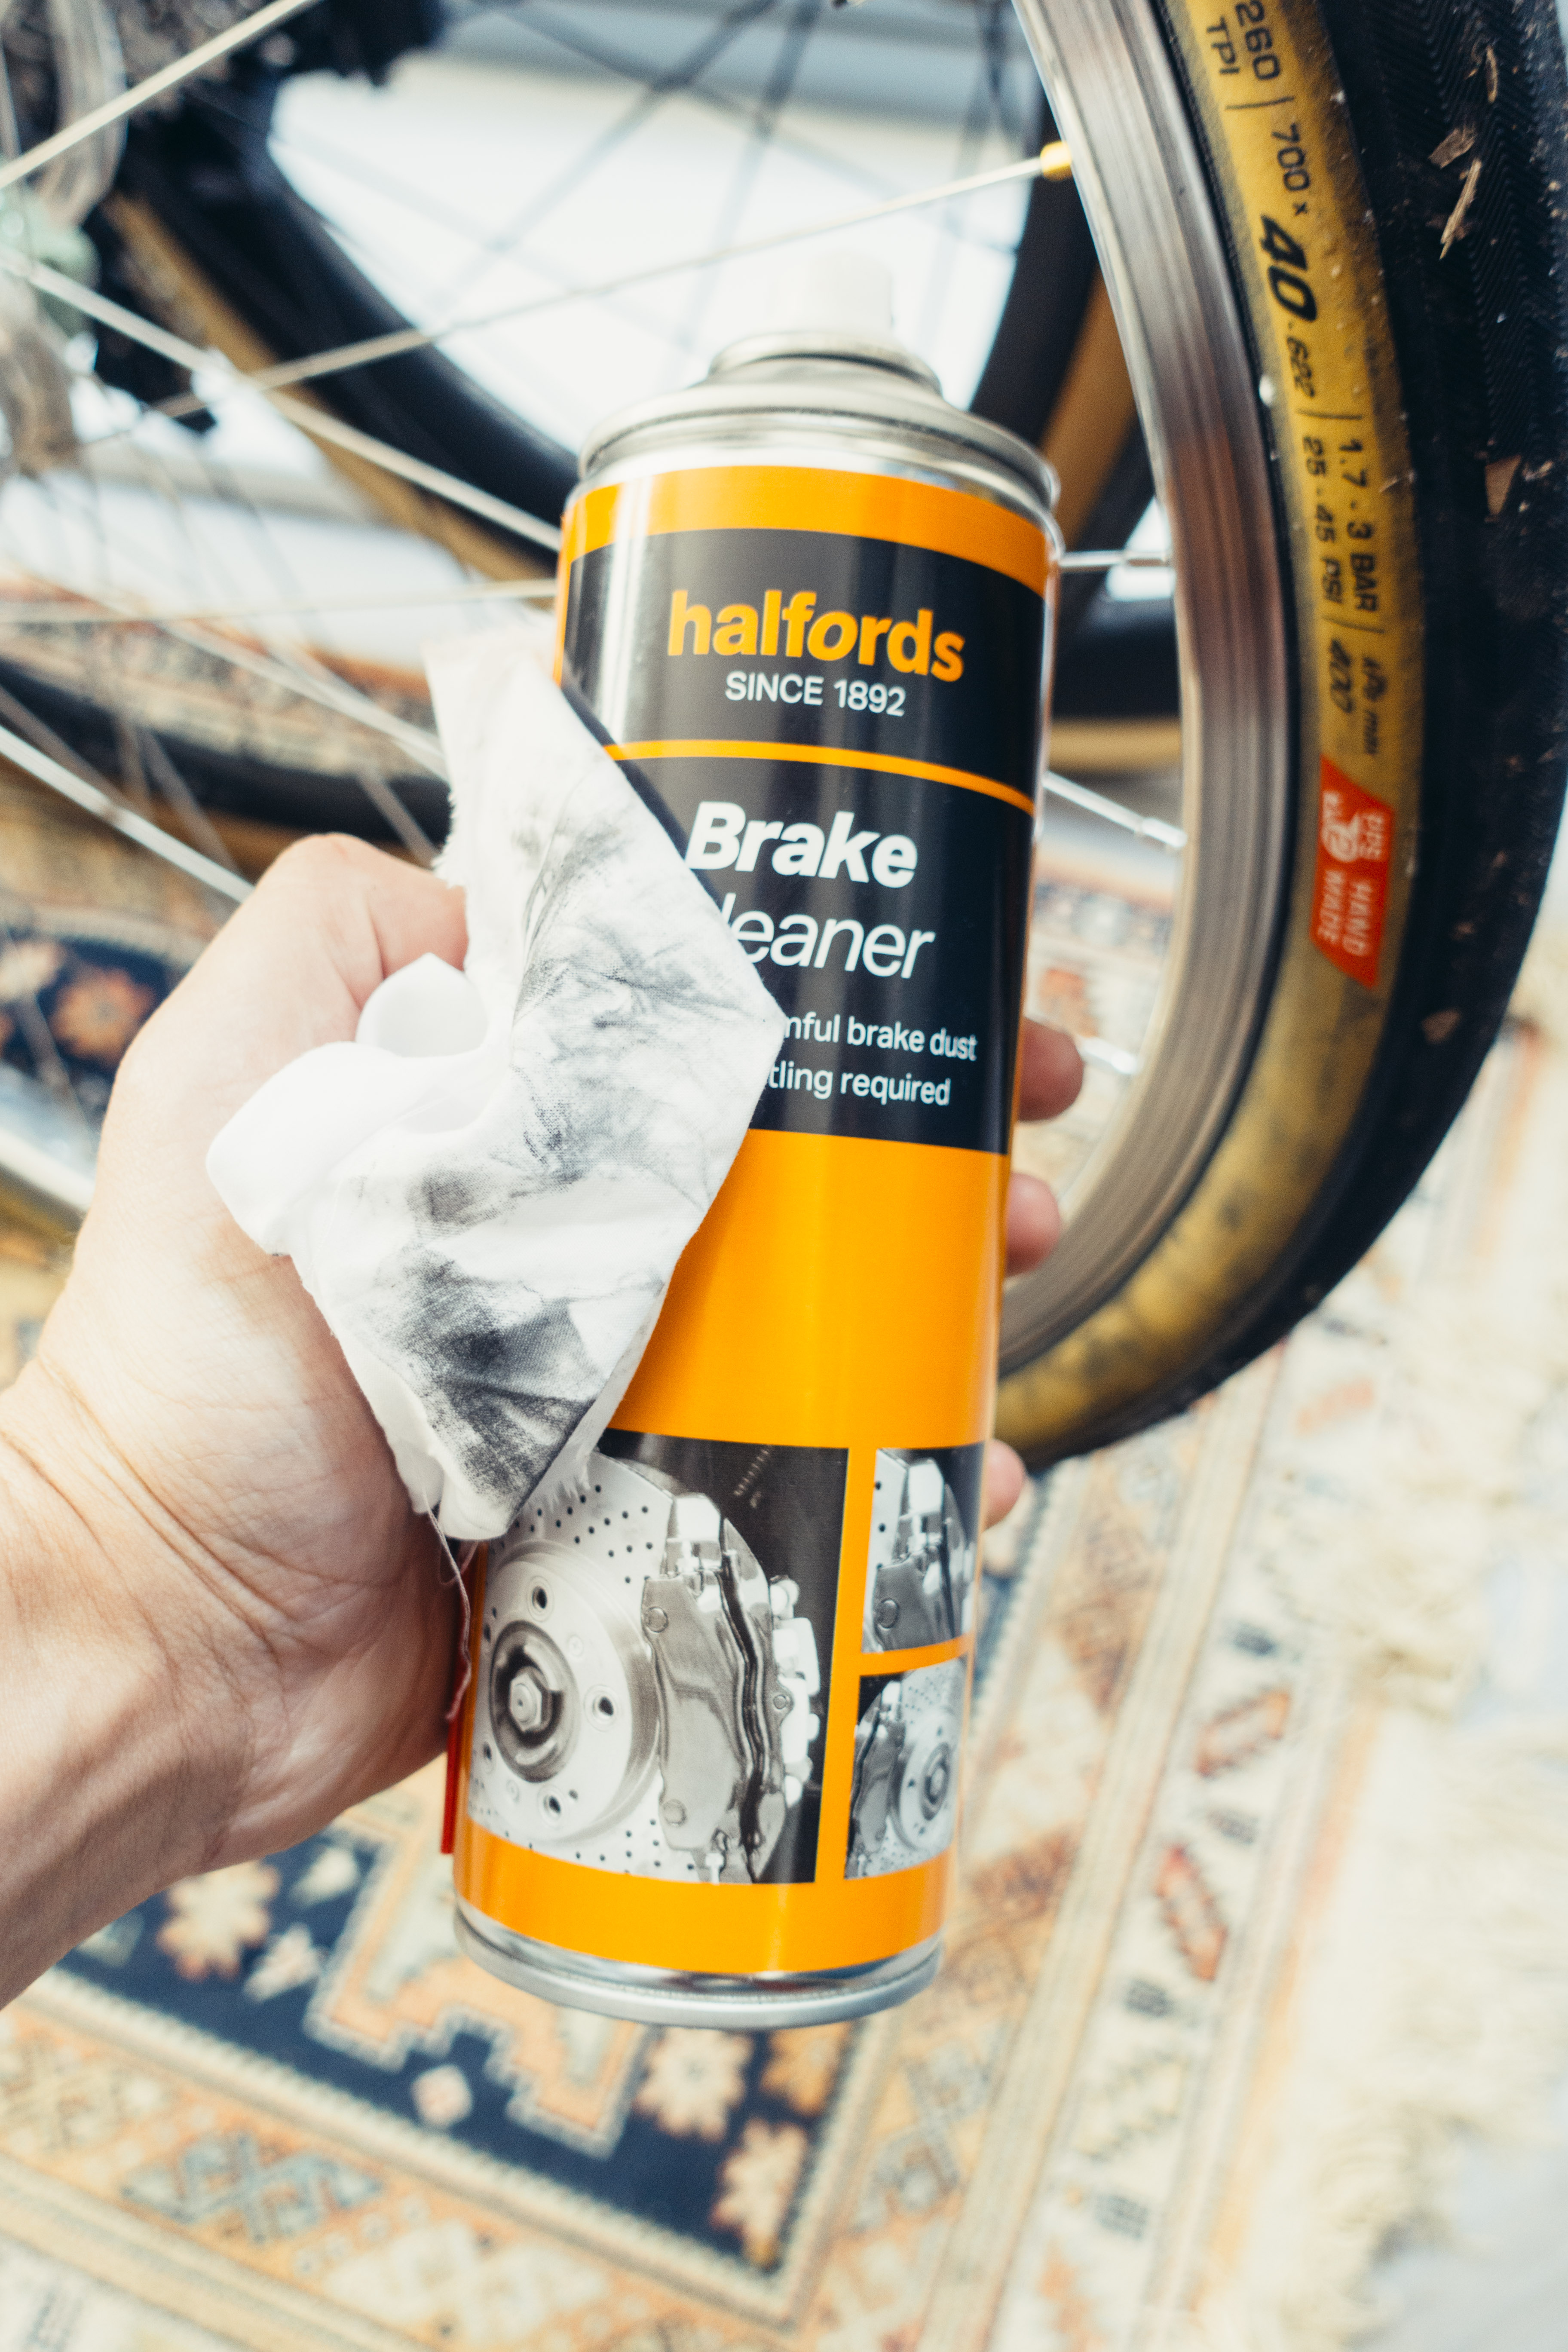
I cannot overstate how much of a difference this can make. As you brake, the brake pad (and the rim to some degree) wears away. The black grime you see dripping down your fork legs is, on the micro-scale, effectively a load of really small rubber ball bearings that only serve to reduce the friction between rim and pad.
Get yourself a clean rag and some brake cleaner (disc brake cleaner works well for this, or automotive brake cleaner - it’s all the same stuff), apply liberally and scrub away. Don’t forget to do the same on the pads too, though this is less critical. Isopropyl alcohol also works well for this as it leaves no residue.
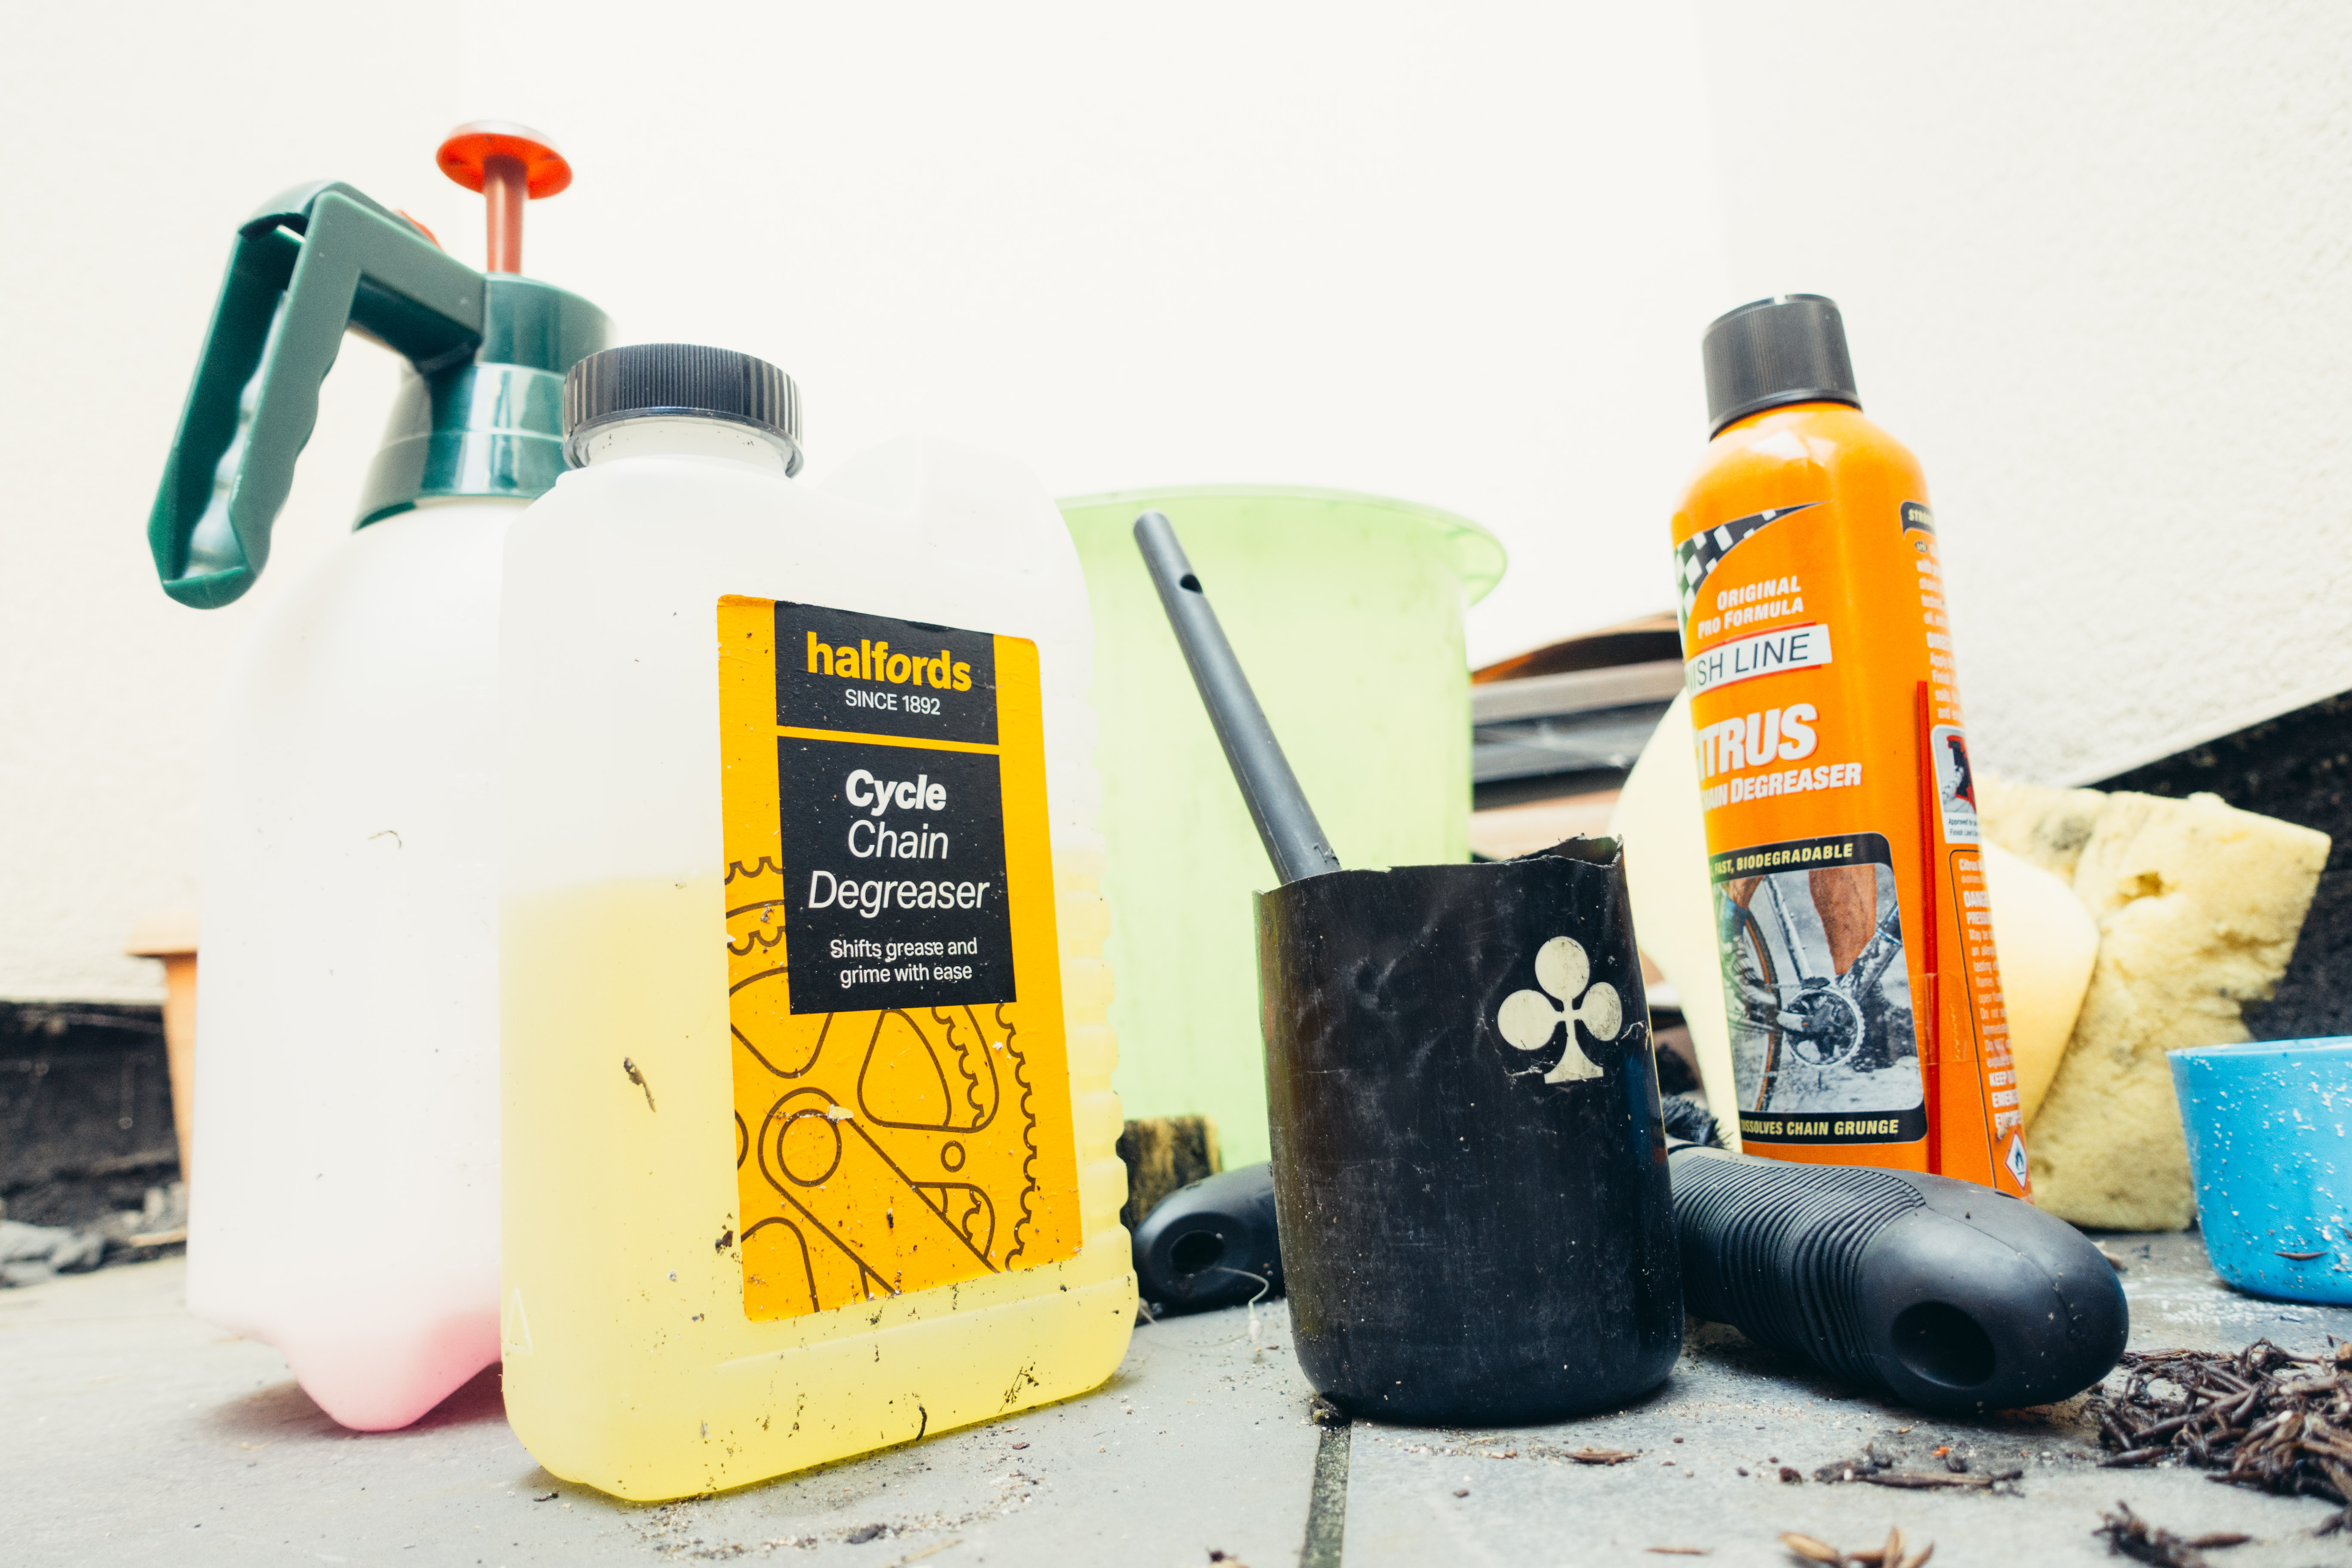
2. Clean your bike
This is less important for immediate performance, but for ongoing performance. A clean bike is a happy bike and one that runs well. Rim brakes have a fair few moving parts, and if your bike is constantly covered in grime then this can corrode cables, work its way into brake housing, and gum up the pivots of your brake callipers too. It also serves as grinding paste on your rims, wearing them down faster. If you’re doing step one, you may as well go the whole hog and clean the whole bike too.
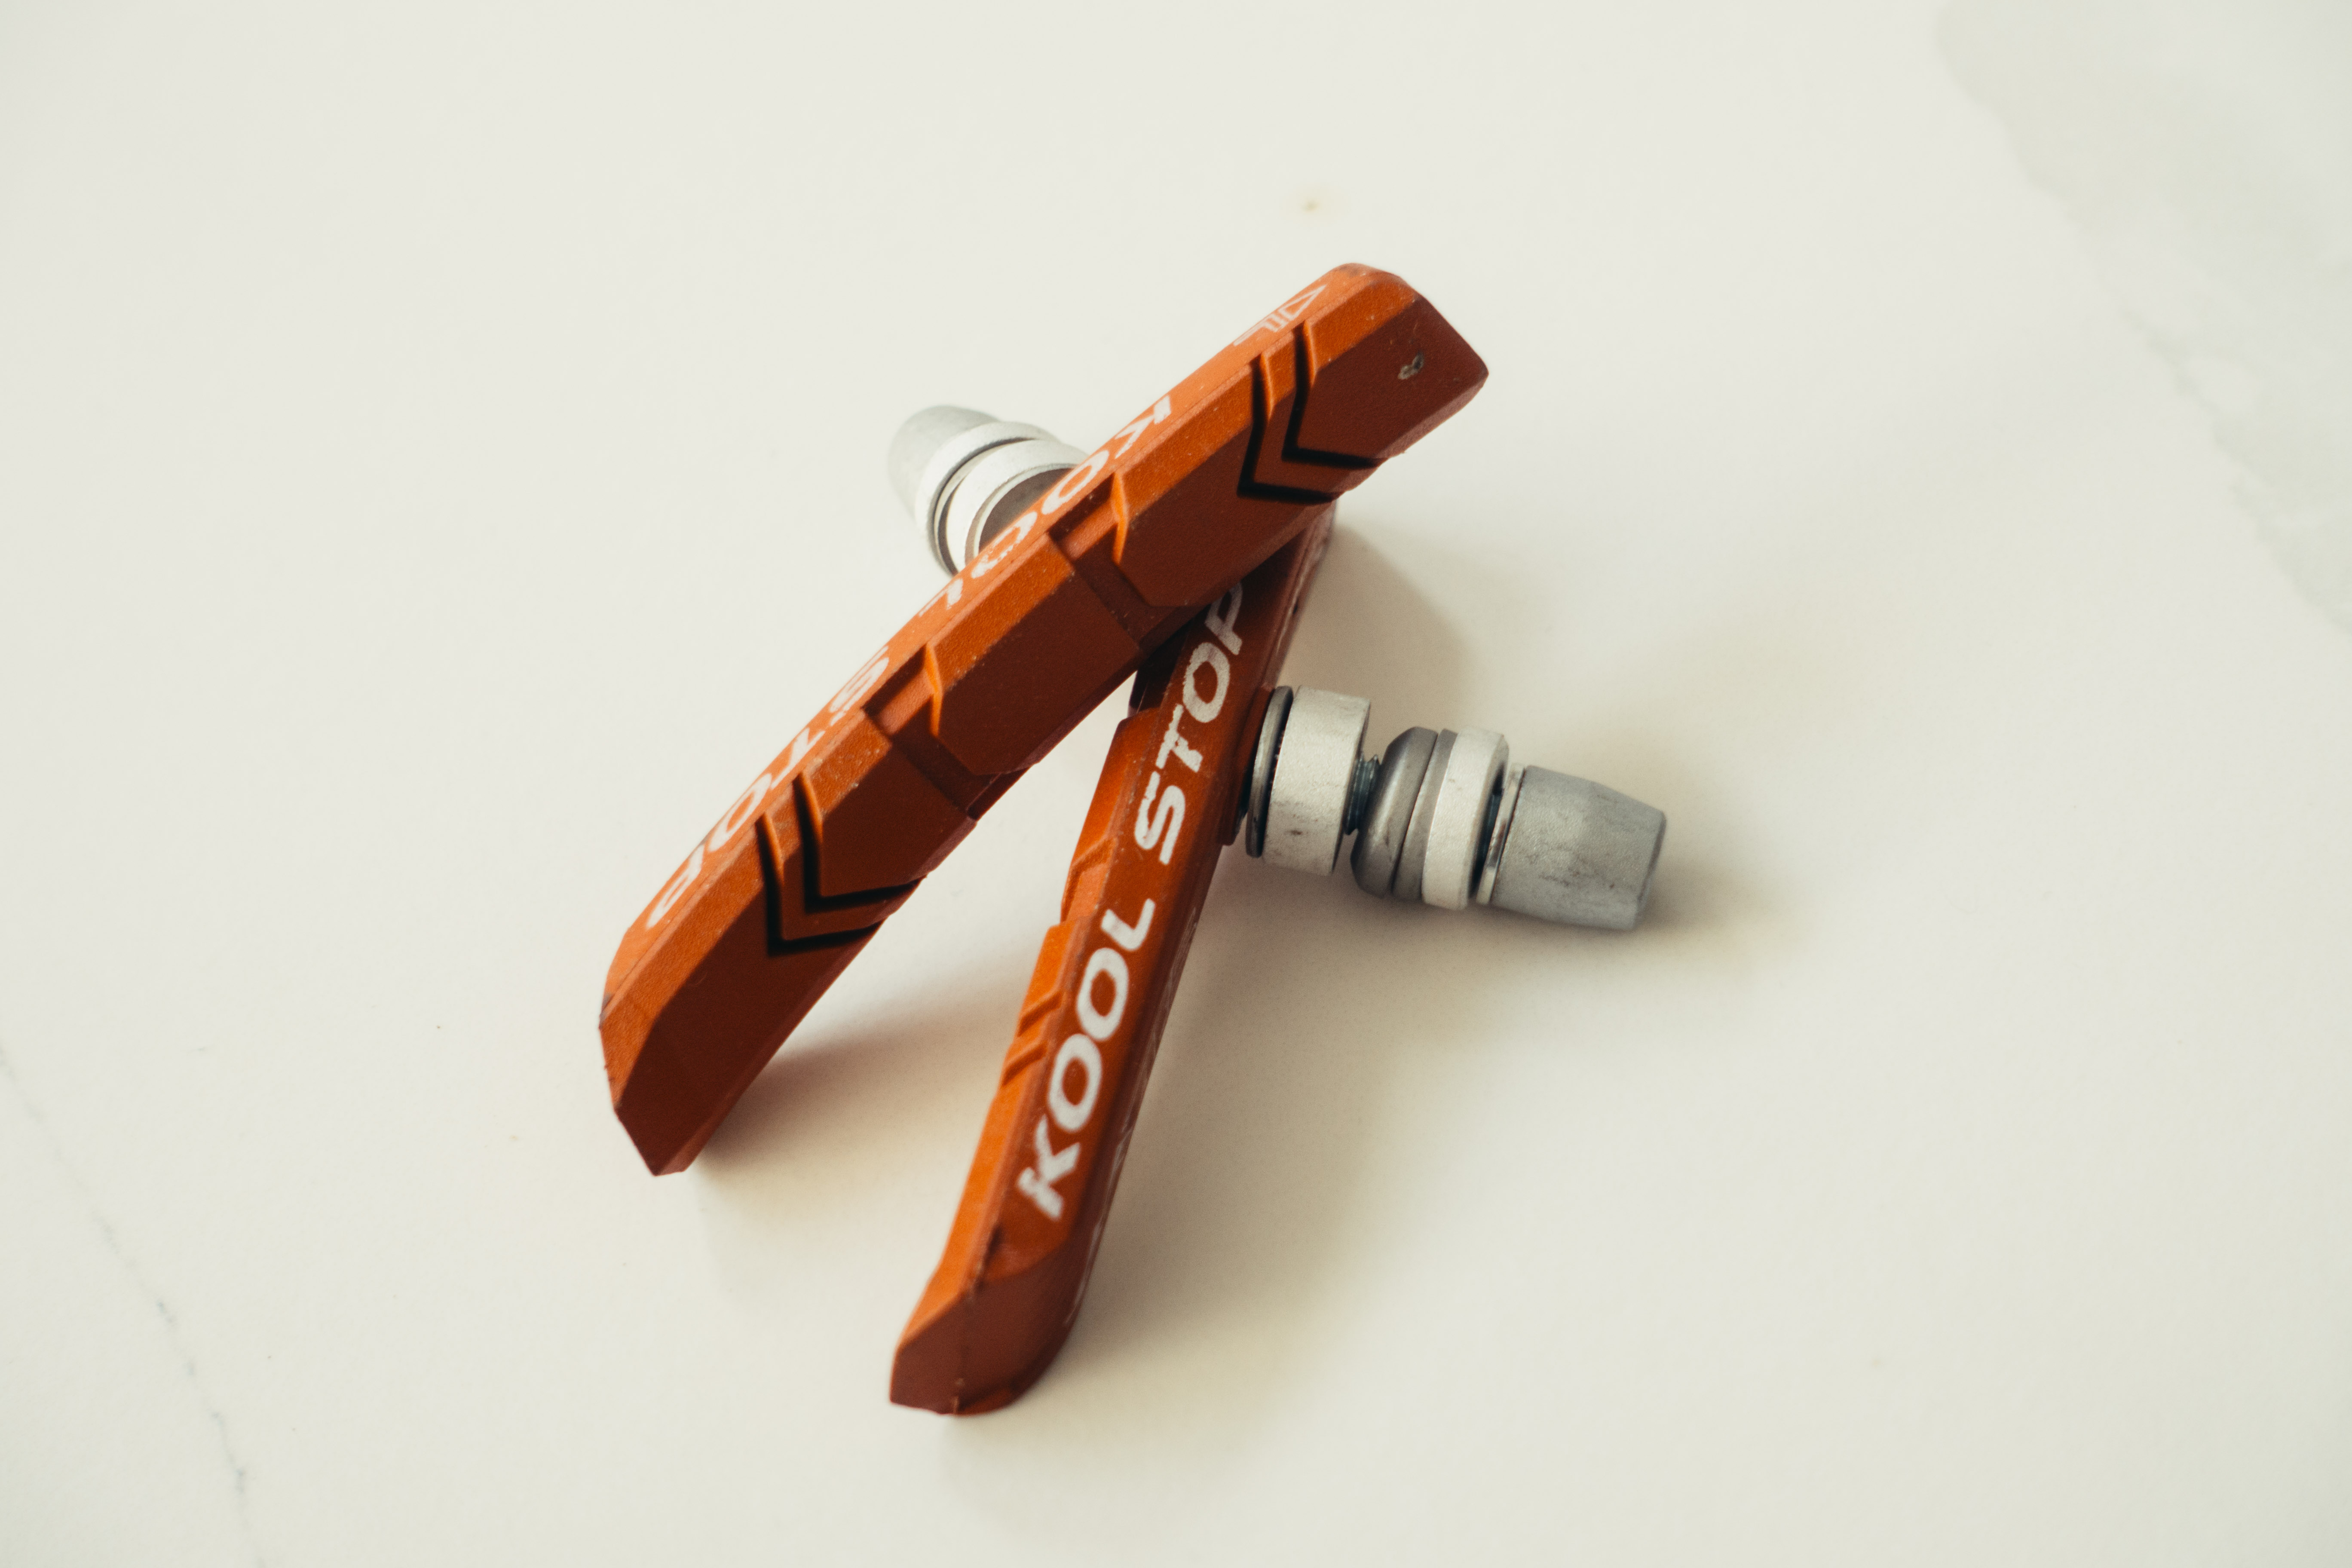
3. Use decent brake pads
Certain stock rim brake pads, as well as cheap replacement ones, may as well be made of cheese. They aren’t tacky enough to provide the friction to stop quickly, they give a really spongy lever feel devoid of feedback, and they wear down much faster too so it’s a false economy.
If you have carbon rims then it’s best to stick to the manufacturer's recommendations, or at least a decent set of carbon-specific brake pads. If you have alloy rims then my choice is always Kool-Stop Salmon pads. They come in varieties enough to suit most rim brake systems, and the difference between them and stock pads is pretty staggering, especially on a freshly cleaned rim.

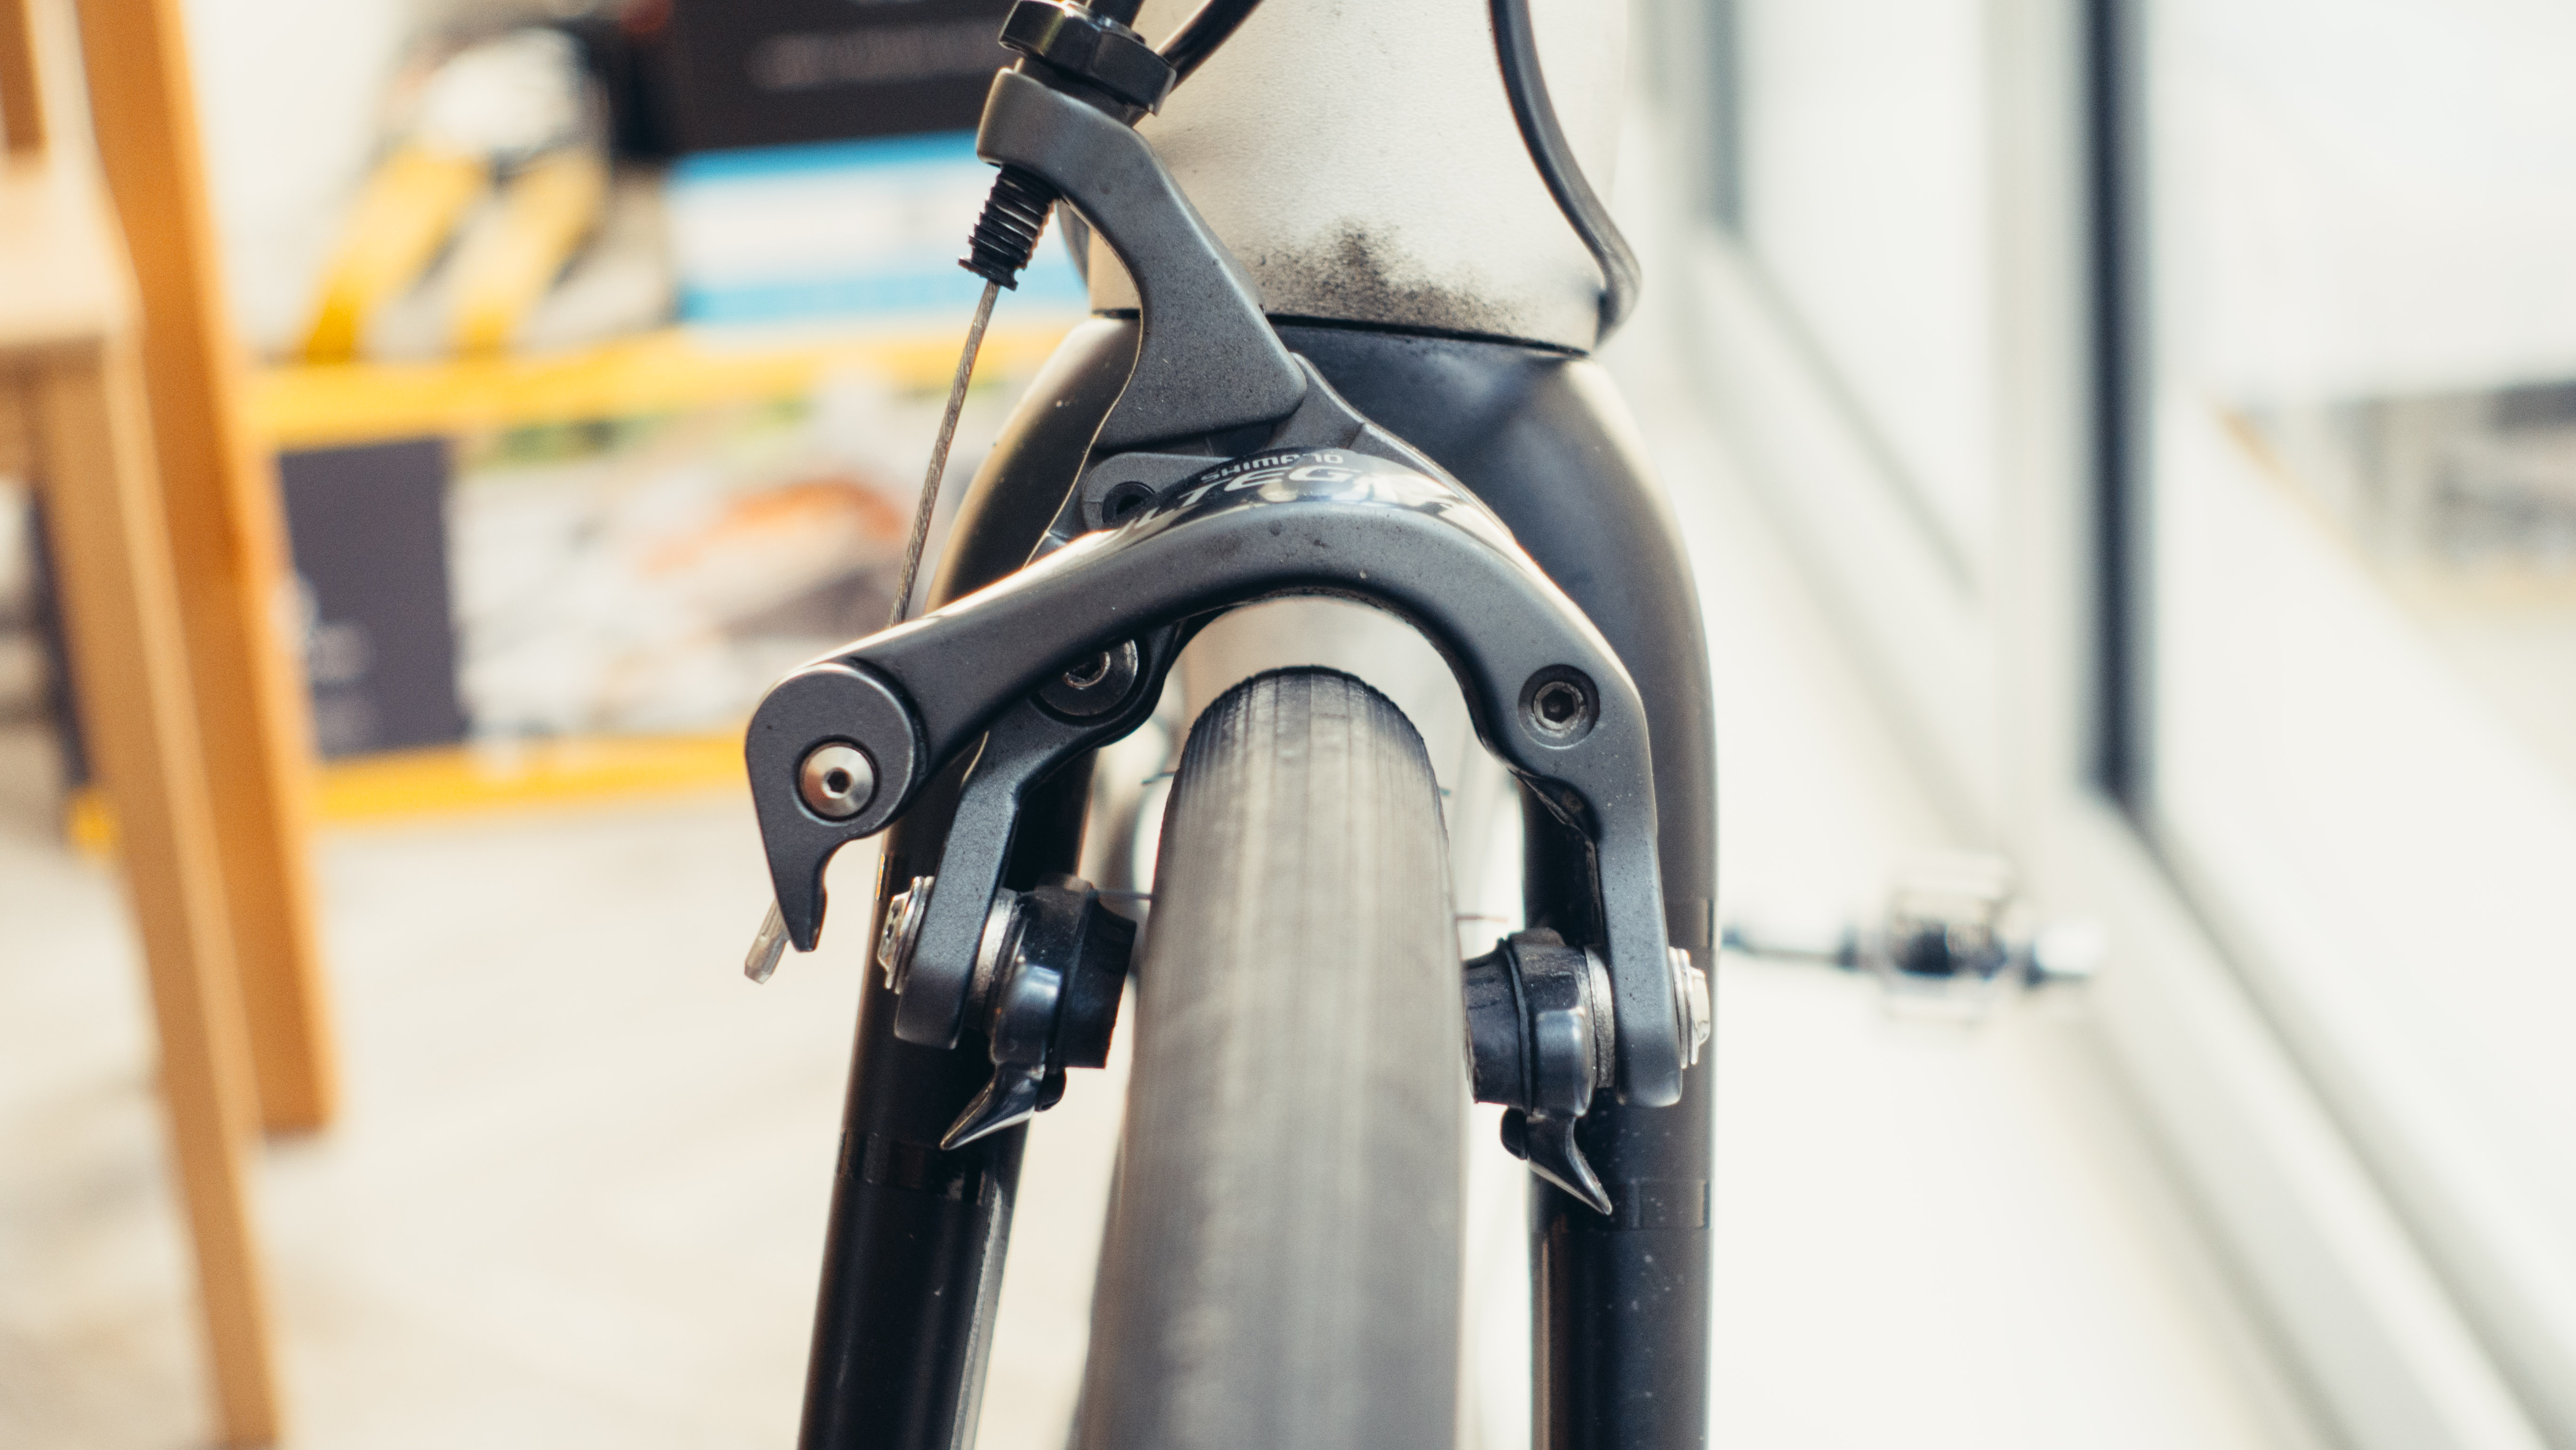
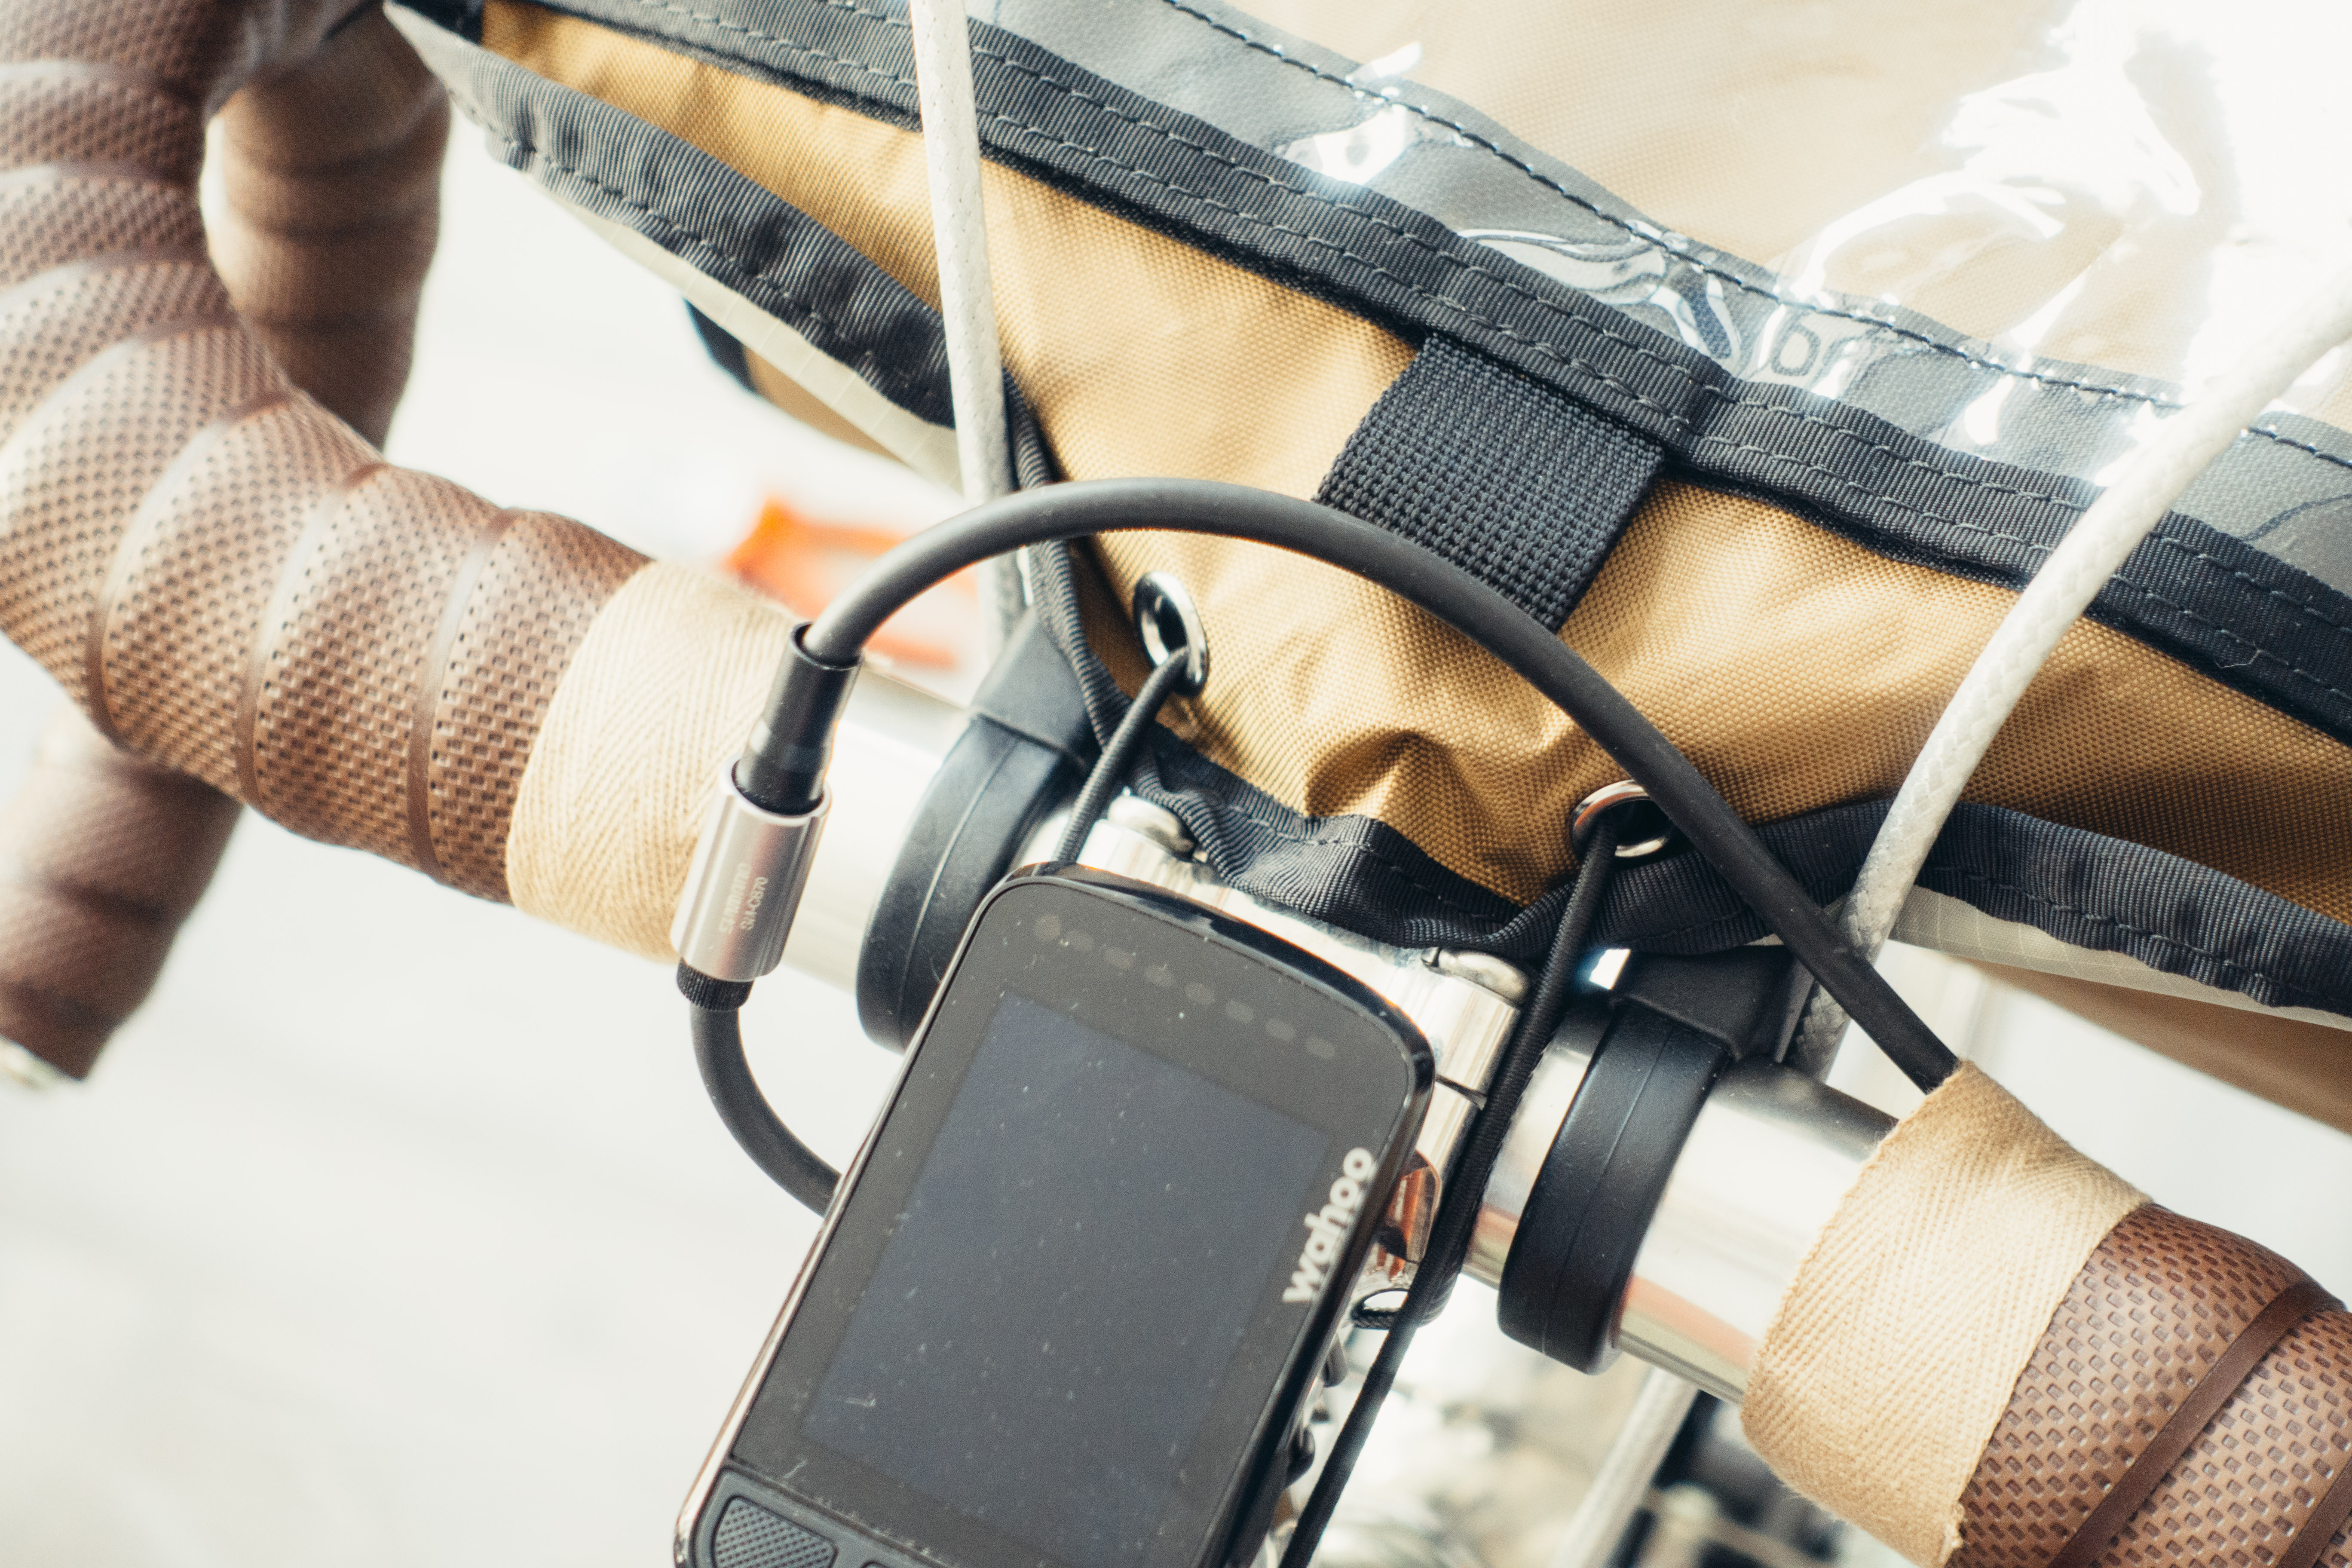
4. Better cables and better housing
Decent rim brakes don’t just rely on the pads and the callipers; it’s a whole system including the housing and cables. For years I cheaped out and always got the cheapest cables and housing, until I went riding with some friends who were running the top-end Shimano polymer-coated cables and posh housing. One squeeze of the lever was all it took to convince me.
Decent cables come pre-stretched, though this is less of an issue for brakes than it is for gears, high-end ones are polished and pre-lubed, and the best can be coated in a low friction polymer, along with the inside of the housing.
Better housing is also more resistant to compression, which is super important if you have longer housing runs, and especially if your brake lines are fully housed. If the housing can compress a little, as is the case with cheaper housing, then your brakes will feel more spongy. Jagwire Elite housing takes this one step further; it’s constructed from solid aluminium links so is compressionless and resistant to kinking.
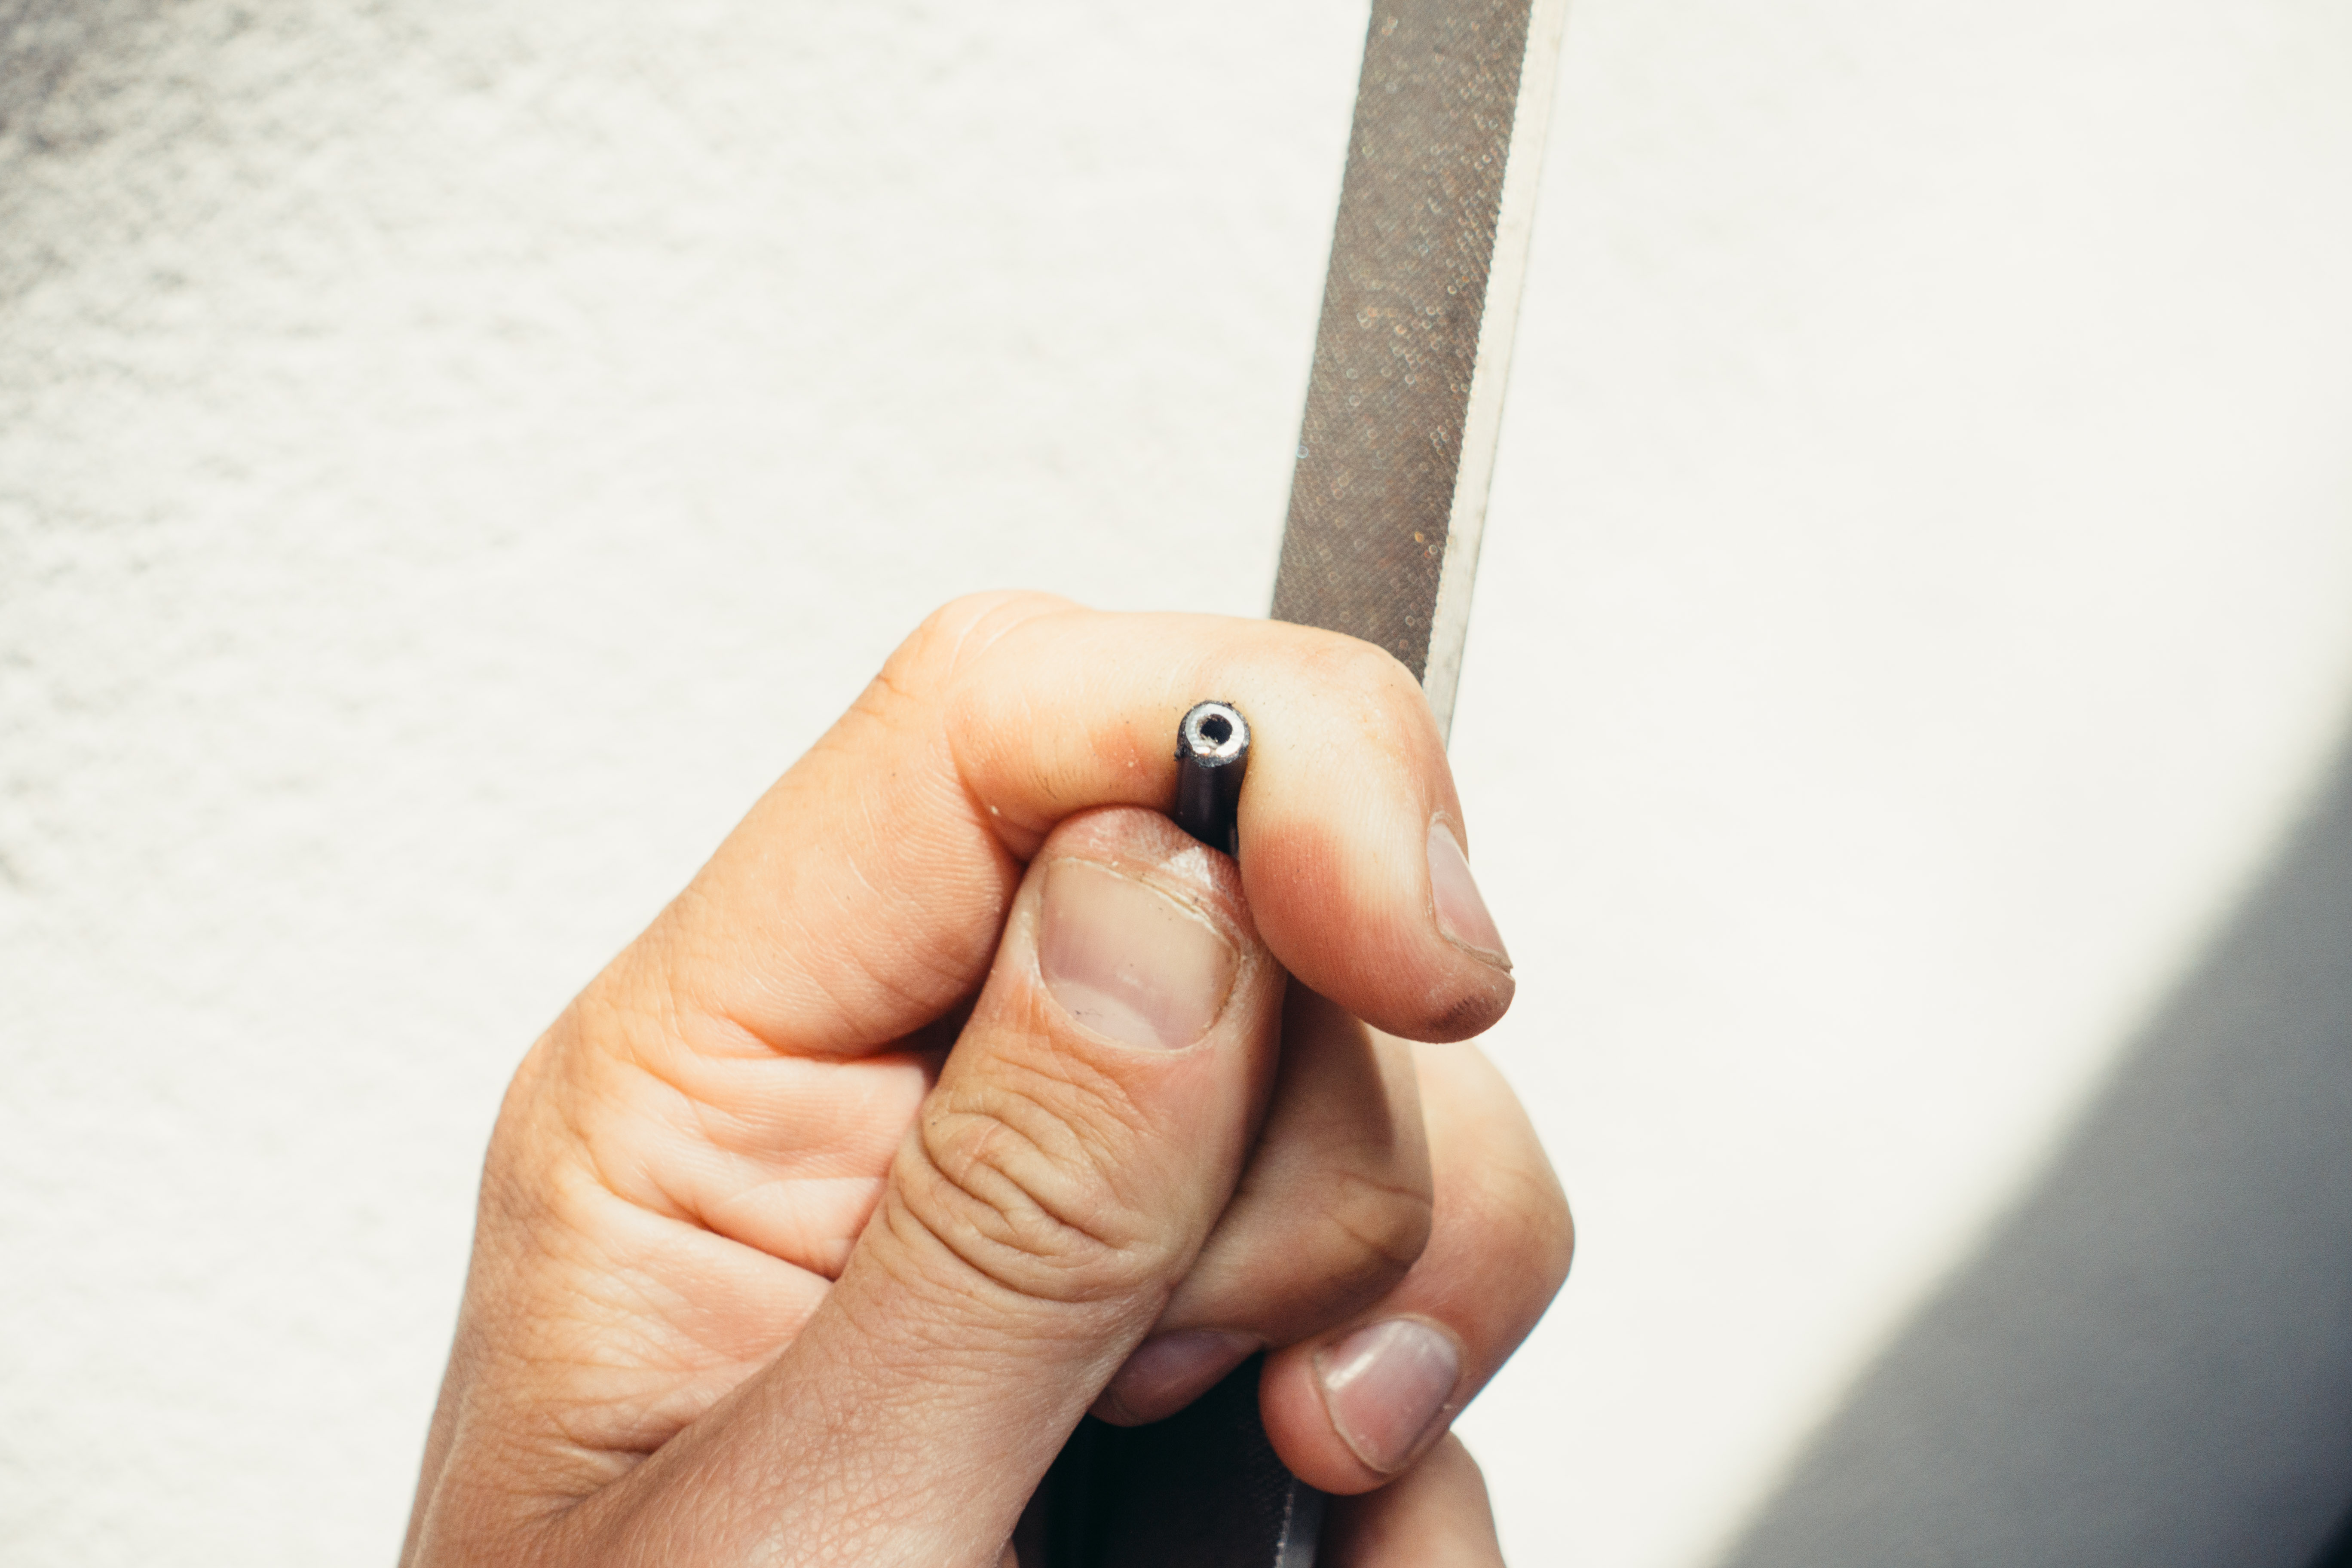
5. File your housing ends
This is such a small detail, but it is important. When you replace your cables and housing, you need to file the ends of the housing. If you leave the ends unfinished before you pop the metal end caps on then the space created by the rough end not sitting flush against the end cap can compress, and again result in a more spongy brake feel or drag on the cable.
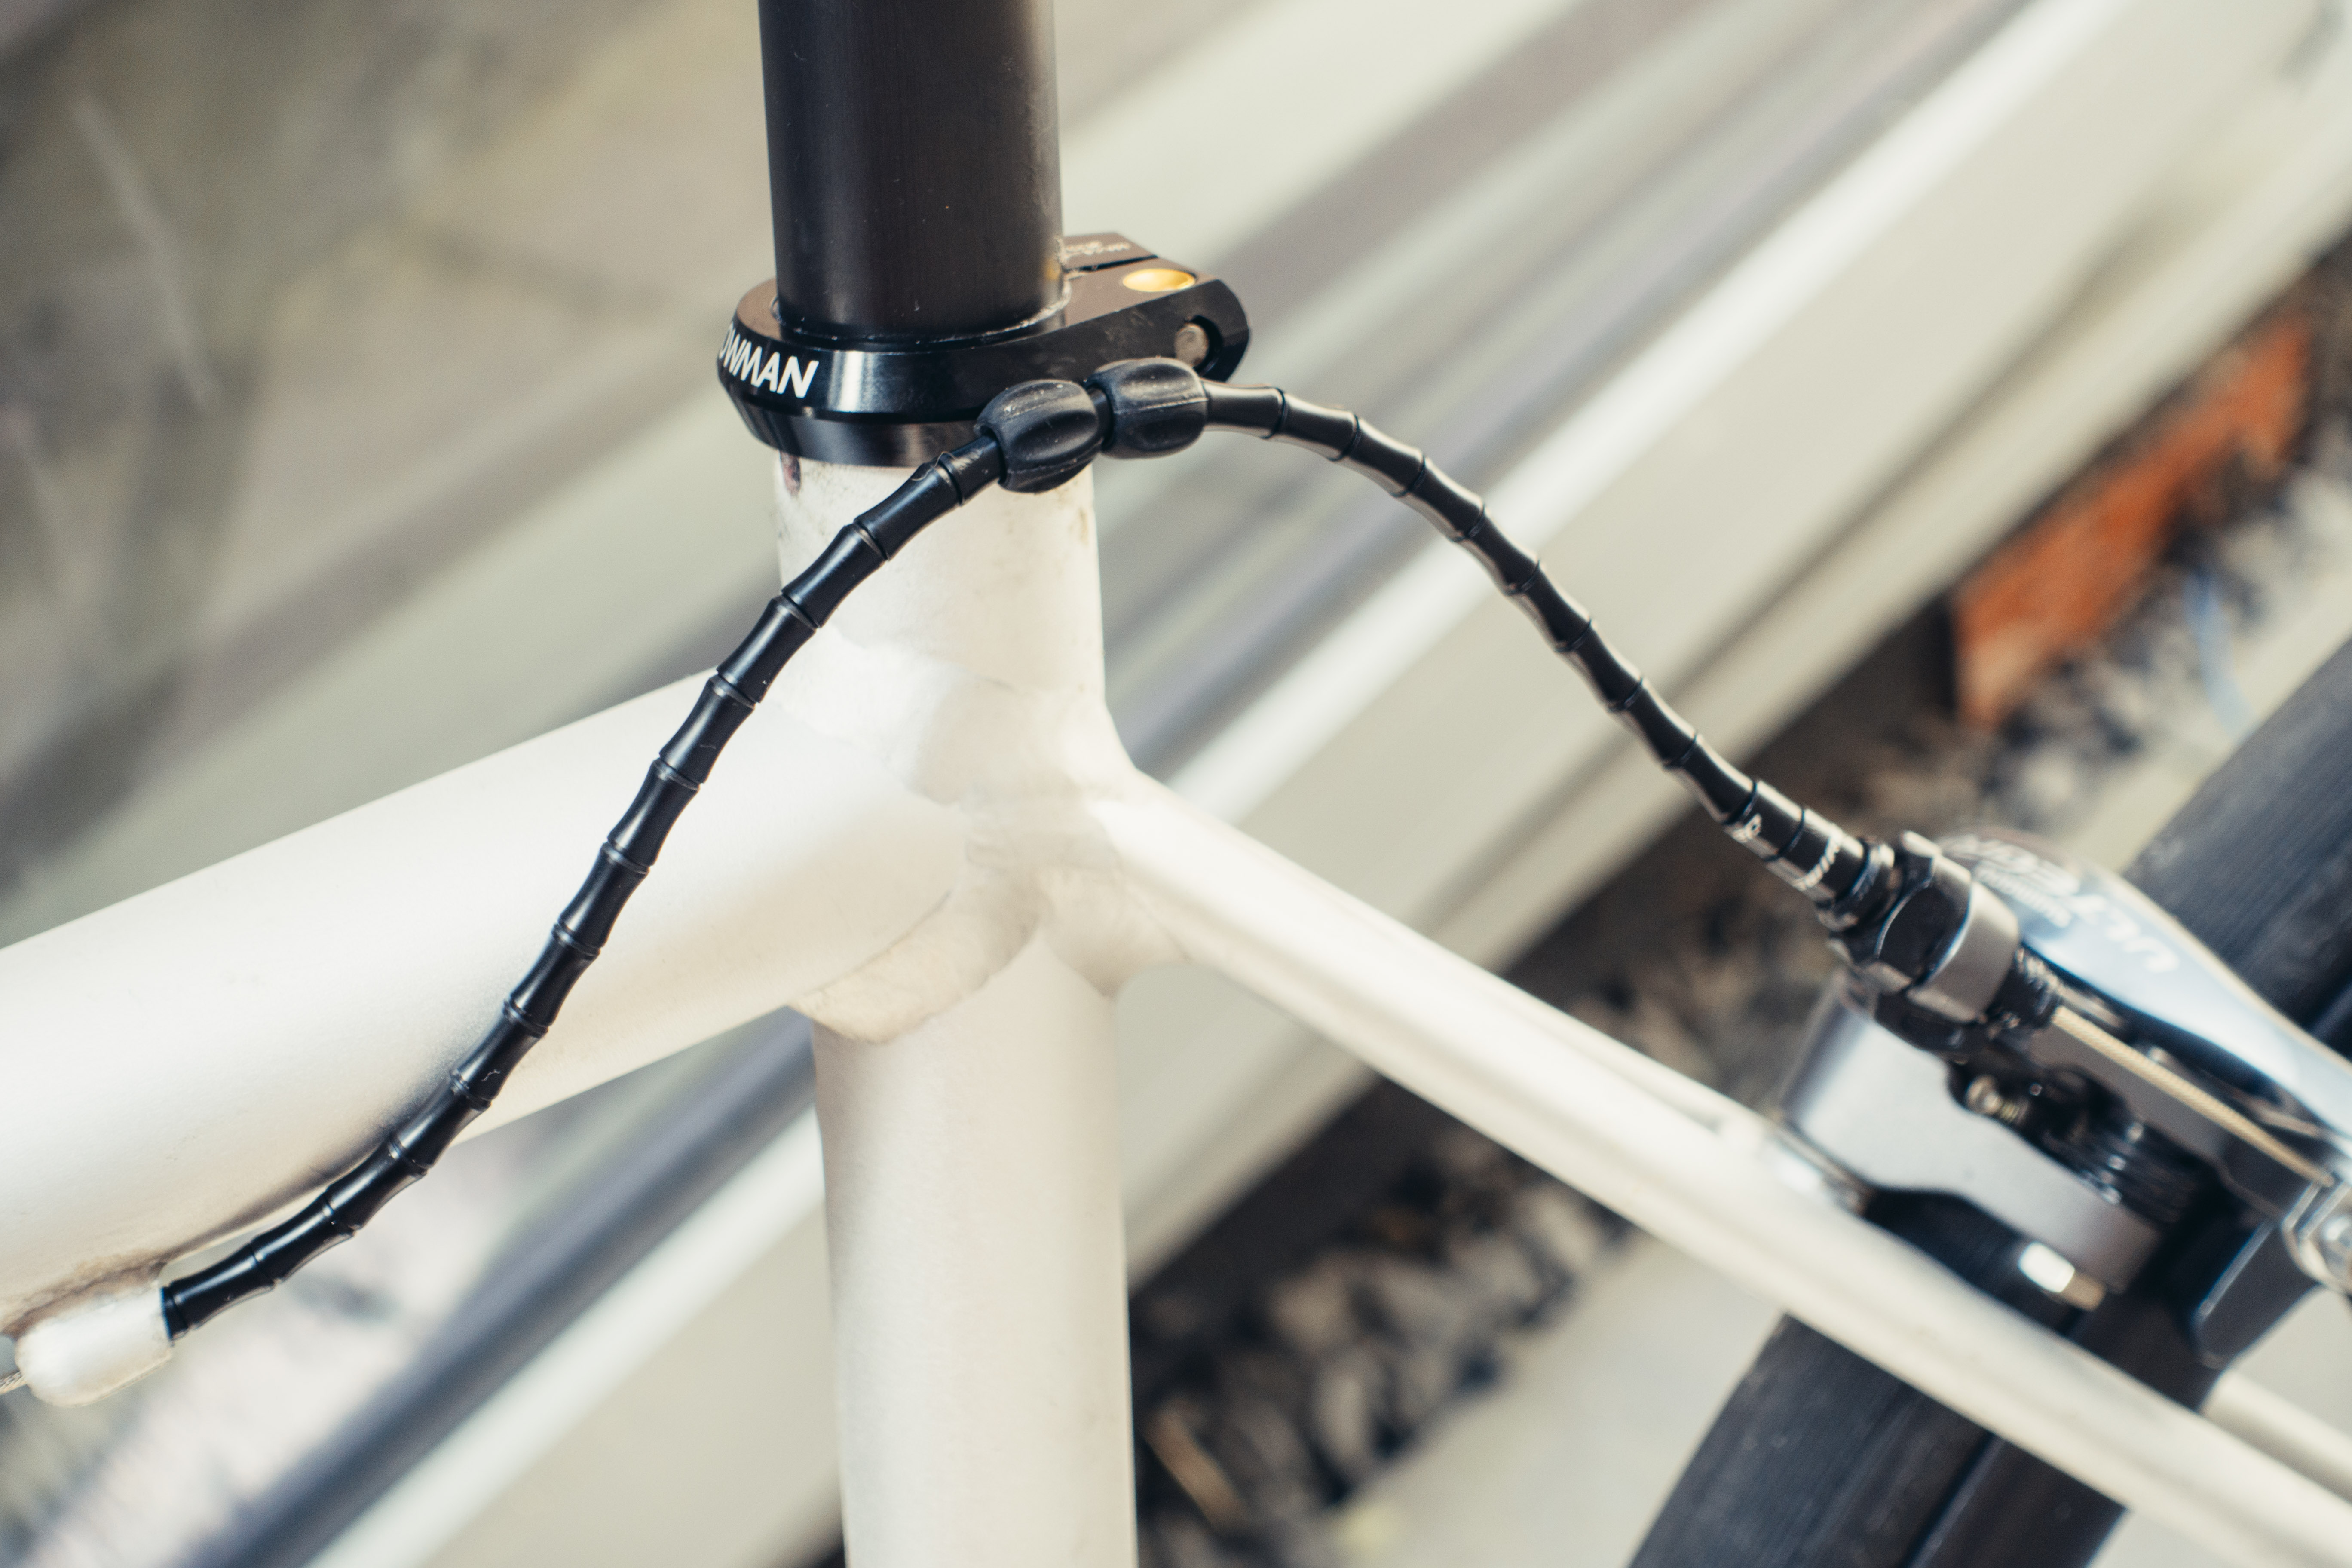
6. No tight corners
Cables don’t like tight corners. This was one of the drawbacks of early aero bikes, which had difficult internal cable routing to chainstay-mounted brakes. A nightmare to work on, and bad for brake feel. If you can, make sure your cables trace as gentle a curve as reasonably practicable. This comes with practice, but not cutting your housing too short to start with is where this usually happens.
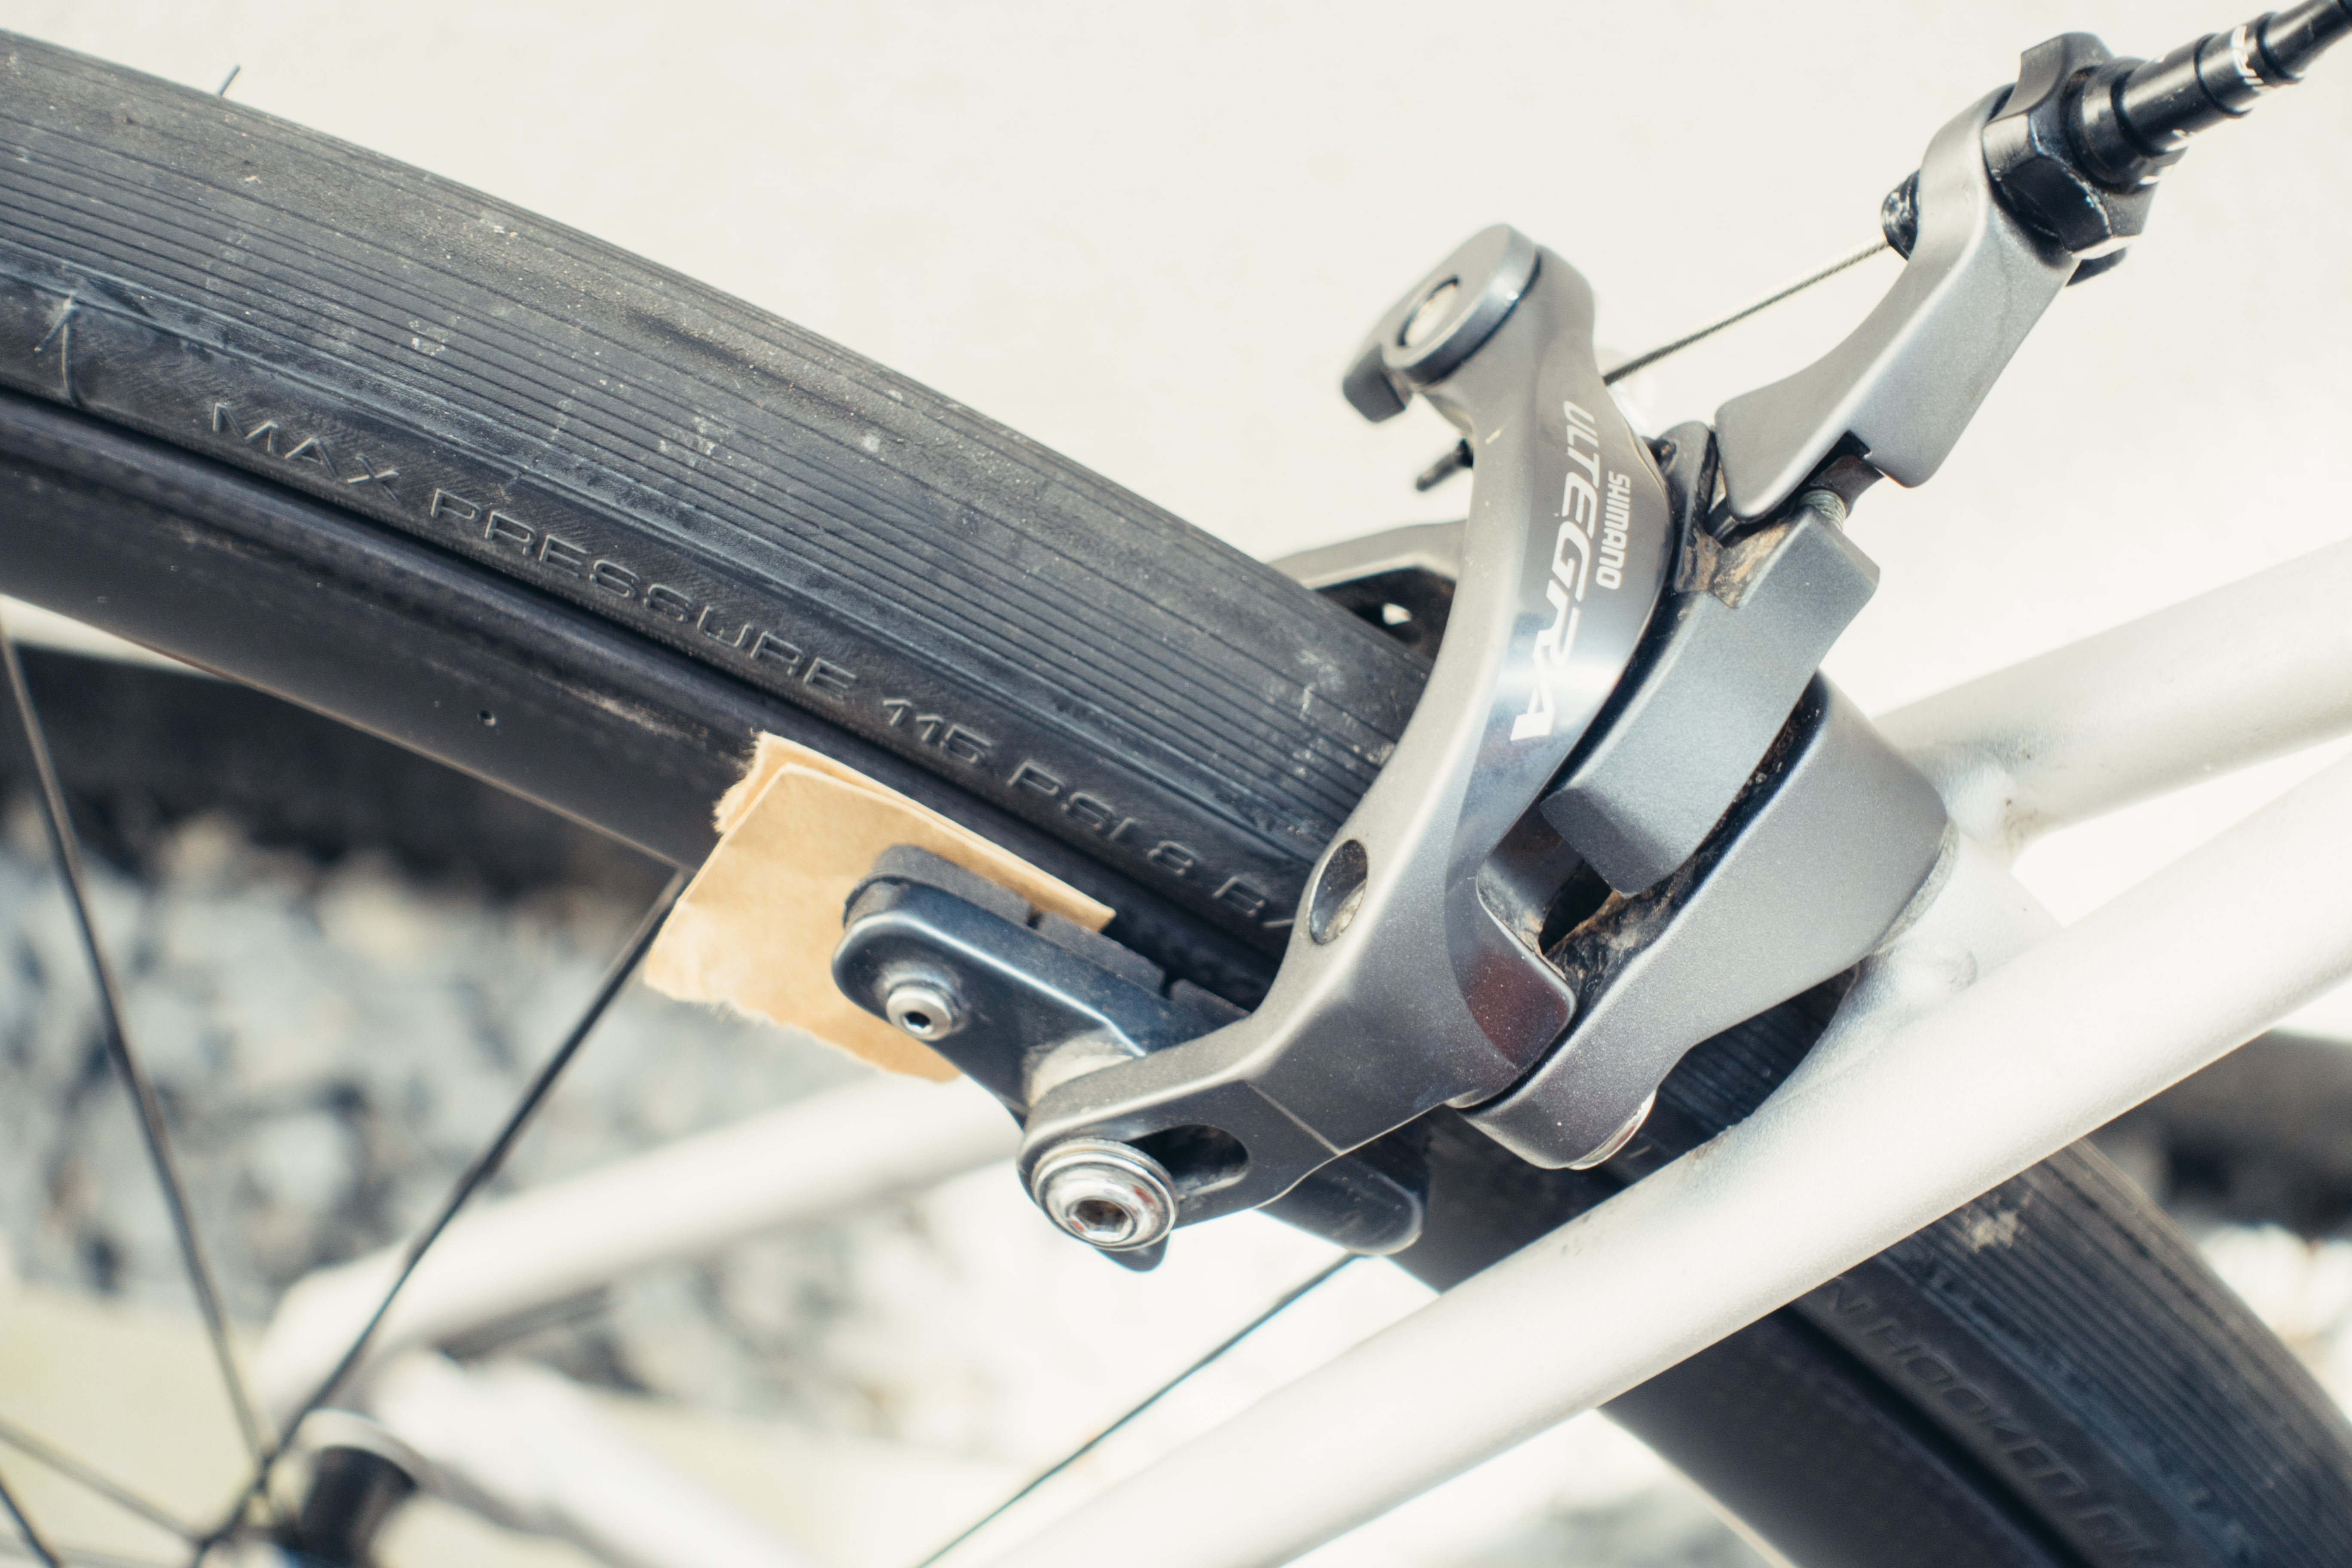
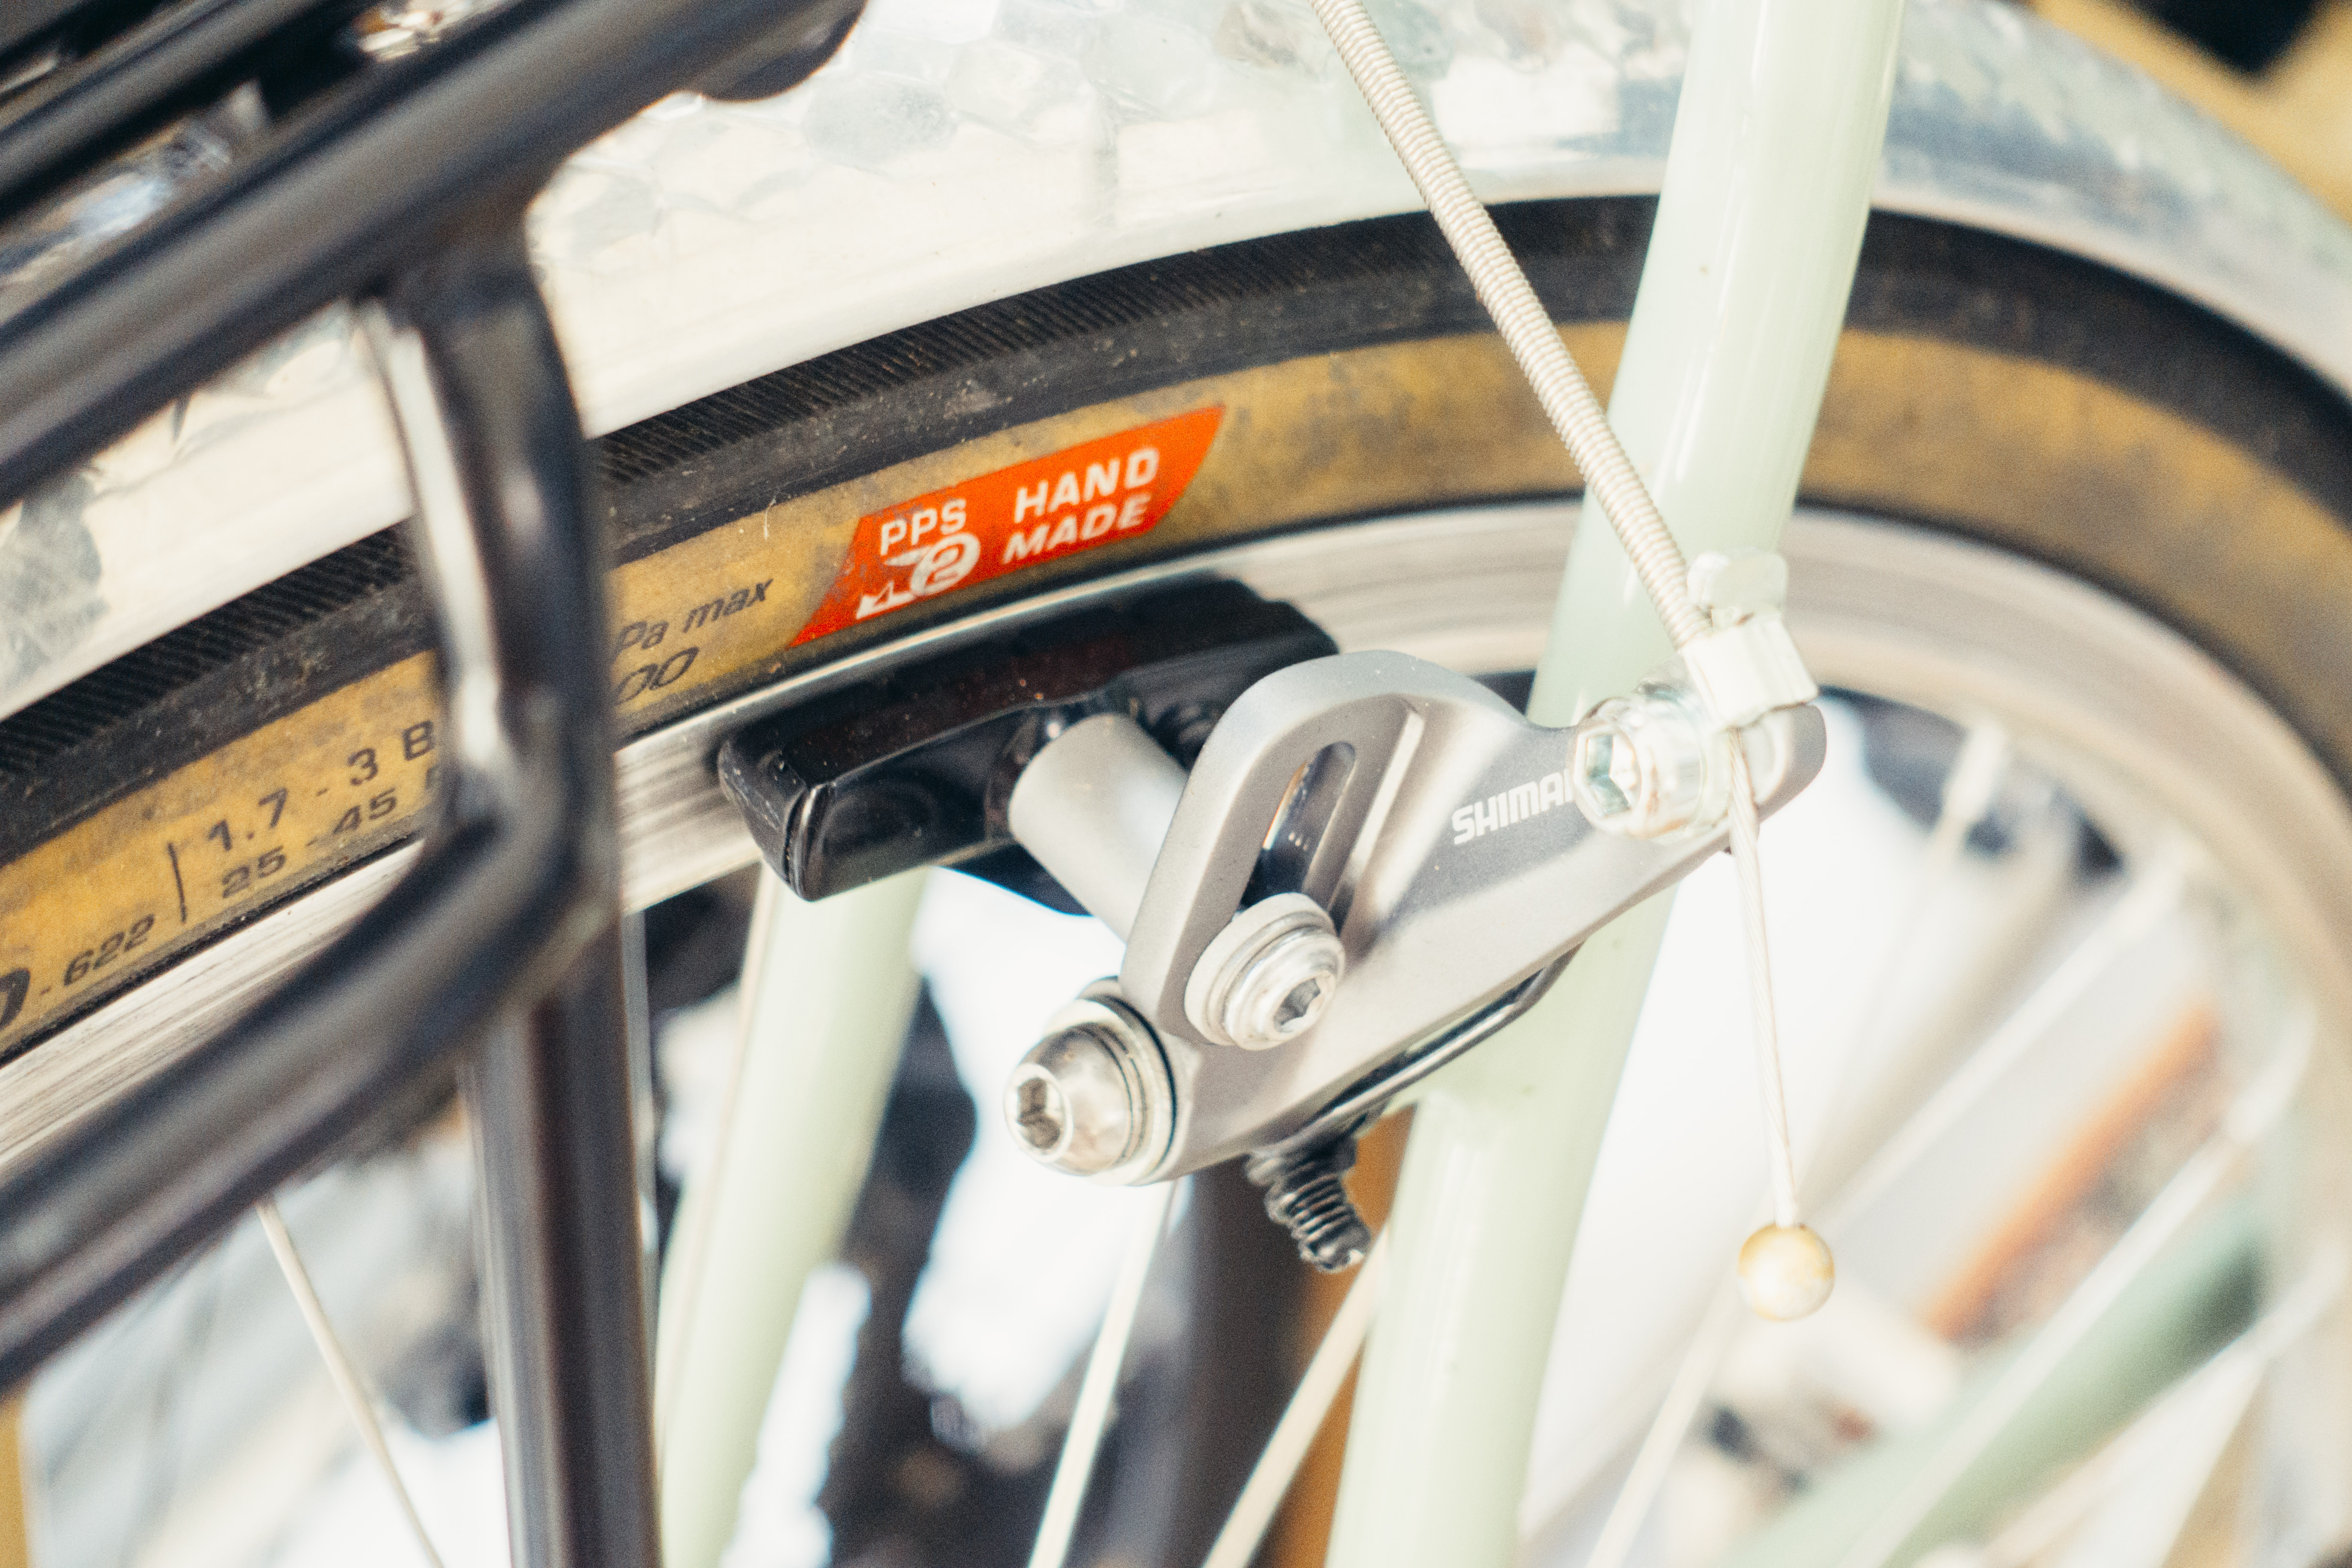
7. Toe-in your brake pads
It might come as a surprise to you to learn that brake pads aren’t designed to sit perfectly parallel to the rim surface. Rather, you want the trailing edge of the pad to make contact with the rim first. A perfectly parallel pad will have very little modulation, and will also likely as not howl too, as this is one of the main causes of brake squeal.
Rim brake pad holders are installed with ball and socket washers that allow them to have their angle adjusted. The best way to toe-in your pad is to loosen it off, slip a small piece of paper folded in half twice under the rear half of the pad, pull the brake lever to clamp it against the rim and then tighten it up before letting the lever go.
Pads with perfect toe-in means the more you pull the lever, the more pad makes contact with the rim, so better modulation. As the pad wears down with time it will become more parallel, so you may need to redo this periodically.