If you’re lucky enough to have an outside space to make use of, then spring heralds the return of outdoor clothes drying season.
Instead of relying on a tumble drier, one of the best heated clothes airers or the best dehumidifiers to get washing dry indoors, from April to October we usually see drier weather and warmer temperatures in the UK, and that means – as long as you check the weather forecast first! – we can finally start hanging washing outside to dry naturally.
And is there anything more rewarding than being able to put a wash on and then hang it outside to let nature dry it for you – for free! No worrying about how much it costs to run a tumble dryer or how much it costs to run a heated clothes airer, for a few months of the year, at least.
Plus, not only is air drying your washing outdoors cost-effective, but it’s also the more sustainable choice. The combination of wind and sun will dry clothes super fast, without the energy use required for an appliance to do that work.
However, you do need to figure out the best way to dry washing outdoors, and if you're trying to incorporate a space to dry washing into your small garden design ideas, then this can be easier said than done. That's where the Brabantia Wallfix Dryer comes into its own.
Brabantia Wallfix Dryer review
If you have a larger garden, then a good old washing line is a great option. A washing line means that clothes can easily blow around and dry fast, and all you need is two points where you can secure the ends of the line, or you can opt for a retractable washing line. However, a traditional washing line takes up a lot of space and can be a bit of an eyesore if your garden isn’t big enough to hide it from view.
A rotary washing line – otherwise known as a rotary airer or whirligig – can be a great option for smaller outside spaces. These compact designs have a pole that secures the airer into the earth, and then a structure that unfolds a bit like a spider’s web to allow you to hang a full load of washing (or even two) from a much smaller footprint.
When I had a slightly larger garden, my Brabantia Lift-O-Matic Rotary Dryer proved a great purchase. It was robust, solidly built, easy to assemble and easy to use, and after several years outside wasn’t showing any signs of rust. It’s more of an investment than the cheapest rotary washing lines and whirligigs on the market, but I wouldn’t hesitate to invest in one again.

However, my new garden is smaller, and most of the areas of the garden where a rotary washing line would fit can be viewed from the house. Yes, you can remove most whirligigs from the ground and store them away when they’re not in use, but in practice, I knew I’d likely not go to the effort of carrying it in and out of the shed every time I wanted to use it, so I was reluctant to install a rotary airer in one of the prime spots of the garden where I’d see it most of the time.
I searched around for different options, and low and behold found a potential solution in the Brabantia Wallfix Dryer. The brand appears to be one of the few manufacturers to offer a wall-fixed outdoor airer, and based on my positive experiences with the high quality of Brabantia’s Lift-O-Matic rotary airer, I was keen to try out the wall-fixed airer to see if it could offer a space-saving clothes drying solution for my small patio.
The Brabantia Wallfix Dryer is available in two options – the more affordable Brabantia Wallfix Dryer with Protective Cover that comes with a weather-resistant fabric cover, and the Brabantia Wallfix Dryer with Storage Box that comes with a brushed stainless steel storage box instead.
The brand states that the Wallfix Dryer can be mounted on either a brick, concrete, or solid wood surface. That makes it perfect for a balcony, small patio, or a paved outside space, as you can mount it directly onto the house, a garage, or a solidly built fence.
However, mounting it does require some drilling, so set-up requires a few more DIY skills than simply positioning a rotary clothes airer in the garden lawn.
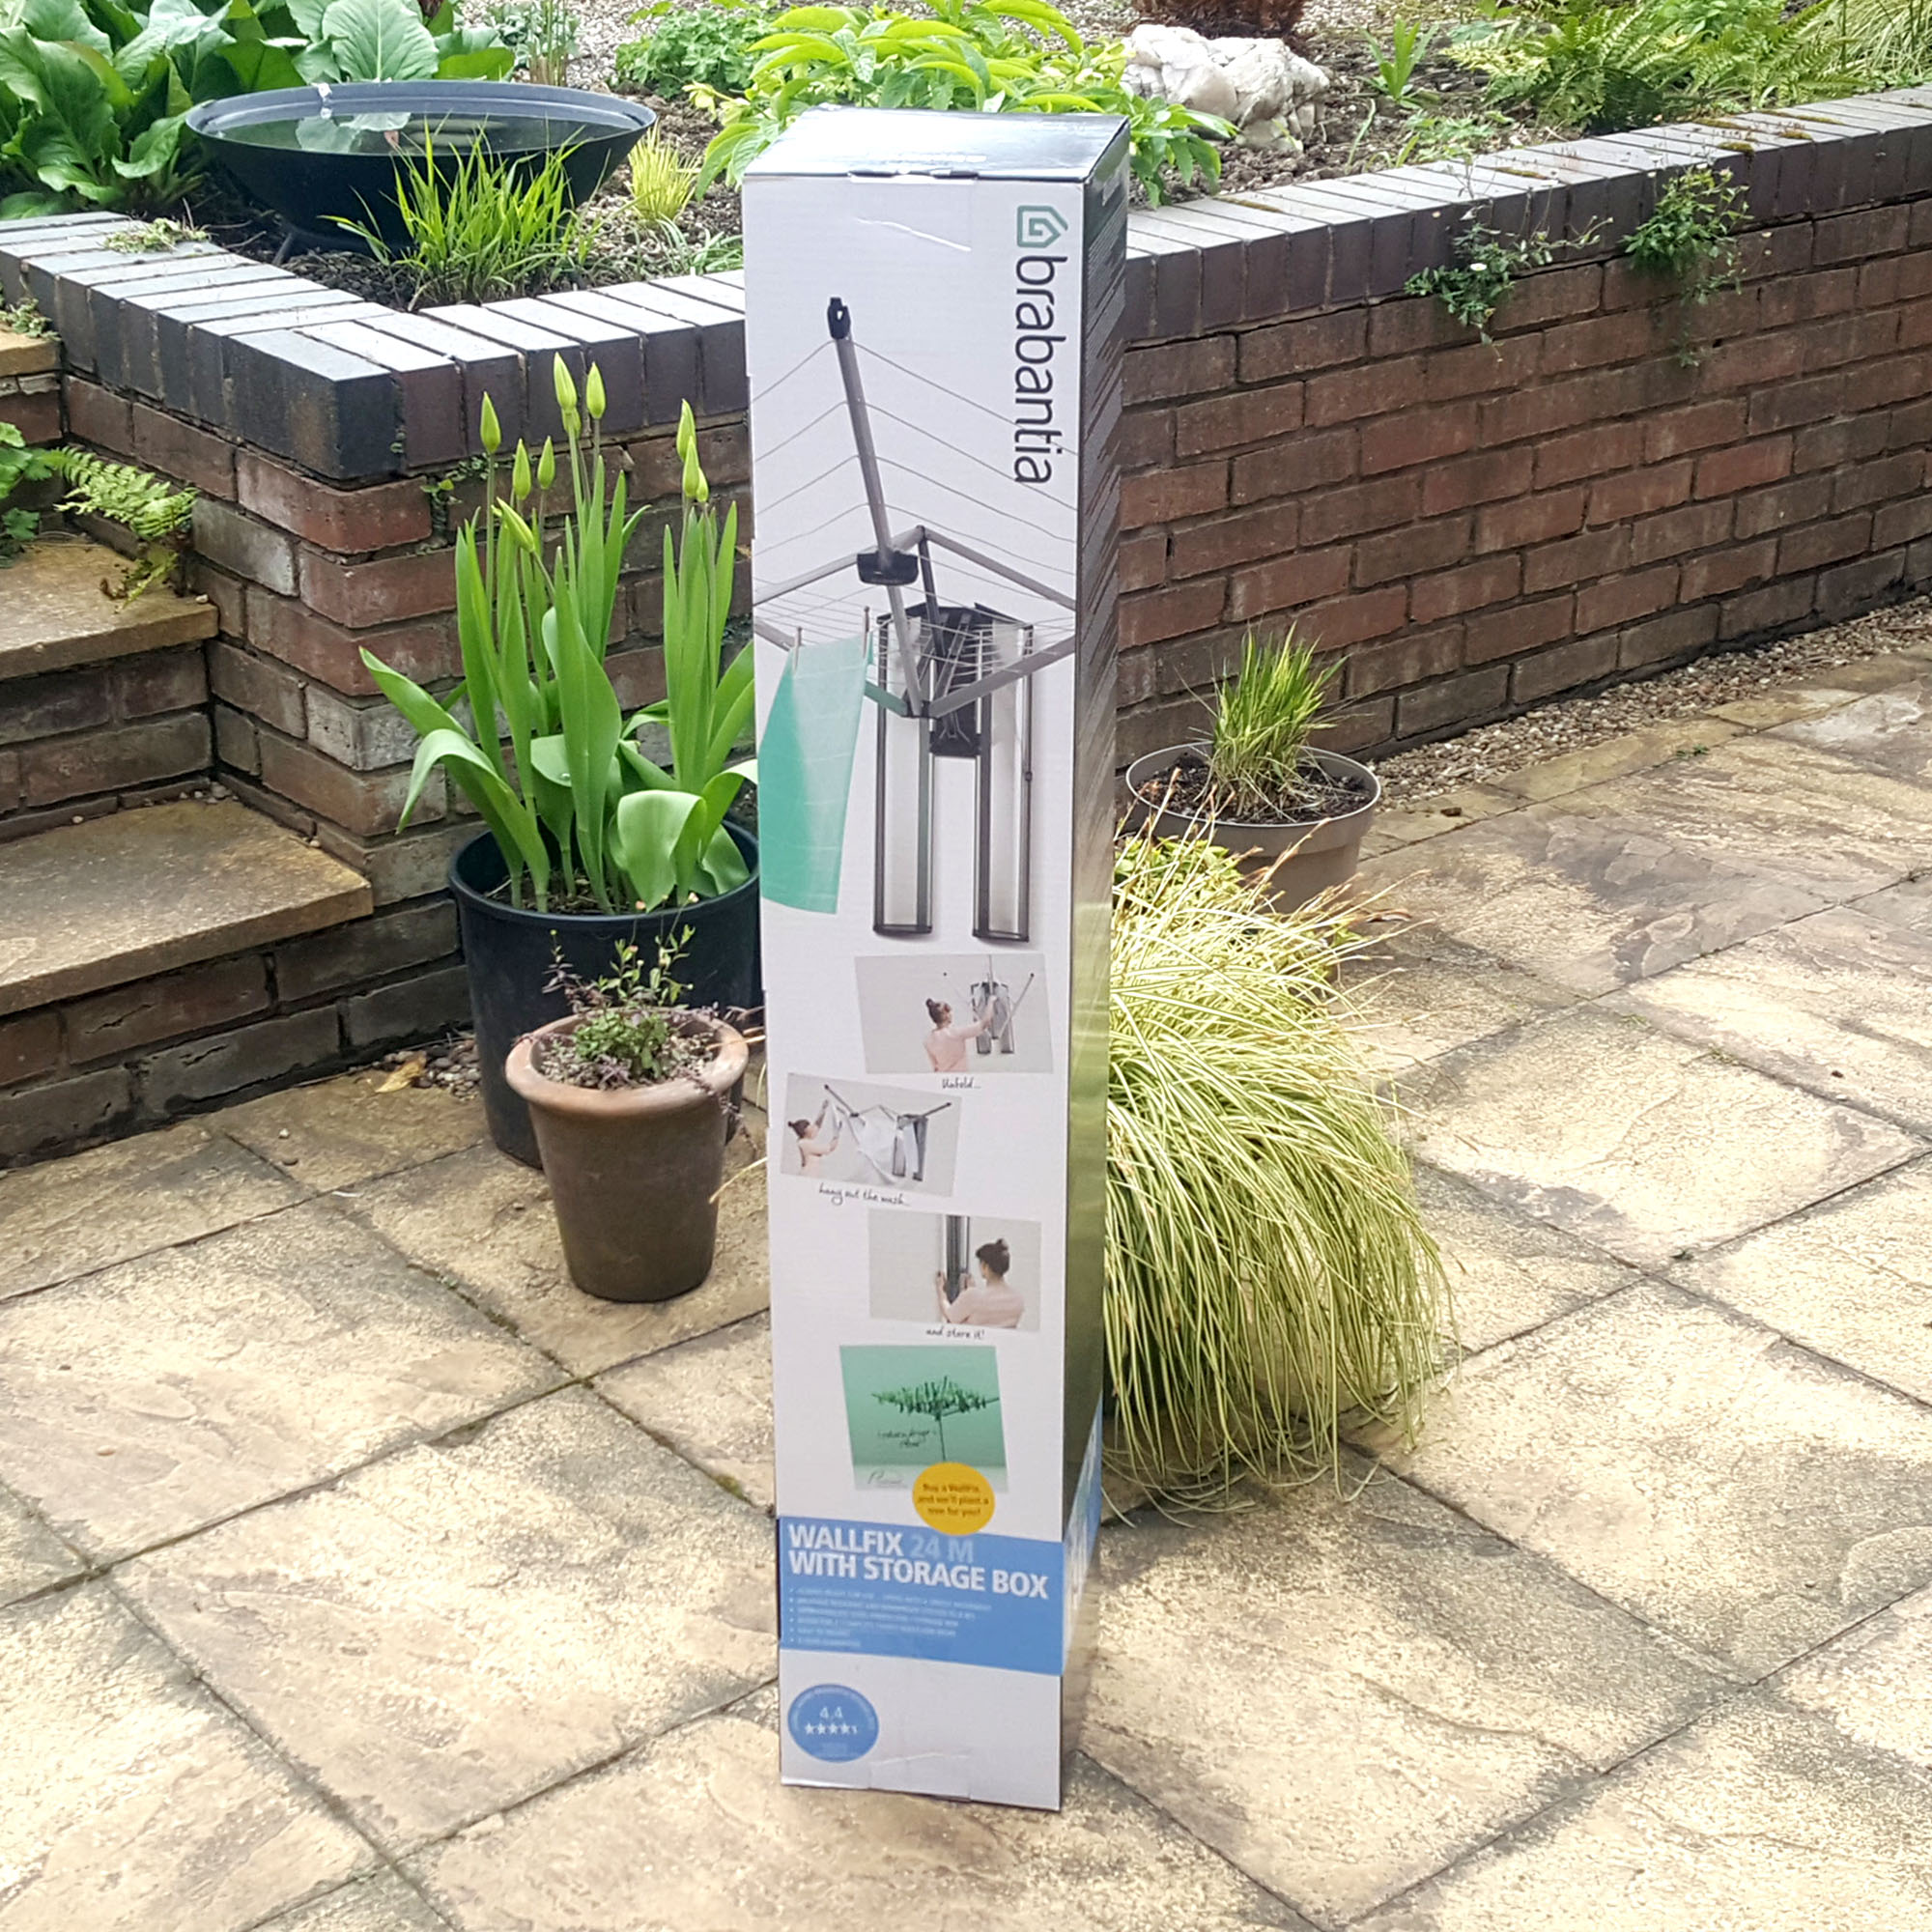
Once unboxed, the Brabantia Wallfix Dryer includes instructions that explain how to mount the airer at the correct height for the user, and all of the fixings you'll need to install it.
I have to admit, I got a little lost at the measuring stage. But a friend with more practical skills than me – and a more well-equipped toolbox! – helped me to get the dryer mounted. All in all, it took around 20 minutes to drill the holes and install the airer. I wouldn't say that this is a task for a complete DIY novice, but if you have a drill set and a little practical knowledge, then it is very simple to get the Wallfix Dryer mounted on a suitable surface.
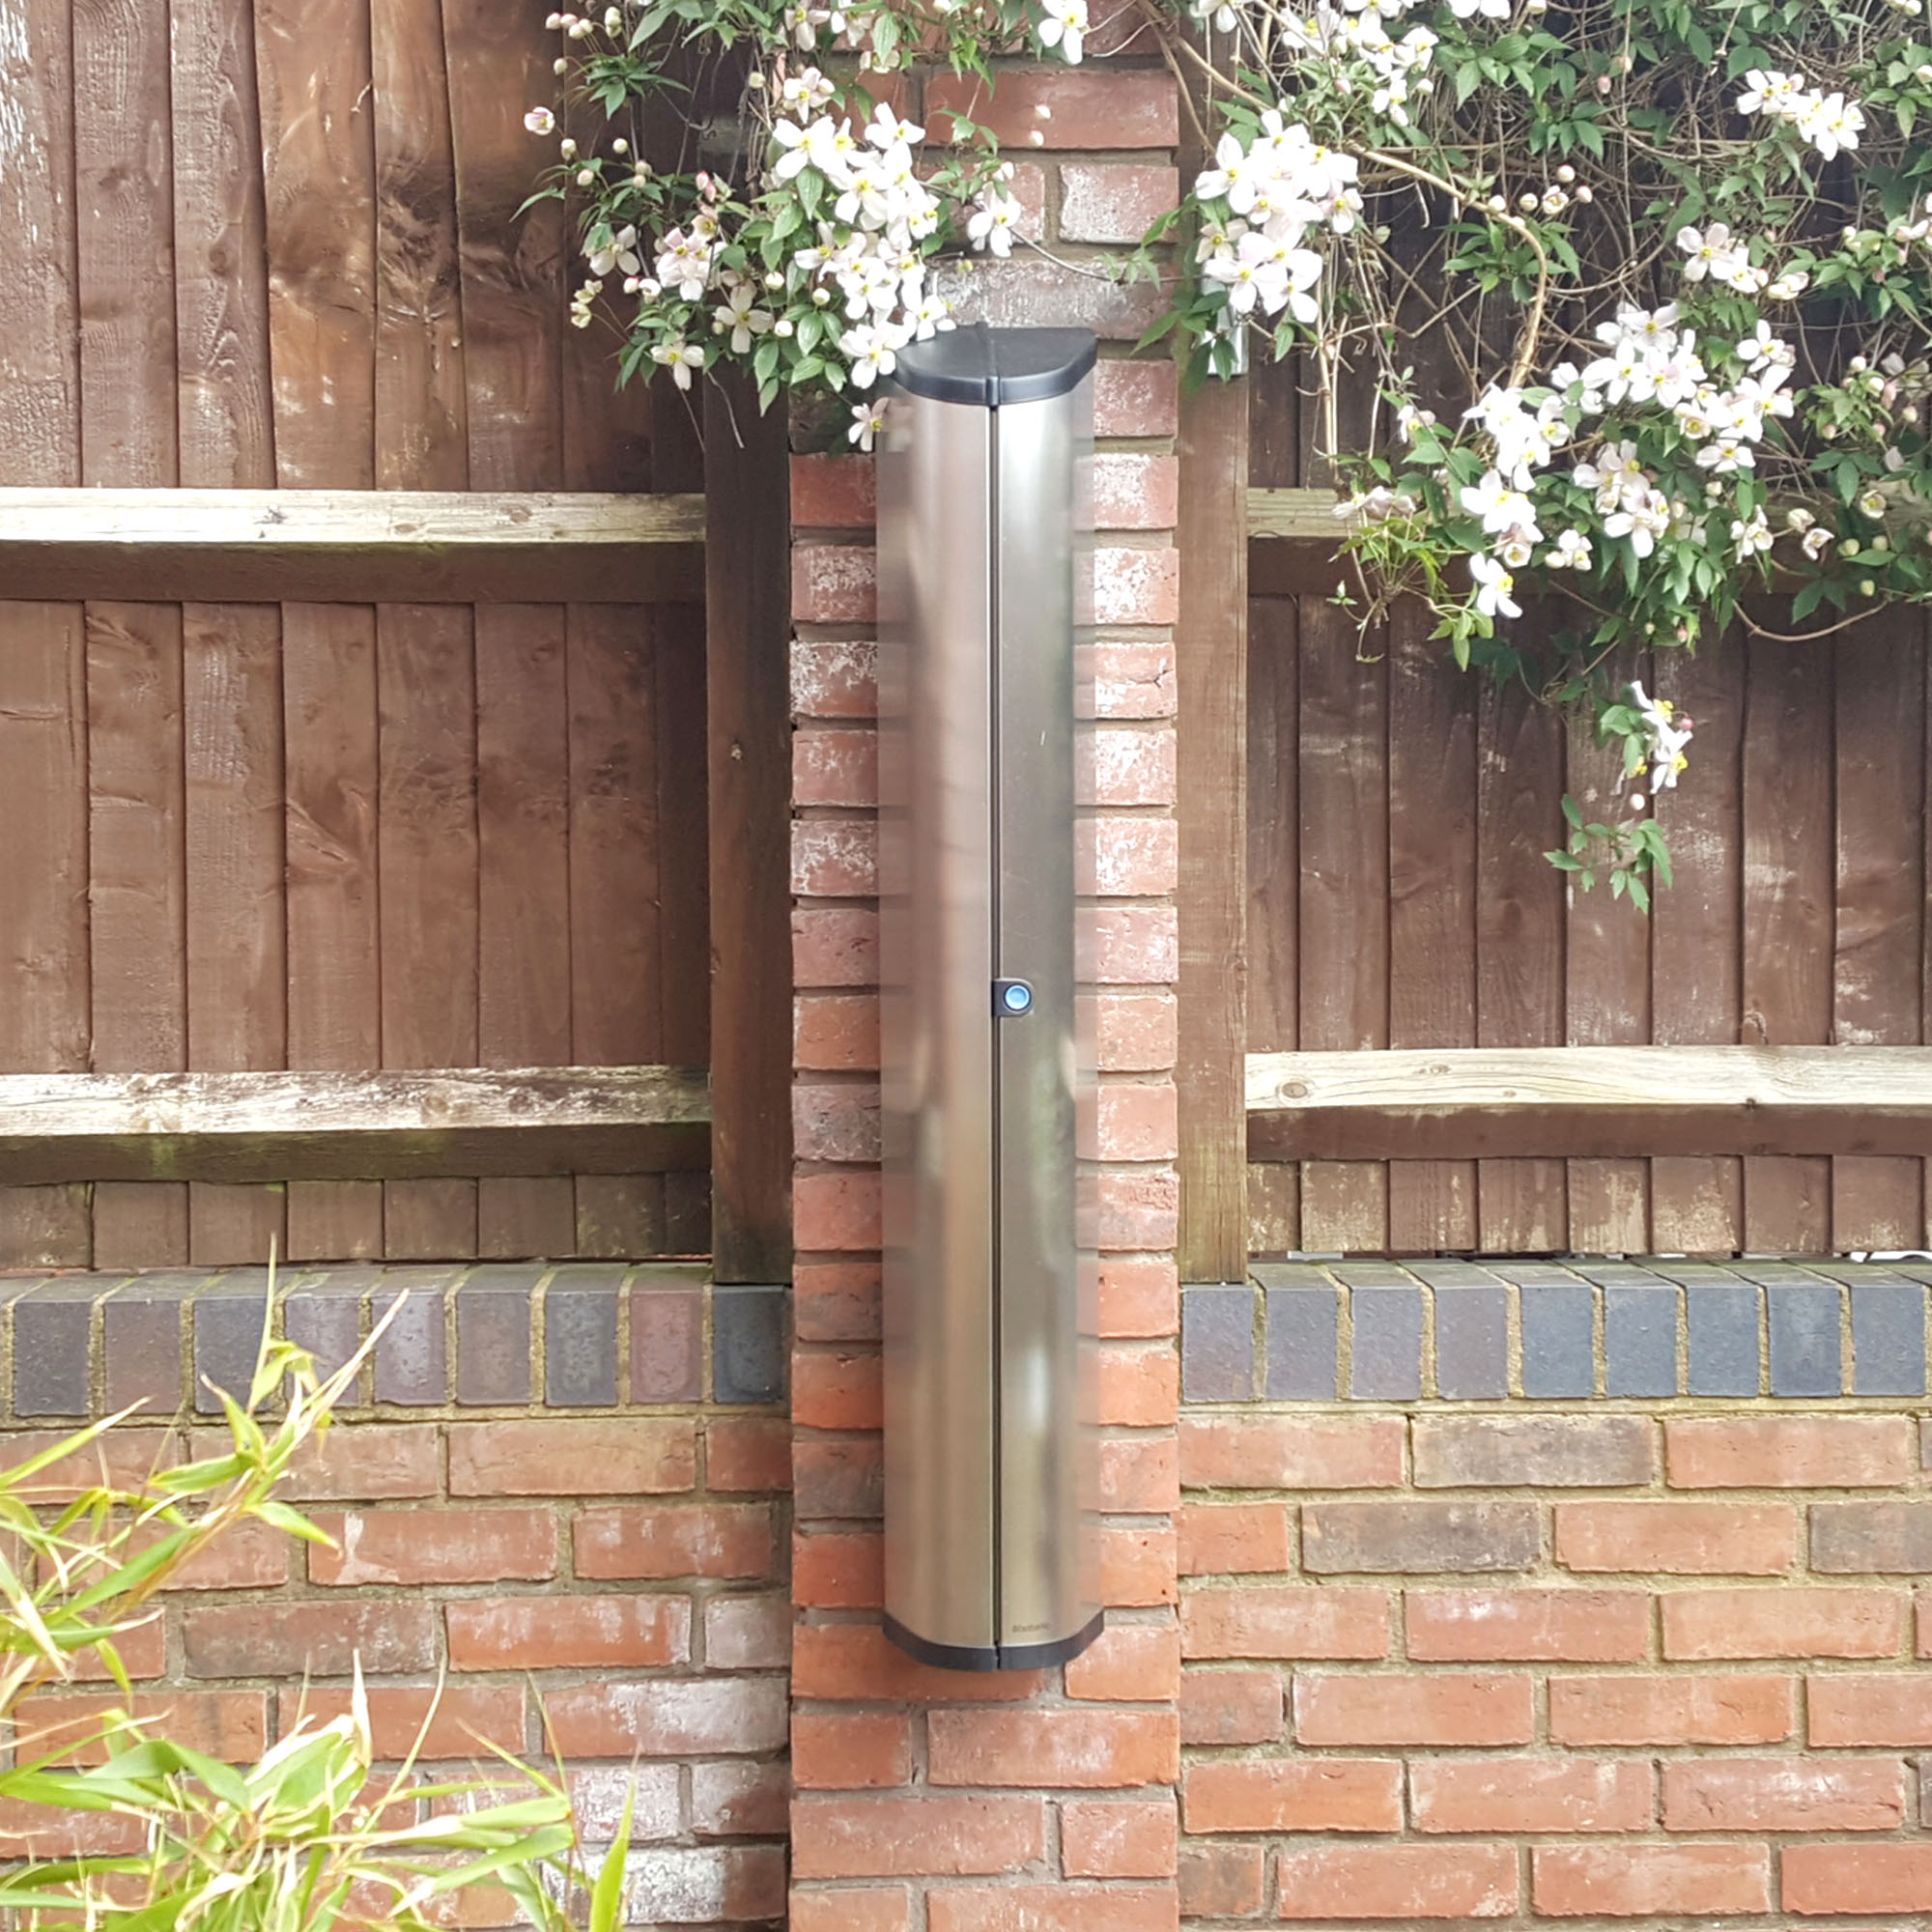
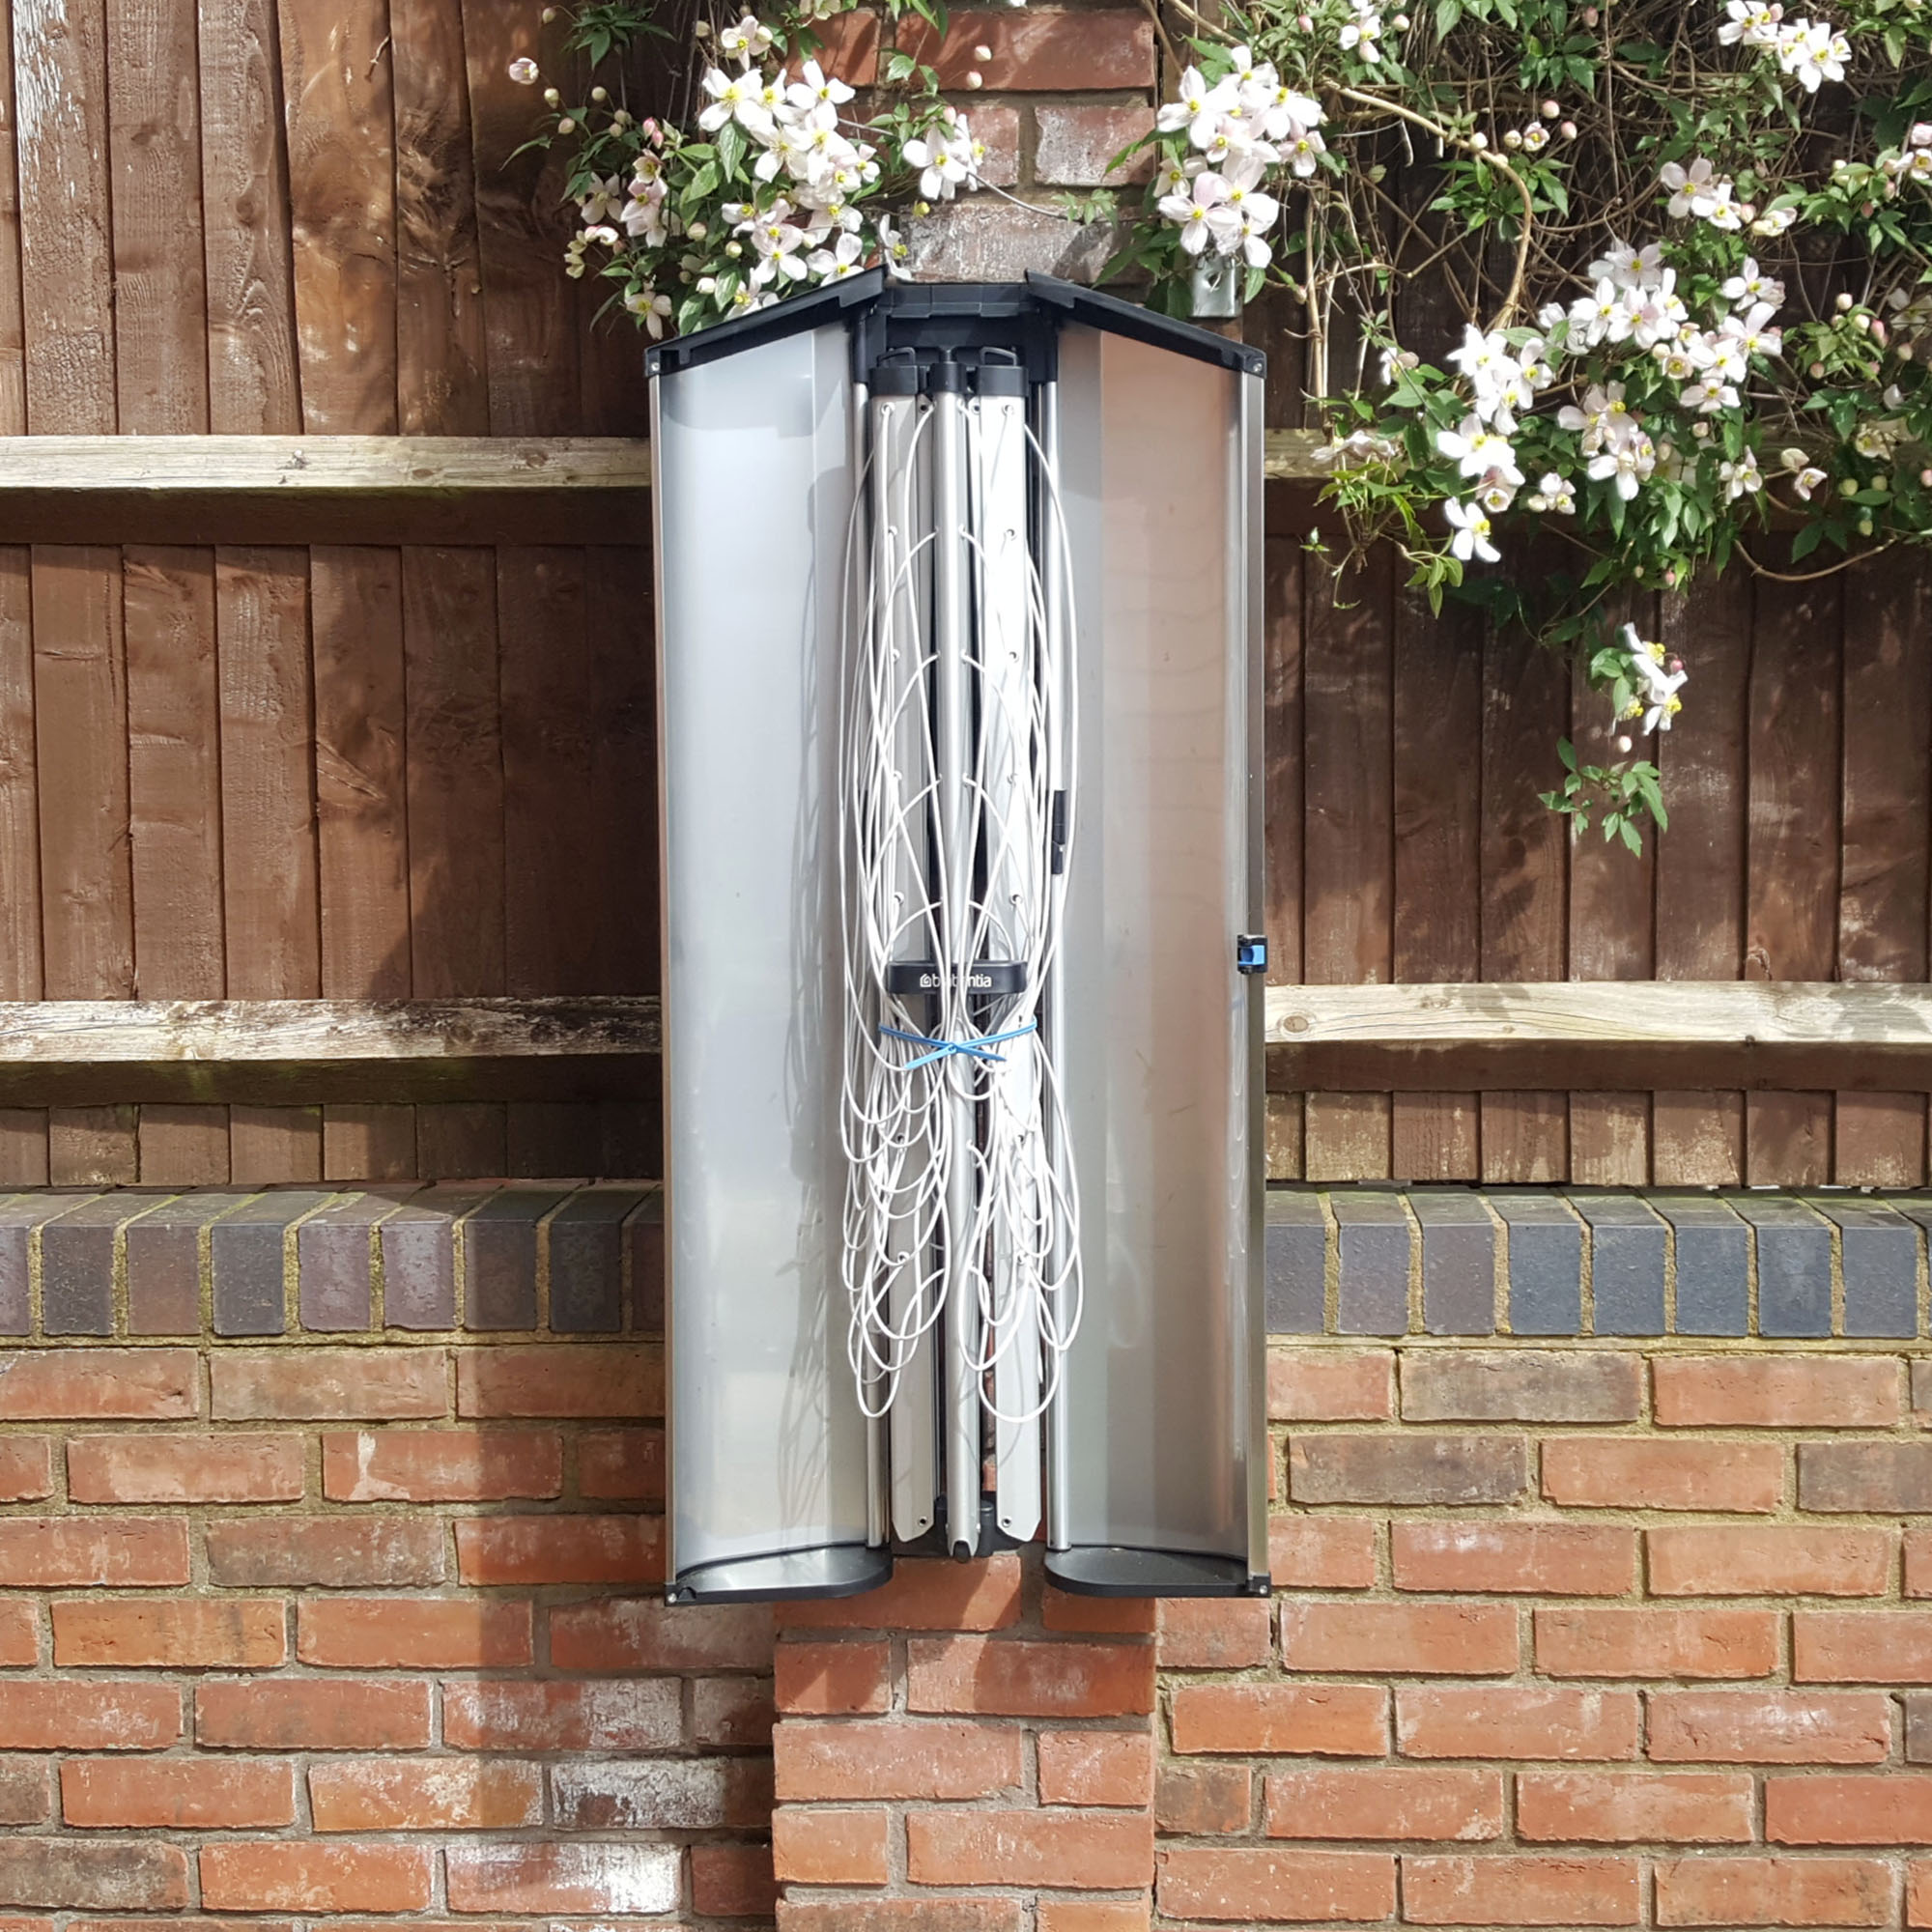
Just like most Brabantia products I've used, the build quality of the Wallfix Dryer is impressive, with the stainless steel protective case doing a great job of shielding the retractable airer from the elements.
The brand states that all components of the Wallfix are wind and weather-resistant and made from corrosion-resistant materials. Although I didn't really expect that the protective storage box would be waterproof, I opened the box several times after a downpour and always found the washing lines inside to be dry.
The fact that the airer can be tucked away so neatly when its not in use also means it doesn't become an eyesore on a small patio.

And when you do come to use it, the operation couldn't be easier. You simply press the blue button on the front of the protective casing, and the stainless steel doors open.
Once you've undone the blue security tie that keeps the clotheslines tucked in neatly inside the cover, you then just pull the grip handle towards you to open up the clothes airer.
This is done in one single movement and is very cleverly designed so that no real effort is required on the part of the user. This means you can extend the airer one-handed – perfect if you're juggling a full laundry basket in the other arm!
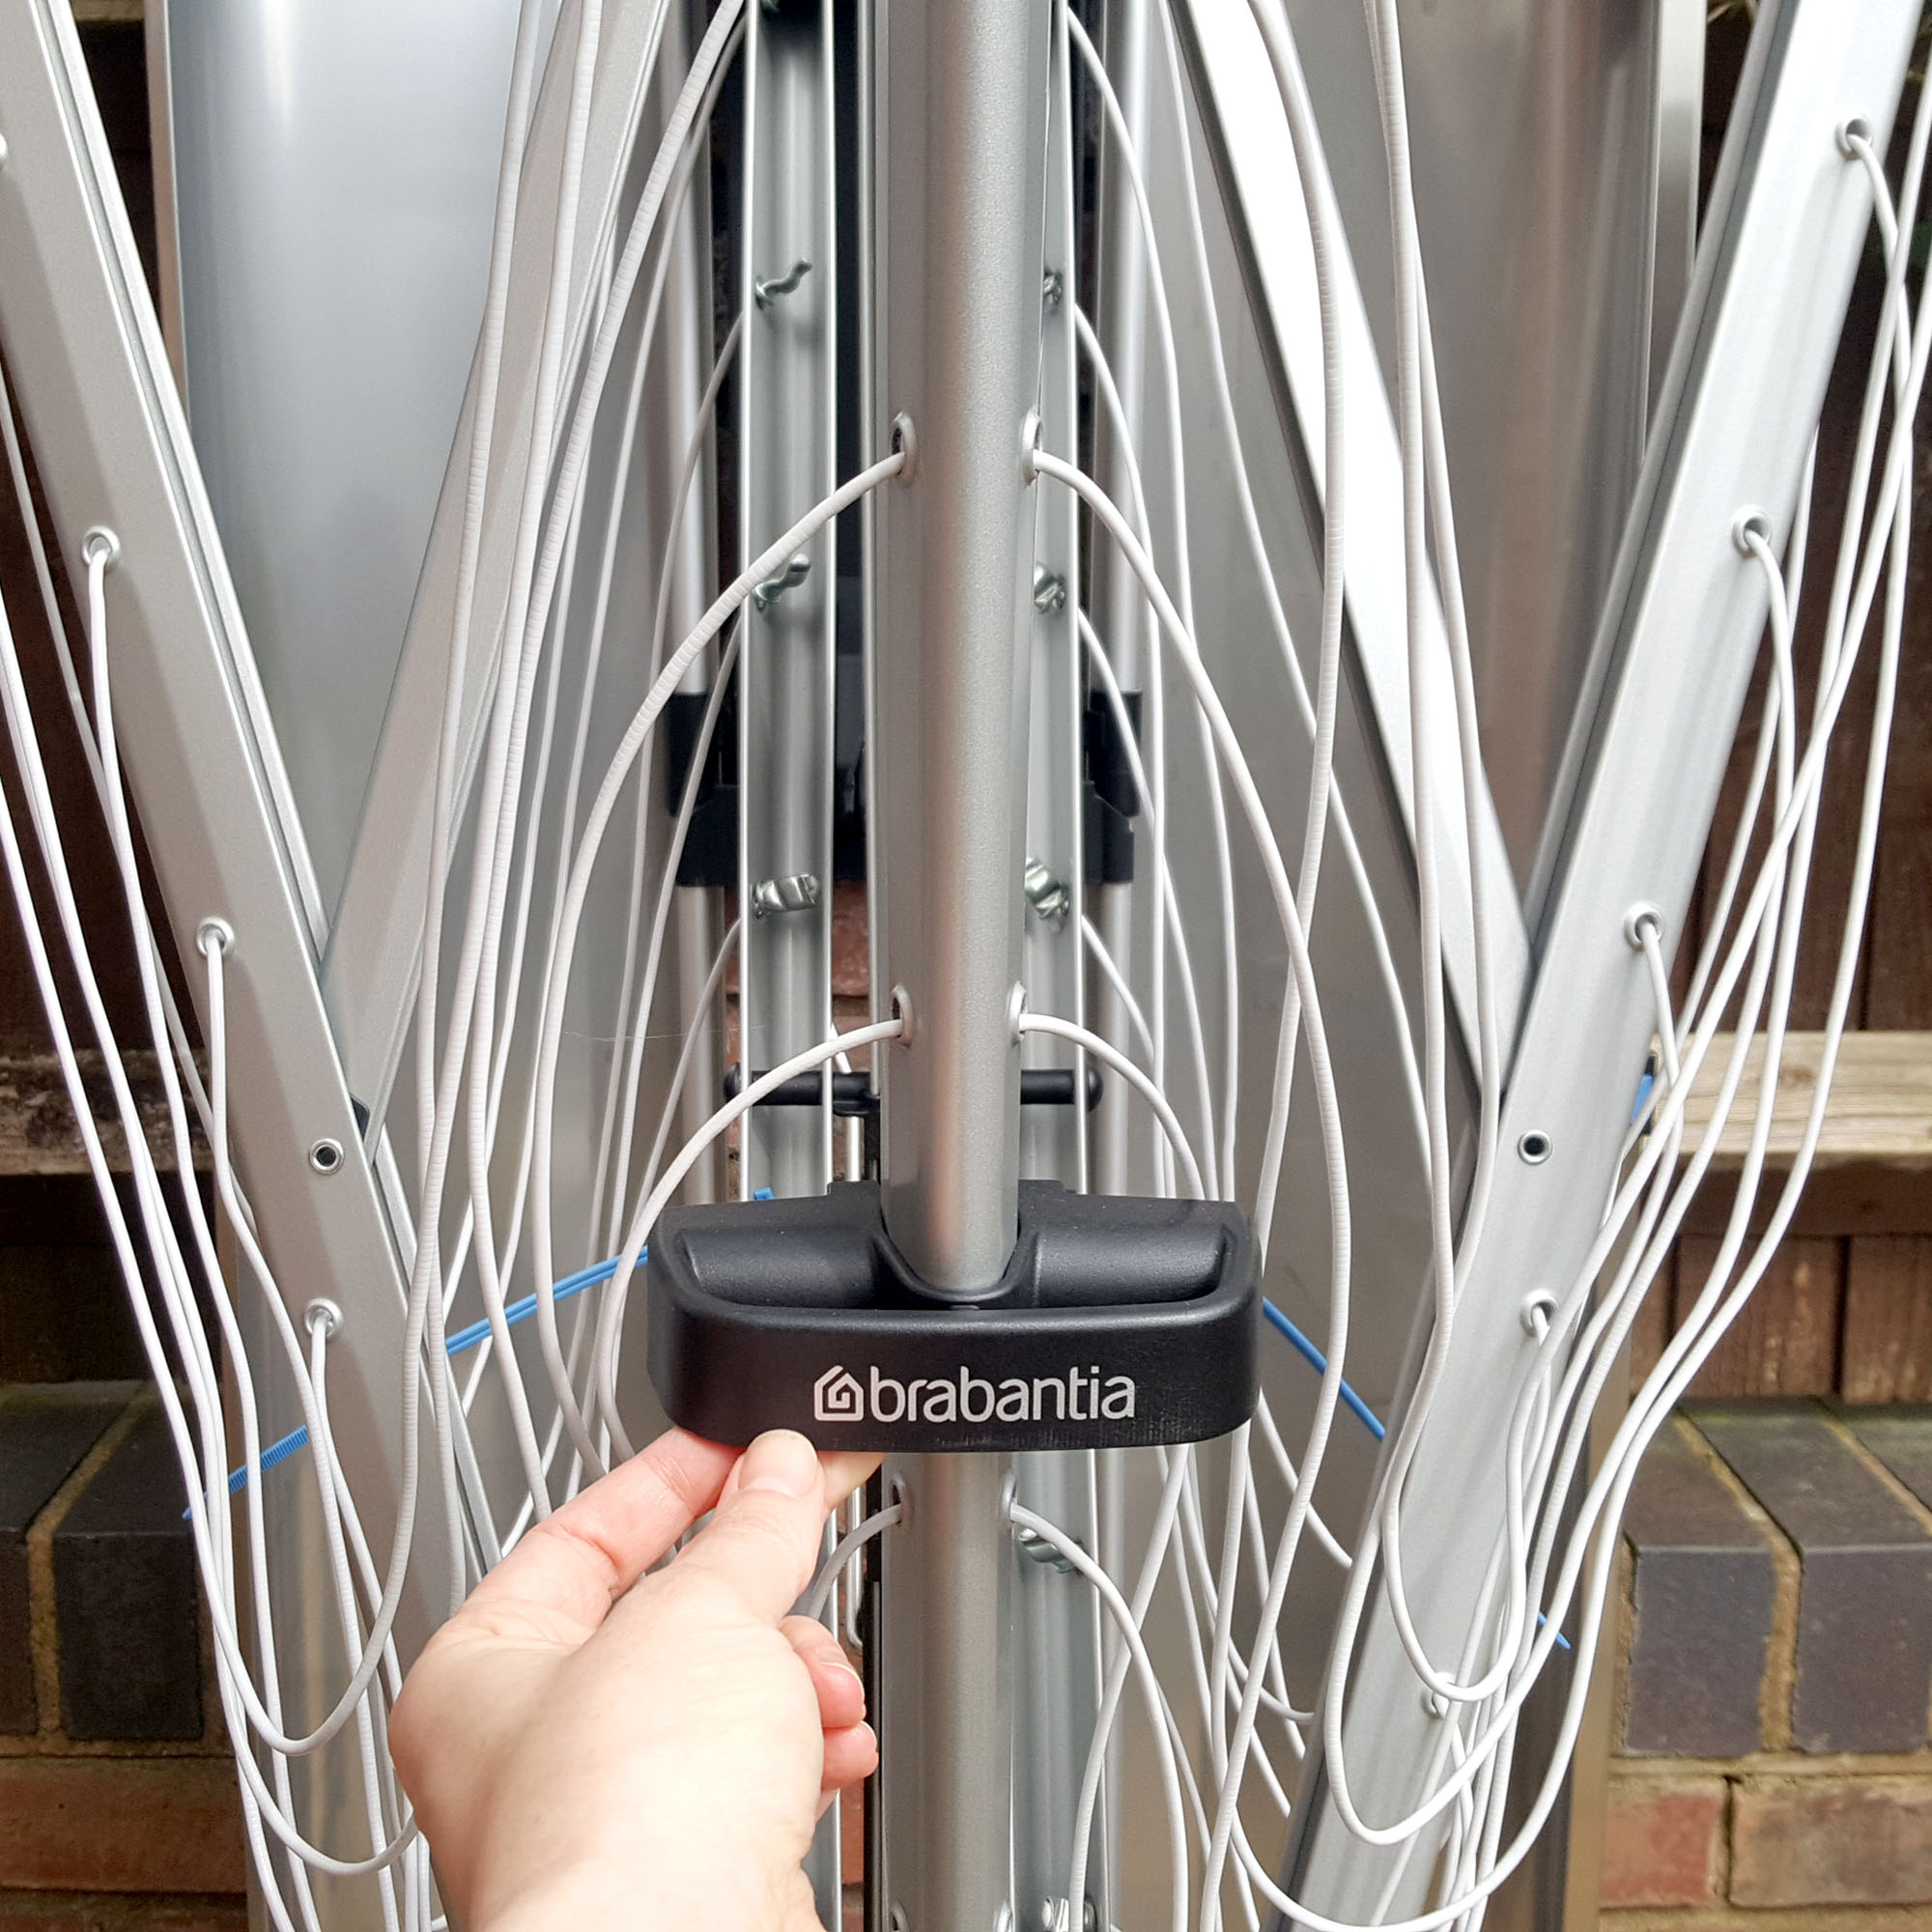
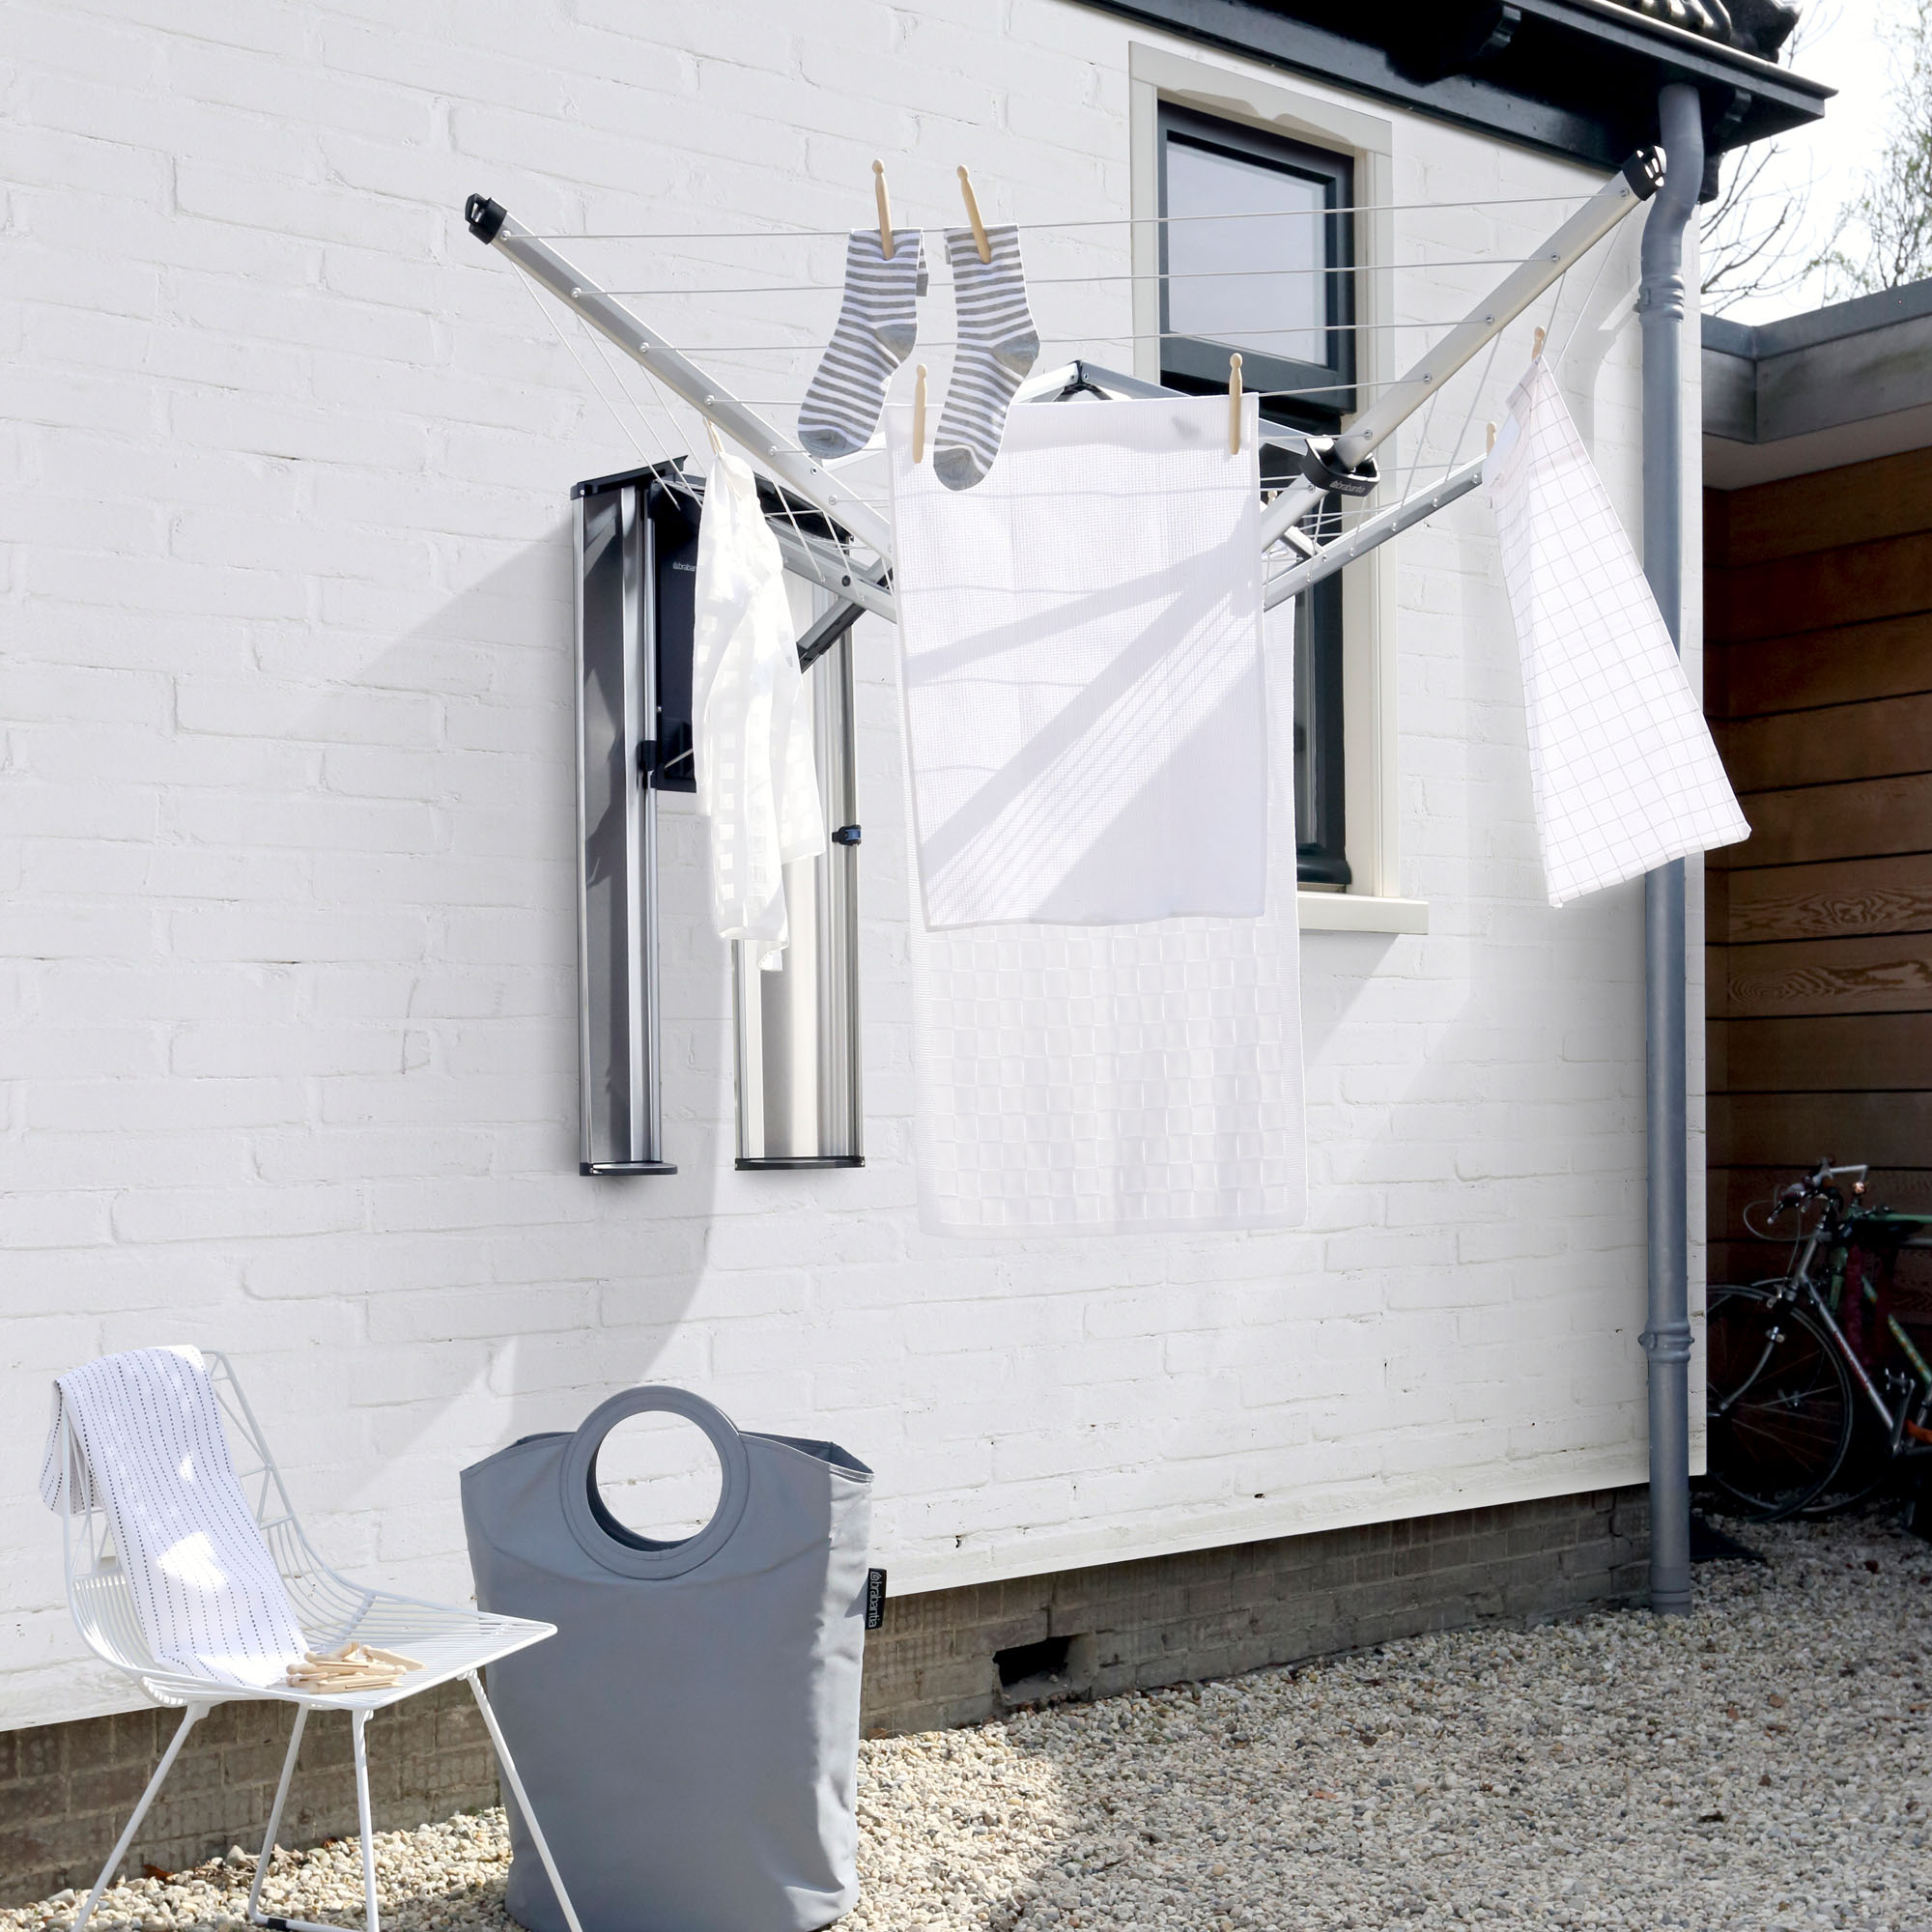
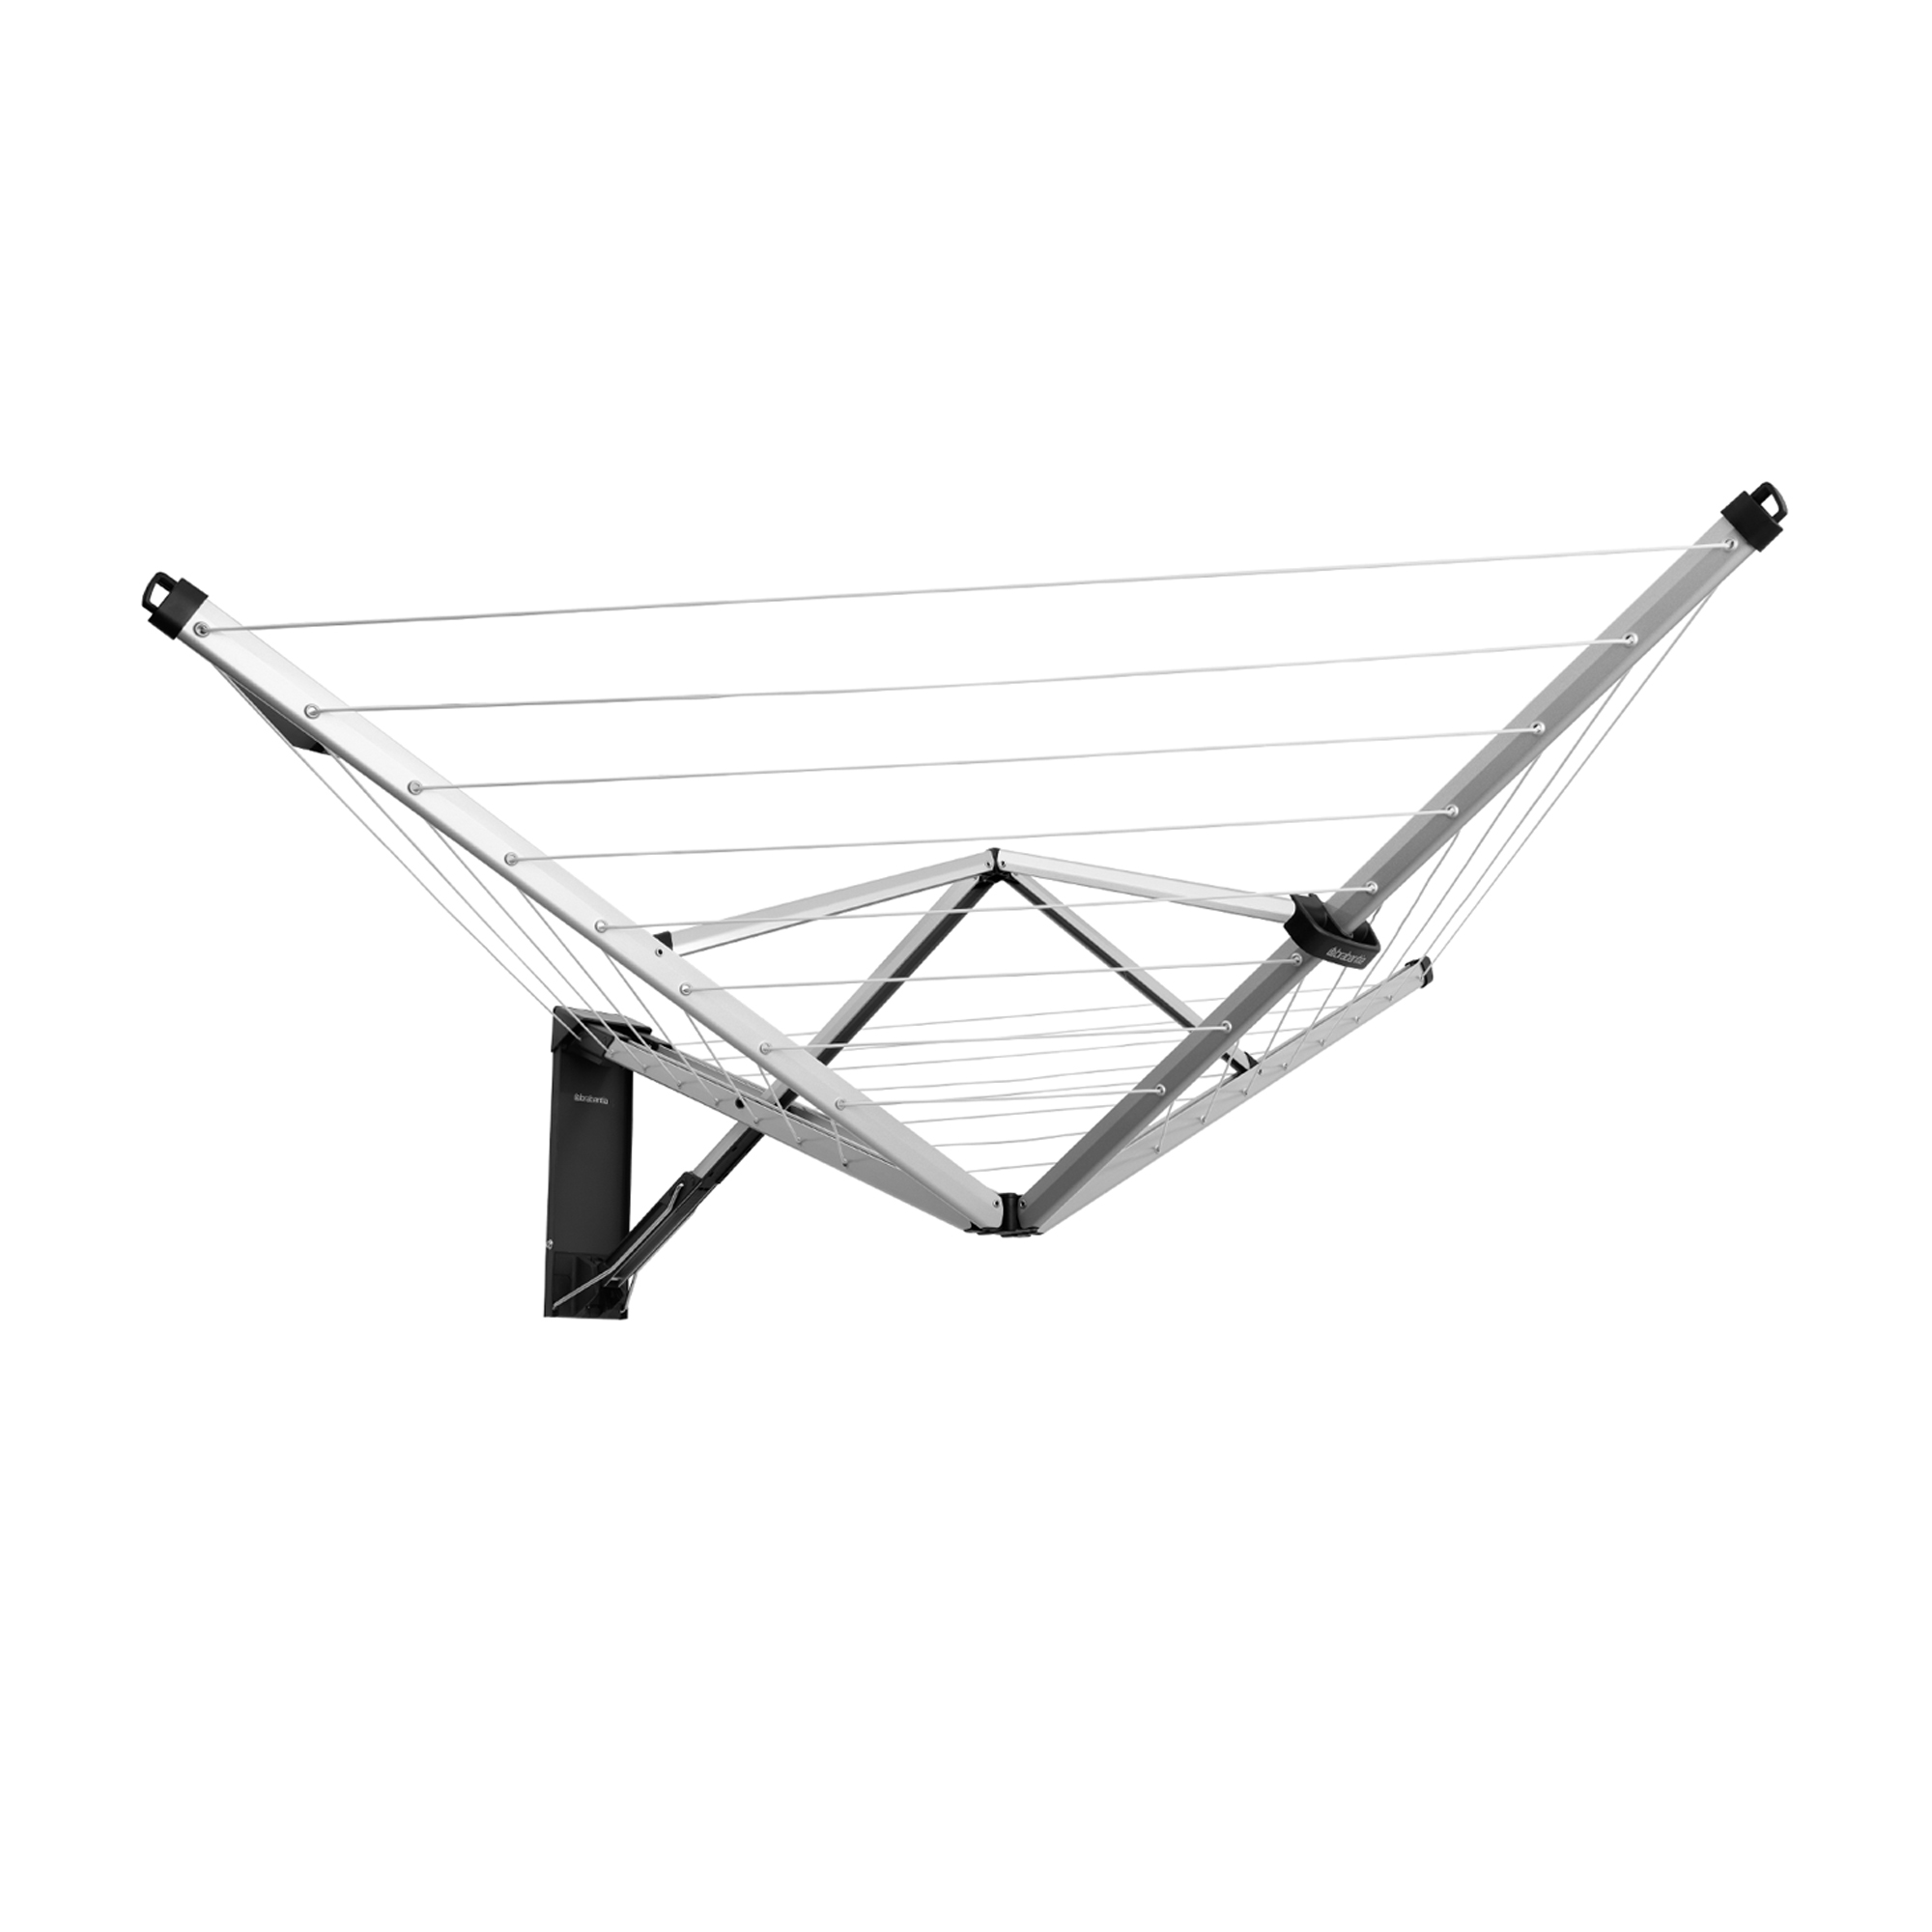
Once extended, Brabantia states the Wallfix Dryer can hold up to two machine loads of laundry, and offers 24 metres of clothesline in all, with each of the longest lines on the outer four sides measuring 120cm.
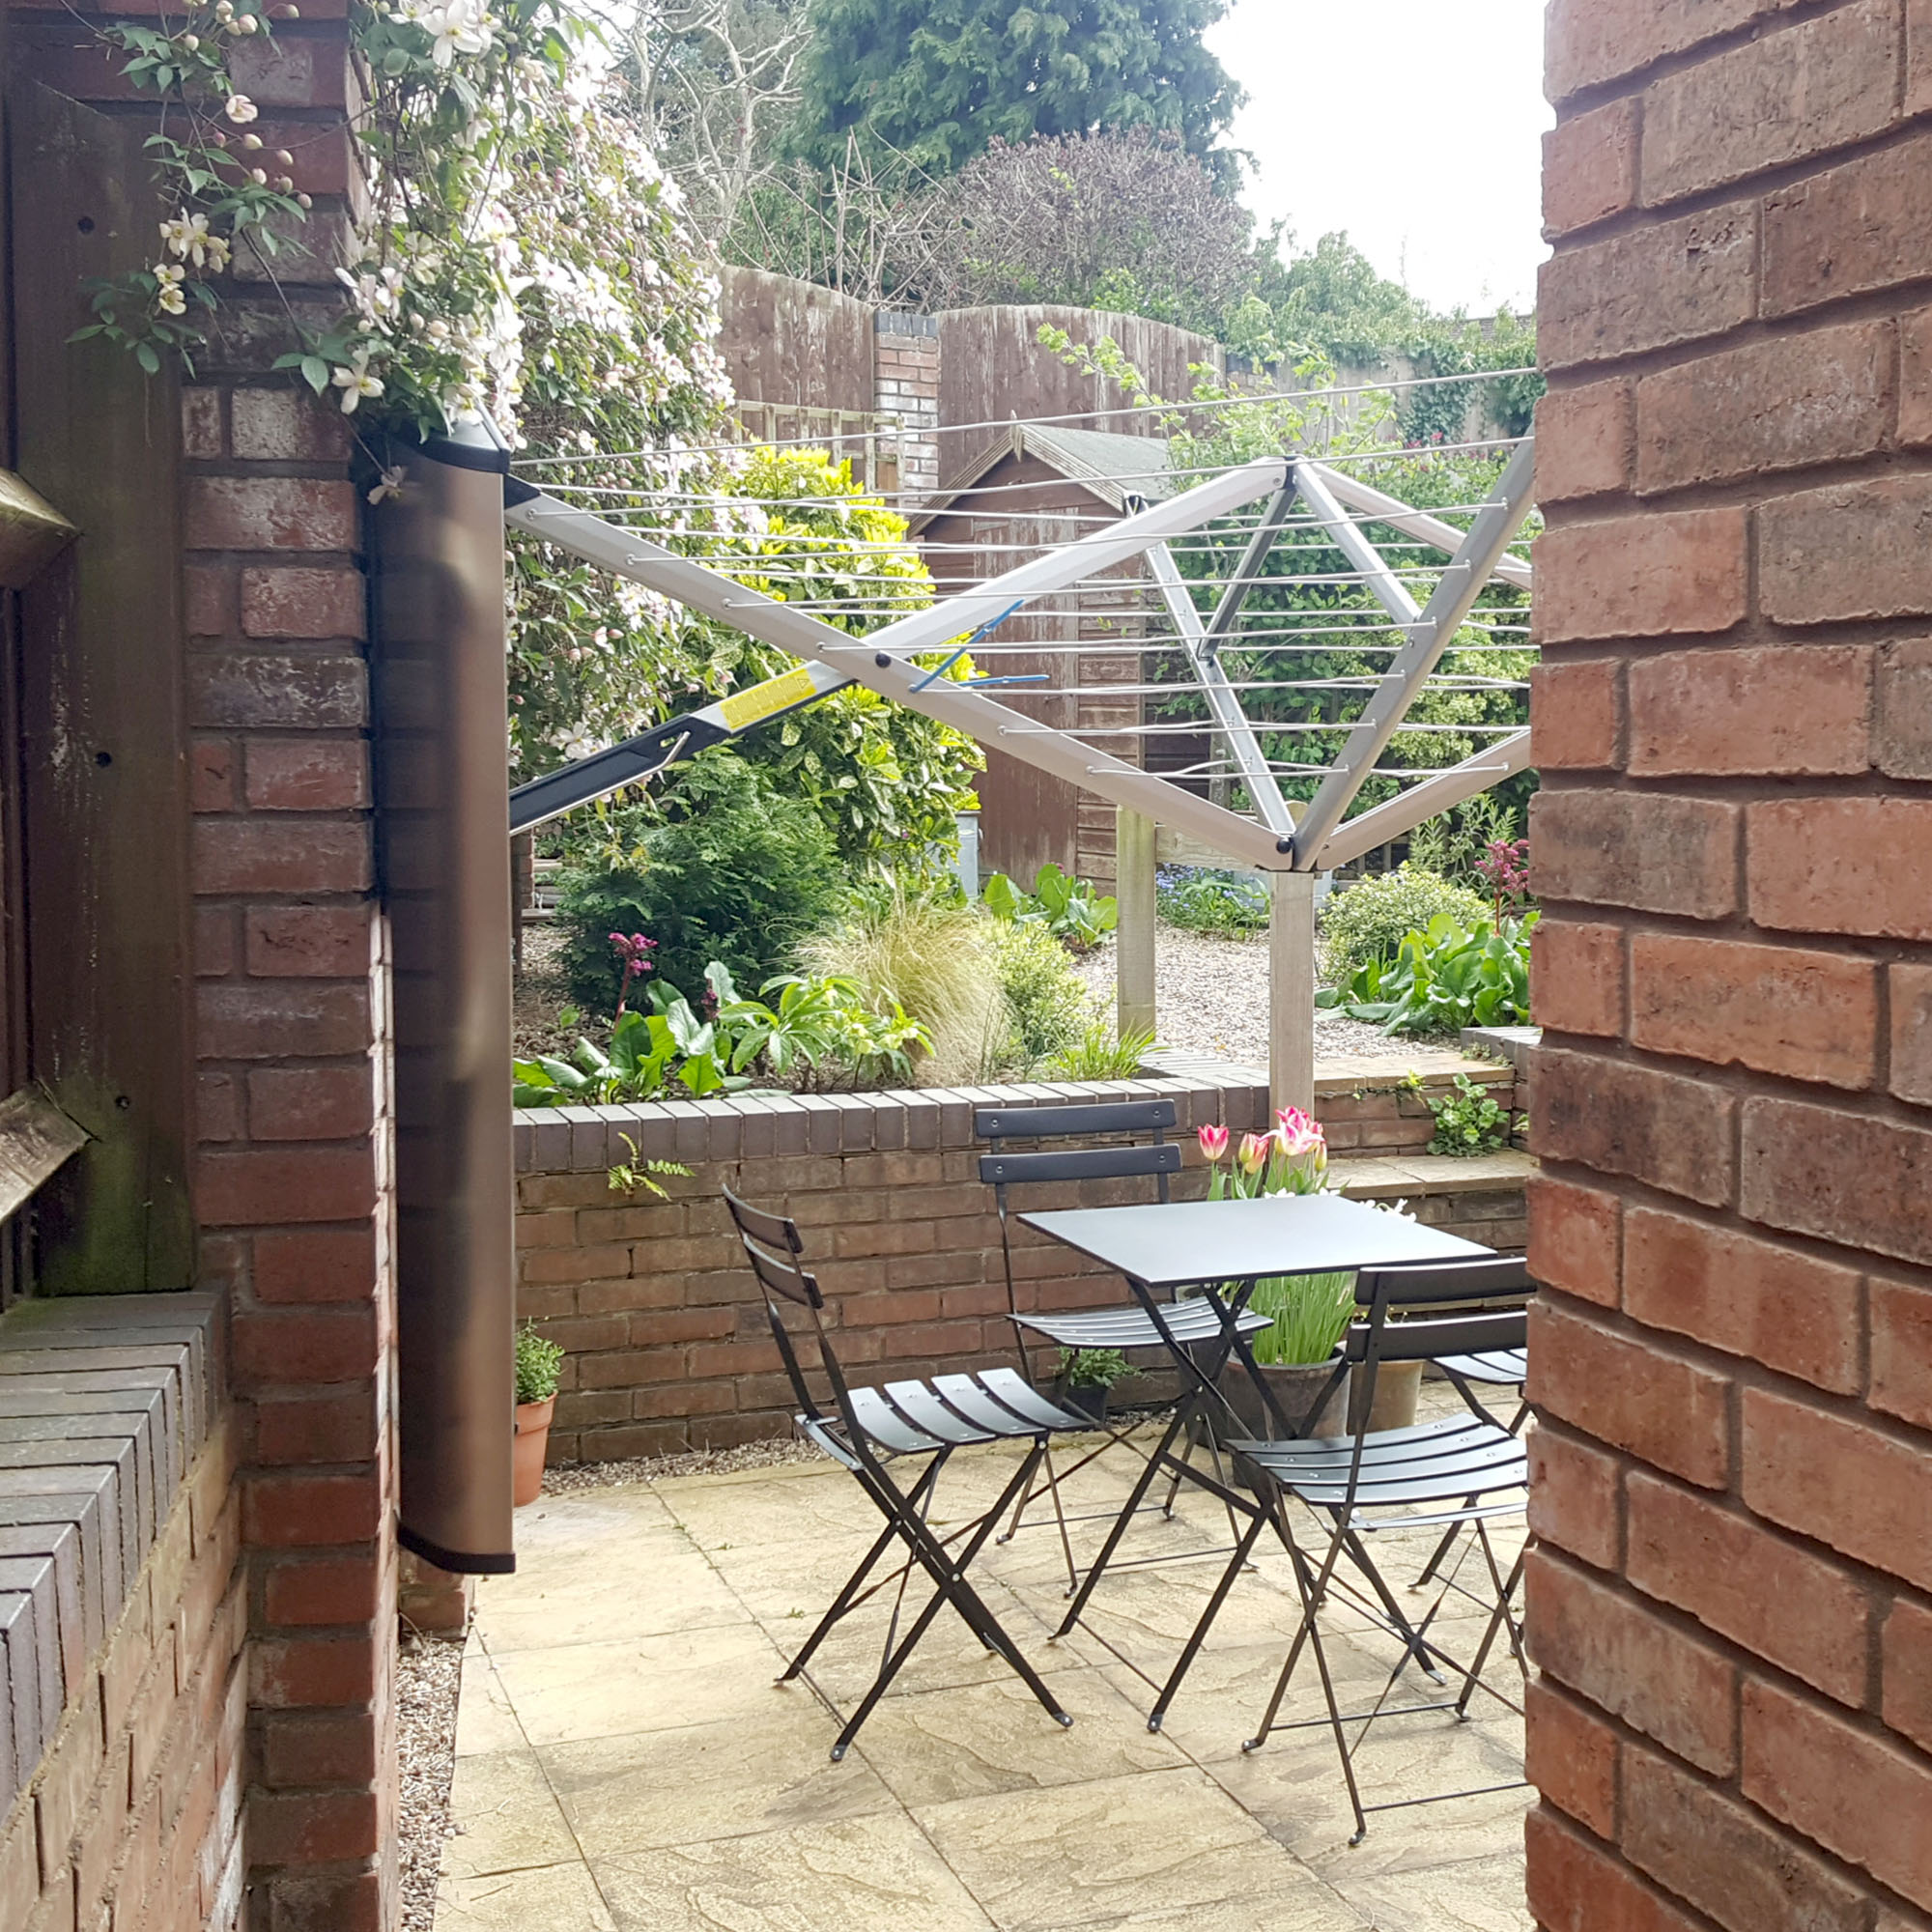
That's no mean feat considering this airer doesn't have a central pole. But, its cantilevered design feels incredibly robust to use and I was surprised by how much drying space it offers.
I didn't think larger items like sheets and bedding would fit on its retractable lines, but there's plenty of room to hang bigger items of laundry. The fact the airer tucks away into a less-used corner of the patio means that you can dry laundry whilst still maximising the use of the rest of the garden for enjoyment.
When it comes time to get the washing in and put the airer away, this is super simple too. You just push the handheld grip upwards to 'unlock' the security lock and the airer folds back against the wall.
Then you can fasten the binding tie to keep all the lines tucked away neatly, and close the protective doors until the next laundry day.
All in all, I think this is a great outdoor clothes-drying solution for a small outside space. All you need is a suitable place to mount it somewhere that catches the sun or gets a good breeze.
It is an investment, but you can tell from the build quality that the Brabantia Wallfix Dryer is built to last, and to my mind it's worth the investment to have a clothes airer that almost disappears from view when it's not in use, and doesn't require positioning directly in the middle of the garden where it can be seen from the house.
You will need some moderate DIY skills if you're planning on mounting it onto a wall yourself, but if you have a little experience with a drill set, then it's very easy to do, and extremely easy to use once in place.